• The site migration is complete! Hopefully everything transferred properly from the multiple decades old software we were using before. If you notice any issues please let me know, thanks! Also, I'm still working on things like chatbox, etc so hopefully those will be working in the next week or two.

Chronicles of Elite6's Motor Swap - It lives 8/31


Re: Elite6's Motor Swap Adventure

don't get paint in the knock sensors. Right after..take a can of brake clean and a rag. Spray rag and wipe the freeze plugs. Clean plugs look so nice
 
Re: Elite6's Motor Swap Adventure

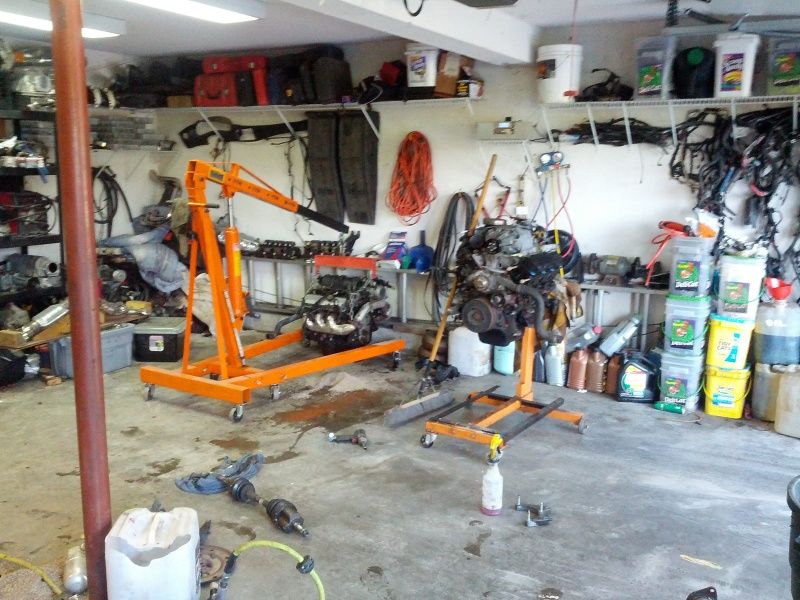
Ok. so I told you I'd post up when I got a chance. Most likely these links will break soon, but PB is being a pain and won't let me move them at the moment.

Ripped it
IMG_20120816_182250.jpg


Supported trans and pushed outside for a cleaning
IMG_20120816_182236.jpg


Used leaf blower to dry it quicker

Heading back in.. it's tight..but not bad. (I pull/install as one person)
IMG_20120816_195011.jpg


IMG_20120816_194934.jpg
 
Re: Elite6's Motor Swap Adventure

You need sealant on all the bolts for that. And make damn sure the spring/cap are installed properly and move freely, as well as a clean gasket surface. That is one of those things...you can't mess up or you'll have a major oil leak/problem and trying to put that on in the car is a major pain in the butt.

I leave the filter on so that the adapter can't get hurt on the sealing edge etc. If you had trouble..likely your trans was low on the passenger side.

So which way does the silver thing go in & what spring/cap??


Spring goes in the hole first then the cylinder goes on the spring. If you have the high pressure kit washer, I'm not sure the actual size of the washer but bill probably does, then that goes in the cylinder before it goes on the spring.


Re: Chronicles of Elite6's Motor Swap - Friday night & I got questions!

Another way to think of it is the spring goes "inside" the cap then the assembly goes into the block spring first.

I would not install any shims or anything in there.

If you want more pressure get the spring and valve from an 04+ car.

Its supposed to be pretty cheap from the dealer compared to ZZP.
 
Re: Chronicles of Elite6's Motor Swap - Friday night & I got questions!

I found the spring, so the spring in first then the cap on top or is there a cap on both ends of the spring?
 
Re: Chronicles of Elite6's Motor Swap - Friday night & I got questions!

New waterpump on
Put some of the brackets on & wiring, had to transfer studs from one block into the other to hold the coil pack and EGR


One of the EGR holes needed re-threaded so broke out the tap set


Is this seriously going to fit in engine bay when putting motor back in?
 
Just the one cap on the spring, when the oil filter housing goes on it pushes the cap inside the block.

Your going to want to put the rear header in the car first, don't attach it to the cat back or anything yet, then put the motor in.
 
Re: Chronicles of Elite6's Motor Swap - Friday night & I got questions!

Got a pm, somehow he made it fit with the header on. Seems like the harder way to do it.... it fit though.


Re: Chronicles of Elite6's Motor Swap - Friday night & I got questions!

I've heard it's possible, I'll leave that to others. I'm comfortable using the method you and I mentioned. Sit exhaust in, lower motor, bolt together.

Speaking of.. I snapped a couple pics of how to do the diff/engine bracket and reverse bolt w/o taking off a tire.
 
Re: Chronicles of Elite6's Motor Swap - Friday night & I got questions!

Updates:

RTV Copper Stuff - first time user


EGR & crossover assembly with the RTV


Bit of a major oversight, pulled the plugs and found this crack. The plug actually had 2 cracks. Could that have been ticking? I am thinking of swapping that plug back in when done to see...


Preparing for descent with the big a$$ Speed Daddy beastly rear header & new motor mount


Father in law ratcheting motor up so we can obtain the angle


Fast forward... BAM! In with the rear header & Cross over on!!


Downpipe is gonna hang quite low


I required zero fire wall pounding for the front O2 - it fits with lots of room to spare.
 
Last edited:
Re: Chronicles of Elite6's Motor Swap - Friday night & I got questions!

Got a pm, somehow he made it fit with the header on. Seems like the harder way to do it.... it fit though.

Pics are up, I agree that dropping the motor in without the exhaust is easier but it really went in no problem with the ratchet strap allowing us the angle. While I was dropping motor with the angle I think it would have been very close having the entire header setup bolted on. Maybe next time... :)
 
Re: Chronicles of Elite6's Motor Swap - Friday night & I got questions!

WOW.. crammed that pipe in there good!

impressed it fit for you


Re: Chronicles of Elite6's Motor Swap - Friday night & I got questions!

WOW.. crammed that pipe in there good!

impressed it fit for you

Went like this... engine forward, reduce angle, drop motor, engine forward, reduce angle, drop motor * 7 lol - little mind boggling at first. I even said no way & father in law said F that will put that Bish in!
 
Re: Chronicles of Elite6's Motor Swap - Friday night & I got questions!

i saw what you did there, you threaded the needle.

yeah no ratchet strap and no go for sure. good job once again.
 
Re: Chronicles of Elite6's Motor Swap - Dropped in motor with rear header on :0

That plug could very well be the cause of the ticking. If it is at least you'll have a good motor laying around to cam :D
 
Back
Top