• The site migration is complete! Hopefully everything transferred properly from the multiple decades old software we were using before. If you notice any issues please let me know, thanks! Also, I'm still working on things like chatbox, etc so hopefully those will be working in the next week or two.

'00 Impala LS - 5 Speed and Supercharged


Take a look at this belt setup, got long runs in your current setup and no point spinning more sh1t than 1 tensioner on the SC side since your doing the work.

http://www.clubgp.com/newforum/tm.asp?m=4676693&p=&mpage=7&tmode=1&smode=1&key=mount&language=single

That's a low mount alt low mount dogbone setup aswell.

Love this build you have going too! You should check out the M122 threads on thechicagogarage.com too

http://www.thechicagogarage.com/for...-take-two-low-cost-version-2.html#post3136518

Just incase you want to stick with a blower and swing for some more HP LOL!
 
I like that belt setup but I would be concerned with the belts interfering with the IC hoses the way I have them routed. That build is truly inspiring though, I need to sit down and read the whole thing when I get a minute.

An upgraded blower would be a sick build for the future. I'll never be done modifying this car and will probably re-do and upgrade things that I've already re-done and upgraded.


The HUD took like 80 hours to do. I'll dig up some pics of the progress when I'm not so busy, but the description would be as follows:
Mold GP HUD bezel and Impala defrost grille together and try to get it to look like one piece. Trim the GP HUD bezel to fit the Impala dash pad. I was unable to use the factory clips of the GP bezel so I cut them off and epoxied a bolt sticking down through a hole I drilled in the dash with a nut on the other side to keep the bezel seated in place. Cut a hole in the Impala dash pad to fit the HUD unit. Cut the HUD unit itself in half and plastic weld it back together thinner so it will fit in the Impala dash. Cut the heater tube that passes under the dash pad and seal it off. Make some sort of brackets to hold the HUD in place with it aligned correctly so you can see it in the windshield with the bezel in place. The wiring is relatively straight forward but you cannot tap into the cluster wires. Turn signals at four way switch, high beams at multifunction switch, VSS wire at BCM. I mounted a GP HUD switch in the cubby where the ash tray was. Lots of fine dremel work. Probably 80 hours of combined effort of me and two other friends. Worth every minute in my opinion but would not want to do it again.


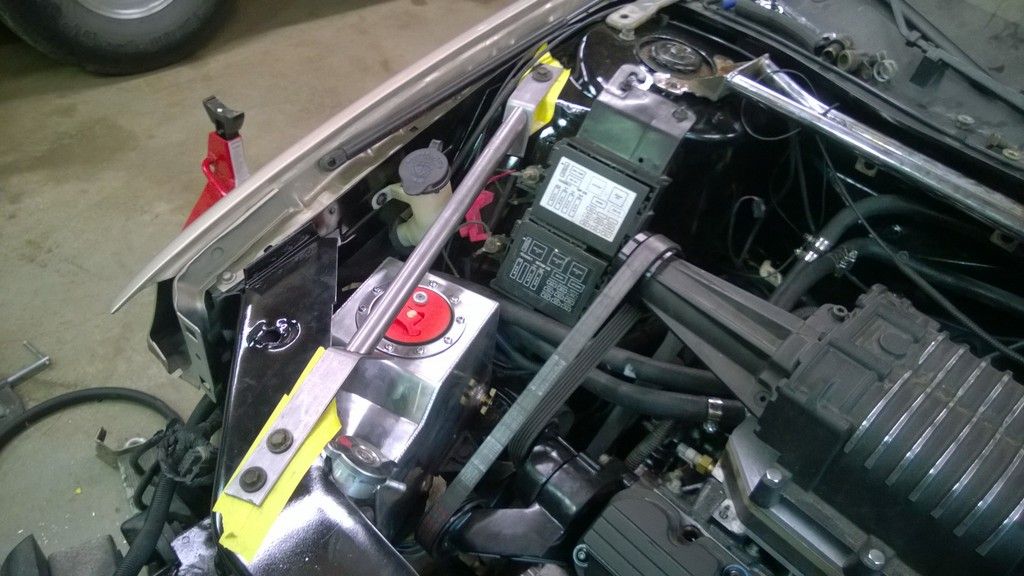
Wiring harness is mostly done. Needs loom, a few things need to be extended, etc.. But I really like how it is routed and it is barely visible.

Replaced all of the subframe mounts with new firm ride ones from GM.

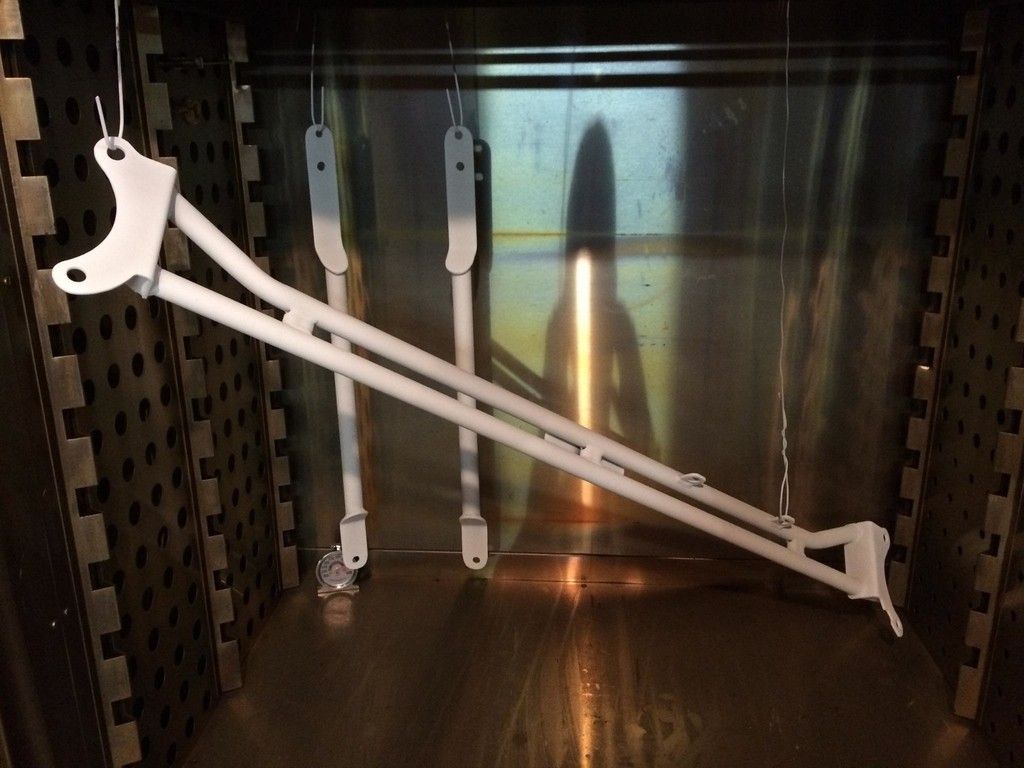
Finished painting a bunch of odds and ends.

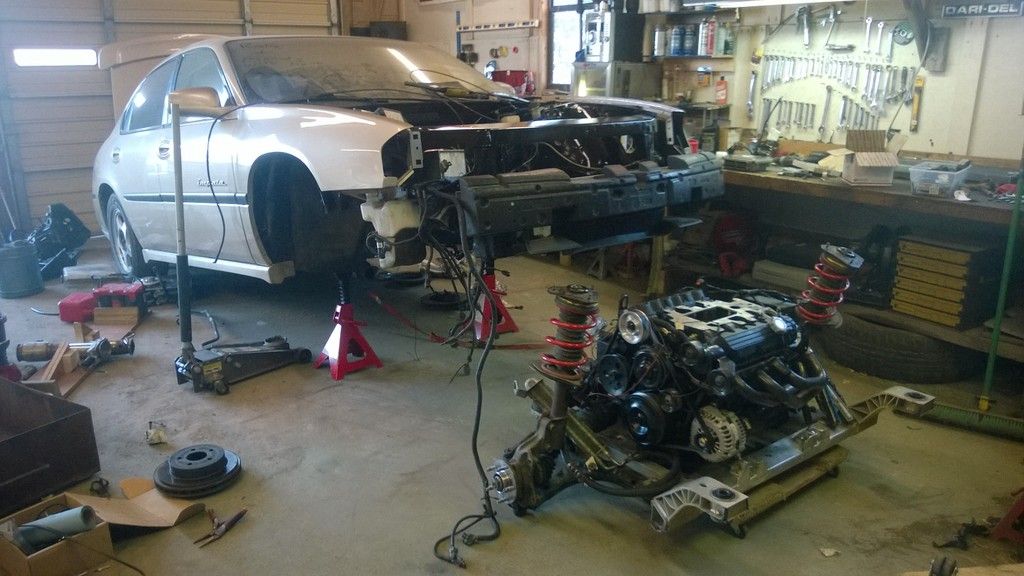
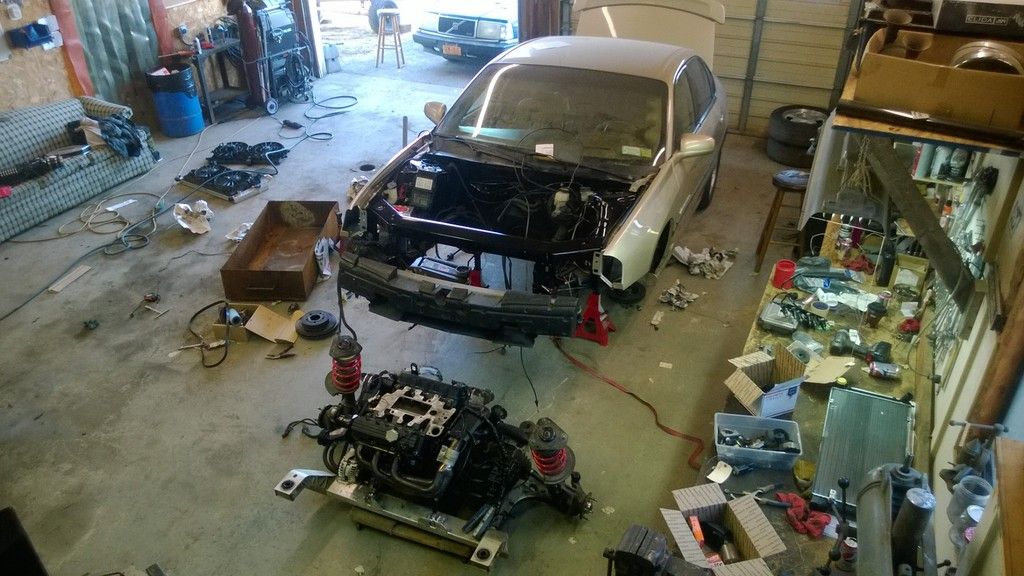
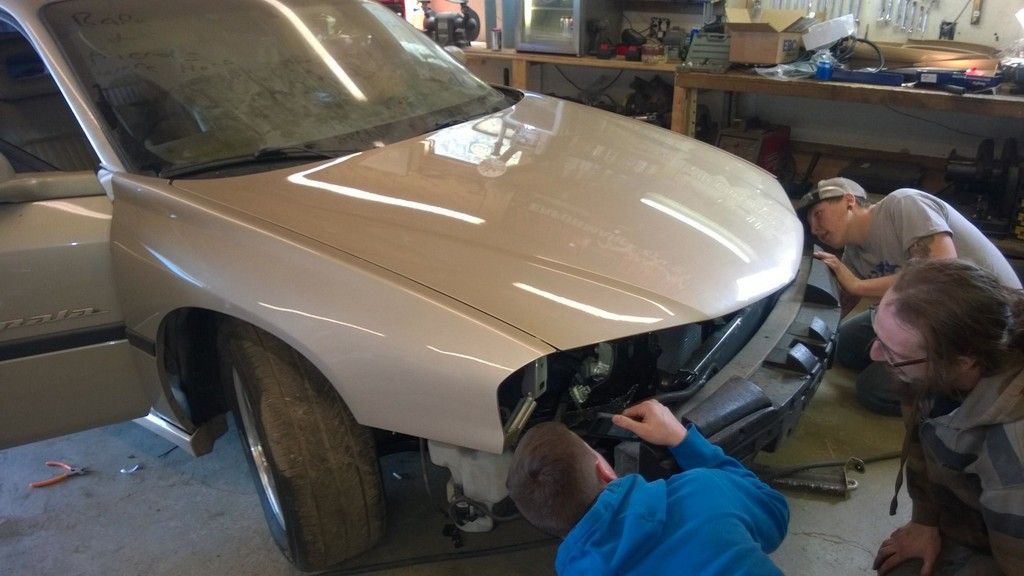
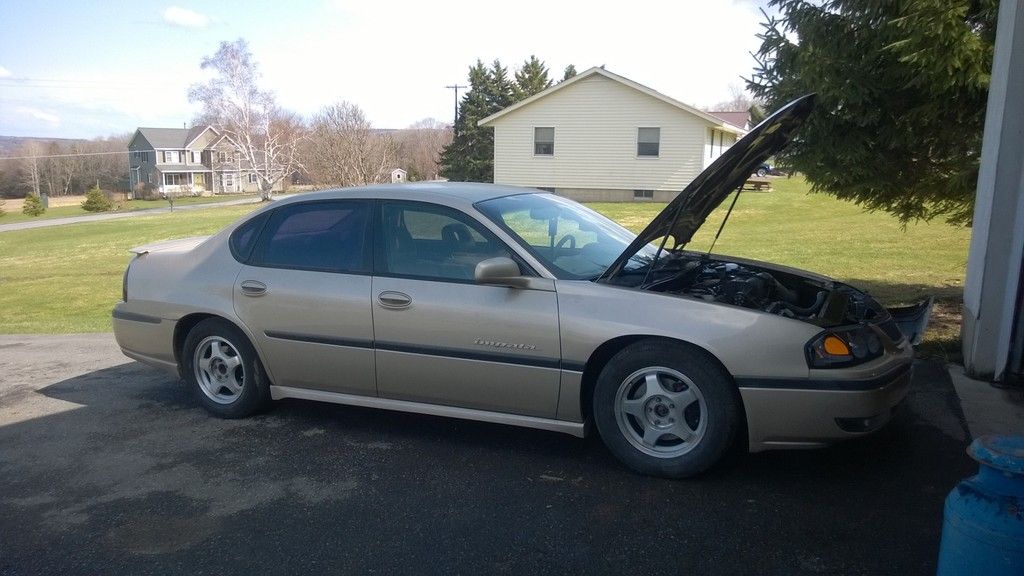
..And the long awaited mating of the subframe to the car.

WP_20150412_18_28_09_Pro.jpg

WP_20150412_18_29_30_Pro.jpg

WP_20150412_21_05_44_Pro.jpg


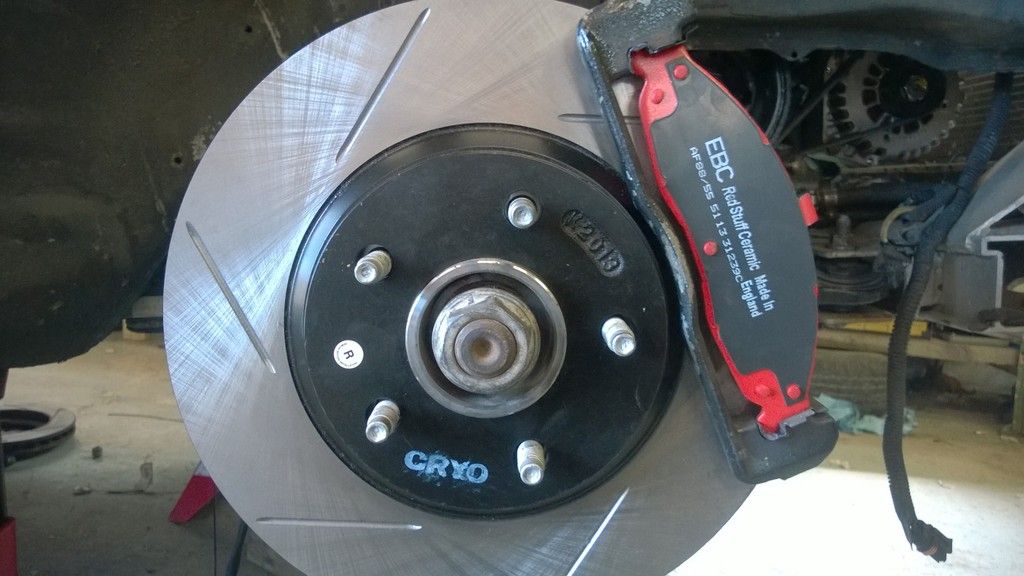
Finished the brakes and got it sitting on all four tires again. Note to self: BLEED THE BRAKES BEFORE DRIVING

WP_20150414_13_17_09_Pro.jpg


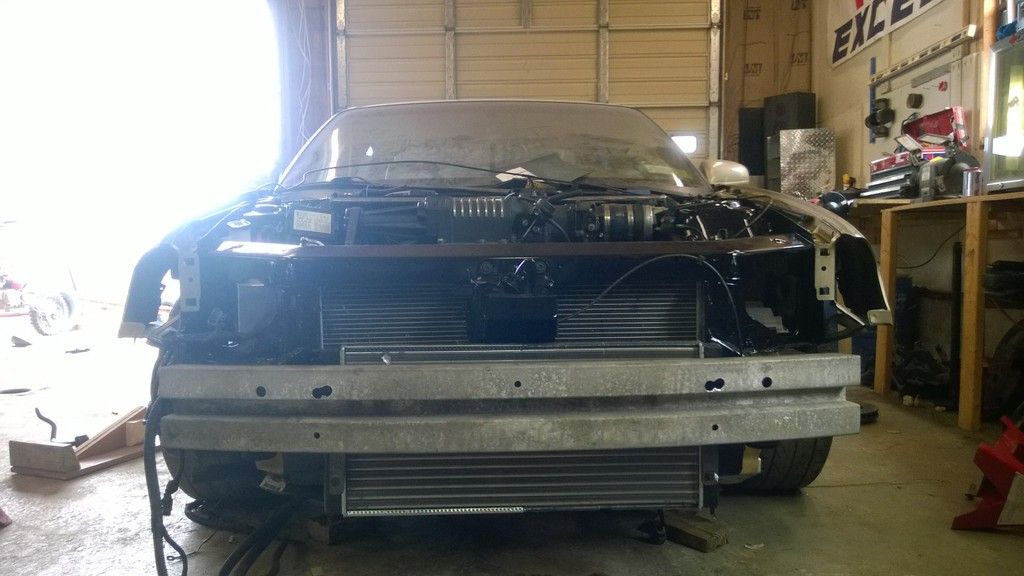
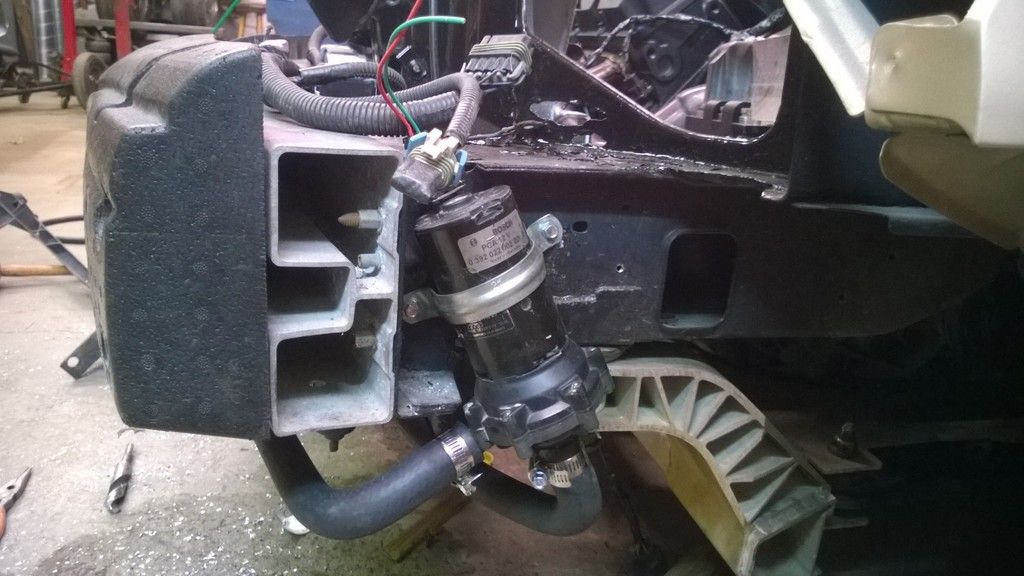
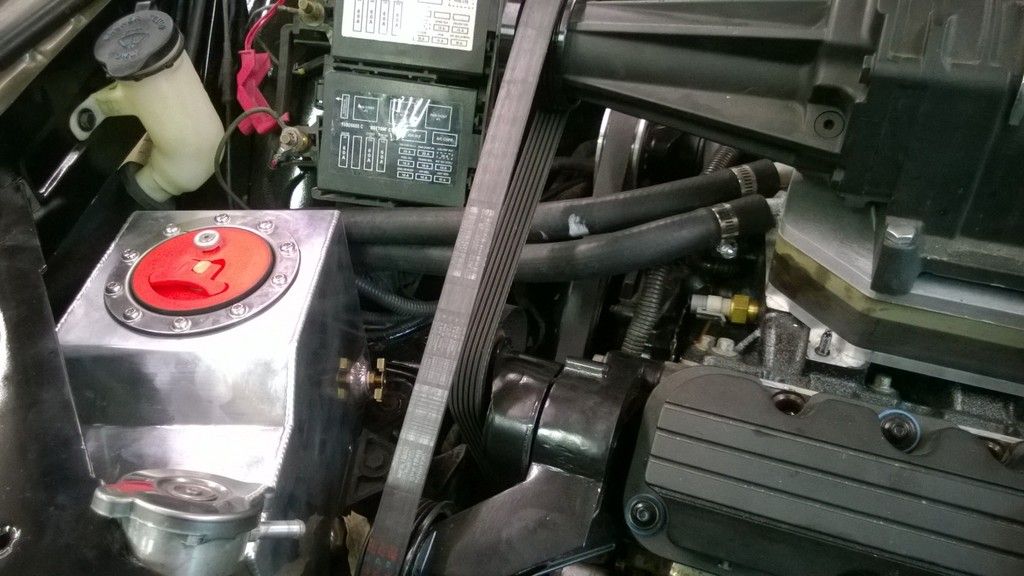
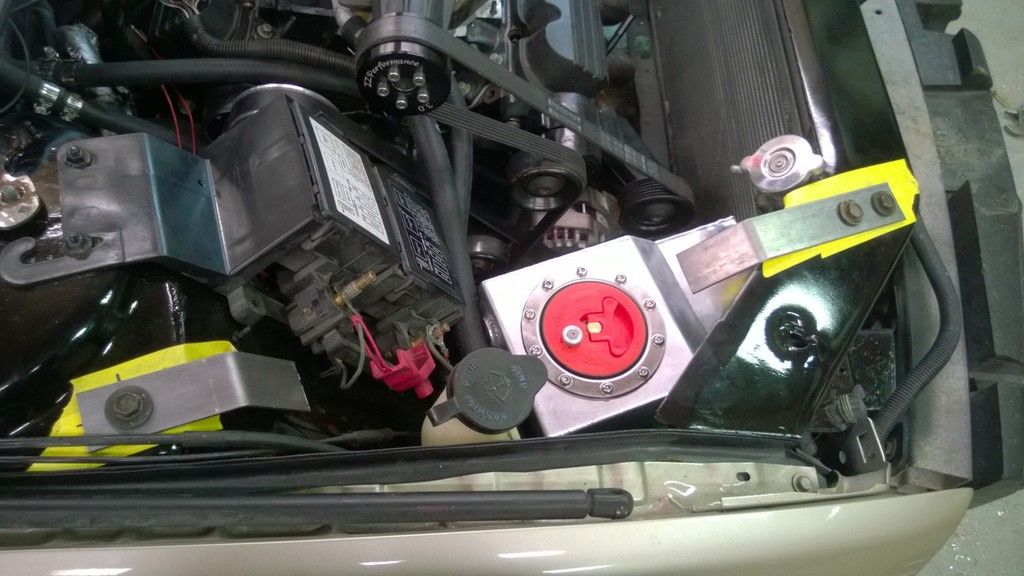
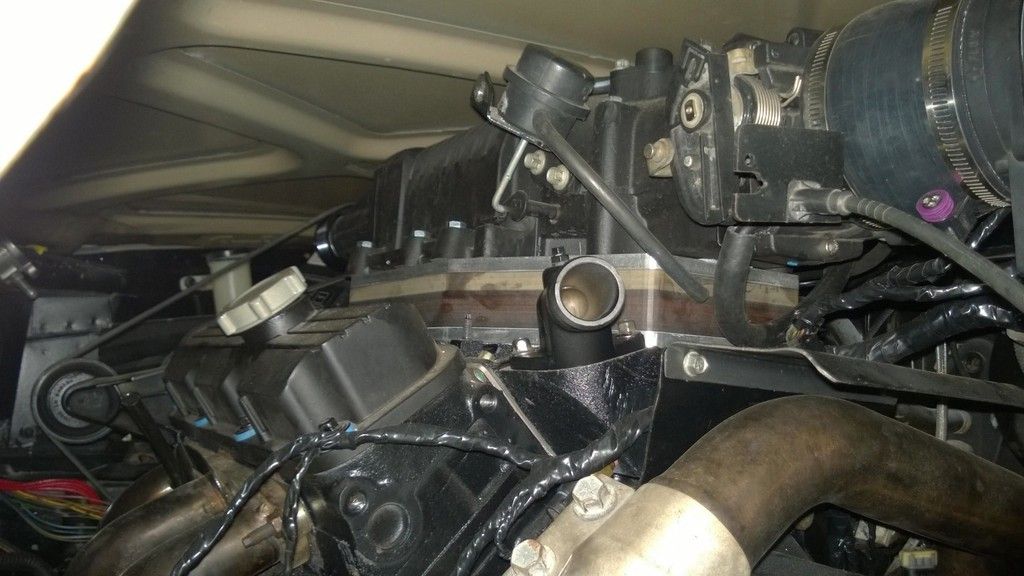
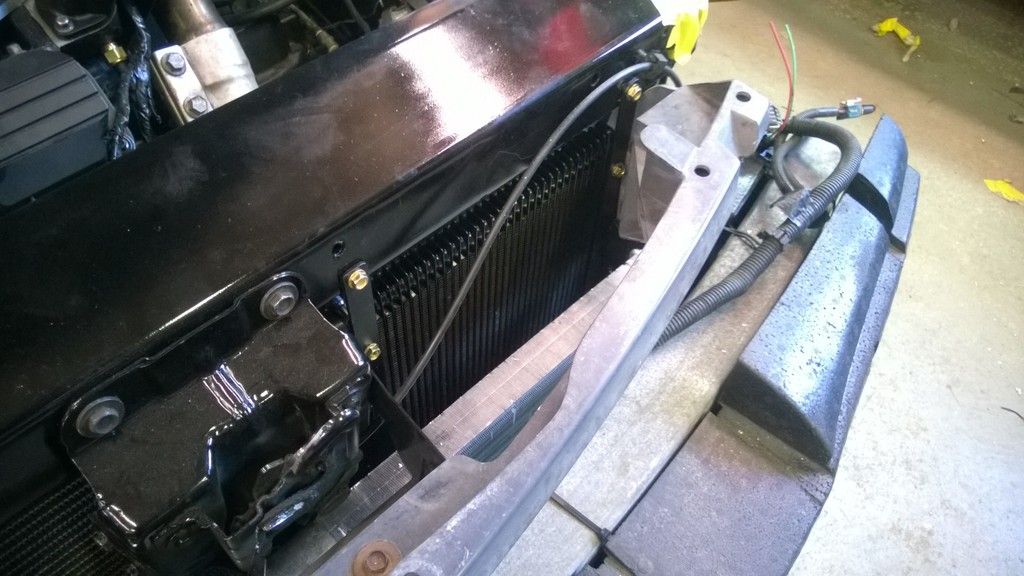
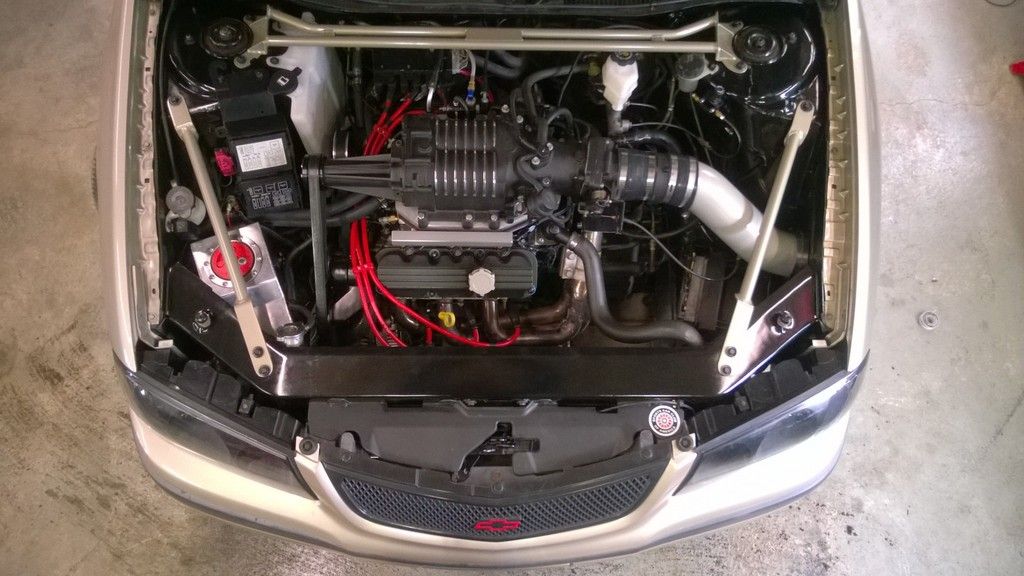
Mounted the heat exchanger and pump. Almost finished plumbing everything in. Had to plug the holes that were in the IC reservoir and tig in some new bungs on the side of it. Trashed the 5/8 fittings and threaded it for 3/4 so it won't hinder flow. May have to move some of the lines around but won't know until I get the bumper on.

WP_20150414_15_29_19_Pro.jpg

WP_20150414_15_56_34_Pro.jpg

WP_20150414_19_54_40_Pro.jpg

WP_20150414_19_56_24_Pro.jpg

WP_20150414_19_59_15_Pro.jpg


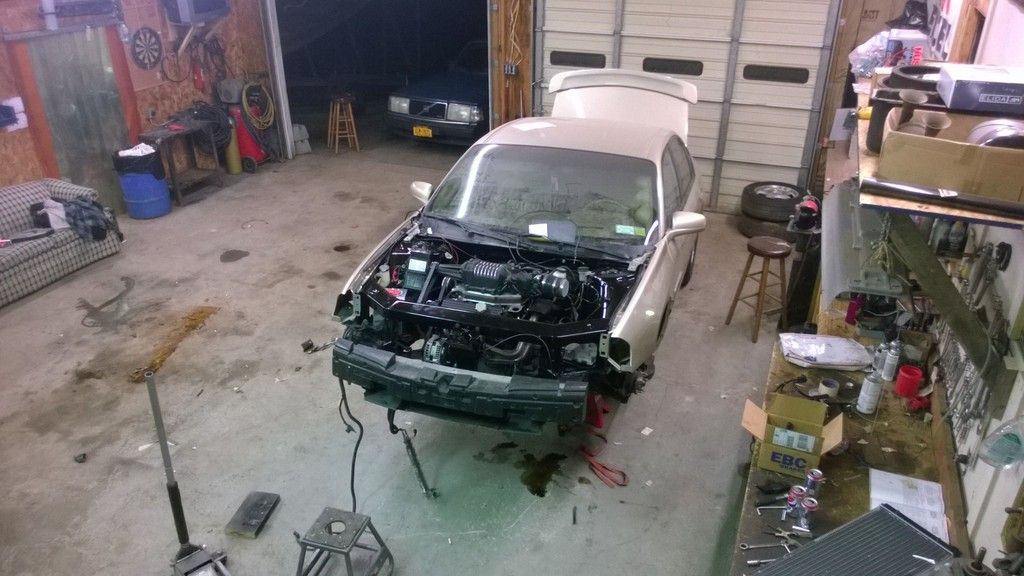
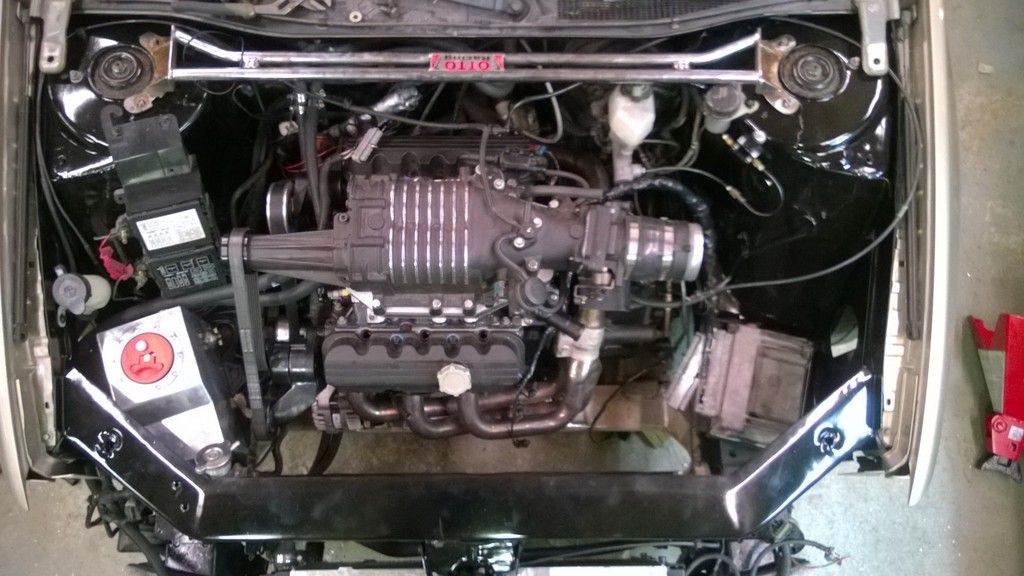
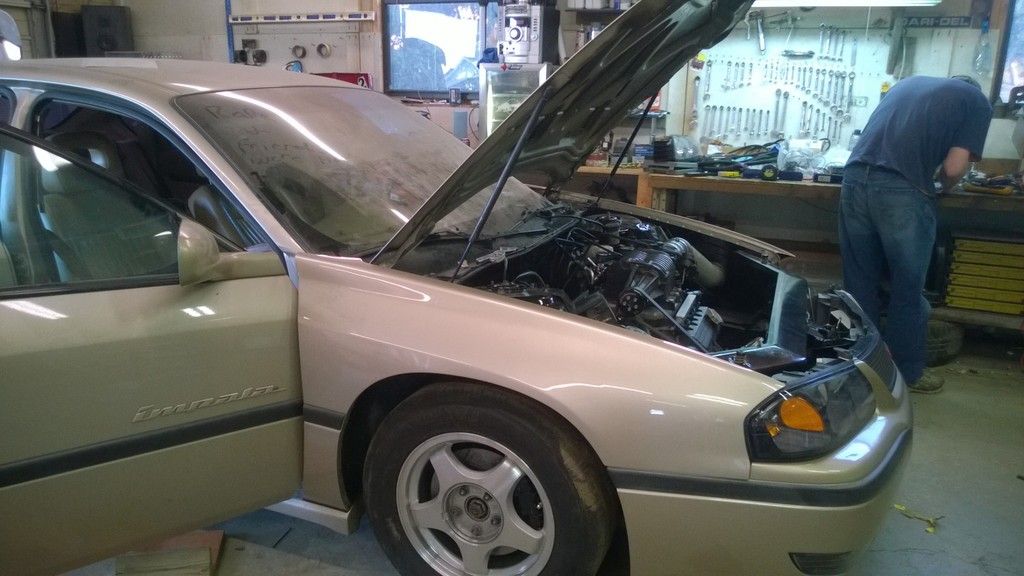
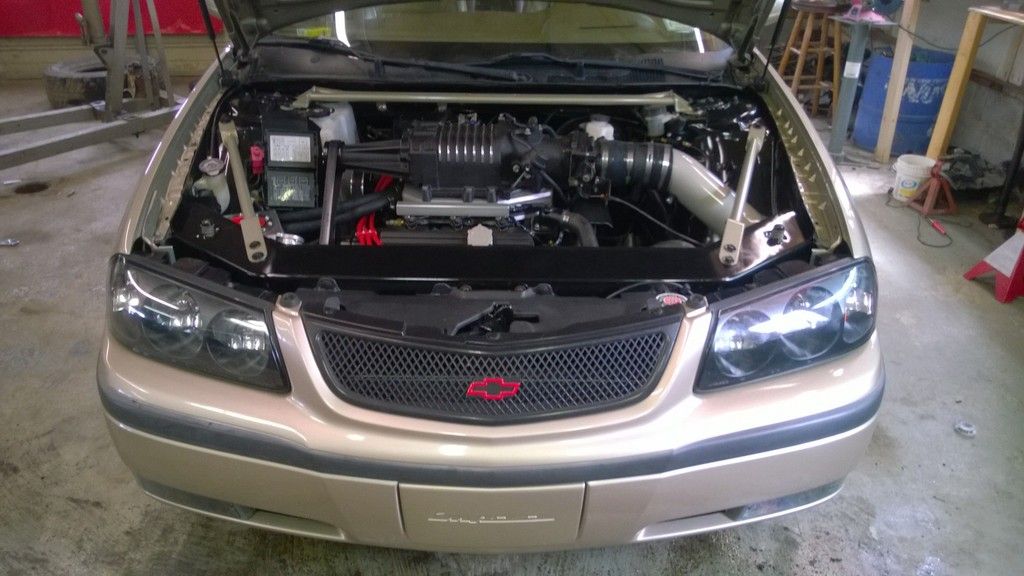
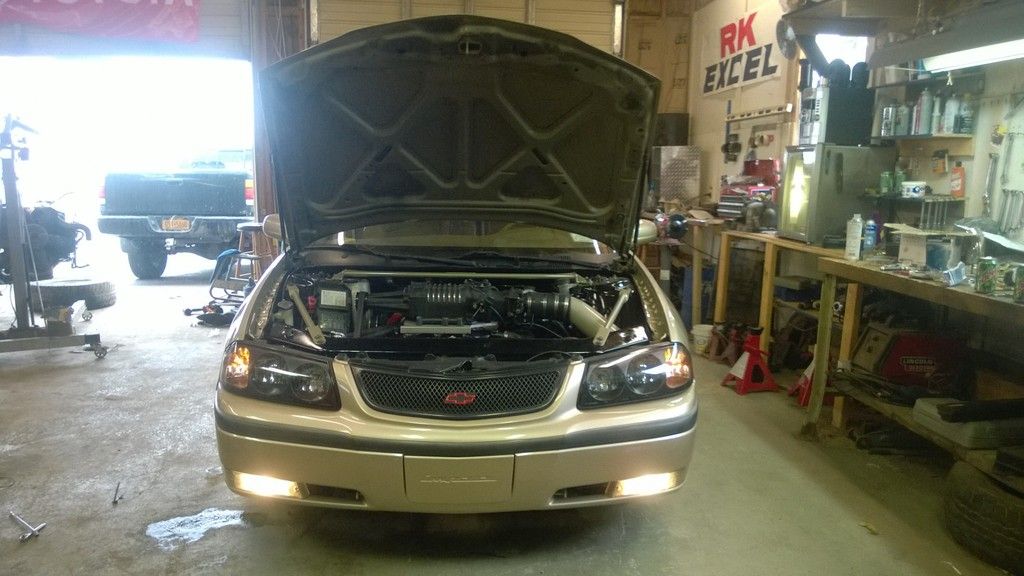
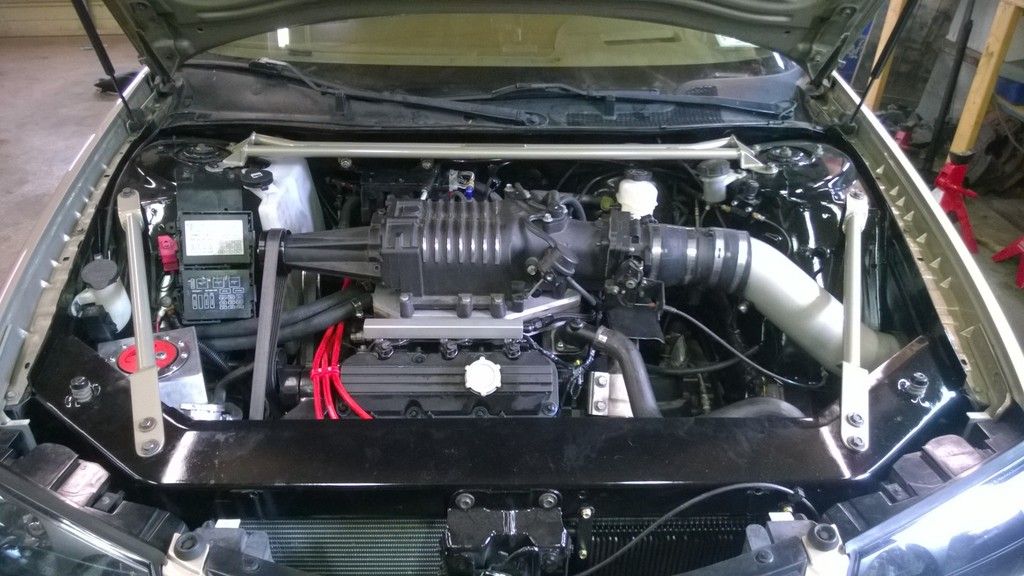
I think its looking pretty good so far. Can't wait to take this same picture when its finished.

WP_20150414_20_10_51_Pro.jpg


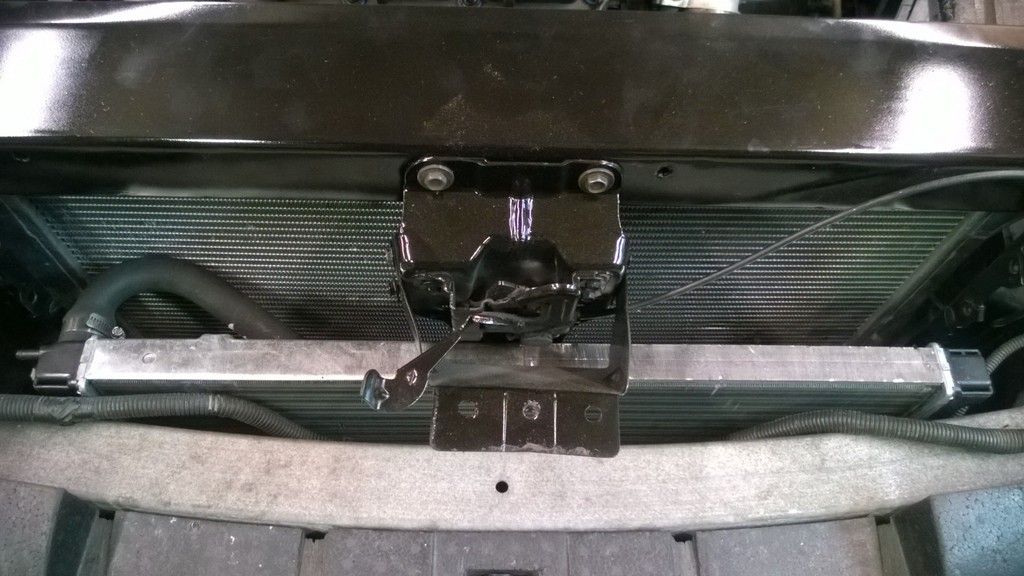
Started fabbing some new diagonal braces. They're going to be equal length. When nobody makes it the way you want it, you make your own.

WP_20150414_21_13_34_Pro.jpg

WP_20150414_21_20_26_Pro.jpg


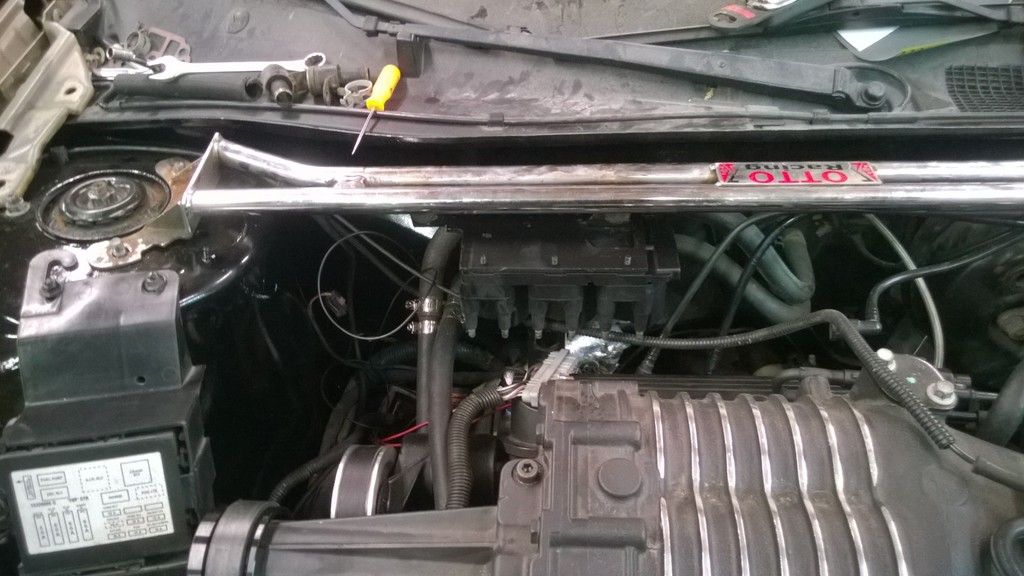
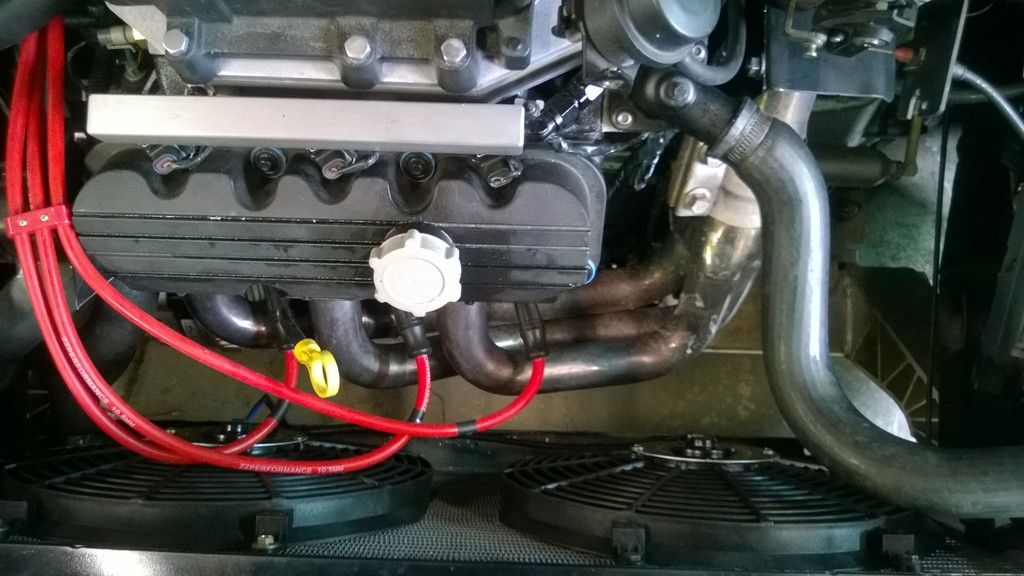
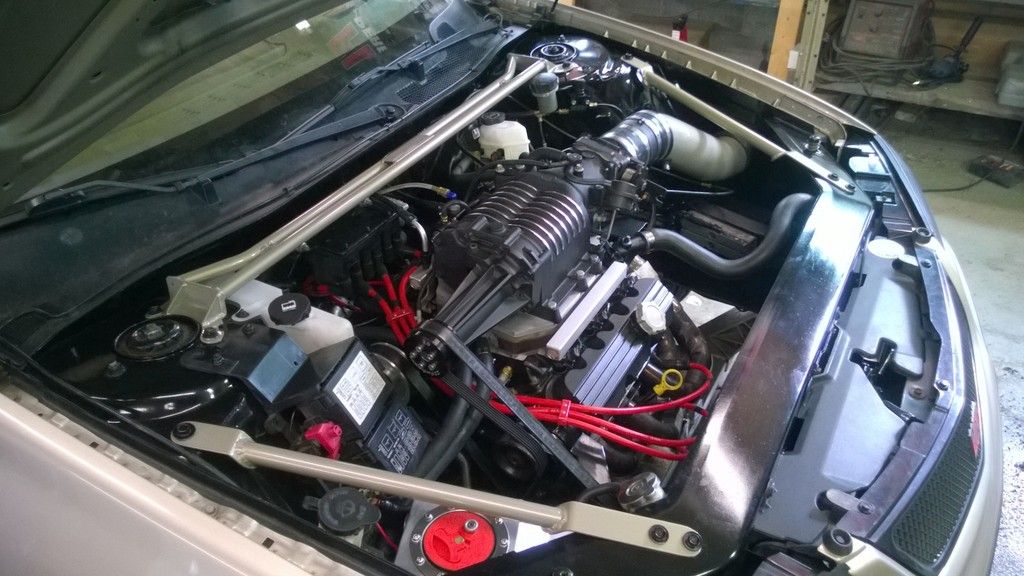
Coil packs mounted to the strut tower brace, up and out of the way. Lengthening the ICM harness is going to be fun.....

WP_20150414_21_55_59_Pro.jpg


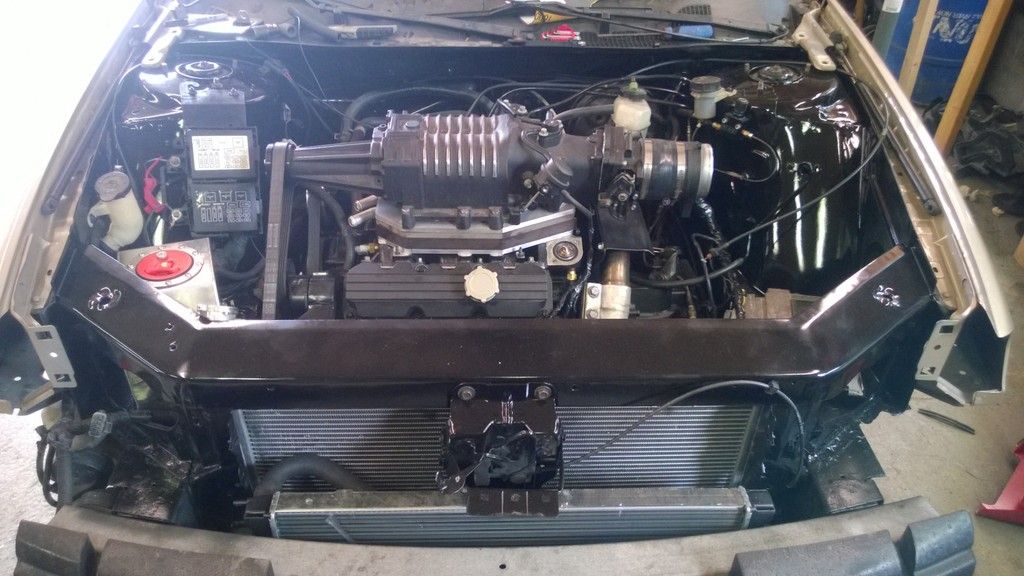
None of us thought the hood was going to close so it was a pretty big moment when it latched without a thud. Even with the engine rocked forward it has about 1/2" clearance from what we can tell. I did flip the throttle body adapter upside down, pretty sure it would have hit.

V__0738.jpg

V__AB98.jpg


All this plumbing and wiring is the most time consuming part of this project.


I've been working on the car like crazy, haven't got a chance to upload any pictures but I wanted to log on and say that I got it running today and drove it into town and back. Everything seems to be working well. Have a few bugs to sort out. Need to double check some of my wiring to the icm as I am getting a few codes. Clutch still slips but its the old one so that was expected. The real test will be if there is fresh fluid on it when I check it after a few miles. Also the cutout seems to be leaking. There is still some wiring to do for various things but at this point it is back to being a functional car. I'll have some pictures soon. Video on my instagram @outonthetiles2


Nice build... Cam sounds like a monster ... Sleeper 4door will surprise a few people after all the kinks are sorted out will you dyno her?
 
I do want to dyno it, but have no immediate plans to. Going to try to tune it myself if I can get the laptop to work.

Finally getting around to updating my thread with some pictures.
The car runs and drives. Clutch was slipping but after a few miles it seems to be holding much better. Found the cause of the CEL, had two white wires crossed in the ICM harness. Fixed that and now it runs great. At this point I'm considering the build a success. The only issues so far are the electric cutout doesn't close all the way and the downpipe hits the firewall lightly. Both easy things to fix.
Jim came over and helped with a bunch of wiring and crap. Was feeling overwhelmed that day, it was a huge help. Thanks man.
WP_20150418_19_10_10_Pro.jpg


Overkill power steering cooler. Had a 9c1 one in there before but it would not fit with the IC heat exchanger the way it mounted so I got this one and made brackets for it.
WP_20150416_15_14_04_Pro.jpg


The Regal fans I had before wouldn't fit with the engine rocked forward, so I bought a set of '08 Impala SS fans as they are around 2" thinner. Got them up and the shroud was actually smaller than the radiator and it had no provisions to mount it to my ZZP oversized radiator. Bought 2 14" Mishimoto slim fans and mounted them in. They give me plenty of clearance and seem to work well.
WP_20150423_11_07_52_Pro.jpg


First drive after the new build.
WP_20150421_15_26_54_Pro.jpg


Powdercoated braces in the oven. When I picked these up they were still warm from the oven. Thanks Mike!
V__37BE.jpg


And the somewhat finished product, needs a good detail:
WP_20150424_11_37_25_Pro.jpg
WP_20150424_11_36_43_Pro.jpg
WP_20150424_11_34_51_Pro.jpg
WP_20150423_17_09_03_Pro.jpg
WP_20150423_11_00_11_Pro.jpg
 
Big fan of the alt. relocate./idler setup on there.

Would your buddy or you be interested in making a secondary setup?


That engine bay.... Nicely done! Way to represent the Impala's. Looks a lot like mine, but with less rust, and more power, much better handling....I hate your car. :th_bangheadonwall:
 
Back
Top