DOUGLASMELTER
New member
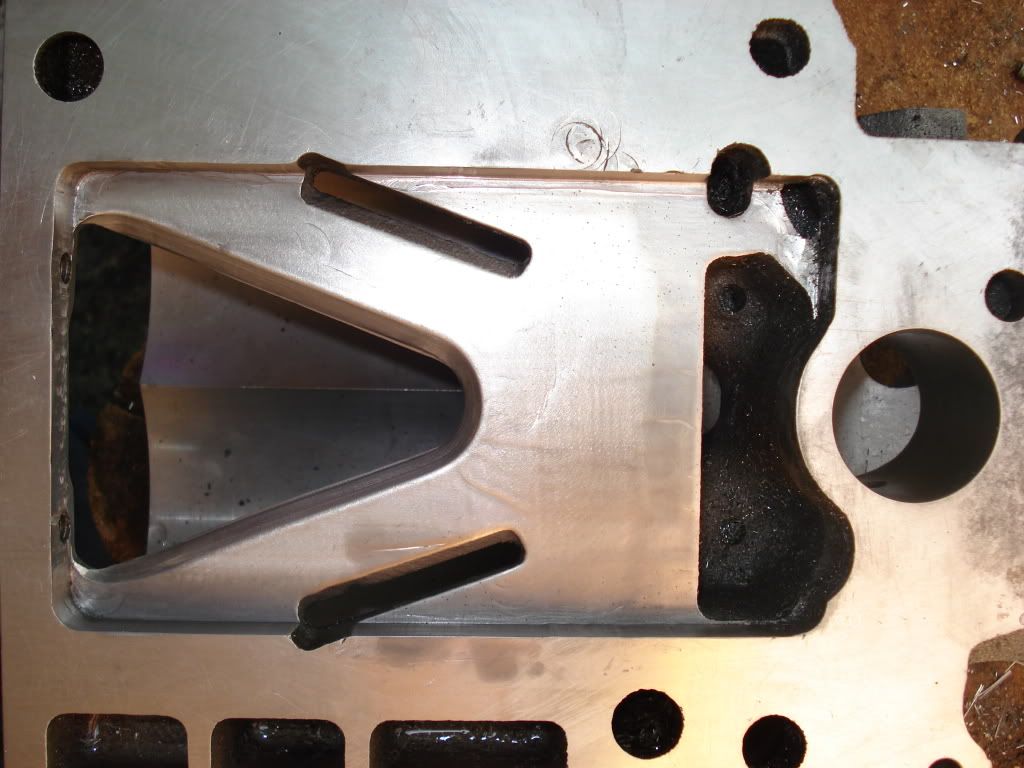
gonna port my supercharger...anyone got specs for how far i can go. using my dremel here and done want to remove too much material.
Last edited:

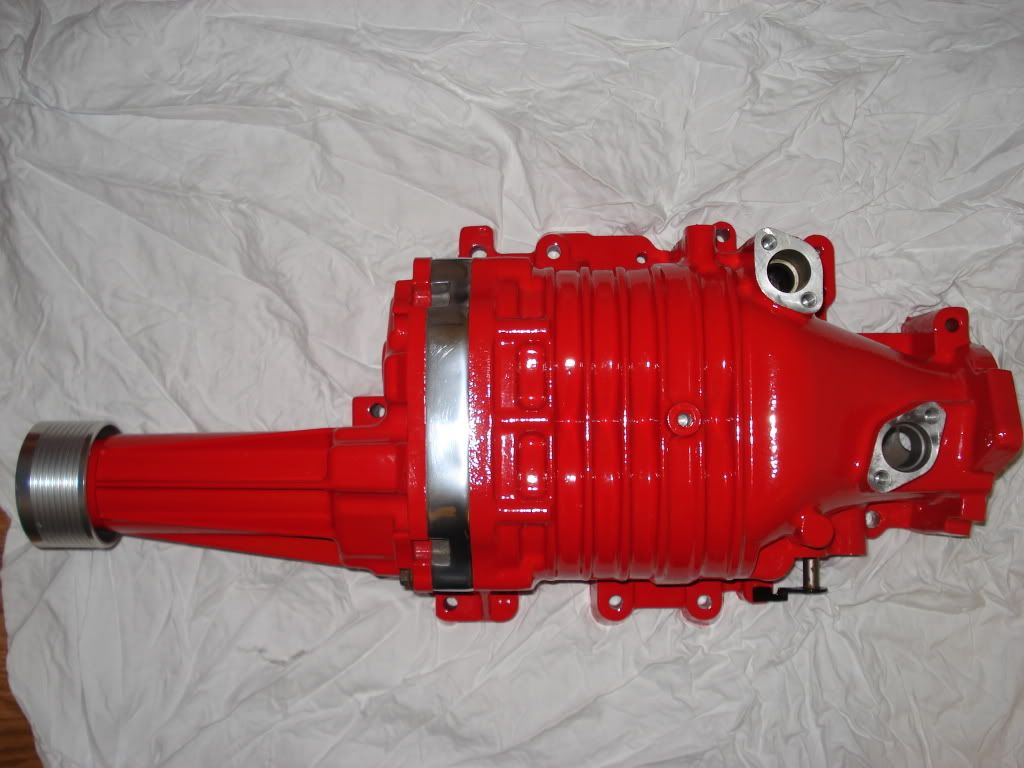
did you do the powdercoating yourself in the above pics(the red one) that looked great!! and it wouldn match my car........Where is it? lol
Im working on one today. Just depends on your tools and skill as to how long it takes. A complete outlet like that was done in 20 minutes with a router. Dremel, not so much lol.
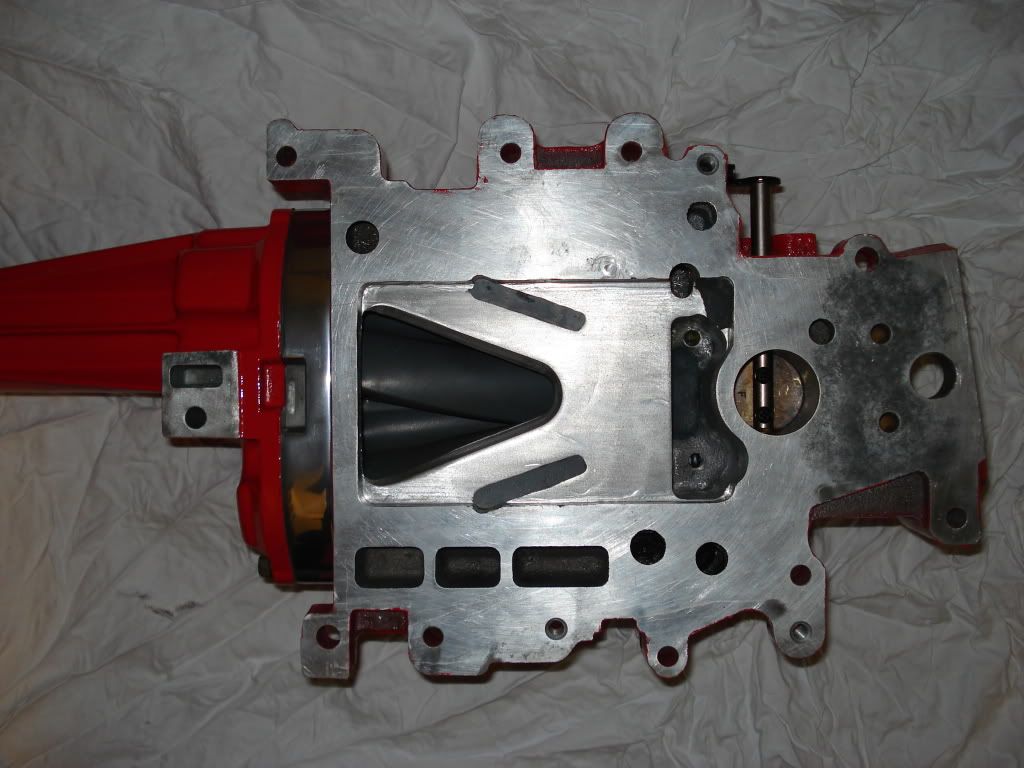
Don't forget to cut the gasket to match the larger openings, too...
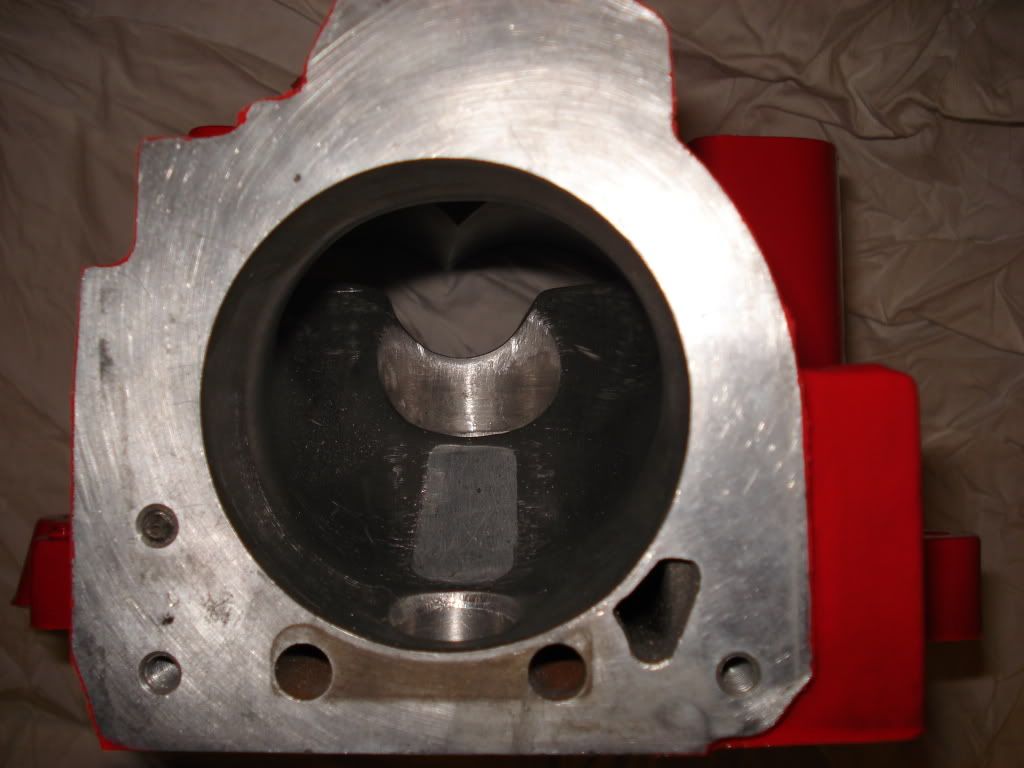
hell ill do this too then....anyone got pics of what i need to do to port my limdont take out the H-bar unless your LIM is opened up to match it, intercooler or not.
Look at the one on ZZP's site, and copy that.
Its all about the inlet! the outlet work dont do crap unless you got an IC.

