gtpeddie
Active member
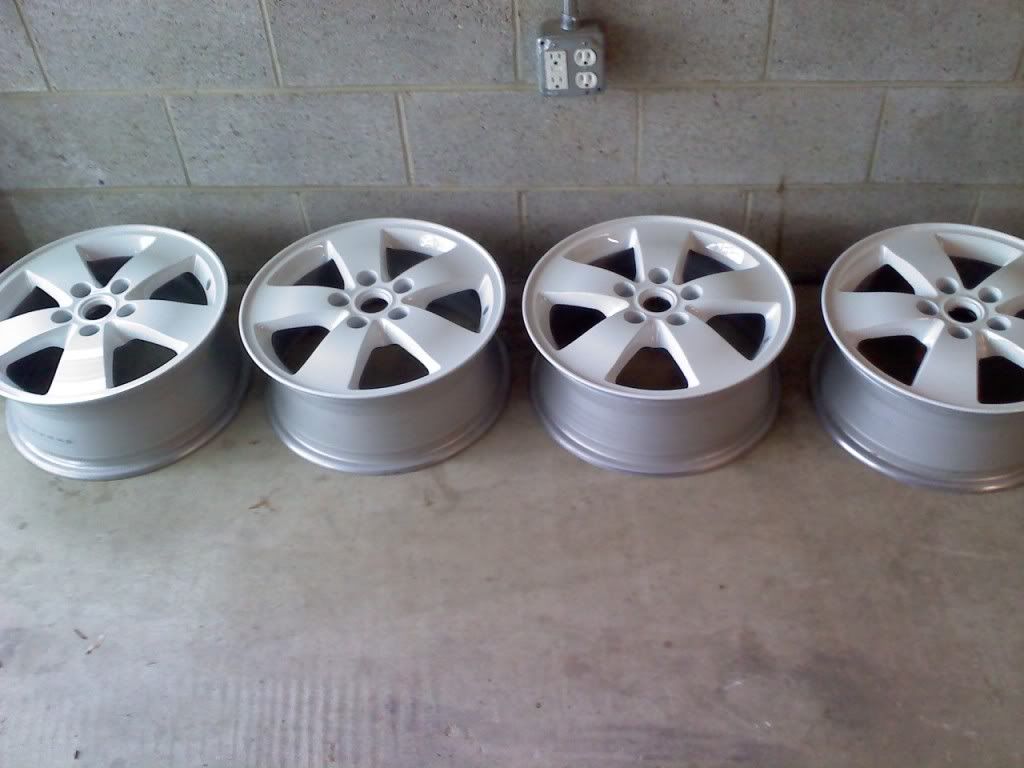
Hey every one this will be my second write up on here trying to do them all with pics so its easier to understand. Im going to show you how to properly paint/refinish your rims without having to take them some where to get powder coated.
Tools Needed
-HVLP Spray Gun with 1.3 to 1.6 Tip IMO
-Blue and Yellow Tack Cloths
-Exacto Knife/Razor blade
-1 1/2" Tape or 2" and 3/4" Tape
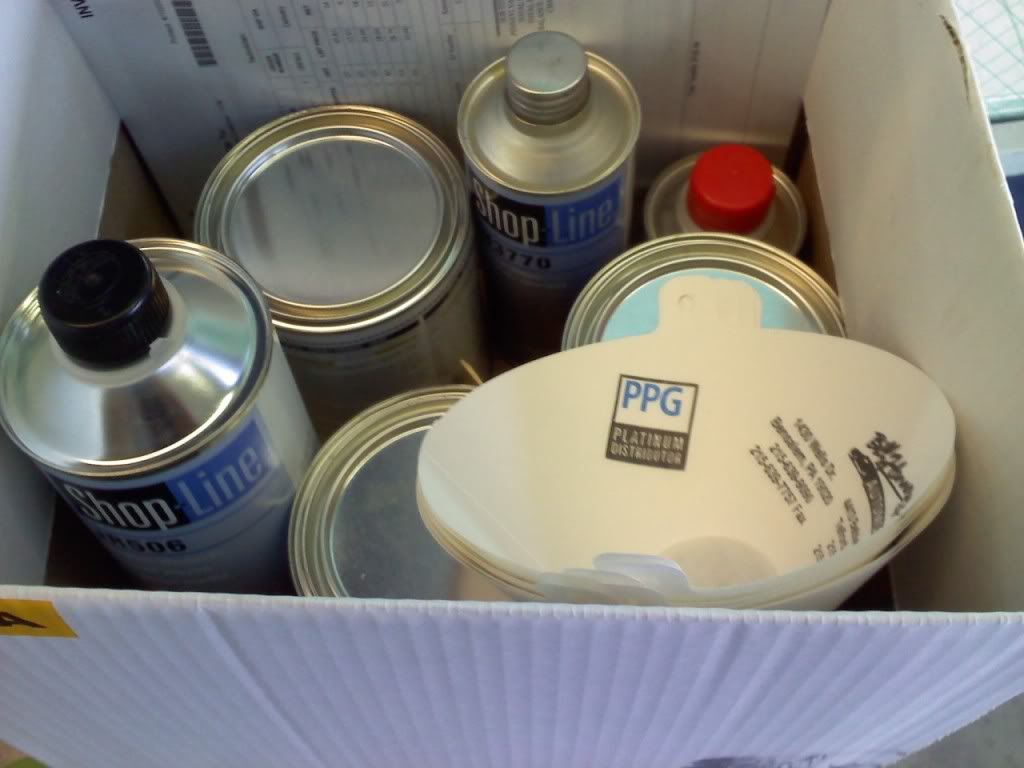
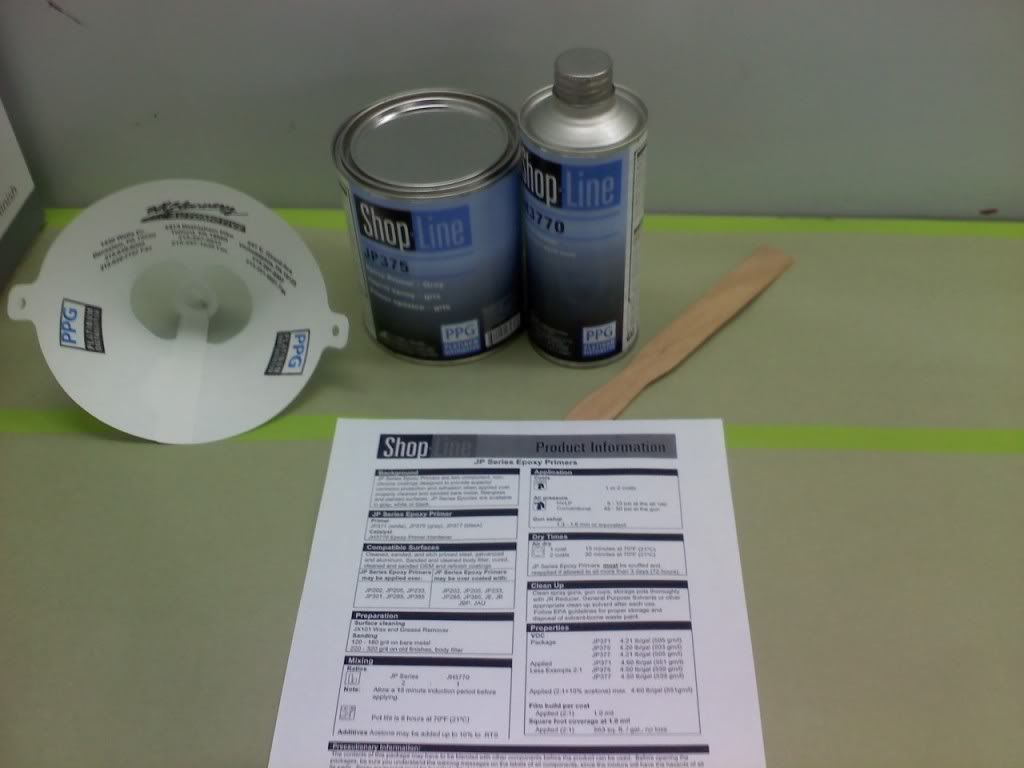
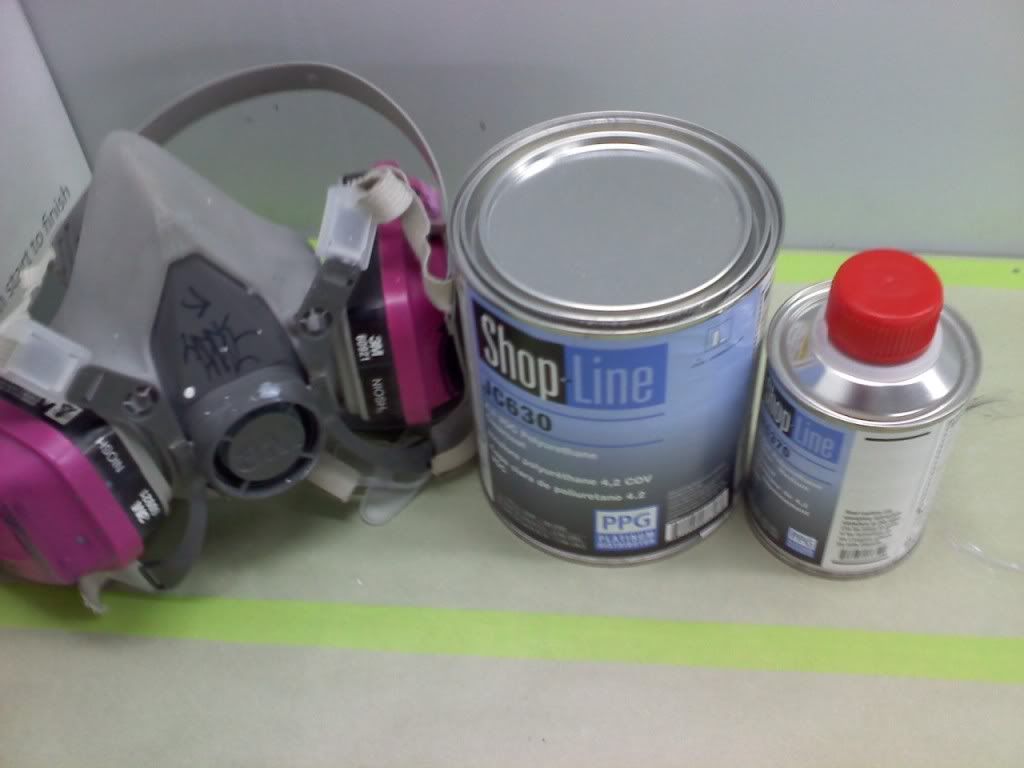
-Epoxy Primer and Catalyst
-Clear Coat and Catalyst
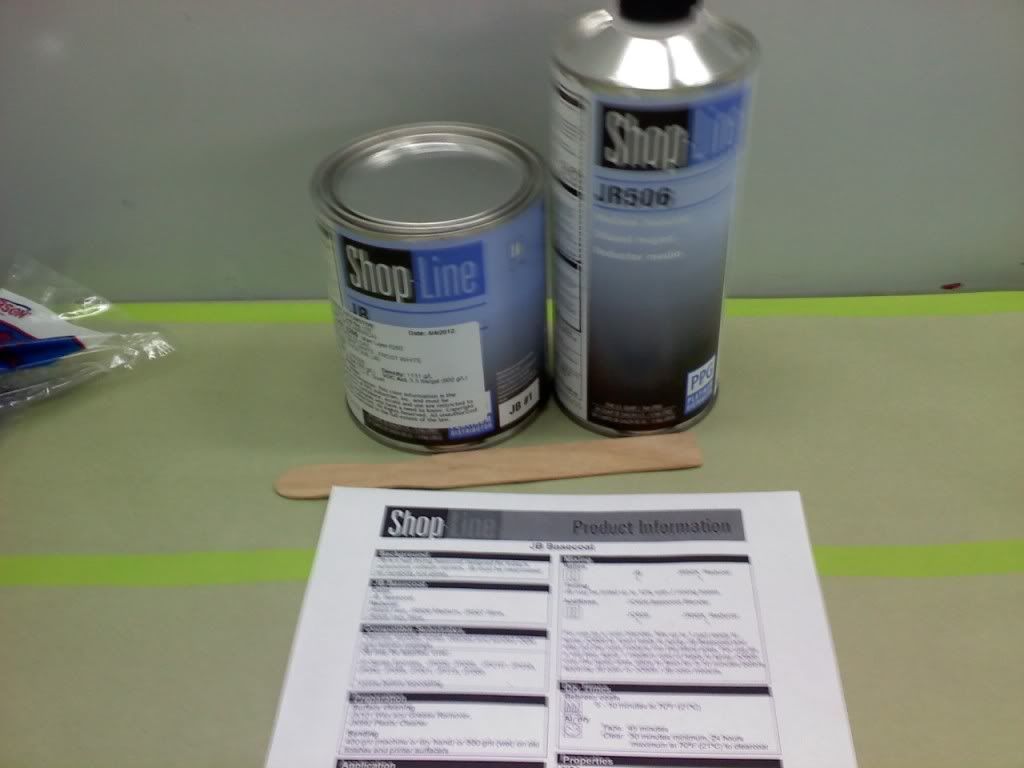
-Paint (of your choice) and Reducer
-White or Blue Masking Paper
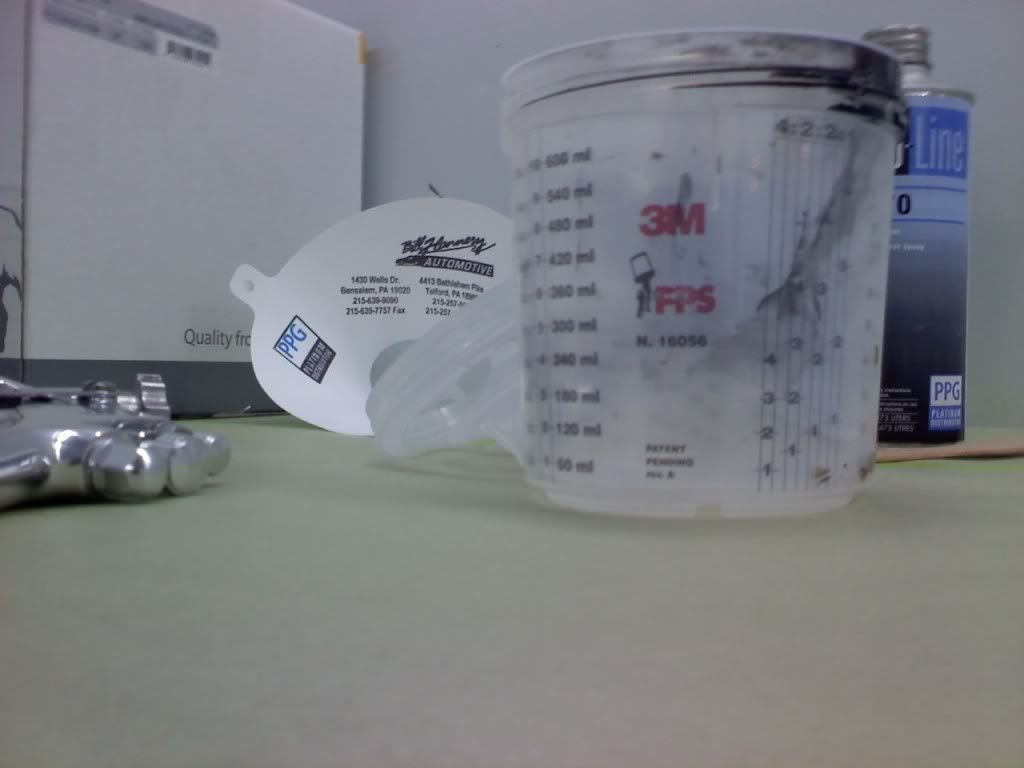
-Paint Mixing Sticks
-PPS (Paint Prep System) or Paint Strainers
-Red Scuff Pad or Green and yellow (optional)
-Lacquer Thinner
-Sand Paper 220 Grit Wet or Dry IMO
-Wax and Grease Cleaner
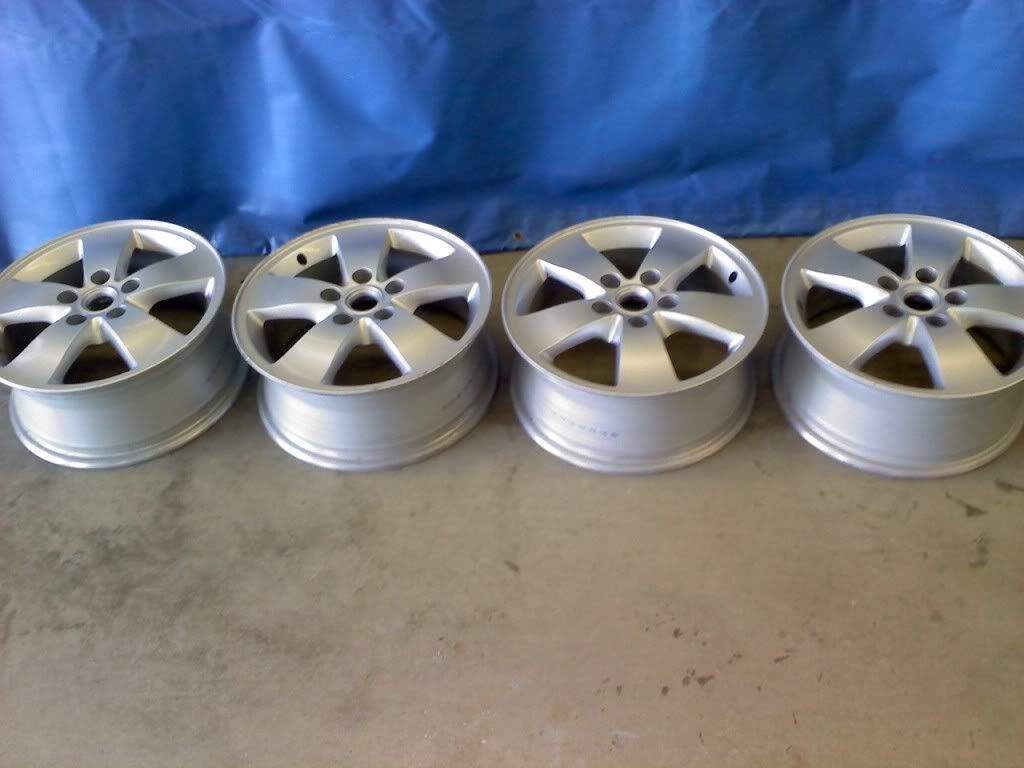
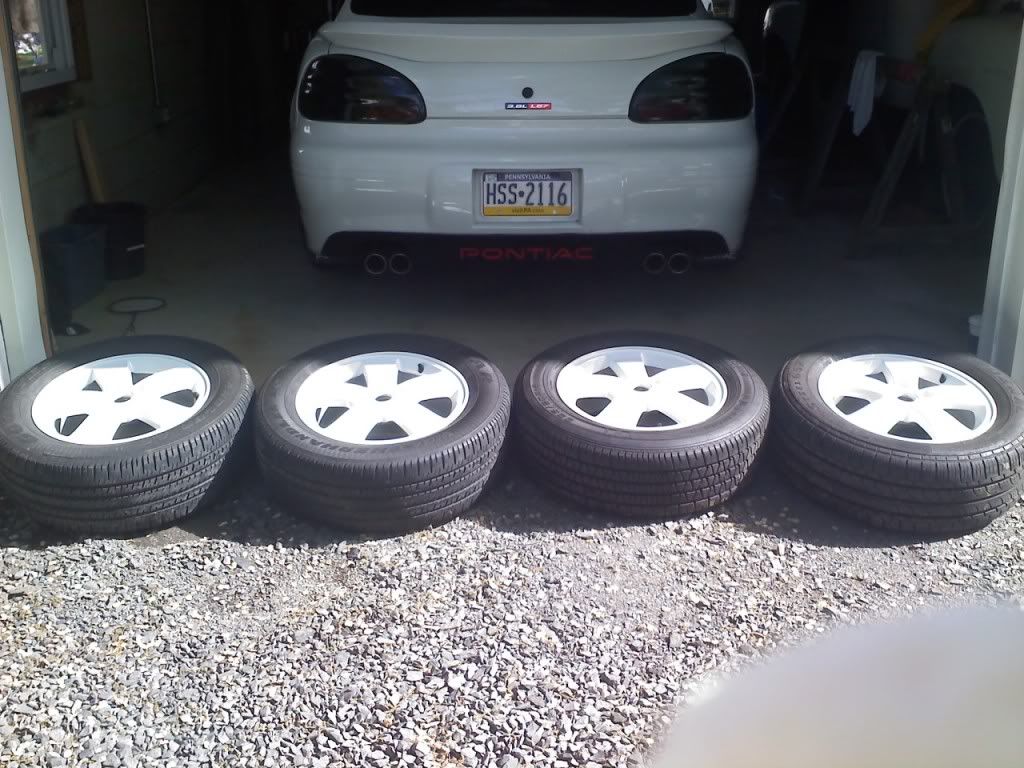
Removing Tires Etc.- Fist thing you want to do is take your tire off of the rims and remove the valve steams, and wheel weights.


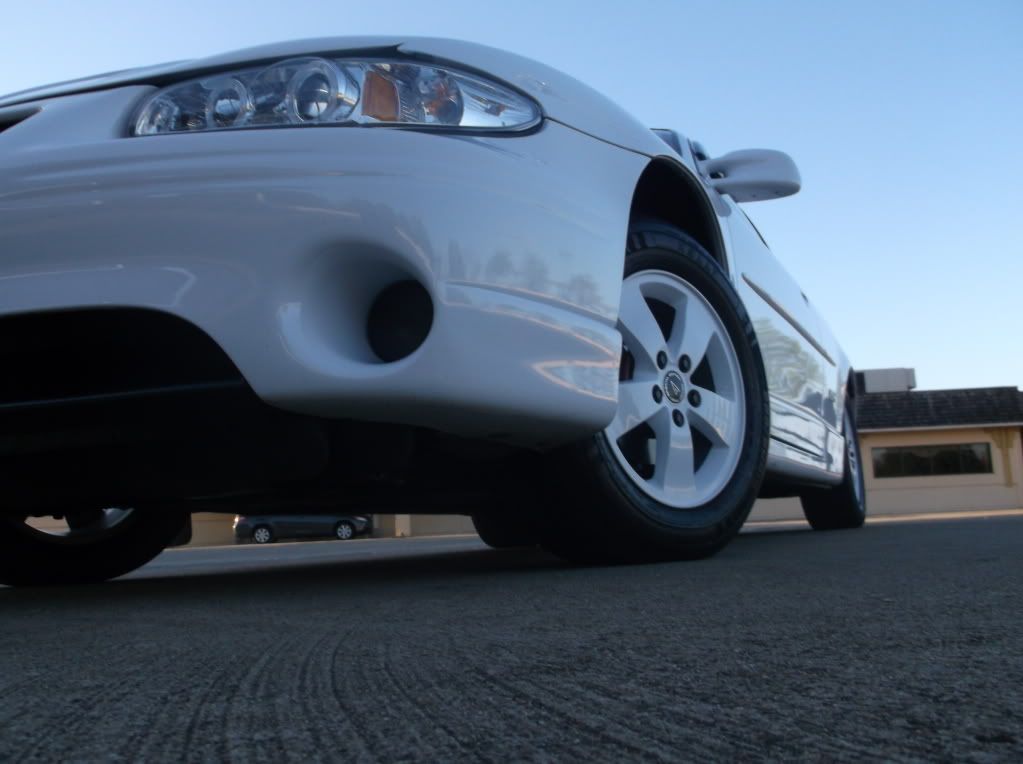
Cleaning-Then your next step is fully clean the rims, first use soap and water then depending on how dirty the wheel is you can use a RED or GREEN scuff pad with lacquer thinner and get the rest of the brake dust, dirt, and etc. off. If they look like this that should be good.
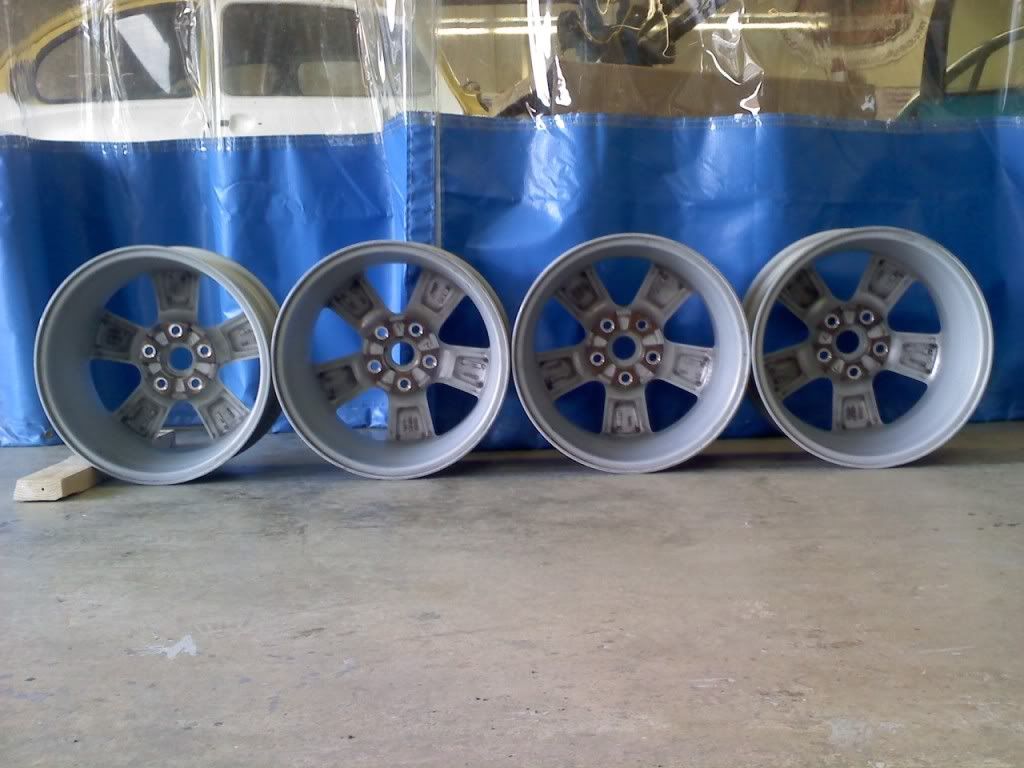
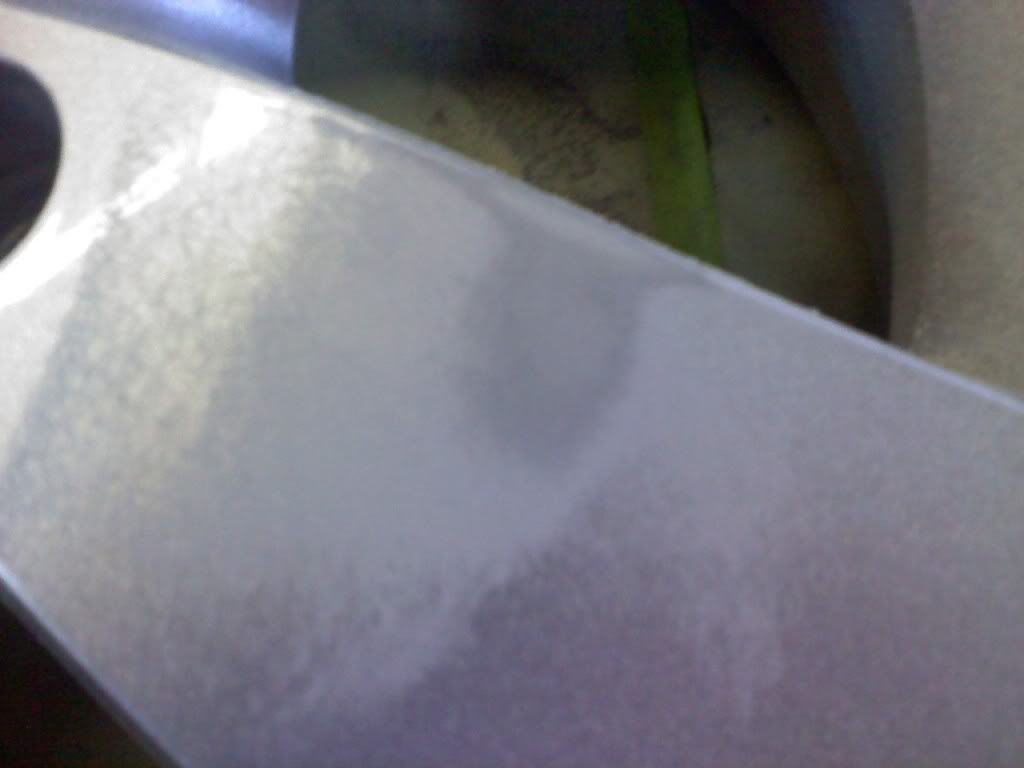
Sanding-Now moving on, sanding the rims is a very important process. I recommend using 220 wet if you are going to be priming you want your paint to adhere properly without seeing any sanding scratches. Make sure you properly feather edge your sanding out to avoid contour mapping and waviness. If you have any curb rash or anything like that you can use a DA sander with 80 grit and gently smooth out the area. Remember when sanding you don't need to sand all the old paint off all you are doing is trying to roughen up the area and get a uniform scratch pattern.
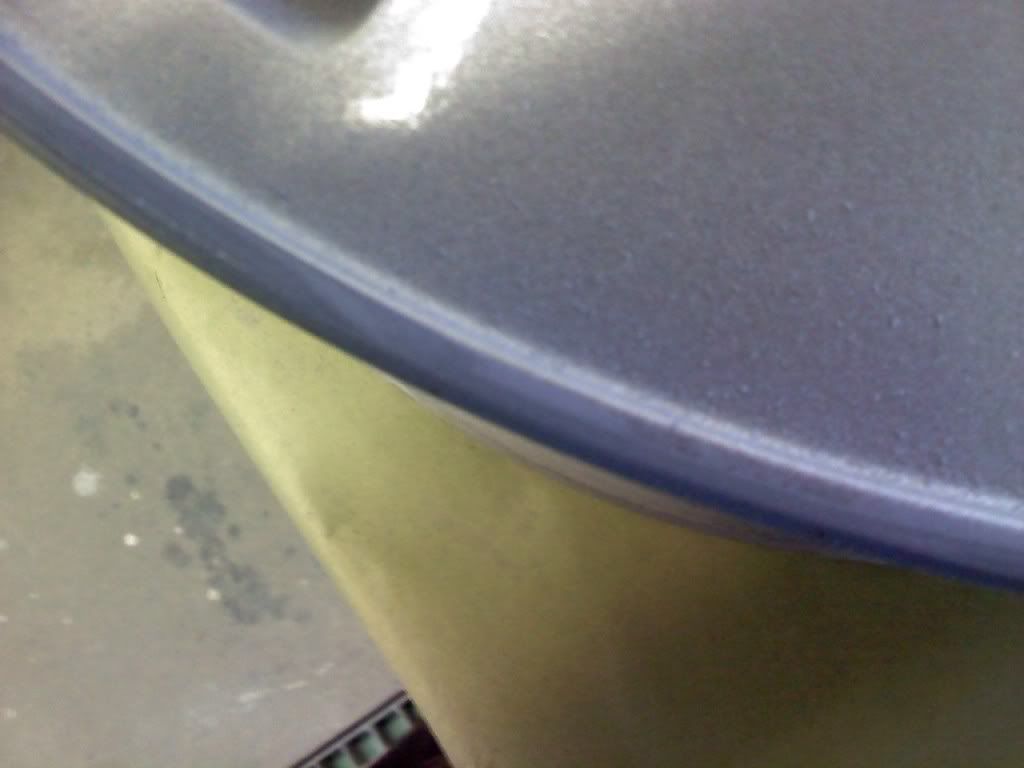
After sanding clean them with soap and water again to assure there is no sanding sludge left over on the wheel
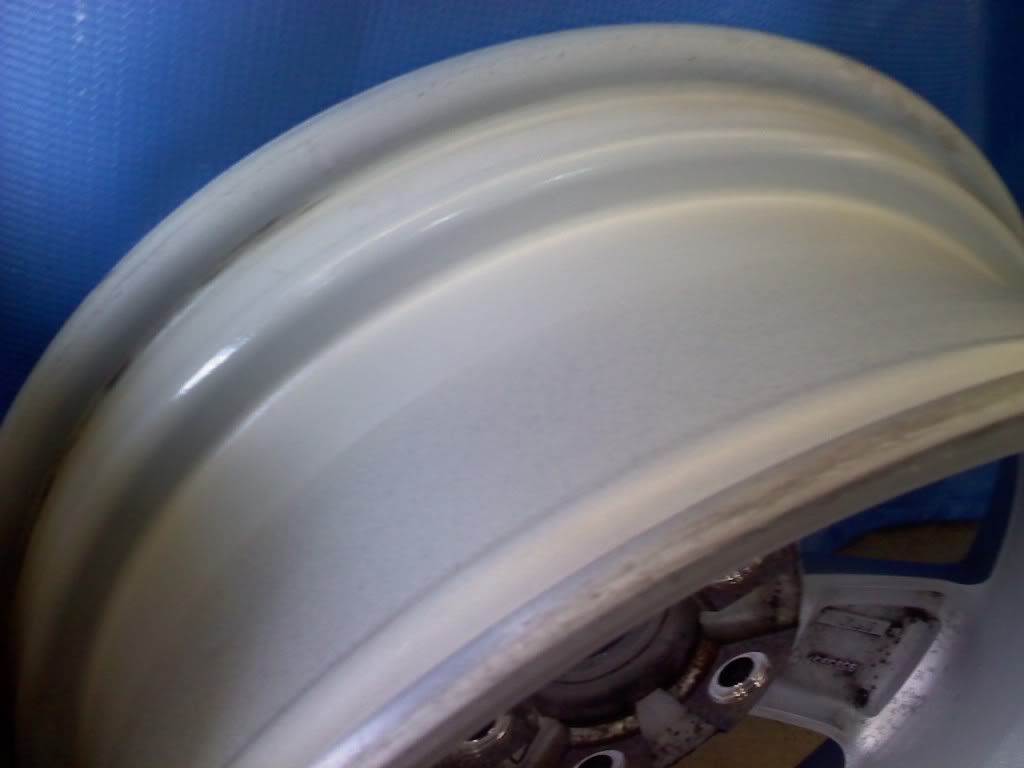
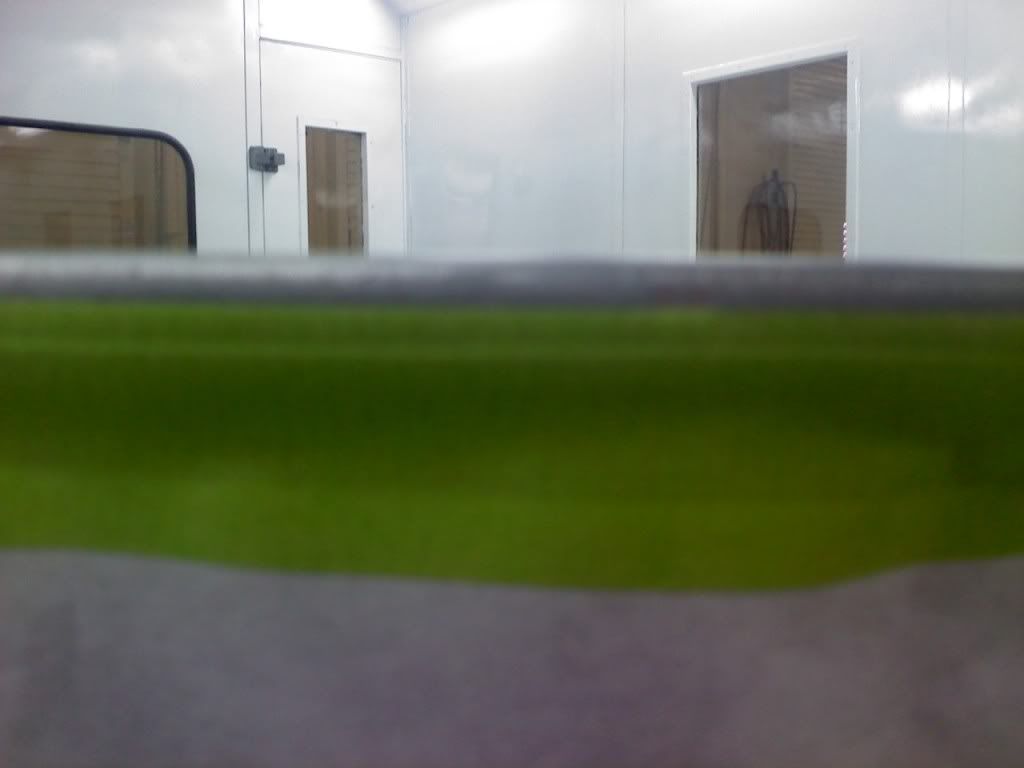
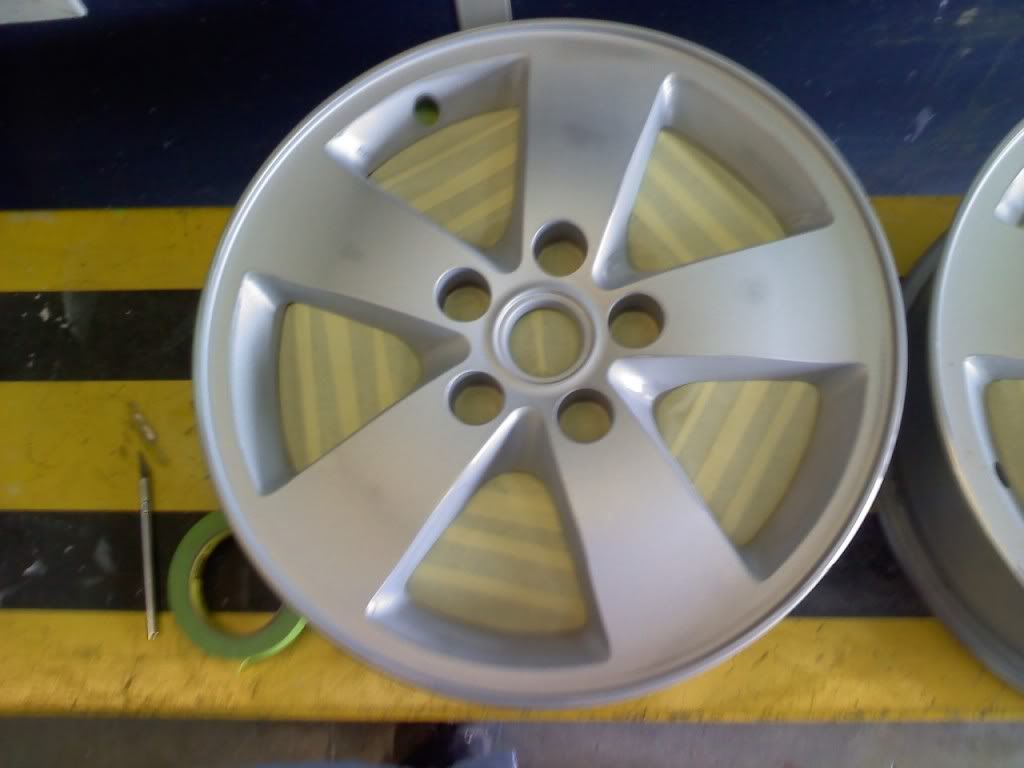
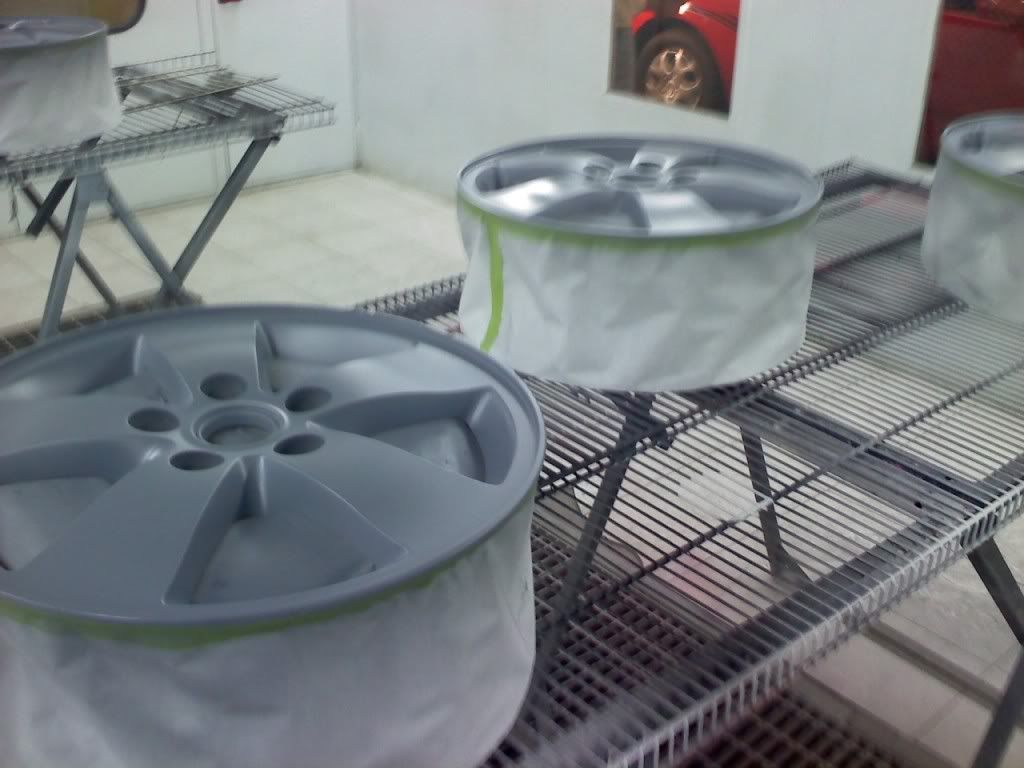
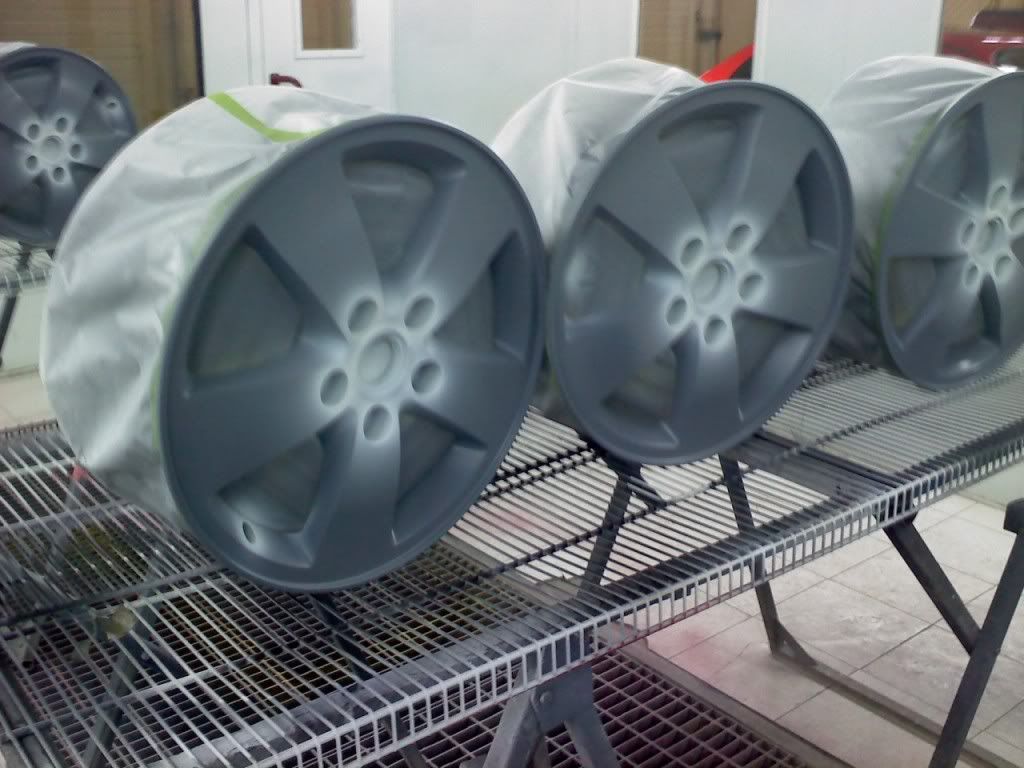
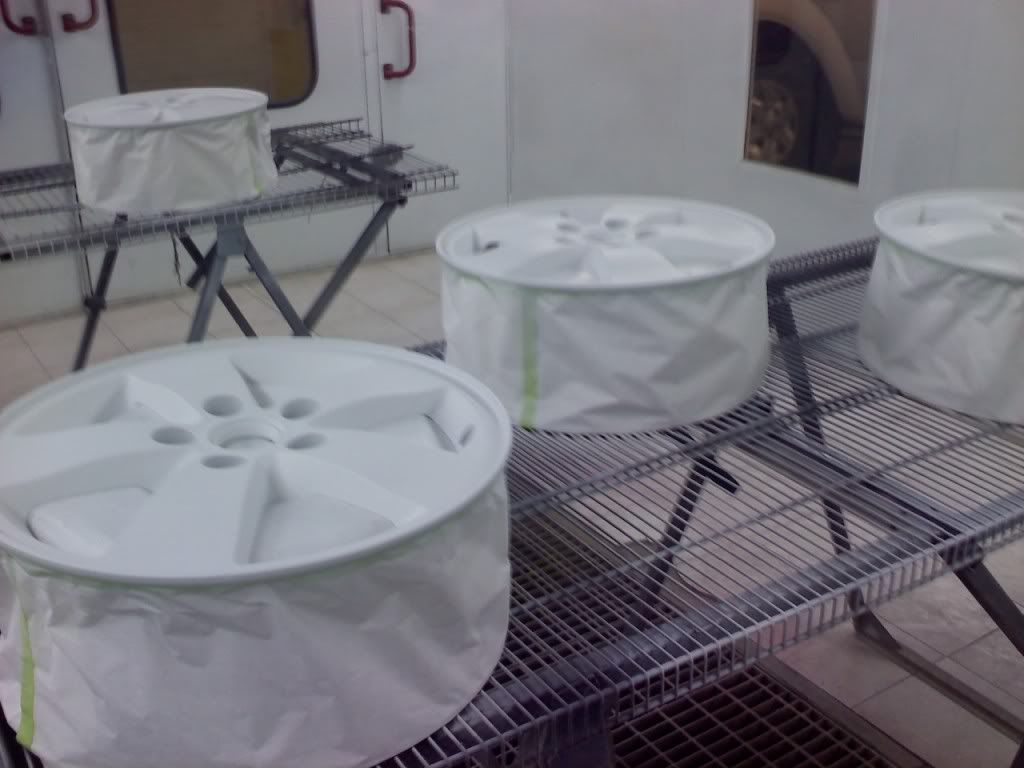
Taping-Now it is time to start taping, first use your 1 1/2" tape and tape out the back of the rim. Next you want to use your 3/4" tape and tape out a straight even line around your rims, then use white or blue masking paper NOT GREEN! green is primer paper. tuck the access paper under the wheel this will help. Now it the difficult part you need to tape off the lug nut and mounting wholes so you don't mess up torque specs and to avoid flaking.
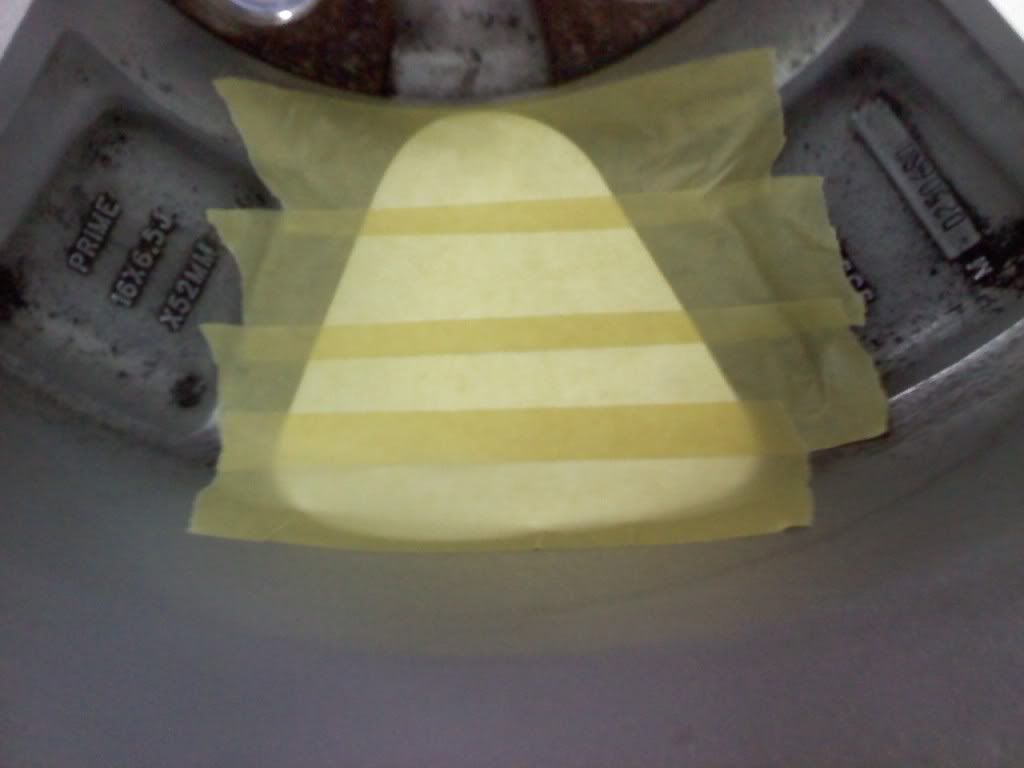
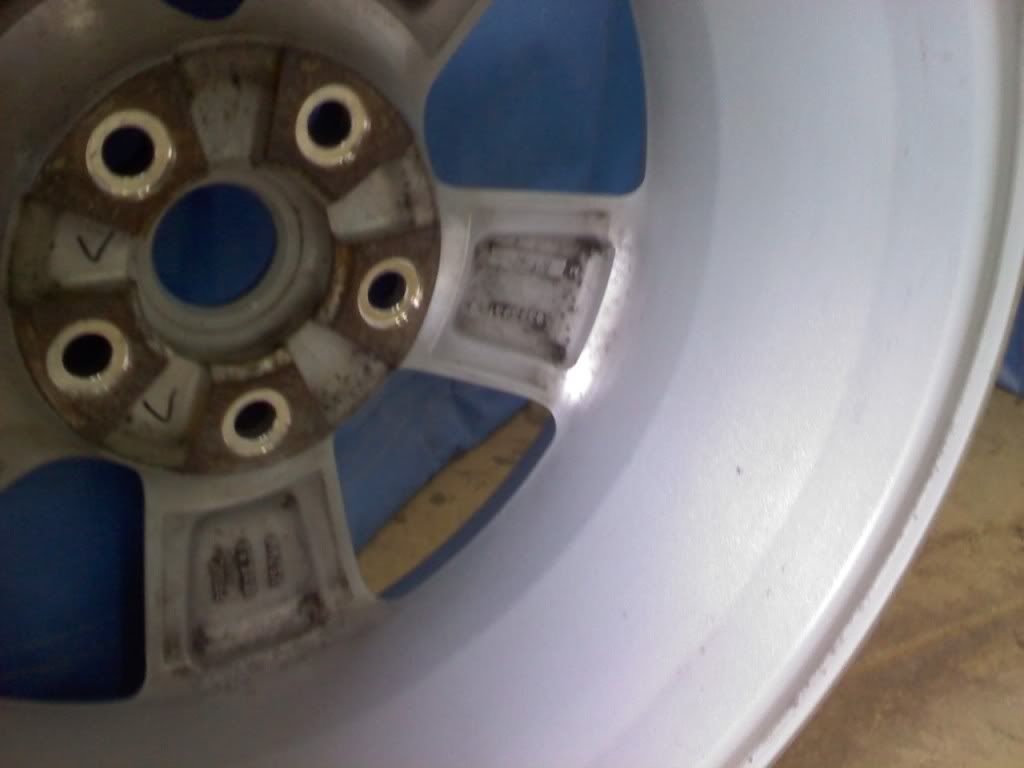
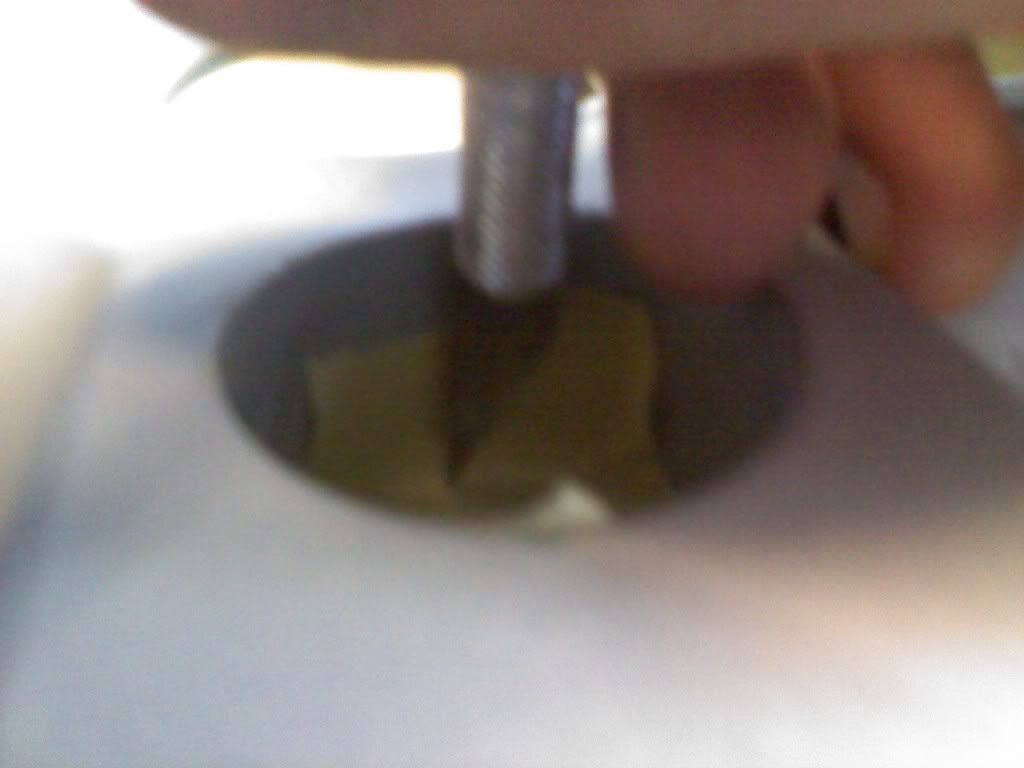
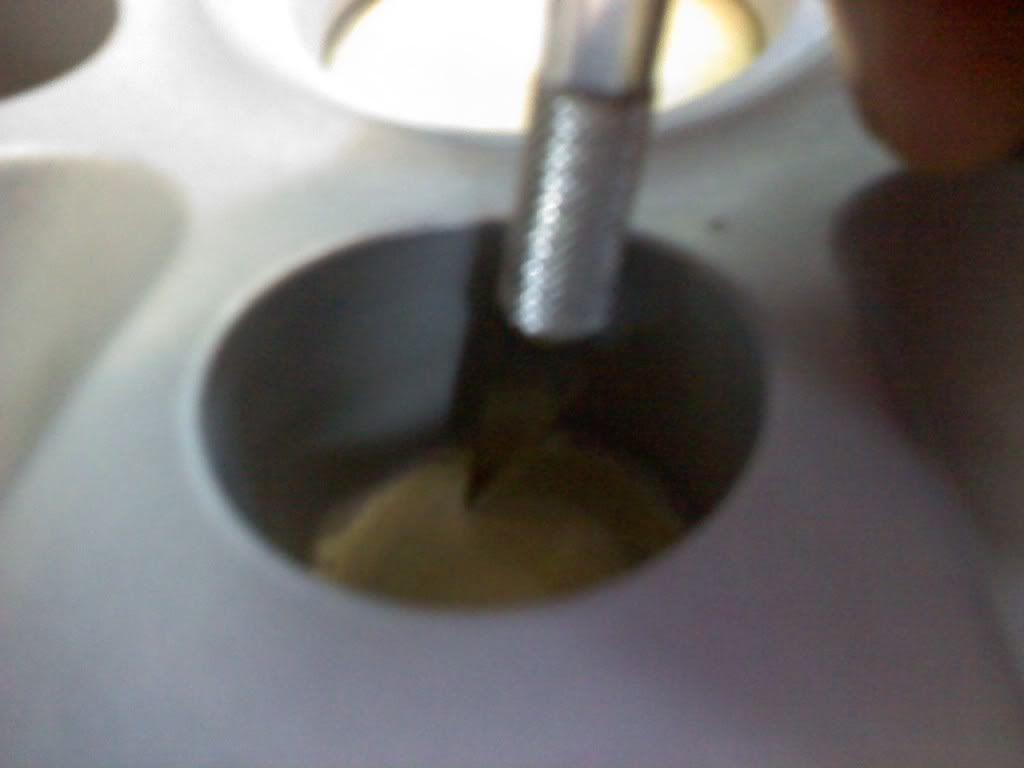
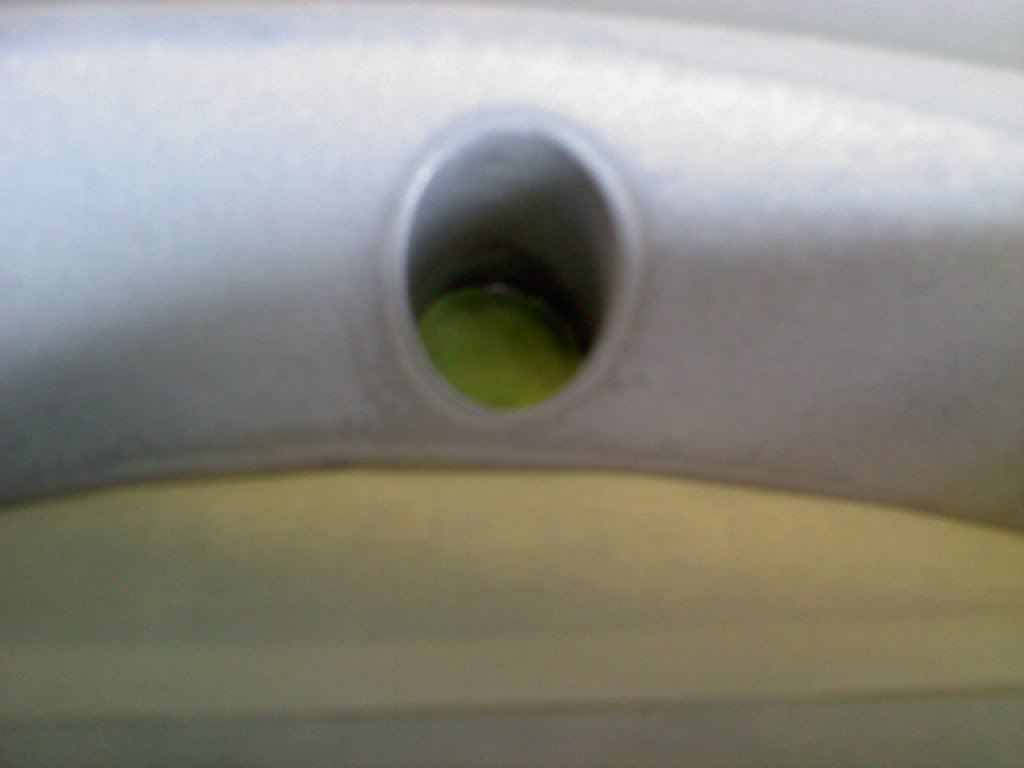
Now take your 1 1/2" tape and push it down into your lug holes as even as possible, then take your exacto knife and cut it out as i show here. Do the same with your valve steam hole also.
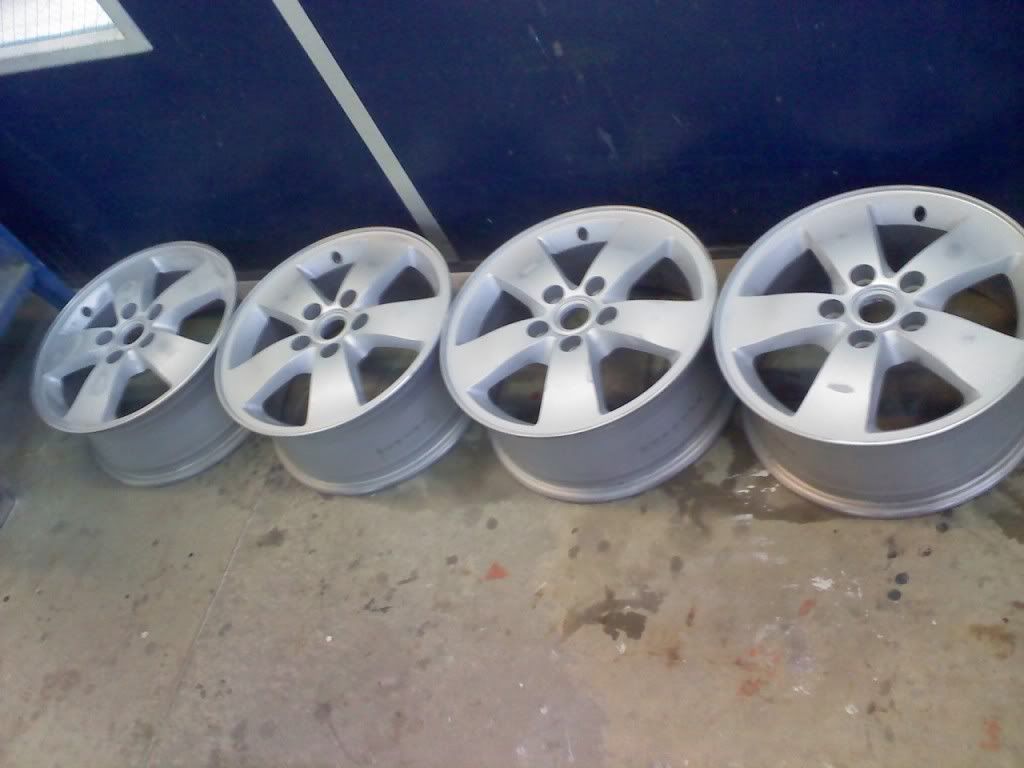
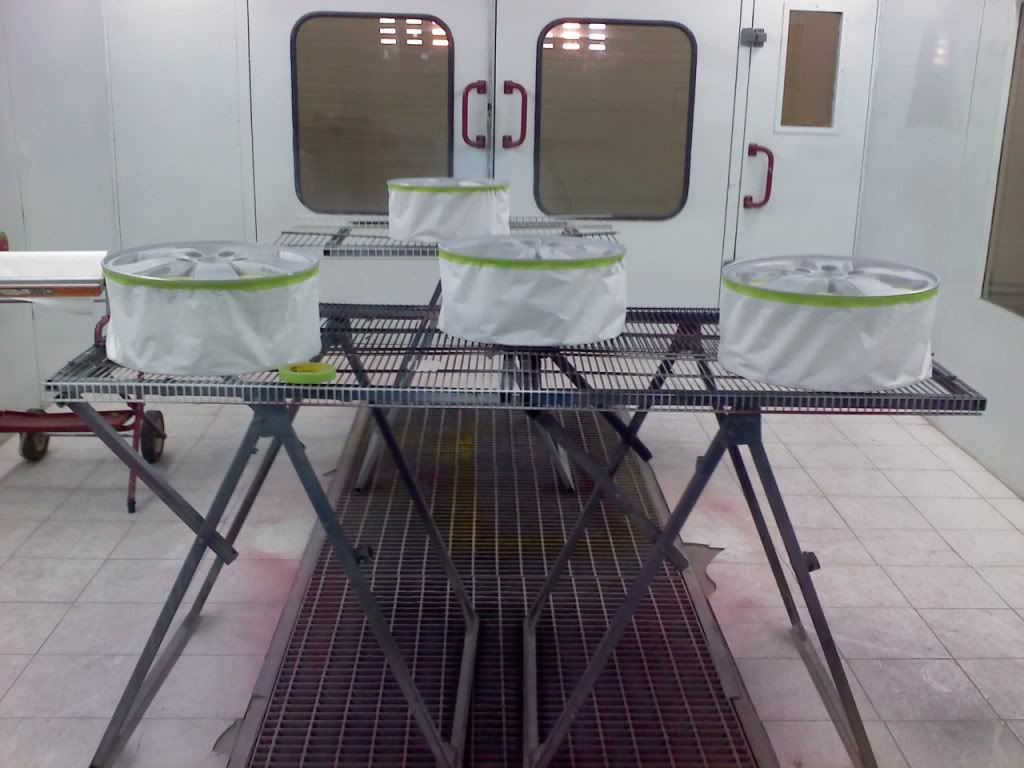
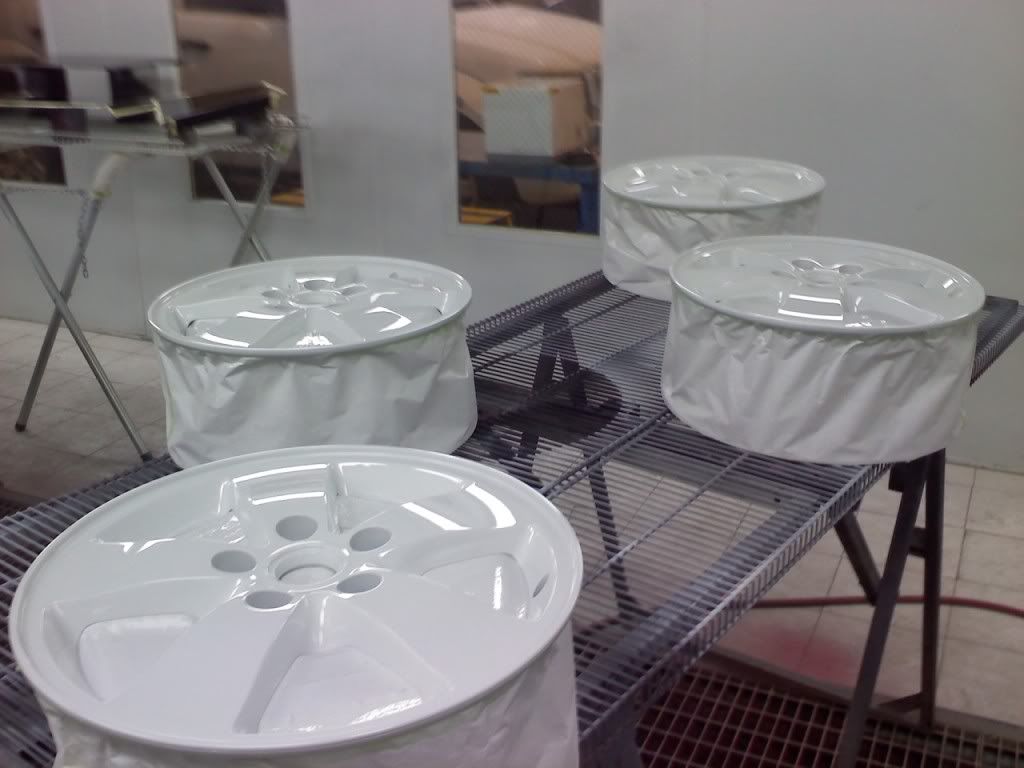
Now your rims are taped up and ready to go.
Tools Needed
-HVLP Spray Gun with 1.3 to 1.6 Tip IMO
-Blue and Yellow Tack Cloths
-Exacto Knife/Razor blade
-1 1/2" Tape or 2" and 3/4" Tape
-Epoxy Primer and Catalyst
-Clear Coat and Catalyst
-Paint (of your choice) and Reducer
-White or Blue Masking Paper
-Paint Mixing Sticks
-PPS (Paint Prep System) or Paint Strainers
-Red Scuff Pad or Green and yellow (optional)
-Lacquer Thinner
-Sand Paper 220 Grit Wet or Dry IMO
-Wax and Grease Cleaner
Removing Tires Etc.- Fist thing you want to do is take your tire off of the rims and remove the valve steams, and wheel weights.
Cleaning-Then your next step is fully clean the rims, first use soap and water then depending on how dirty the wheel is you can use a RED or GREEN scuff pad with lacquer thinner and get the rest of the brake dust, dirt, and etc. off. If they look like this that should be good.
Sanding-Now moving on, sanding the rims is a very important process. I recommend using 220 wet if you are going to be priming you want your paint to adhere properly without seeing any sanding scratches. Make sure you properly feather edge your sanding out to avoid contour mapping and waviness. If you have any curb rash or anything like that you can use a DA sander with 80 grit and gently smooth out the area. Remember when sanding you don't need to sand all the old paint off all you are doing is trying to roughen up the area and get a uniform scratch pattern.
After sanding clean them with soap and water again to assure there is no sanding sludge left over on the wheel
Taping-Now it is time to start taping, first use your 1 1/2" tape and tape out the back of the rim. Next you want to use your 3/4" tape and tape out a straight even line around your rims, then use white or blue masking paper NOT GREEN! green is primer paper. tuck the access paper under the wheel this will help. Now it the difficult part you need to tape off the lug nut and mounting wholes so you don't mess up torque specs and to avoid flaking.
Now take your 1 1/2" tape and push it down into your lug holes as even as possible, then take your exacto knife and cut it out as i show here. Do the same with your valve steam hole also.
Now your rims are taped up and ready to go.
")