GEMINIokc
New member
Welcome to my WRITE-UP for 97-03 HUD Fabrication.
I would like to start by saying that I am in no way an expert at HUD installation and do not claim to be. Anything you do to your vehicle is at your own risk, as it was for me!! Also I would like to acknowledge and give credit to some people who's initial research and HOW-TO's... that helped me accomplish this:
Pete0403 on Clubgp for his informational write-up, and 02BlueGT here on grandprixforums.net who PM'd me with this extensive advice: lol, jk
"There are several how to's spread around, but mine was pretty much, get HUD, HUD switch, and dash bezel (plastic cover)
cut dash apart, insert HUD, connect harness(connectors were already there in my car)
Put bezel over... and done"
THANK YOU BOTH
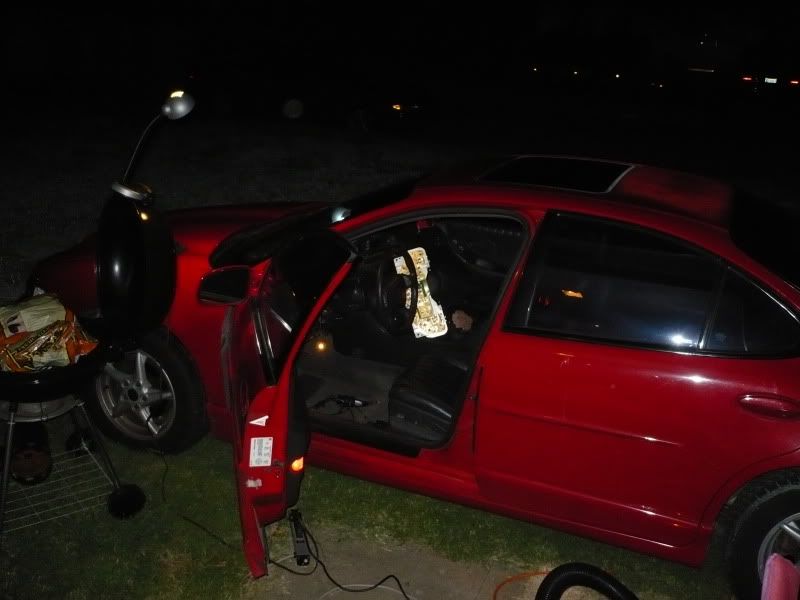
And before i get a thousand Questions......,(Although I am in the Hip Hop scene, and culture as a DJ.... No I am not a BLOOD or representing myself as one, just because i have a RED bandanna on my rear-view mirror... It is purely for decoration!!!!!
I.E. if I had a Black car/ black bandanna, White car/ white bandanna.....ect, I think you get the point!!
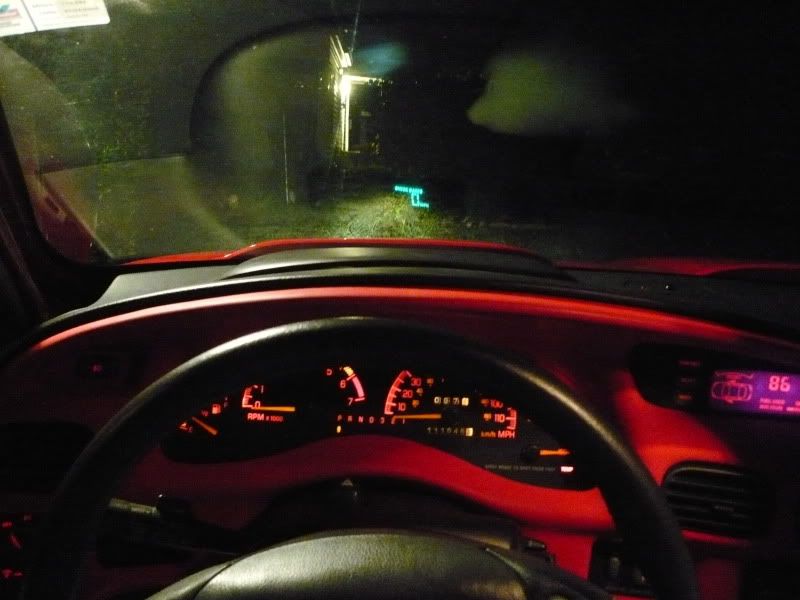
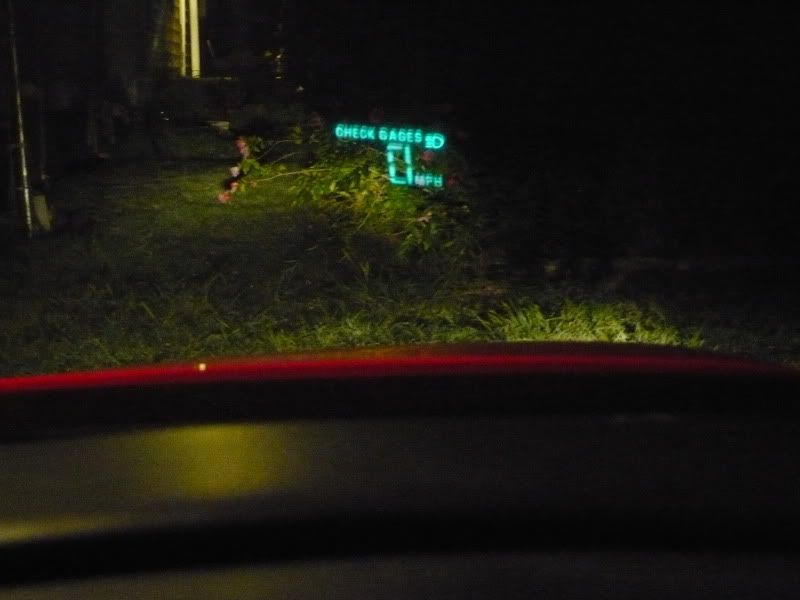
One last thing. I wanted this in my car since finding out what they were, and thought it was the coolest thing since sliced bread. However i have noticed that this can b a huge distraction, as it is in your center line of sight!! I found it very pleasing that the control switch had a dimming adjustment on it! It takes a while at first to get used to it, but once you do it becomes second nature.
After learning that some of our cars had this kicka$$ feature, i wanted to find out what i could do to possibly have this available to me, since my 99 gt did not originally come equipped with it. Then i purchased my 99 GTP and it wasn't equipped with it either:th_sick1:
So after digging around the internet for information on the subject, and compiling all that i could, I found out that not only was it possible, but with the right supplies, a few tools, and some patience..... I could have it too!
The only big problem for me in doing this, is every write-up i found, either the pics were 2 small or they didn't work! So i decided when i finally did this to my car i was going to take lots of pics, for everyone to have as a guide for their installs!
Also I was fortunate enough that the factory plugs were already pre-installed for a HUD in my 99 GTP, so mine was plug-and-play. Some are not, and you have to wire them to work. I am not going to get into that with this write-up, but if you need that info, it is located as a sticky here on grandprixforums.net in the HOW TO section.
You can find HUD's all over the internet priced from $100-$200!! I lucked out, and was able to pick mine up with Dash Trim Piece for $44!! It sat in my studio for about a mo. simply because i was nervous to cut my dash. Once i finally got the nerve to do it, I realized it wasn't as bad or hard as I thought! Plus once you are finished and installed it is totally worth it!!!!
here's a list of Tools you will need:
1. phillips screwdriver
2. flathead screwdriver
3. white chalk
4. dremel
5. and if u don't have one of these,

or something similar i wouldn't attempt this, cause this is a pretty messy project!
SUPPLIES:
1. Heads-up Display (HUD)
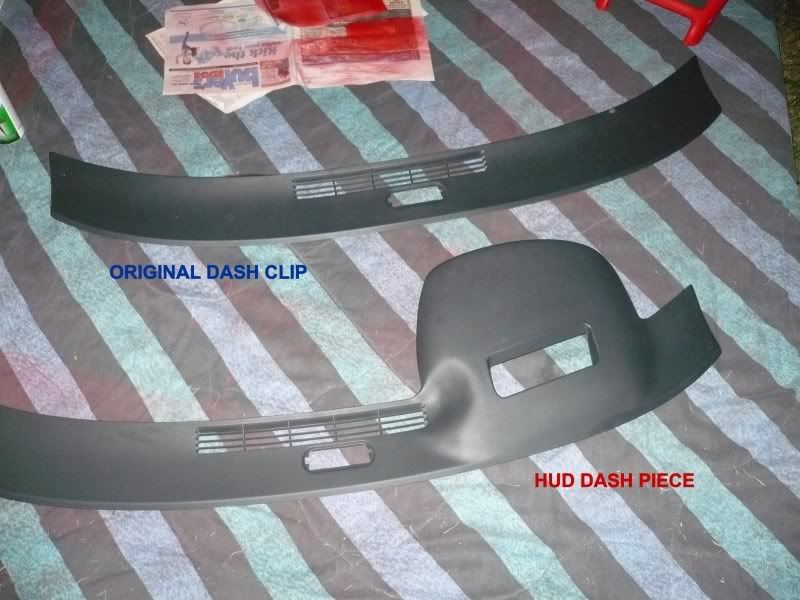
2. HUD dash piece
3. HUD control switch
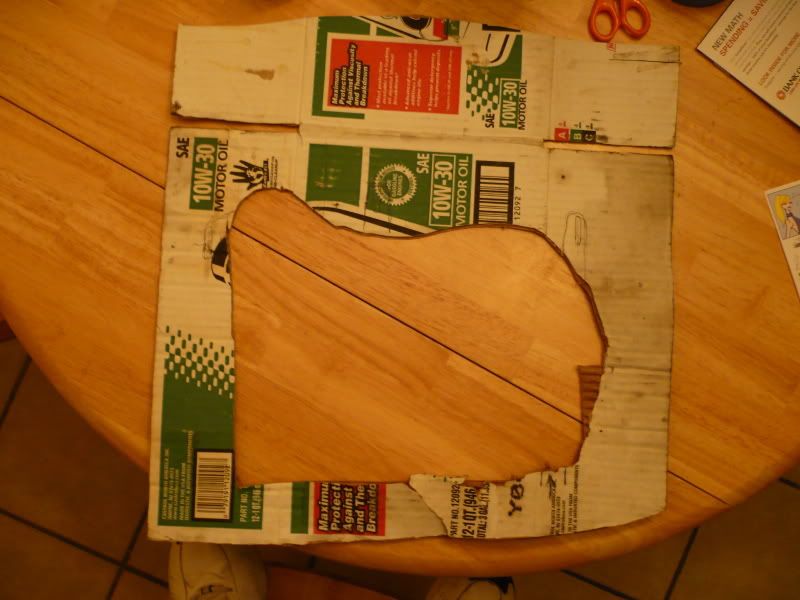
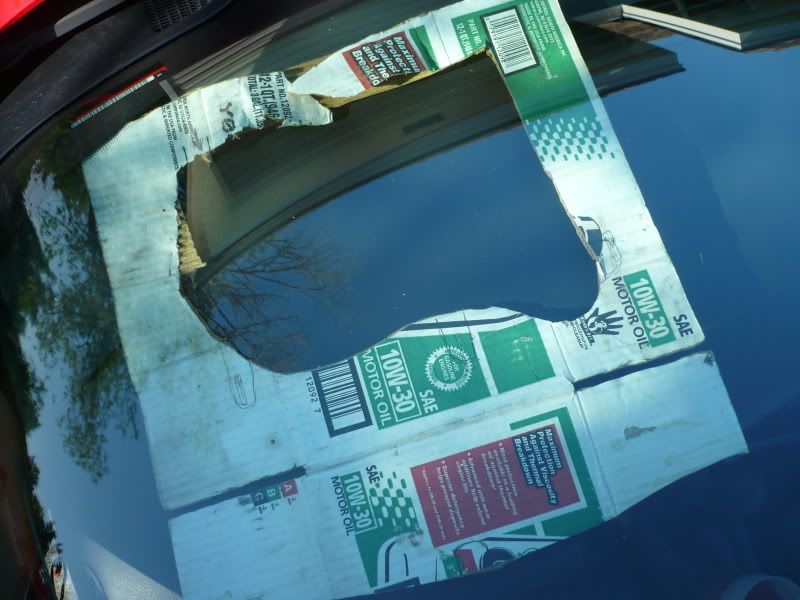
4. If applicable, a HUD Template.... i made mine from cardboard laying around the junkyard, nothing pretty but did the trick,I'm pretty sure you do not have to have this, but it helps!
Also some things in here, i did not take pics of...becuase i figure if you didn't know what, or where the dash trim panel was, or how to cut with a dremel, then you should probably not be doing this!!
So without further a-do lets get started.......

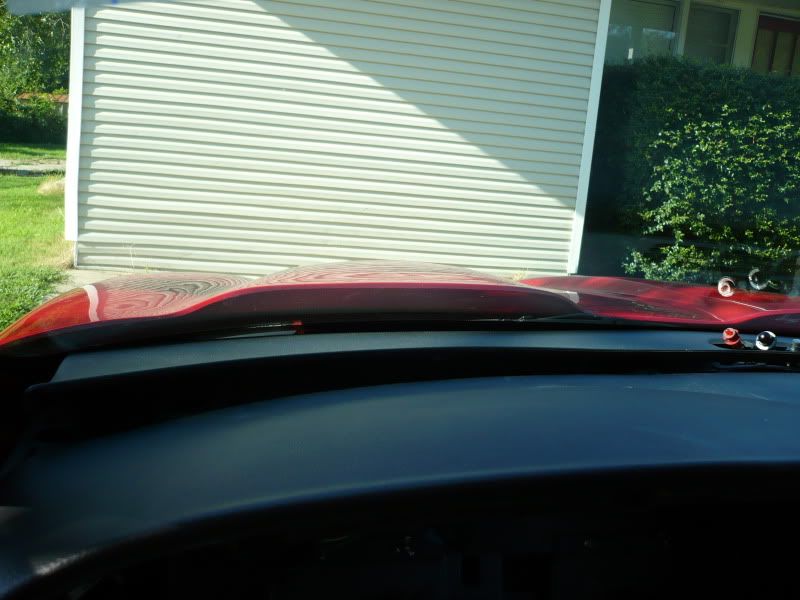
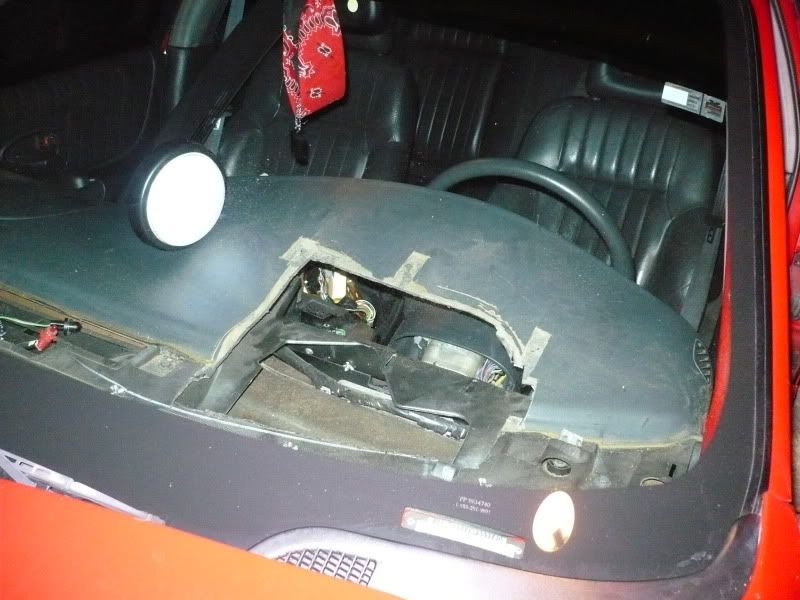
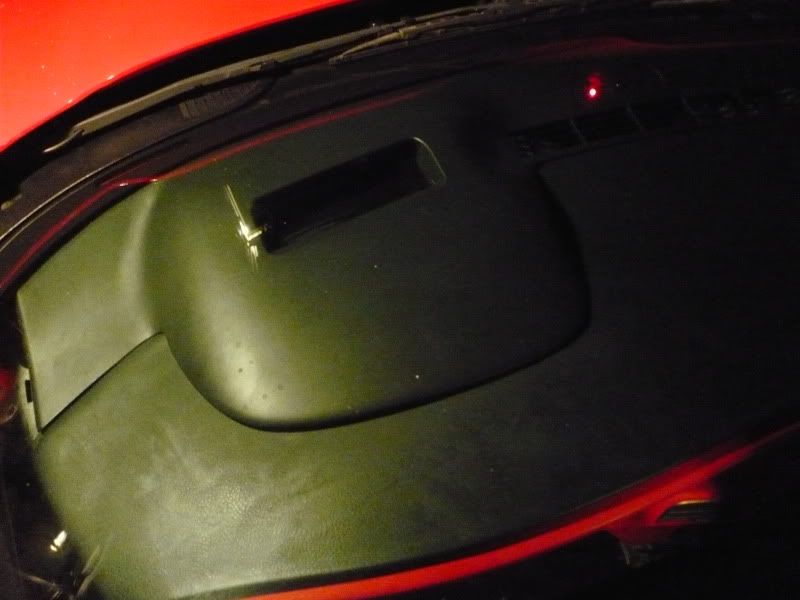
First thing you will want to do is pull the Dash Trim Panel off the front of the dash, I like to start at the far left, because the fog lamp switch is located there, and u will need to disconnect this. All you have to do is slip a flathead screwdriver into the clips and it pops out. Then just pull the rest of the panel carefully all the way around until you hear the clips pop out of the dash, and then work it off. once you do this, this is what it will look like
Make sure you keep up with all screws, clips, ect..cause you will need them to put everything back together in the end.
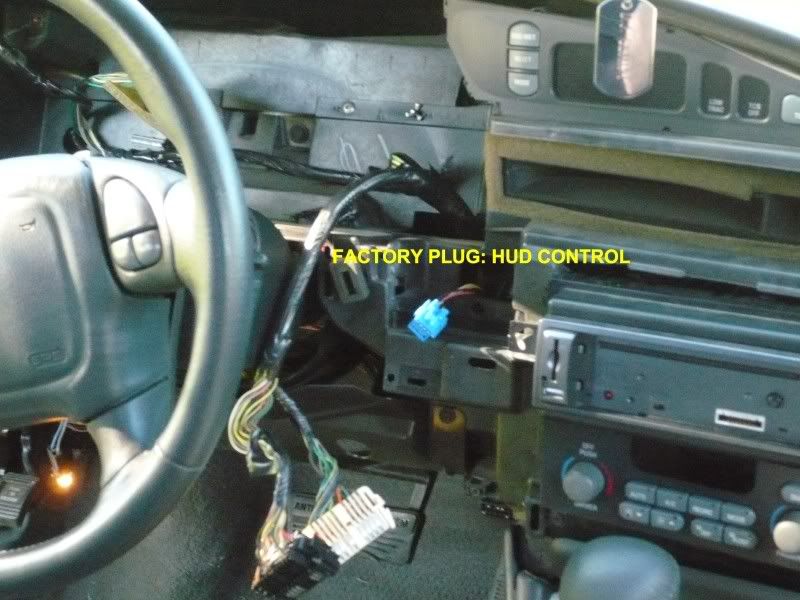
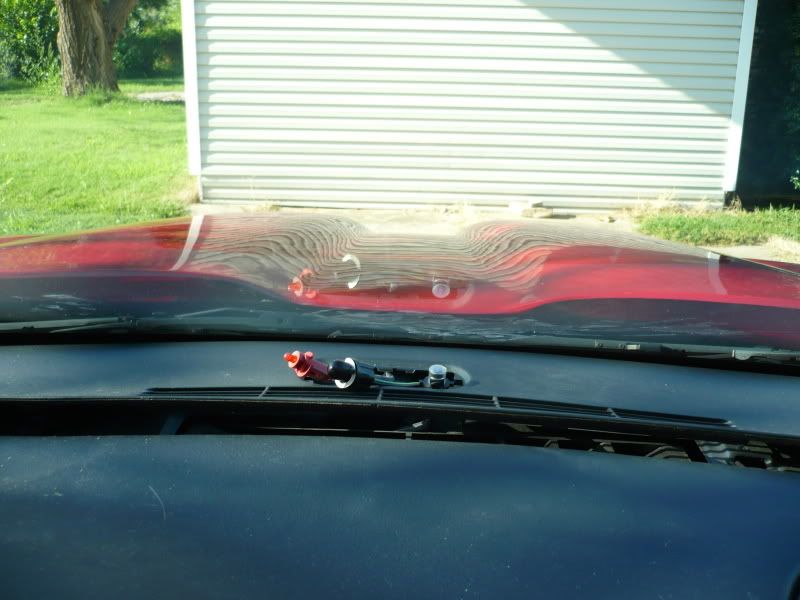
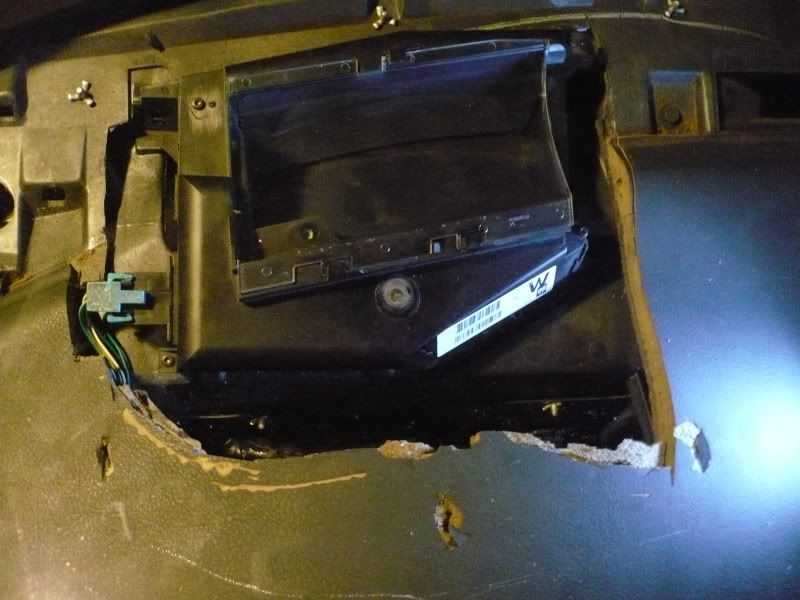
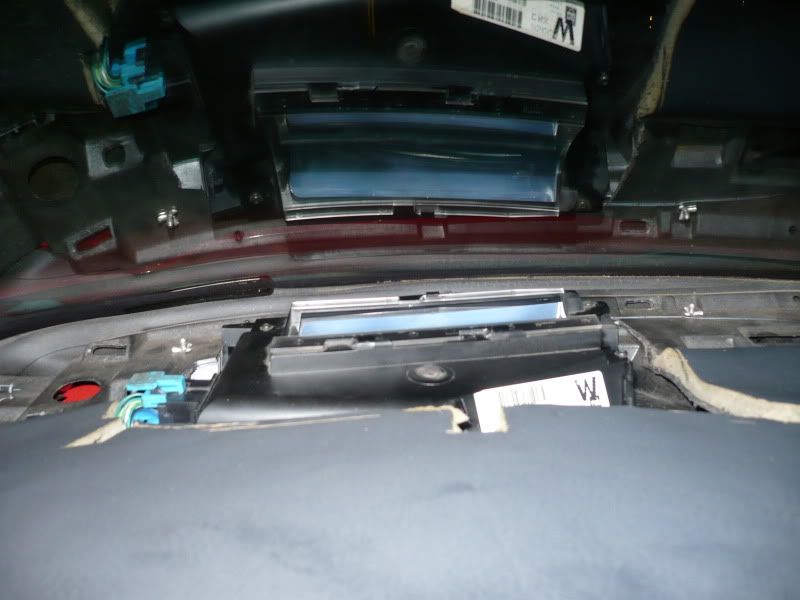
Once you have the Dash Trim Panel off, you will want to locate the 2 factory plugs in the dash for the HUD
These 2 plugs are used to control/recieve the HUD pisplay
1.
2.

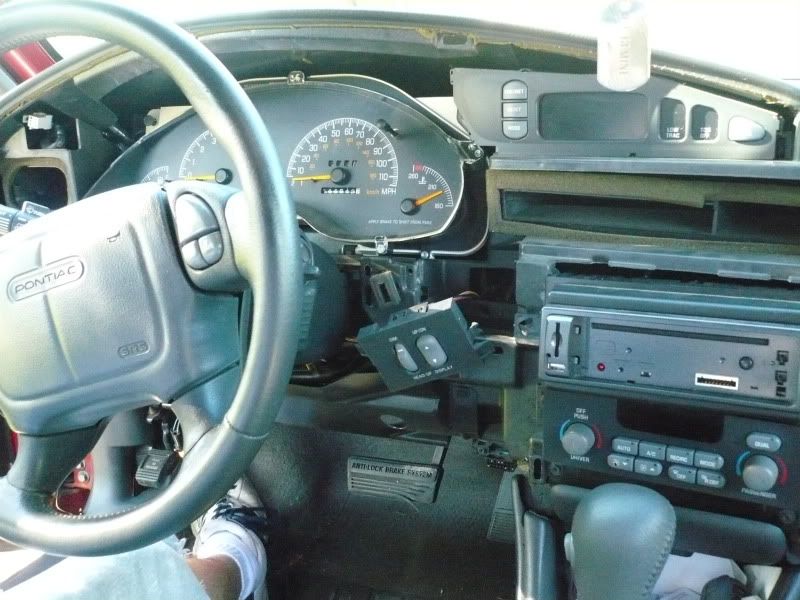
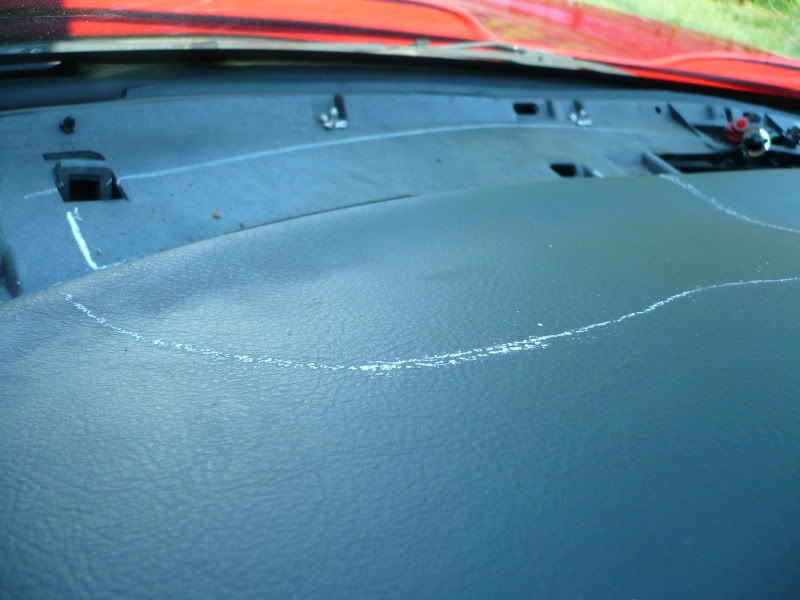
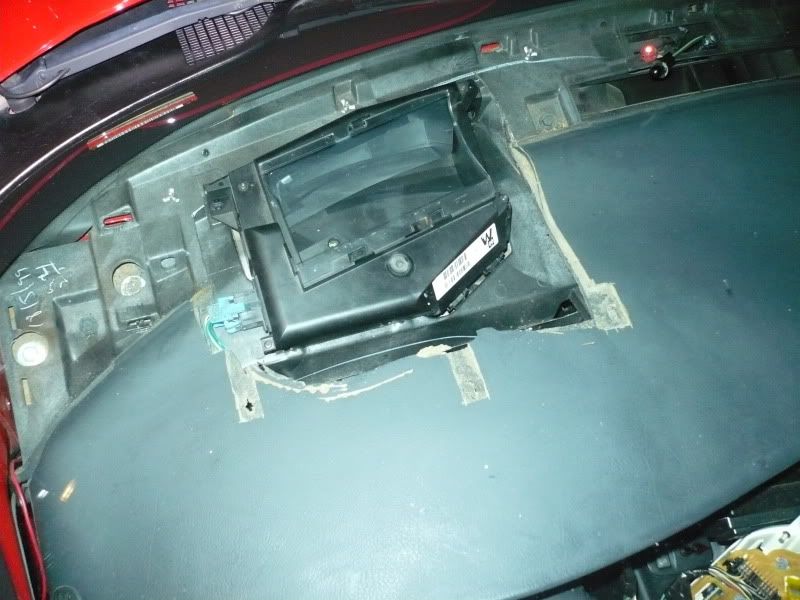
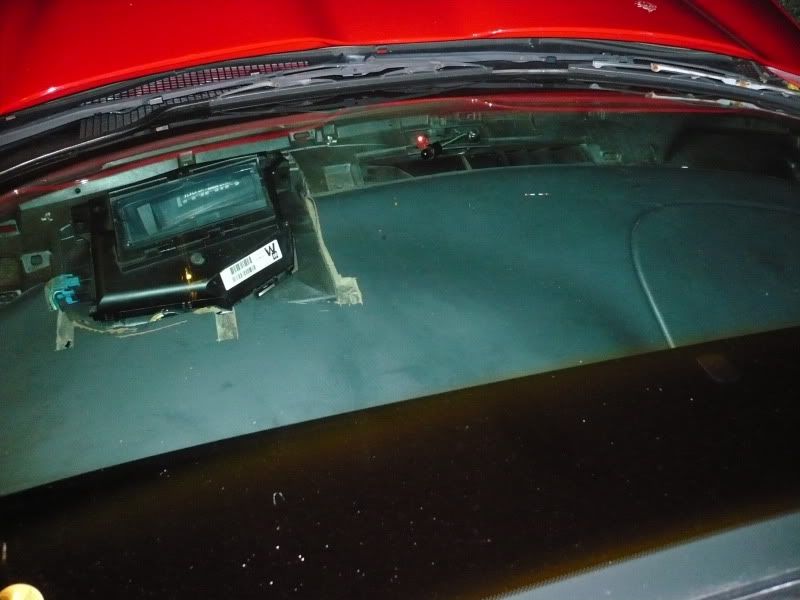
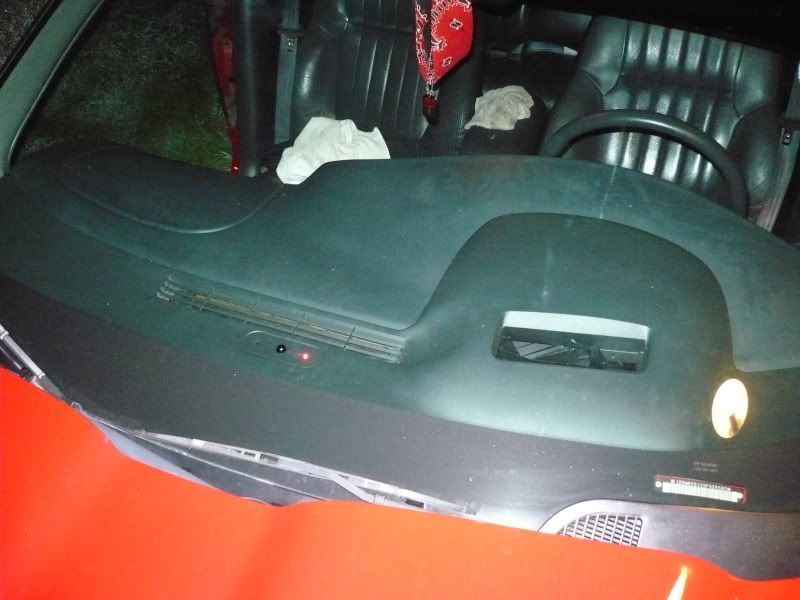
Next, you are going to remove the top dash insert panel from the top of the dash, next to the windshield. I started at the left and carefully pried up the panel with my flat-head screwdriver, working slowly across the car till it was completely released from the dash
I would like to start by saying that I am in no way an expert at HUD installation and do not claim to be. Anything you do to your vehicle is at your own risk, as it was for me!! Also I would like to acknowledge and give credit to some people who's initial research and HOW-TO's... that helped me accomplish this:
Pete0403 on Clubgp for his informational write-up, and 02BlueGT here on grandprixforums.net who PM'd me with this extensive advice: lol, jk
"There are several how to's spread around, but mine was pretty much, get HUD, HUD switch, and dash bezel (plastic cover)
cut dash apart, insert HUD, connect harness(connectors were already there in my car)
Put bezel over... and done"
THANK YOU BOTH
And before i get a thousand Questions......,(Although I am in the Hip Hop scene, and culture as a DJ.... No I am not a BLOOD or representing myself as one, just because i have a RED bandanna on my rear-view mirror... It is purely for decoration!!!!!
I.E. if I had a Black car/ black bandanna, White car/ white bandanna.....ect, I think you get the point!!
One last thing. I wanted this in my car since finding out what they were, and thought it was the coolest thing since sliced bread. However i have noticed that this can b a huge distraction, as it is in your center line of sight!! I found it very pleasing that the control switch had a dimming adjustment on it! It takes a while at first to get used to it, but once you do it becomes second nature.
After learning that some of our cars had this kicka$$ feature, i wanted to find out what i could do to possibly have this available to me, since my 99 gt did not originally come equipped with it. Then i purchased my 99 GTP and it wasn't equipped with it either:th_sick1:
So after digging around the internet for information on the subject, and compiling all that i could, I found out that not only was it possible, but with the right supplies, a few tools, and some patience..... I could have it too!
The only big problem for me in doing this, is every write-up i found, either the pics were 2 small or they didn't work! So i decided when i finally did this to my car i was going to take lots of pics, for everyone to have as a guide for their installs!
Also I was fortunate enough that the factory plugs were already pre-installed for a HUD in my 99 GTP, so mine was plug-and-play. Some are not, and you have to wire them to work. I am not going to get into that with this write-up, but if you need that info, it is located as a sticky here on grandprixforums.net in the HOW TO section.
You can find HUD's all over the internet priced from $100-$200!! I lucked out, and was able to pick mine up with Dash Trim Piece for $44!! It sat in my studio for about a mo. simply because i was nervous to cut my dash. Once i finally got the nerve to do it, I realized it wasn't as bad or hard as I thought! Plus once you are finished and installed it is totally worth it!!!!
here's a list of Tools you will need:
1. phillips screwdriver
2. flathead screwdriver
3. white chalk
4. dremel
5. and if u don't have one of these,
or something similar i wouldn't attempt this, cause this is a pretty messy project!
SUPPLIES:
1. Heads-up Display (HUD)
2. HUD dash piece
3. HUD control switch
4. If applicable, a HUD Template.... i made mine from cardboard laying around the junkyard, nothing pretty but did the trick,I'm pretty sure you do not have to have this, but it helps!
Also some things in here, i did not take pics of...becuase i figure if you didn't know what, or where the dash trim panel was, or how to cut with a dremel, then you should probably not be doing this!!
So without further a-do lets get started.......
First thing you will want to do is pull the Dash Trim Panel off the front of the dash, I like to start at the far left, because the fog lamp switch is located there, and u will need to disconnect this. All you have to do is slip a flathead screwdriver into the clips and it pops out. Then just pull the rest of the panel carefully all the way around until you hear the clips pop out of the dash, and then work it off. once you do this, this is what it will look like
Make sure you keep up with all screws, clips, ect..cause you will need them to put everything back together in the end.
Once you have the Dash Trim Panel off, you will want to locate the 2 factory plugs in the dash for the HUD
These 2 plugs are used to control/recieve the HUD pisplay
1.
2.
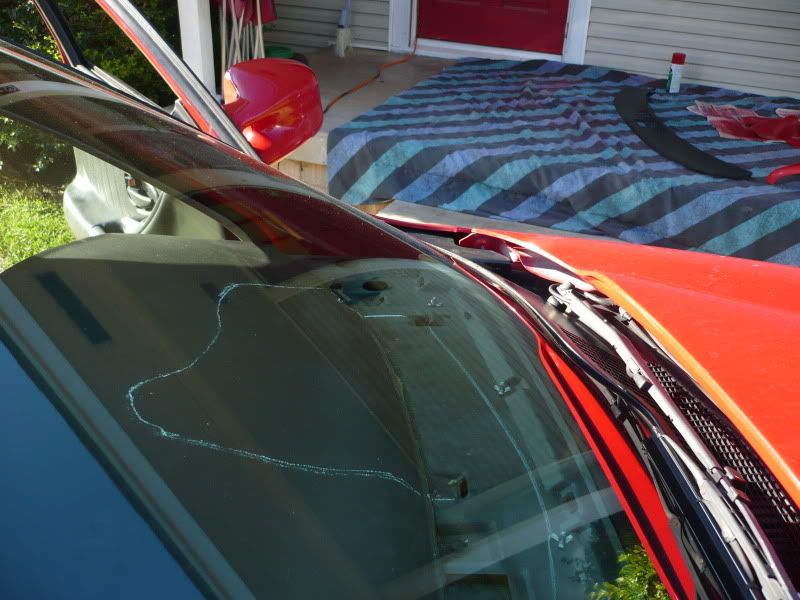
Next, you are going to remove the top dash insert panel from the top of the dash, next to the windshield. I started at the left and carefully pried up the panel with my flat-head screwdriver, working slowly across the car till it was completely released from the dash
Last edited:


") ...yeah, overkill, but very fast
...yeah, overkill, but very fast ") )
)