You are using an out of date browser. It may not display this or other websites correctly.
You should upgrade or use an alternative browser.
You should upgrade or use an alternative browser.
Engine Reassembly Help.. L67 lots of pics
- Thread starter GTP89
- Start date

BillBoost37
New member
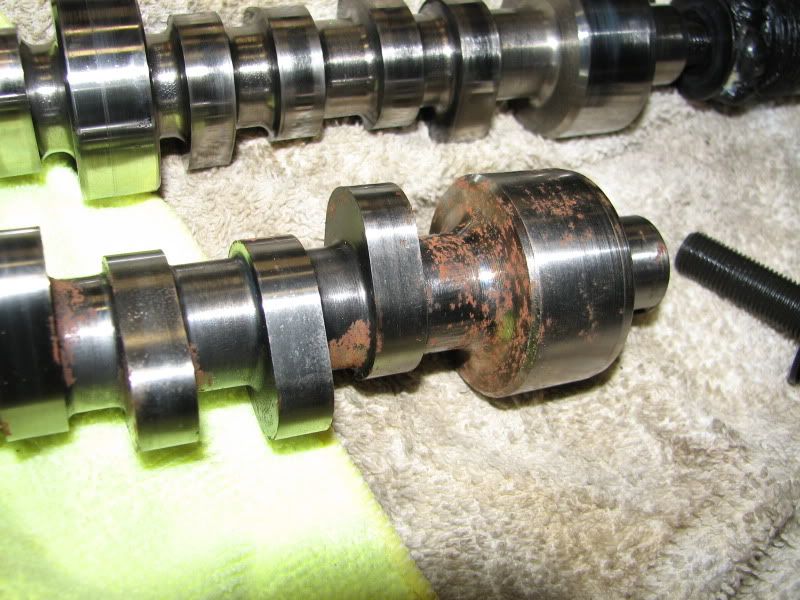
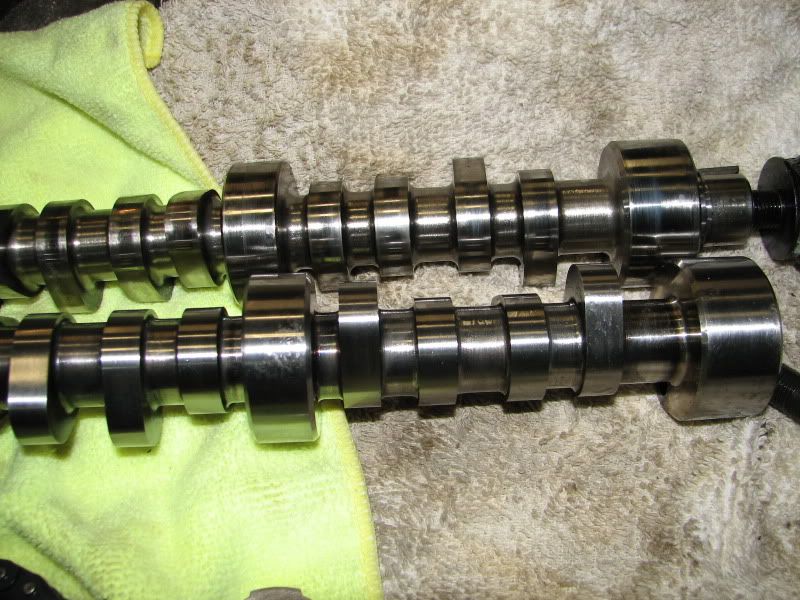
Honiing stone or maybe a buff with steel wool/green scrubby. I once took a cam to a machine shop to have it polished and the owner explained that basically they would use a green scrubby and some oil, lightly rub. That's a basic polish to get surface rust off. It worked great for me.
From
To
From
To
GTP89
New member
I have super fine steel wool the finest I could get it is 0000 idk if u know what I mean by that.2000 grit sand paper with 30 weight motor oil.
Do it with the cylinder horizontal so nothing ends up between the piston and cylinder wall.
Wipe it dry with a clean paper towel then apply a thin coat of clean motor oil.
Can I use that and some motor oil with it on block?
Will be doing it today If all is good with that..
GTP89
New member
Honiing stone or maybe a buff with steel wool/green scrubby. I once took a cam to a machine shop to have it polished and the owner explained that basically they would use a green scrubby and some oil, lightly rub. That's a basic polish to get surface rust off. It worked great for me.
From
To
Now that's sweet I will give it a quick try right now with some motor oil and a very fine steel wool hope it works fine need to put this together

")
Rico
New member
The work on the head should be OK but if you can see any really jagged metal in that chip I would get a really small grinding bit for the Dremel and smooth it out. It's the exposed casting grain that will cause detonation. Under hard acceleration a little glowing ember will fire that cylinder off early. People polish the combustion chambers for the very same reason. The smoother the less chance of pre-combustion.
GTP89
New member
i think i got it all down compared to the sharp edges it had and really cleaned them up pretty good especially the block.The work on the head should be OK but if you can see any really jagged metal in that chip I would get a really small grinding bit for the Dremel and smooth it out. It's the exposed casting grain that will cause detonation. Under hard acceleration a little glowing ember will fire that cylinder off early. People polish the combustion chambers for the very same reason. The smoother the less chance of pre-combustion.
Rico
New member
FYI your head is cracked between the intake and exhaust seats. on your pic, it would be the left cylinder, think i saw one on the middle cylinder as well. my heads were cracked in the same place.
Do you mean in the red circle?

GTP89
New member
Working length wise start at one of the 4 center bolts and work your way to the edge diagonally across center then across.
Then go across centerdiagonally
Then go across
7 1 3 5
8 4 2 6
Thanks the numbering helps lol
hopefully by this week i can put the head on and torqued i just need to get that darn head bolt out
BillBoost37
New member
The hex on the end of the exhaust stud holding you up is a 5.5mm. If it's rusty or you strip the hex, put one of the exhaust nuts on it backwards, then put a nut on forwards and using two wrenches, lock them together. That should allow you to take it off.
GTP89
New member
The hex on the end of the exhaust stud holding you up is a 5.5mm. If it's rusty or you strip the hex, put one of the exhaust nuts on it backwards, then put a nut on forwards and using two wrenches, lock them together. That should allow you to take it off.
Thanks never would of thought of that i think that would much easier to do i shall give it a try

