Scottydoggs
Killa Bee
the jack in this pic is on the bolt. the cup on the jack fits perfectly for a safe jack location.
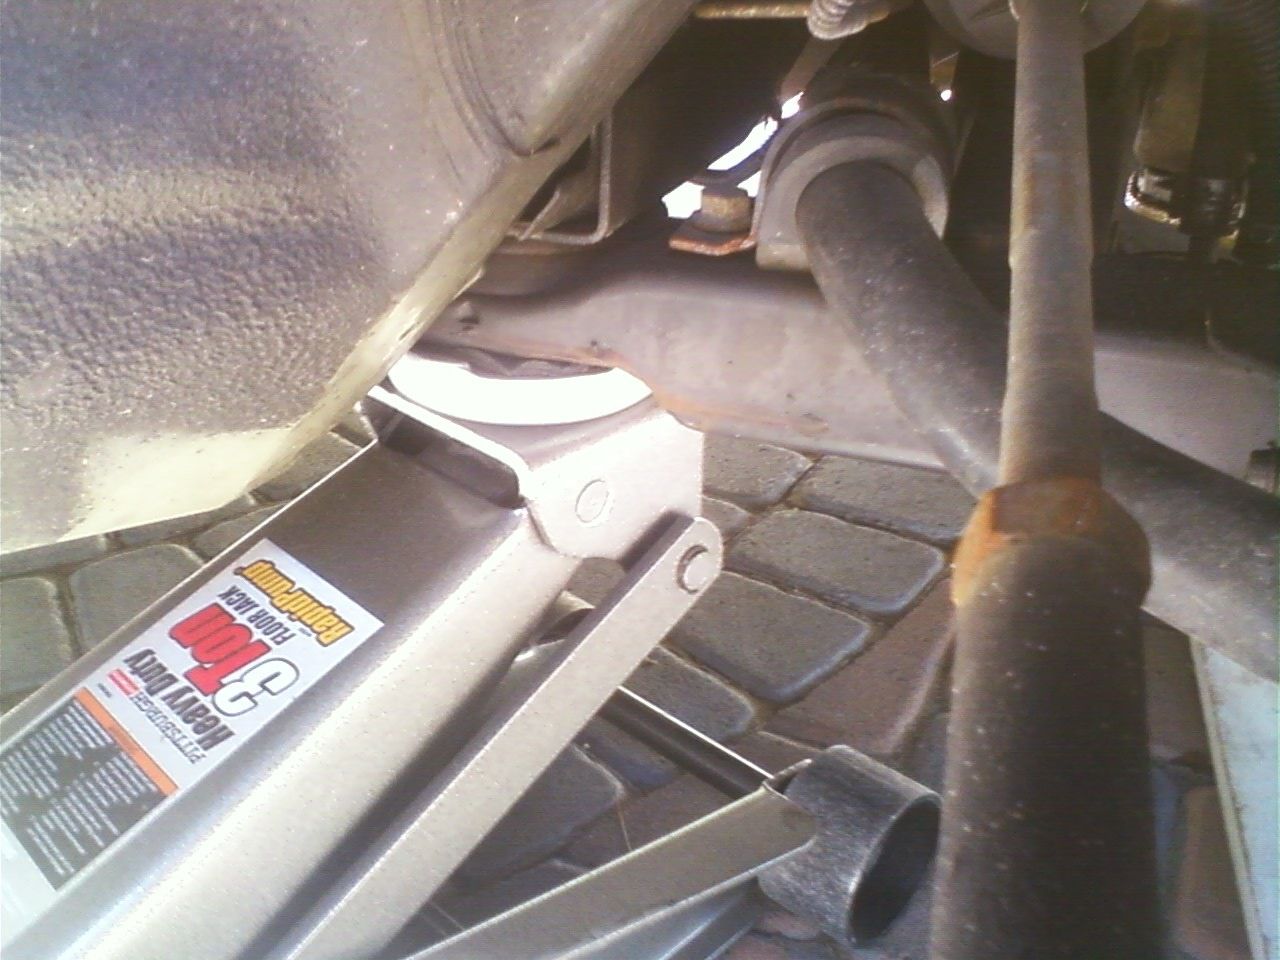
the jack in this pic is on the bolt. the cup on the jack fits perfectly for a safe jack location.
you need to put the car on jack stands first, via the rockers. hope they aint rotted out.
then put the floor jack or bottle jack under the rear of the frame.
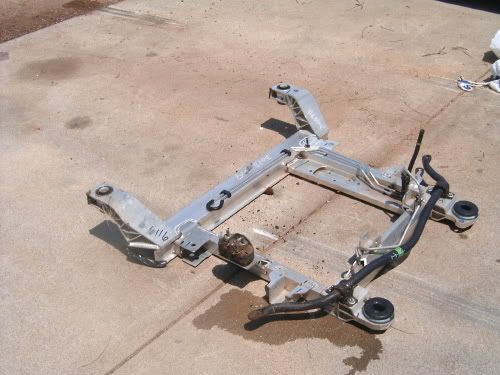
this is a AL frame but its the same shape. see the sway bar mounted to it, (right side of pic thats the rear) in front of the sway bar is a metal part of the frame, put the jack under that part, then back the bolts out. then lower the jack some.
That's the way to do it. Pretty easy install