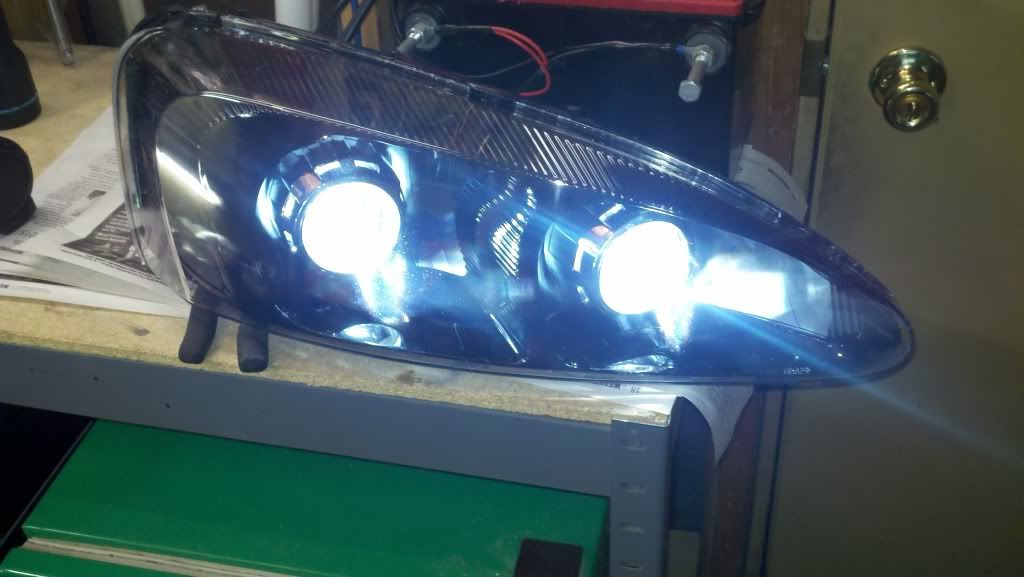
I love the looks of the Dual projector housings. The one's that dz sells are crap but i think they look great. I would love to build my own set simmilar to the ones shown above with good projectors. Is there any way to get a detailed list of parts needed and what was done to make them correct. I would like to do the halo eyes along with led's but do not have to. Just love the look. If there is another thread with this info just tell me where.
I'll try to do a quick list of parts of the top of my head:
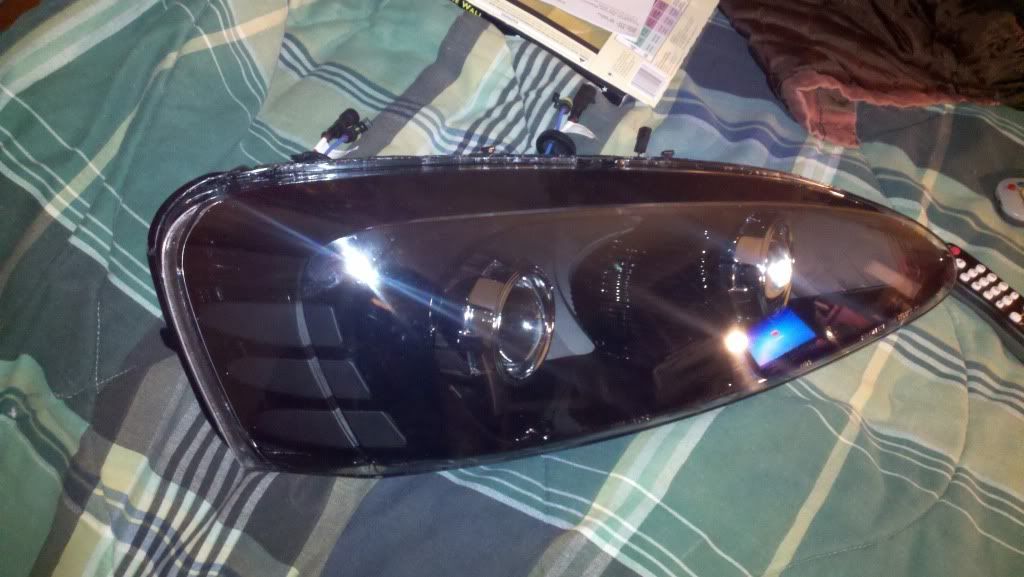
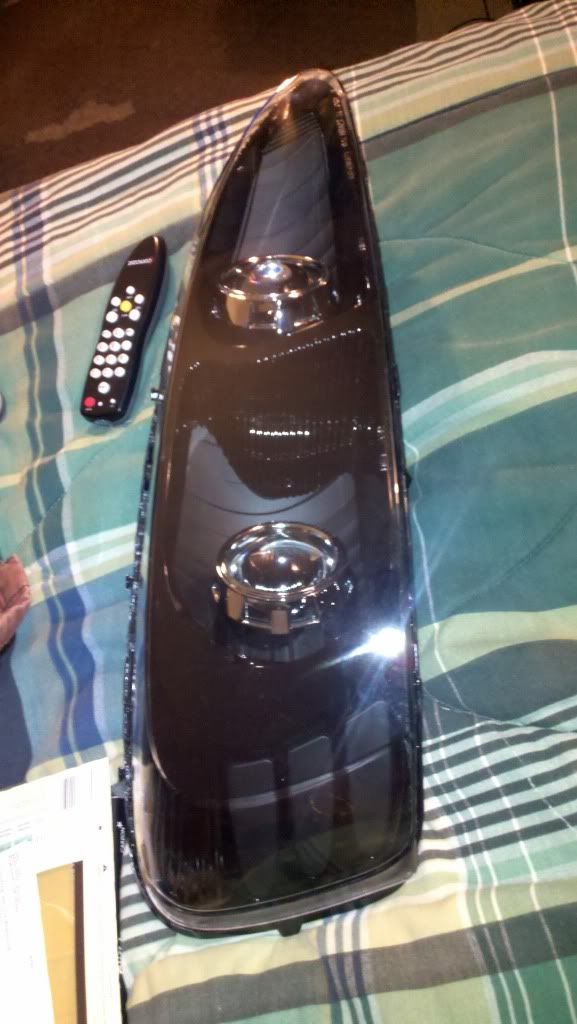
1) Spare set of headlights
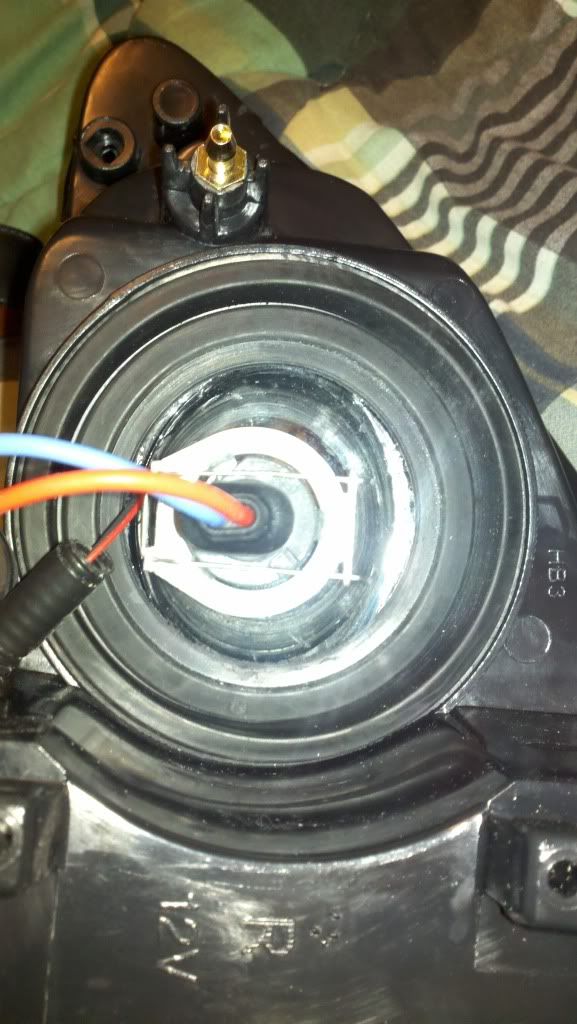
2) Morimoto H1's, 1 pair for a single set up, 2 pairs for a quad set up
3) 3/4" or 1" machine screws and lock nuts, I think I used a 10/32
4) Gatling shrouds, I believe they are "mini" Gatlings
5) 2 or 4 HID ballasts depending on single or quad set up
6) 1 or 2 relay harness(es) depending on single or quad
7) Silicone sealant for back of headlights (I recommend Permatex black silicone adhesive/sealant)
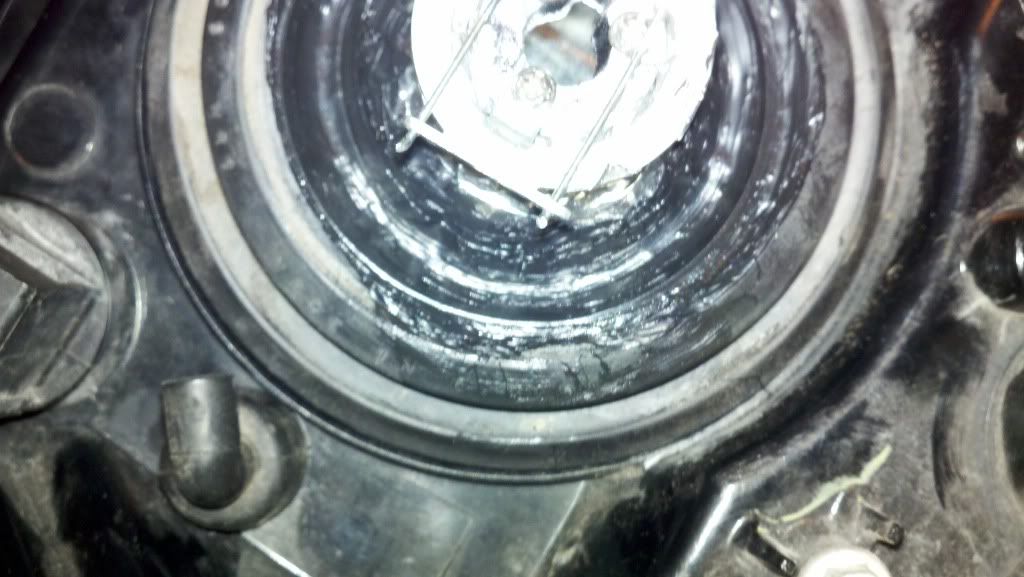
8) High heat black paint for reflector (If you wish to paint it)
9) Dremmel with diamond tip cutting bits. (You don't need the diamond tip but it sure makes things go quicker. Thanks to Drunkie for the recommendation)
10) Latex gloves for smear reduction.
11) I personally use a heat gun, makes it easier in my opinion since I can control the heat and it helps stop the lens adhesive from "spider-webbing" and making a huge mess. If you don't have a heat gun a good old fashioned convection oven does the trick.
12) Silicone adhesive or JB Weld to attach shrouds to the projectors. I personally use silicone adhesive because it doesn't become brittle and it isn't impossible to remove should I wish to change shrouds.
13) Time.
14) Patience. Don't rush anything and keep in mind you may find yourself chasing your tail having to touch up paint here and there and adjust the projectors until you get them right.
I'm sure I am forgetting something. I'll eventually do a full write up and request (and require:th_nanana
")
that cleangtp and Drunkie chime in.