• The site migration is complete! Hopefully everything transferred properly from the multiple decades old software we were using before. If you notice any issues please let me know, thanks! Also, I'm still working on things like chatbox, etc so hopefully those will be working in the next week or two.

My 1984 K10 - LM7 swap!!


Yeah, that cam would work just fine.

Sweet. I'll add it to the watch list.

After a couple hours of spraying cleaner, scrubbing, then spraying with the pressure washer, I called it good enough. I think I ended up wearing half of what came off the motor, but it was worth it.

44229337461_e9a965f715_b.jpg


44229336341_10e1e35049_b.jpg


44229335201_b726399968_b.jpg


43511569914_1442bc88c1_b.jpg


44180451512_8fb5d3c06b_b.jpg


There's still a little crud in some of the nooks and crannies of the pan and on the screws for the front and back cover. I'll take care of that when I pull it apart for gaskets. The block and heads are clean and that was my main concern.

44229332051_75c61be8fe_b.jpg


Now I just need to drop about $200 on gaskets to keep it this clean.
 
LOL! Yeah. There's a little surface rust on the block. As I understand it, this truck started life in Michigan. It spent a couple years on the East side near Detroit before it made its way out west. Better believe I'm going to hit all those machined surfaces with a Scotch Brite Roloc disc before it goes in the truck.

I sold the T-case for $370. That's almost enough to cover the total cost of a cam and springs. I'll be ordering them SOON!


Alright. Here's my day in pictures. Might be slightly out of order.

Trans parts arrived.

44266678781_8e6160a8b5_b.jpg


Slammed them in.

30400044038_fc4c3b4735_b.jpg


Had to pull out the special J-tools

44266680641_82f25ef8a6_b.jpg


Pan looked okay. Magnet was full, but no chunks or flakes so I'm happy.

44266681921_3135fc2d91_b.jpg


Cleaned up nice though.

44218187262_5b4dec2d4f_b.jpg


That completed the trans work.

44266679731_c191b74670_b.jpg
 
Turned my attention back to the engine. Pulled the plugs.

43549377604_d66e6ea150_b.jpg


43549378554_0575ed88ec_b.jpg


Then pulled the manifolds. The only hiccup was one broken bolt. Came right out with the vise grips. Couple of the bolts felt only hand tight(?).

Going good so far though. Dipstick tube even cam out without a fight.

29330769207_ea203d7375_b.jpg


44218202612_72680065c5_b.jpg


Cleaned up the gasket surfaces. Probably better than they need to be, but it makes me happy.

44266696501_b7ff84b46d_b.jpg


Also ordered a new oil filler cap with the trans parts. Old one didn't fit tight and for whatever reason that really bothers me.

30400056228_7152afcd30_b.jpg
 
Definitely the source of some of the exterior oil.

44218204782_bb2abed26b_b.jpg


That was it for today. Last night I ordered a bunch of engine gaskets and spark plugs. Should have them middle of next week.
 
I also think I've settled on the Elgin 1838 cam. Just not 100% sure what springs to run. Leaning towards the PAC 1215's. They tolerate 0.600" lift (the cam only has a max lift of 0.560") and a seat pressure of 105 lb at 1.800". I know LS6 springs are cheaper and people have had success running them on a 0.560" lift cam, I just don't know if they have enough seat pressure.


you check to see if those are the crappy heads that are prone to cracking?

moving right along i see. soon will be pics of the old engine coming out and test fitting of the 5.3.
 
Broken heads on exhaust bolts are common enough on these engines. My 2000 pickup had two broken and when looking into it, I found a lot of information saying that the bolts were soft. I spoke to a machinist I was using for 3800 stuff at the time and a few GM techs. They said they heat the bolt a few times to get the dissimilar metals to come apart, and or weld a nut on the end of the bolt in order to spin it out. Doesn't appear it's that tough to get them out. I didn't get around to it since I'd have had to taken over a decade old exhaust off and it didn't effect the truck. For less than a minute you'd hear very little noise that went away the moment the engine started to get some heat.
 
you check to see if those are the crappy heads that are prone to cracking?

I have not. I didn't even know there were ones prone to cracking. I think I'm going to have an idle day or two coming up soon here while waiting for parts. I'll do some research then.

moving right along i see. soon will be pics of the old engine coming out and test fitting of the 5.3.

Man, that will be nice. First I have to get the motor back together though. I really want to run this one on the stand and grab some video this time.

Broken heads on exhaust bolts are common enough on these engines. My 2000 pickup had two broken and when looking into it, I found a lot of information saying that the bolts were soft. I spoke to a machinist I was using for 3800 stuff at the time and a few GM techs. They said they heat the bolt a few times to get the dissimilar metals to come apart, and or weld a nut on the end of the bolt in order to spin it out. Doesn't appear it's that tough to get them out. I didn't get around to it since I'd have had to taken over a decade old exhaust off and it didn't effect the truck. For less than a minute you'd hear very little noise that went away the moment the engine started to get some heat.

Right. Once the head breaks off all the pressure is gone. After that they will usually spin out. I was fortunate that I had some stud to grab on to. Bummer for the guys who have them break off flush with the head surface. That's when you have to do the nut weld trick.

So next step was to pull the balancer. None of the rods in the parts store "rent a tool" puller were long enough so I improvised. My old 1/4" Starrett dowel punch worked perfect!

43573854724_072f0af63f_b.jpg


29355163547_c11217302e_b.jpg


Took longer to drive to AutoZone than to actually pull the balancer.

43573851314_7fafd5c5ca_b.jpg


I need to Scotch Brite the surface up real good to make sure there isn't a super deep groove in the snout. I'm certain that was one of the oil leaks. I'm hoping it was just a due to a 17 year old seal though.

I also ordered the cam. Should have that before the weekend. Still trying to figure out what springs I need. Going back and forth between PAC 1215's and 1218's. The only difference being the seat pressure. The 1215's are 105lb at 1.800" and the 1218's are 130lb at 1.800". Open to suggestion from experience here...
 
I assume since you did the S10 swap that you have the threaded rod to reinstall the balancer? Helped a buddy with a cam swap in his camaro and that seemed to be the only special tool needed. Saw that some guys had trouble with pulling ... oddly I was able to find a right combo of parts in the balancer removal kit to do the trick. I think it was the long rod and long threaded piece.
 
I assume since you did the S10 swap that you have the threaded rod to reinstall the balancer?


They say not to use the balancer bolt to reinstall the balancer. I think that's because with the balancer completely off, the balancer bolt only catches one, maybe two threads and there's a high probability of stripping the crank threads. All that just to say, when I did the S10 balancer I bought a longer M16 bolt from the hardware store to pull the balancer well on to the crank before switching over to the stock balancer bolt. Probably not recommended, but it works (so far).


oddly I was able to find a right combo of parts in the balancer removal kit to do the trick. I think it was the long rod and long threaded piece.


There's a couple different puller kits. The ones specific to the LS engines have that 3rd longer rod you speak of. The one I "borrowed" was labeled as a Chrysler balancer puller. The only difference being, it doesn't have the 3rd longer rod. Just the two shorties. The LS balancer puller isn't available at the O'reilly or Autozone near me so I improvised. Worked great though.


You would think, with the popularity of GM's gen3 engine, that would be the balancer puller kit that they'd stock... Shrug.


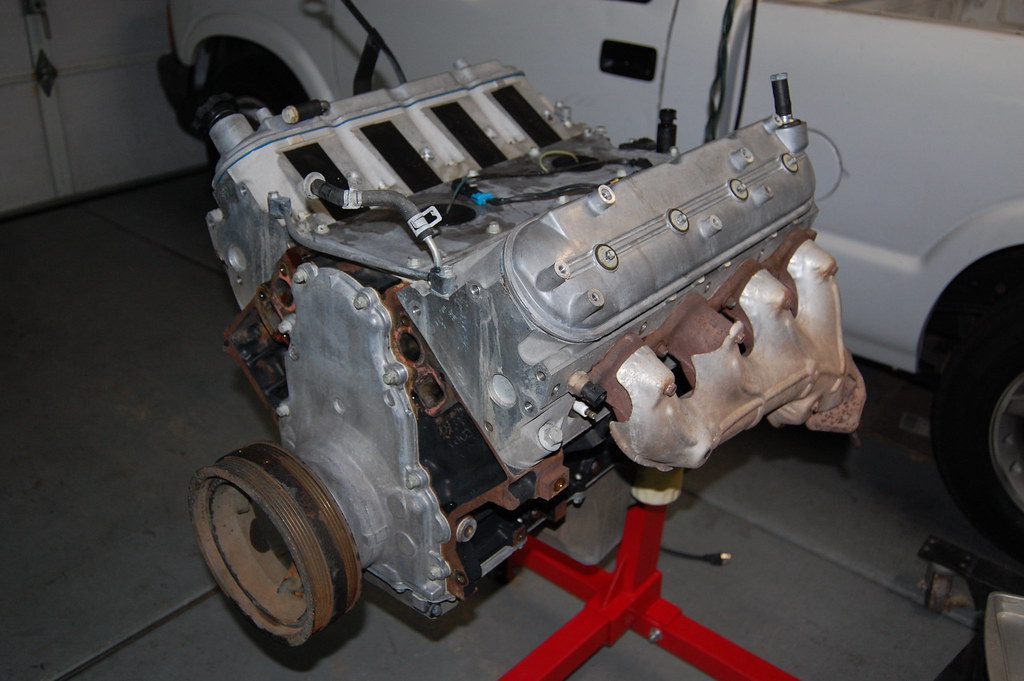
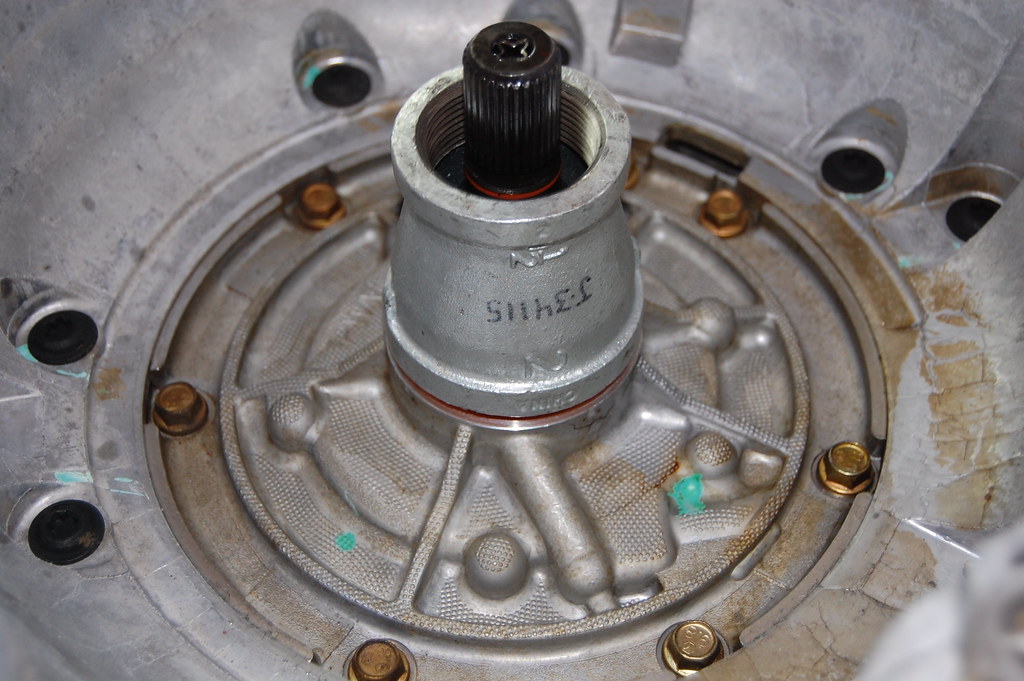
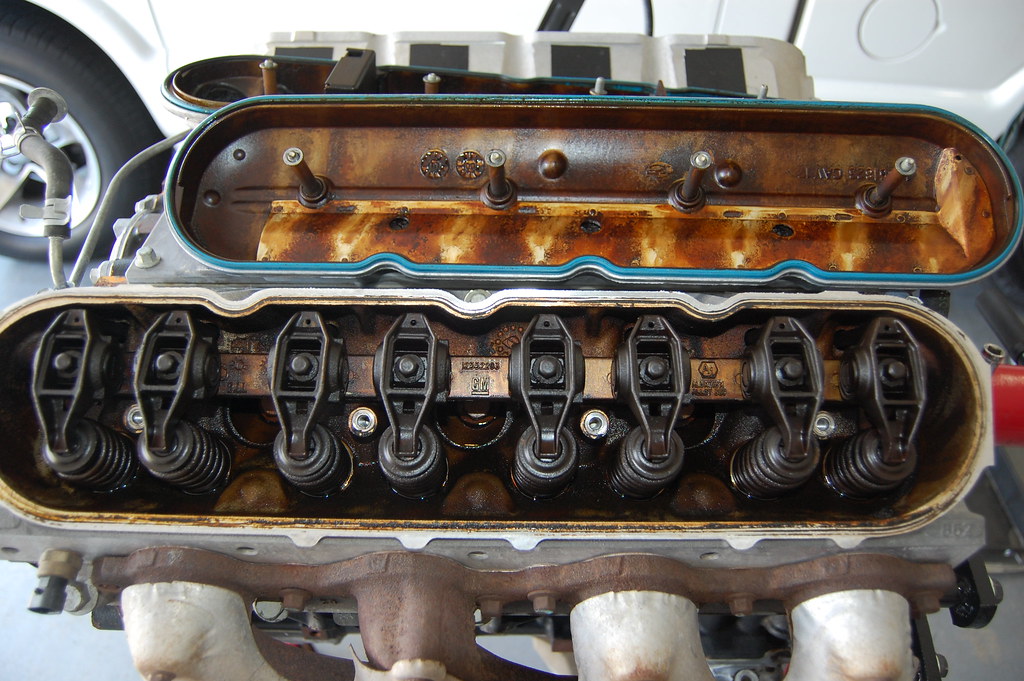
No major milestones today. Just more cleaning. Hit the balancer with a coat of satin while it was off. That will likely be the only painted piece on the engine.


29379217027_960418420b_b.jpg


Part of the reason I don't mind all the time I spend cleaning is, it gives me a chance to think... As I was cleaning, I thought to myself, I still need to figure out what I'm going to do about a rear VSS. After a little Googling, I found you can buy a 40 tooth tone ring for a 700r4/60e output shaft.


Amazon.com: ACDelco 24202711 GM Original Equipment Automatic Transmission Vehicle Speed Reluctor Wheel: Automotive


That, plus a threaded in VSS would be perfect. I can drill and tap a hole!


Amazon.com: Standard Motor Products SC168 Speed Sensor: Automotive


Just need to figure out where to put it all... It has to go before the T-case on the trans output. Otherwise, if I'm in 4-low my shift points will be jacked. My mechanical speedo will always be right because that's cable driven on the T-case output. So I got to looking at the trans output shaft and the T-case adapter. Long story short, there is no room for a tone ring and VSS there. Shoot. I guess I'll have to put it in the T-case looking at that output shaft and just deal with any weirdness if/when I'm in 4-low...


Then I thought some more. How did the Yukon manage shift points when it was in 4-low? Something must tell the PCM the truck is in 4-low. Sure enough, circuit 1694, pin 16 on the red connector is the "4 Wheel Drive Signal Switch Low". Sweet! Now how do I make that work? Thinking out loud... There's a light that comes on in the IPC of the K10 when you're in 4-low. I just need to tie into that circuit to feed the PCM. Probably need to step it down to 5v, but I'll cross that bridge when I get there. At least I have a working theory now.


I picked up the M16 threaded rod and stuff from McMaster as we weren't in a rush. Seems to be what all the LS guys do if they don't have the right toolkit.

what have others done for ring/etc?
 
I picked up the M16 threaded rod and stuff from McMaster as we weren't in a rush. Seems to be what all the LS guys do if they don't have the right toolkit.

When I was renting the puller, I saw that they had a balancer installer kit. I'll give that a shot when the time comes.

what have others done for ring/etc?

Looks like most guys switch to an NP241 case from a later GM 4x4. But then you lose the speedometer cable drive. So then they tell you to grab an IPC from a such and such year Blazer or Suburban cause that has an electric speedo. Right, cause those are a dime a dozen. (sarcasm) I mean, guys have done it before successfully by spending a bunch of money on old obscure parts or new fancy electronics, but that's not my style. I'm trying to solve a problem using what I have on hand with some ingenuity and fabrication. Not fancy. Just cheap, reliable and simple.


Gaskets are scheduled to be delivered tomorrow. Figured I'd get a jump on installing them. Thought it might be best to start at the back. Having said that, the motor had to come off the stand. This was my first chance to get a good look at it since the cleanup. About what I expected.

30468282678_691cf599bd_b.jpg


I'm sure it was a leaker, but I don't think it was the main source.

44334956351_f5d26960a3_b.jpg


Cover off next. Not sure why, but the camera didn't focus too well for this one.

44334955821_73f4593fac_b.jpg


Crank surface wasn't great.

30468286818_a1760d7ee7_b.jpg


But should clean up fine.

30468285578_dcc022bb8b_b.jpg


Not sure if this is good or bad, but it's the inside of the seal. I suppose it doesn't really matter. It's going in the trash.

30468289468_80548986c3_b.jpg


30468288158_8a7b85ca33_b.jpg


Cover cleaned up nice.

30468284288_a1c6cab4ac_b.jpg


Still need to do the surfaces on the block, but I ran out of time before dinner. Tomorrow...
 
Got an early start today. First step was cleaning the rear gasket surface.

43443497715_10934e4e97_b.jpg


Apprentice mark?

29413021367_ee69d7972c_b.jpg


I pulled the dumbbell to inspect. I'm hoping the conversion gasket set includes a new o-ring. I've heard stories of guys forgetting to put it back and having near zero oil pressure, so...

44349139641_7168d2950c_b.jpg


With that done, I moved up to the valley cover. Pulled the knock sensors. No way these are original. I'm going to run them. There's about $100 saved!

44349137881_e75d0f13ba_b.jpg


Yep. It's toast.

30482176688_e81f6125c2_b.jpg


The baked oil was so thick it peeled off like a gasket.

44300894452_c3bbe231c7_b.jpg


All cleaned up.

44300893622_fef03fae20_b.jpg


You'll be in my hands soon buddy!

29413019397_4b67df1dfe_b.jpg


The knock sensor posts were really bad. I had to pry the grommet rings off. Cleaned up okay though.

43632971894_6b35321598_b.jpg


Now to clean up the cover. Is this typical of a 244k mile engine?

30482174958_6f37d52894_b.jpg


Ready for assembly.

44349130911_d041522b93_b.jpg


That's as far as I want to go without the gaskets in hand.
 
Back
Top