You are using an out of date browser. It may not display this or other websites correctly.
You should upgrade or use an alternative browser.
You should upgrade or use an alternative browser.
My 1984 K10 - LM7 swap!!
- Thread starter BrandonHall10
- Start date
BrandonHall10
Solving problems
moving right along i see. what you use to clean your parts up? its like you got a part washer tub in the garage.
I buy SuperClean from Walmart by the gallon. Make sure you wear gloves if you use it full strength.
https://www.walmart.com/ip/SuperClean-Tough-Task-Cleaner-Degreaser-1-gal/23752162
IM sure iv mentioned it before,but you like sht so clean you need to powder coat stuff before reinstalling! Eyes need some candy too.
I'm more about just clean and simple, but I will admit, I've thought about buying a cheap Craigslist oven for the garage just to do powder coating. MAybe someday.
Parts! Means I can get more stuff done.

Rear cover on.

Flexplate on.

With that together, I was able to put the engine back on the stand. My back was happy. Valley cover gasket. I love that Fel-pro blue.

Cover torqued, Knock sensors in.

Valve covers next. Here's the before.
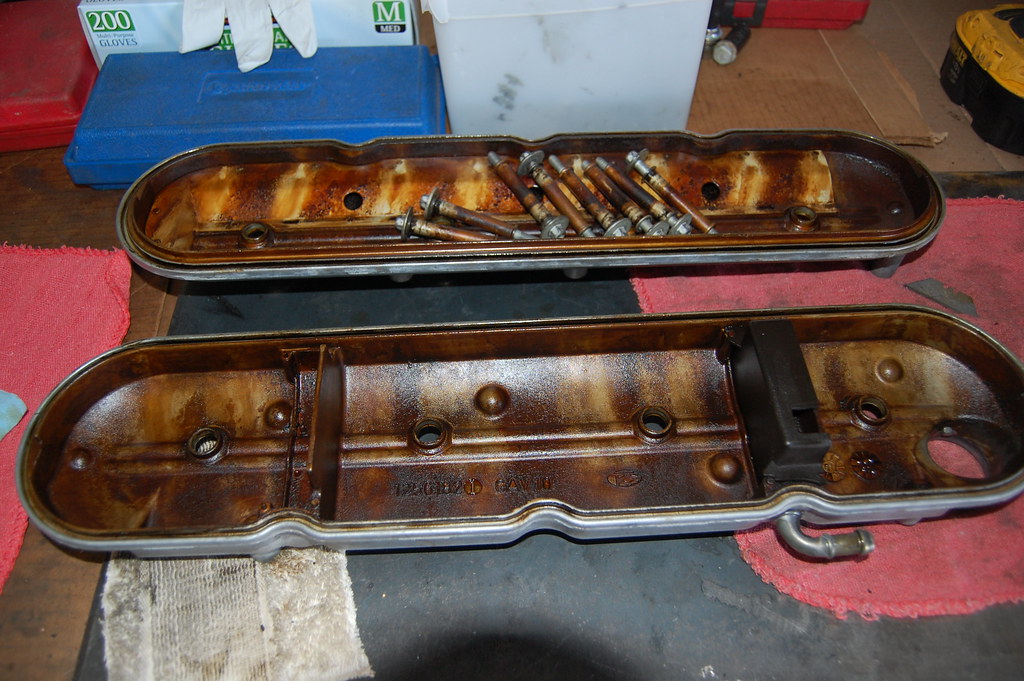
And the after.

Screws are soaking overnight. Final valve cover instal won't happen until after the cam/springs, but they'll be ready when the time comes.
BrandonHall10
Solving problems
Dude your like a super cleaning machine, quiet amazing. Do you sit on a bidet after poopin just wondering LOL
Full shower dude. I'm not an animal.
I got the screws all cleaned up, ready to (temporarily) pop the valve covers back on. Ran into a little setback. Tore the last two grommets while pushing them onto the screw tubes. First six went on fine. Maybe I got excited. Oh well. Ordered a grommet set off Amazon. A $10 mistake but I'll have some spares for when I do the same thing next time.

Gasket surface is clean though.

That's pretty much the extent of what I did today. I was all set to peel the front cover off and get started on the cam instal since it got delivered today. However, I decided to hold off on that. While inspecting the cam, I noticed some rust. Admittedly it wasn't a lot, but what was there felt pretty bad. Deep enough to catch a fingernail. It was on every lobe and the the journals. Looks like they packaged it while it was still wet with grinding coolant. No rust inhibitor. I messaged the seller. We'll see what they say.


idrivejunk
Active member
Curious what the seller says about that bumpstick.
BrandonHall10
Solving problems
Curious what the seller says about that bumpstick.
They apologized profusely and reassured me it was a brand new cam. They are sending a replacement. No harm, no foul. (Assuming the replacement looks better than what I have already)
journals look ok...... how do you get those gasket surface so dam clean? I need whatever you use in my life
Gentle touch with a sharp gasket scraper → brake clean → green scotch brite. It takes time, but you can't argue with the results.
BillBoost37
New member
Same thing here for gasket surfaces.. works great. Brake cleaner is my favorite go to.
And...you know that Advance Auto sells Purple Power in a 5 gallon bucket? Got mine for 1/4 price because the bucket had a gouge in it.
And...you know that Advance Auto sells Purple Power in a 5 gallon bucket? Got mine for 1/4 price because the bucket had a gouge in it.
BrandonHall10
Solving problems
And...you know that Advance Auto sells Purple Power in a 5 gallon bucket? Got mine for 1/4 price because the bucket had a gouge in it.
Hmmm.... That might come in handy for what I have planned in the near future,
Well I spent a bunch of hours in the garage today. Got a fair bit done. Nothing exciting though. Just more cleaning. First thing I did was pop the front cover off.

Yikes.

Cleaned up nice enough.

The cover before.
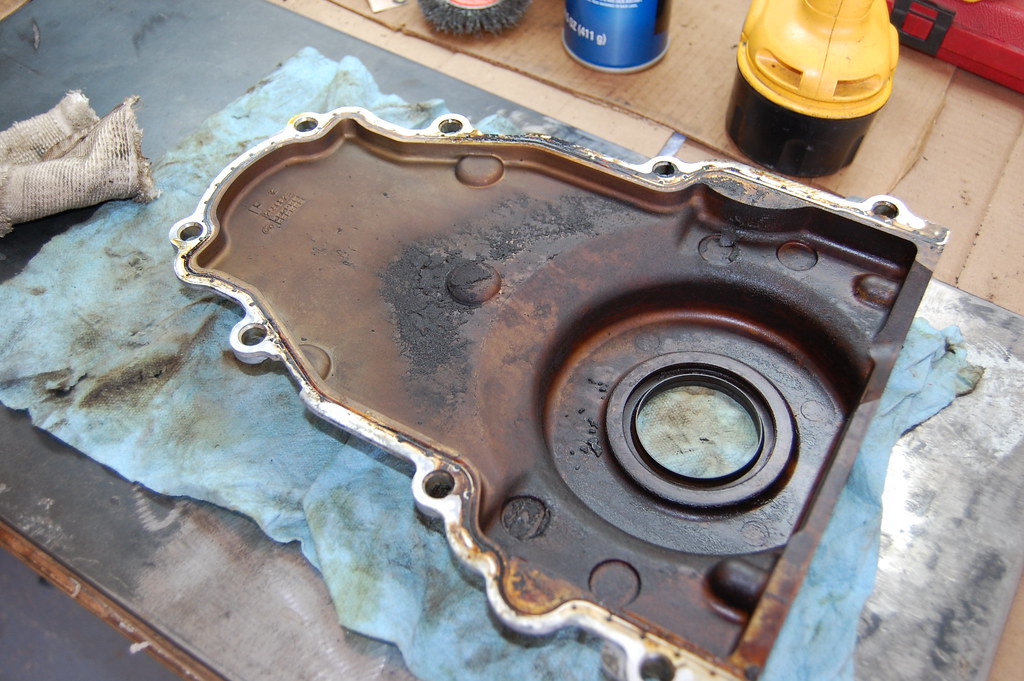
And after. With new seal installed.

Brought the intake in from the (Yukon) storage unit. That's going to take some work.

Throttle body before.

And after.

Amazon 2 day came through.
And FedEx brought my springs. Should be able to start on those tomorrow,

BrandonHall10
Solving problems
Well today was spring day. I also opted to do valve guide seals while I was there. Everything went pretty smooth. Using that hand crank spring compressor wasn't great, but I didn't launch any retainers or keepers into space, so I'm calling that a win.
Just getting started.
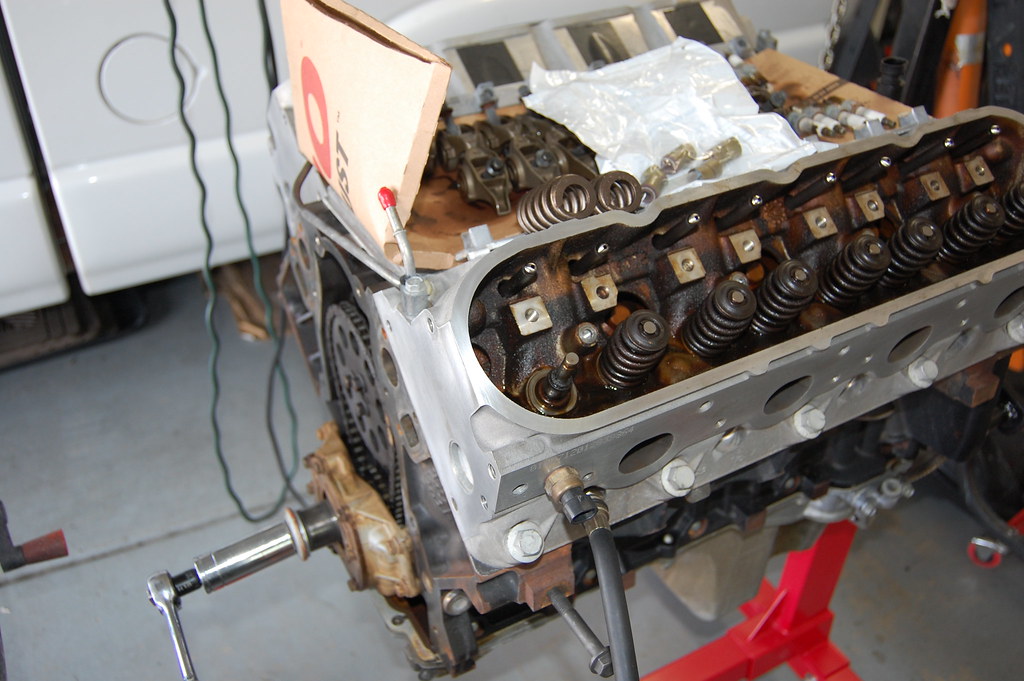
Hours later. It's actually raining as I take this picture. That doesn't happen a lot in Tucson, so I enjoy it.

Here's what I came up with for that crusty intake. Going to keep moving it around and maybe add a couple more gallons of cleaner. Hopefully I can get the majority of the goo out of it.

Just getting started.
Hours later. It's actually raining as I take this picture. That doesn't happen a lot in Tucson, so I enjoy it.
Here's what I came up with for that crusty intake. Going to keep moving it around and maybe add a couple more gallons of cleaner. Hopefully I can get the majority of the goo out of it.
BrandonHall10
Solving problems
...Waiting on the cam...
In the meantime, more cleaning. Focused on the intake manifold. Looks like my plan is working. Long soaks with occasional position changes. You can see the waterline on the top of the intake tube.


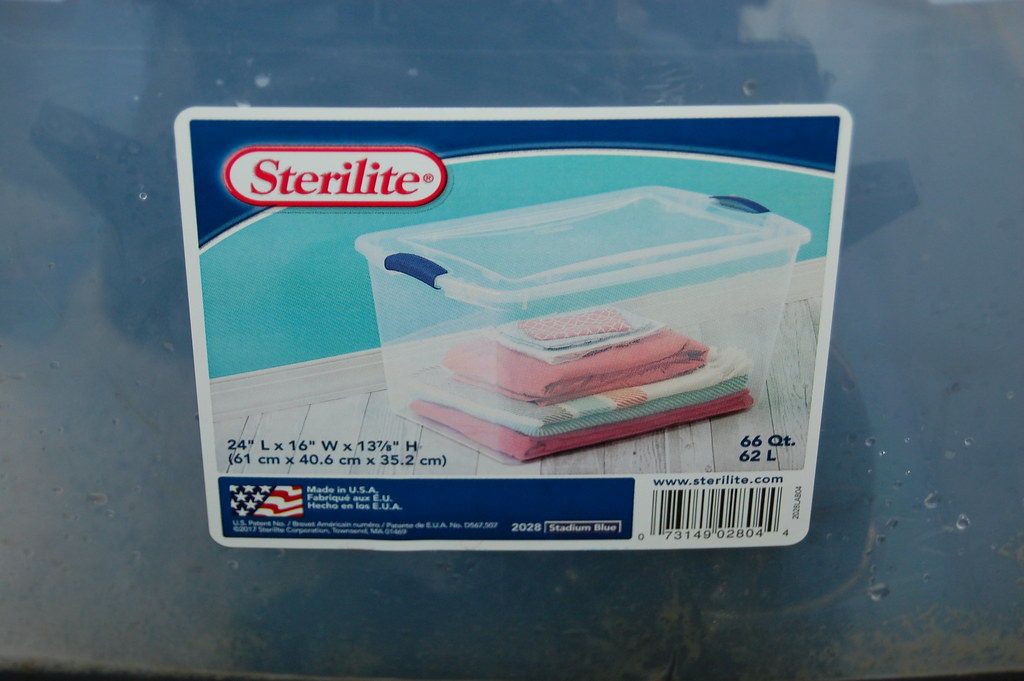
Couple more days and it should be clean as a whistle. For anyone wondering, this Sterilite container from Walmart is about the perfect size.

I think once the K10 is done and I tear back into the S10, I'll be doing this to that intake manifold as well. I got it kind of clean, but nowhere near as clean as this one will be.
In the meantime, more cleaning. Focused on the intake manifold. Looks like my plan is working. Long soaks with occasional position changes. You can see the waterline on the top of the intake tube.
Couple more days and it should be clean as a whistle. For anyone wondering, this Sterilite container from Walmart is about the perfect size.
I think once the K10 is done and I tear back into the S10, I'll be doing this to that intake manifold as well. I got it kind of clean, but nowhere near as clean as this one will be.
Scottydoggs
Killa Bee
on the heads, casting #706 is the crappy ones.
BillBoost37
New member
Which ones you got?
BrandonHall10
Solving problems
on the heads, casting #706 is the crappy ones.
Which ones you got?
I have 862's on this one. Which were also prone to cracking, but mostly (if not exclusively) if they were "Castech" castings. At least that's what the internet says. My heads do not have the Castech logo.

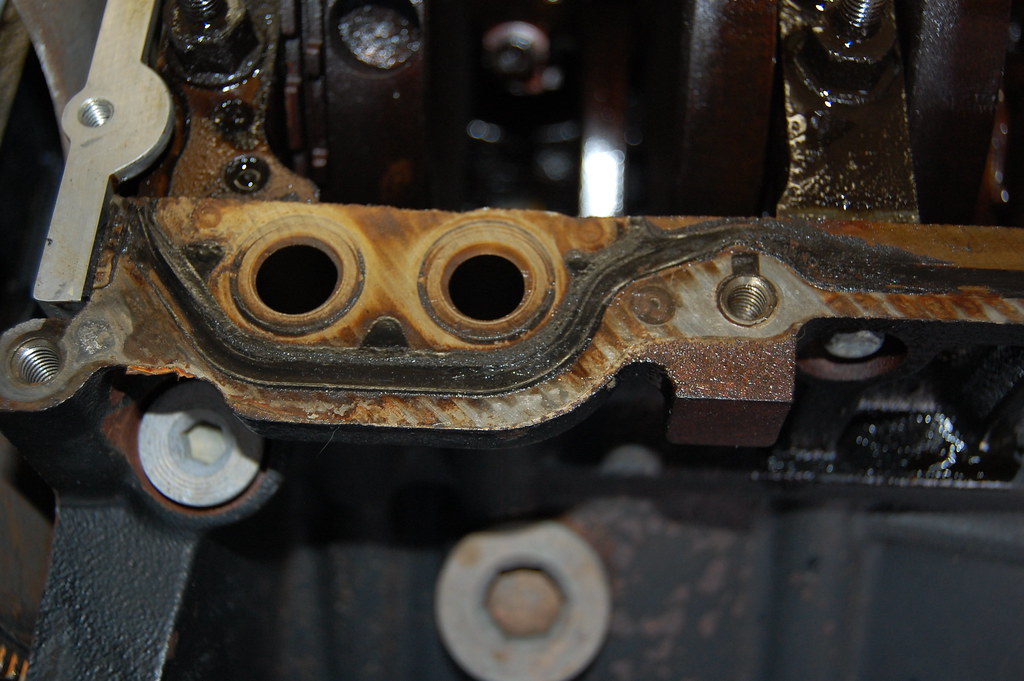
There was no oil in the coolant or coolant in the oil, so I feel good about them for the time being.
BrandonHall10
Solving problems
Replacement cam came today. Looks much better. There's a proper coating of rust inhibitor all over it.


I promptly took the old cam out. I let gravity hold the lifters "up" for me.

Everything looks good from here.

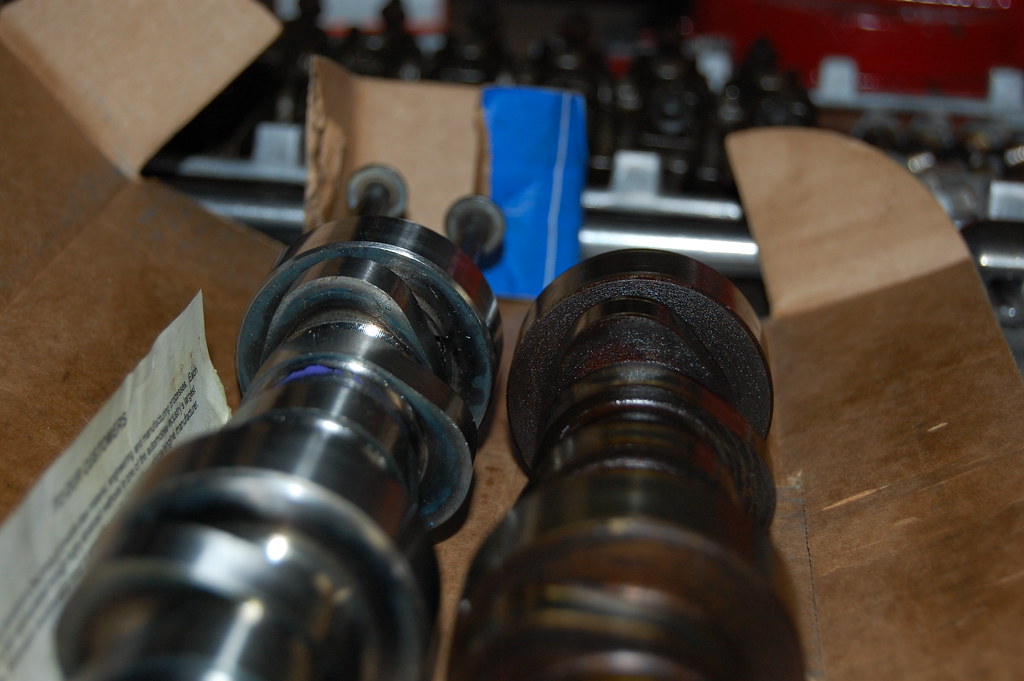
Not sure how well you can see, but I wanted to get a side by side of the lobe profiles.
New cam going in. I took the oil pan off to see what was going on. The old cam put up a fight coming out. Got hung up hard on the second journal. Wasn't sure what was going on at the time. Looking back, my guess is that it just got hung up on that thick layer of carbon gunk buildup.

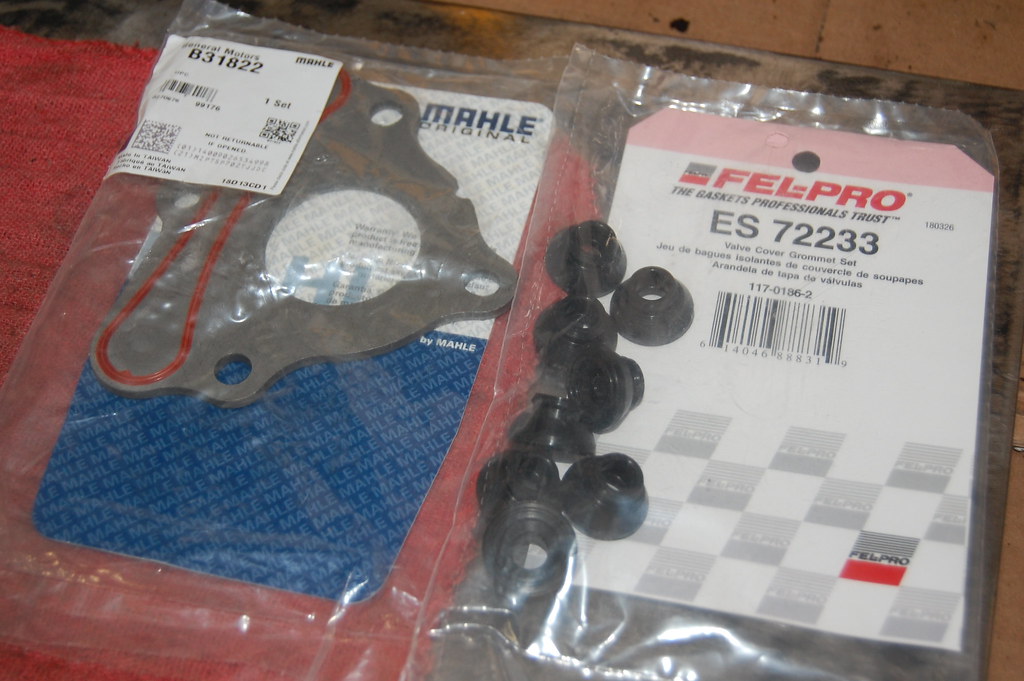
New cam retainer plate. I've seen guys reuse them, but it's also recommended to replace it. For $18.60, I decided to just get a new one.

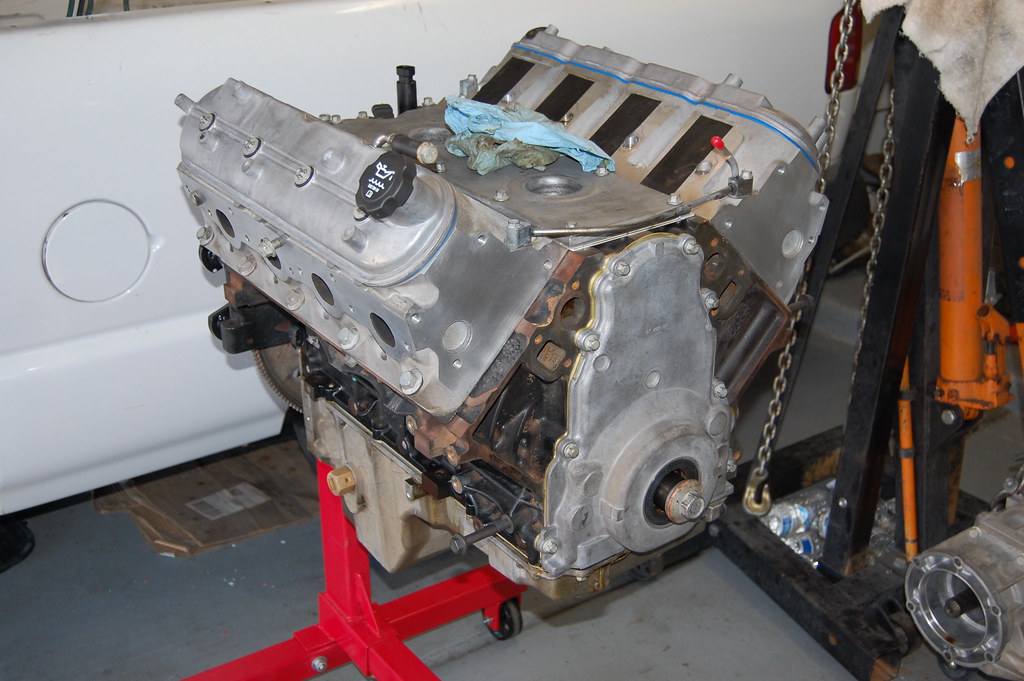
All buttoned up and rolled back upright. Tomorrow is oil pan gasket.
I did notice after torquing the rockers down, there was still a gap in there. Probably around 0.035" just going by eye. I'm assuming this is because the lifters need to pump back up?
I promptly took the old cam out. I let gravity hold the lifters "up" for me.
Everything looks good from here.
Not sure how well you can see, but I wanted to get a side by side of the lobe profiles.
New cam going in. I took the oil pan off to see what was going on. The old cam put up a fight coming out. Got hung up hard on the second journal. Wasn't sure what was going on at the time. Looking back, my guess is that it just got hung up on that thick layer of carbon gunk buildup.
New cam retainer plate. I've seen guys reuse them, but it's also recommended to replace it. For $18.60, I decided to just get a new one.
All buttoned up and rolled back upright. Tomorrow is oil pan gasket.
I did notice after torquing the rockers down, there was still a gap in there. Probably around 0.035" just going by eye. I'm assuming this is because the lifters need to pump back up?
BillBoost37
New member
Most likely you are right on the lifters. Also on the engine... it could be cleaner inside, easy enough to fix with a few early oil changes.
BrandonHall10
Solving problems
Also on the engine... it could be cleaner inside, easy enough to fix with a few early oil changes.
Maybe a little ATF in the mix also. All in due time.
I did notice after torquing the rockers down, there was still a gap in there. Probably around 0.035" just going by eye. I'm assuming this is because the lifters need to pump back up?
Looks like nope. Turns out the base circle on the new cam is 0.0375" smaller per side (0.075" on the diameter) than the stock cam. Stock/old cam base circle diameter was 1.550". New cam base circle diameter is 1.475". I guess I'll be buying new pushrods. There's $100 I didn't want to spend. The question now becomes, do I buy the pushrod length checking tool or just order some 7.440" pushrods. Something tells me I should drop the $20 on the tool and wait the two weeks to get right length. I can't be the first person this has happened to. I wonder what other people have ended up with for a final length. I'm going to make a separate post on LS1tech...
Stock cam base circle diameter.

New cam base circle.

Stock pushrod. I'm calling that 7.4" on the nose. (Scale is "Zeroed" at 2" on the other end)


More cleanup in the meantime.


Well, I got this clean at least.

Gotta do some Googling on those pushrods...
BrandonHall10
Solving problems
Didn't get much done today. Spent all morning running new wire for the lights on my tow dolly.

Took the time to run the wires through the frame. Drilling holes and fishing wire... Hopefully this lasts longer than the last rig job.

I did get the windage tray put back on.

And the intake put together.


Going to let this simmer overnight.

Took the time to run the wires through the frame. Drilling holes and fishing wire... Hopefully this lasts longer than the last rig job.
I did get the windage tray put back on.
And the intake put together.
Going to let this simmer overnight.
BillBoost37
New member
You just letting this stuff simmer in diluted purple power?
BrandonHall10
Solving problems
You just letting this stuff simmer in diluted purple power?
Pretty much. The steel pieces and fasteners get a soak in the full strength cleaner. Typically for a day. The aluminum pieces, like the front and rear covers, get a spray and scrub. I don't like to soak those due to the corrosion. That oil pan was so bad, I was willing to accept a little corrosion to get the sludge out.
Harmonic balancer is back on. I "rented" the Autozone installer and it worked great.


Drilled and tapped the oil bypass thing for the K10's oil pressure sensor.

I just used some random S10 fitting to make sure I had the proper thread depth.

With that done I could get the oil pan put back together.

Pan is back on waiting for the final torque.

Probably slap the intake on it tomorrow. Hopefully the pushrod length tool gets here early in the week. I'd like to order pushrods before the weekend.