bustaphoto
New member
Sooooooo I have to re spray some of my door moldings. I have never done a paint job with the intension of making it look all glossy and nice or even match the color... Here is a chart of the OEM colors in case anyone stumbles upon this thread and needs it

Here is a list of everything I'm getting for this project any input any additional, un-needed items, and preferred brands would be great.
Assorted Sand Paper (I have a foam disc hand sander) for sanding/roughing old paint (Added some 400 grit paper the assorted pack didn't bring anything rougher than 600 which is not enough to get through the rough areas of the paint in my case it was really bad)
https://www.amazon.com/gp/product/B0184625UE/ref=ox_sc_sfl_title_4?ie=UTF8&psc=1&smid=A2GHAUJSN20LQE
Added:
https://www.amazon.com/gp/product/B00JMHBENO/ref=oh_aui_detailpage_o04_s00?ie=UTF8&psc=1
Filler/Primer (I'm not sure if this is any good but I like the idea)
https://www.amazon.com/Dupli-Color-...=1486496255&sr=1-4&keywords=automotive+primer
Actual Paint
https://www.amazon.com/gp/product/B00407TTEC/ref=ox_sc_sfl_title_2?ie=UTF8&psc=1&smid=ATVPDKIKX0DER
Clear Coat - Went with 2k clear coat which has a 2 part mix just like pro paints that come out of a gun.
https://www.amazon.com/Spray-High-Gloss-Clearcoat-Aerosol/dp/B0043B7UQY/ref=sr_1_1?ie=UTF8&qid=1489245883&sr=8-1&keywords=2k+clear+coat
3000 Grit Wet Sanding paper
https://www.amazon.com/gp/product/B01K2WNI2W/ref=ox_sc_sfl_title_5?ie=UTF8&psc=1&smid=A2GHAUJSN20LQE
I found a sweet drill adaptor from Meguiar's this is way better than a regular drill adaptor because it has dual action meaning it rotates and oscillates up and down causing a non uniform pattern giving you a more effective polish, its also harder to F up the paint because its movement throws the removed material further away giving you a clean surface to work on. There are different kinds of polishers on the market some that just spin others that orbit and some that even have a clutch that stops spinning when specific pressure is applied and then there are the random orbiting polisher all of which are great but start at 3 times the price this adaptor is available for
https://www.amazon.com/gp/product/B009OBVRY4/ref=od_aui_detailpages00?ie=UTF8&psc=1
and it's Compound and Polish with accompanied pads.
https://www.amazon.com/gp/product/B009OBVS20/ref=od_aui_detailpages00?ie=UTF8&psc=1
https://www.amazon.com/gp/product/B009OBVXDO/ref=od_aui_detailpages00?ie=UTF8&psc=1
I'm gonna go above and beyond and try to repair and fill my rocker panel.
Adhesive patch to add some structure and give the bondo something to grab onto
https://www.amazon.com/gp/product/B000HA9O5A/ref=oh_aui_detailpage_o03_s00?ie=UTF8&psc=1
some bondo I'm not sure if this is the right stuff, we are gonna find out
https://www.amazon.com/gp/product/B0002JM8PY/ref=oh_aui_detailpage_o04_s01?ie=UTF8&psc=1
**Luxury Items**
I read that tac cloth is good between coats so I got me some of that
https://www.amazon.com/gp/product/B00004YOTM/ref=oh_aui_detailpage_o03_s00?ie=UTF8&psc=1
and also a handle for the spray cans cuz why not
https://www.amazon.com/gp/product/B0015RJ41I/ref=oh_aui_detailpage_o03_s00?ie=UTF8&psc=1
and some prep spray I am gonna need for the rocker angel since I will not be repainting the whole thing just trying to feather in the dupli-color
https://www.amazon.com/gp/product/B002969BQW/ref=oh_aui_detailpage_o01_s00?ie=UTF8&psc=1
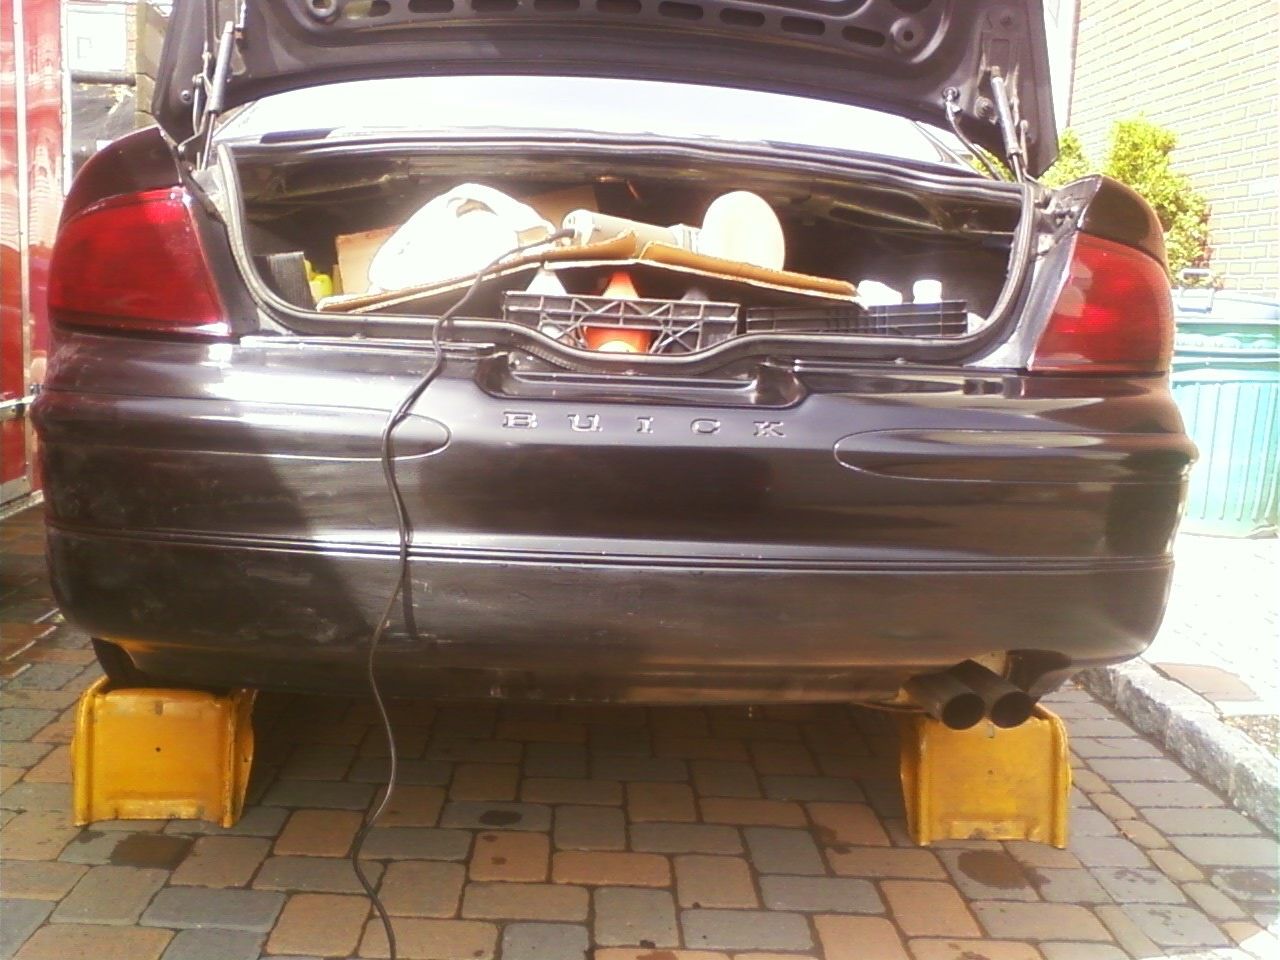
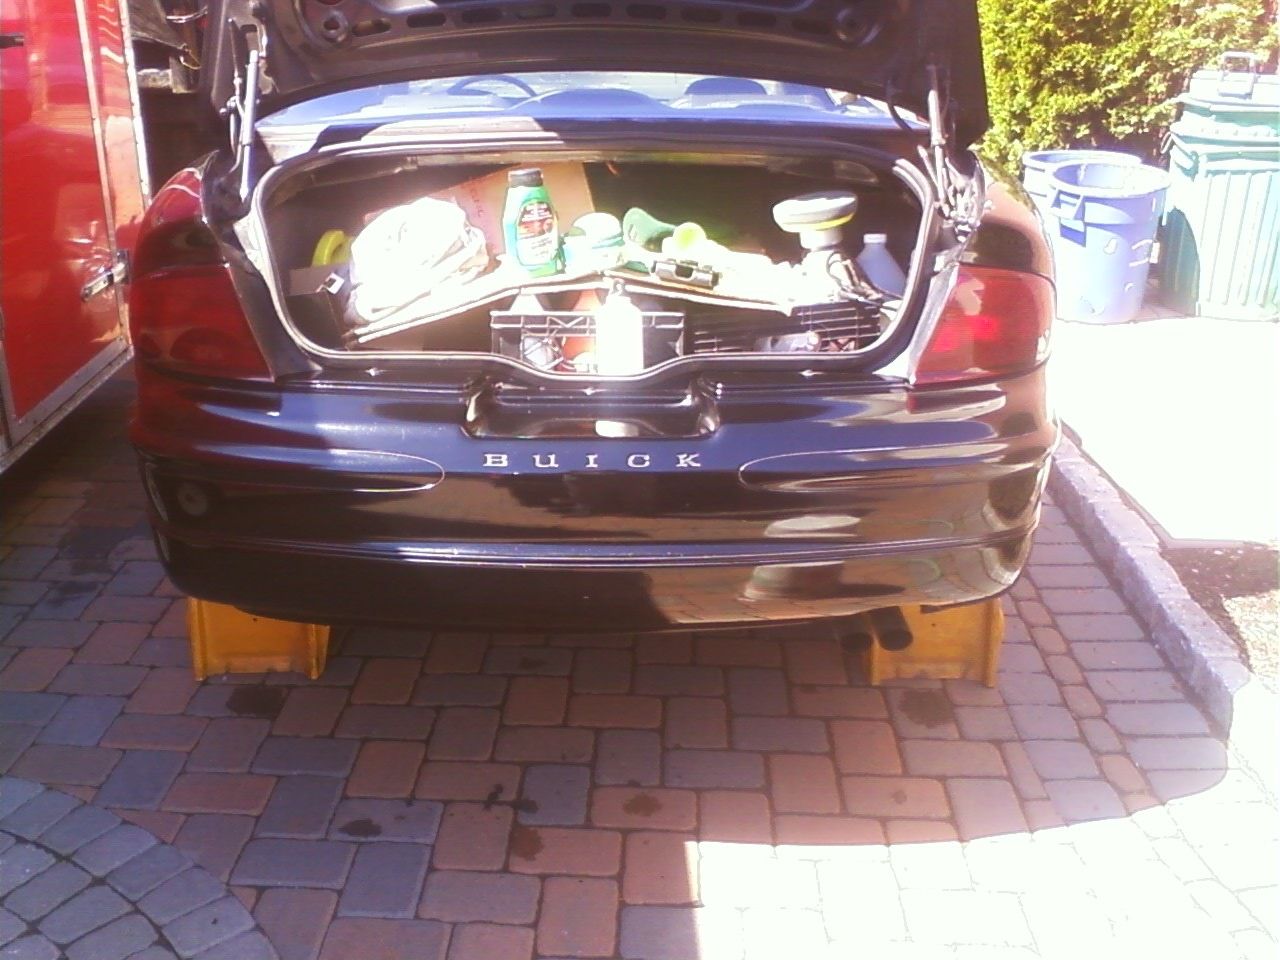
One of the panels I want to match better

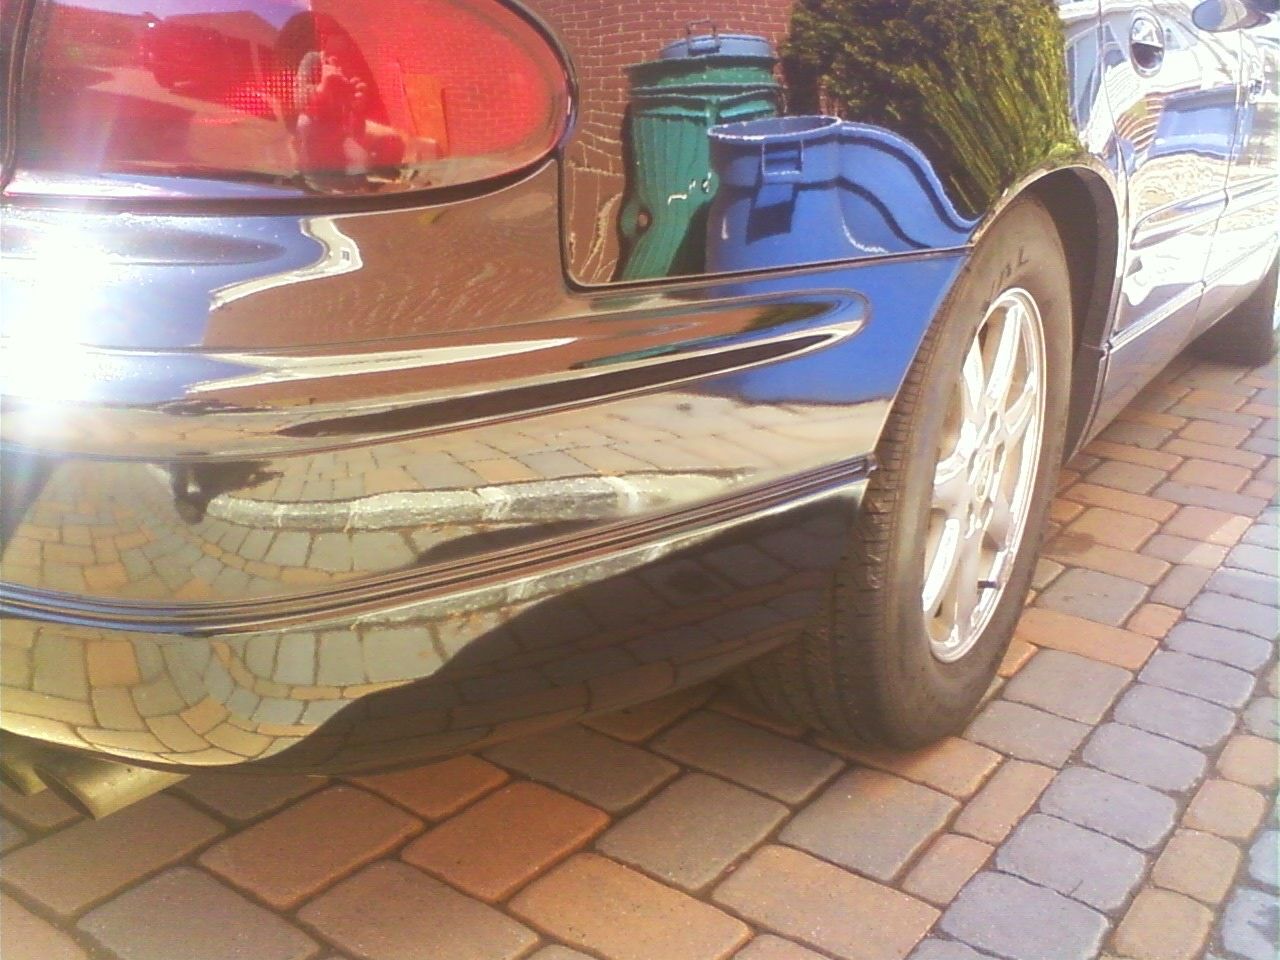
Here is the really bad panel

Again, I am a total noob at this so any help would be appreciated
Here is a list of everything I'm getting for this project any input any additional, un-needed items, and preferred brands would be great.
Assorted Sand Paper (I have a foam disc hand sander) for sanding/roughing old paint (Added some 400 grit paper the assorted pack didn't bring anything rougher than 600 which is not enough to get through the rough areas of the paint in my case it was really bad)
https://www.amazon.com/gp/product/B0184625UE/ref=ox_sc_sfl_title_4?ie=UTF8&psc=1&smid=A2GHAUJSN20LQE
Added:
https://www.amazon.com/gp/product/B00JMHBENO/ref=oh_aui_detailpage_o04_s00?ie=UTF8&psc=1
Filler/Primer (I'm not sure if this is any good but I like the idea)
https://www.amazon.com/Dupli-Color-...=1486496255&sr=1-4&keywords=automotive+primer
Actual Paint
https://www.amazon.com/gp/product/B00407TTEC/ref=ox_sc_sfl_title_2?ie=UTF8&psc=1&smid=ATVPDKIKX0DER
Clear Coat - Went with 2k clear coat which has a 2 part mix just like pro paints that come out of a gun.
https://www.amazon.com/Spray-High-Gloss-Clearcoat-Aerosol/dp/B0043B7UQY/ref=sr_1_1?ie=UTF8&qid=1489245883&sr=8-1&keywords=2k+clear+coat
3000 Grit Wet Sanding paper
https://www.amazon.com/gp/product/B01K2WNI2W/ref=ox_sc_sfl_title_5?ie=UTF8&psc=1&smid=A2GHAUJSN20LQE
I found a sweet drill adaptor from Meguiar's this is way better than a regular drill adaptor because it has dual action meaning it rotates and oscillates up and down causing a non uniform pattern giving you a more effective polish, its also harder to F up the paint because its movement throws the removed material further away giving you a clean surface to work on. There are different kinds of polishers on the market some that just spin others that orbit and some that even have a clutch that stops spinning when specific pressure is applied and then there are the random orbiting polisher all of which are great but start at 3 times the price this adaptor is available for
https://www.amazon.com/gp/product/B009OBVRY4/ref=od_aui_detailpages00?ie=UTF8&psc=1
and it's Compound and Polish with accompanied pads.
https://www.amazon.com/gp/product/B009OBVS20/ref=od_aui_detailpages00?ie=UTF8&psc=1
https://www.amazon.com/gp/product/B009OBVXDO/ref=od_aui_detailpages00?ie=UTF8&psc=1
I'm gonna go above and beyond and try to repair and fill my rocker panel.
Adhesive patch to add some structure and give the bondo something to grab onto
https://www.amazon.com/gp/product/B000HA9O5A/ref=oh_aui_detailpage_o03_s00?ie=UTF8&psc=1
some bondo I'm not sure if this is the right stuff, we are gonna find out
https://www.amazon.com/gp/product/B0002JM8PY/ref=oh_aui_detailpage_o04_s01?ie=UTF8&psc=1
**Luxury Items**
I read that tac cloth is good between coats so I got me some of that
https://www.amazon.com/gp/product/B00004YOTM/ref=oh_aui_detailpage_o03_s00?ie=UTF8&psc=1
and also a handle for the spray cans cuz why not
https://www.amazon.com/gp/product/B0015RJ41I/ref=oh_aui_detailpage_o03_s00?ie=UTF8&psc=1
and some prep spray I am gonna need for the rocker angel since I will not be repainting the whole thing just trying to feather in the dupli-color
https://www.amazon.com/gp/product/B002969BQW/ref=oh_aui_detailpage_o01_s00?ie=UTF8&psc=1
One of the panels I want to match better
Here is the really bad panel
Again, I am a total noob at this so any help would be appreciated
Last edited:

")


