stlmo_gtp
New member
in this tutorial i will explain how to fill in the holes on your valve covers to give your engine a whole new look, i recommend that you
try this one a extra valve cover, from the yard or where ever else you might attain one.
Items needed:
Valve Cover
Fiber Glass Resin
Body Filler (optional)
180, 320, 600 grit sandpaper
Dremel (not needed but makes some things easier)
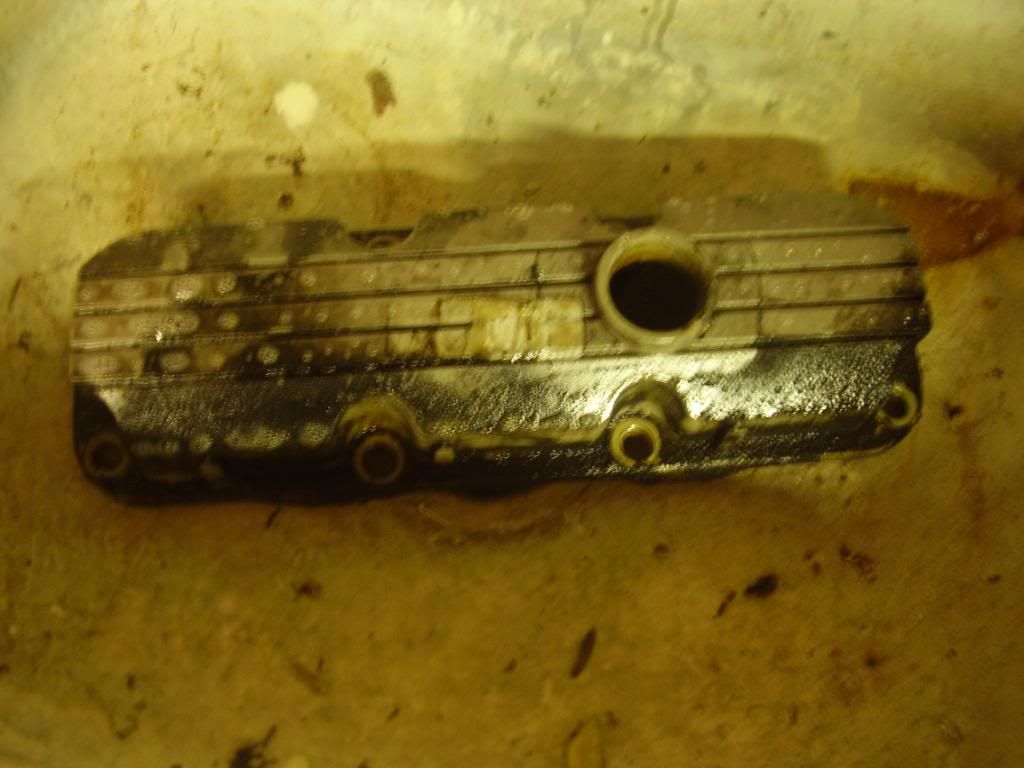
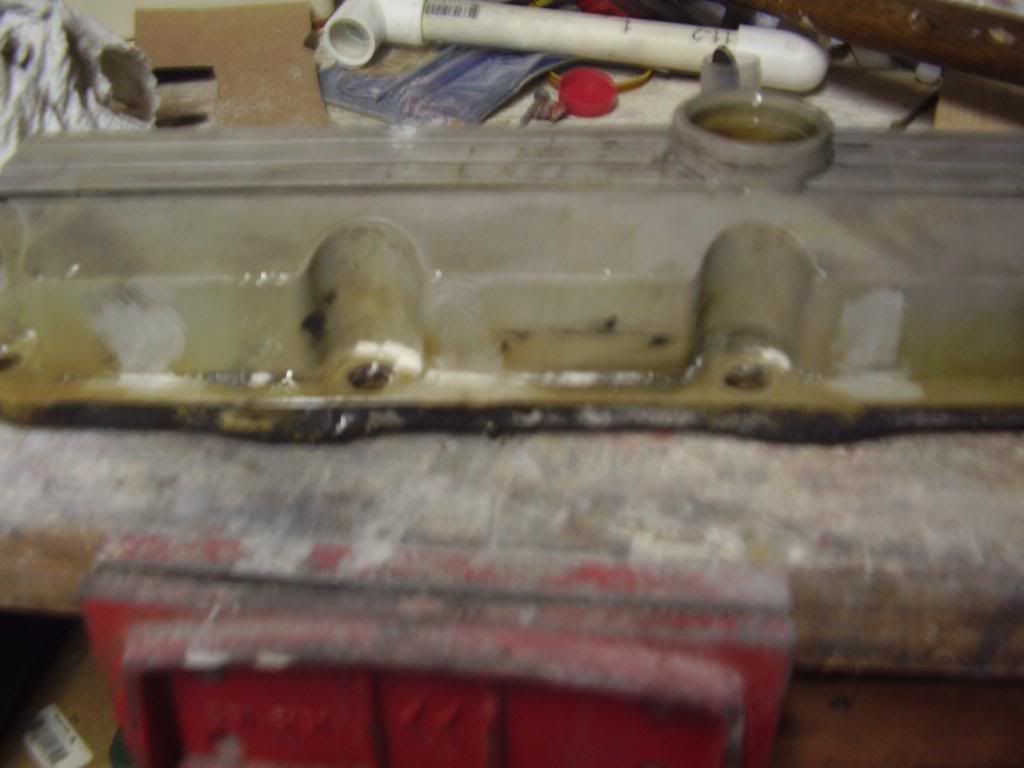
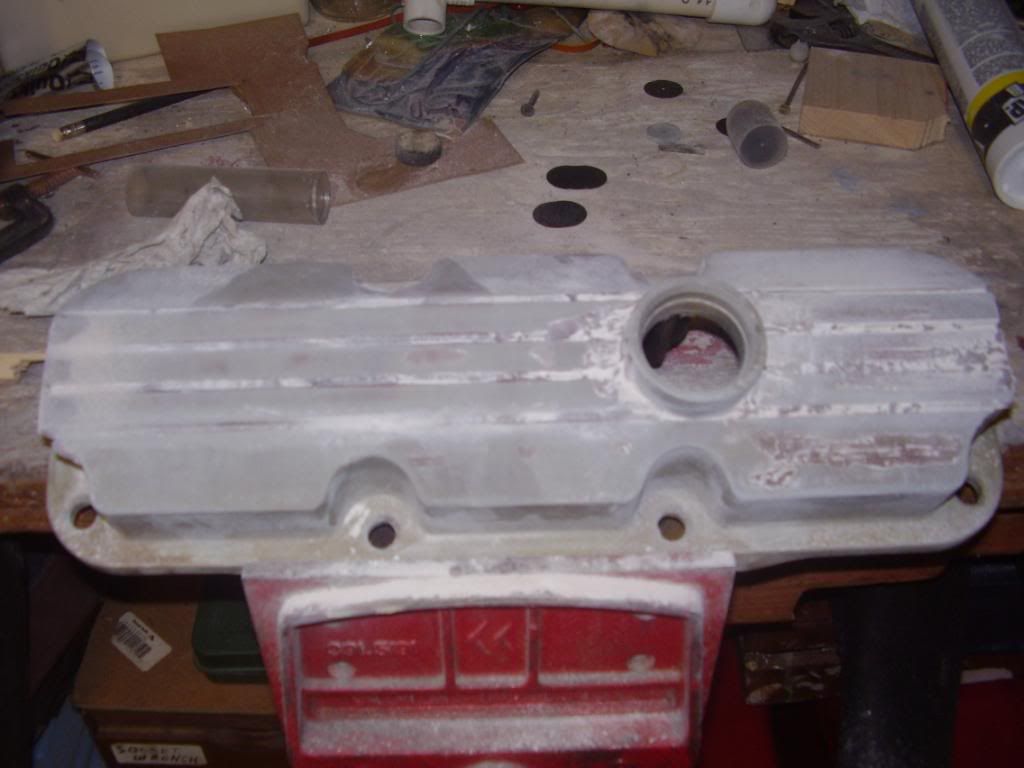
Here is what i started with (picked up at the junk yard for $10)
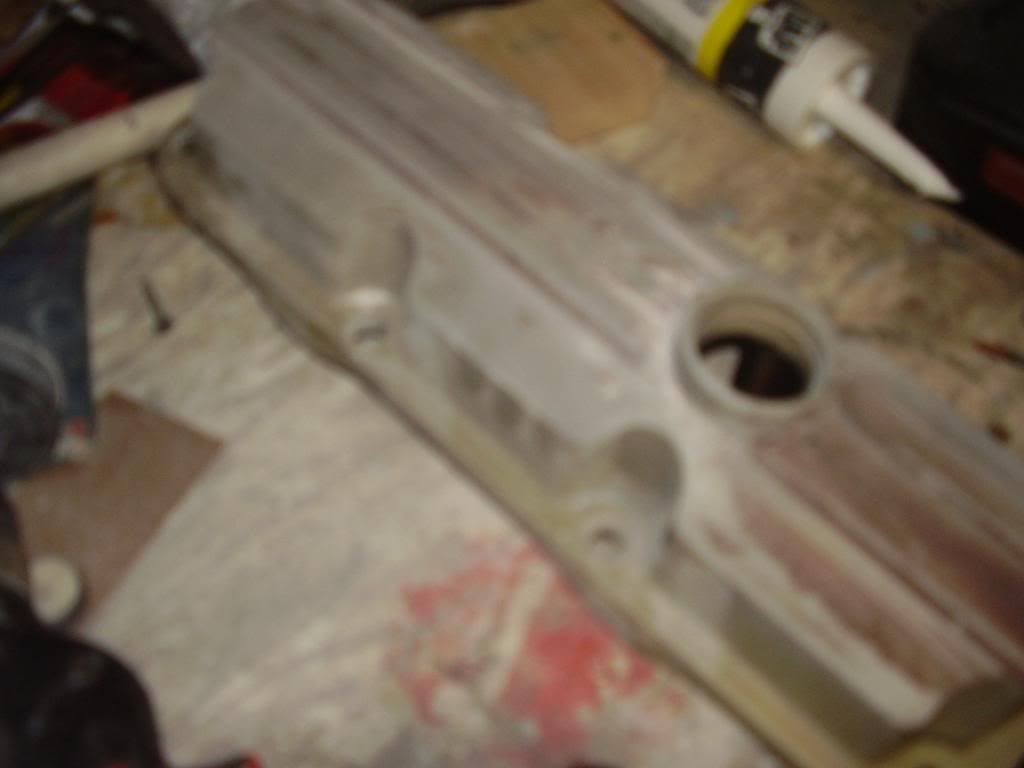
First, i cleaned it up by using some simple green and some elbow grease
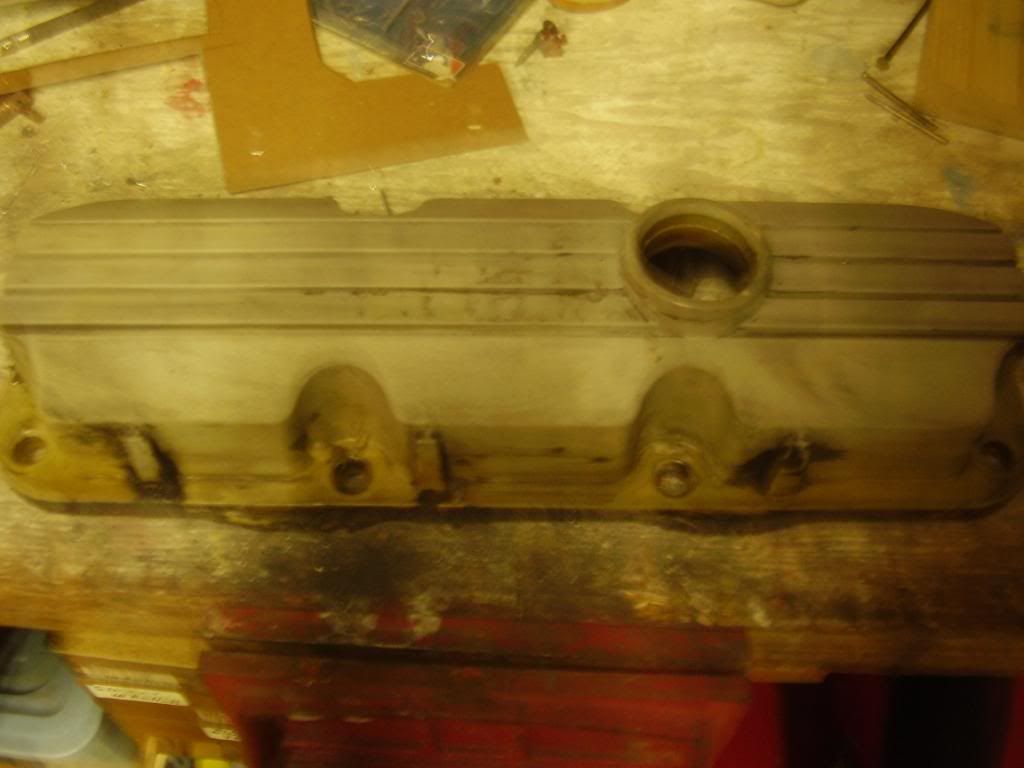
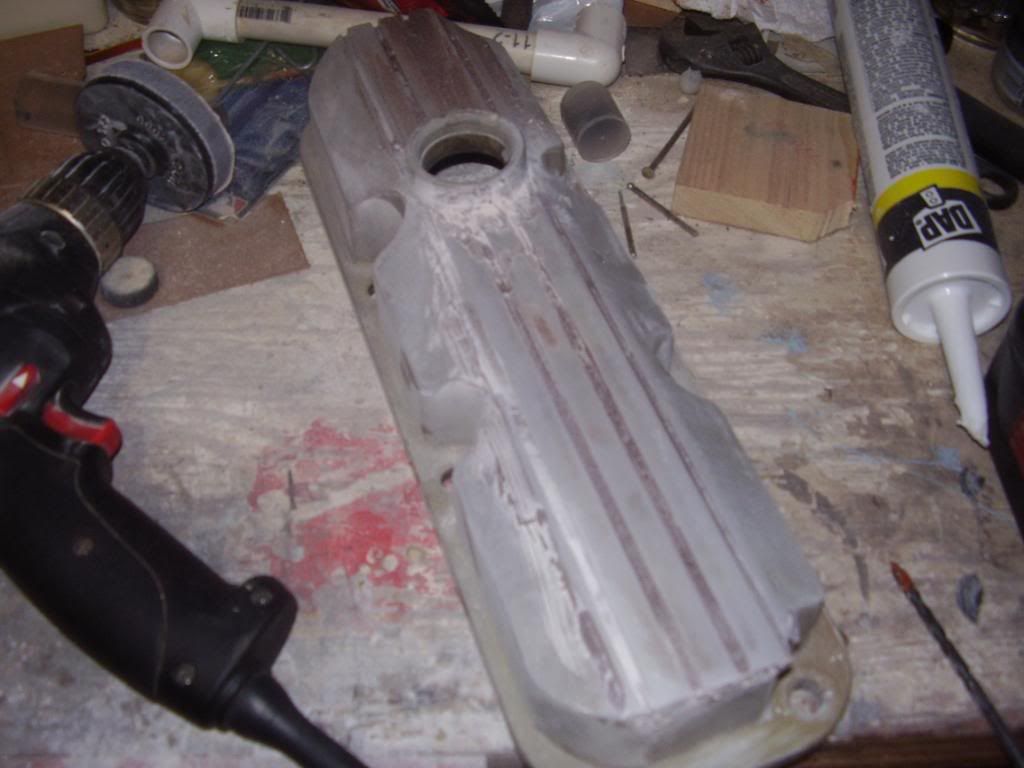
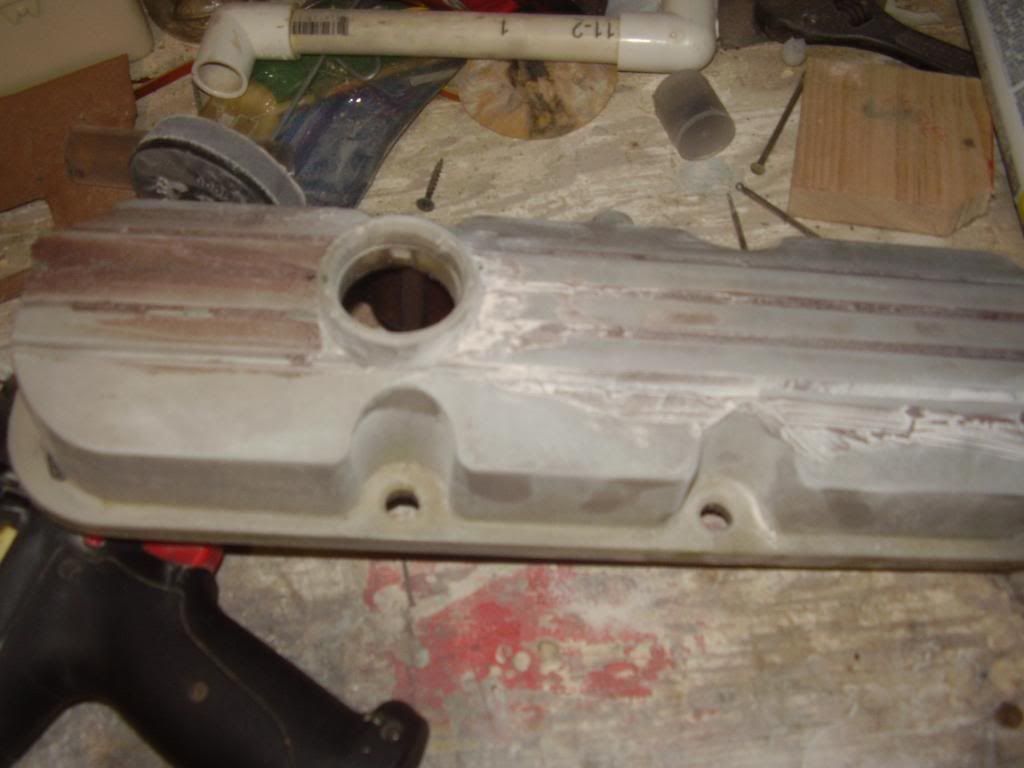
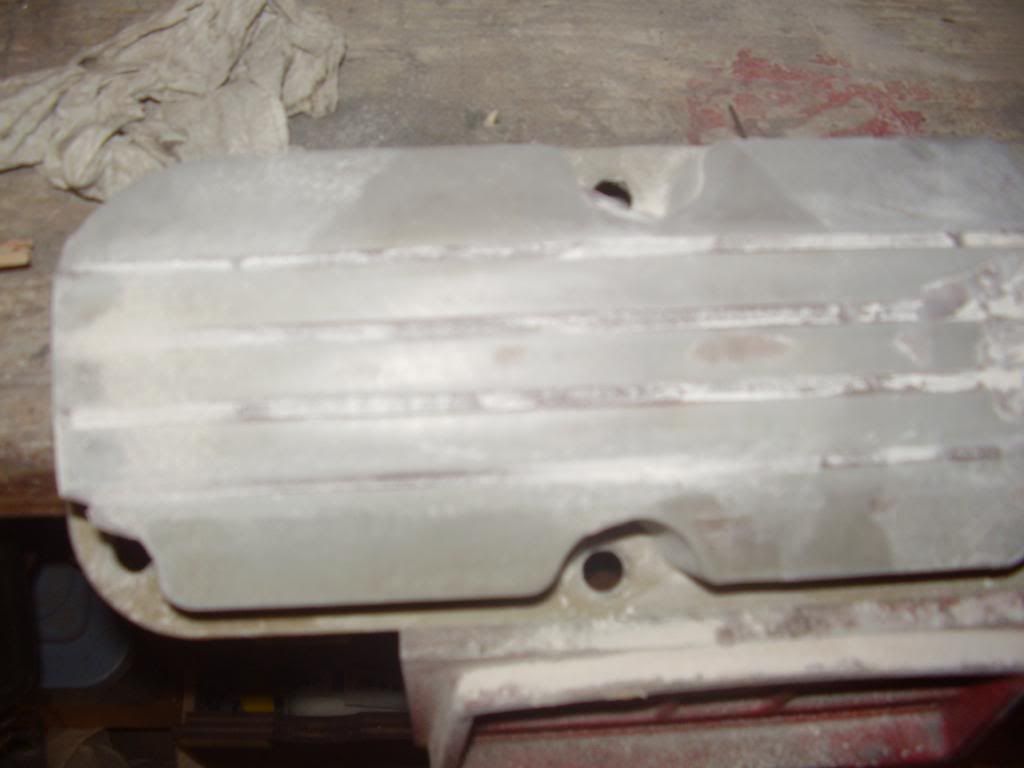
Next i wanted to get rid of the little tabs up front so i used a dremel with a cutting wheel to those off, and then used a sanding
disc to smooth it out.
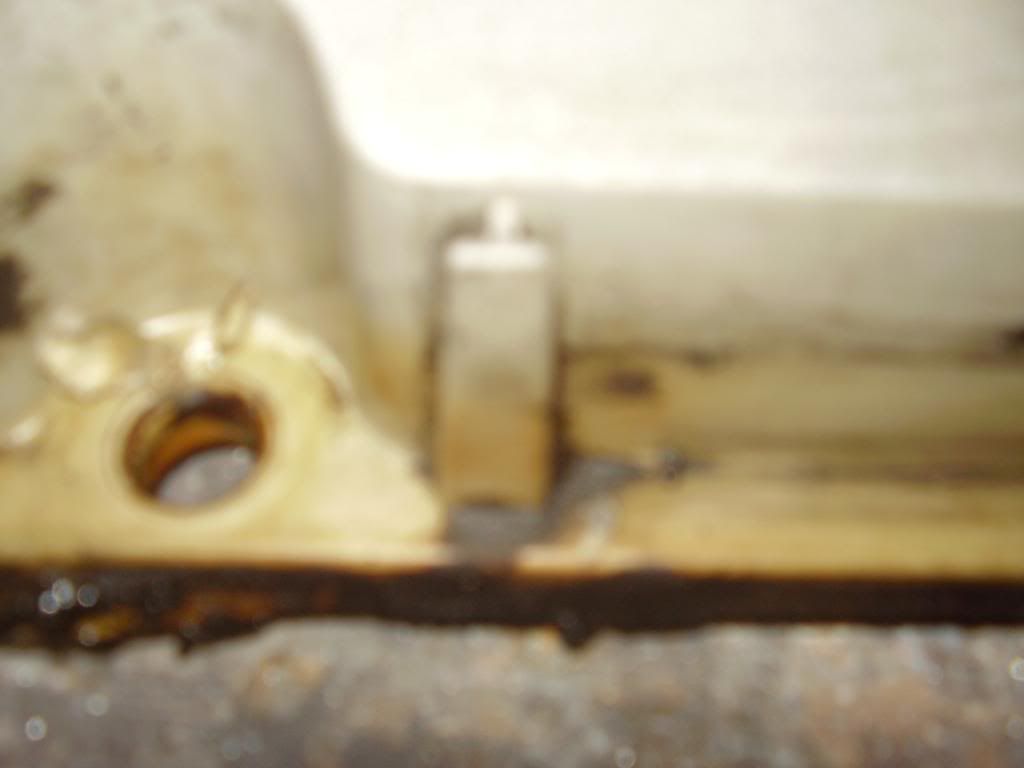
After that i used a extension on my dremal called a cutter Burr Ball to roughen up the surface in the groves, so that the resin has a
good surface to stick to. (be careful when using this extension because it can eat threw the plastic pretty quick so dont push to hard)
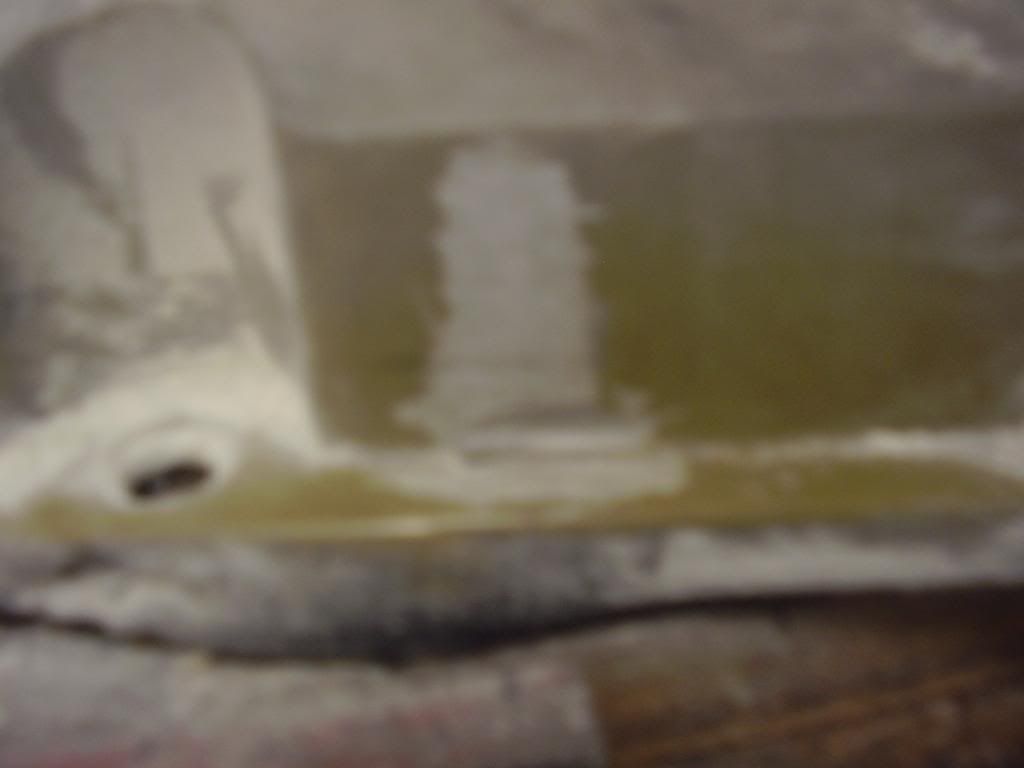
Then it is time to mix up so fiber glass resin, for the mixture ratio be sure to read the back of the container, if i give you my ratio it may
be different because i used this project to test out the jelly type of resin.
Then i used a old business card to apply it but you can use whatever you would like
after your resin has dried (a few hours) it is time to start sanding it down, for that just used 180 grit sand paper with a drill extension to
speed the process up a bit, you want to get the surface as smooth as possible (dont worry about divots because it's a low spot and you
you dont want to sand everything down to it's level, you want to bring it up to the level of the other stuff)
*Run your hand over it and make sure that there is no resin sticking up out of the grooves, if it is lower then that grooves that is ok, we
just dont want it above.
Now it is time for the next coat now resin is kind of harder to deal with so alot of people switch to body filler because it is easier to
sand and you dont have such a big gap to fill anymore, but you can use whichever you would like.
So once again mix up some resin (or body filler) and then let it dry and sand it down once again. try to get it as smooth as possible because with
some luck this will be the last time that you will need to do this, and be sure to keep running your hand over it to be sure that its smooth go from
320 to 600 grit in this step.
Then once you think you have got it done and all ready to go spray it with some paint (i like to use gloss because it will show flaws better(black shows the best)
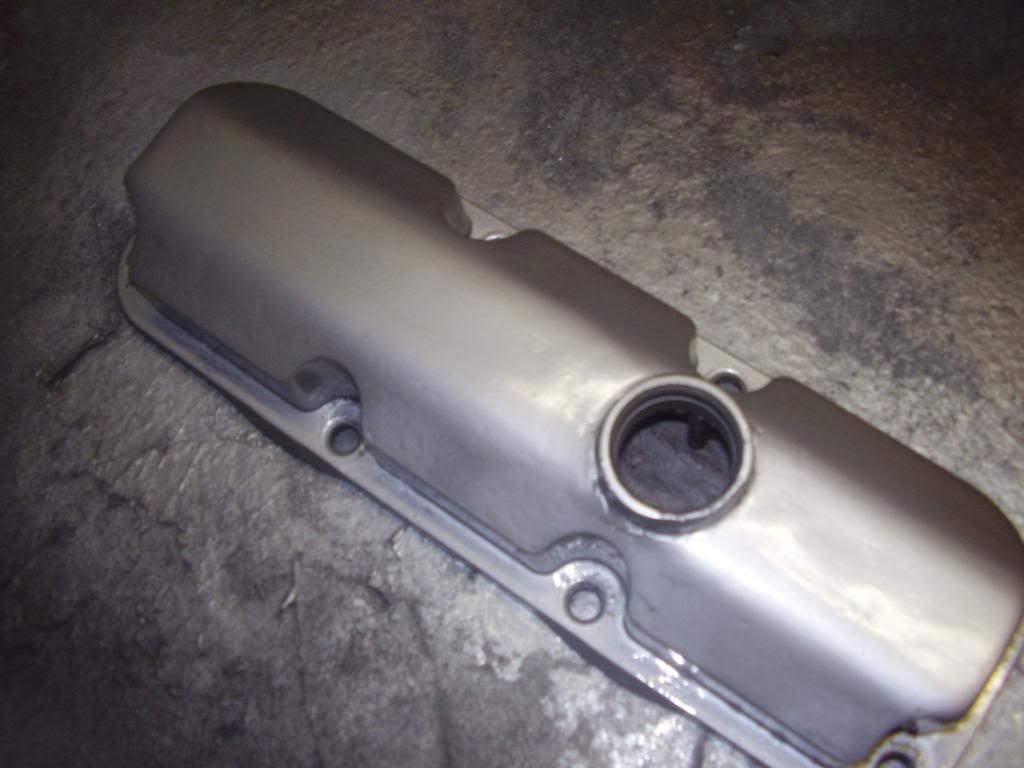
Then from there you will know if you need to do more work or not, if you do just repeat steps from above to get it smooth a flawless.
then once you are all done paint it the color of which you would like just like painting any other plastic, and if you are not sure how
then this guide will help you.
http://www.grandprixforums.net/f73/how-paint-your-engine-cover-fuse-2987.html
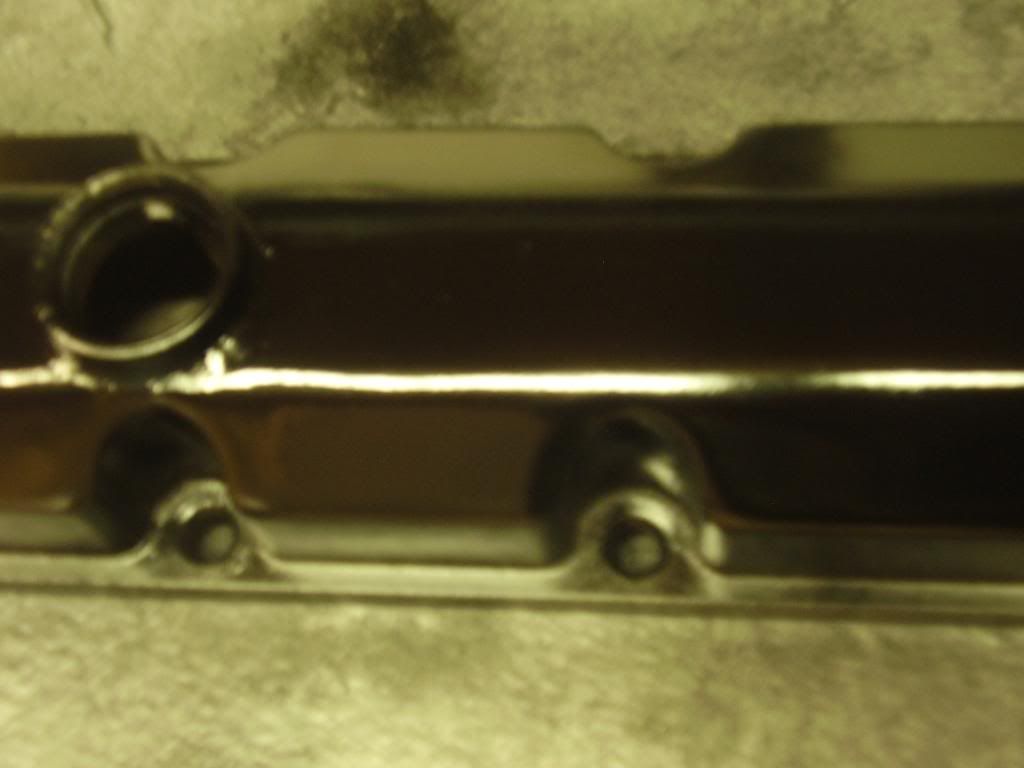
Final Pic:
if anyone else has any recommendations to add to this thread let me know
try this one a extra valve cover, from the yard or where ever else you might attain one.
Items needed:
Valve Cover
Fiber Glass Resin
Body Filler (optional)
180, 320, 600 grit sandpaper
Dremel (not needed but makes some things easier)
Here is what i started with (picked up at the junk yard for $10)
First, i cleaned it up by using some simple green and some elbow grease
Next i wanted to get rid of the little tabs up front so i used a dremel with a cutting wheel to those off, and then used a sanding
disc to smooth it out.
After that i used a extension on my dremal called a cutter Burr Ball to roughen up the surface in the groves, so that the resin has a
good surface to stick to. (be careful when using this extension because it can eat threw the plastic pretty quick so dont push to hard)
Then it is time to mix up so fiber glass resin, for the mixture ratio be sure to read the back of the container, if i give you my ratio it may
be different because i used this project to test out the jelly type of resin.
Then i used a old business card to apply it but you can use whatever you would like
after your resin has dried (a few hours) it is time to start sanding it down, for that just used 180 grit sand paper with a drill extension to
speed the process up a bit, you want to get the surface as smooth as possible (dont worry about divots because it's a low spot and you
you dont want to sand everything down to it's level, you want to bring it up to the level of the other stuff)
*Run your hand over it and make sure that there is no resin sticking up out of the grooves, if it is lower then that grooves that is ok, we
just dont want it above.
Now it is time for the next coat now resin is kind of harder to deal with so alot of people switch to body filler because it is easier to
sand and you dont have such a big gap to fill anymore, but you can use whichever you would like.
So once again mix up some resin (or body filler) and then let it dry and sand it down once again. try to get it as smooth as possible because with
some luck this will be the last time that you will need to do this, and be sure to keep running your hand over it to be sure that its smooth go from
320 to 600 grit in this step.
Then once you think you have got it done and all ready to go spray it with some paint (i like to use gloss because it will show flaws better(black shows the best)
Then from there you will know if you need to do more work or not, if you do just repeat steps from above to get it smooth a flawless.
then once you are all done paint it the color of which you would like just like painting any other plastic, and if you are not sure how
then this guide will help you.
http://www.grandprixforums.net/f73/how-paint-your-engine-cover-fuse-2987.html
Final Pic:
if anyone else has any recommendations to add to this thread let me know
Last edited:
