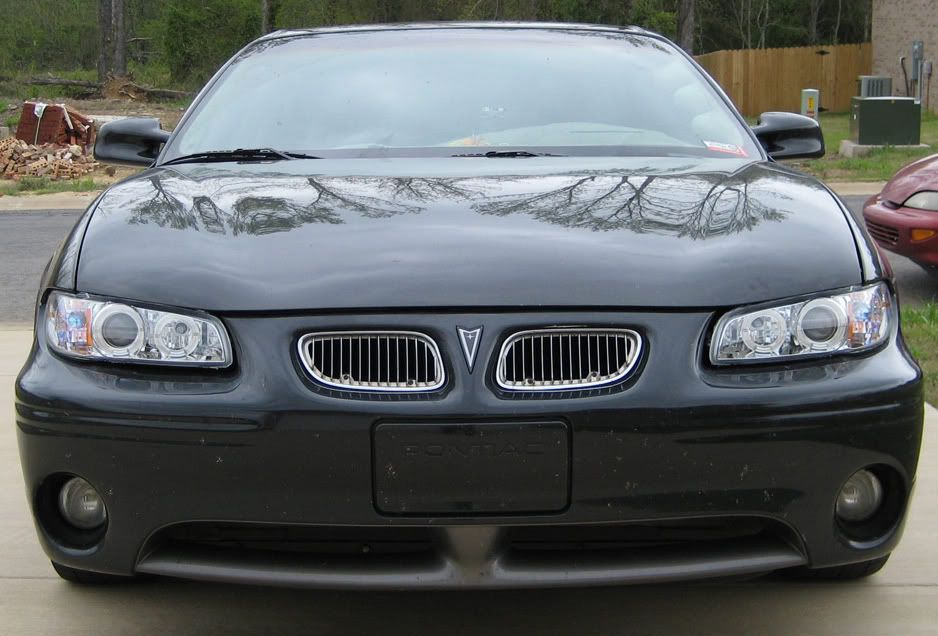
Highs(9005)/Lows(H1 HIDs) On Simultaneously
Highs/Lows On At The Same Time
Highs(9005)/Lows(HIDs) On Simultaneously (Chunkee)
No pictures for now, just some wiring insight
For those who choose to do HID lows and HID highs, very simple
Run one set of ballasts for low beams with a wiring (relay) harness connected to the OEM headlight connector so DRL's will work (this allows the correct voltage to get to the headlights without killing the ballasts with low voltage). Use one side (passenger or driver) for this. I am using Bi-Xenon wiring harness for lows (more on that in a sec)
Run second set of ballasts for high beams off the OEM headlight connector (on the other side not used for low beams) by swapping the wires in the wiring harness (on mine it goes red, black, blue. Swap the red and blue around so low is high and high is low)
By using the bi-xenon wiring harness you can have both lows and highs on at the same time
Also, using the bi-xenon wiring harness allows for both low and high HID lights to be on at the same time because that is the way the Bi-Xenons work...all it does is trigger the magnet part to move, unhook that connector for the magnet and low or high position results in lows always being on. Wire in another harness for just the highs and low = low and high = low and highs at same time, just remember to swap the low and high beam wires in the high beam OEM adapter or low = low and highs and high = low
Harness: Ebay:
hid wiring harness, Parts Accessories, Car Electronics items on eBay.com
I guess you could always just use both the low and the high beam wires off the OEM adapter (green and oarnge-brown) for the lows that way the turn-on signal the wiring harness gets will shift from low to high when highs are turned on. I just do not know if the bulbs will turn off then on again in that scenario (like if you were to hold the high beams on, there is a pause sometimes when switching between low and high) then use just the high beam wire for the high beam HIDs.
(Mike Levy) If you don't run the harness to feed the lights from the battery, you are going to have times when one doesn't ignite or stay lit. The factory wiring isn't thick enough to provide the power needed to light and keep them both on, unless conditions are perfect.
(Chunkee) Plus when your DRL's are on, that is a lower voltage and will destroy a ballast before you know it.
Always use harnesses
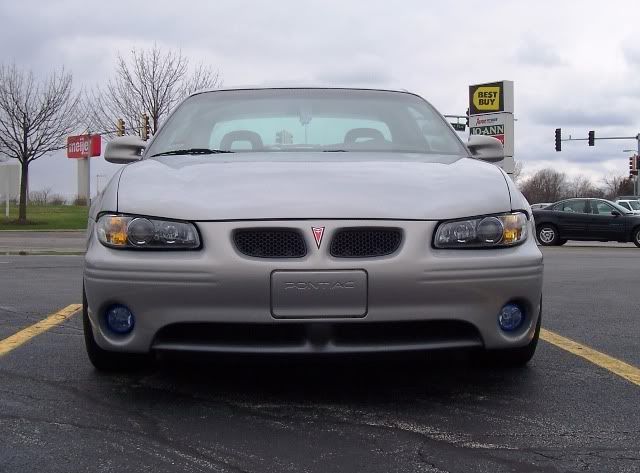
High(9005)/Low(HIDs) on Simultaneously (99 Black GT)
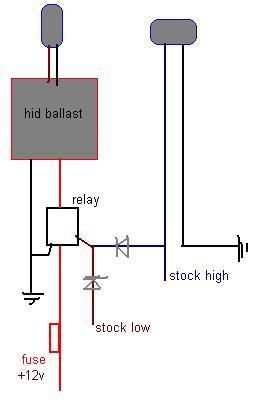
this is a VERY basic drawing. You would need a relay for each headlight (technically you could get away with only using one, but i wouldn't) It's best to pick up a relay socket, and put an electrically conductive grease on it so it doesn't corrode. And then i run NEW wires, from the fuse block, to make sure i get full voltage to the HID's (much like the SUV harnesses)
on the relay it'self, the connections would be as follows
85:: Ground
86:: Diode isolated Low + High wires together
30:: To the HID ballast
87:: From the fused +12 you get from your fuse box
relays are cheap, the diodes wouldn't have to be any more than a 1 amp rectifier diode (cheap) and enough wire for new grounds and getting power from the fuse box. The new harness could probably be done for under $15 for the pair of headlights. Or less if you're a good shopper.
Another Possibility
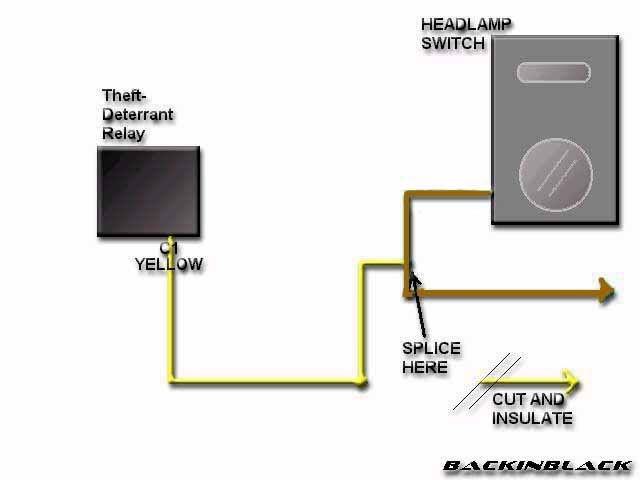
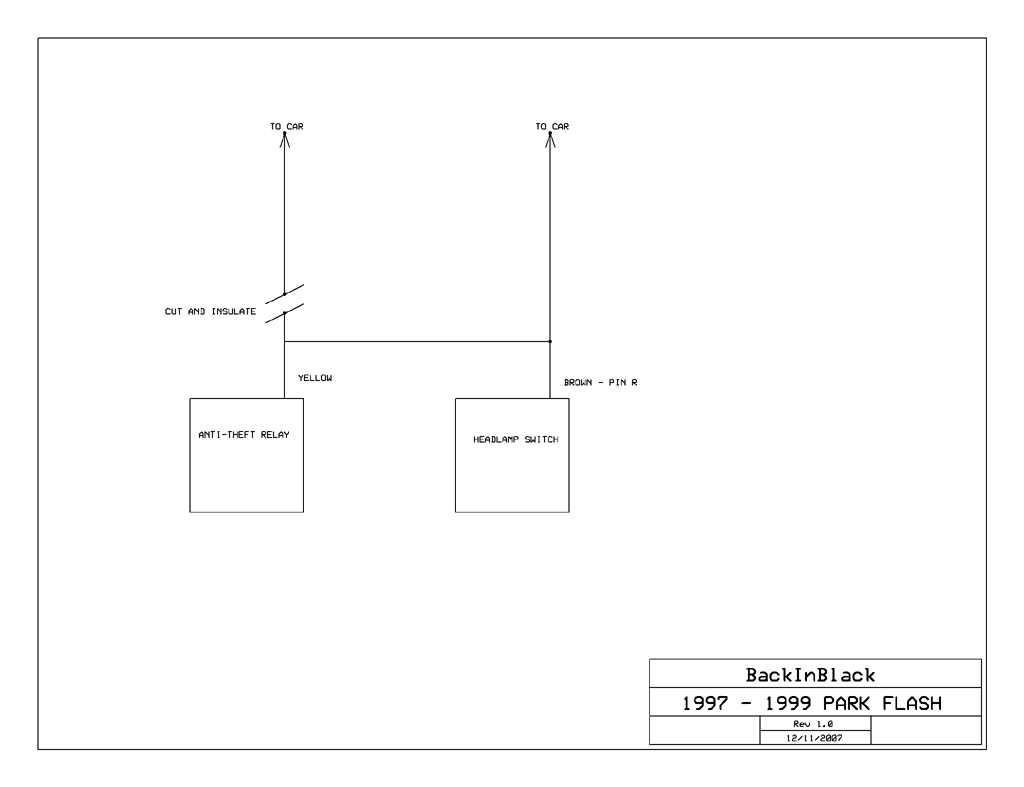
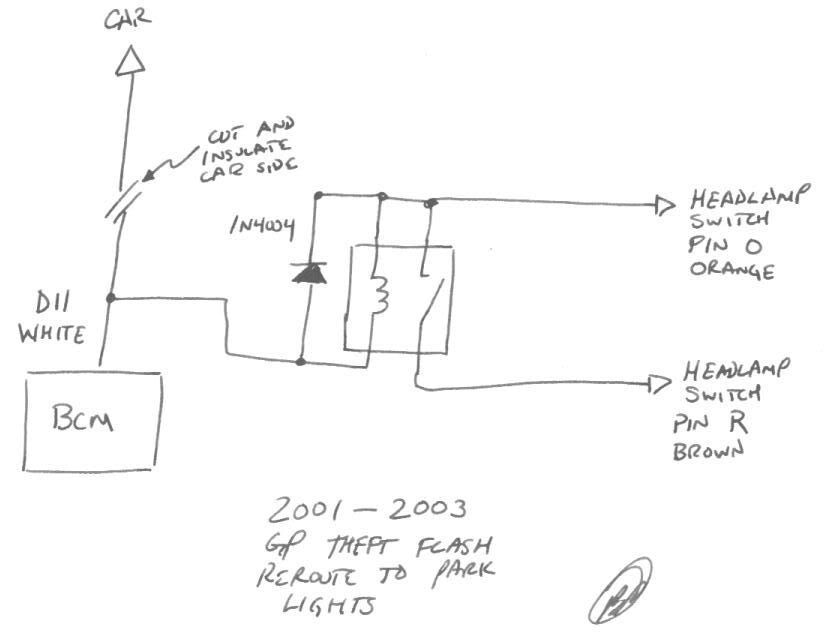
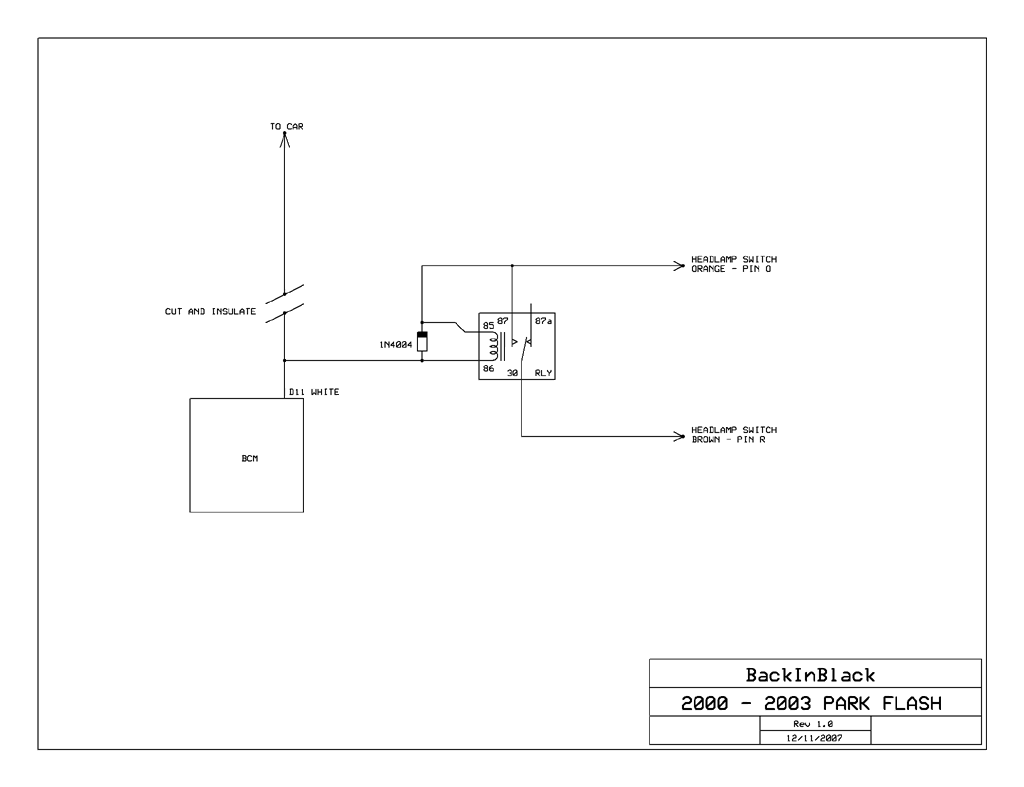
High/Low, flash to pass. (BackInBlack)
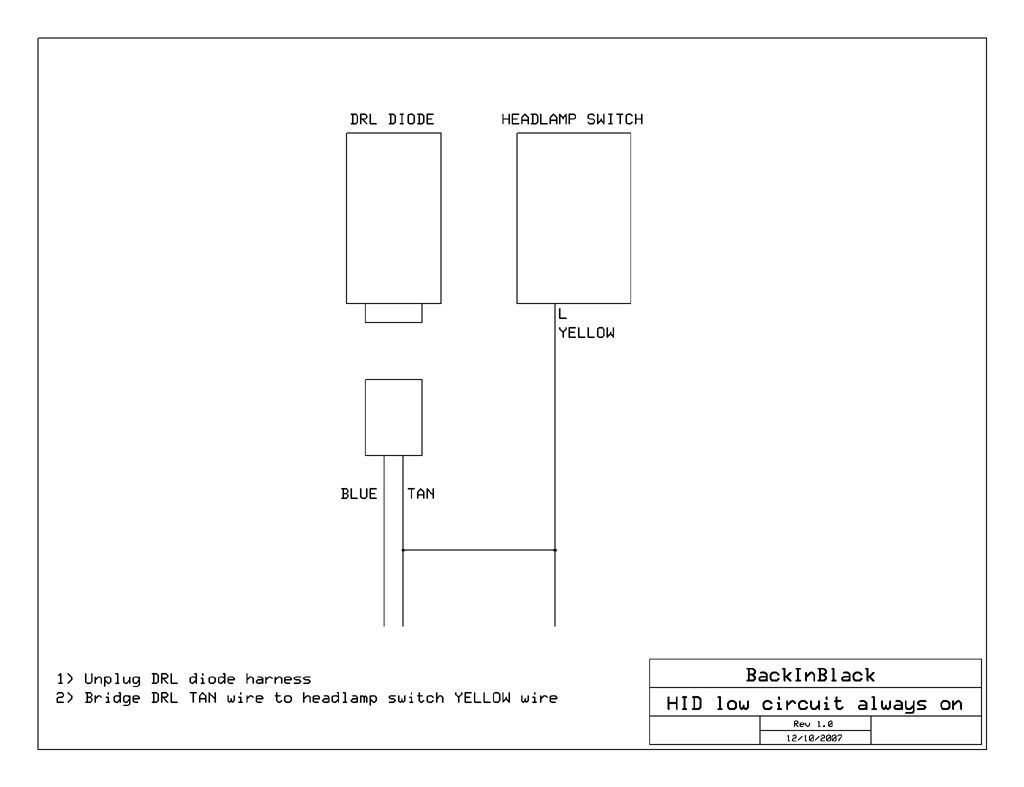
The diagram below is for use with underhood relay harness only, or the HID low/ halogen high 9007-2 setup. Forest fires may result from using this mod with halogen bulbs installed on stock wiring.
9007-1: Single HID burner.
9007-2: Single HID burner w/ halogen high.
9007-3: Single HID burner w/ tilt or retracting action for high mode.
9007-4: DUAL HID burner (Bi-Xenon) one for low, one for high.
There is a solution that will turn the lows and highs on at the same time, but also make it so the 'flash to pass' will only turn on the highs. Just follow this wiring diagram by BackInBlack.
How are the new projector housings wired? Are there SEPARATE ground wires for the highs and lows? If there is only one ground, you should NOT have the high beams and low beams on at the same time unless the ground wire is 10AWG or better and the connections are rated for such.
**Again, I can not vouch for the above info. Provided info is for use with H1 HIDs in projectors.**