Scottydoggs
Killa Bee
Re: Project LQ4 - V8 S10 - Making connections
im willing to bet its a mini welding table/ vice.
im willing to bet its a mini welding table/ vice.
I really like your threads man.
You have some skills.
I will be building a bench like that in spring once the grill takes a permanent home on the deck instead of the garage.
I have been browsing for vices. Whats with the aluminum stock under the vice? How do you have it mounted?
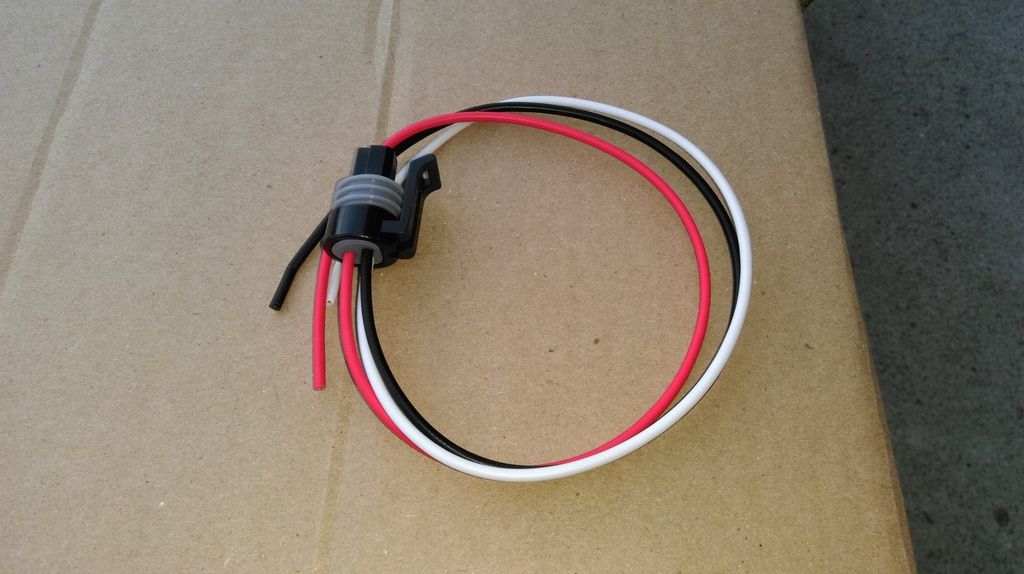
Why did you need an extra injector harness?
So many compaines make direct drop in injectors for LS cars/trucks.
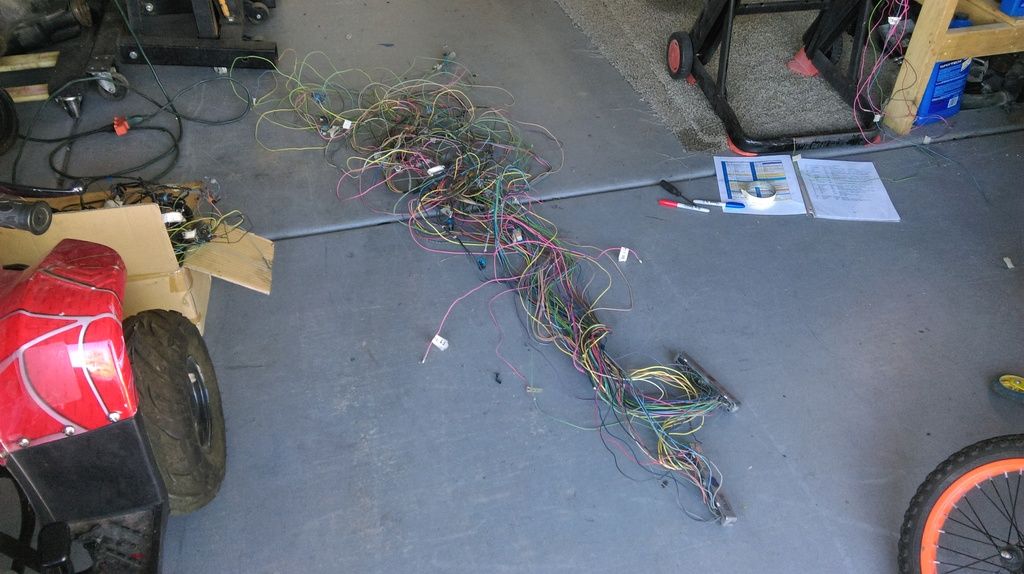
you make it look easy some how, but all we see is the progress
we miss out on all the diagrams your following. and that head banging lol
My name is James, and I support this bad-assery. March on soldier.
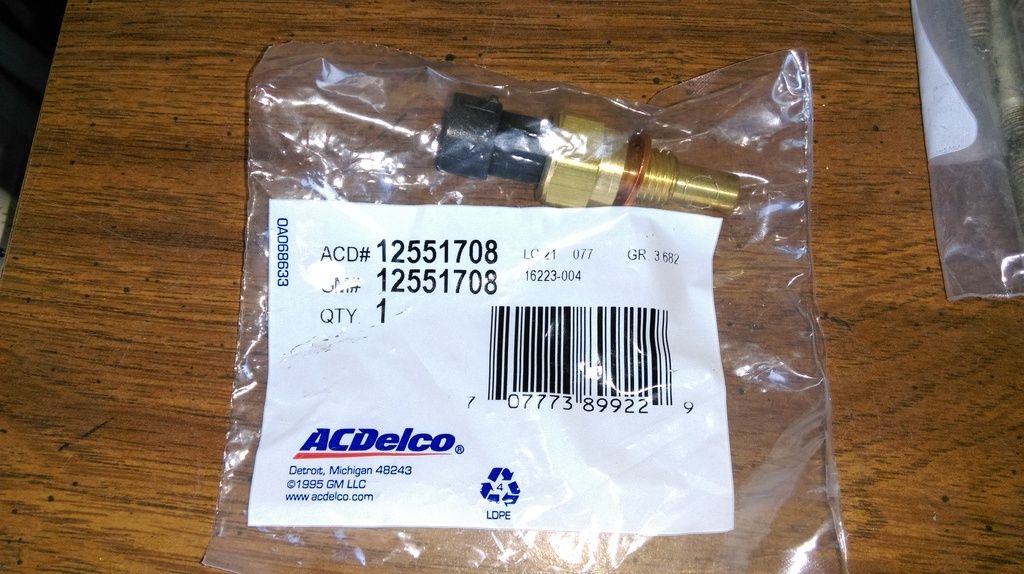
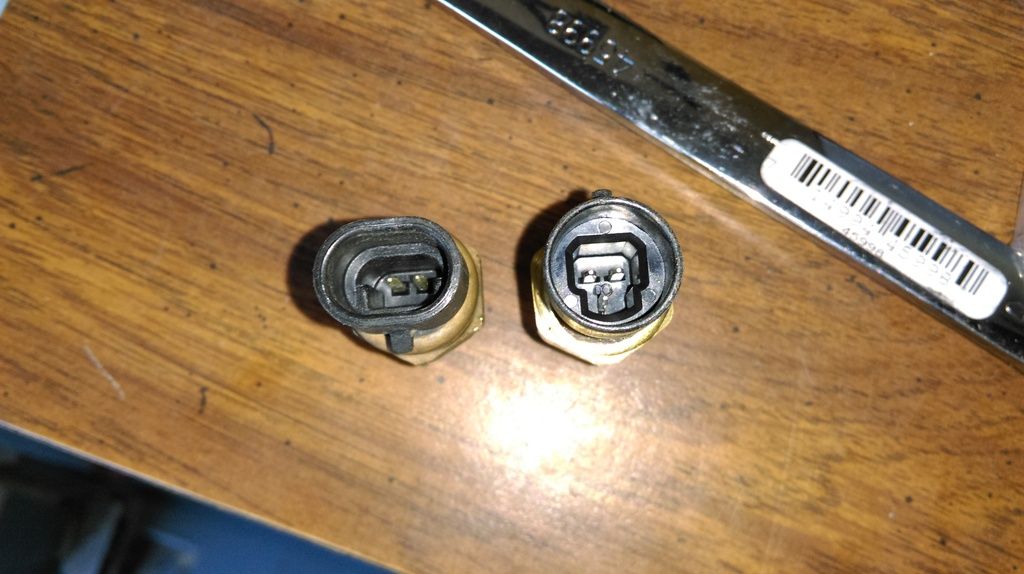
Aren't grand prix temp sensors the same 3 wire too?