• The site migration is complete! Hopefully everything transferred properly from the multiple decades old software we were using before. If you notice any issues please let me know, thanks! Also, I'm still working on things like chatbox, etc so hopefully those will be working in the next week or two.

Pictures of Modified SD Headers (using jig)

intrigue98

New member
SilverGTP on here was nice enough to let me use his jig for the speed daddy headers. Here are some pictures of the finished product. Headers are going on the grand prix this Friday. I thought it came out well.
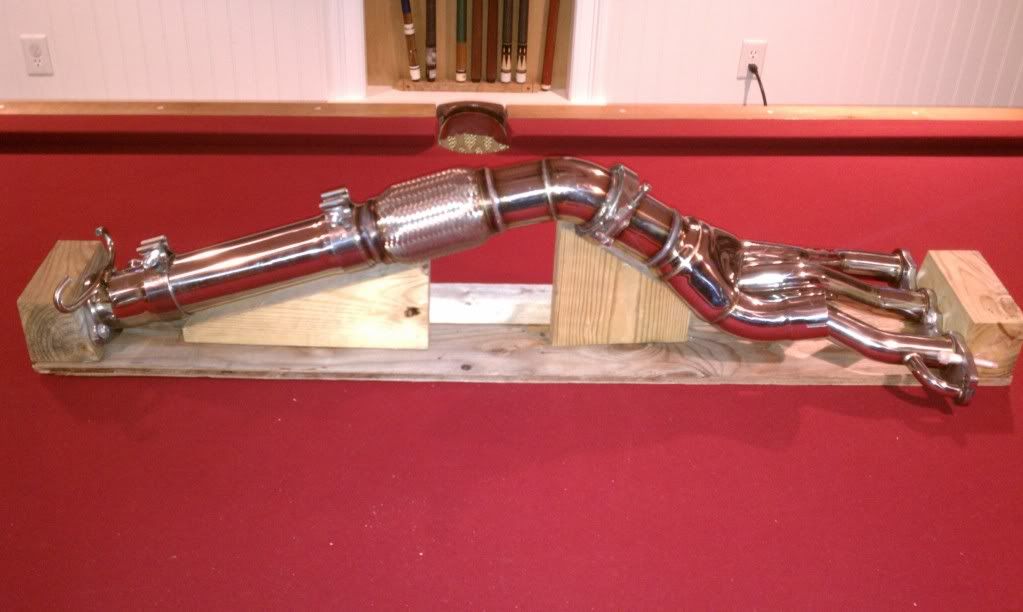
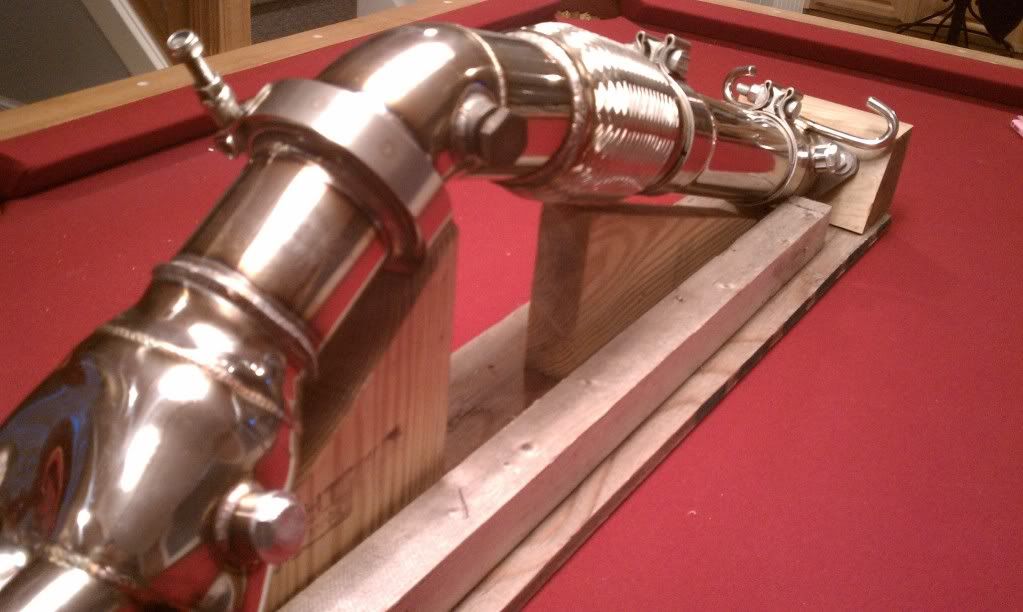
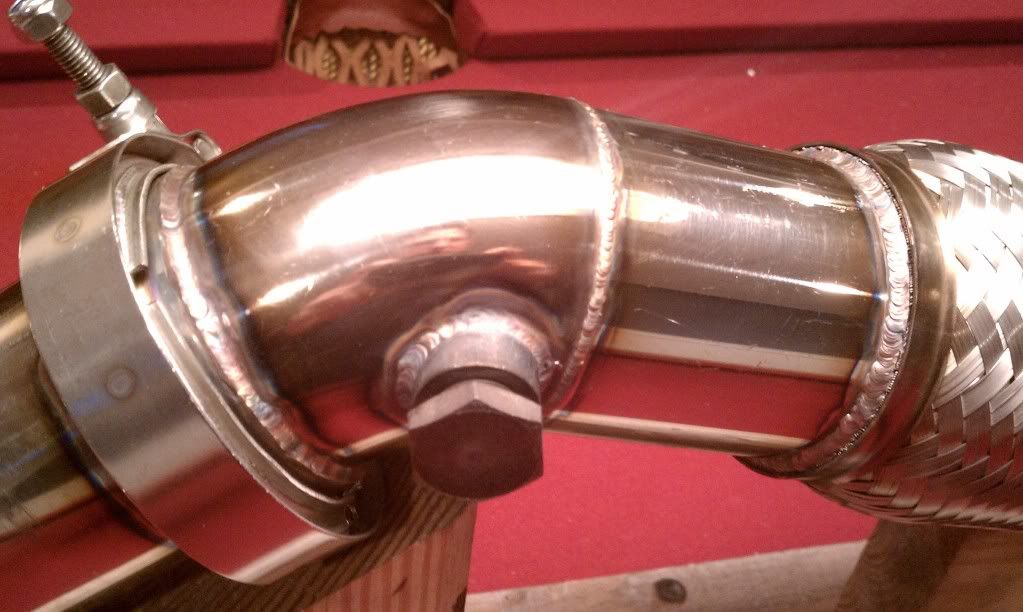
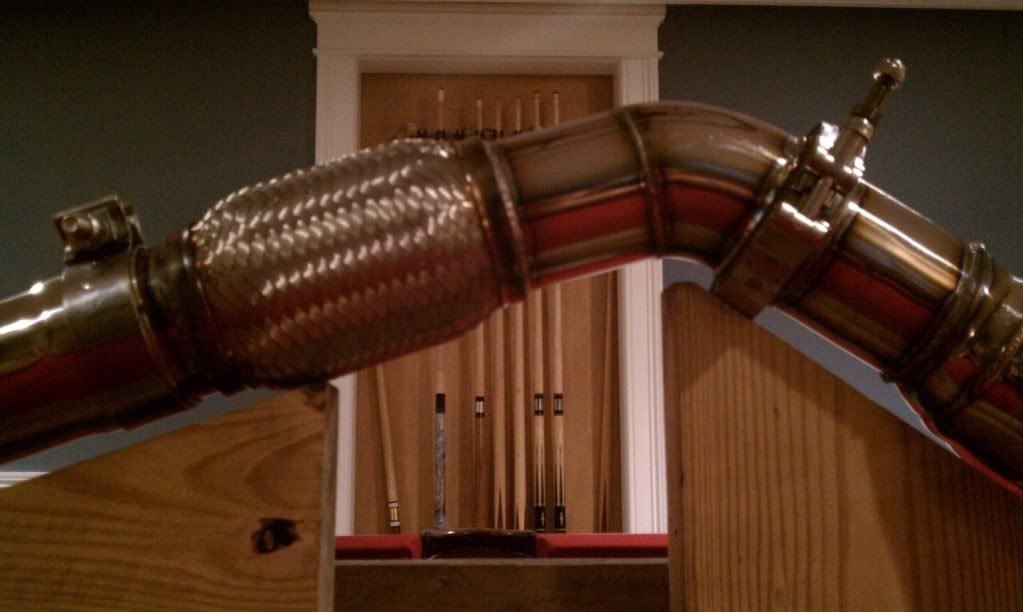
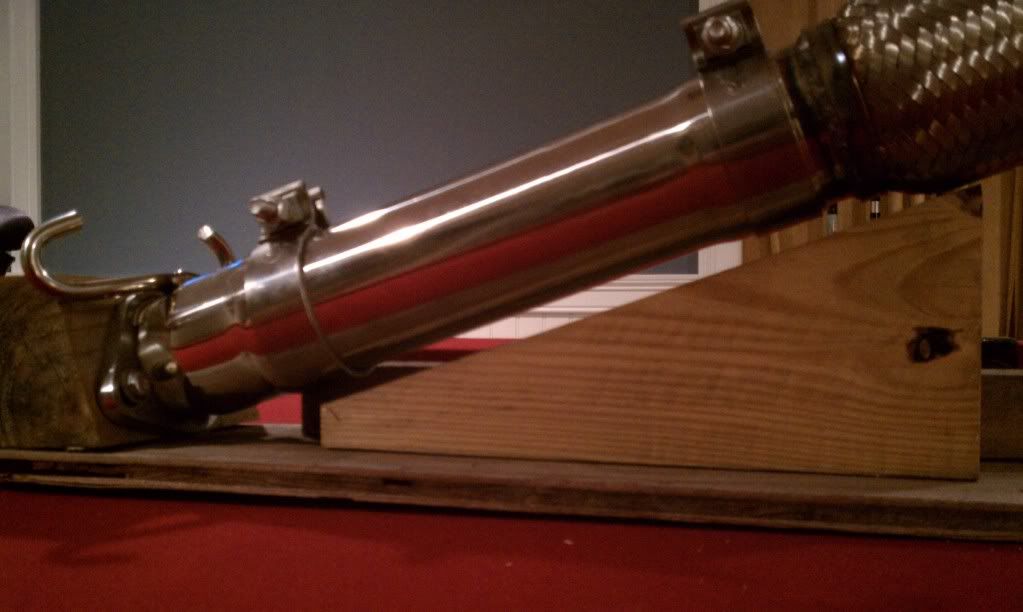
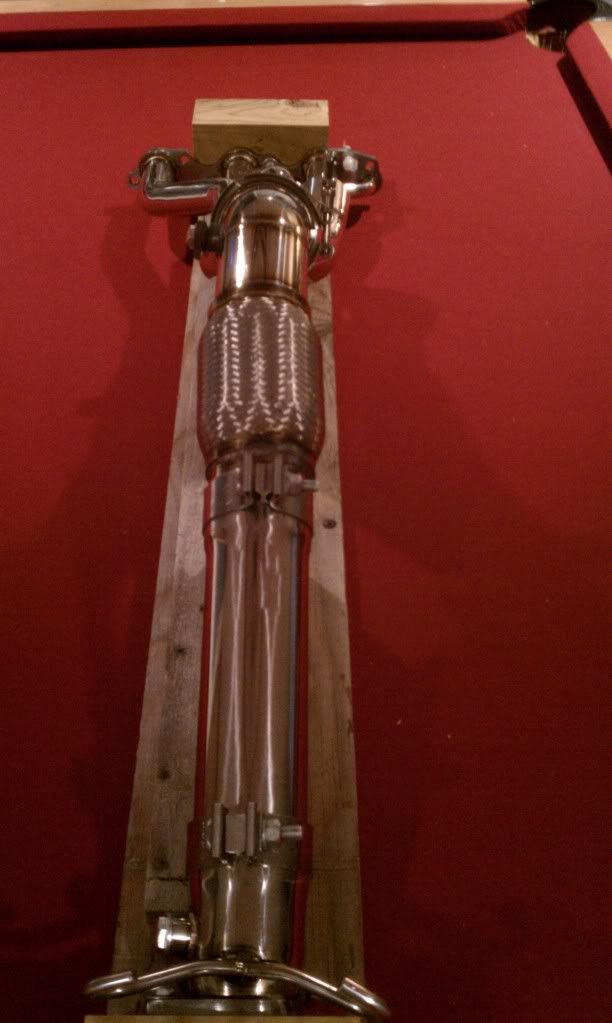
IMAG0603.jpg


IMAG0622.jpg


IMAG0621.jpg


IMAG0620.jpg


IMAG0617.jpg


IMAG0614.jpg


IMAG0612.jpg


IMAG0611.jpg


Wtf are the bolts for?

And can you make a diagram of that jig with mesurments and assembly instructions for the rest of the class?
 
Thanks guys. I'll post pictures of how they look installed too.

Those bolts are plugs for where my narrowband and wideband sensors go.


The flex was replaced with a ZZP interlock, wideband bung added, still used the original v-band but I purchased Torca accuseal clamps.


That's just about how I wanted to redo the SD Headers I picked up. It looks so good, I might even redo my SLP headers for my other car. Where'd you get your clamps from? Did you TIG or MIG weld them? Let us know of any bottoming issues.

:th_thumbsup-wink:
 
Well, first I got the 3" torca clamps off of ebay for about 11 shipped each. I then found out that frozenboost sells "torca style" stainless clamps and went with them for the 2.25" crossover clamps. Frozenboost is the cheapest (4.99 each + shipping) and shipping only took 2 business days (USPS First Class).
 
Great work man.

Turned out really good with the results I'd be looking for if I didn't have welded headers already.


Turned out really nice. Your friend welds better than mine. :th_laugh-lol2:

Wtf are the bolts for?

And can you make a diagram of that jig with mesurments and assembly instructions for the rest of the class?

All I did to make that jig was to assemble the rear header and downpipe assembly then grab some scrap wood and build around it. Once you have it lagged in place, start cutting the middle out and weld it back together how you want. The pics above are very nice work.
 
How about this... I do have a busy schedule but within the next week I'll take measurements and create a 2d drawing so if anyone else wants to make a copy of the jig, they can do so.

These are being installed tomorrow night so expect more pictures over the weekend. I just hope that my wideband fits and it doesn't hit the tunnel.
 
Back
Top