• The site migration is complete! Hopefully everything transferred properly from the multiple decades old software we were using before. If you notice any issues please let me know, thanks! Also, I'm still working on things like chatbox, etc so hopefully those will be working in the next week or two.

Luke's GTP


Holy Crrap mann! you gots some time on your to compile a list like that.

Im sooo lazy I would just toss the list and the car in the trash lol..

You have some good dedication Luke hats off to you!
 
Somewhere on that list needs to be "pour in CA$H" ... lol. Oh, and get an alignment?

LOL! I've got most everything purchased and on-hand already. Except for the ignition harness, and brake rotors/pads. But that ain't gonna be cheap. About the alignment, I'm wondering if that needs to be done before the 28 mile ride to the welder? Everything in the wheel wells is coming off again anyway to fix the strut towers so I was thinking to hold off on the alignment. That being said, I don't wanna damage anything on the drive over.

Holy Crrap mann! you gots some time on your to compile a list like that. Im sooo lazy I would just toss the list and the car in the trash lol... You have some good dedication Luke hats off to you!

Haha. Compiled the list while at work, so at least my time was covered. And, Thanks man! Thanks for the encouragement! Getting this GTP road worthy again has been quite the struggle. Especially with no garage, no running water, no bathroom, no electrical hook up. I've McGuivered solutions for all those problems and managed to stay motivated. Thanks to this forum, really.
 
I wonder who be on the road first mine or yours, I am dam close to putting it back in but still have to tinker with a few wires.
 
I wonder who be on the road first mine or yours, I am dam close to putting it back in but still have to tinker with a few wires.

I might be on the road, driving to the welder first. LOL. After all this maintenance on the outside, I gotta finish applying the Damplifier, put in the carpet, molding, new speakers, radio, etc... You will be first, I'm sure.

Looks like I got me an axle leak. Passenger side. Don't wanna have to d1ck with it but it would be stupid not too...? With everything already disassembled within the wheel well.... Shyt. Sucks.

Just one firm whack on the backside of the axle and it should come out... right BillBoost?

Been reading this link: http://www.grandprixforums.net/threads/65226-passenbger-side-axle-seal-STILL-LEAKING-FFS!
And this: http://www.grandprixforums.net/threads/39805-How-to-Remove-an-axle

20170808_222953.jpg


20170808_223124.jpg


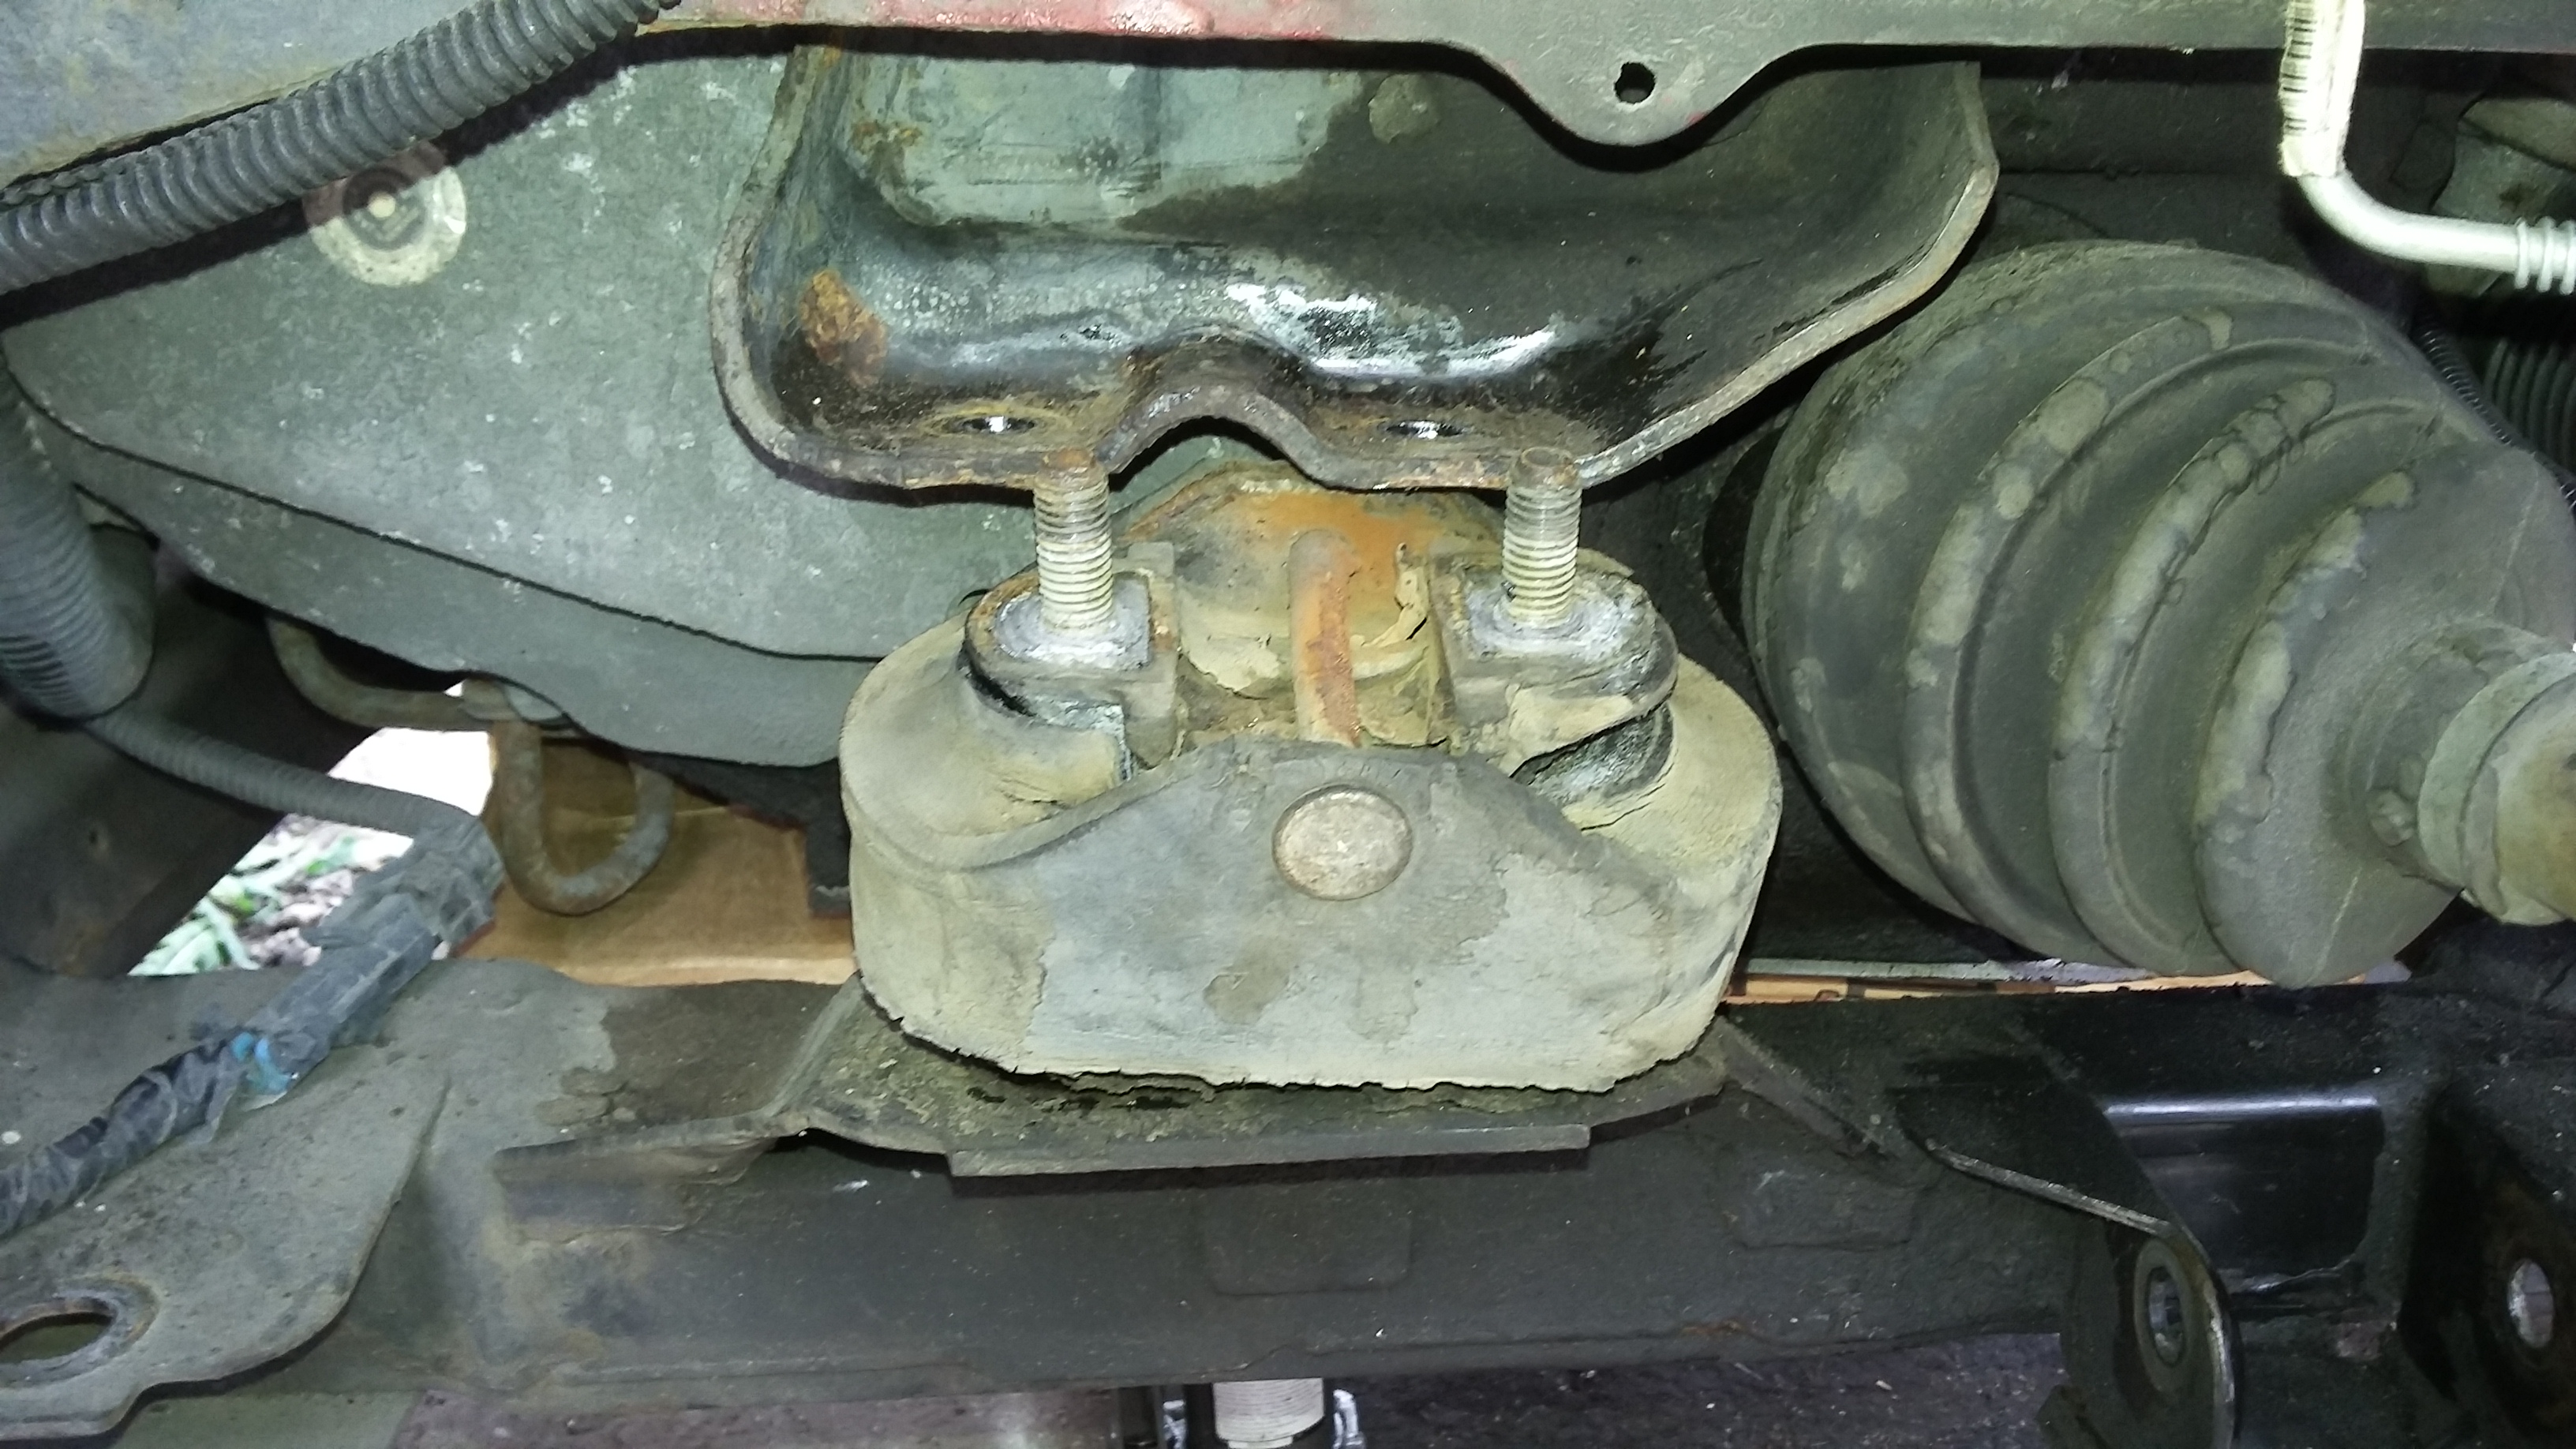
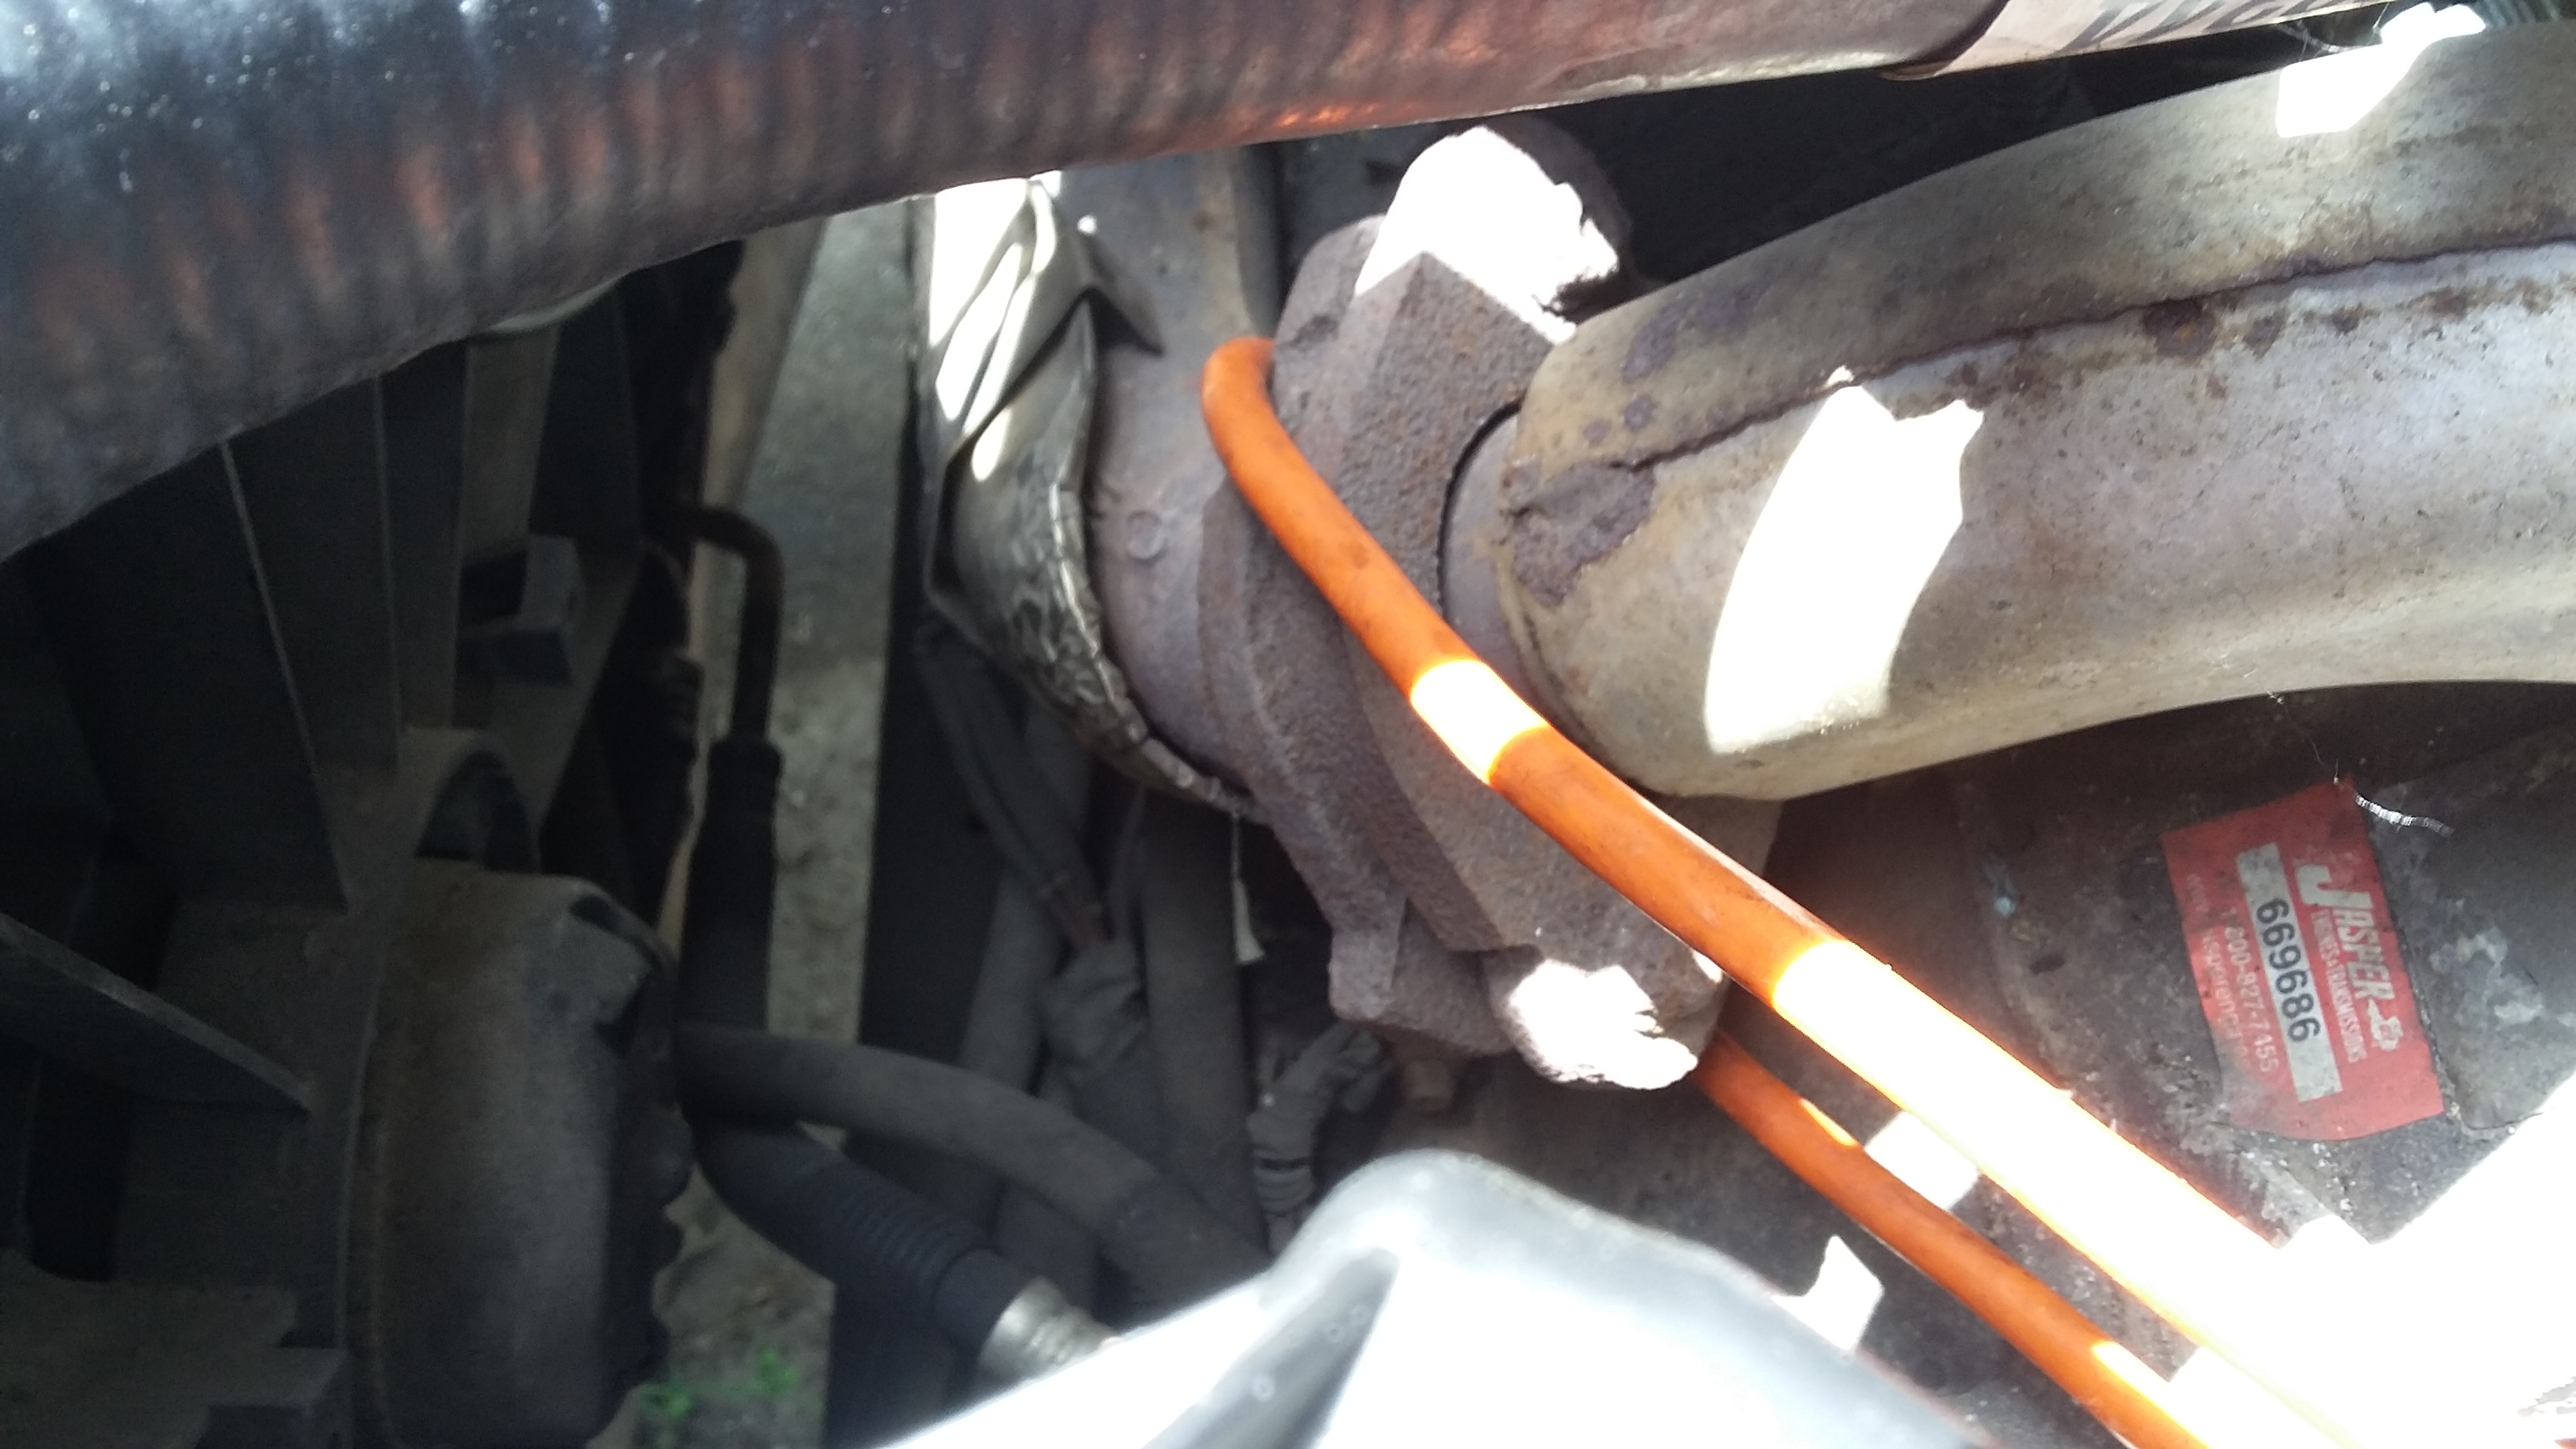
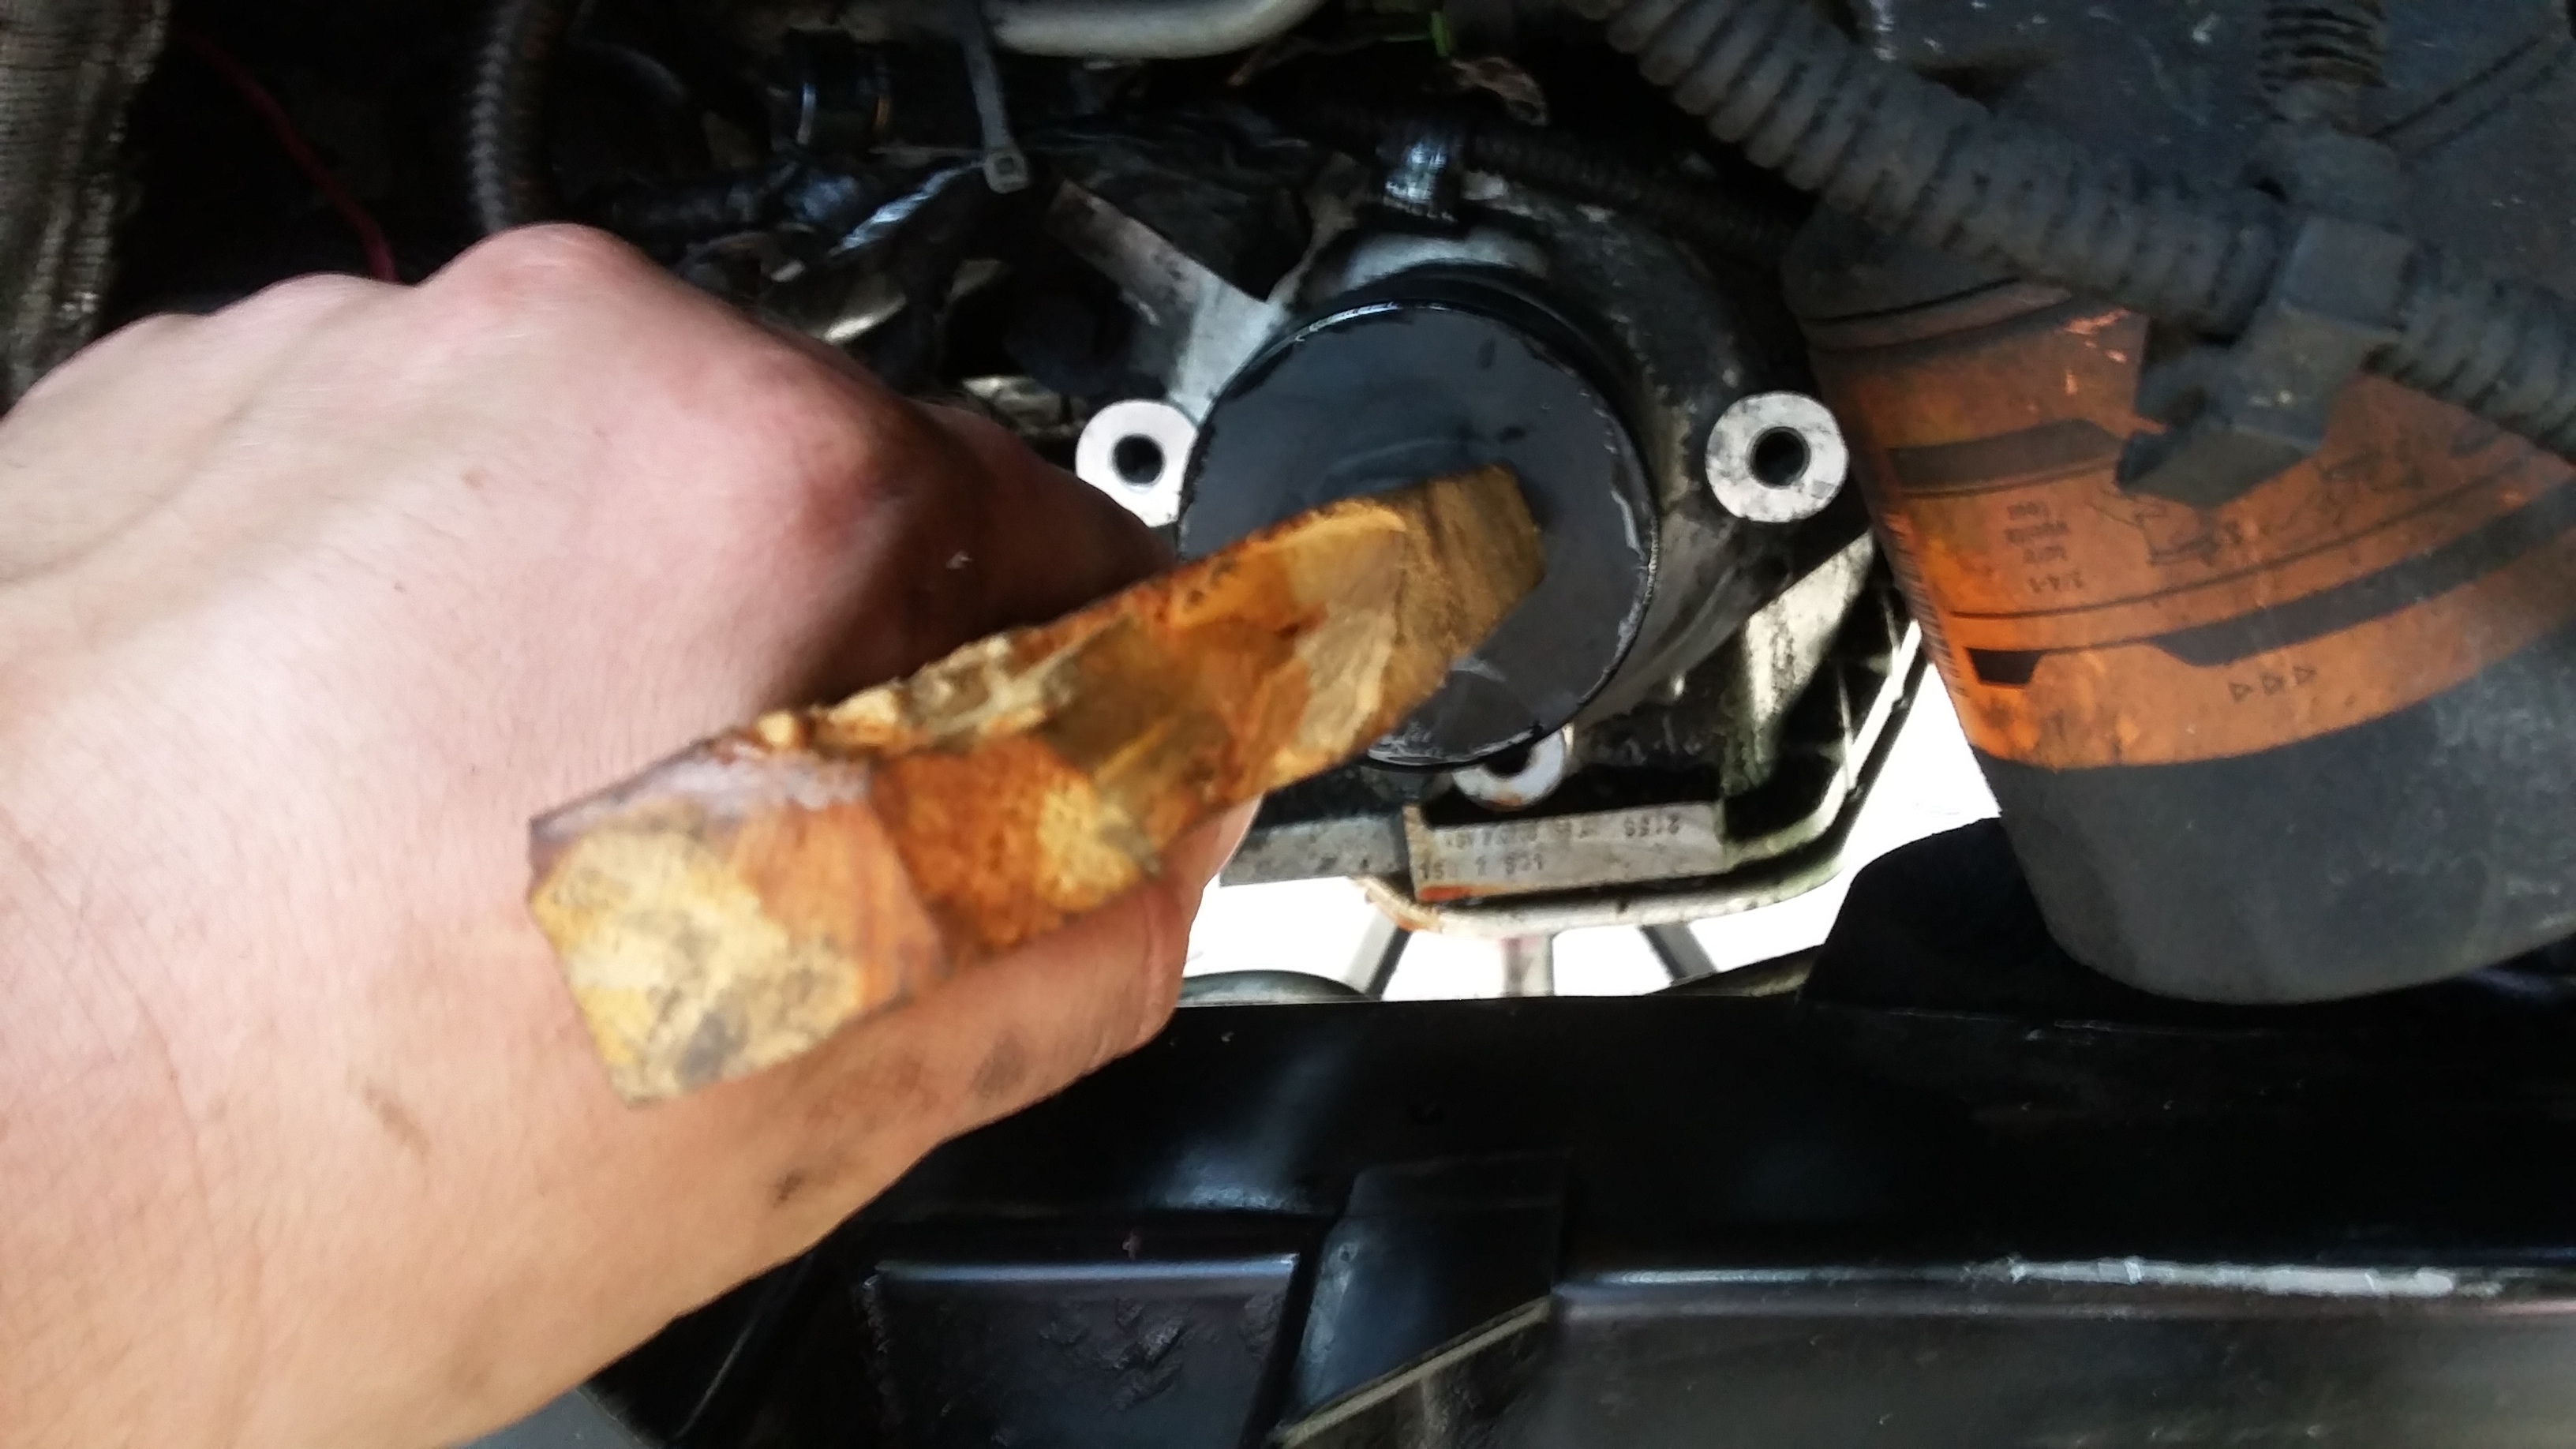
If you have a pry bar, you can just pop it out with a quick jerk, levering against the subframe.

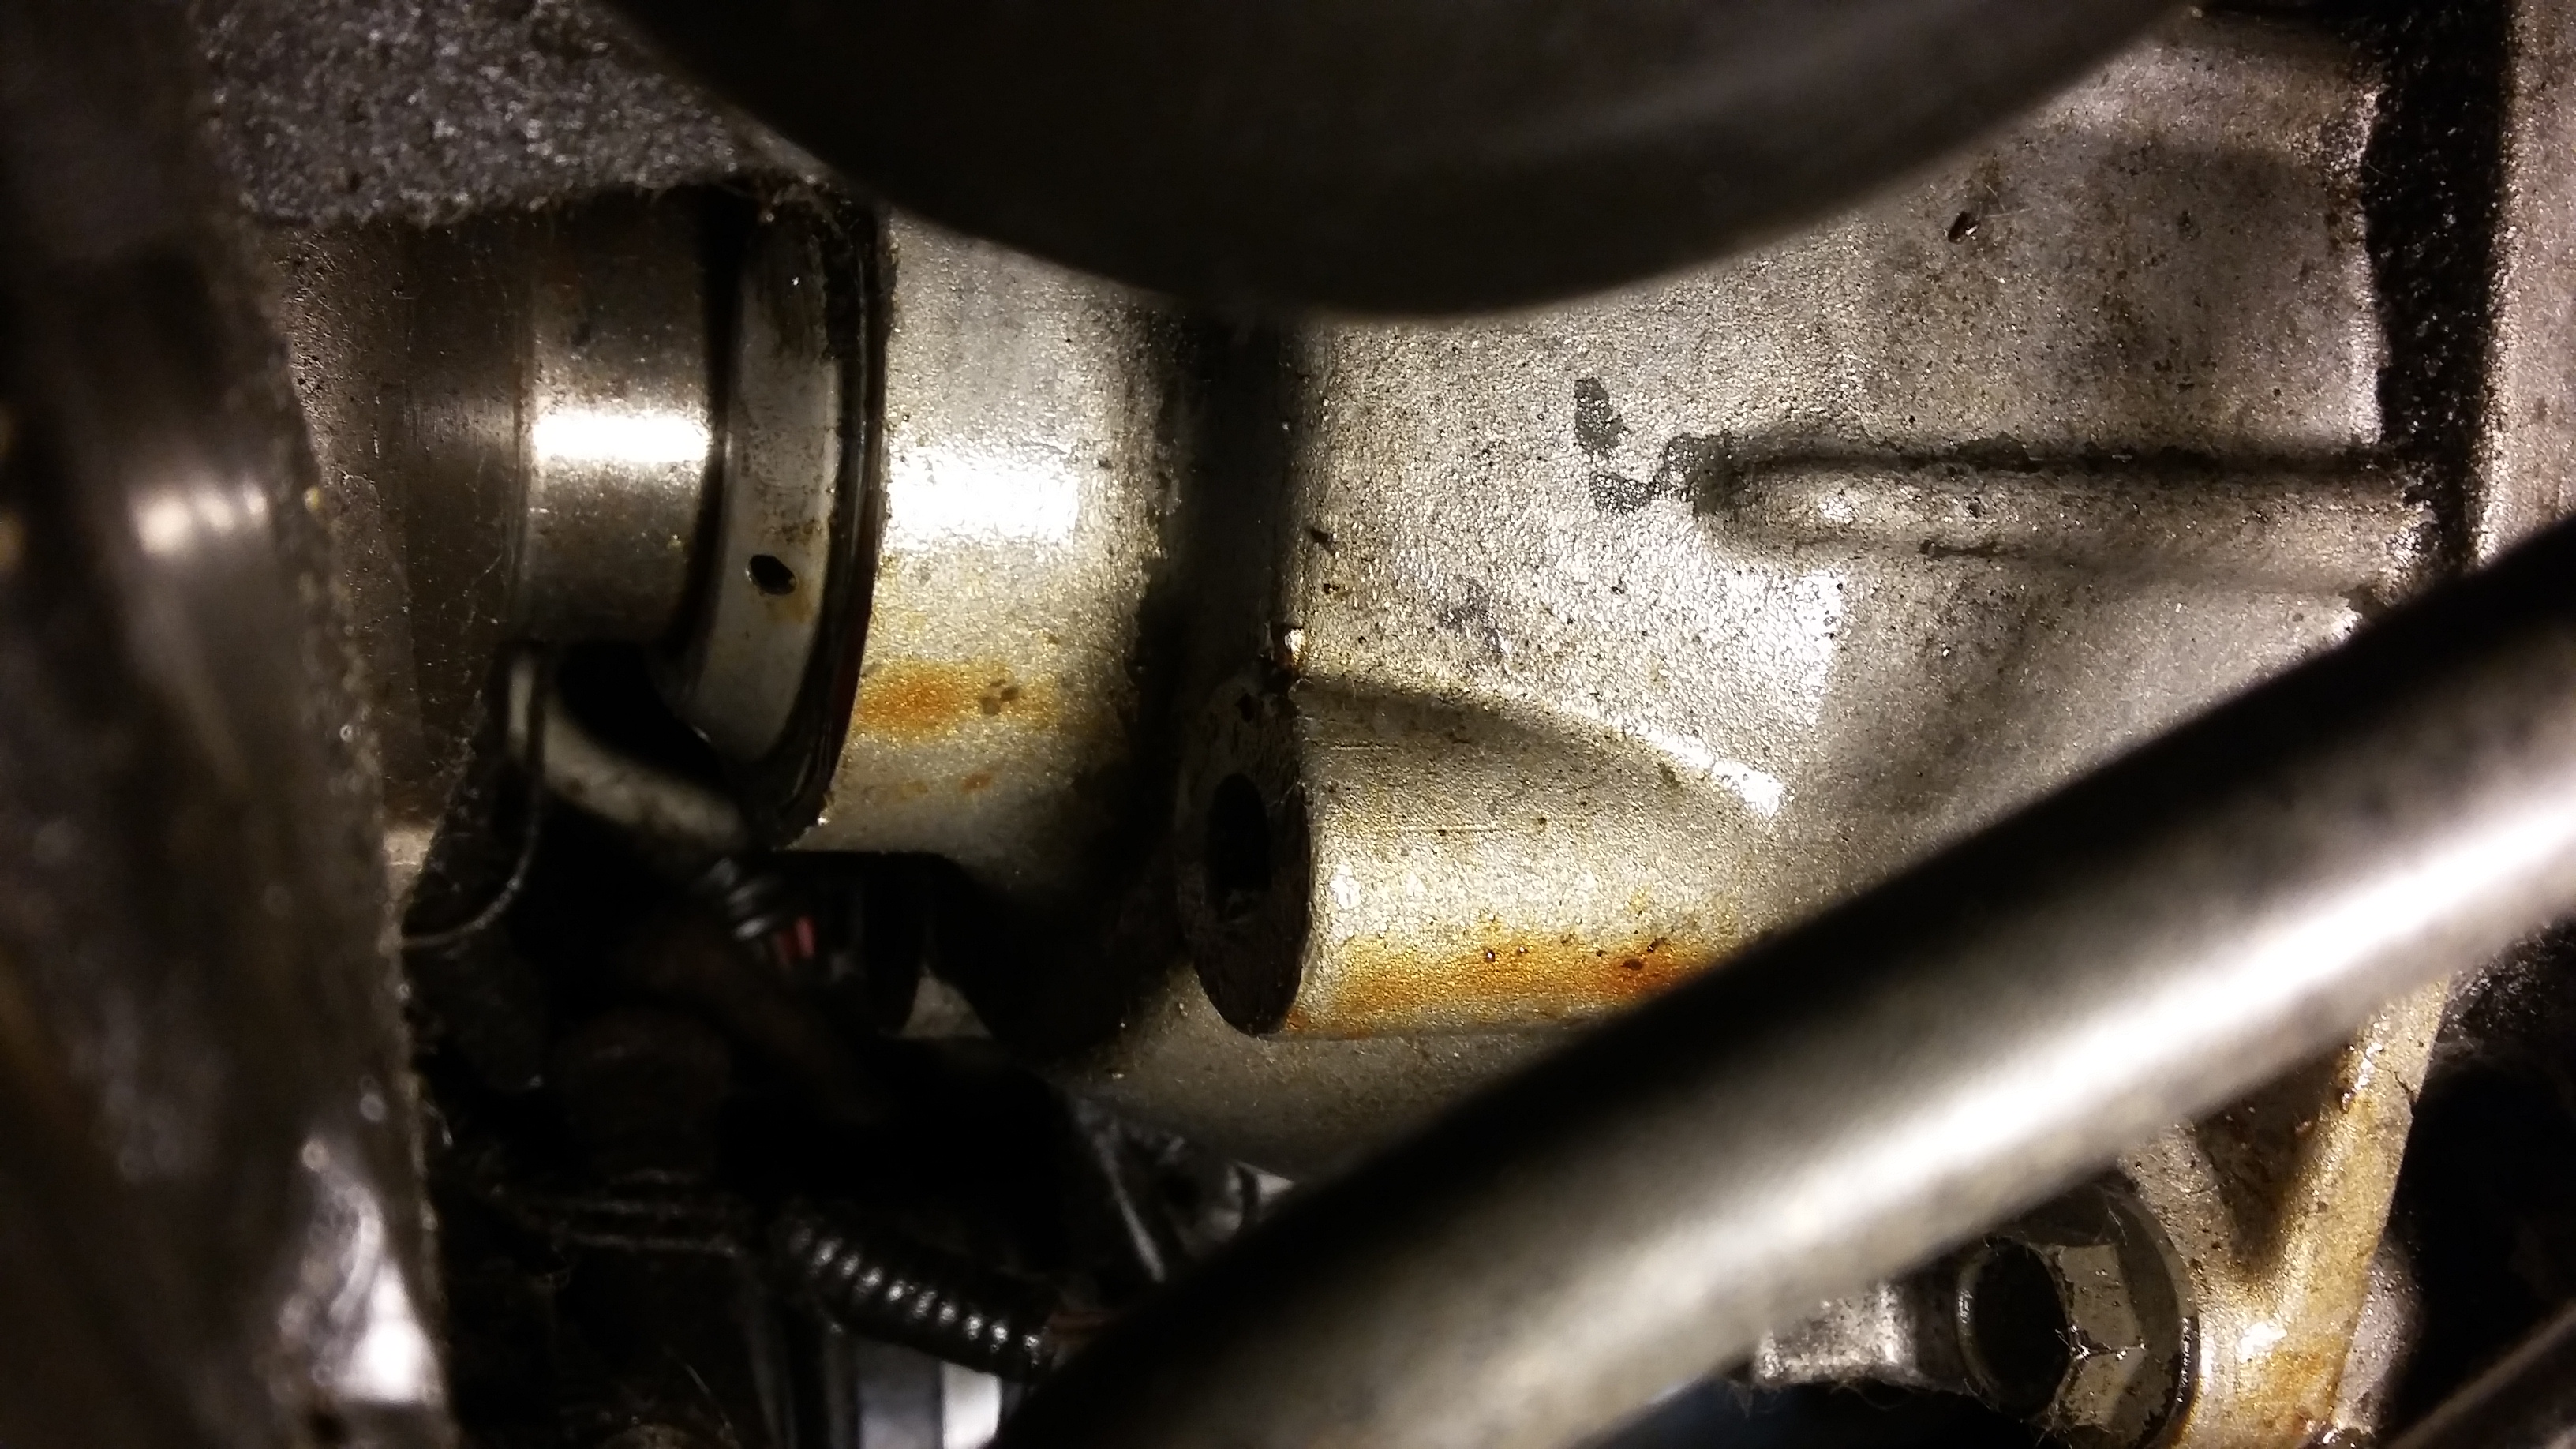
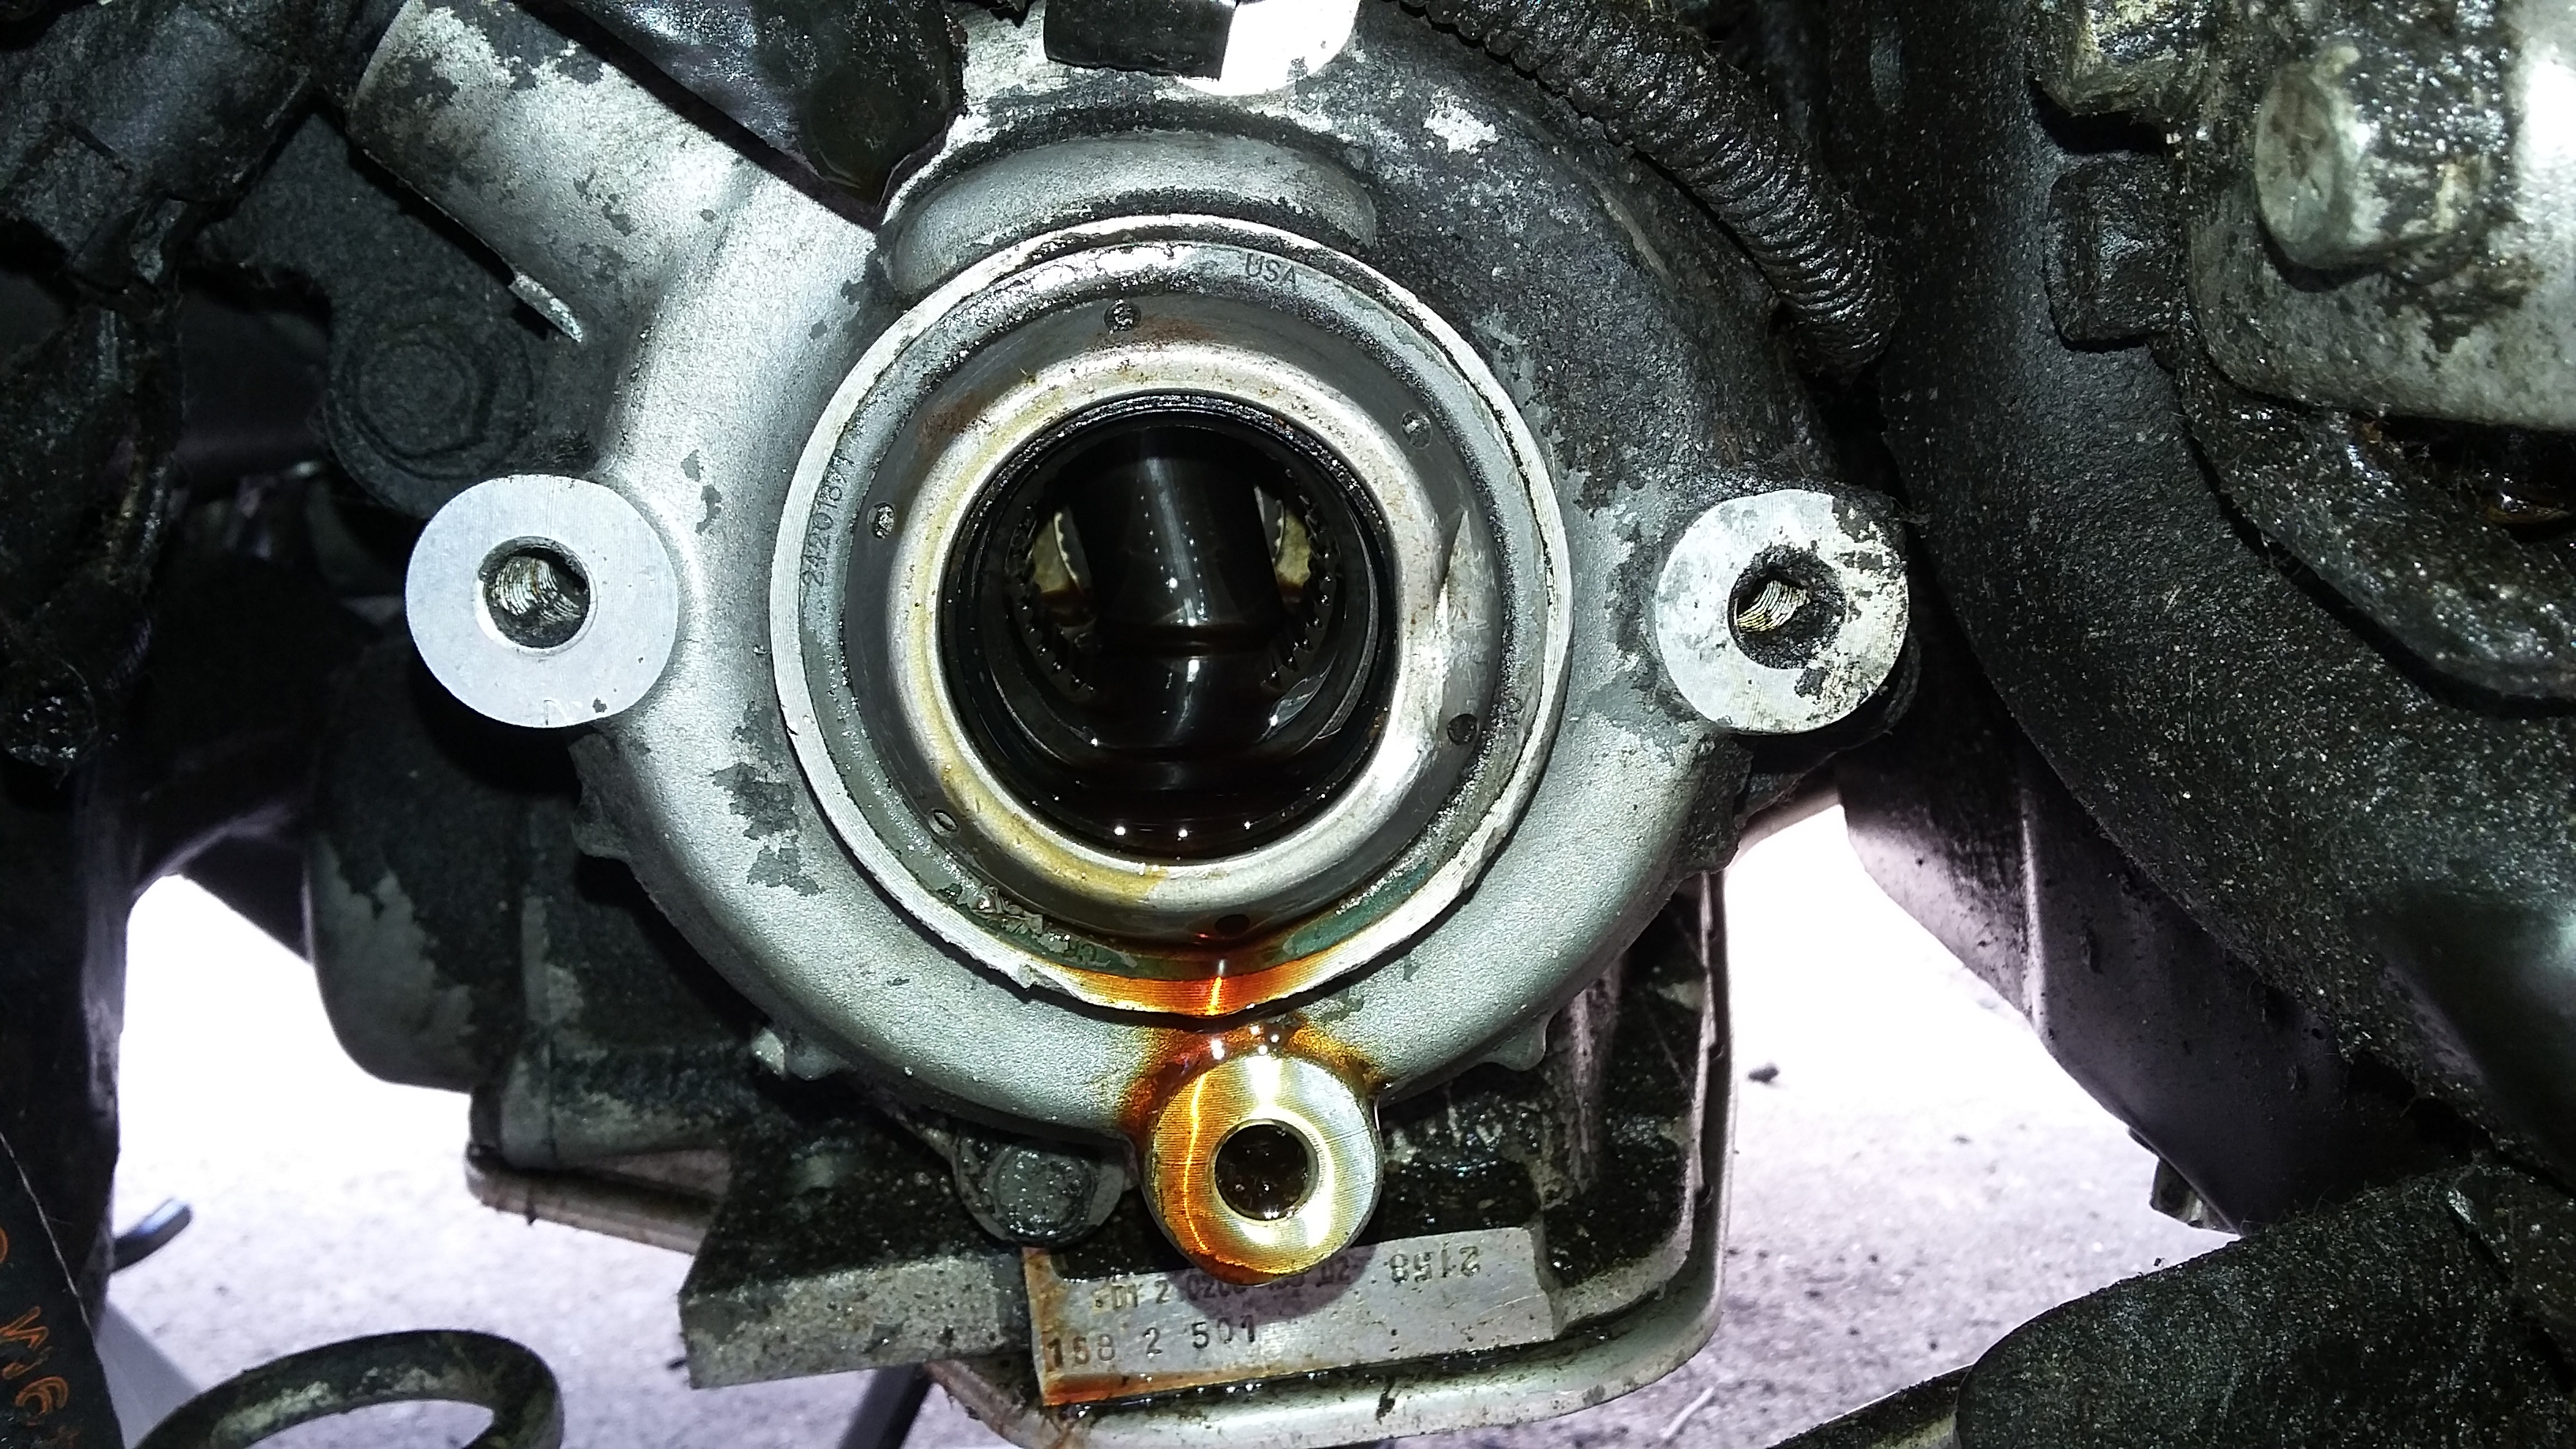
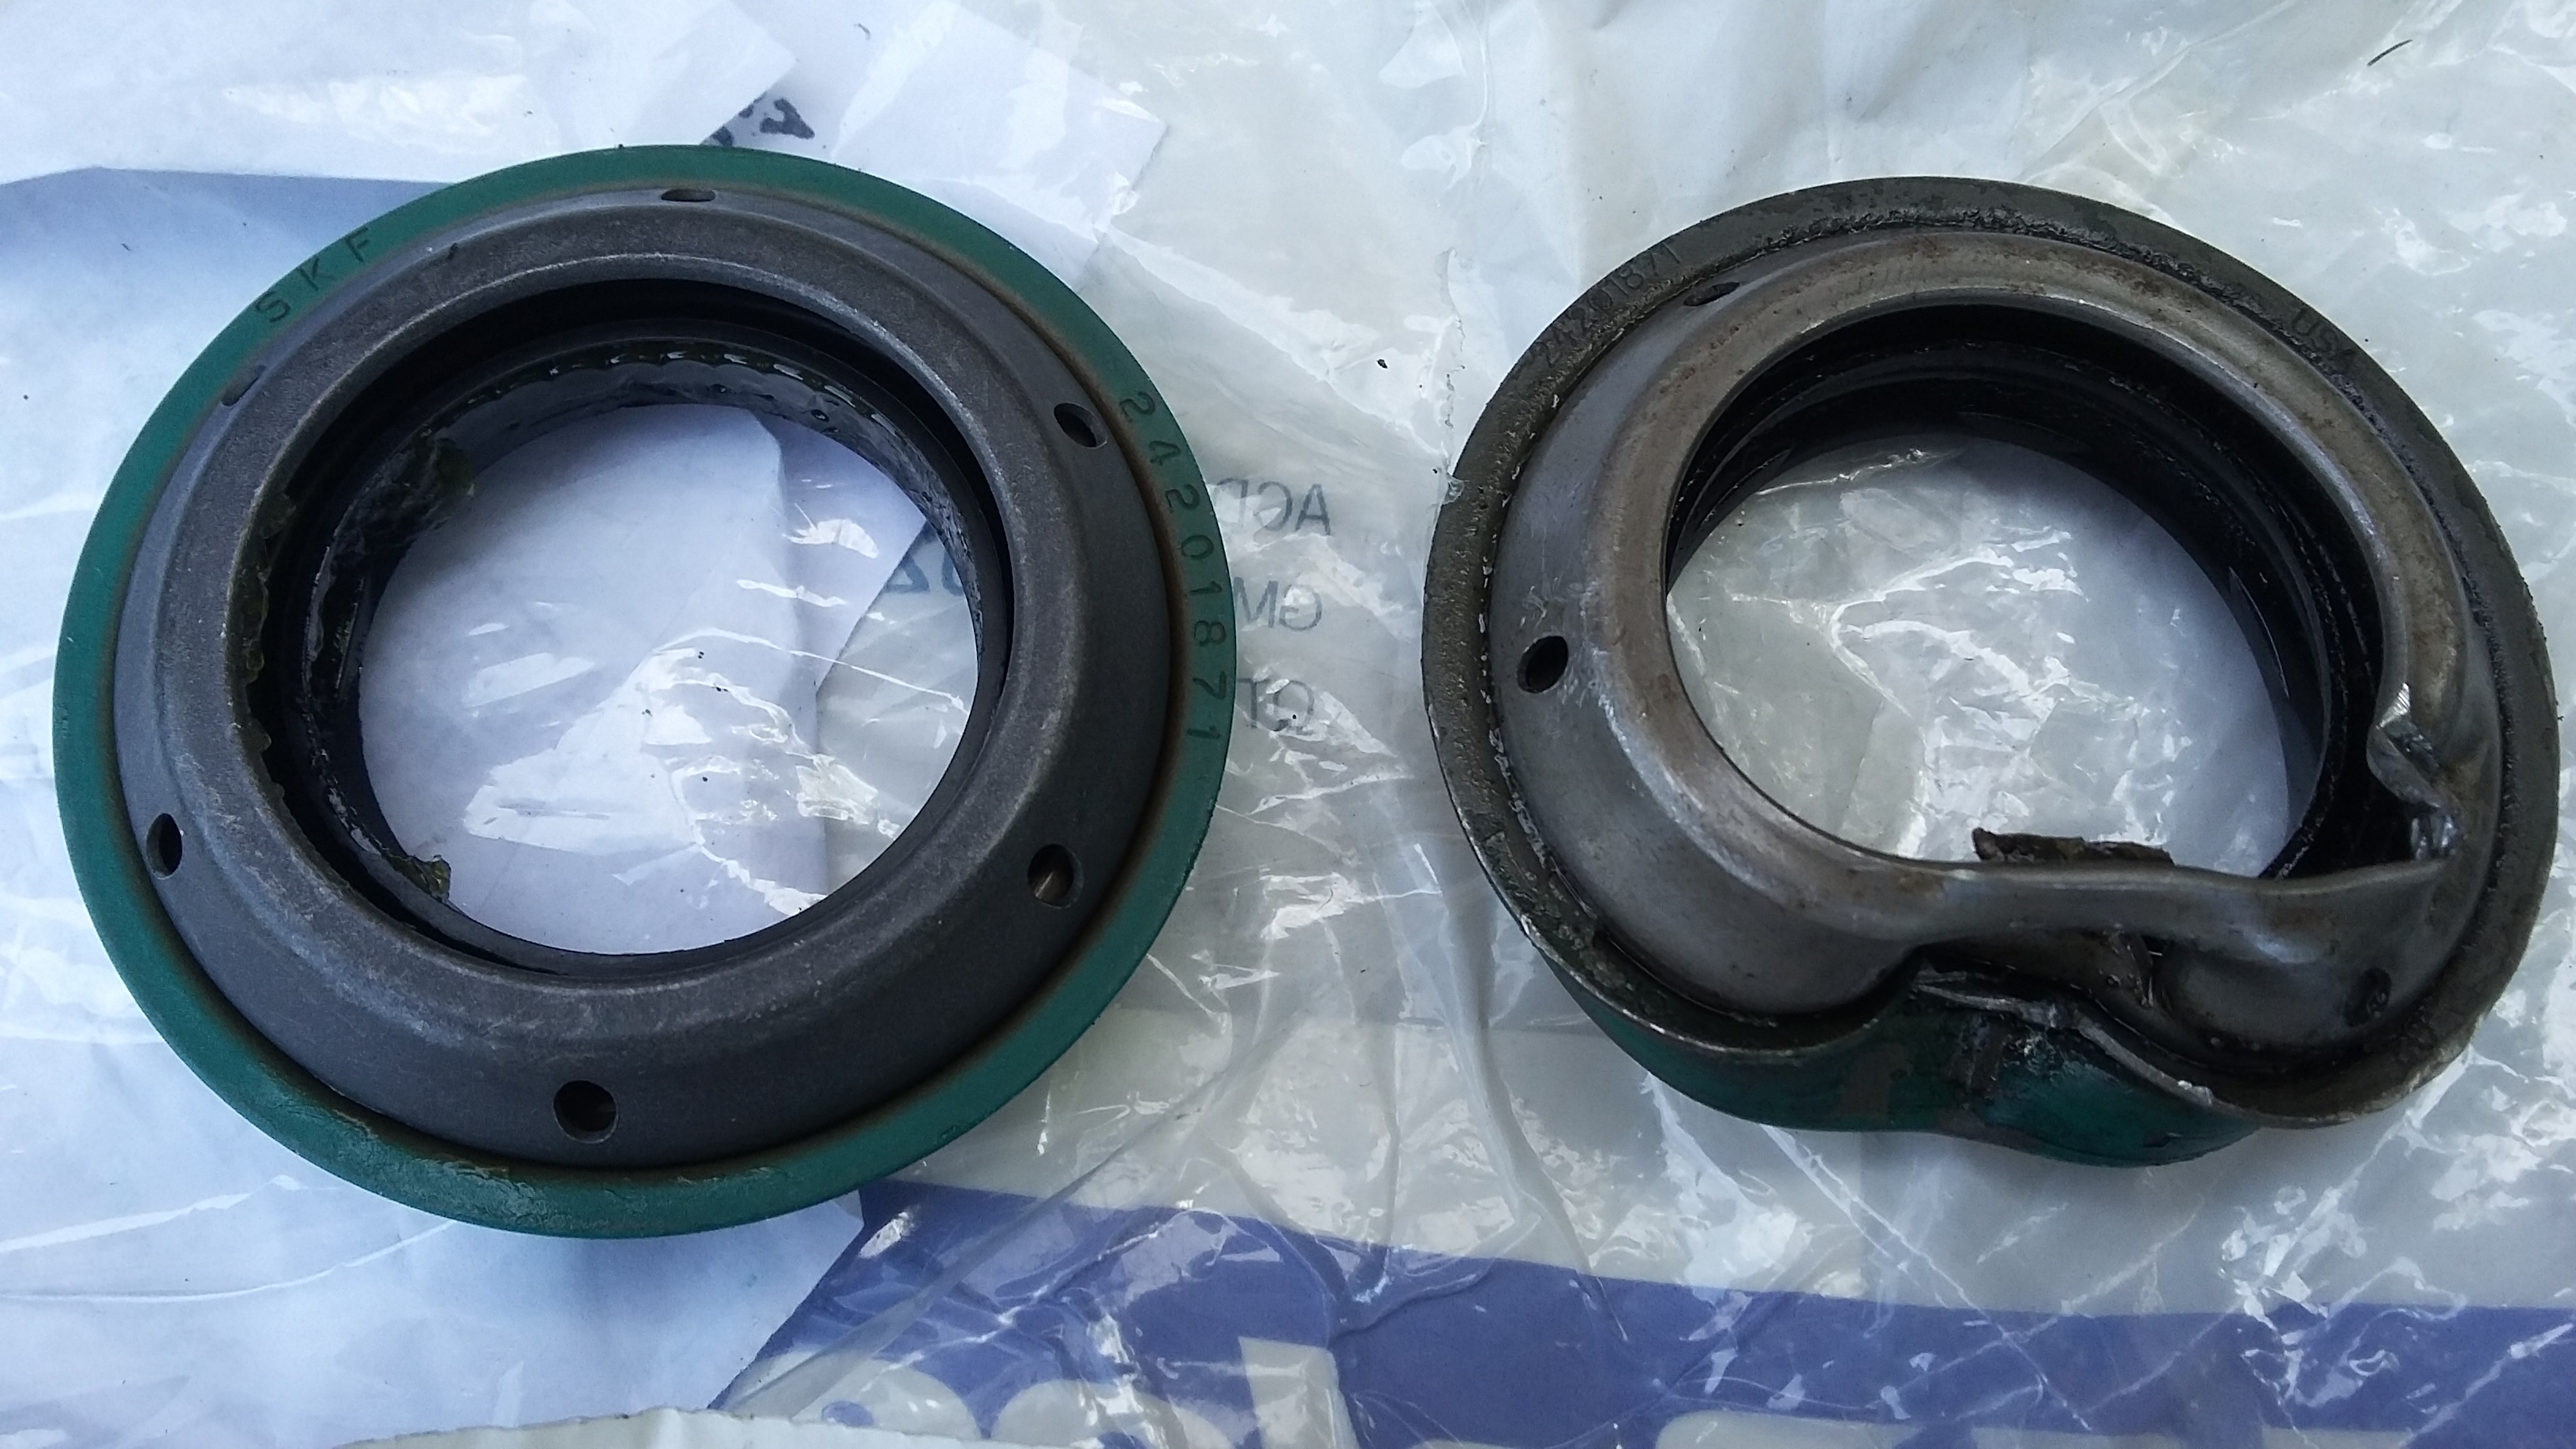
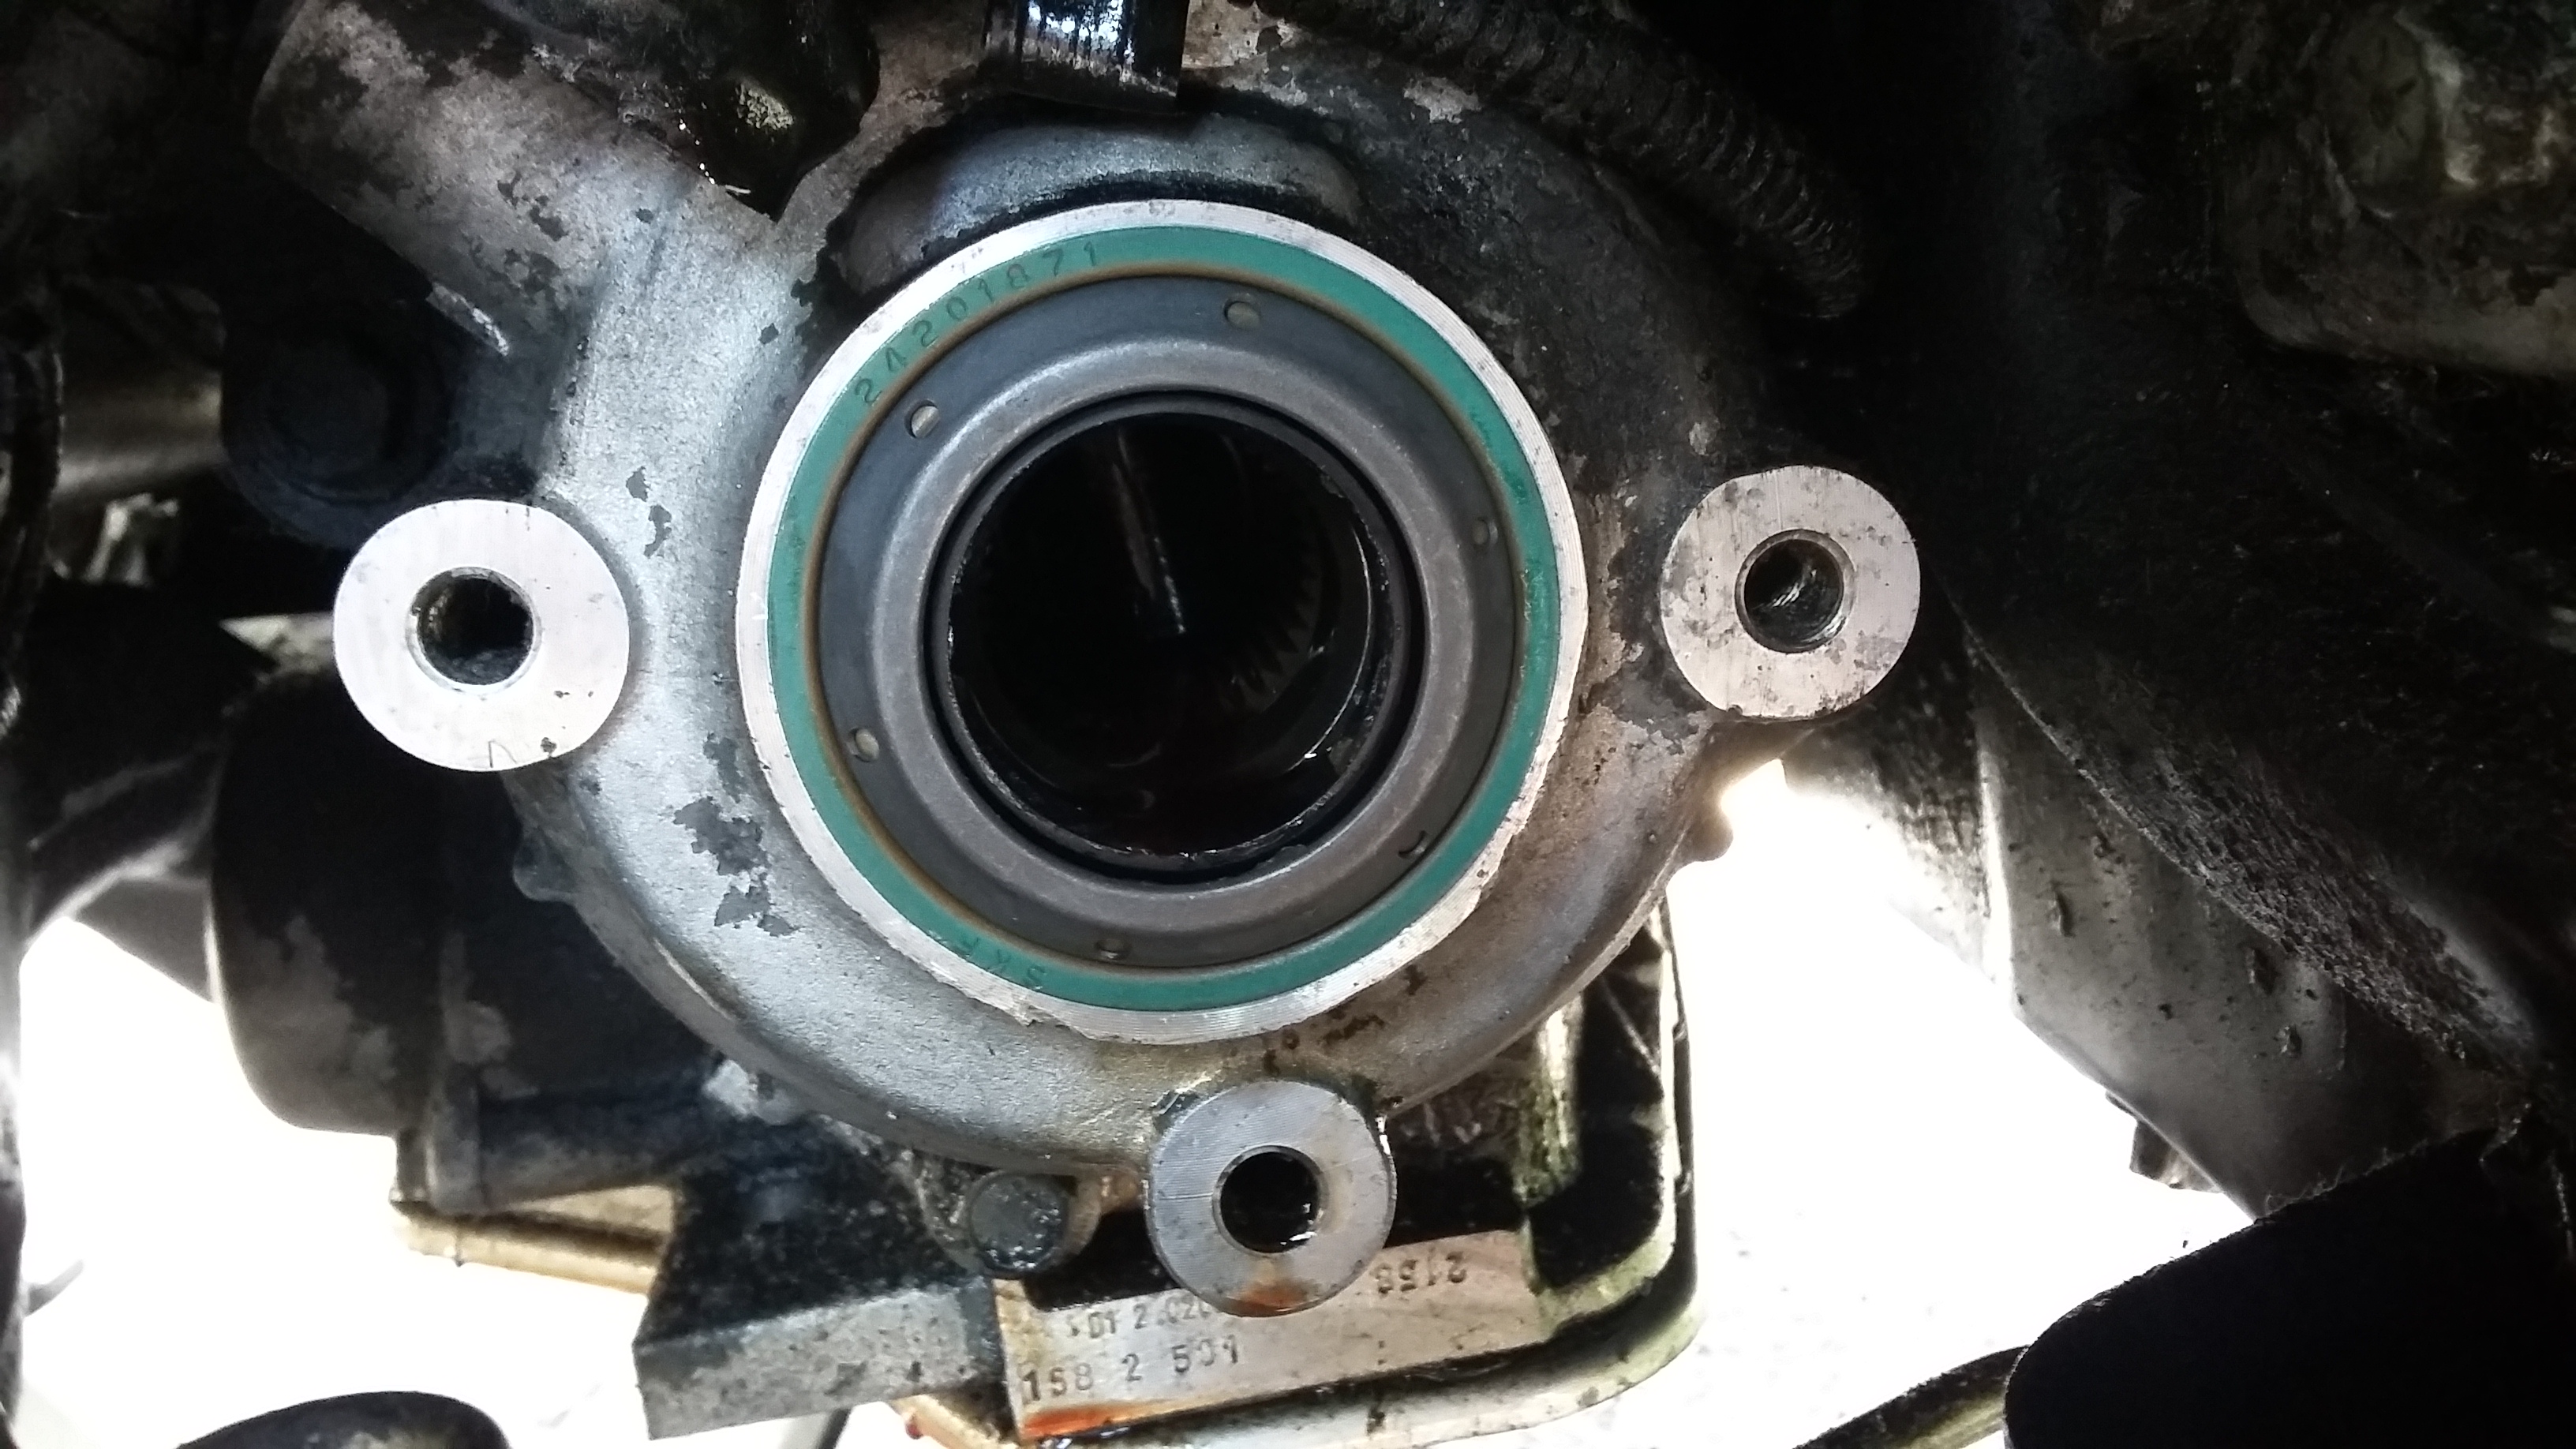
I'll try that. Been reading up on it. The axles aren't stock so I'm hoping it's gonna pop right out. I know because the axle nut was 33mm. Would be stupid not to deal with this now.. I went to the GM dealer and ordered a seal today and should have it tmrw. Crickets in that place because of the Mechanic Unions strike.


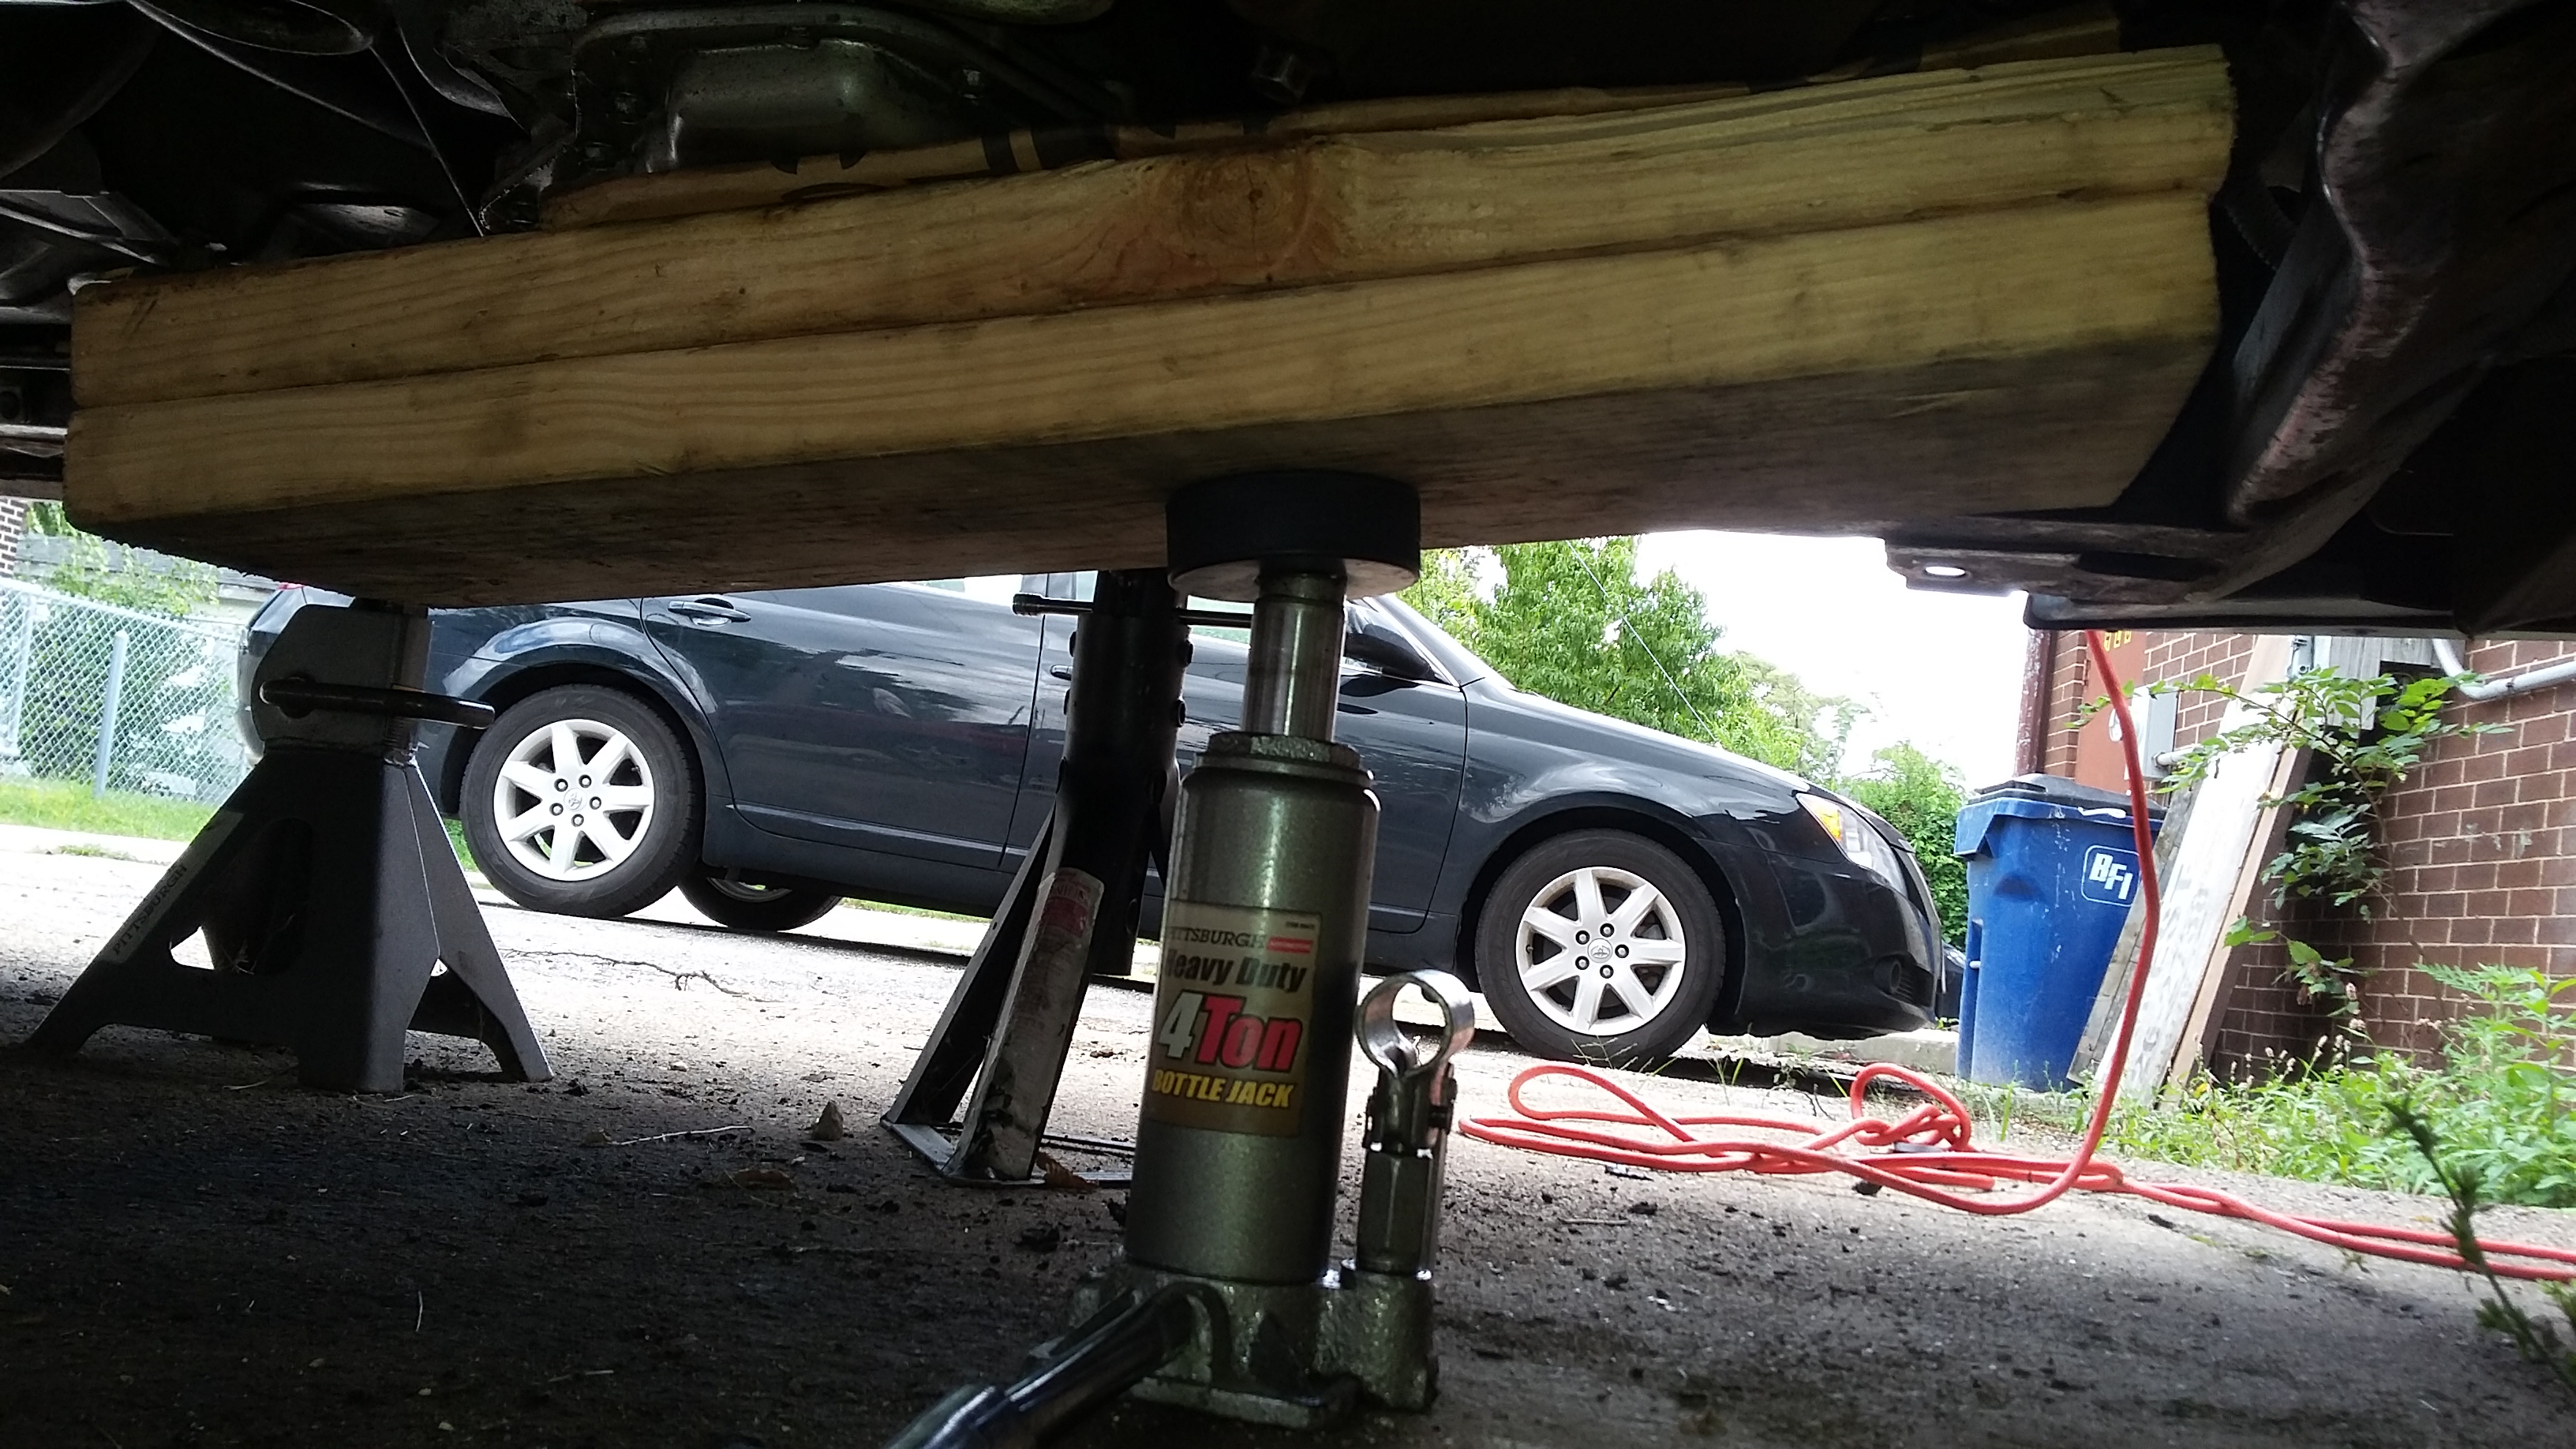
Alright. Getting stuff done. Took off from work for the next 3 days to work on the car. Have a lot of parts ready to be put in. Also took off Monday, Tuesday to go camping with the kids and wife and watch the total eclipse. Driving down to "Garden of the Gods" in southern IL. Should be a good time.

Really hoping to cross off a lot of the items on that list in the next few days.


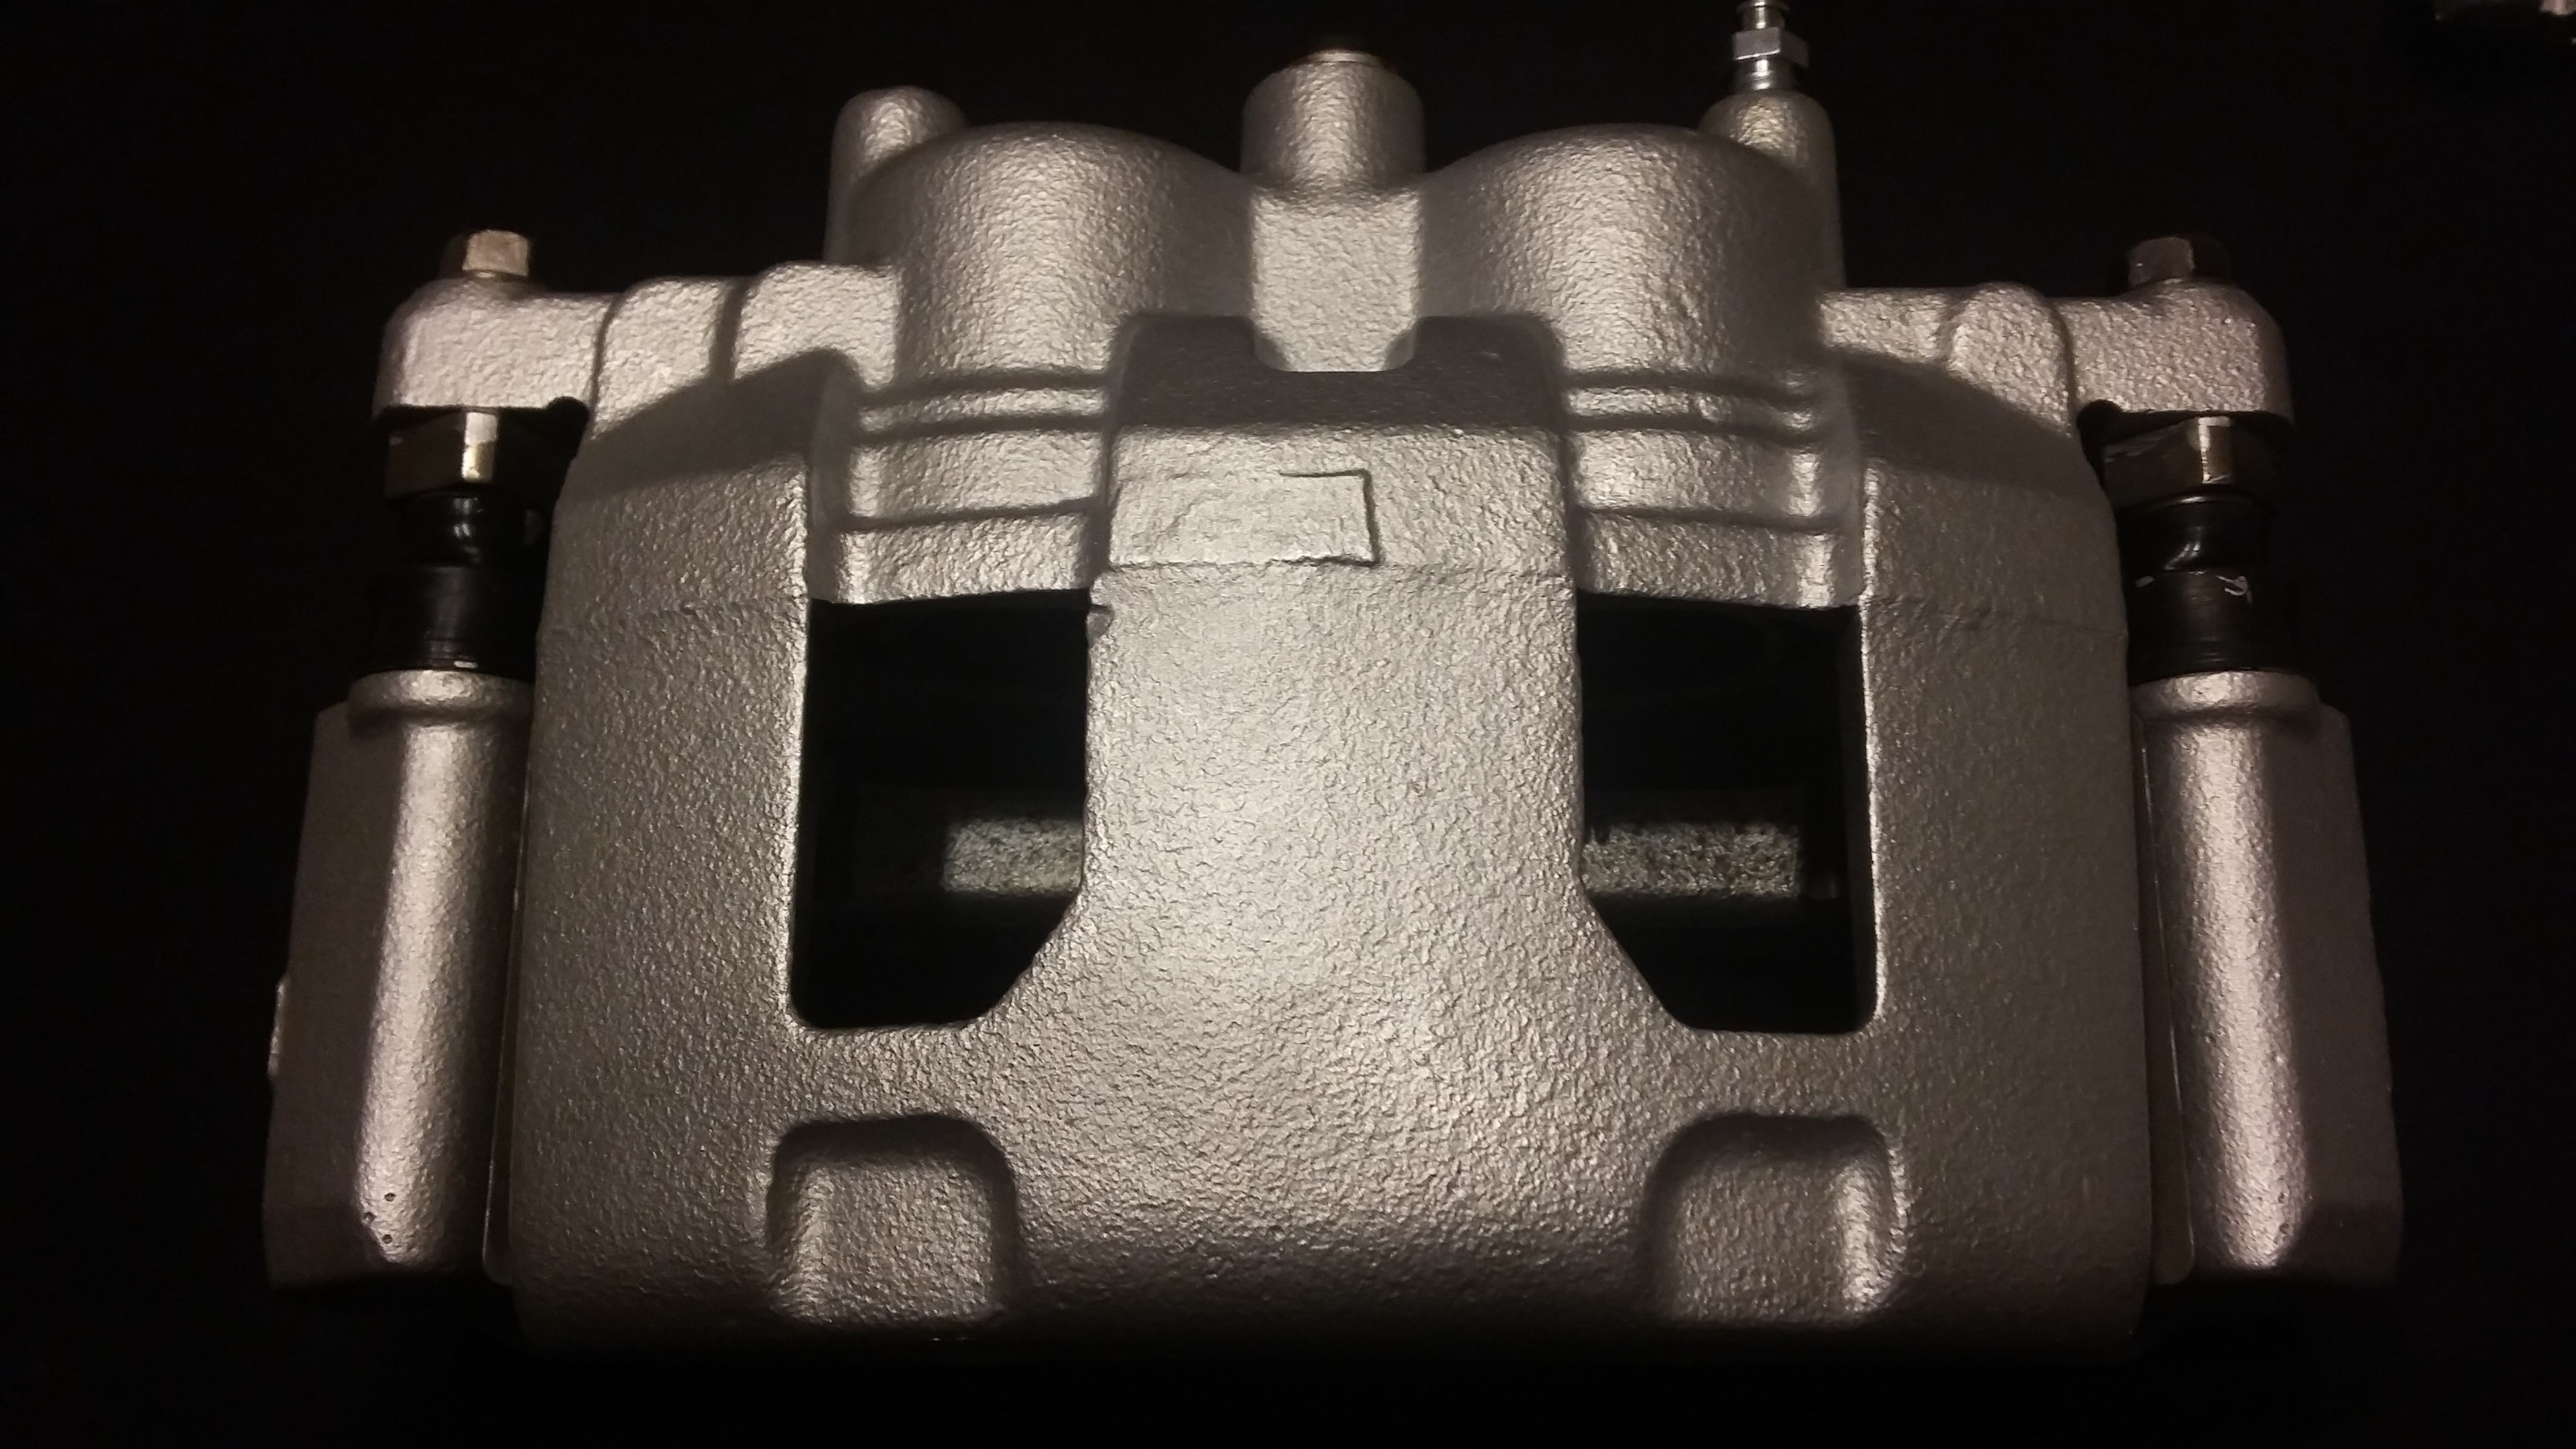
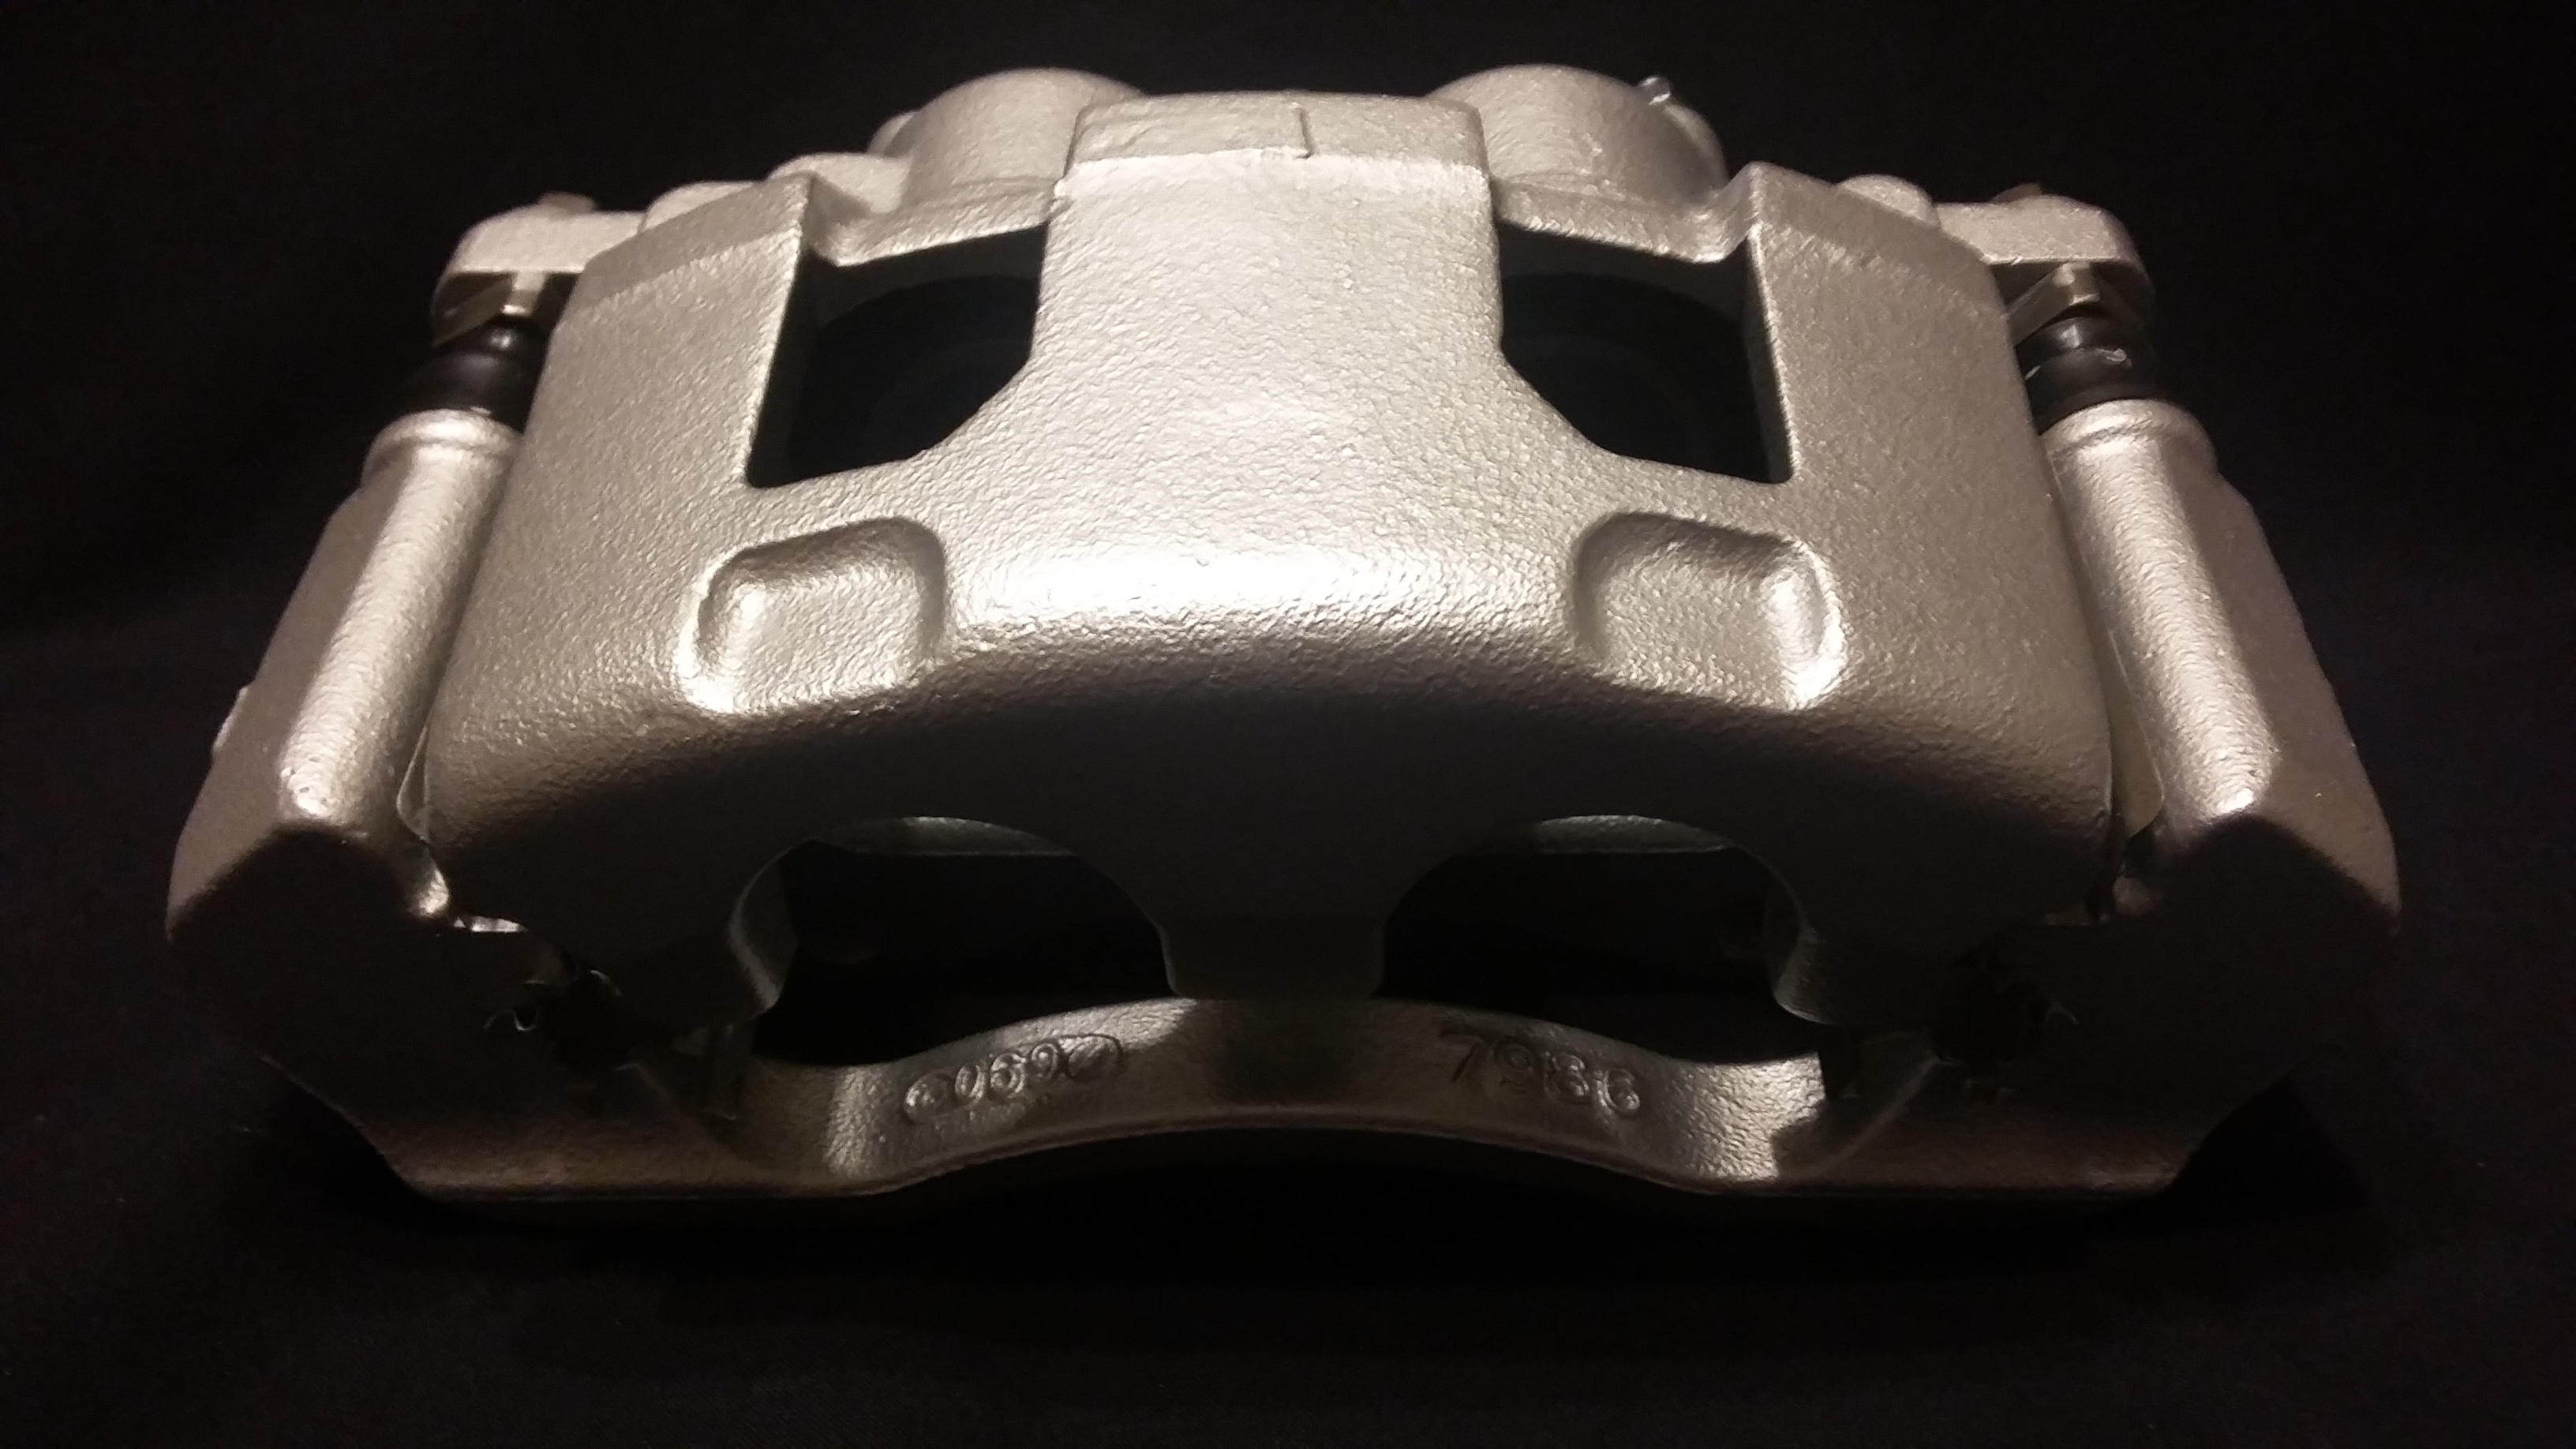
Brakes. Painted. You'll see through the holes in that last pic that the bracket itsn't painted. I kept paint off all of the mating surfaces and bolt holes.
20170816_001650.jpg


20170816_001755.jpg


20170816_001954.jpg


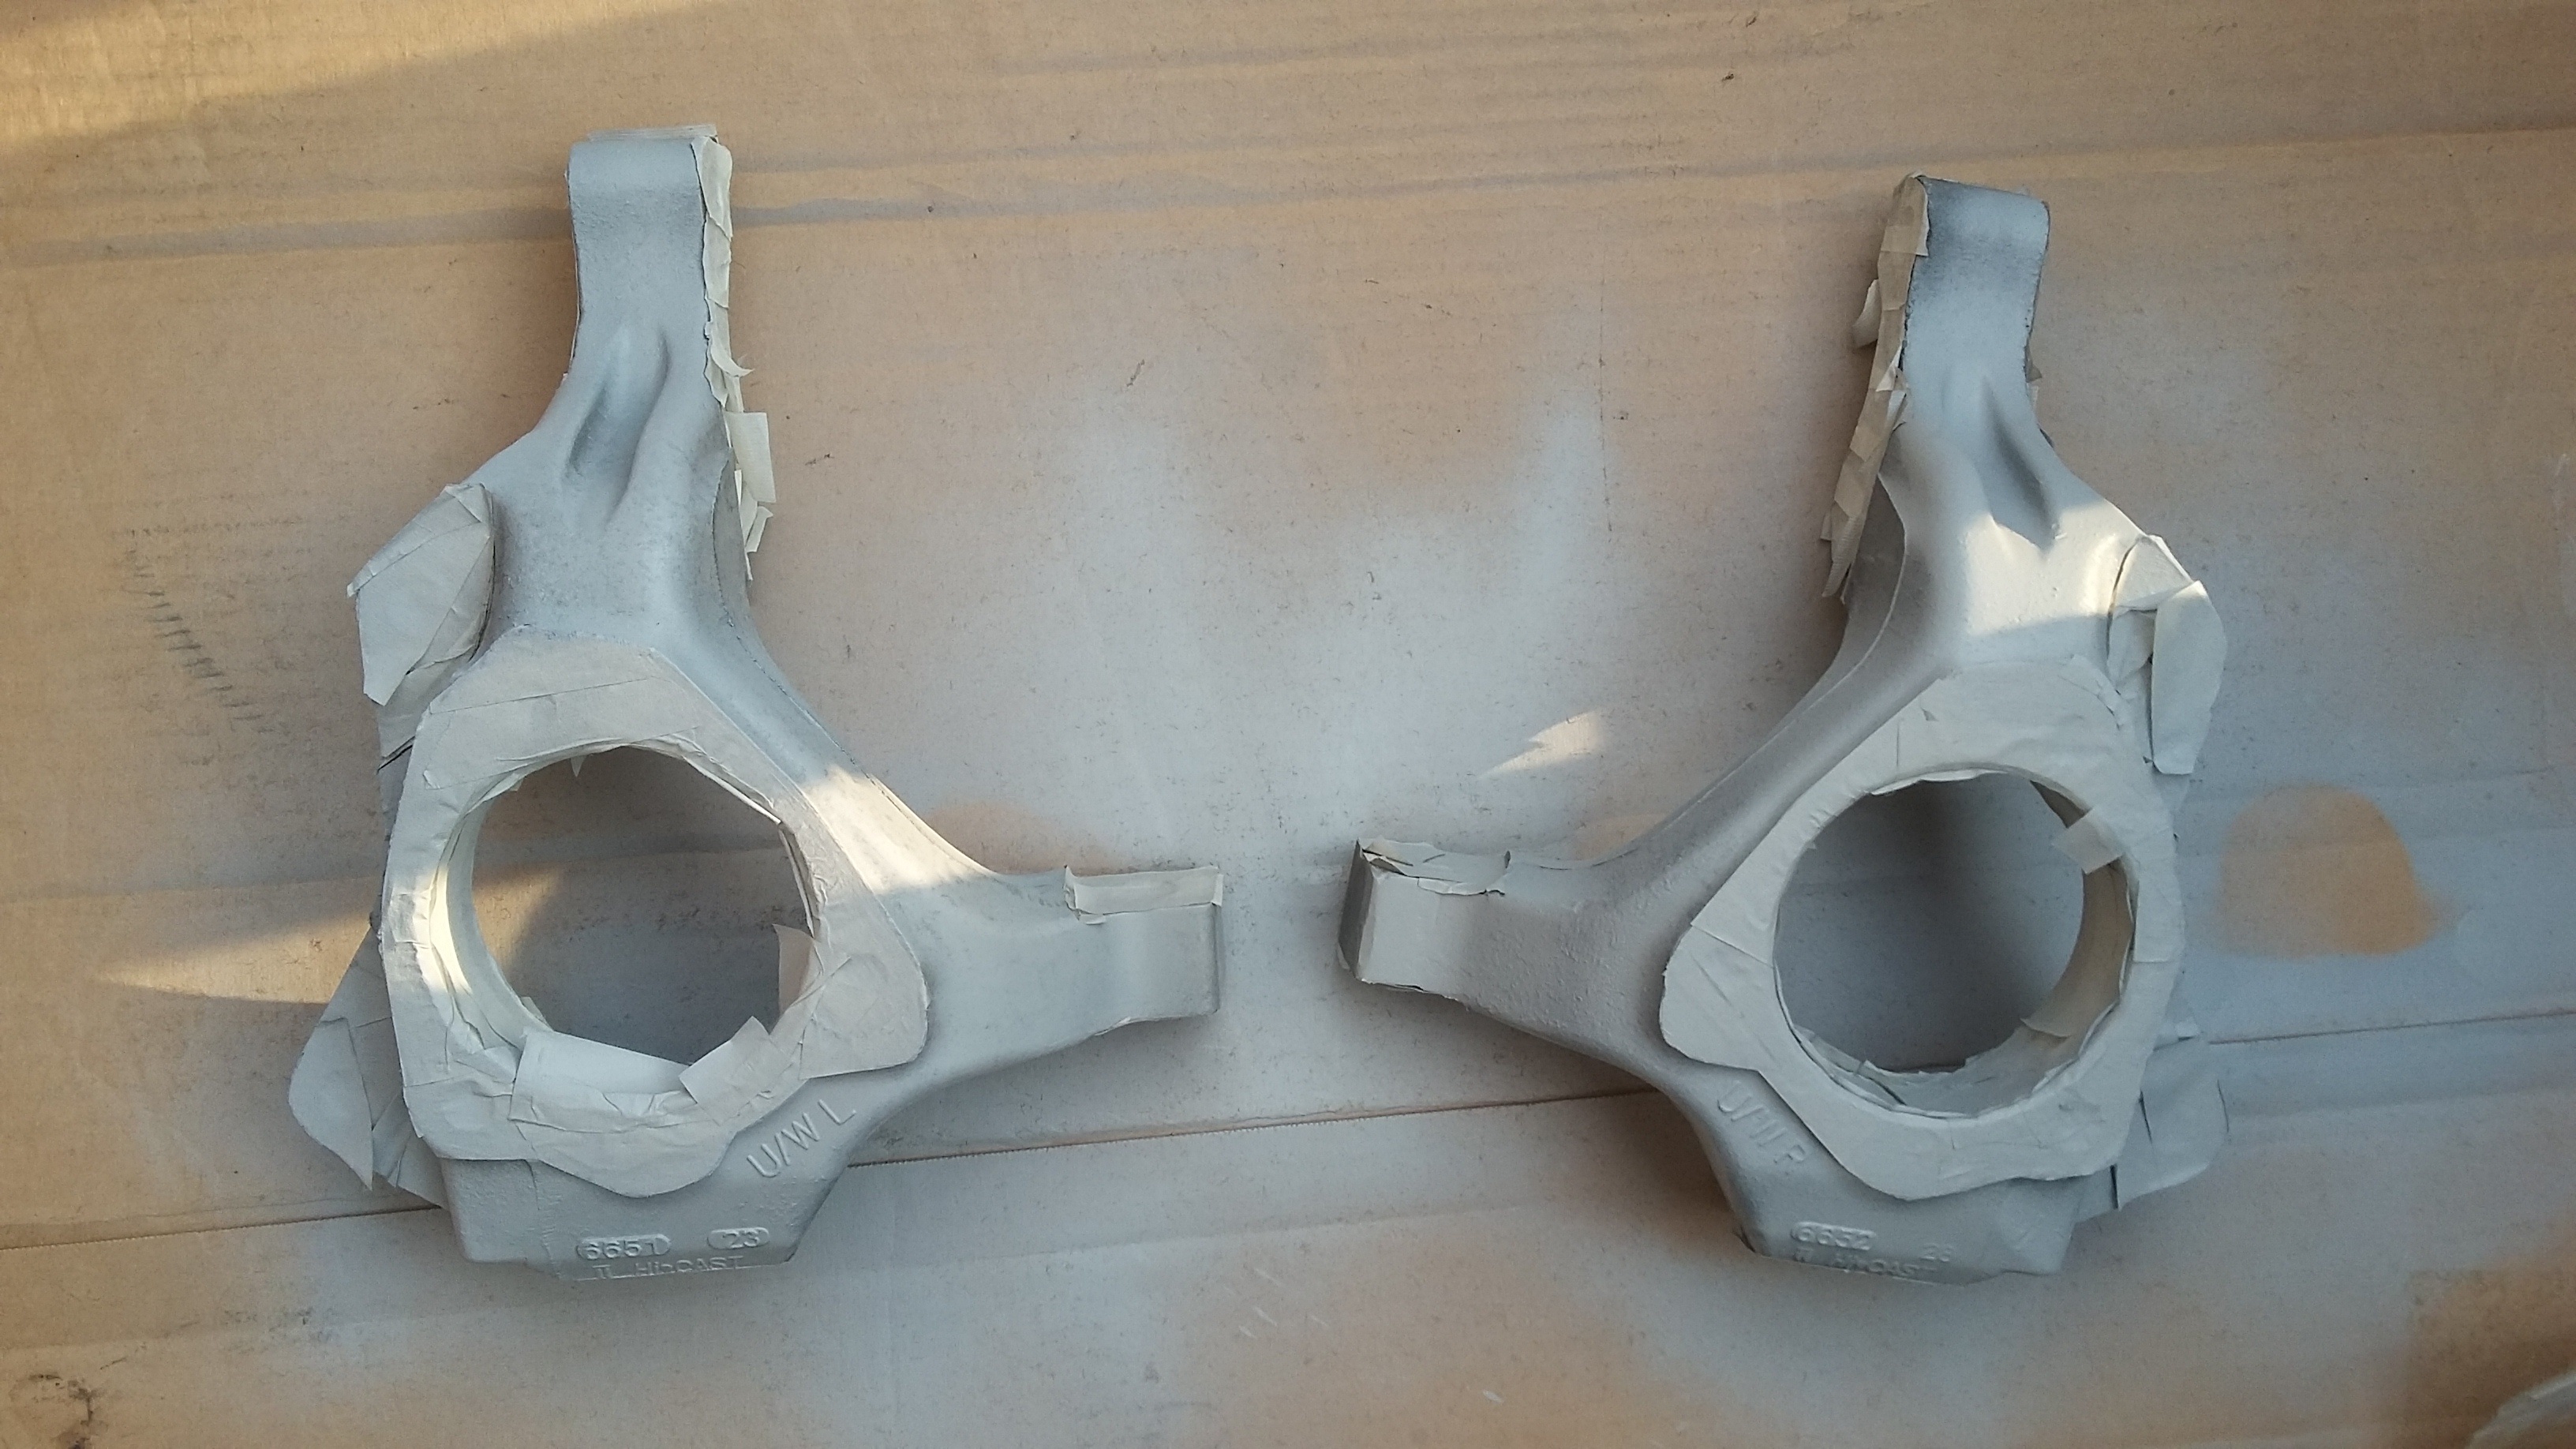
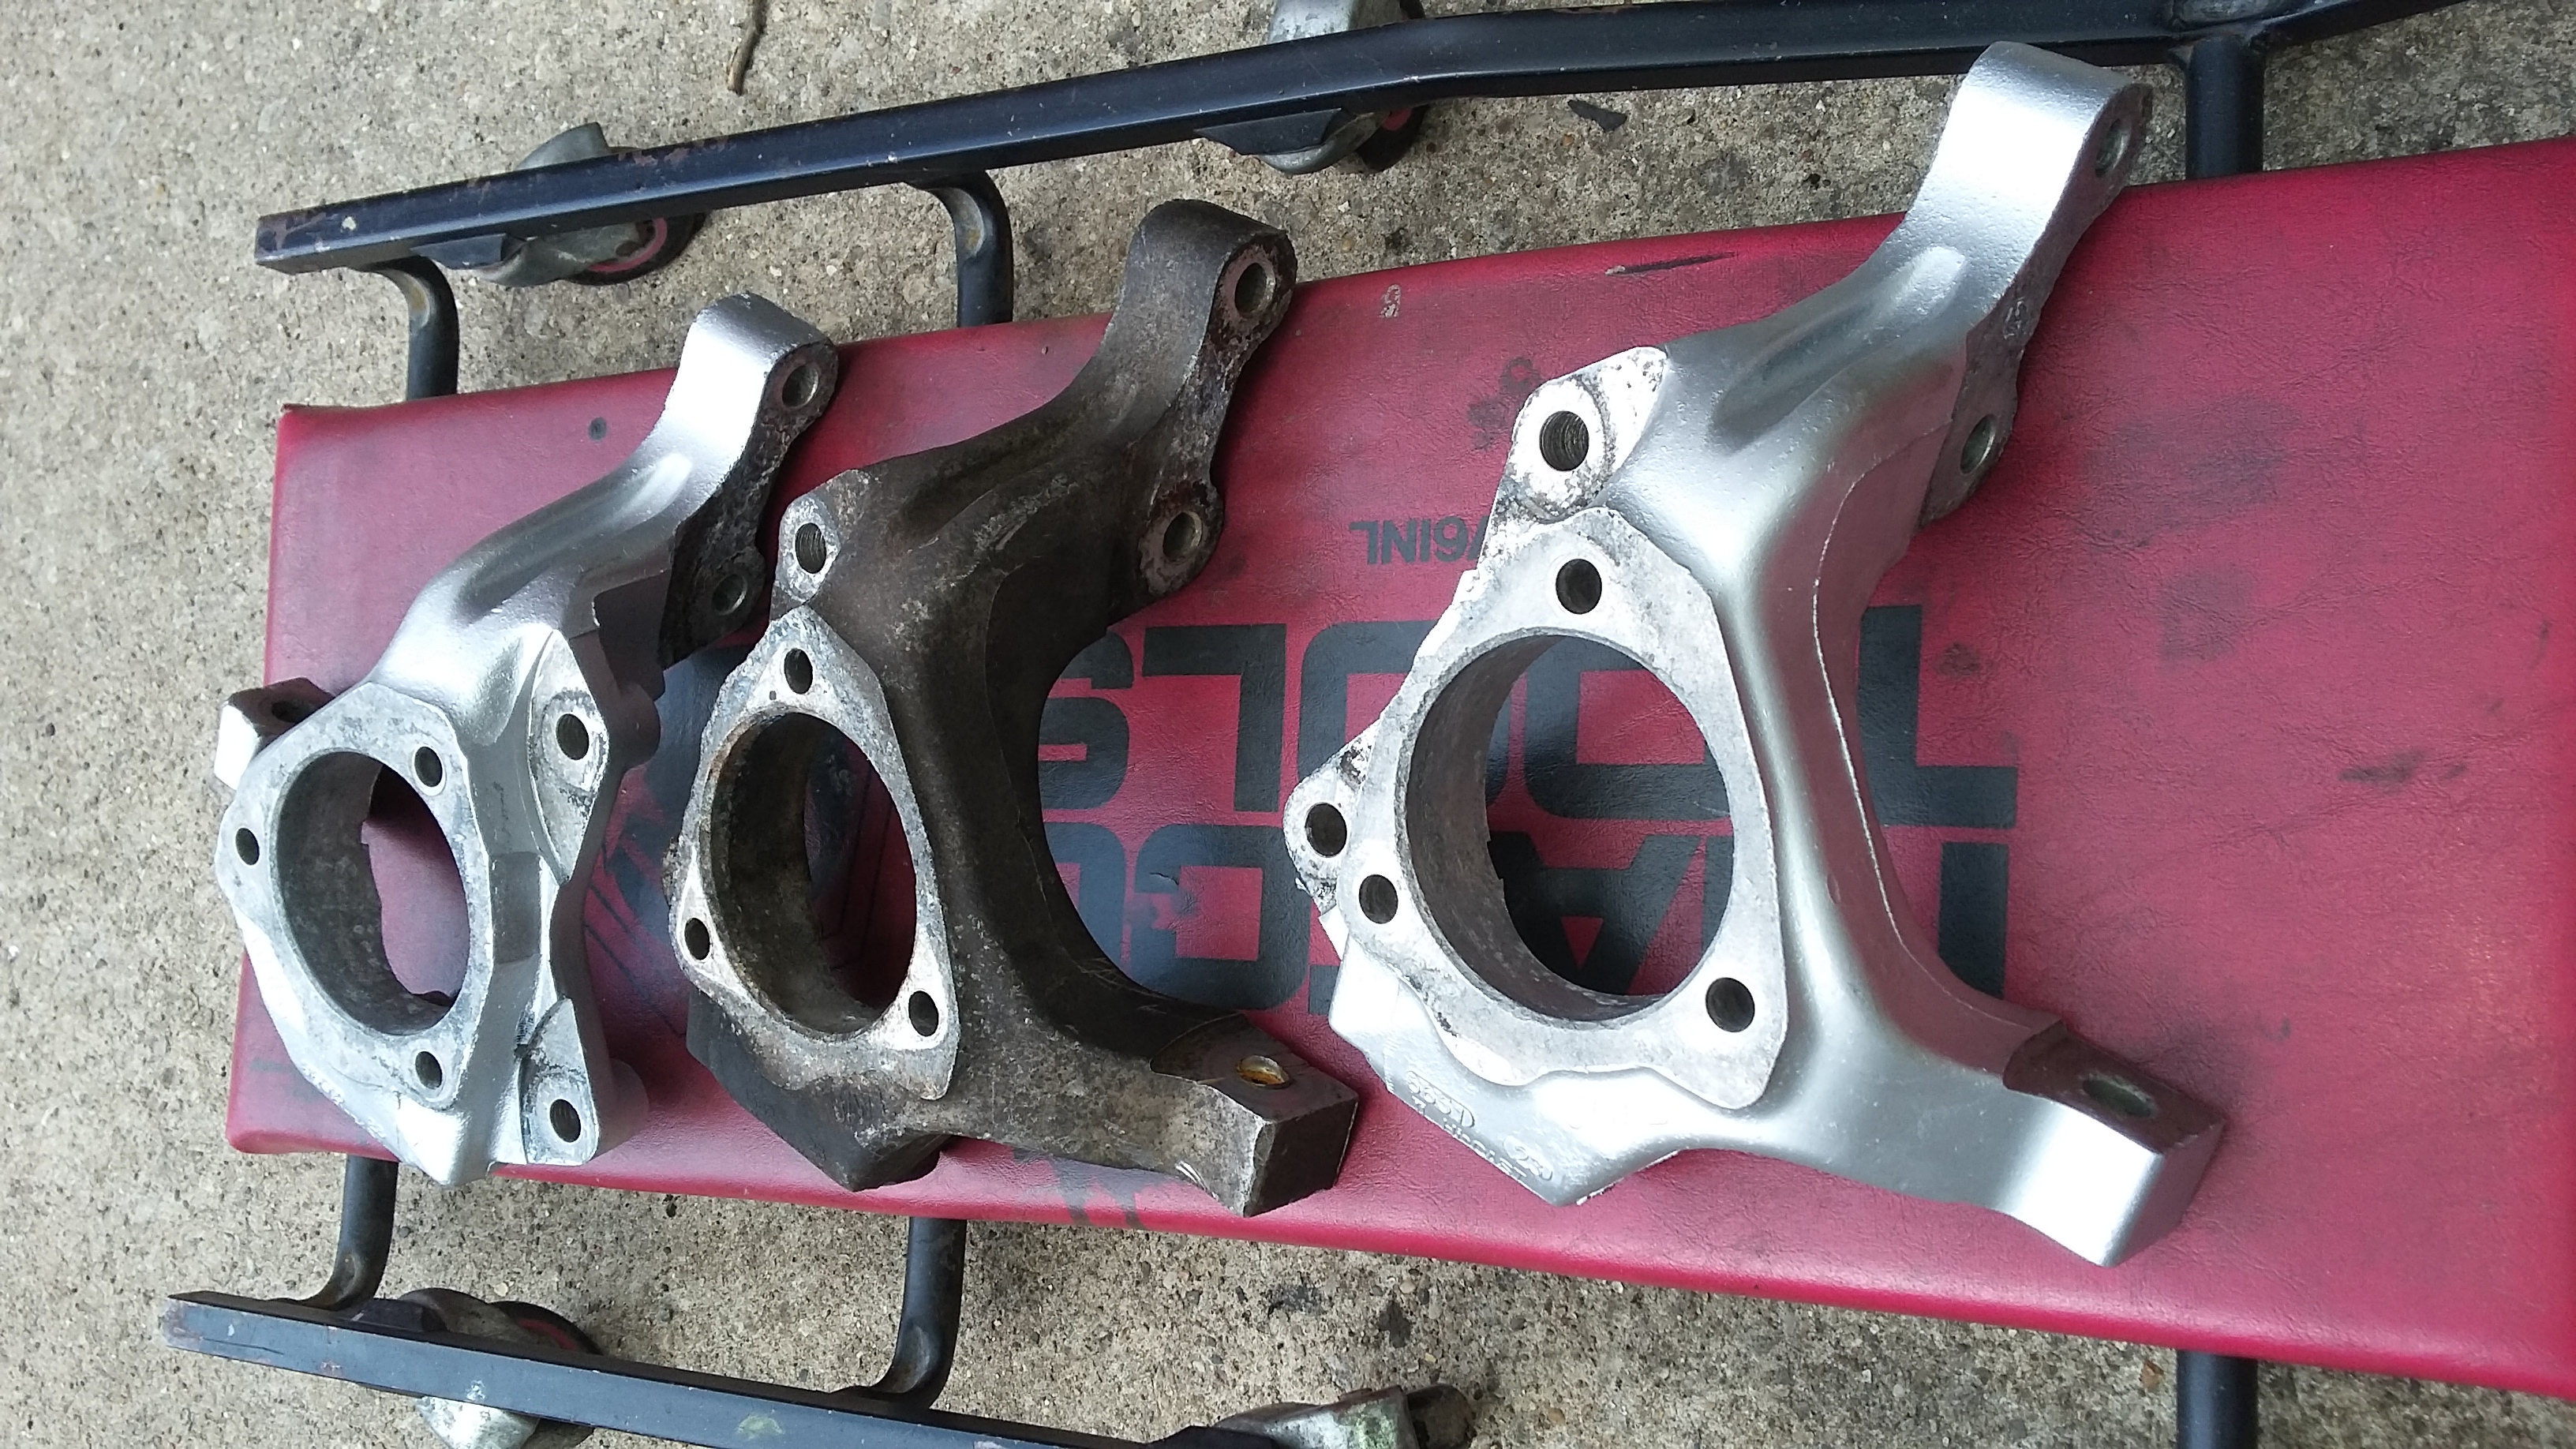
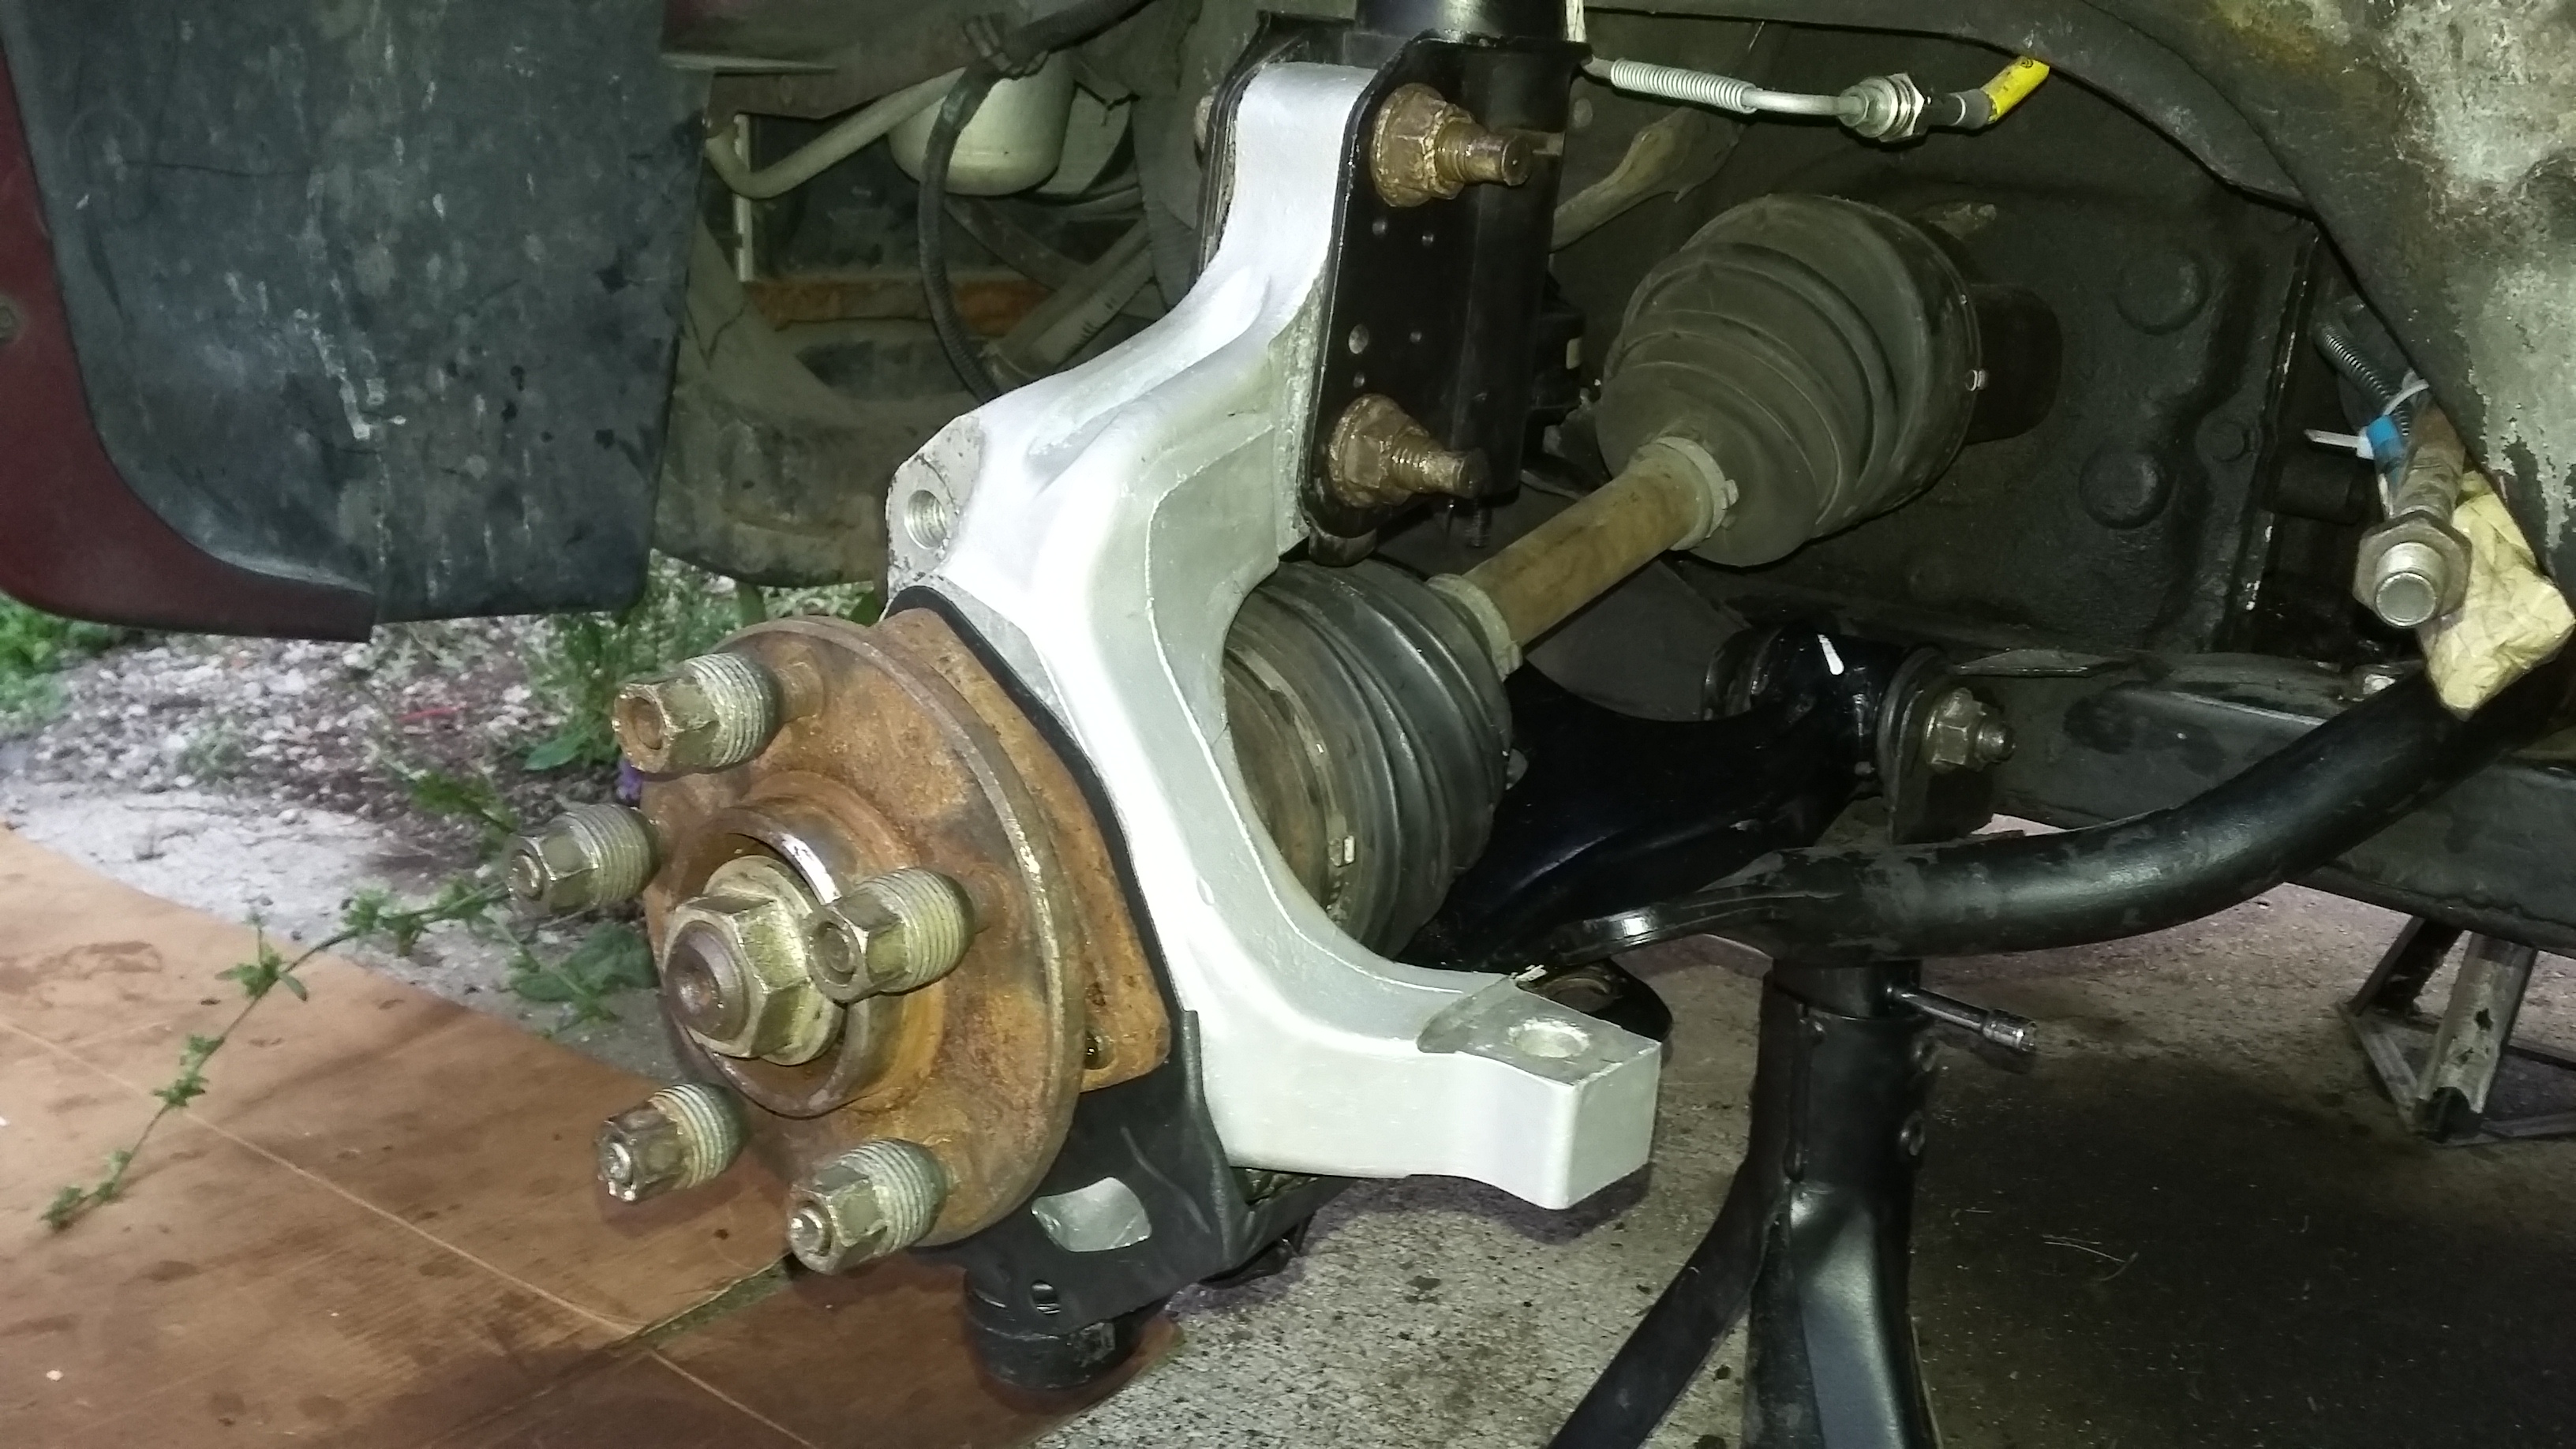
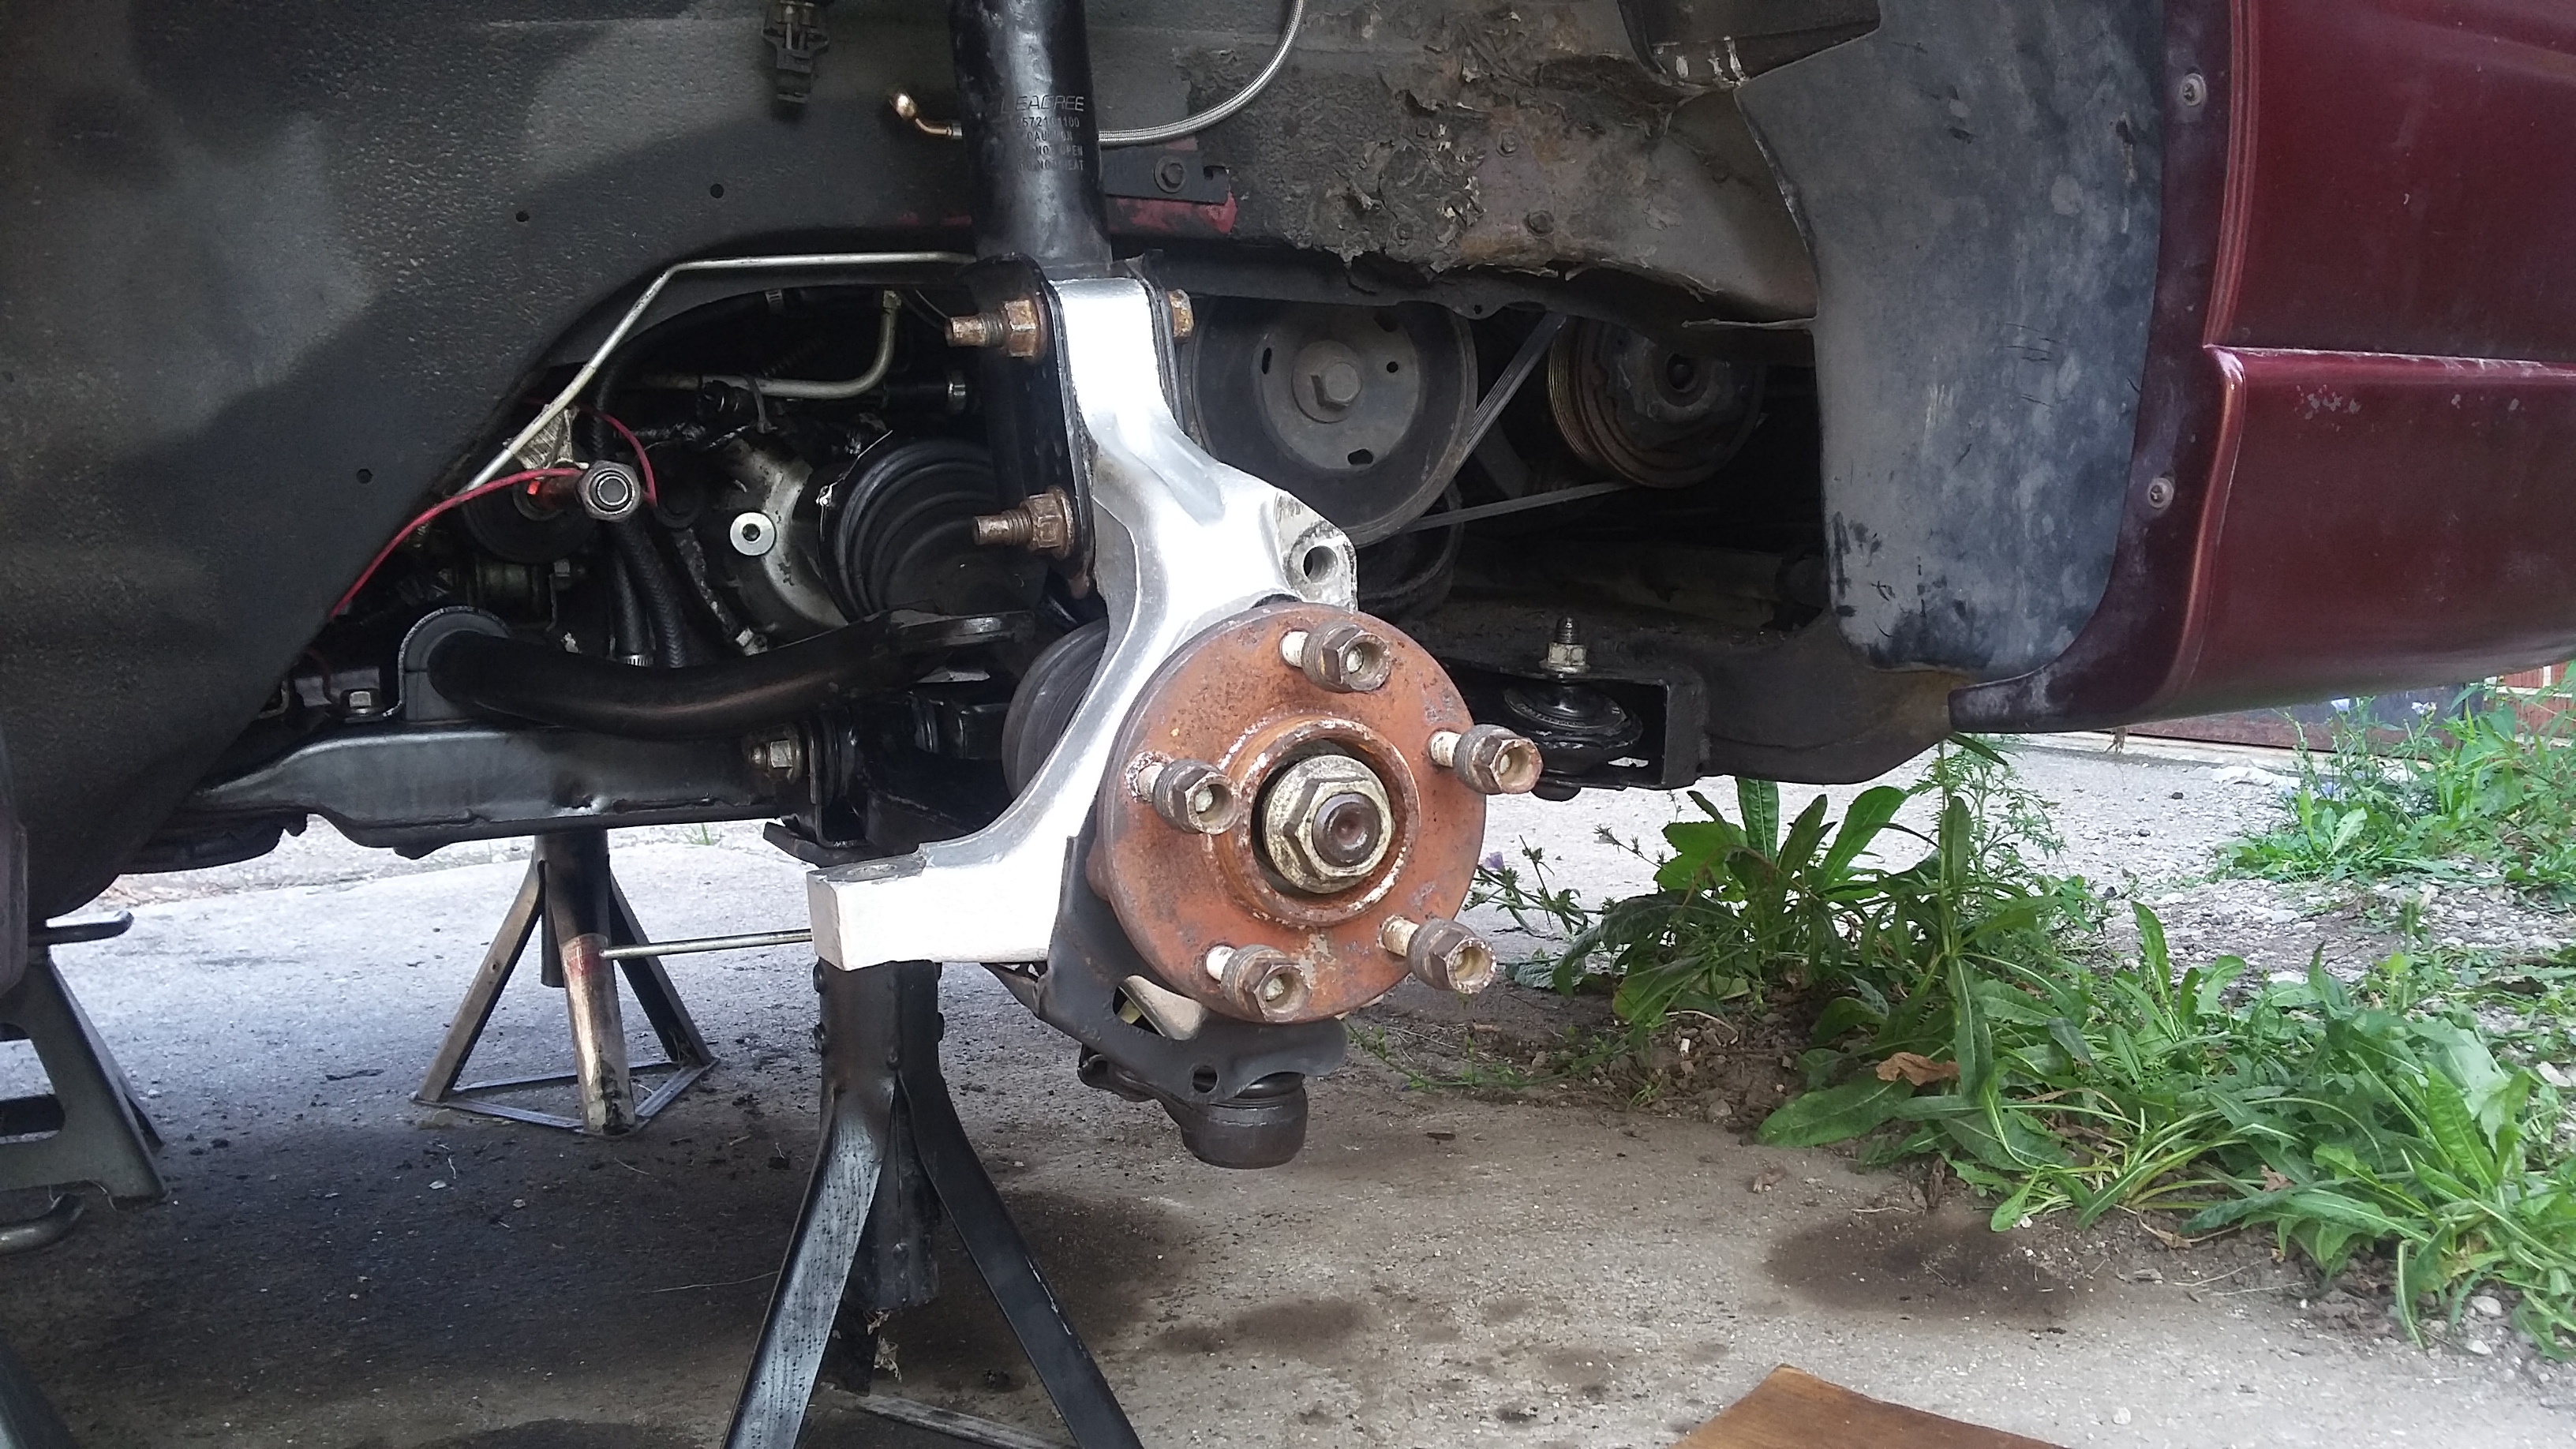
Knuckles. Painted. Didn't have a pic of them. Swore I took one. They look cool, like a robot part. Instead, here's another pic with just the primer to serve as a bookmark. HA! Kids helped me paint the knuckles using the POR-15. I think the paint got to them for a second. They were acting like goof-balls!
20170801_072046.jpg


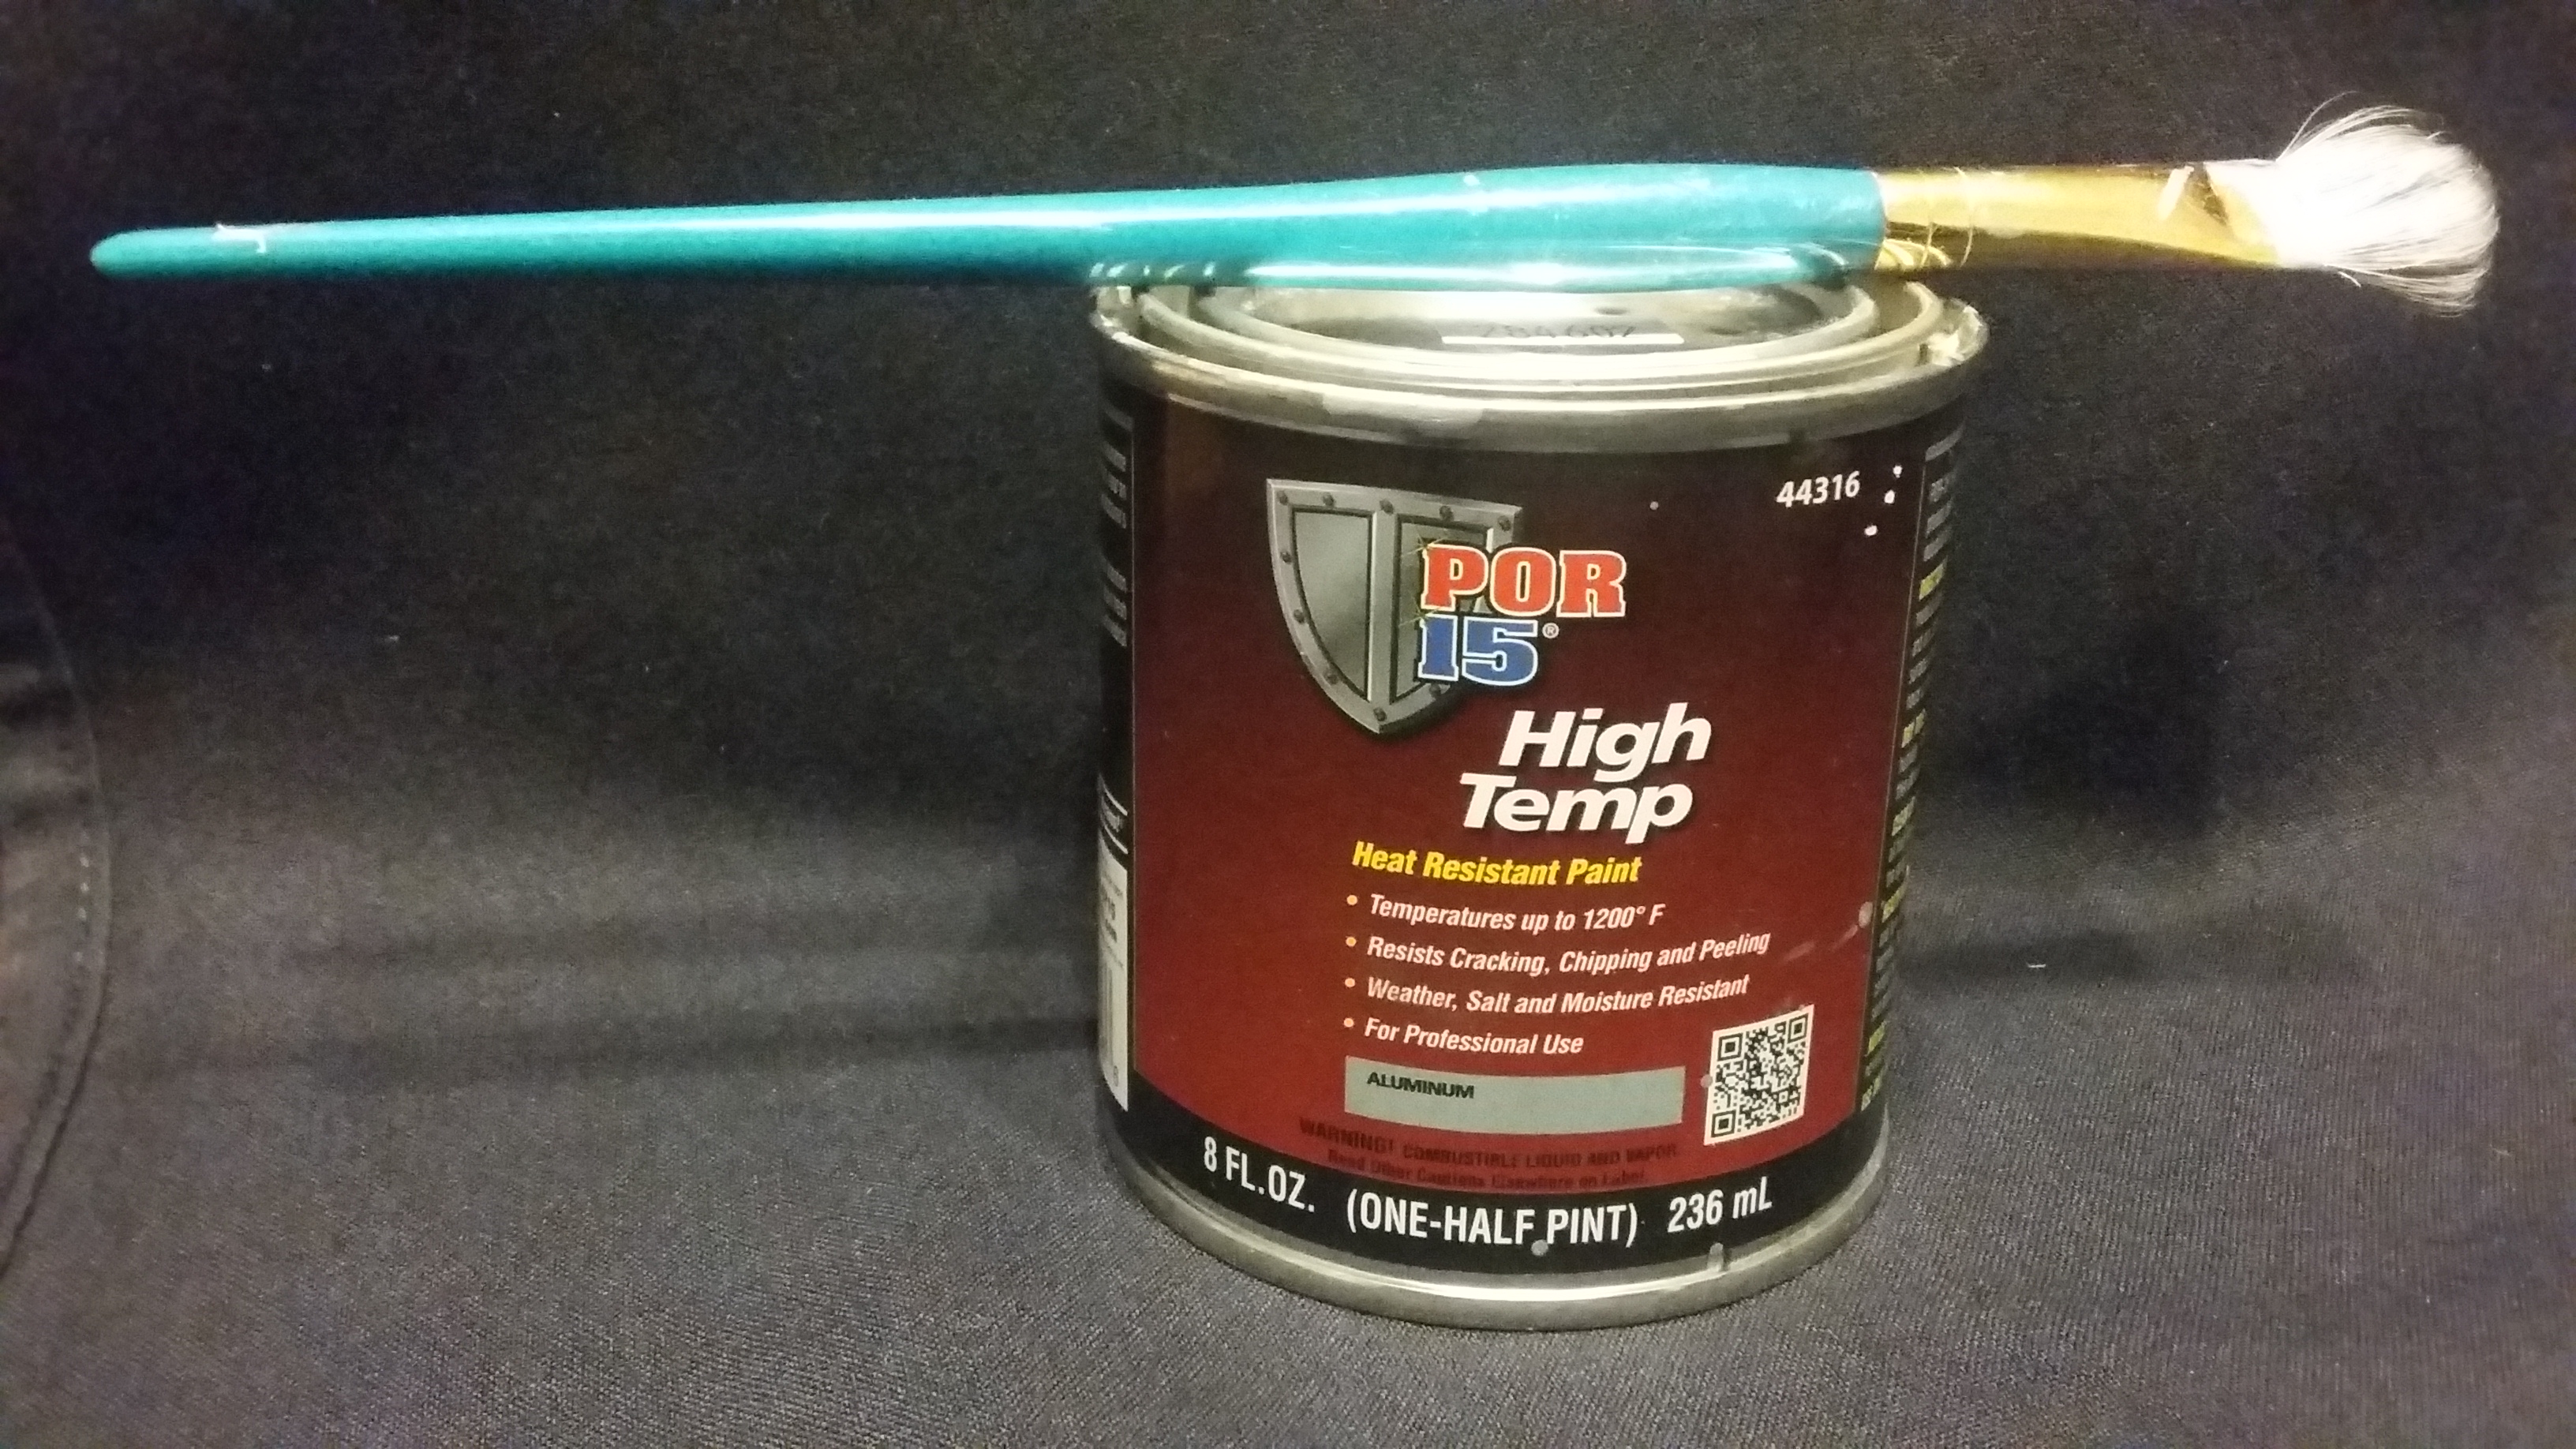
POR-15 Aluminum. Just a regular paint brush. You only need one 8oz can of this stuff. Will last forever:
20170816_005747.jpg


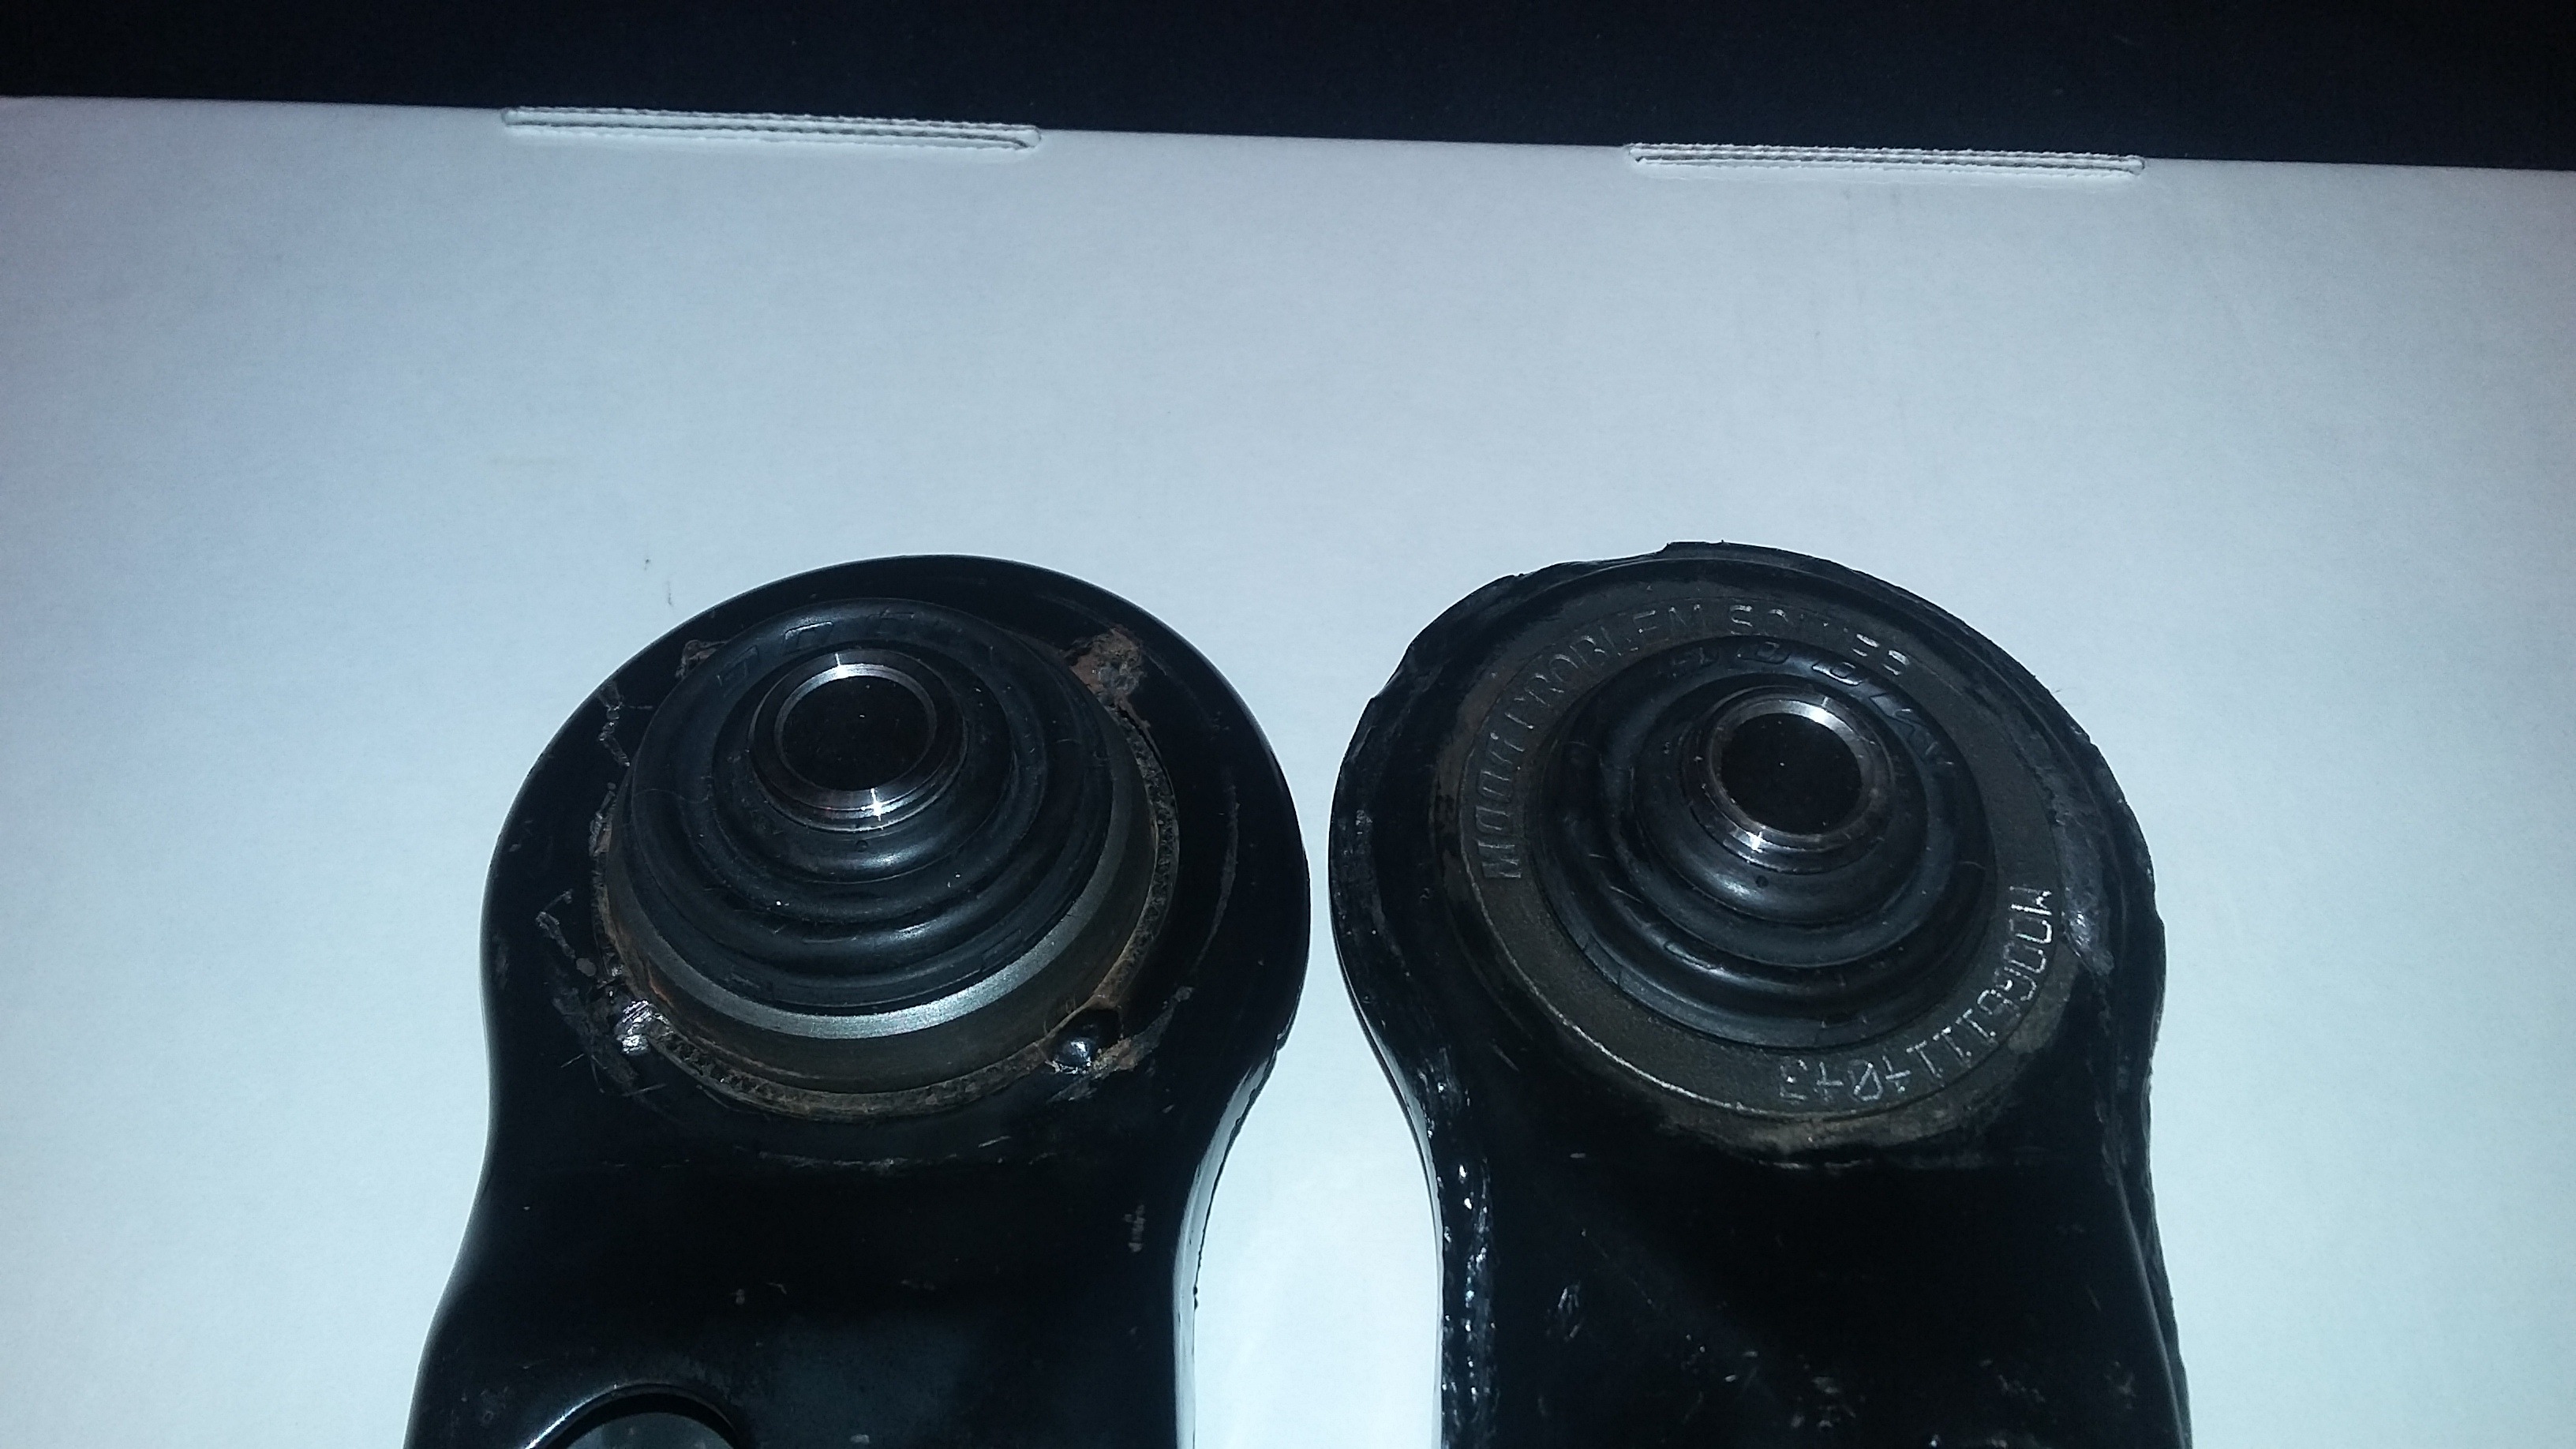
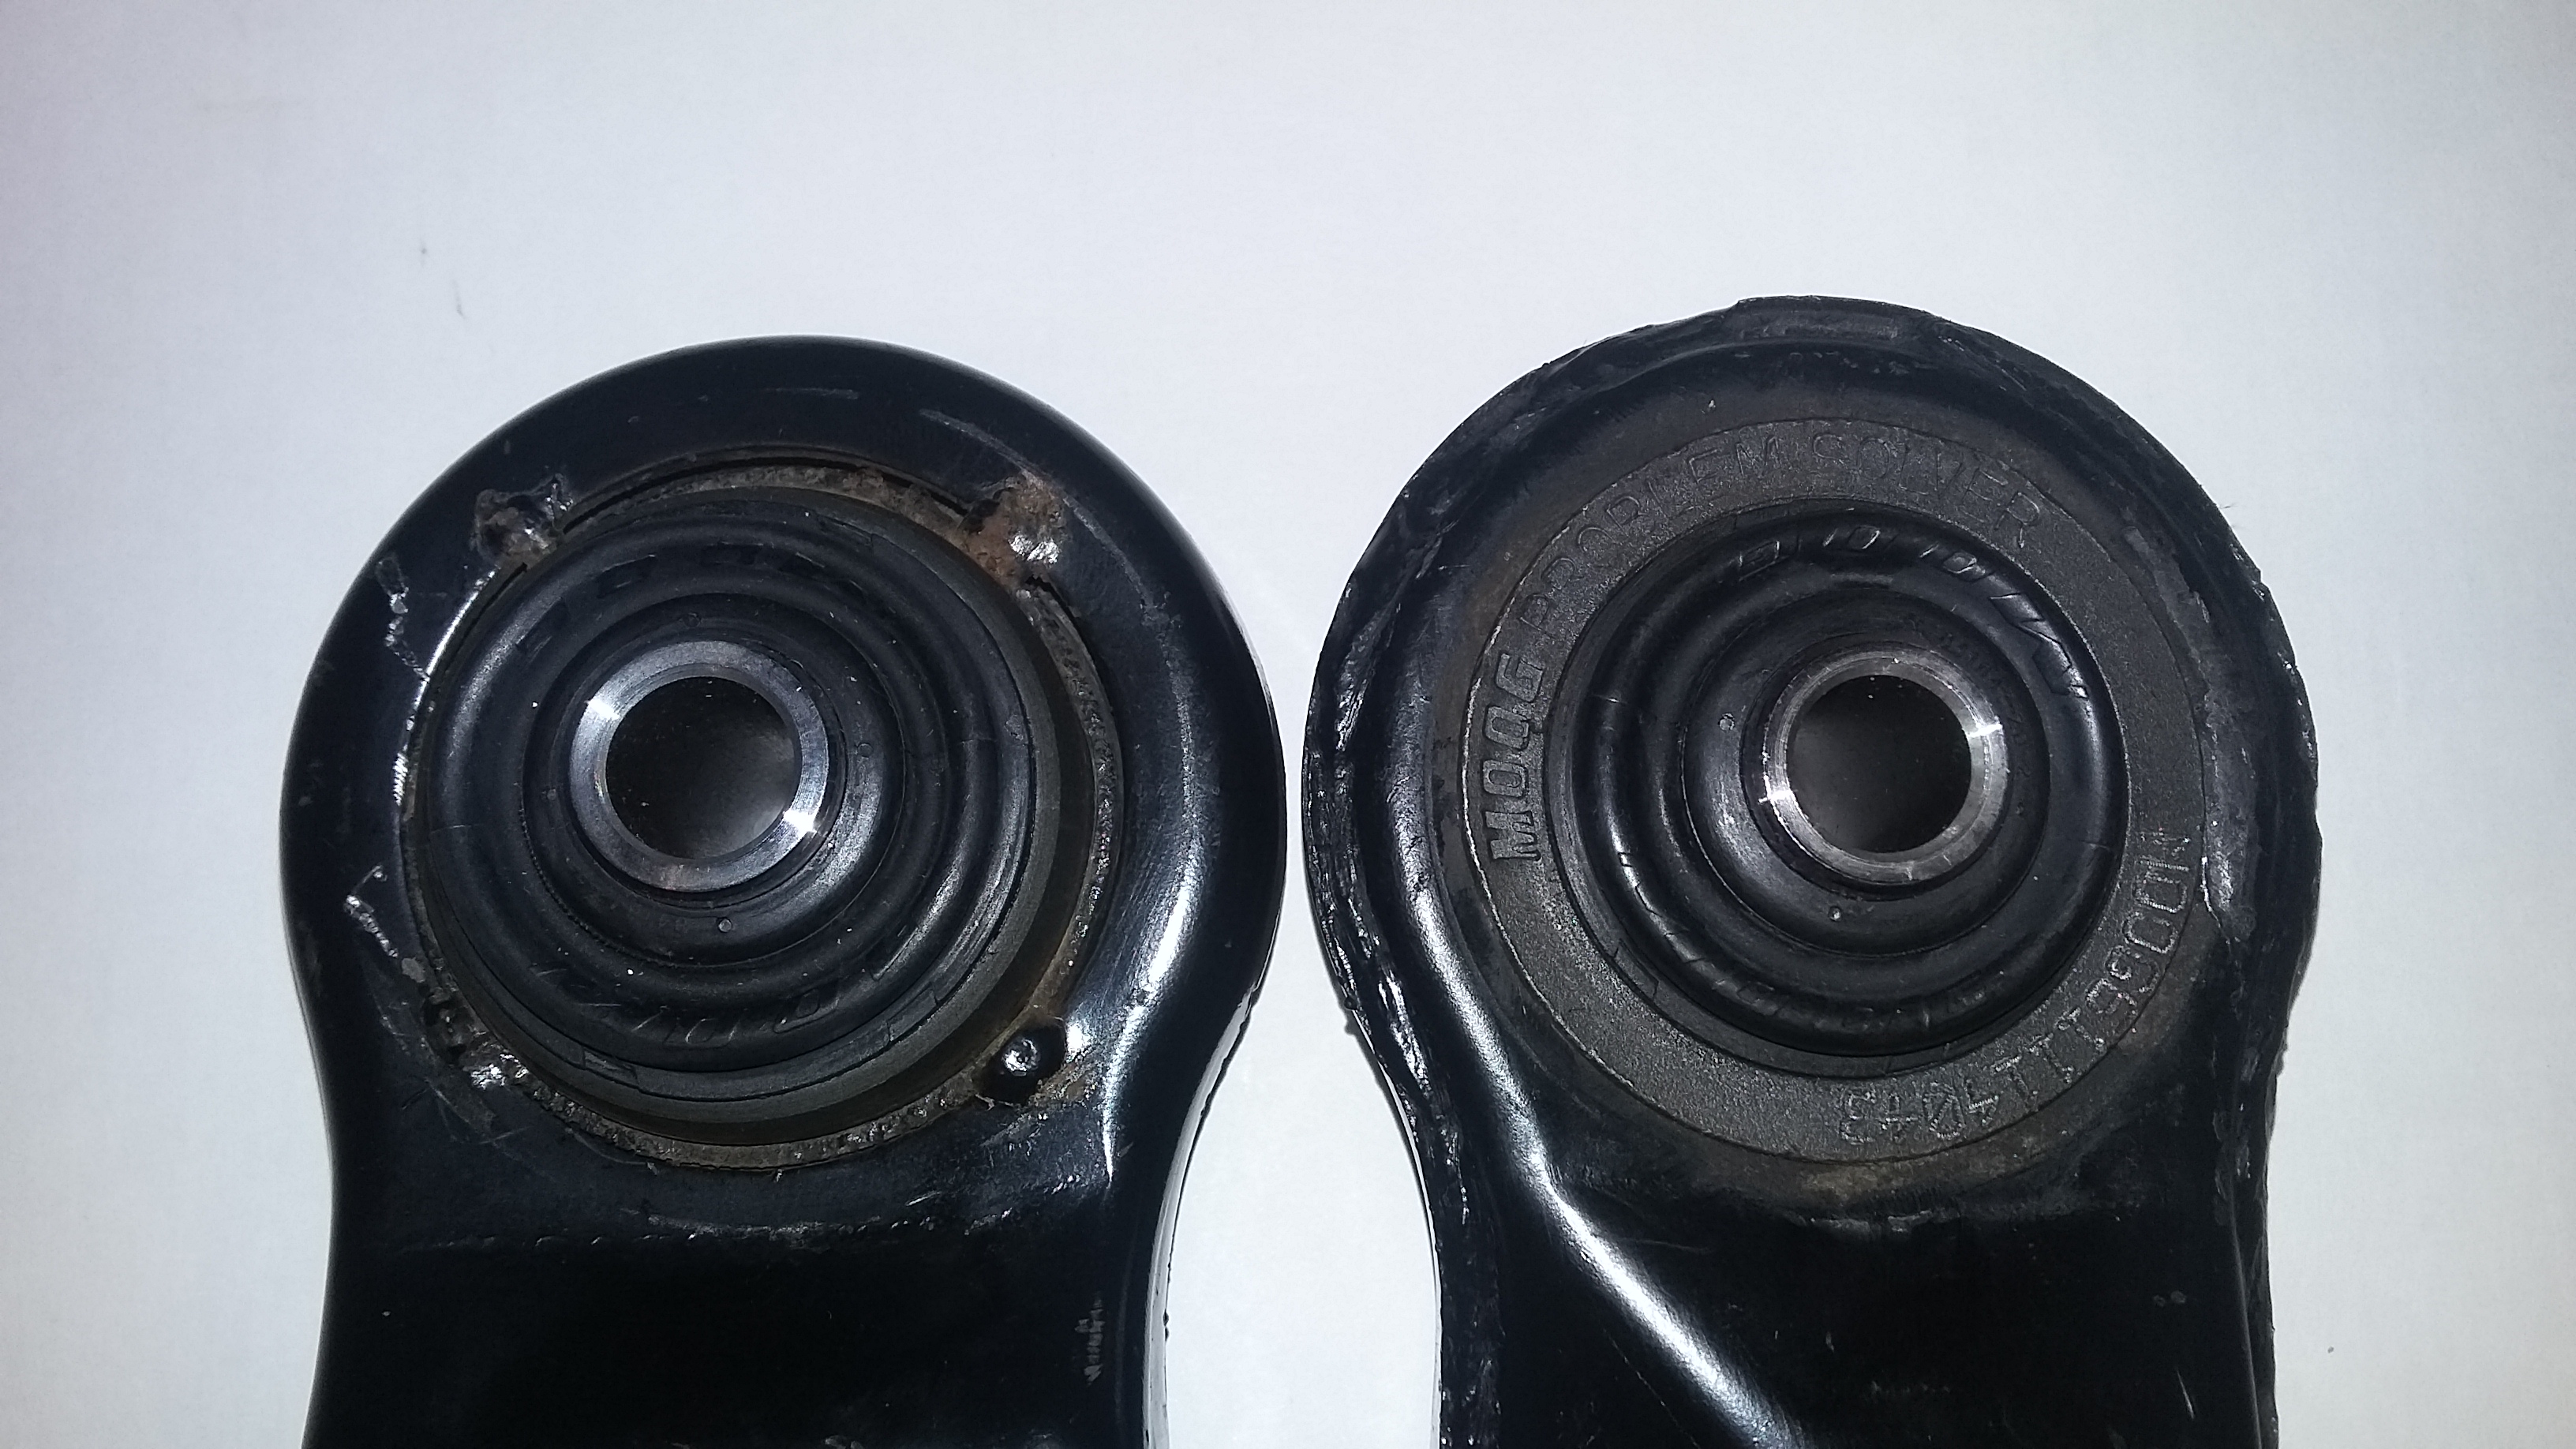
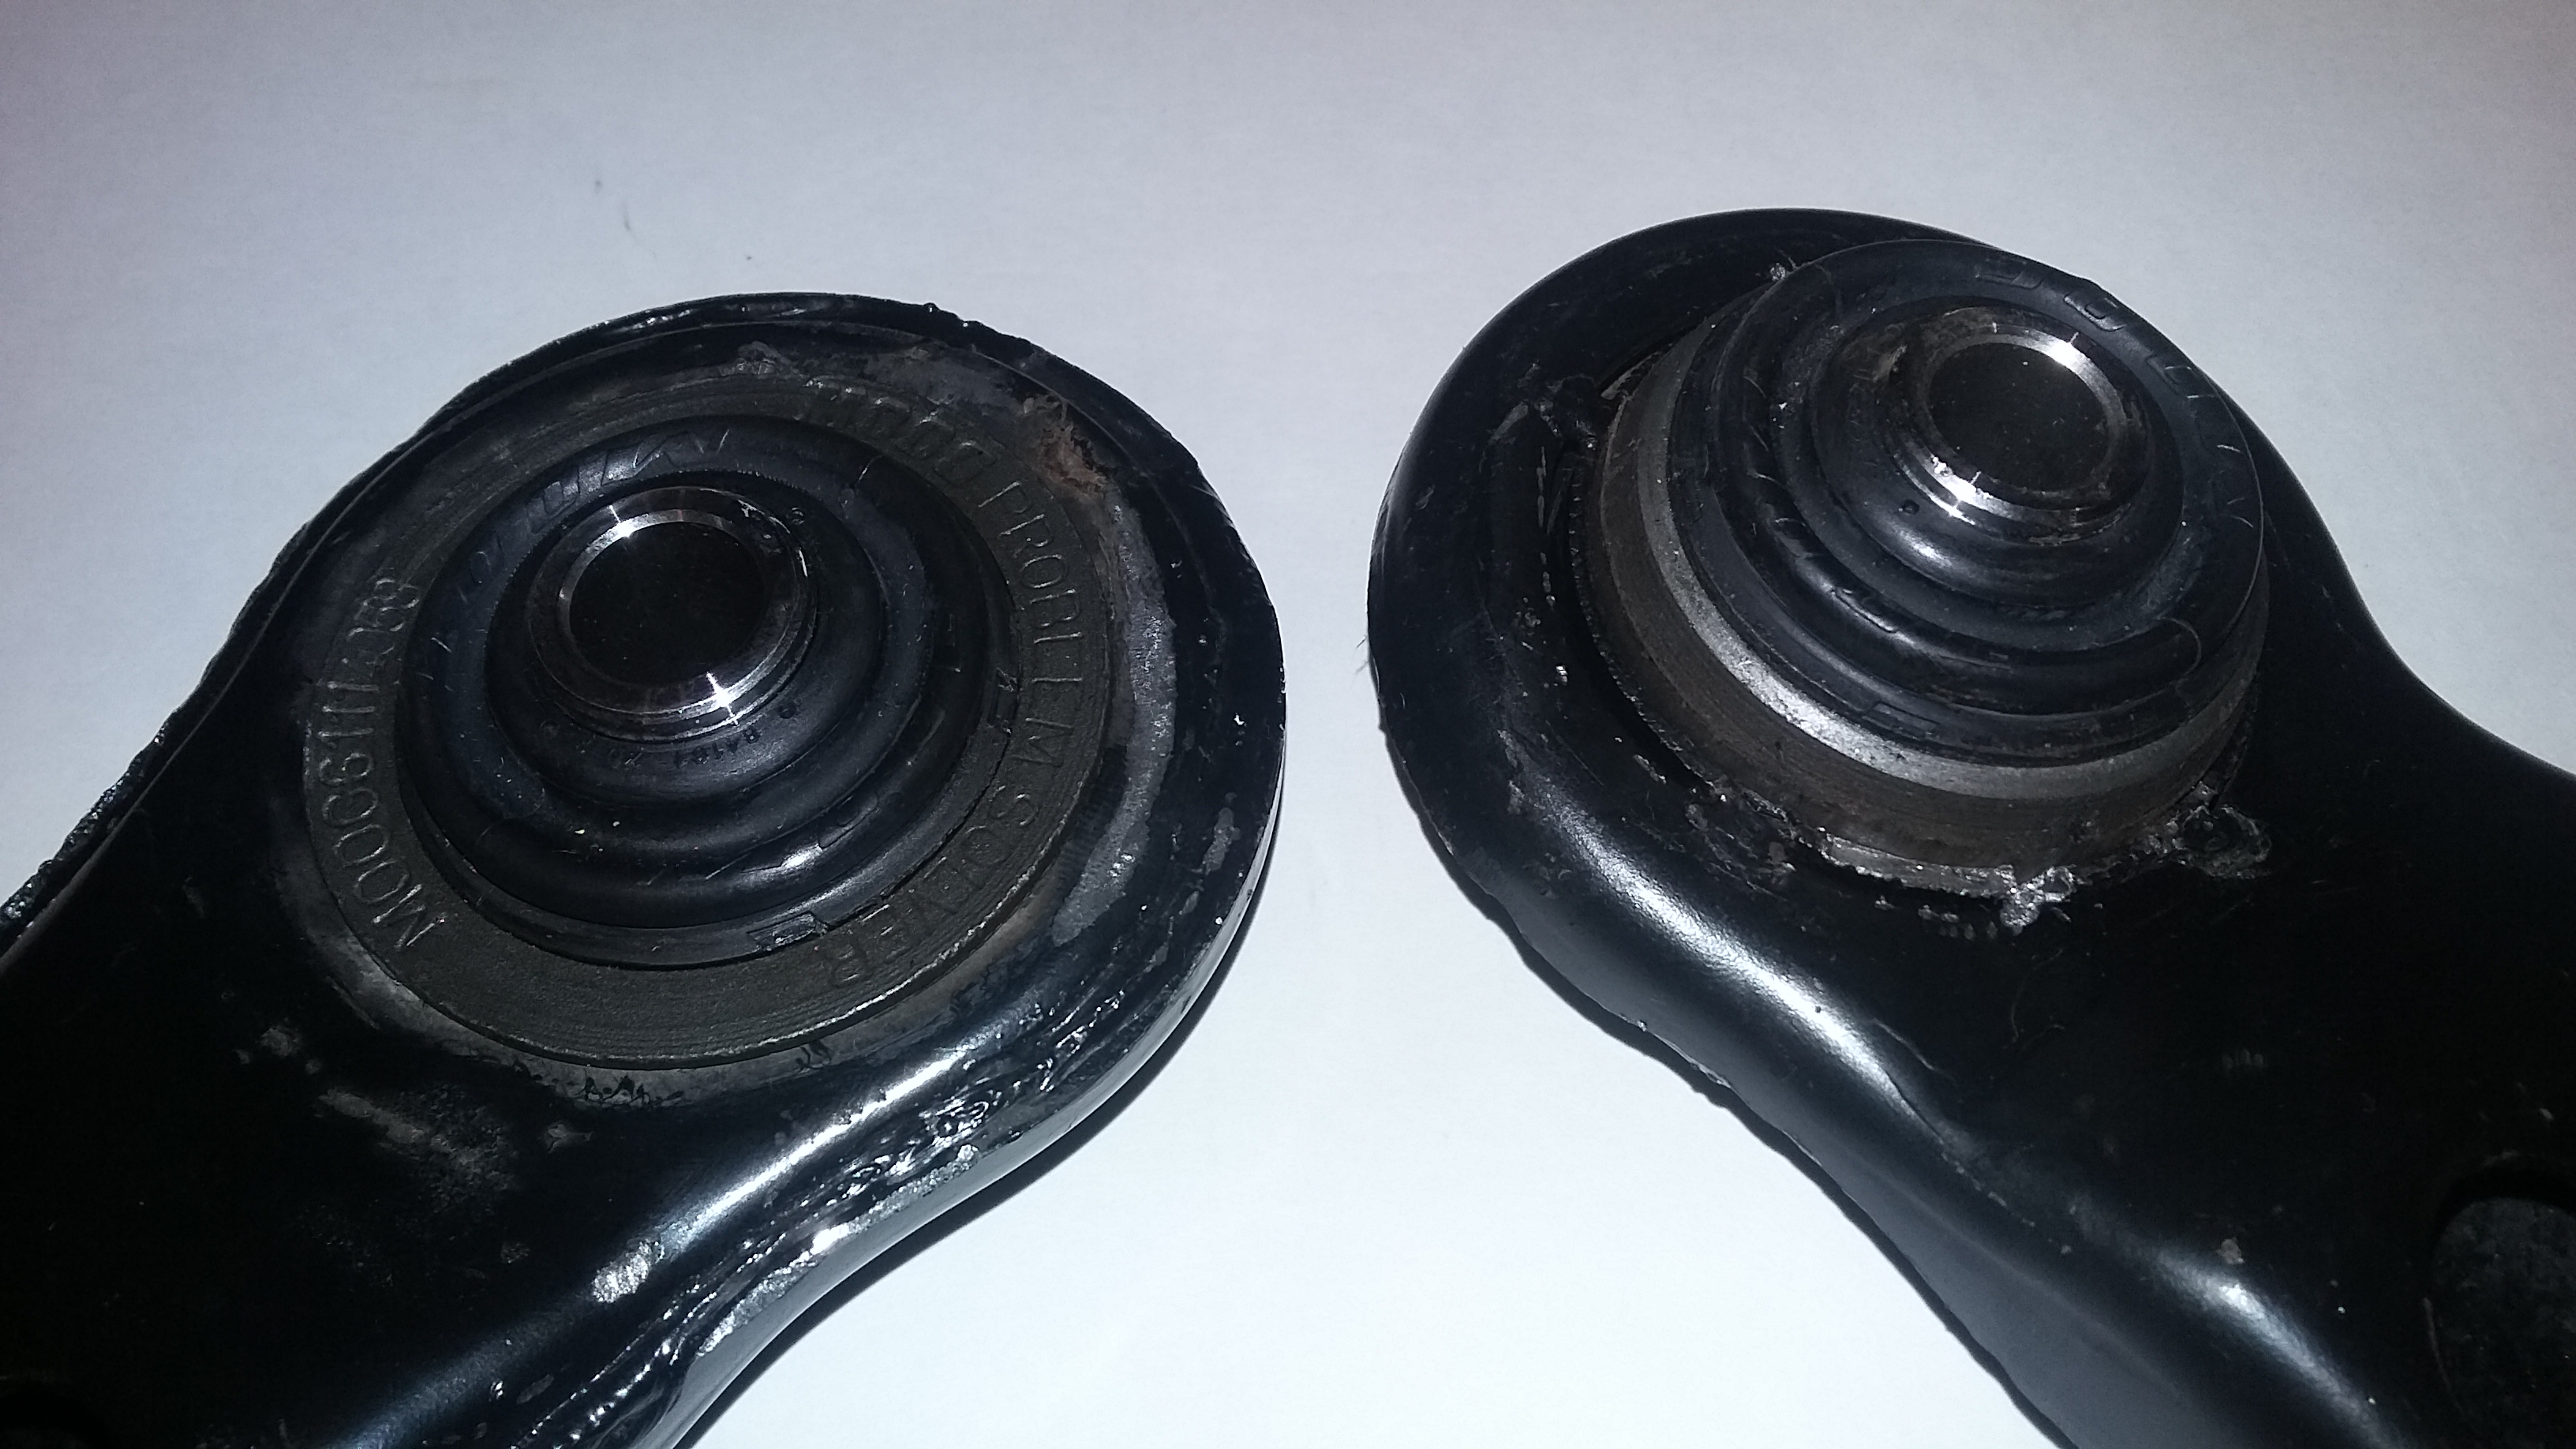
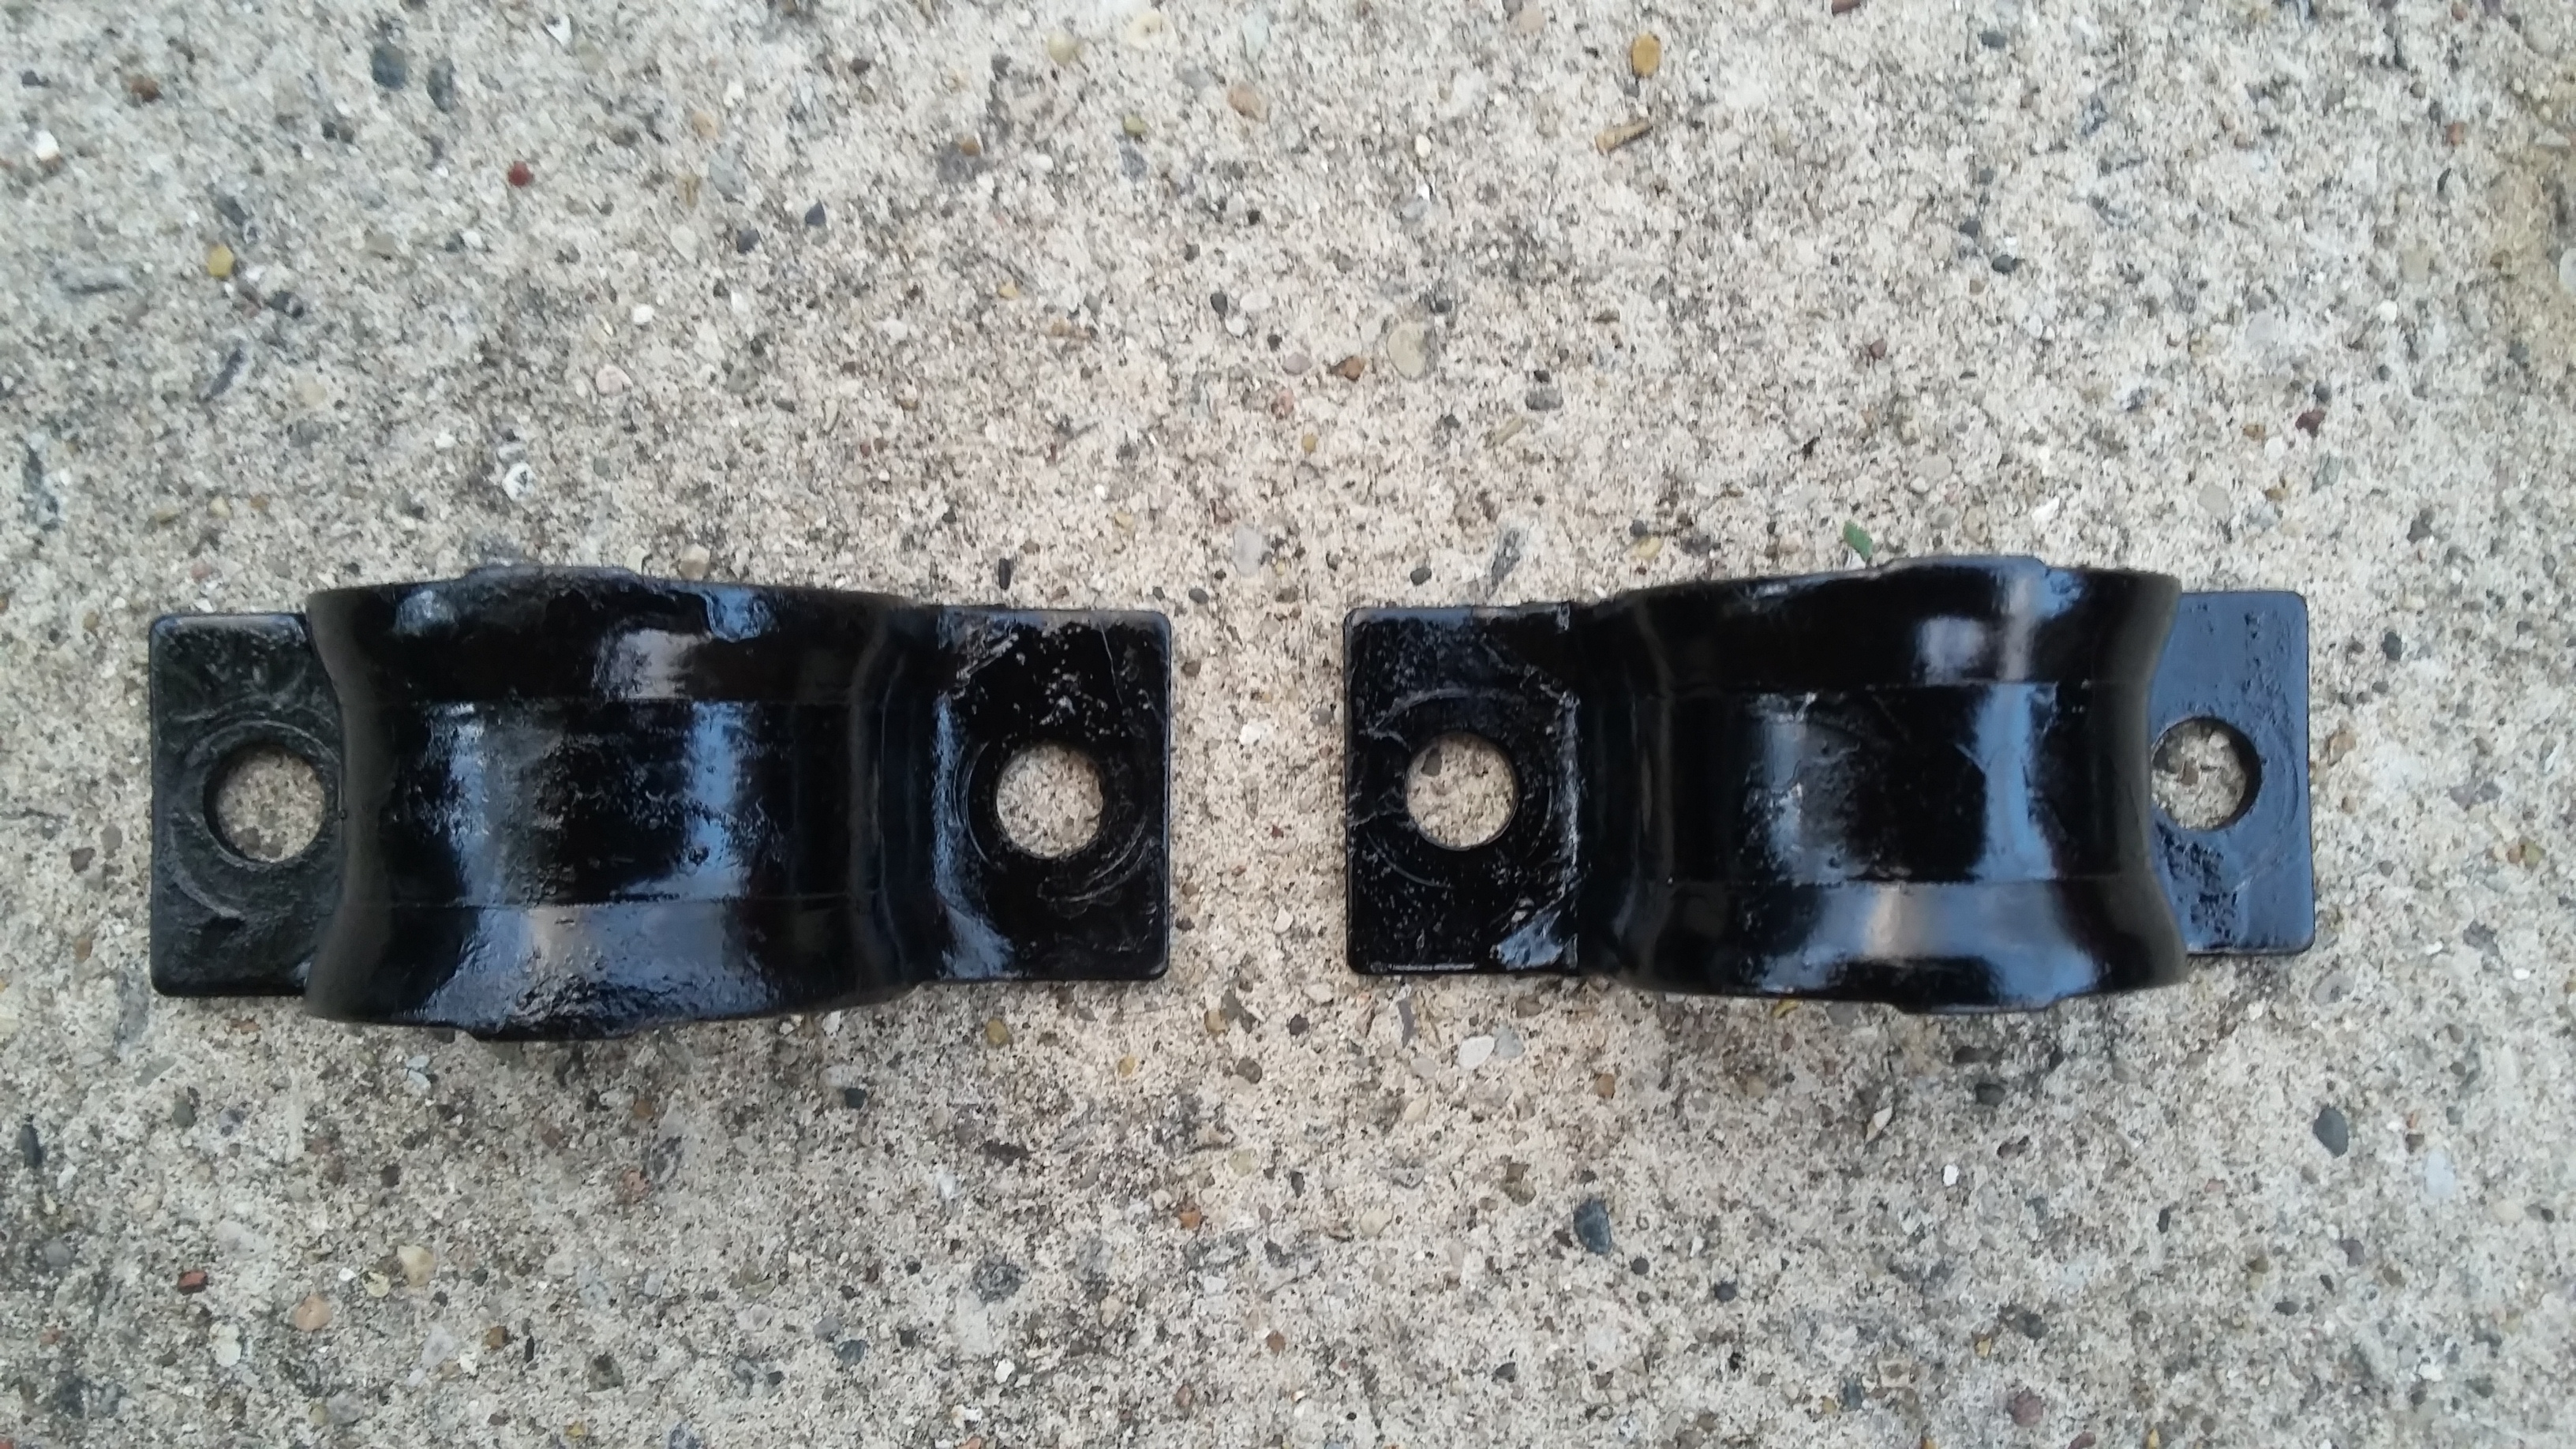
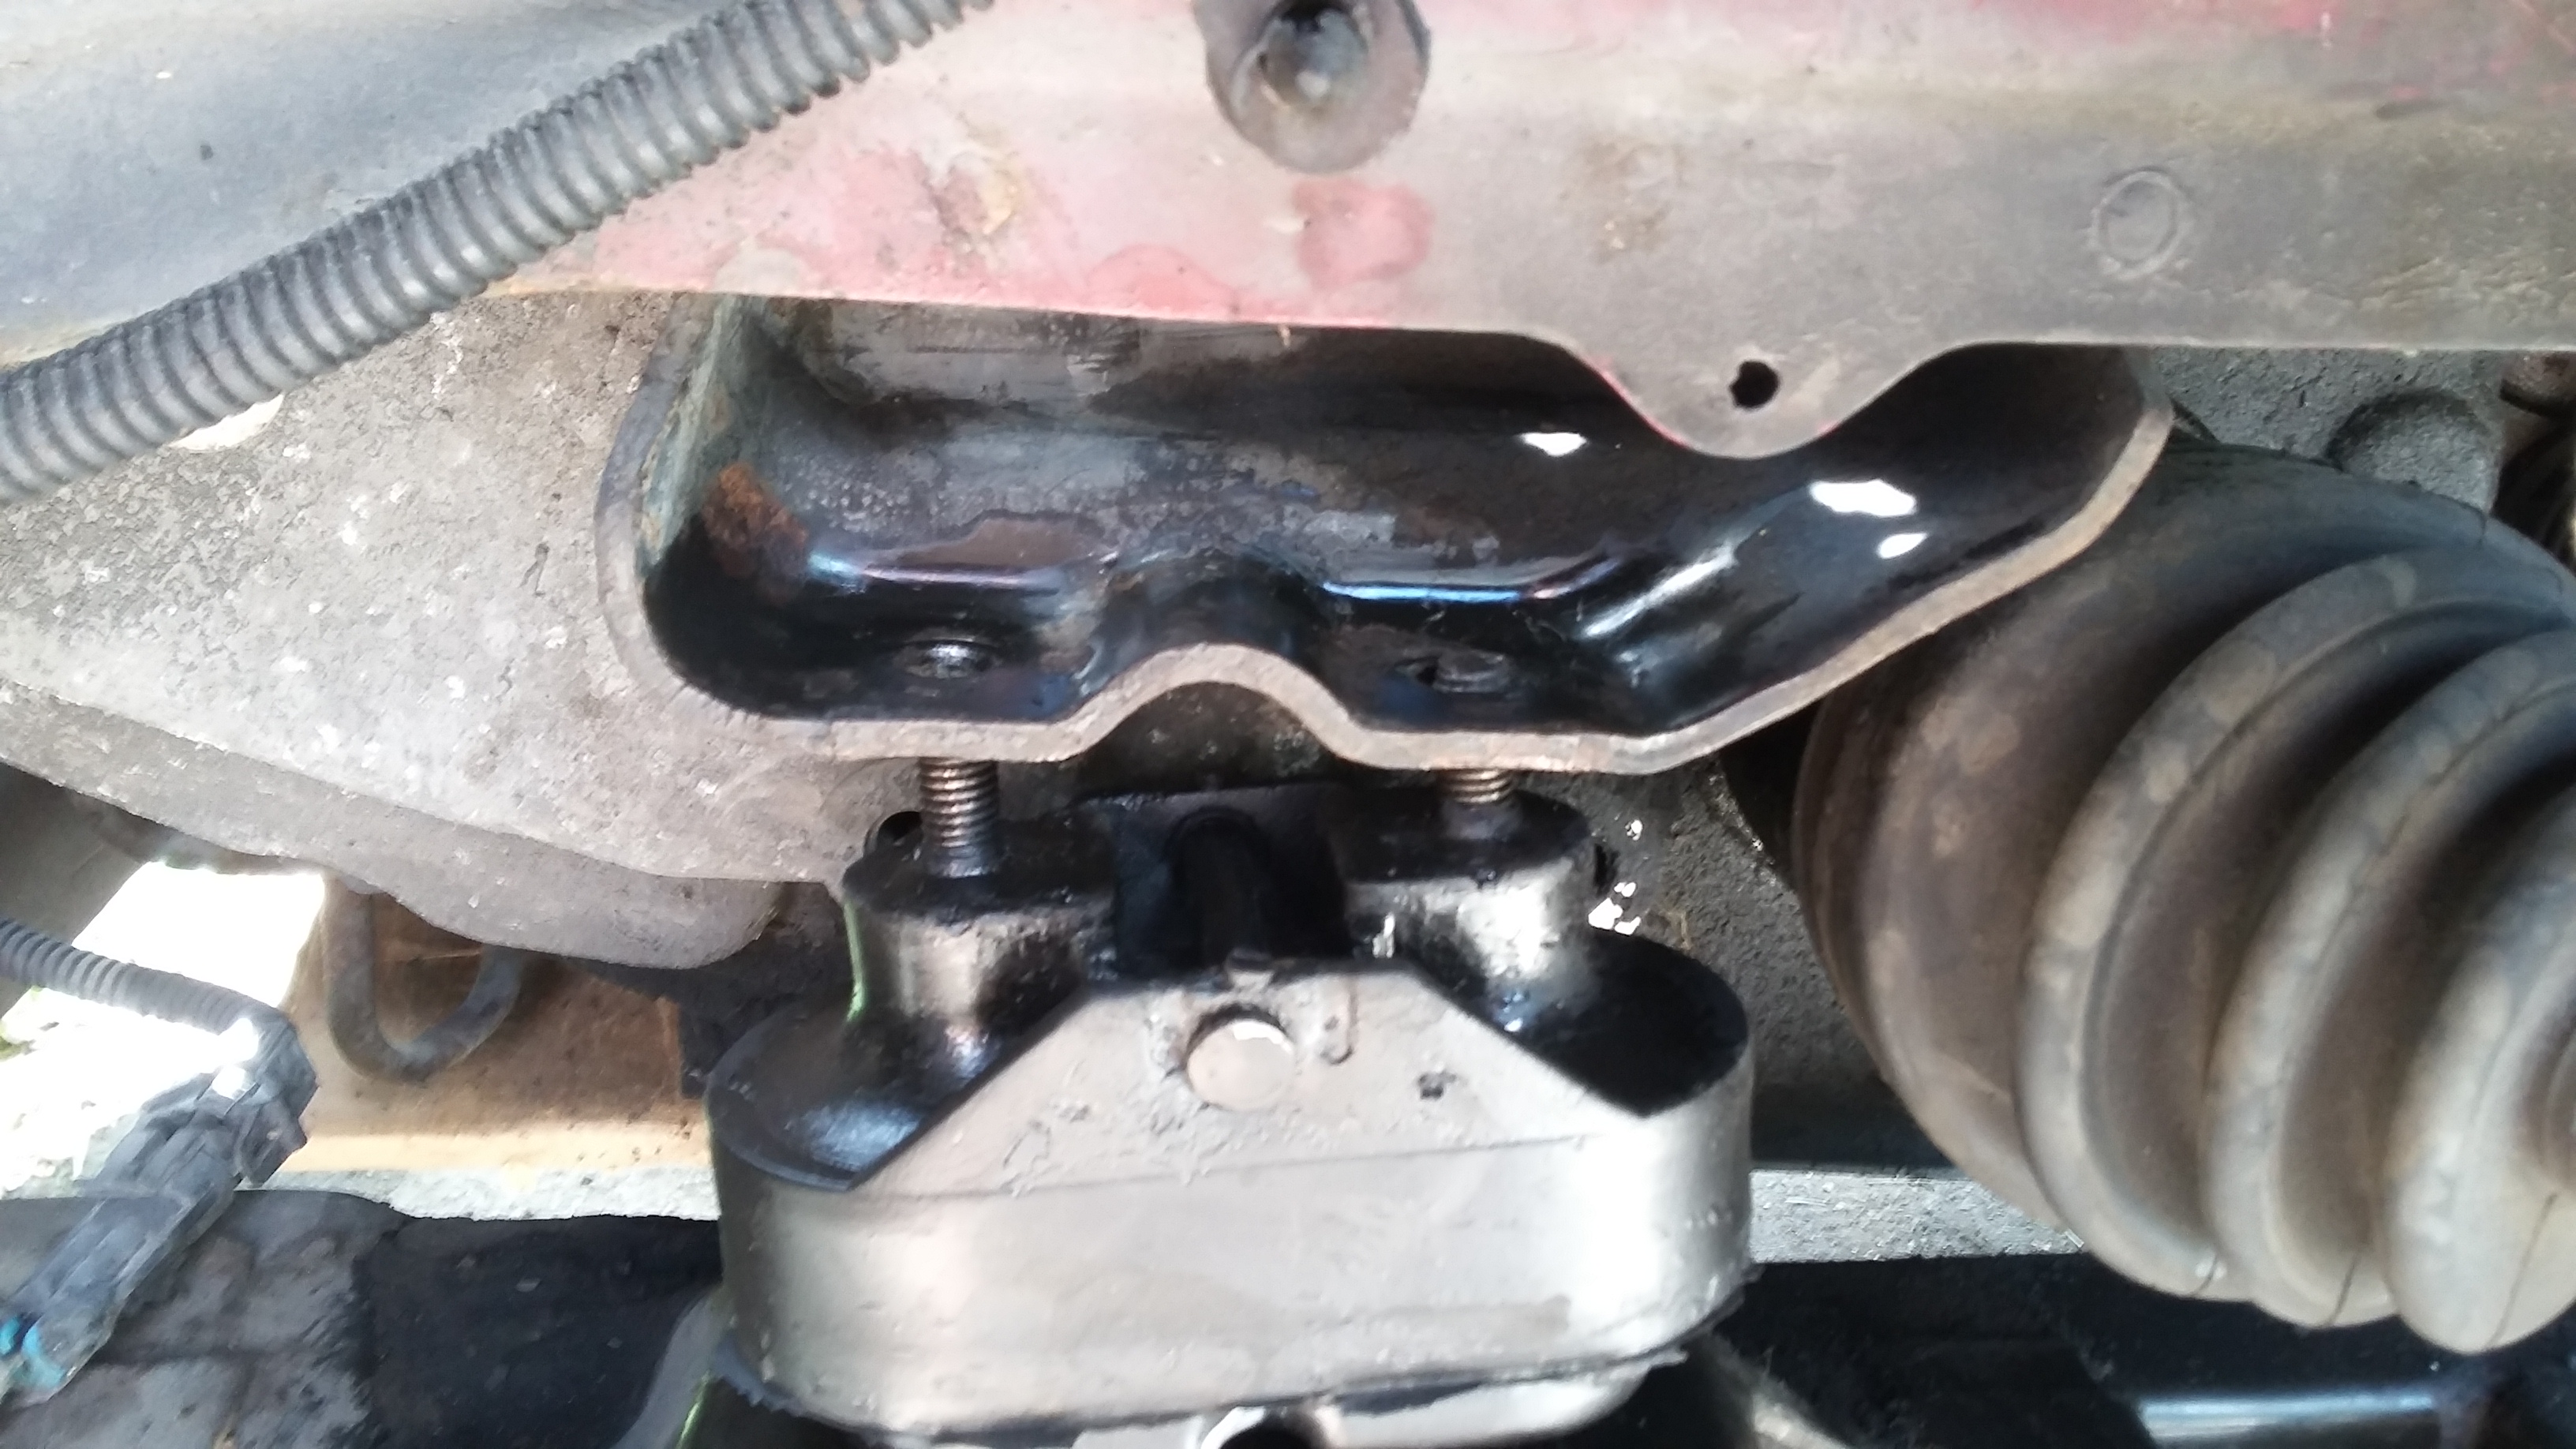
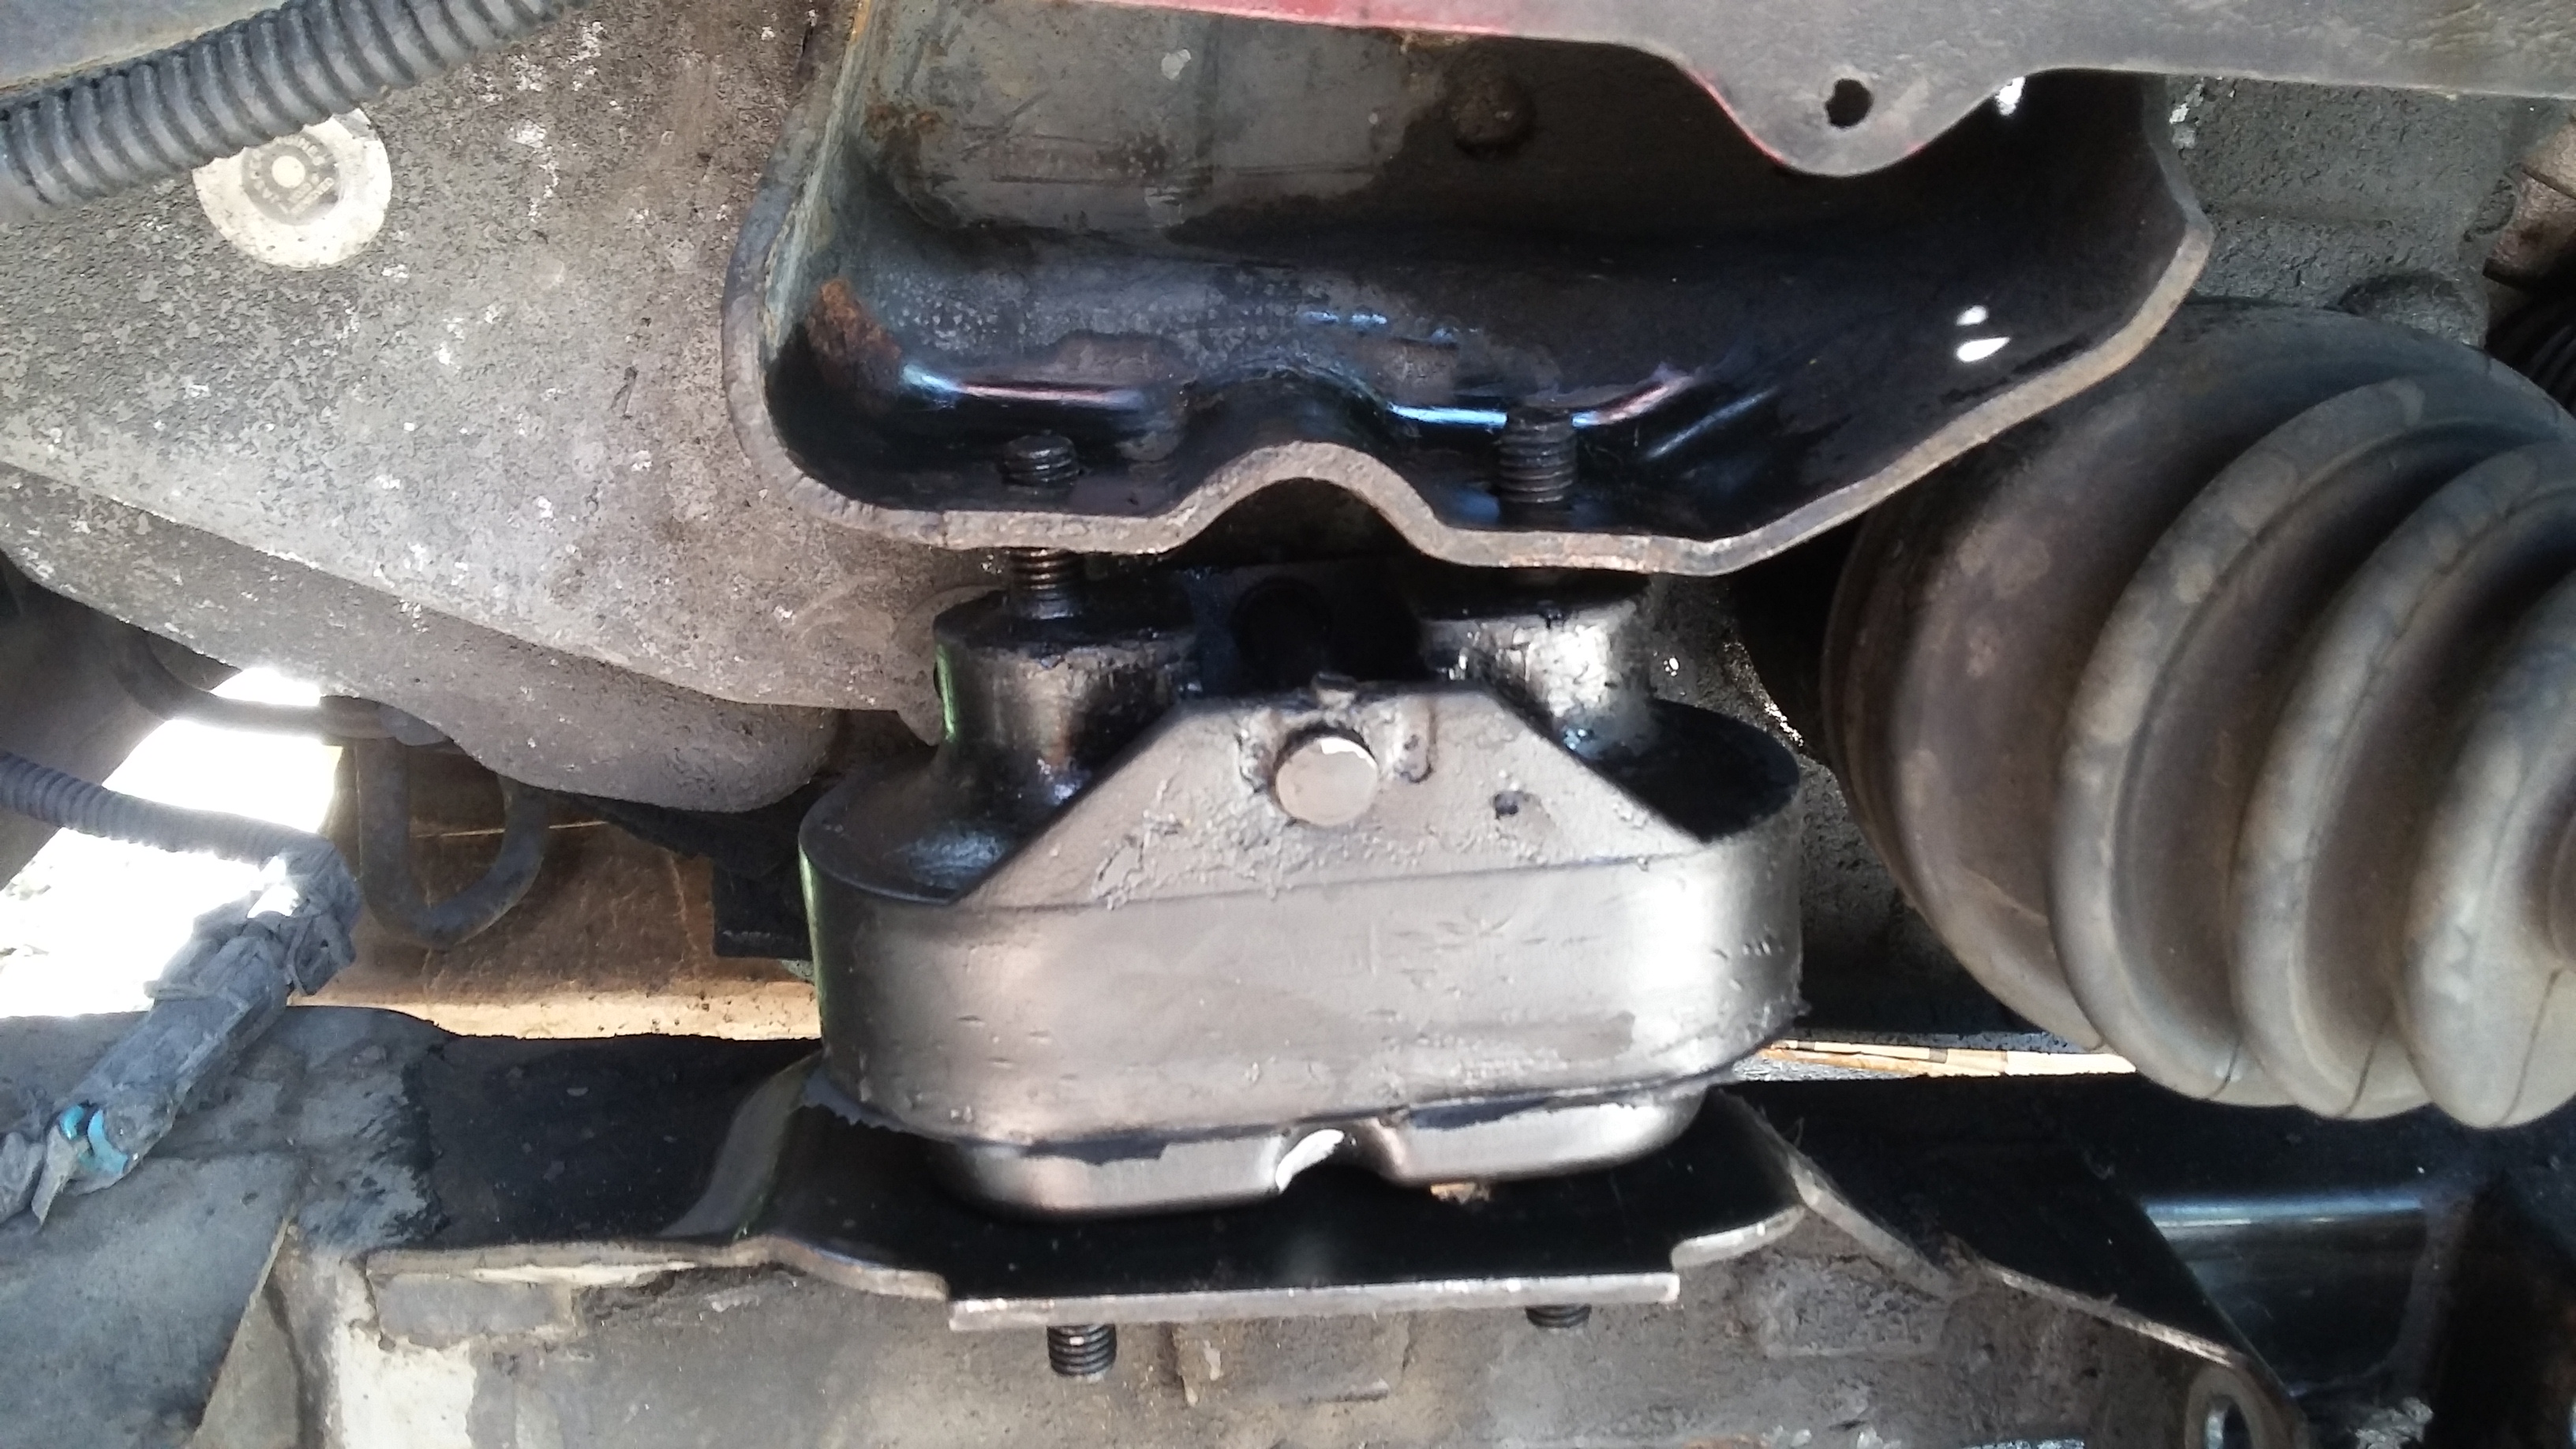
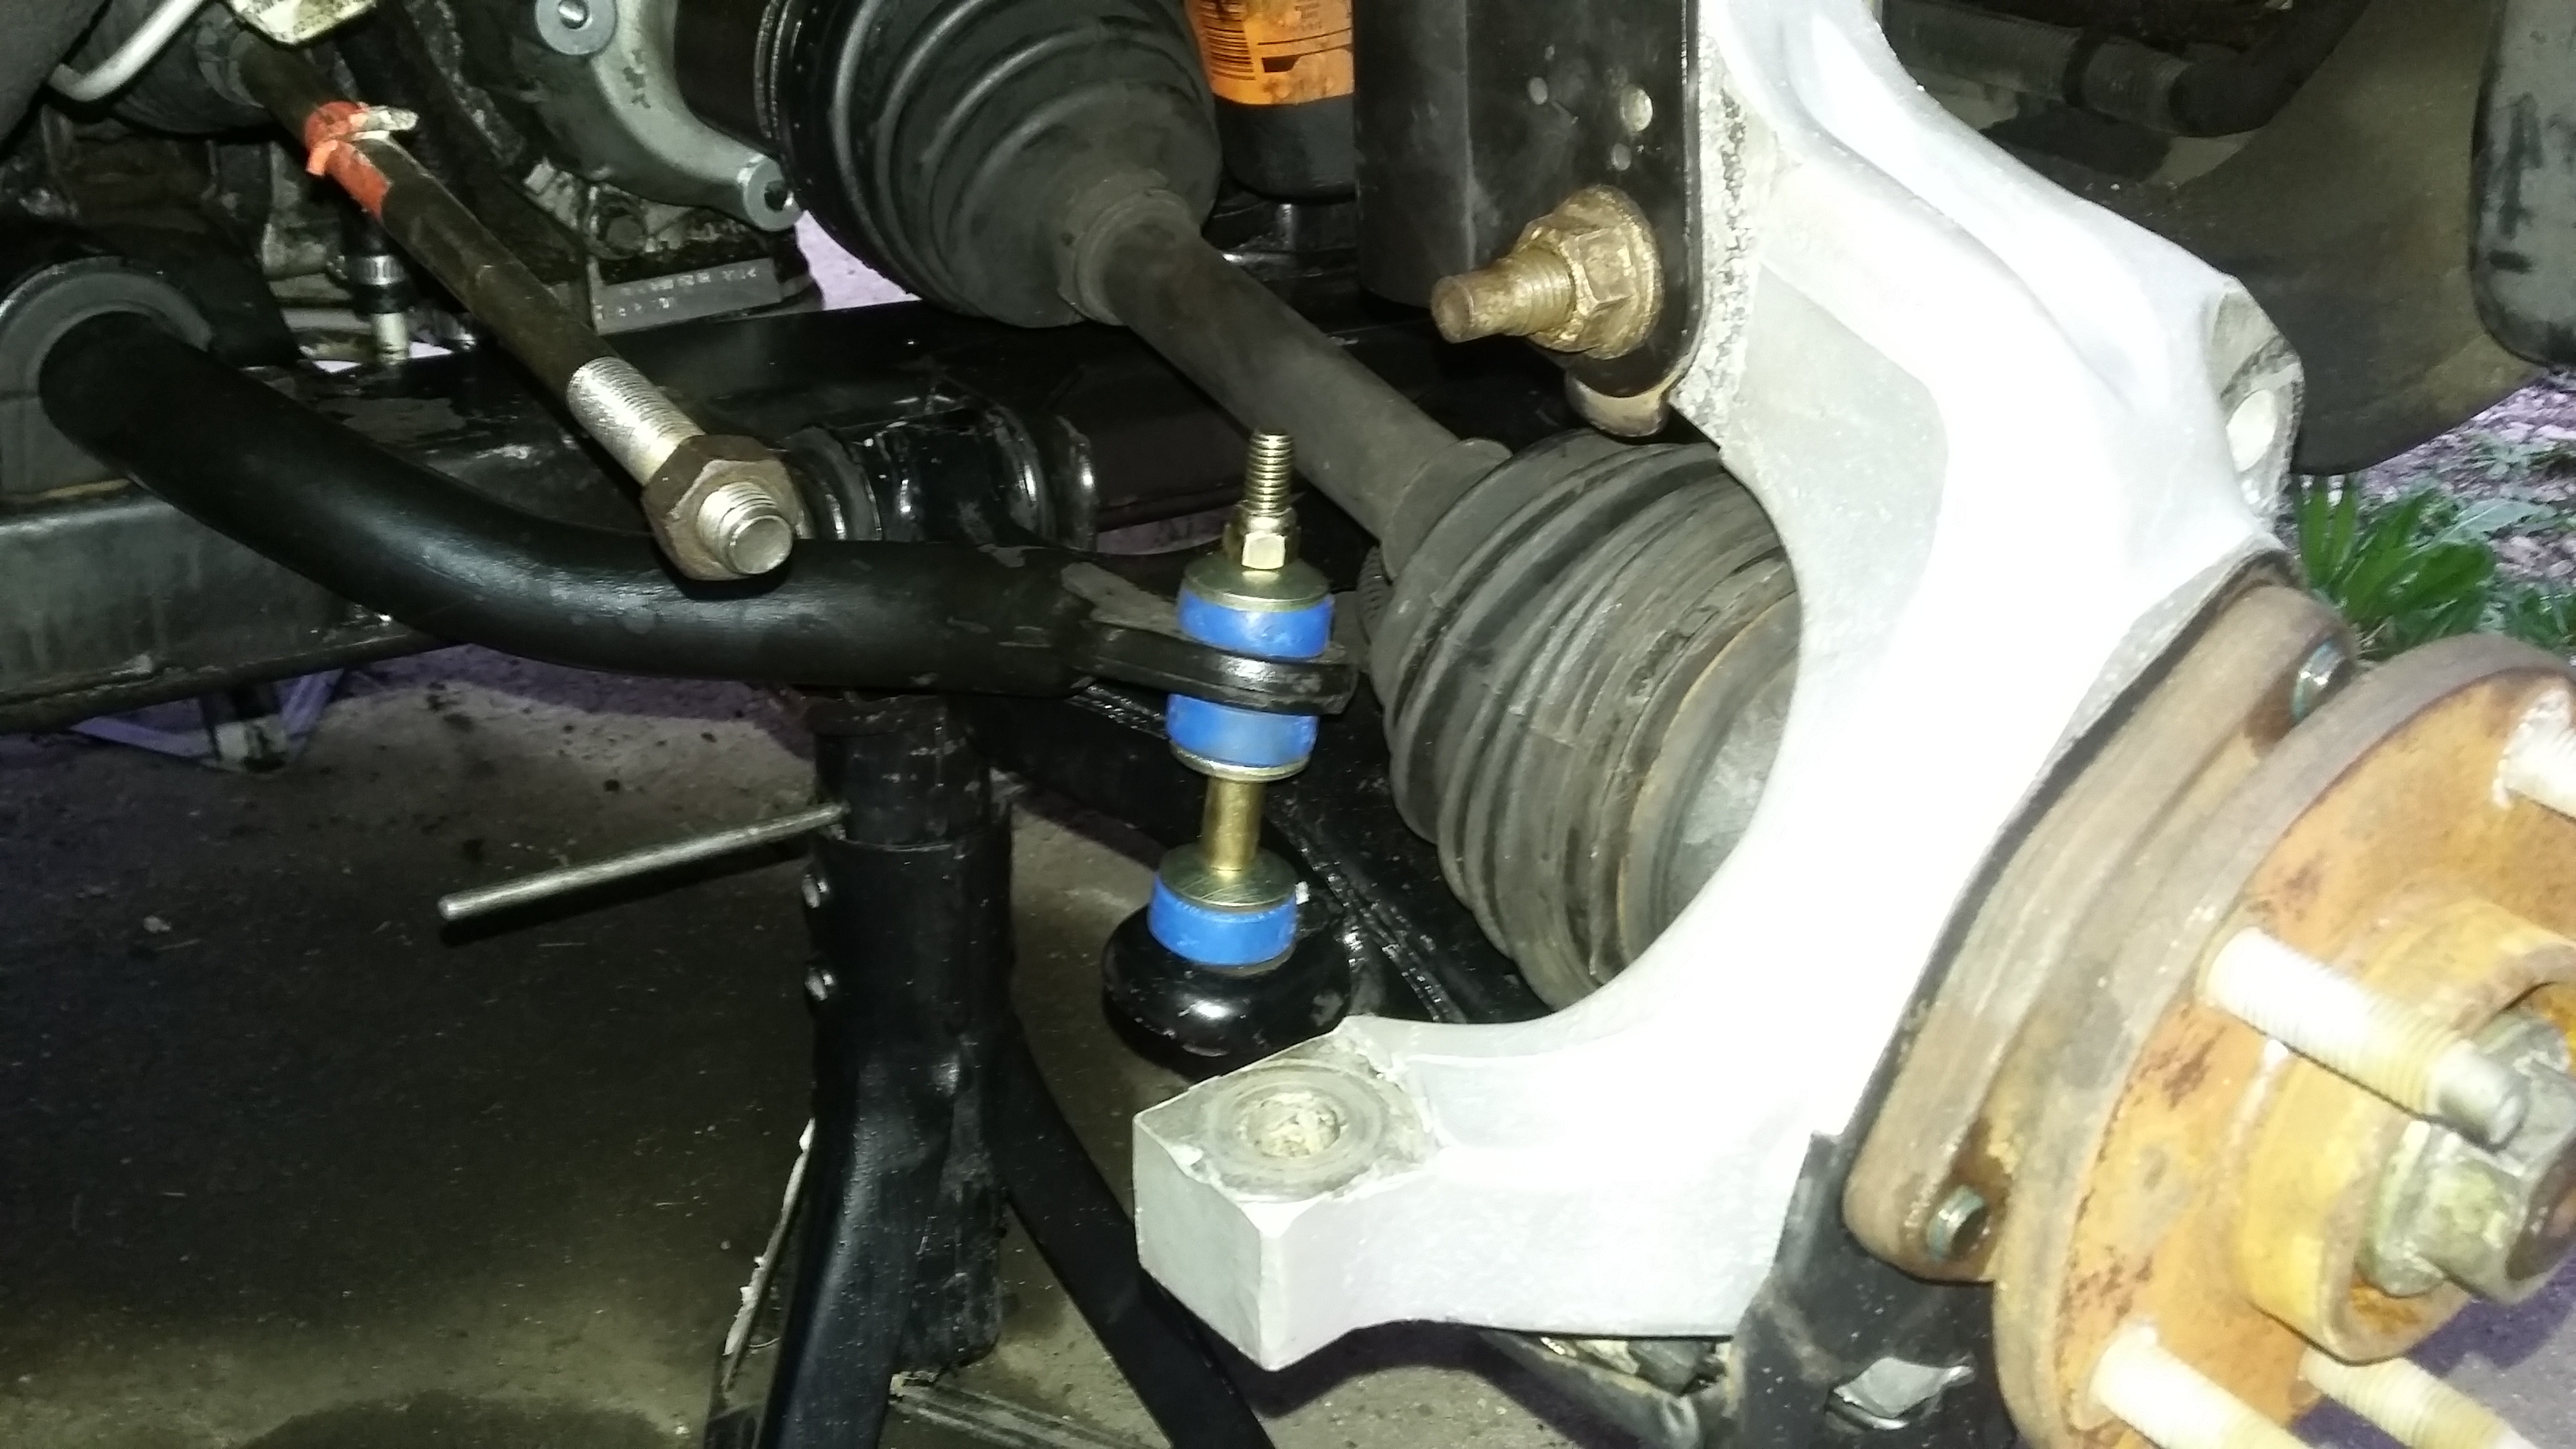
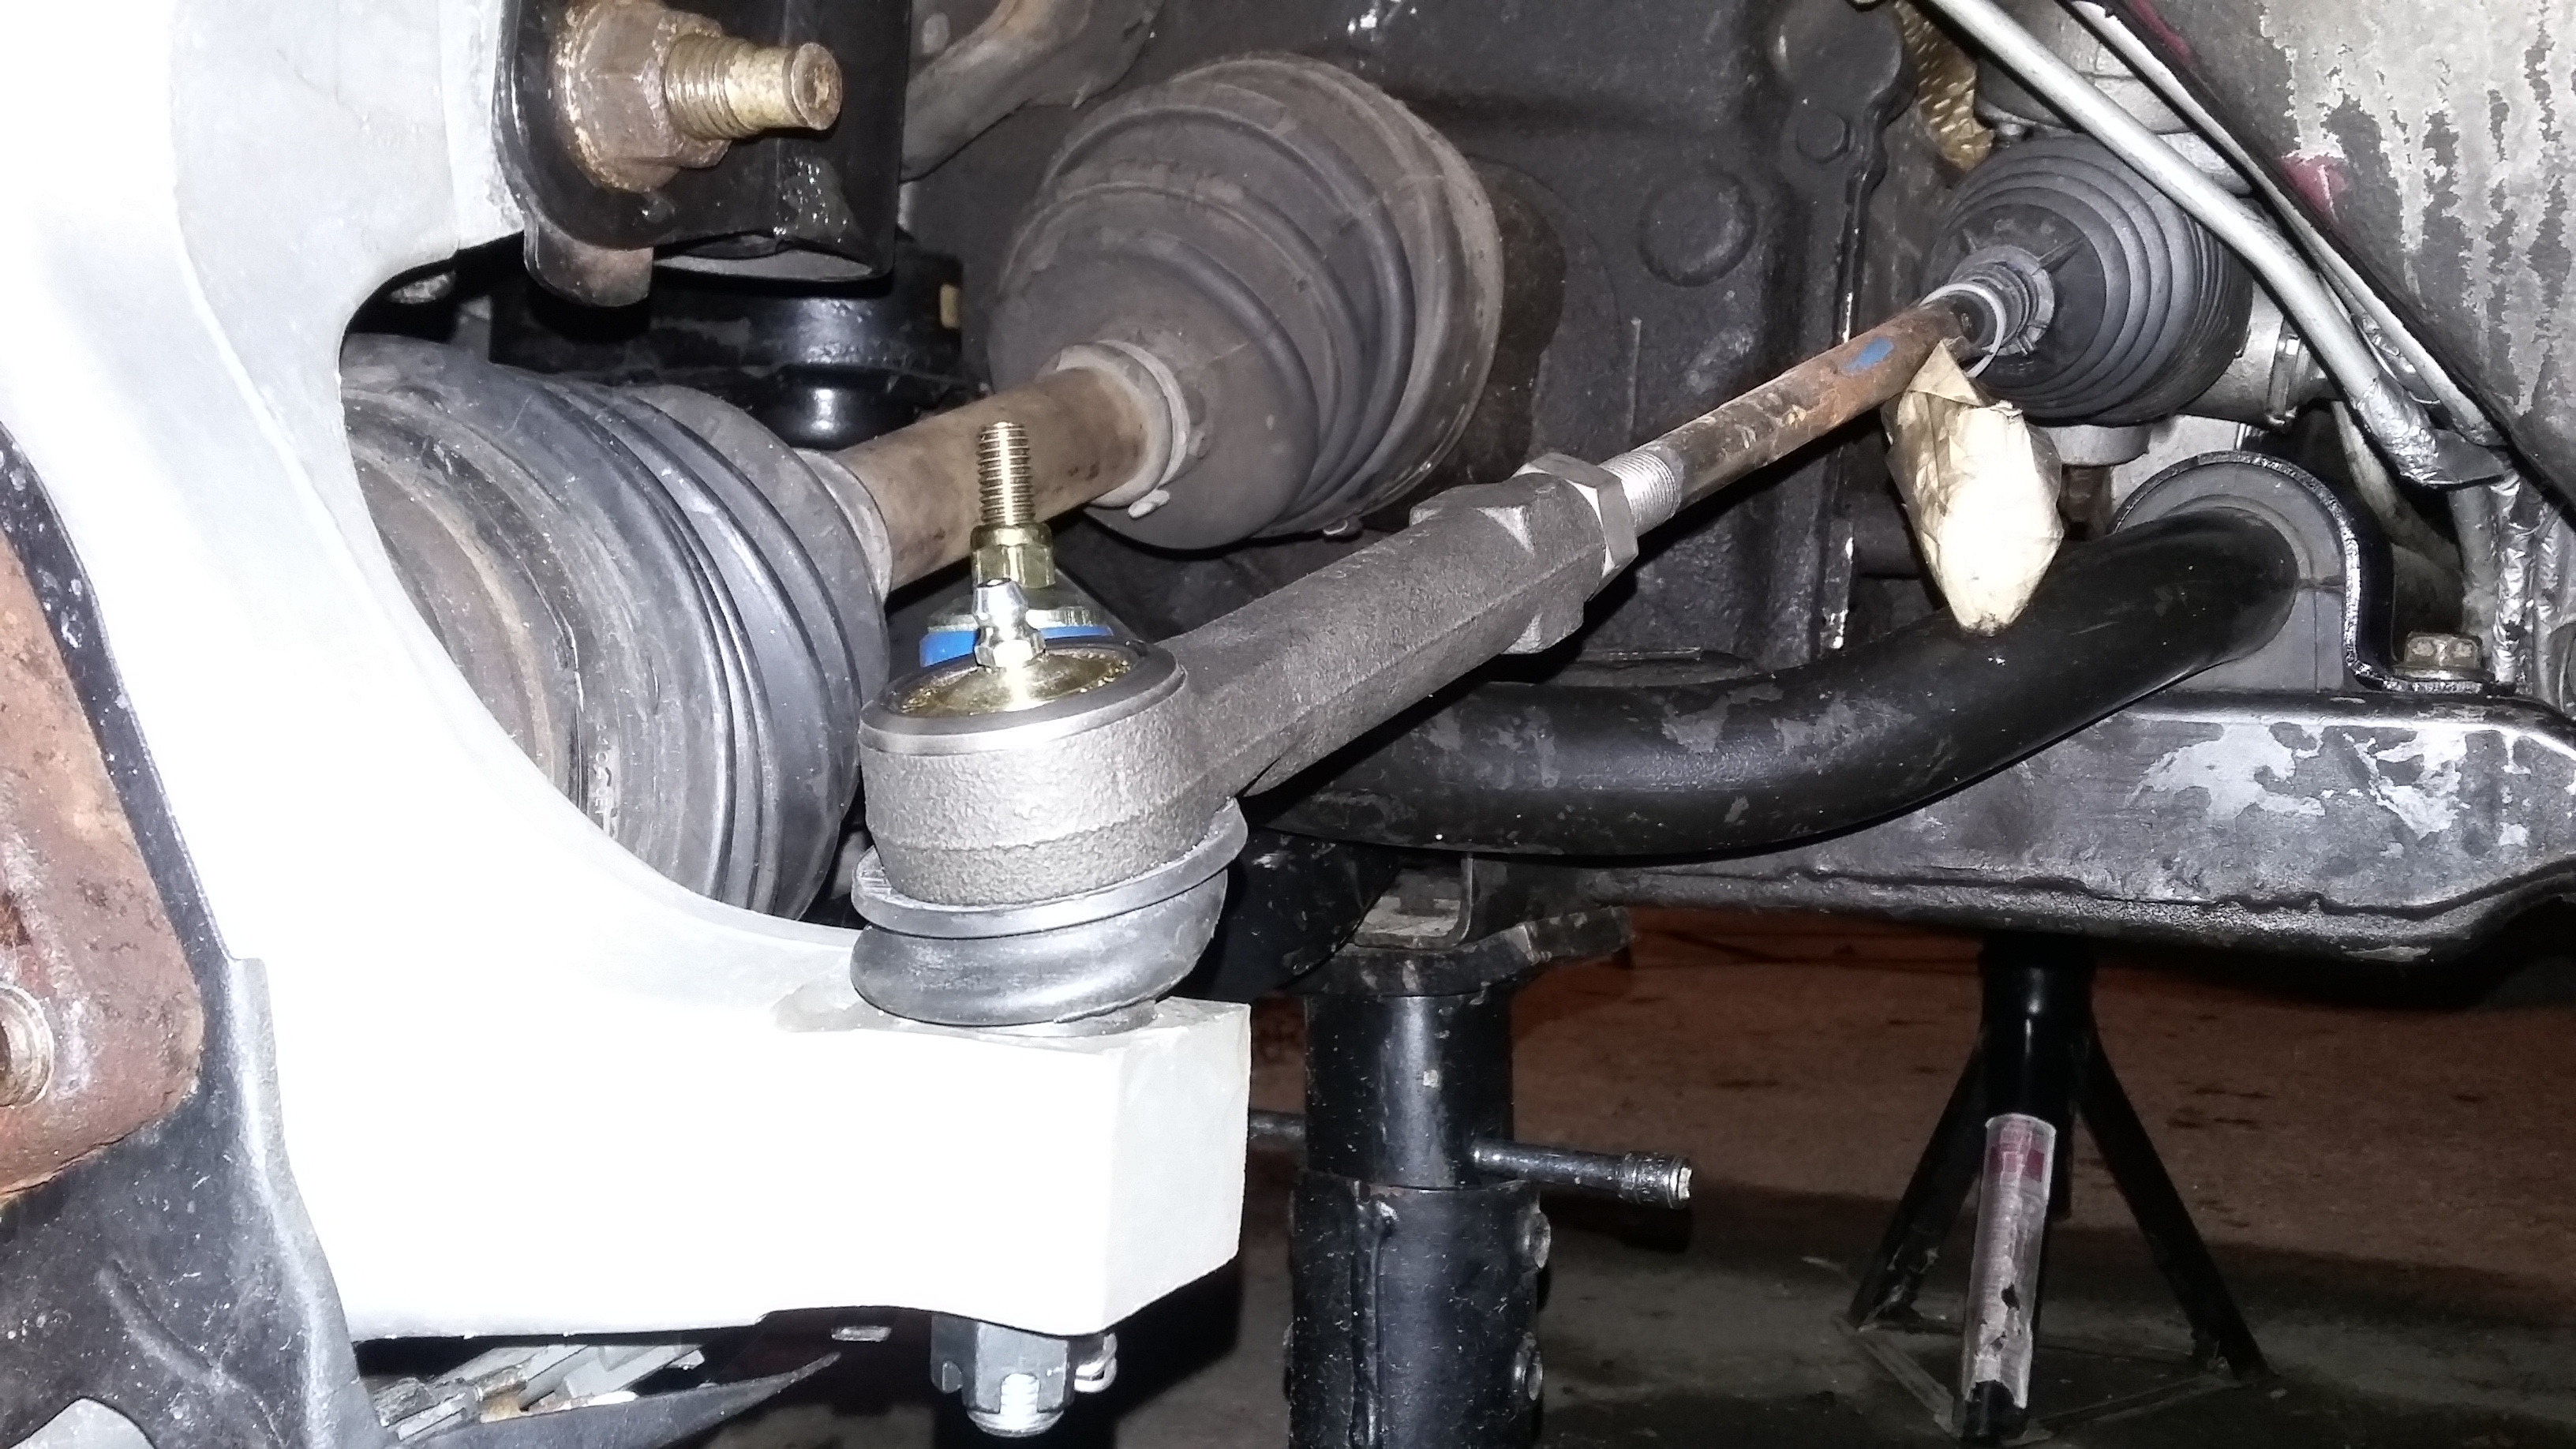
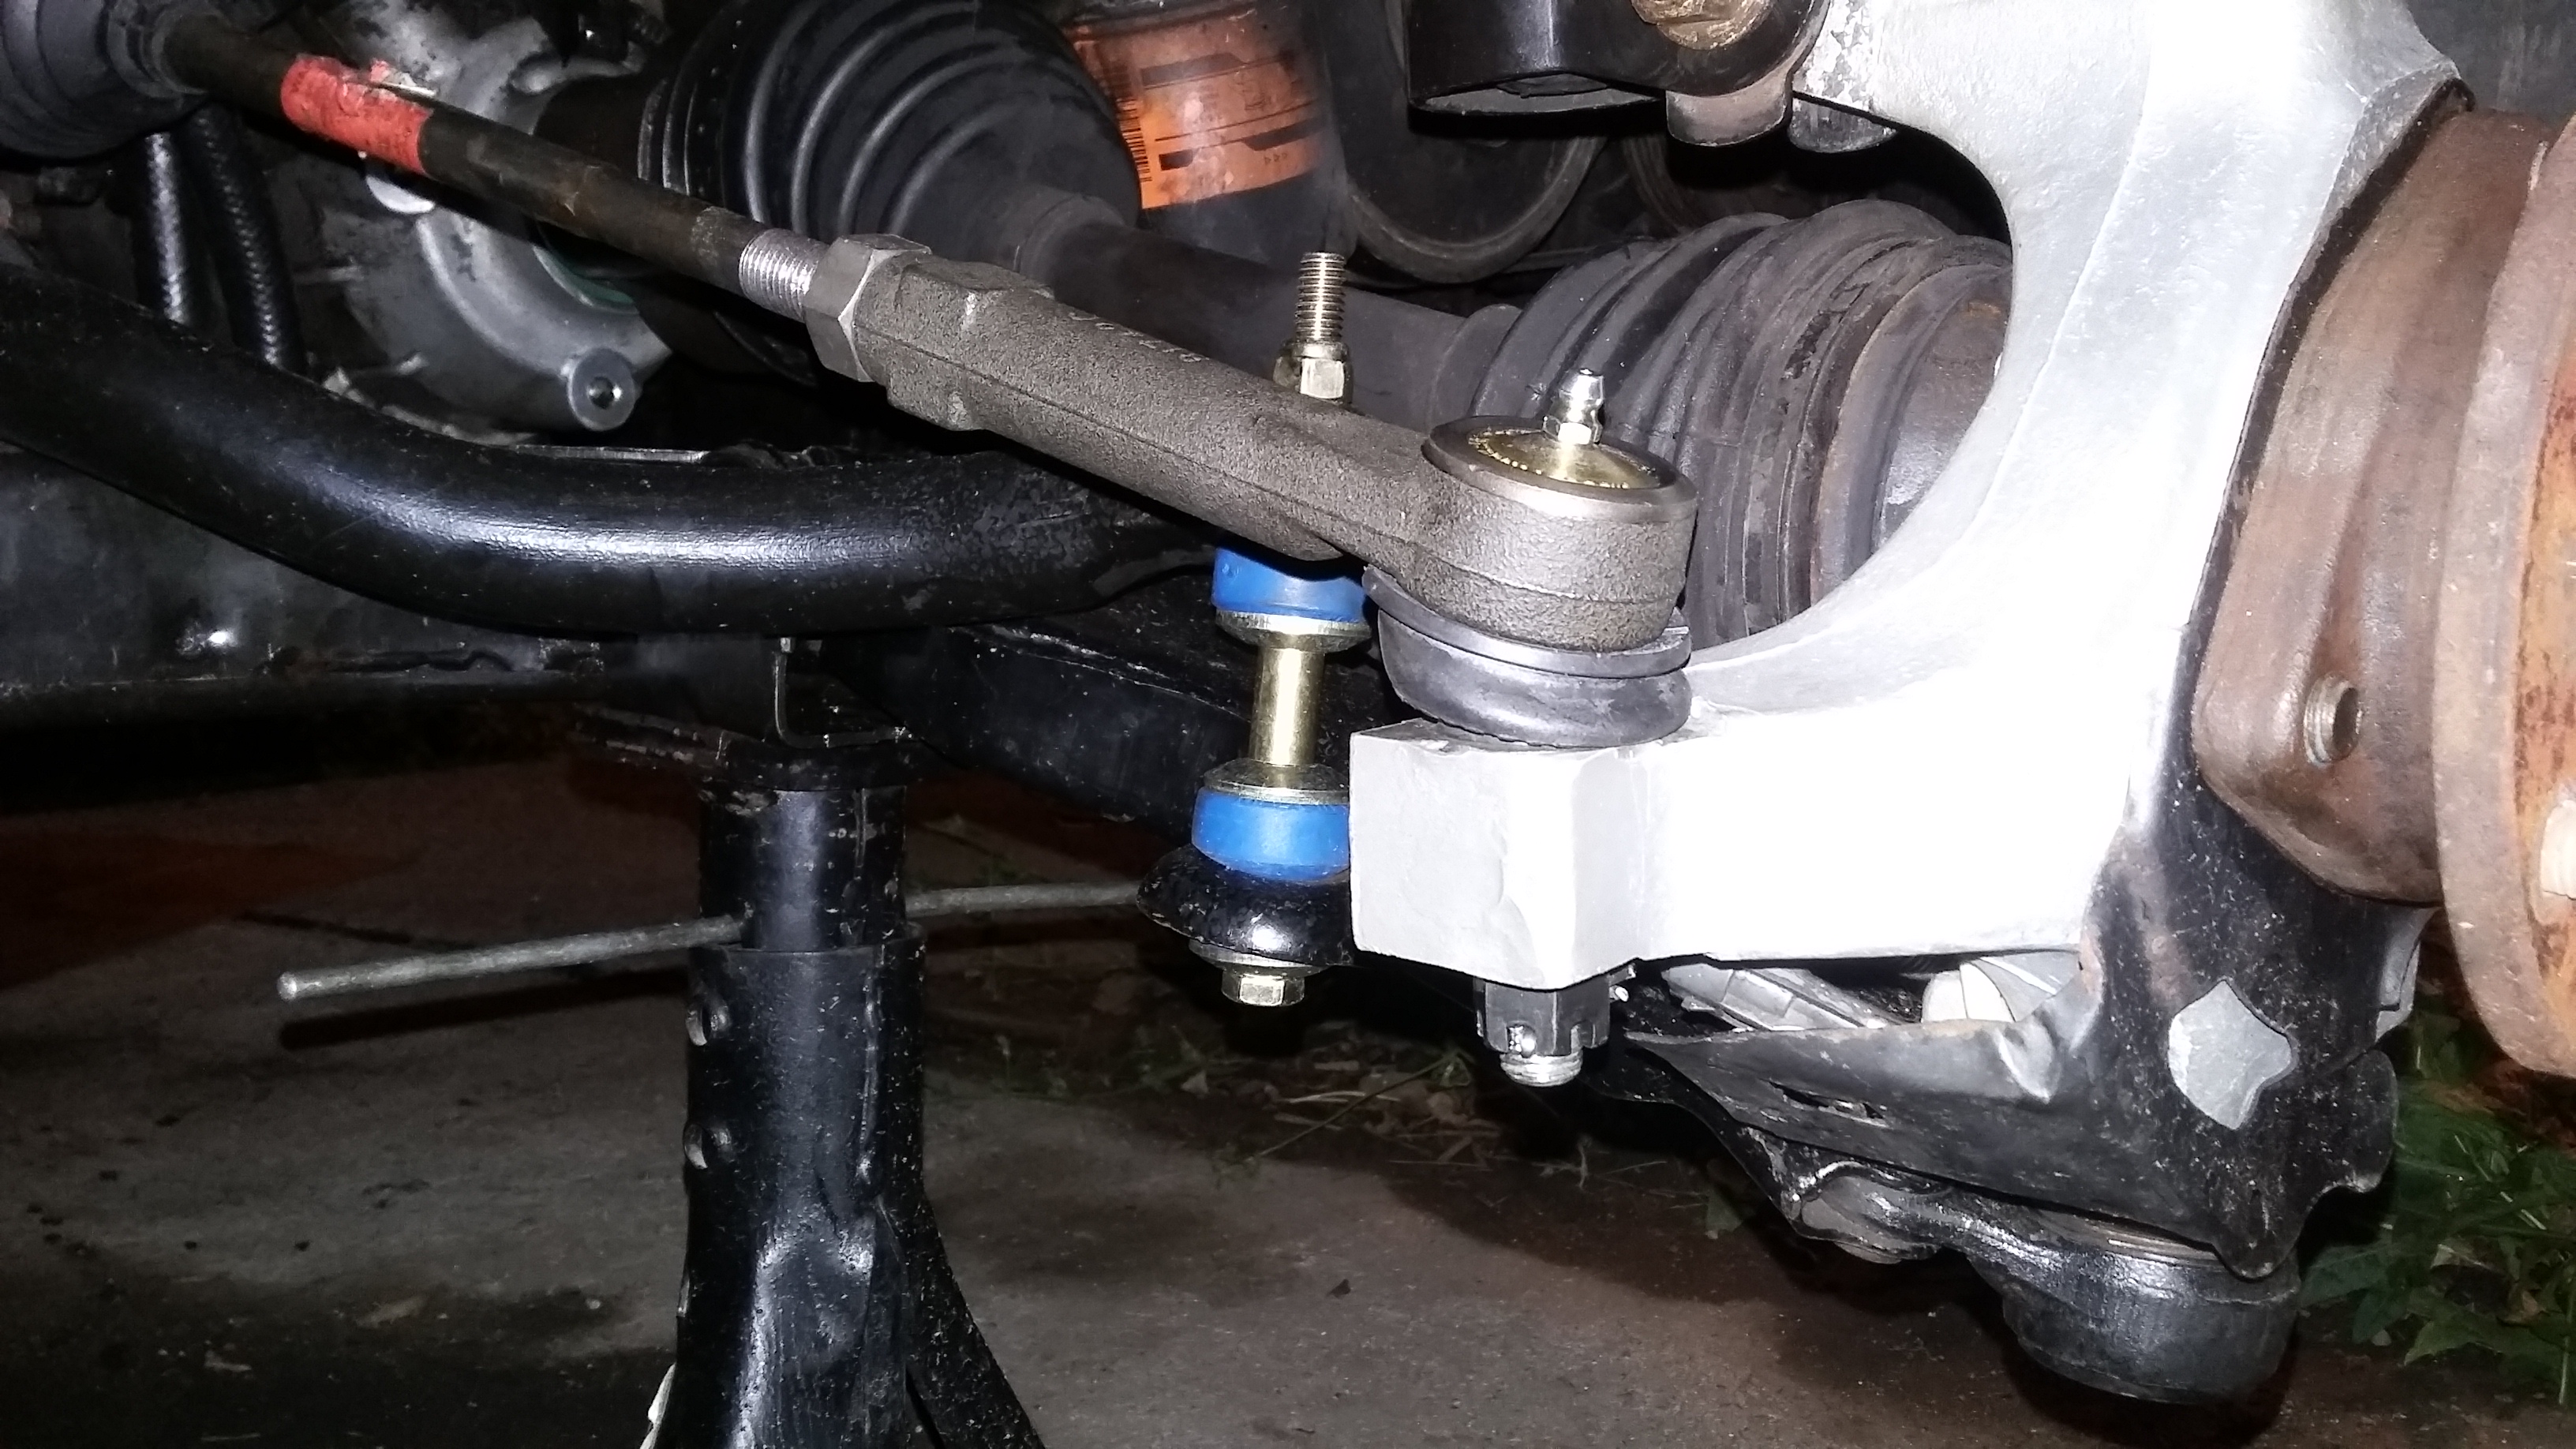
MOOG bushing pressed in. The first 2 shops I visited say they didn't want to do it. Safety reasons, liability, bull-****....
That slowed things down for me. I then called up this place in the burbs that put in a re-built Jasper trans in this car like 14 years ago. When I was still in high school. The guy, Brian, remembered my Dad and the car! F'ing crazy. How many cars has he fixed since then? He did the job. But according to the link below one of the bushings is pressed in upside down. But I noticed when I took these off the car (they are Dorman), the factory Dorman bushings were pressed in the same way...? Hmmmm. So which way is correct. I'm trying to build rapport with this guy now so I didn't challenge him on it but just wondering if it will start pushing out. See the second like I posted below. Seems like it should be lip side down, like Booba said.

Link to how they apparently need to be done:
http://www.grandprixforums.net/thre...-feel-for-50?p=1383273&viewfull=1#post1383273

Link to bushing pulling itself out (same thread):
http://www.grandprixforums.net/thre...-feel-for-50?p=1378740&viewfull=1#post1378740

20170816_003003.jpg


20170816_003023.jpg


20170816_003049.jpg
 
You could always get them tack welded into the LCAs, just on the lip where it says "MOOG Problem Solver"

That'll keep them from popping out when you go ham on an AutoCross track... lol
 
Progress was made! Photos to prove it. lol


First! Painted knuckles, with one un-painted knuckle for comparison:
01.00.jpg


Also painted the sway bar brackets. Came out all globbed over. It's for the rust anyway:
01.01.jpg


Trans Mount was first on the list. Lifted the engine by the pans. My oil pan is dented up bad so used a thick piece of cardboard as a sort of "crush-washer". Also rear end is on ramps, front of 4 jack-stands. Car was pointed nose up so that meant lifting on an angle. Hockey puck came in handy here. Allowed the jack to push straight up, with the puck molding itself to the wood at an angle, but still keeping traction. Worked for me! Spent A LOT of time positioning the wood and making everything just right. Looped an extension cord around the crosspipe to help swing the engine a little.


02.jpg


03.jpg


04.jpg


05.jpg


06.jpg


07.jpg


08.jpg


09.jpg


CV axle popped out no problem:
10.jpg


Old seal, vs. new seal. Smashed it with a screwdriver and hammer to get it off, per a video I watched:
11.jpg


Hockey puck came in handy again when installing new seal.
12.jpg


New seal in place:
13.jpg


Then got to the drivers side knuckle assembly:
14.jpg
 
Last edited:


Rock on, man. I gotta add a puck to my toolbox now. Cool idea!

It came in handy man. Got it at Play-It-Again Sports for like $1.00. Can't take credit for the idea though. I came across it on a thread on this forum having to do with something else. I thought it was a good idea then, and bought one.

You know all this work and someone might shoot you if you drive it in the winter again lol

Lol. I know where your coming from man. I would like to believe that won't happen. But I know that's a lie! LOL. It's gonna be a seldom used DD. Probably gonna see some snow.


Finished up on the passenger side knuckle this past Saturday.

Went to the junkyard for a new trailing arm nut, and a splined strut bolt. Holy cow was the trailing arm nut a B1tch! Took a whole 45min. and a gallon of sweat to remove. Old vs new:
01.jpg


Ran into a problem. The new bushing didn't fit into the bracket on the passenger side...hmmm. Drivers side was fine.
20170819_154334.jpg


Found an creative way to stretch it out a little bit. Worked like a charm!
20170819_154728.jpg


20170819_155149.jpg


All buttoned up:
20170819_174109.jpg
 
Pry that b1tch ! Ya ! Sometimes force beats finesse, hands down. I can't wait to try "Tool use" for hockey pucks . I have used hockey pucks as cheap body mount replacements on my old Bronco. That's a "parts use".
 
Sway bar stuff is done. LOL on the end-links. I turned the nut until like 2 threads were poking out. I though hmmm...., better check the torque specs just in case (17ft./lbs). When I was done with it, like 8-9 threads were showing. Way tighter than I would have thought. Put in new cotter pins as well. The list is getting shorter! Pics below:

20170827_190806.jpg


20170827_190814.jpg


20170827_190936.jpg


UPDATED LIST:
car-list.jpg
 
Tie-Rods. Connected.

I should add that in an effort to get the wheels pointed correctly, I positioned the knuckle/axle assembly as straight as possible. Threaded each tie-rod end onto the inner, 16 turns on each side. At 16 turns the stem from the outer rod fell right into the knuckle hole. Hopefully the wheels will be somewhat even.

Driver:
20170829_224418.jpg


Passenger:
20170829_224322.jpg
 
Last edited:


I think these outer rods came greased already. Under that nipple, that entire cavity was filled up with a blue colored grease.
 
Whatever you do, don't over fill joints with grease. Just til they bulge. Too much may split the "rubber" and allow dirt and moisture in ... is no Bueno.
 
I think these outer rods came greased already. Under that nipple, that entire cavity was filled up with a blue colored grease.


grease em any ways, theres not enough in there now. if you dont have a gun your ok to drive to the alignment shop, ask them to grease them for ya.
 
Back
Top