• The site migration is complete! Hopefully everything transferred properly from the multiple decades old software we were using before. If you notice any issues please let me know, thanks! Also, I'm still working on things like chatbox, etc so hopefully those will be working in the next week or two.

Luke's GTP

man i hope you had a air gun for them rear bars. i just changed mine not to long ago and im super glad i had a air gun.

I’ve taken these out before so this time wasn’t bad at all. But nahh, no air tools here Boss. That would be a luxury. This garage space and tiny space heater is a god damn luxury for me. 100% of the work I’ve done on this car was done outside with no air tools, no electricity, no running water, and no bathroom. I would bring in my own electricity (car battery), my own water for drinking and washing, and pissed in a McDonalds cup. In lieu of air tools, I would just plan my moves out, and position wrenches so I could use both my strength and my body weight to create as much downward force as possible.

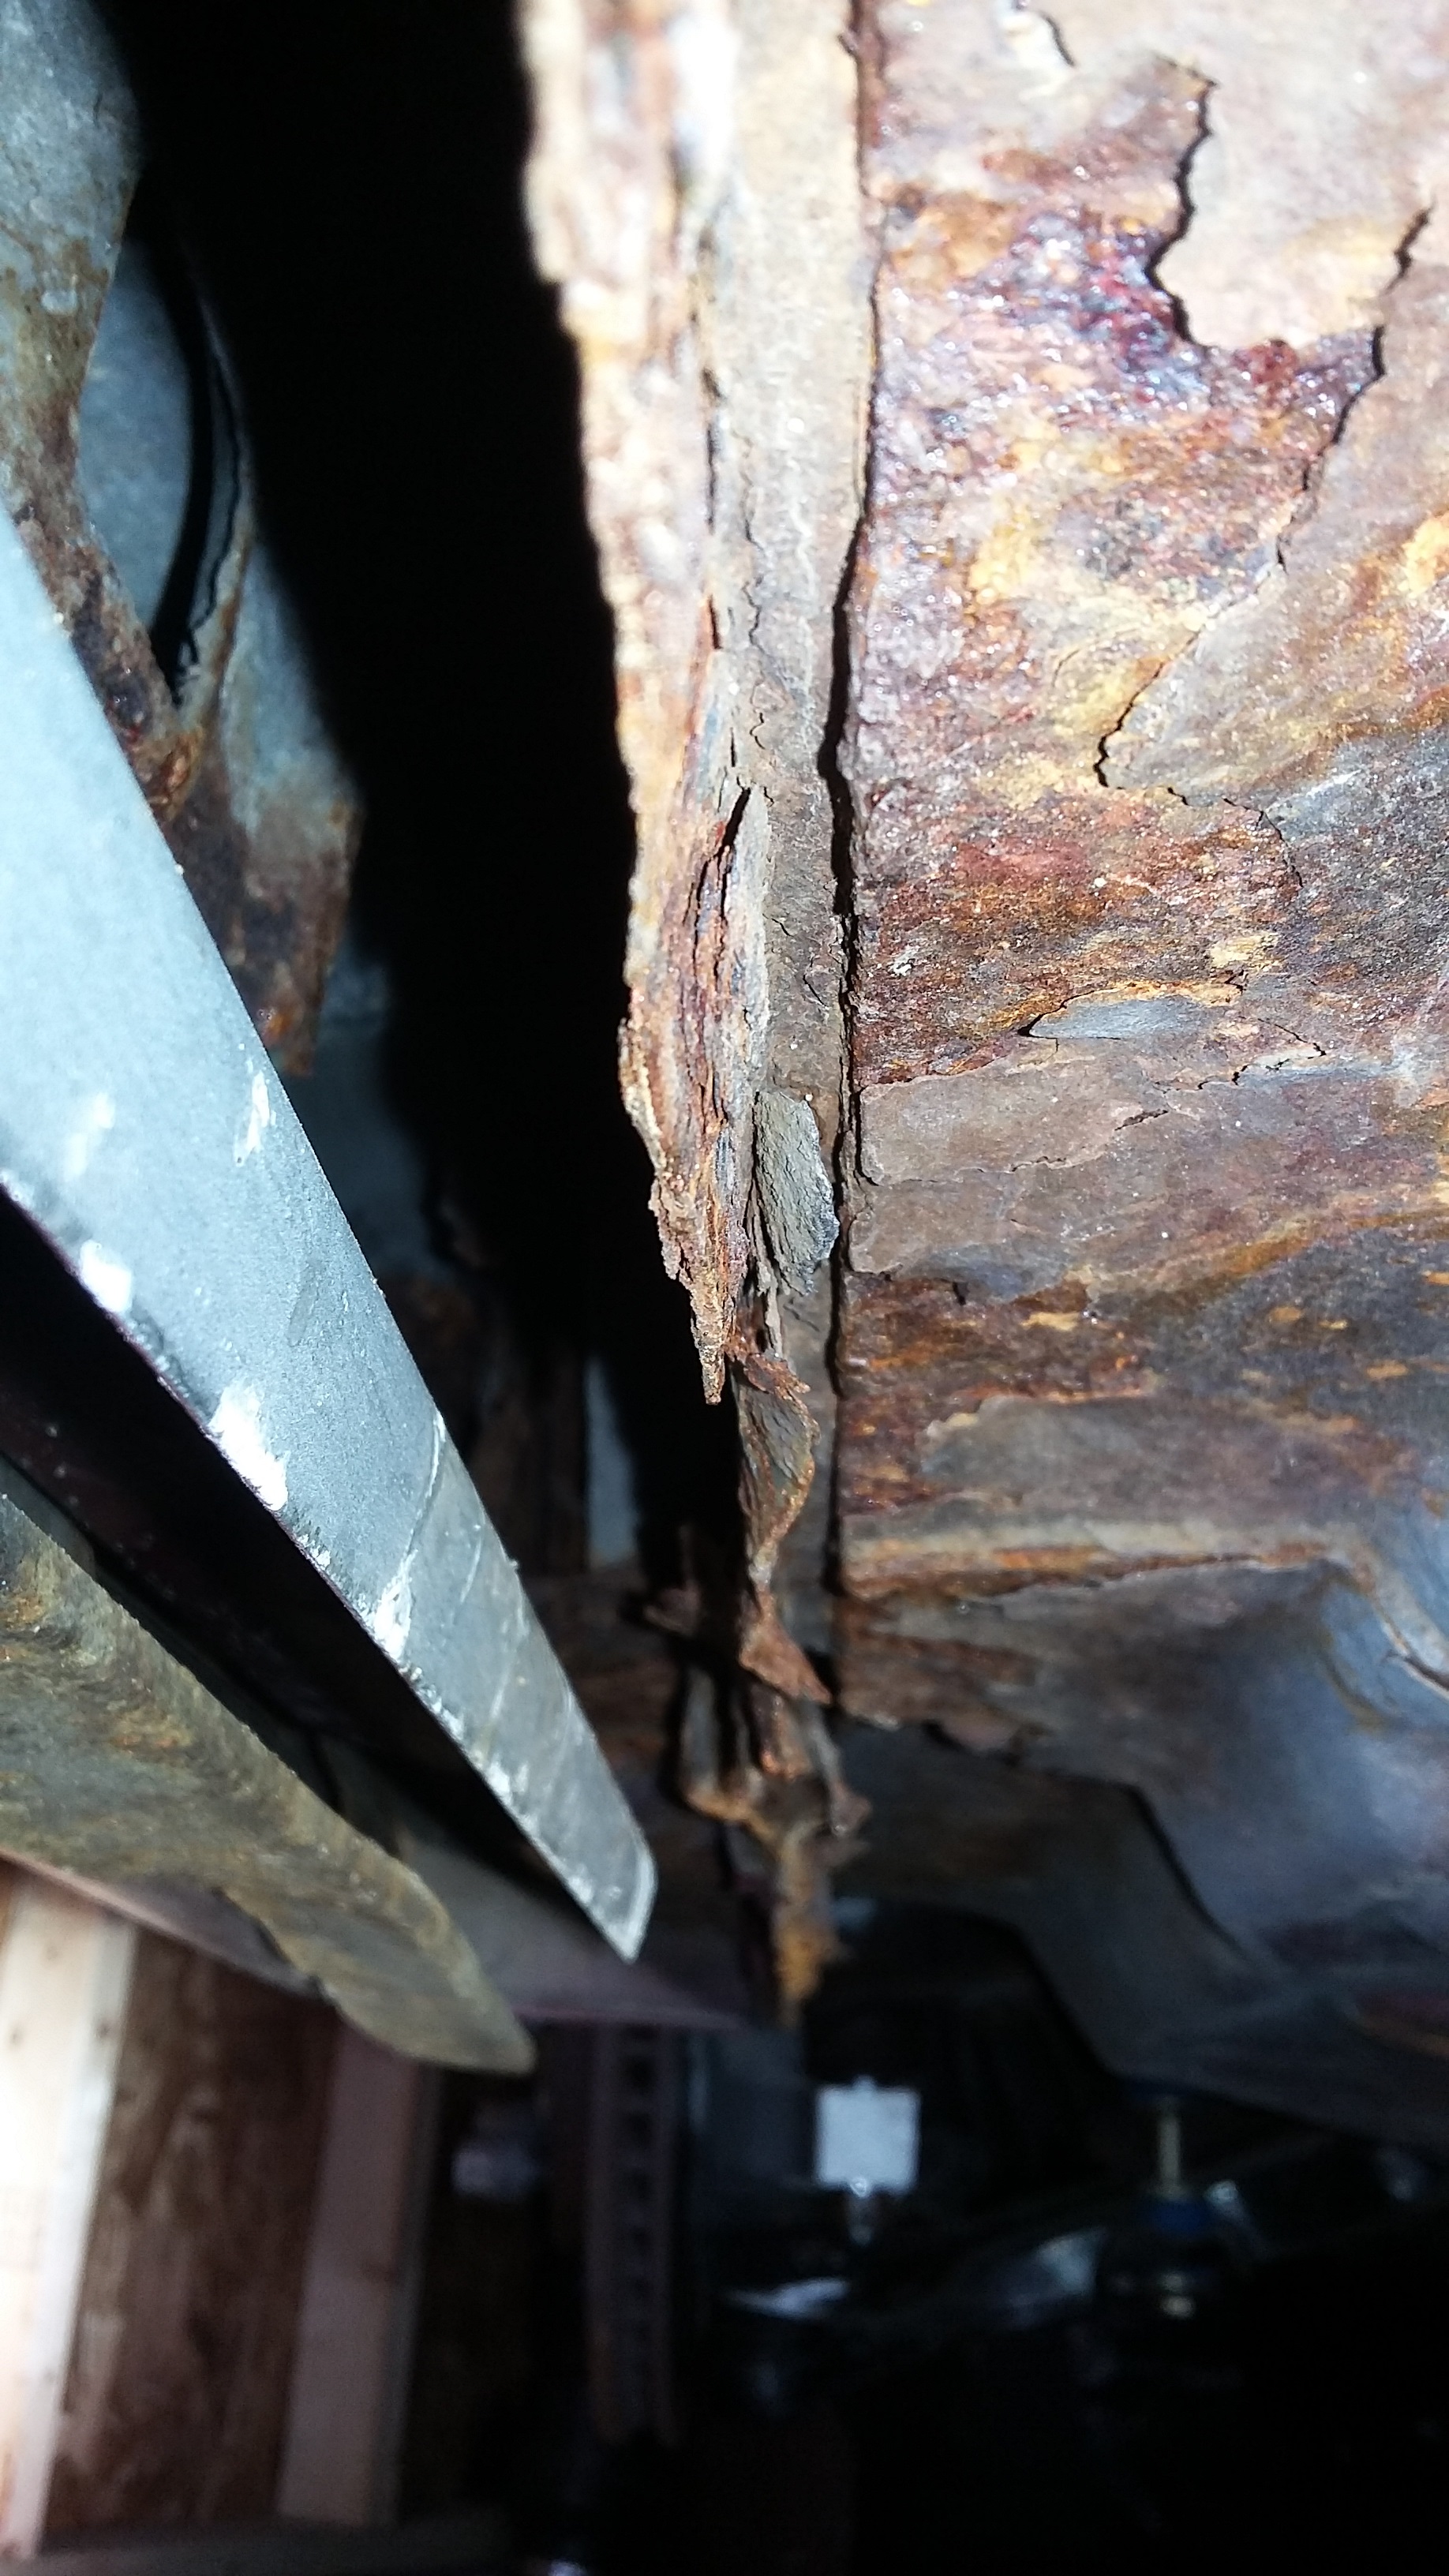
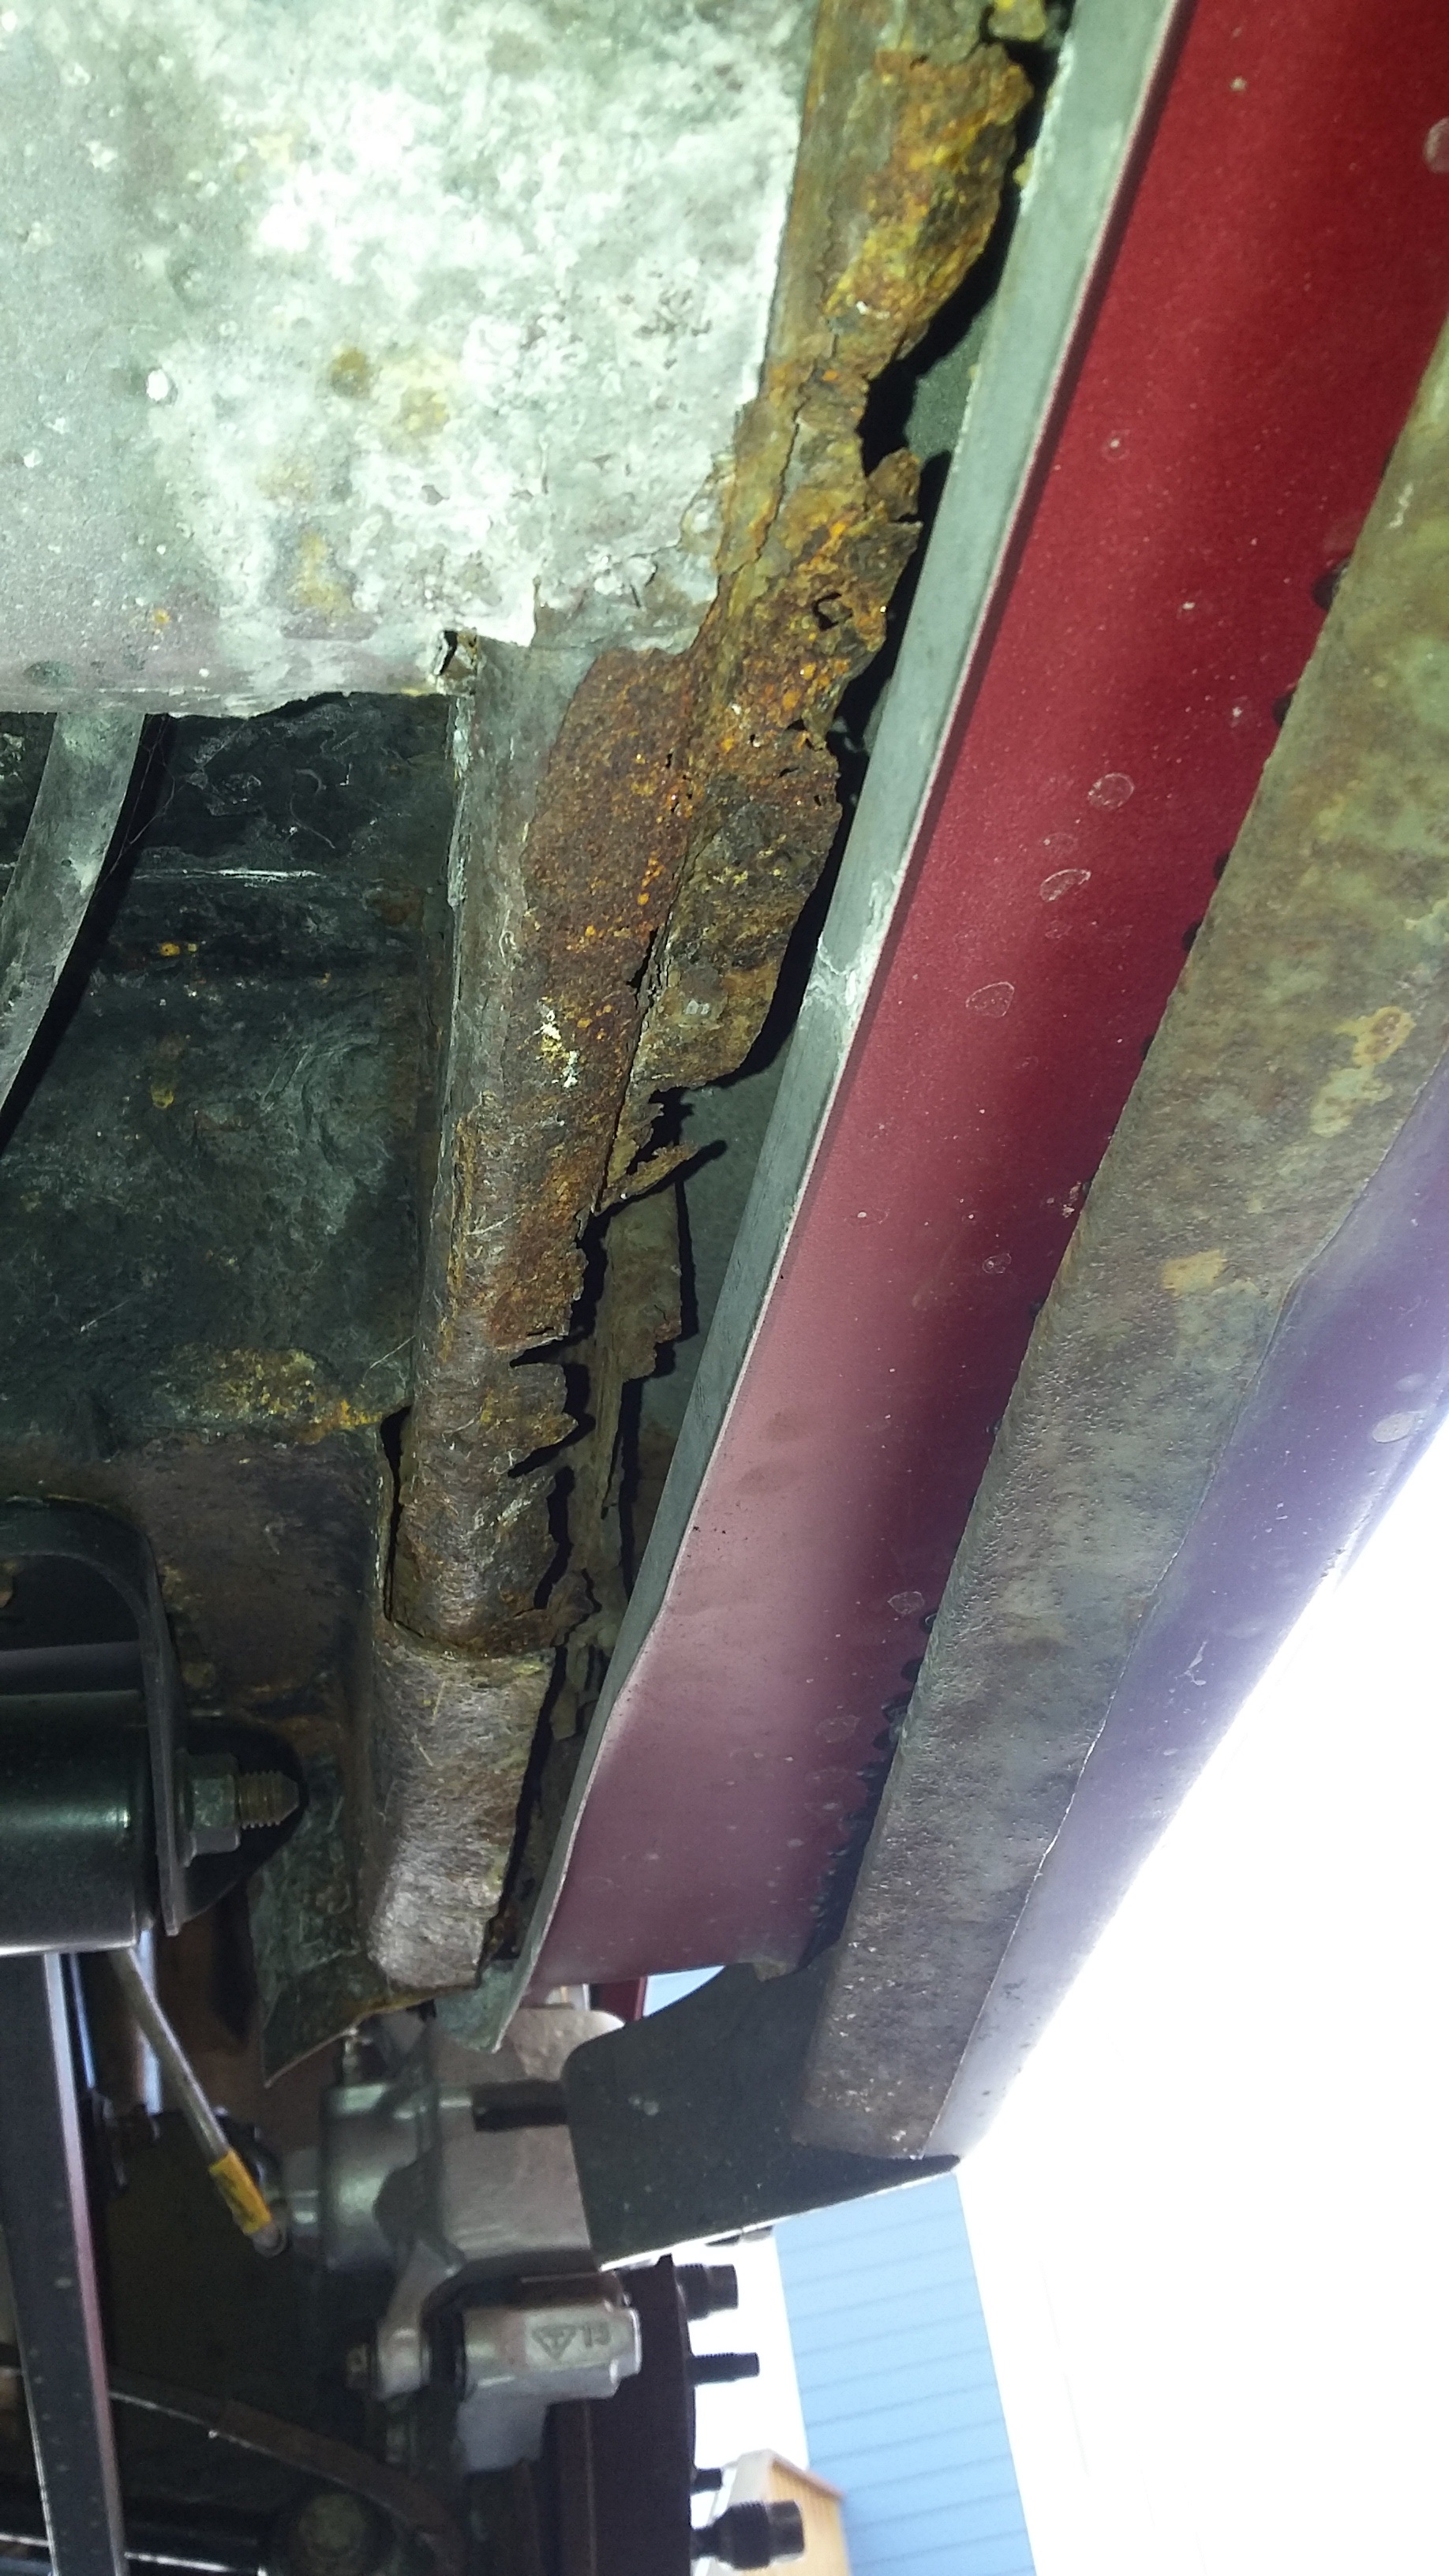
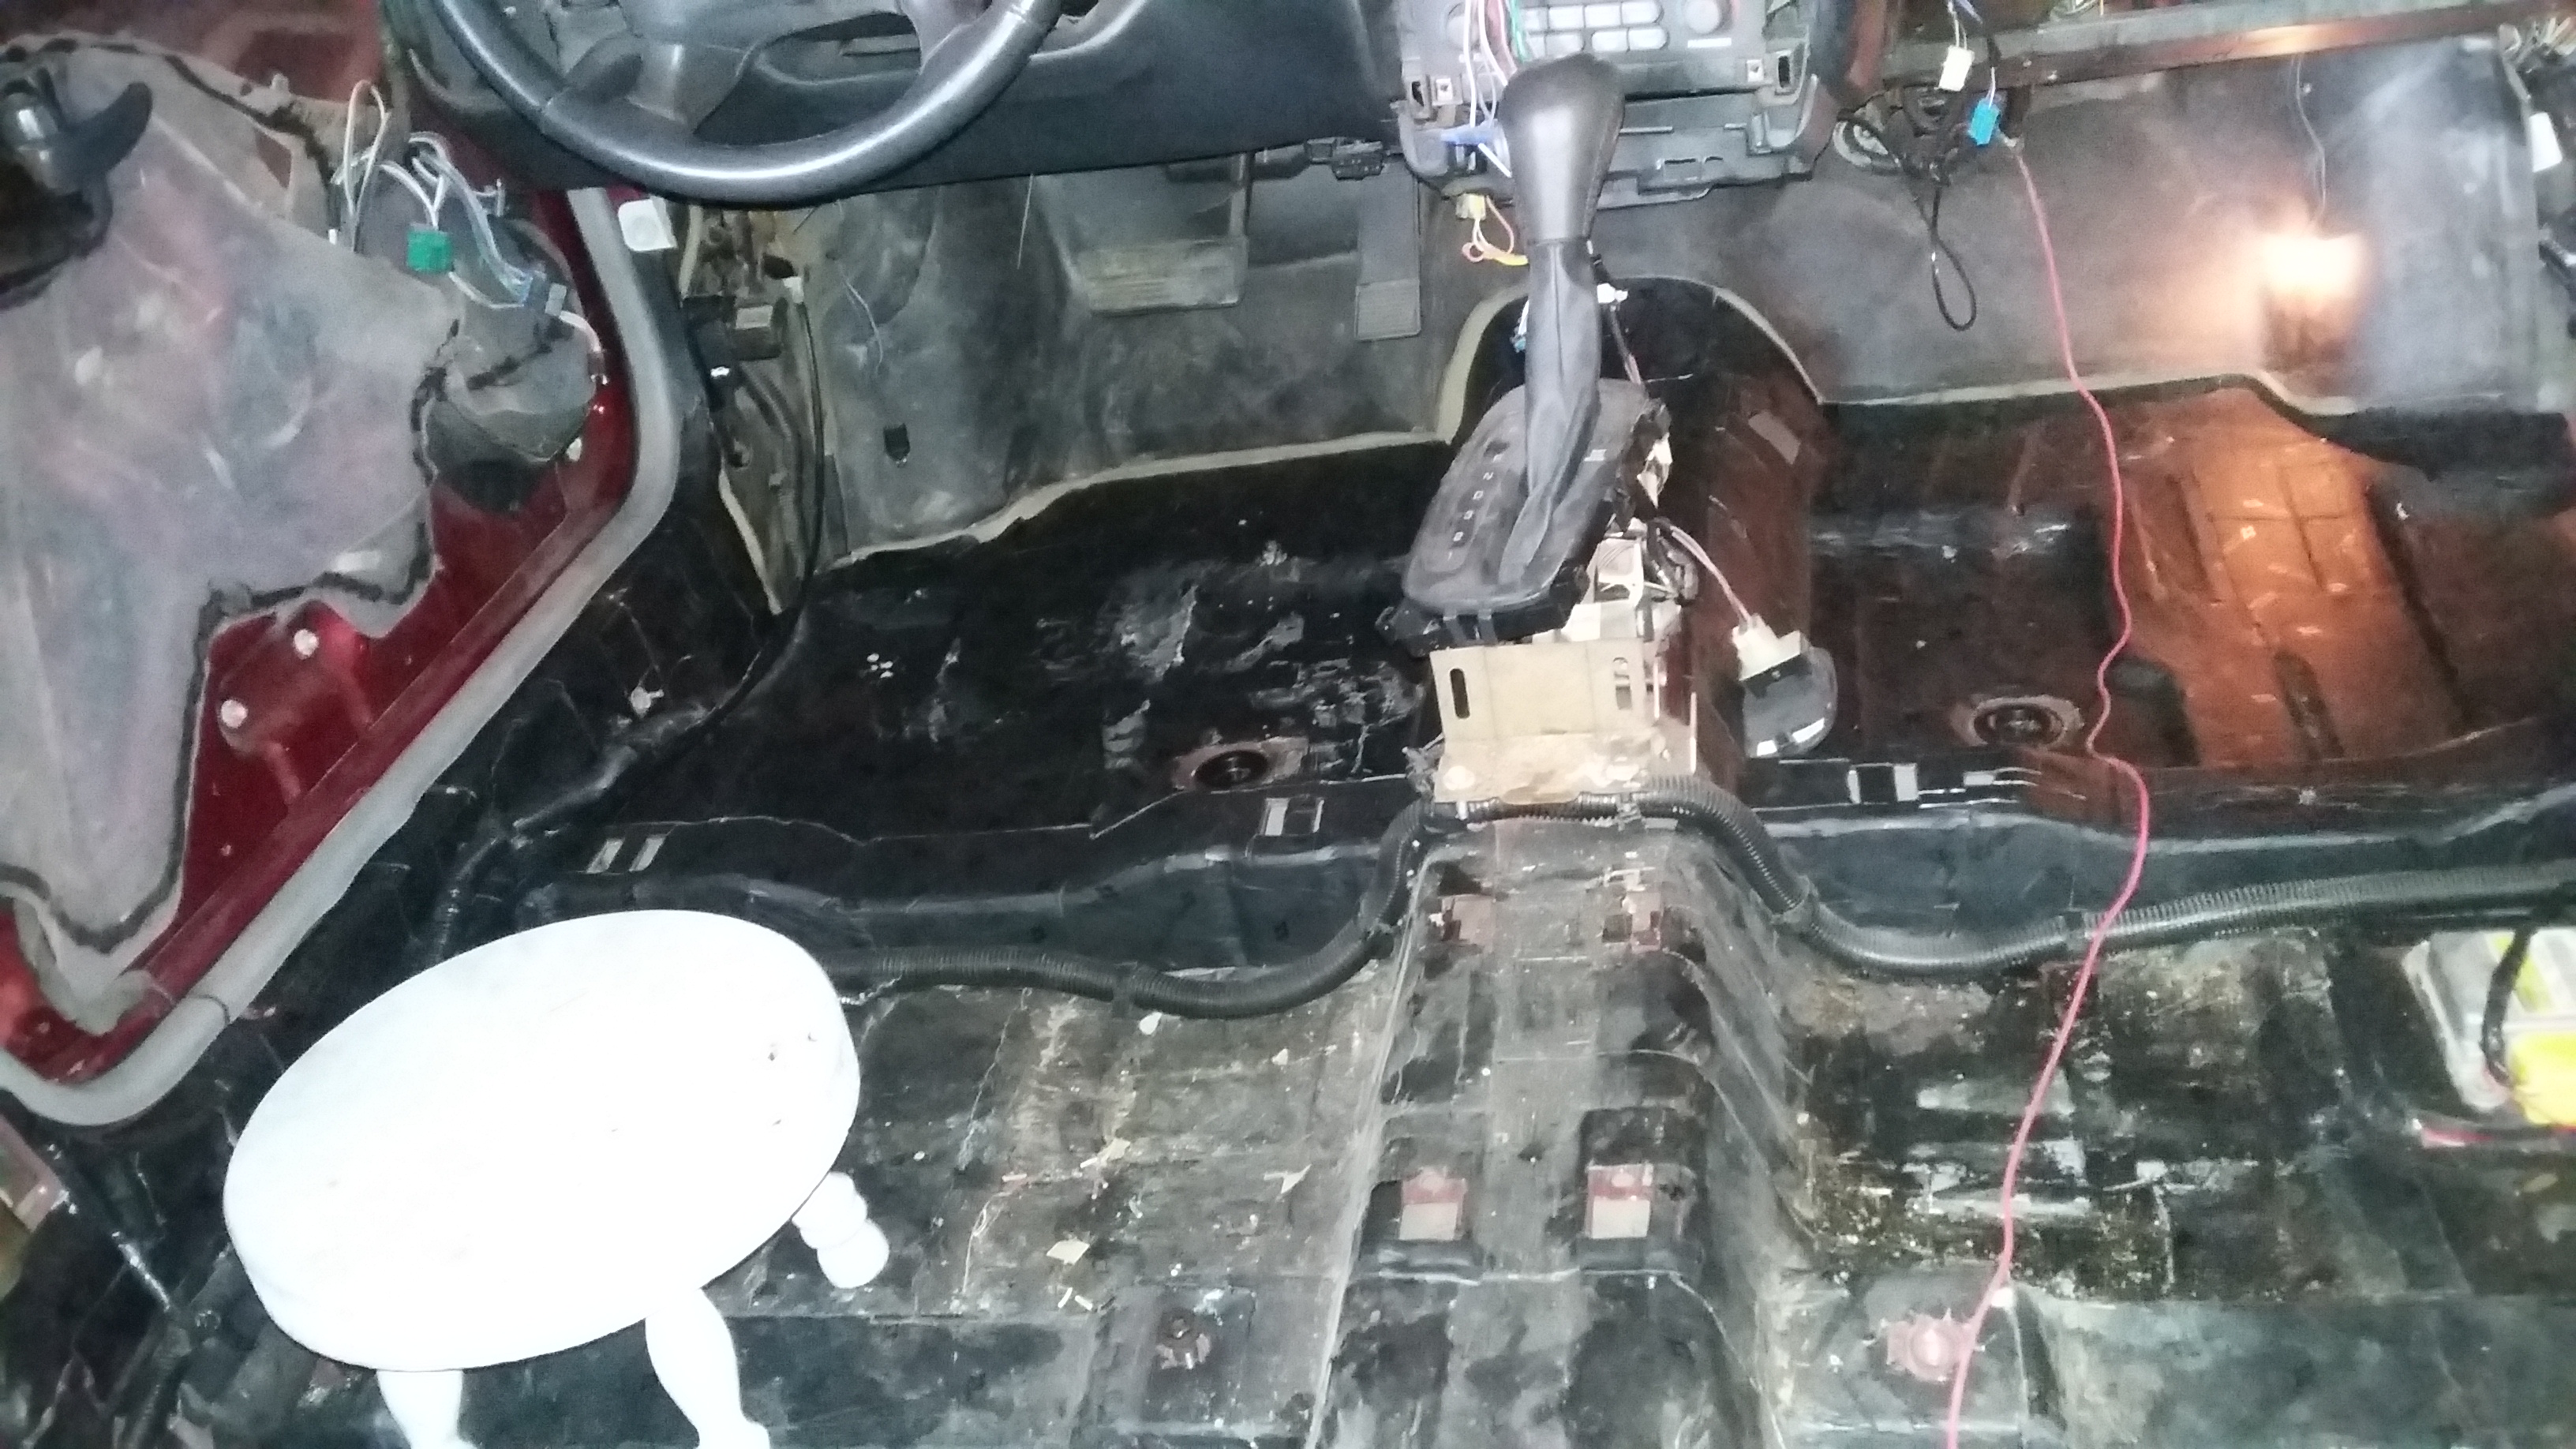
Lets see more p ics of the rust repair, inside, out, underneath, EVERYTHING!

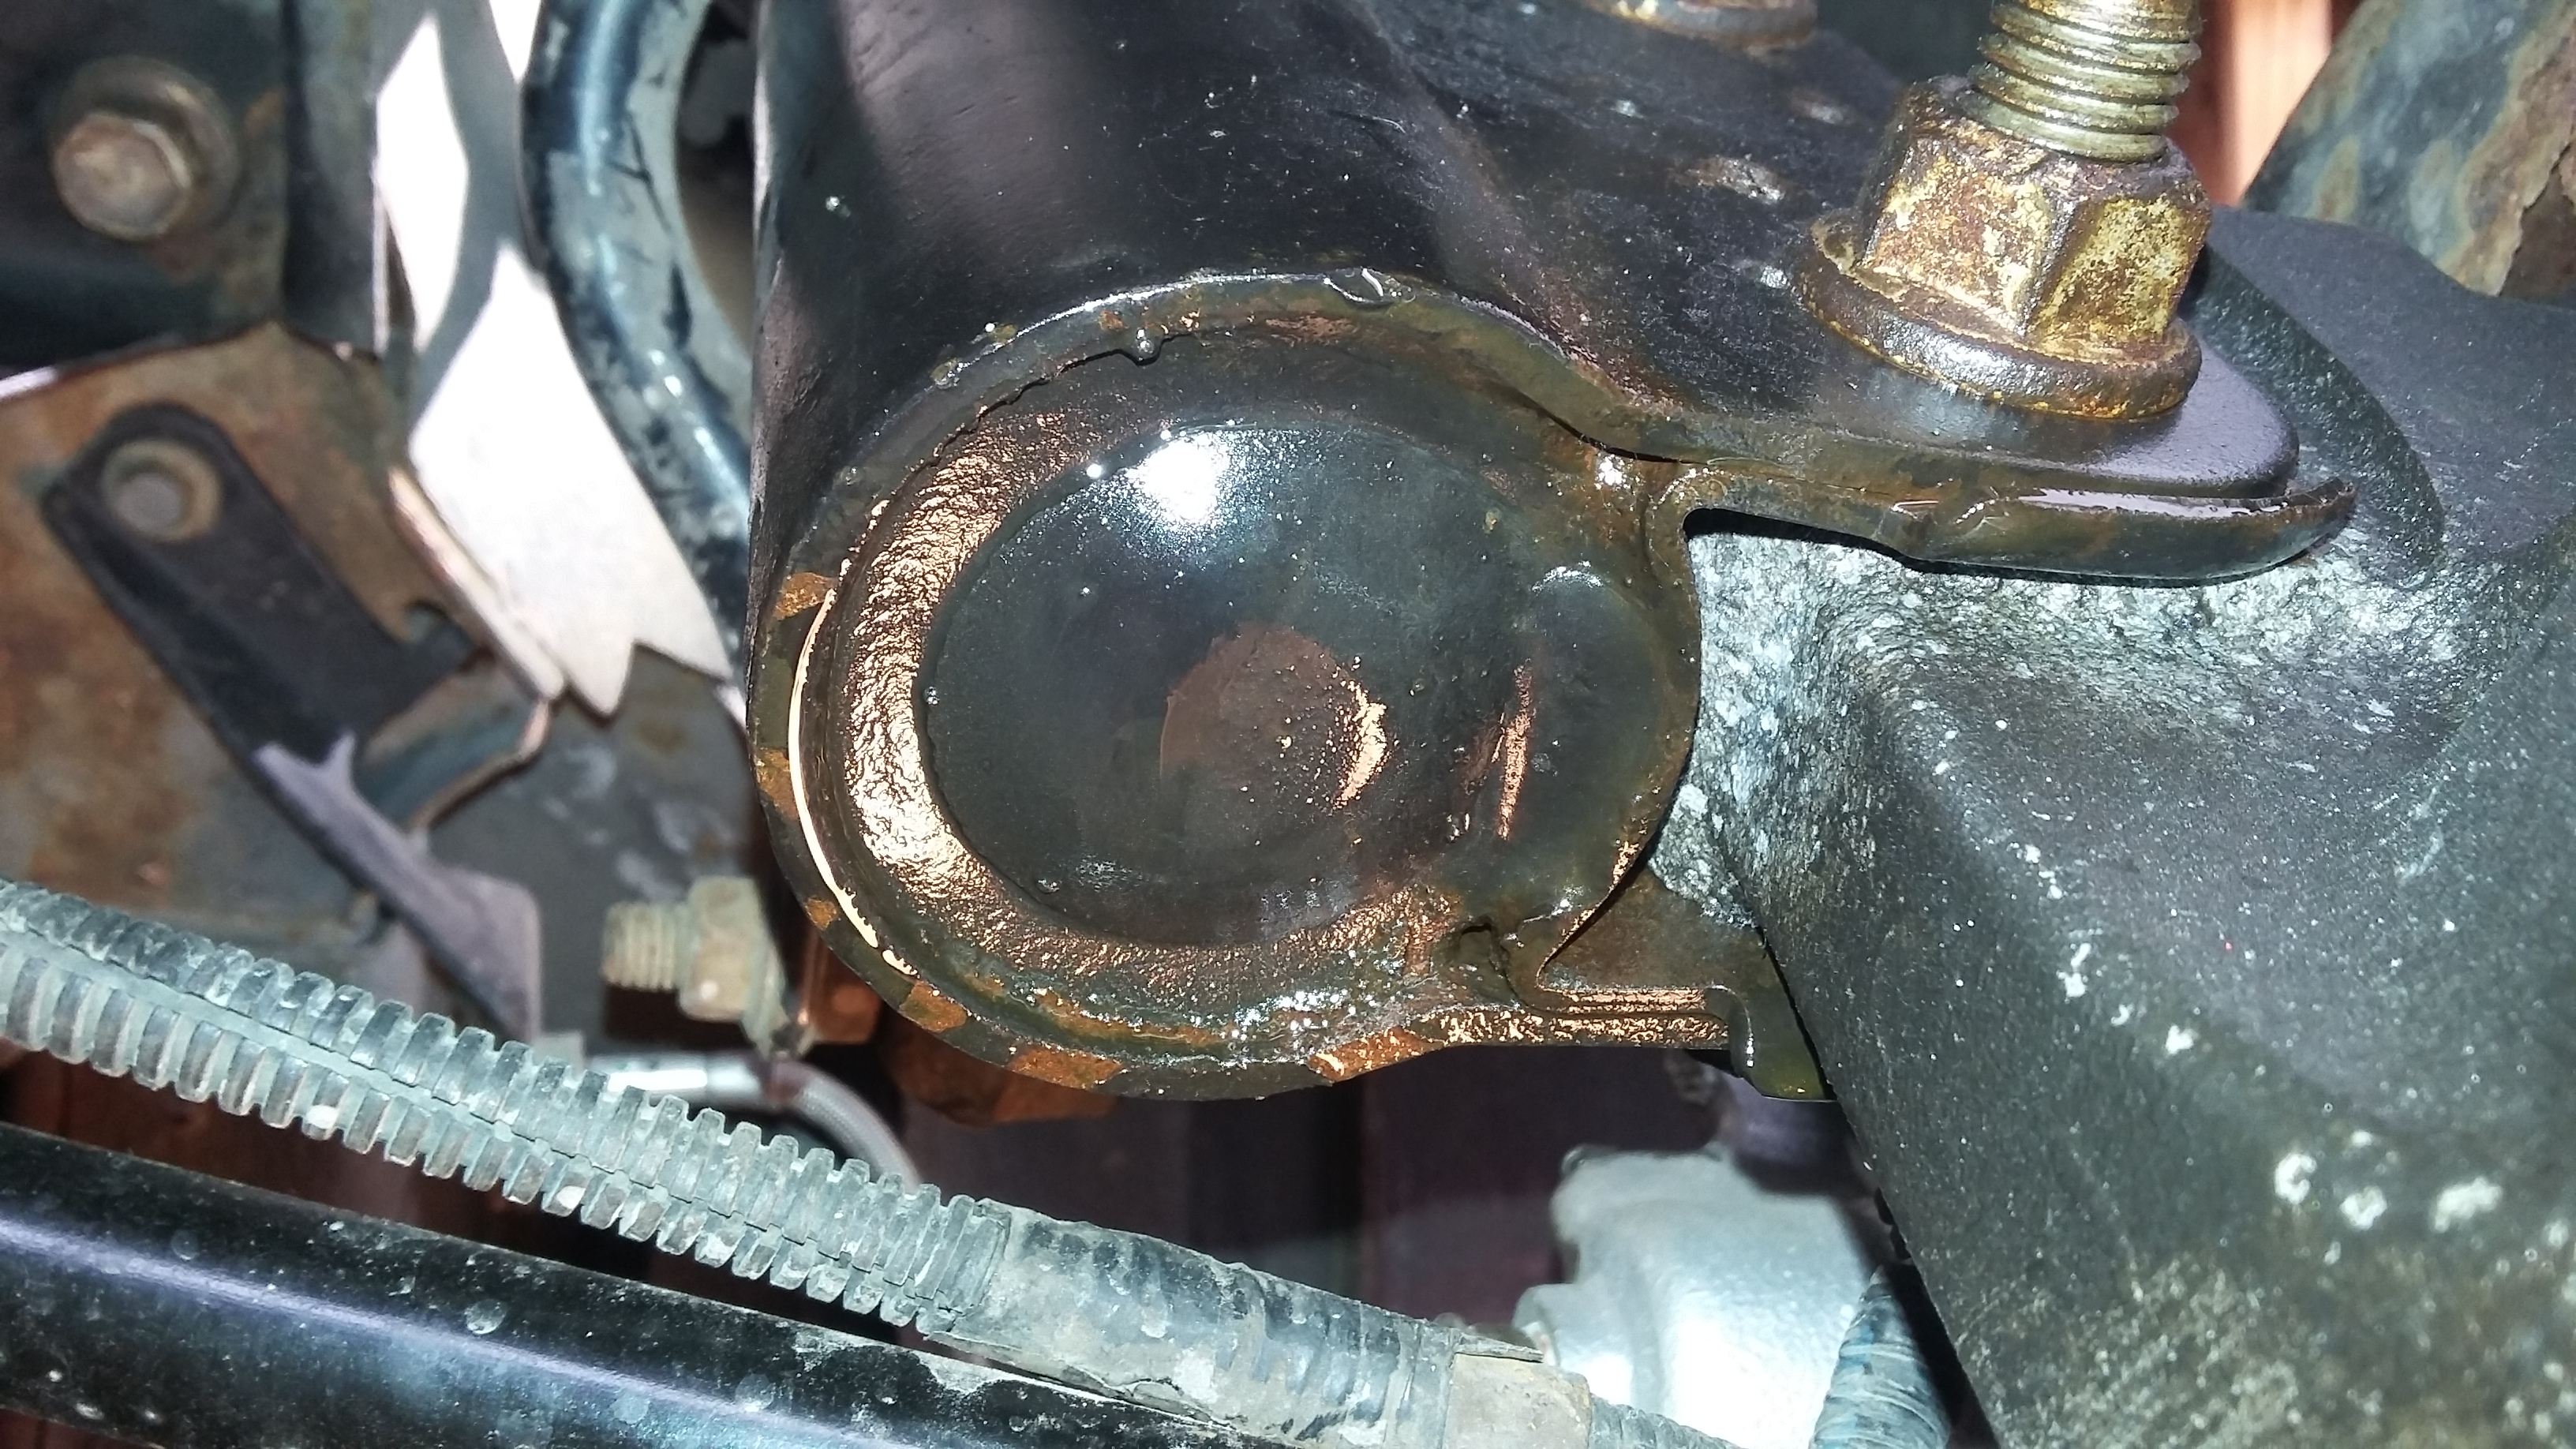
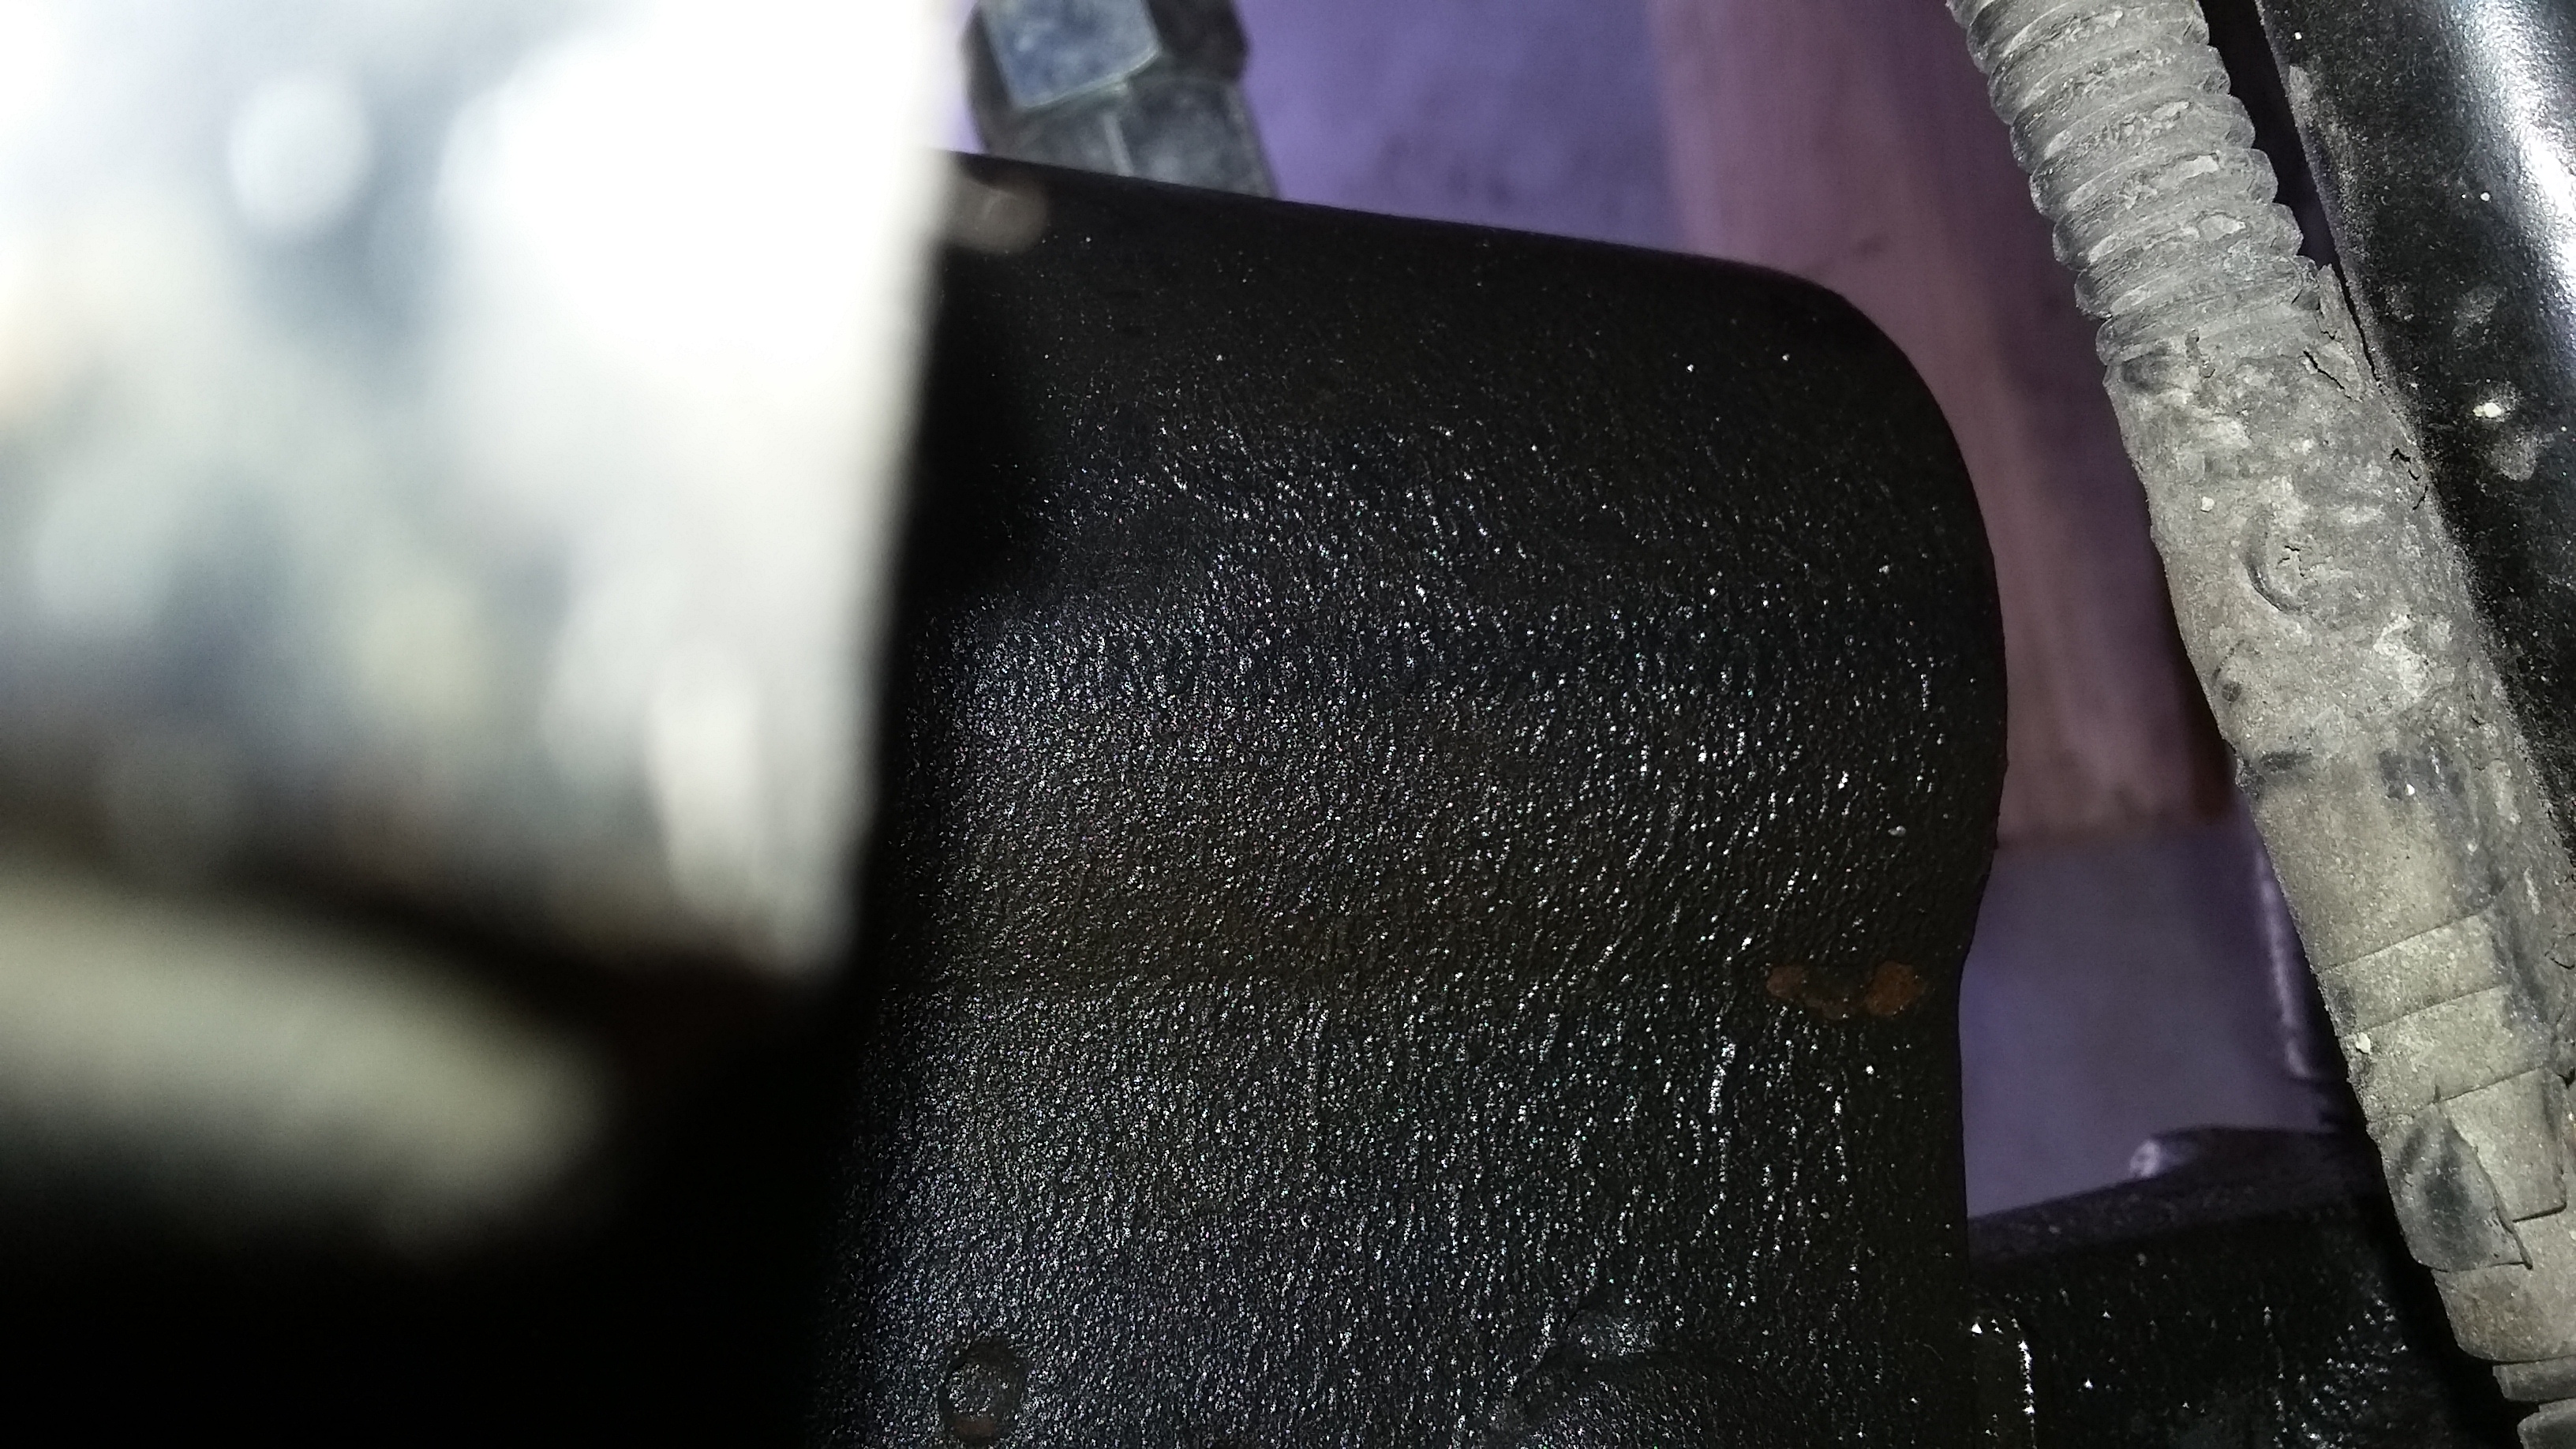
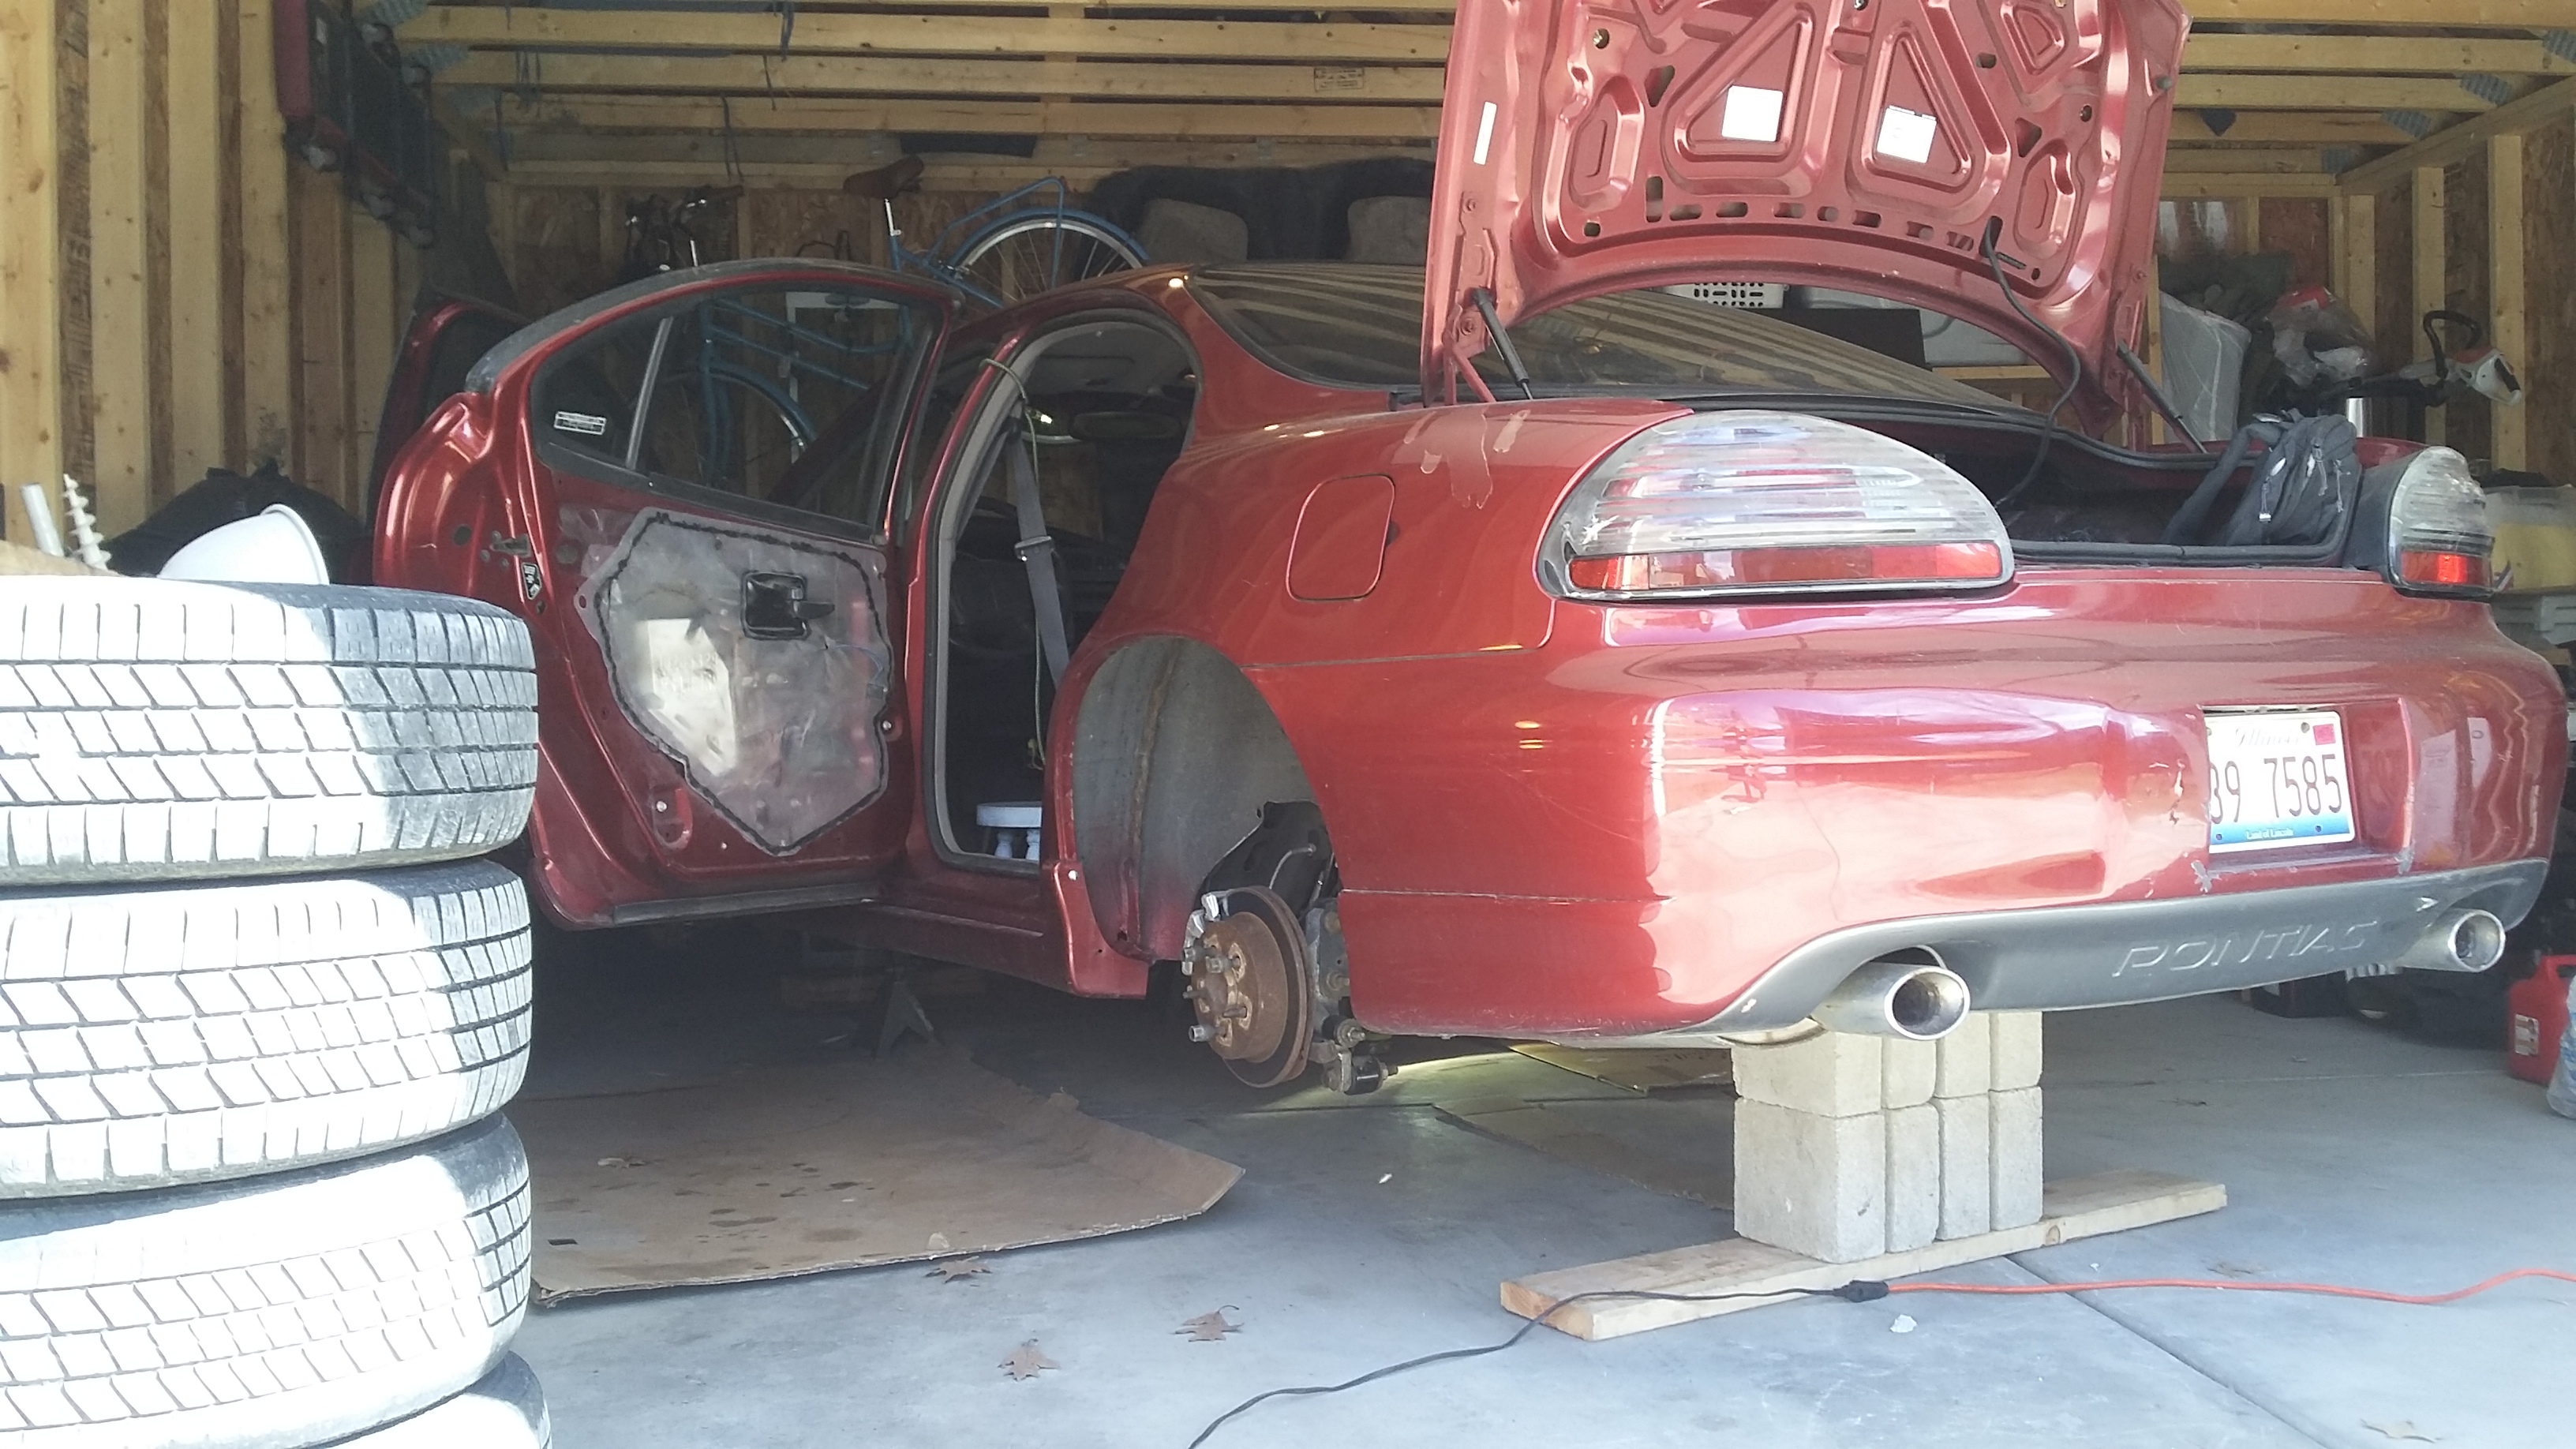
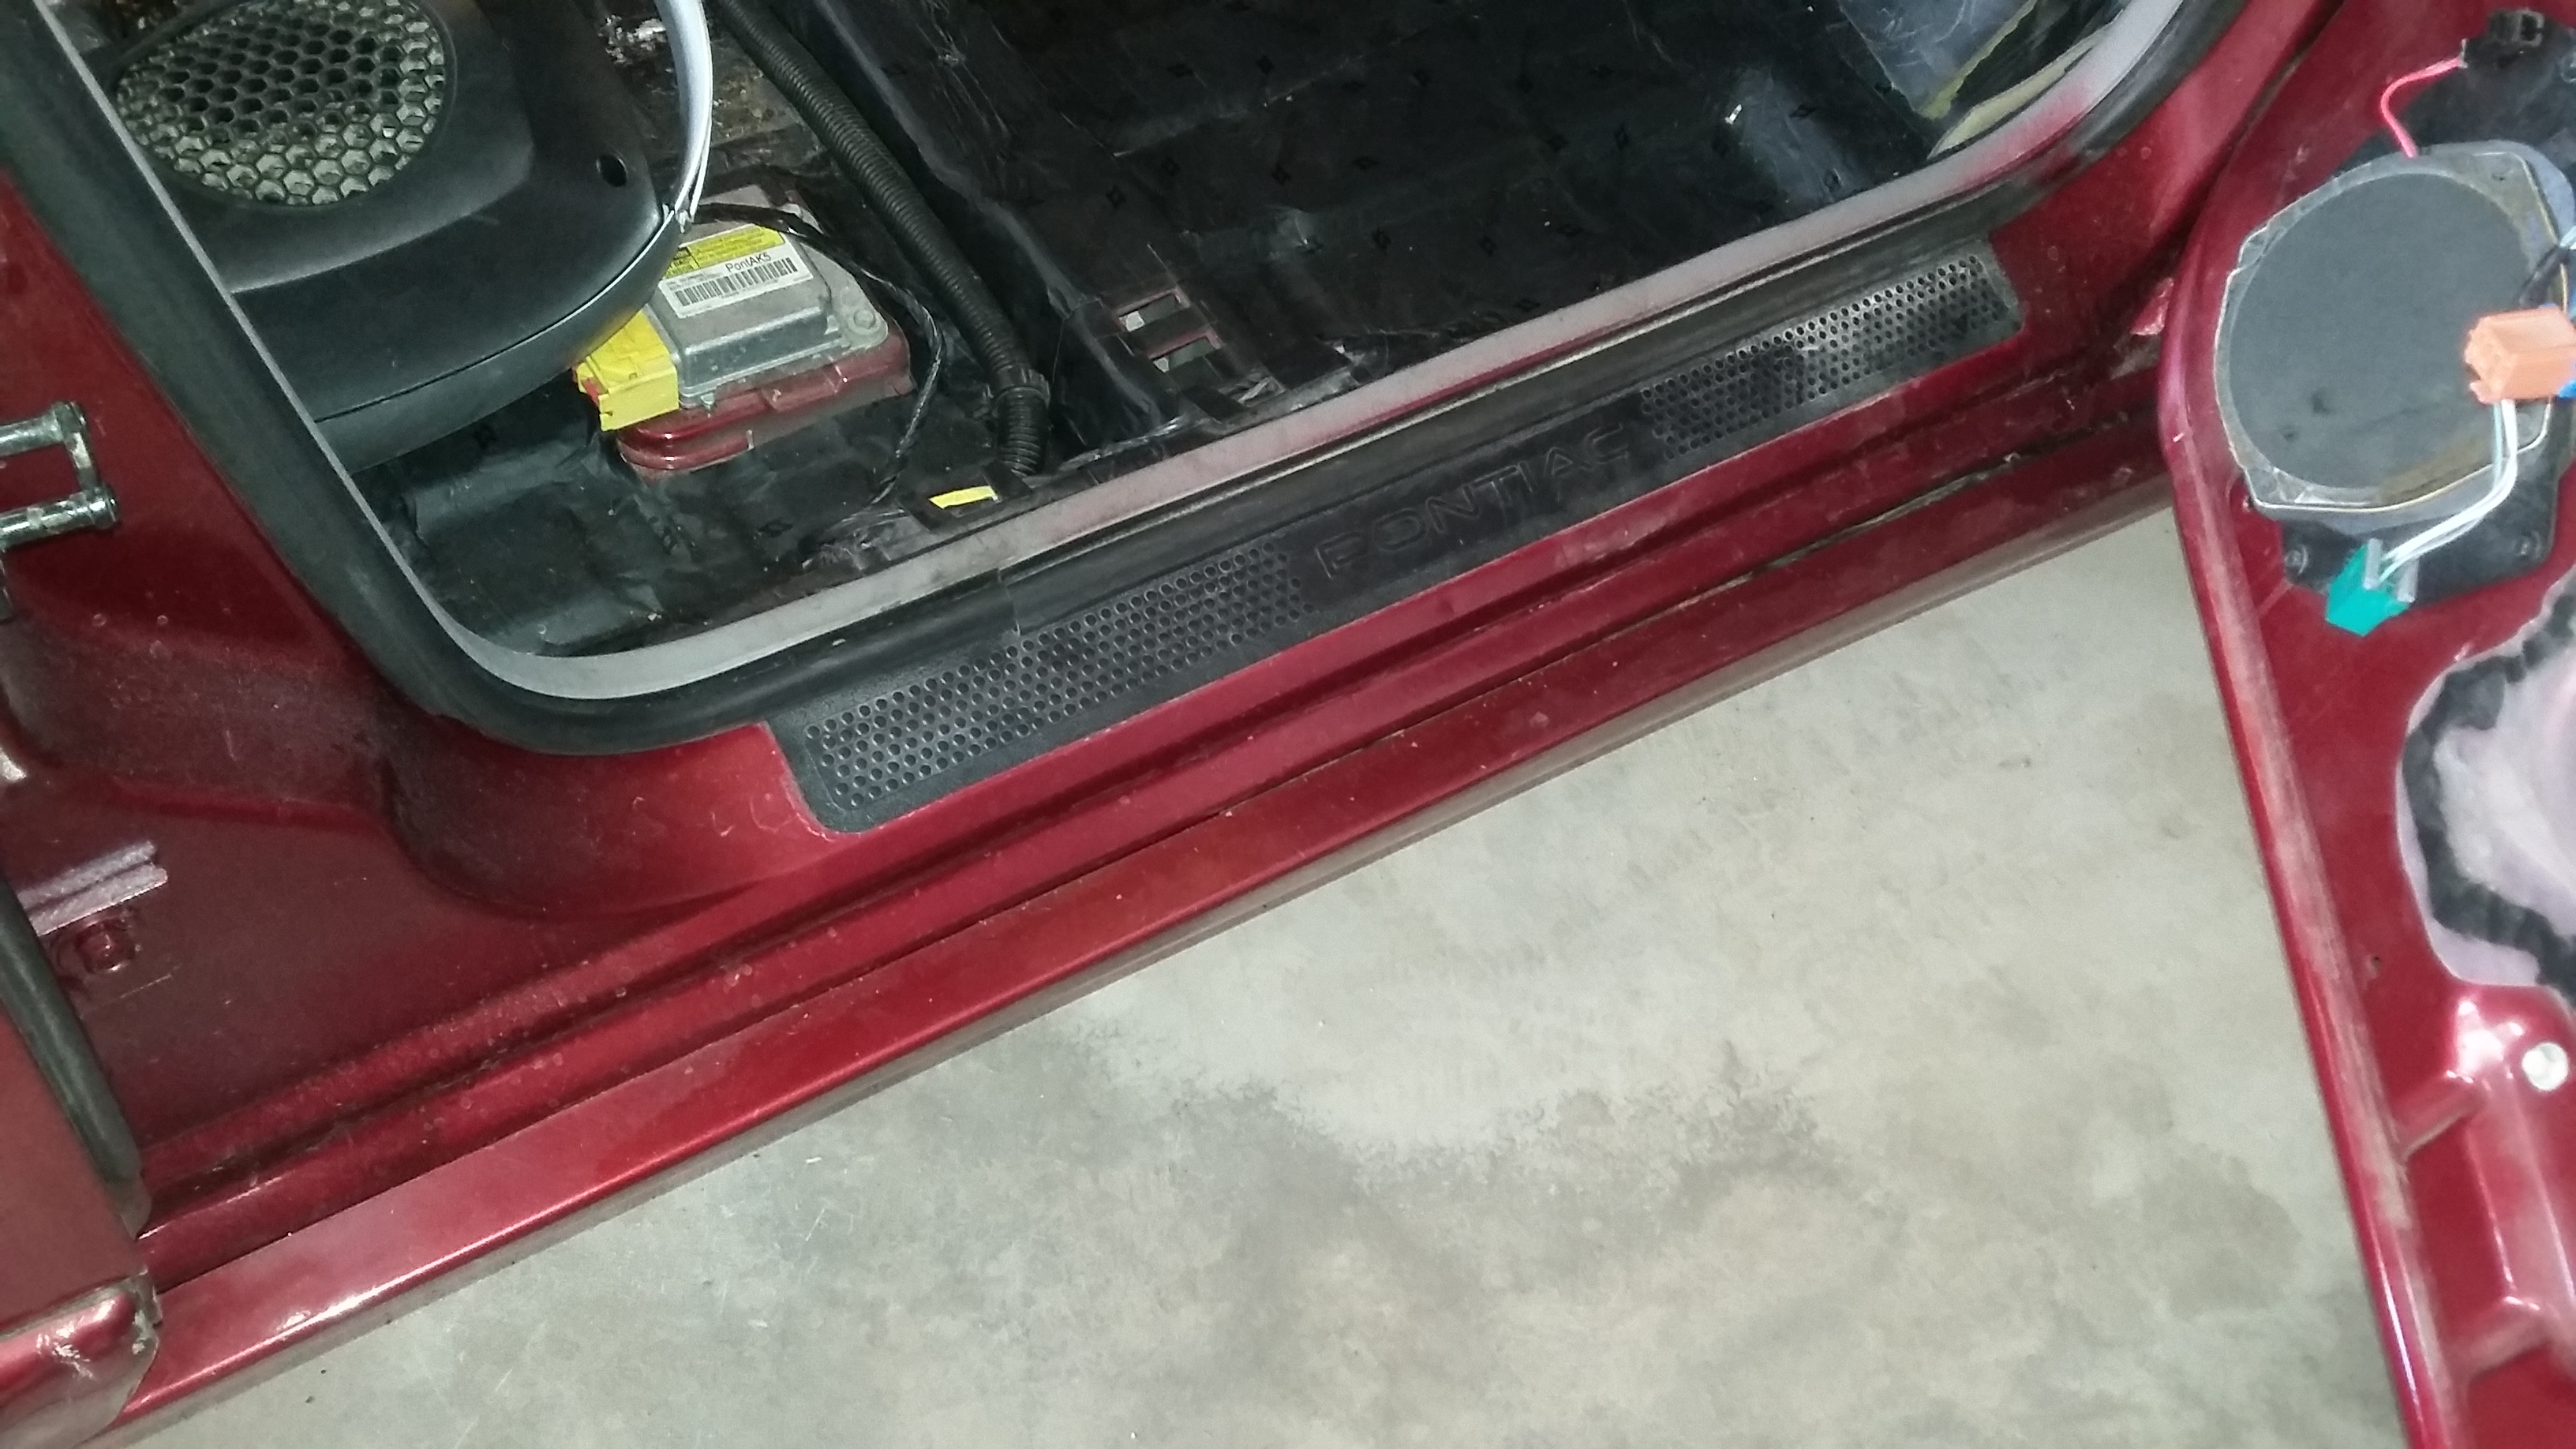
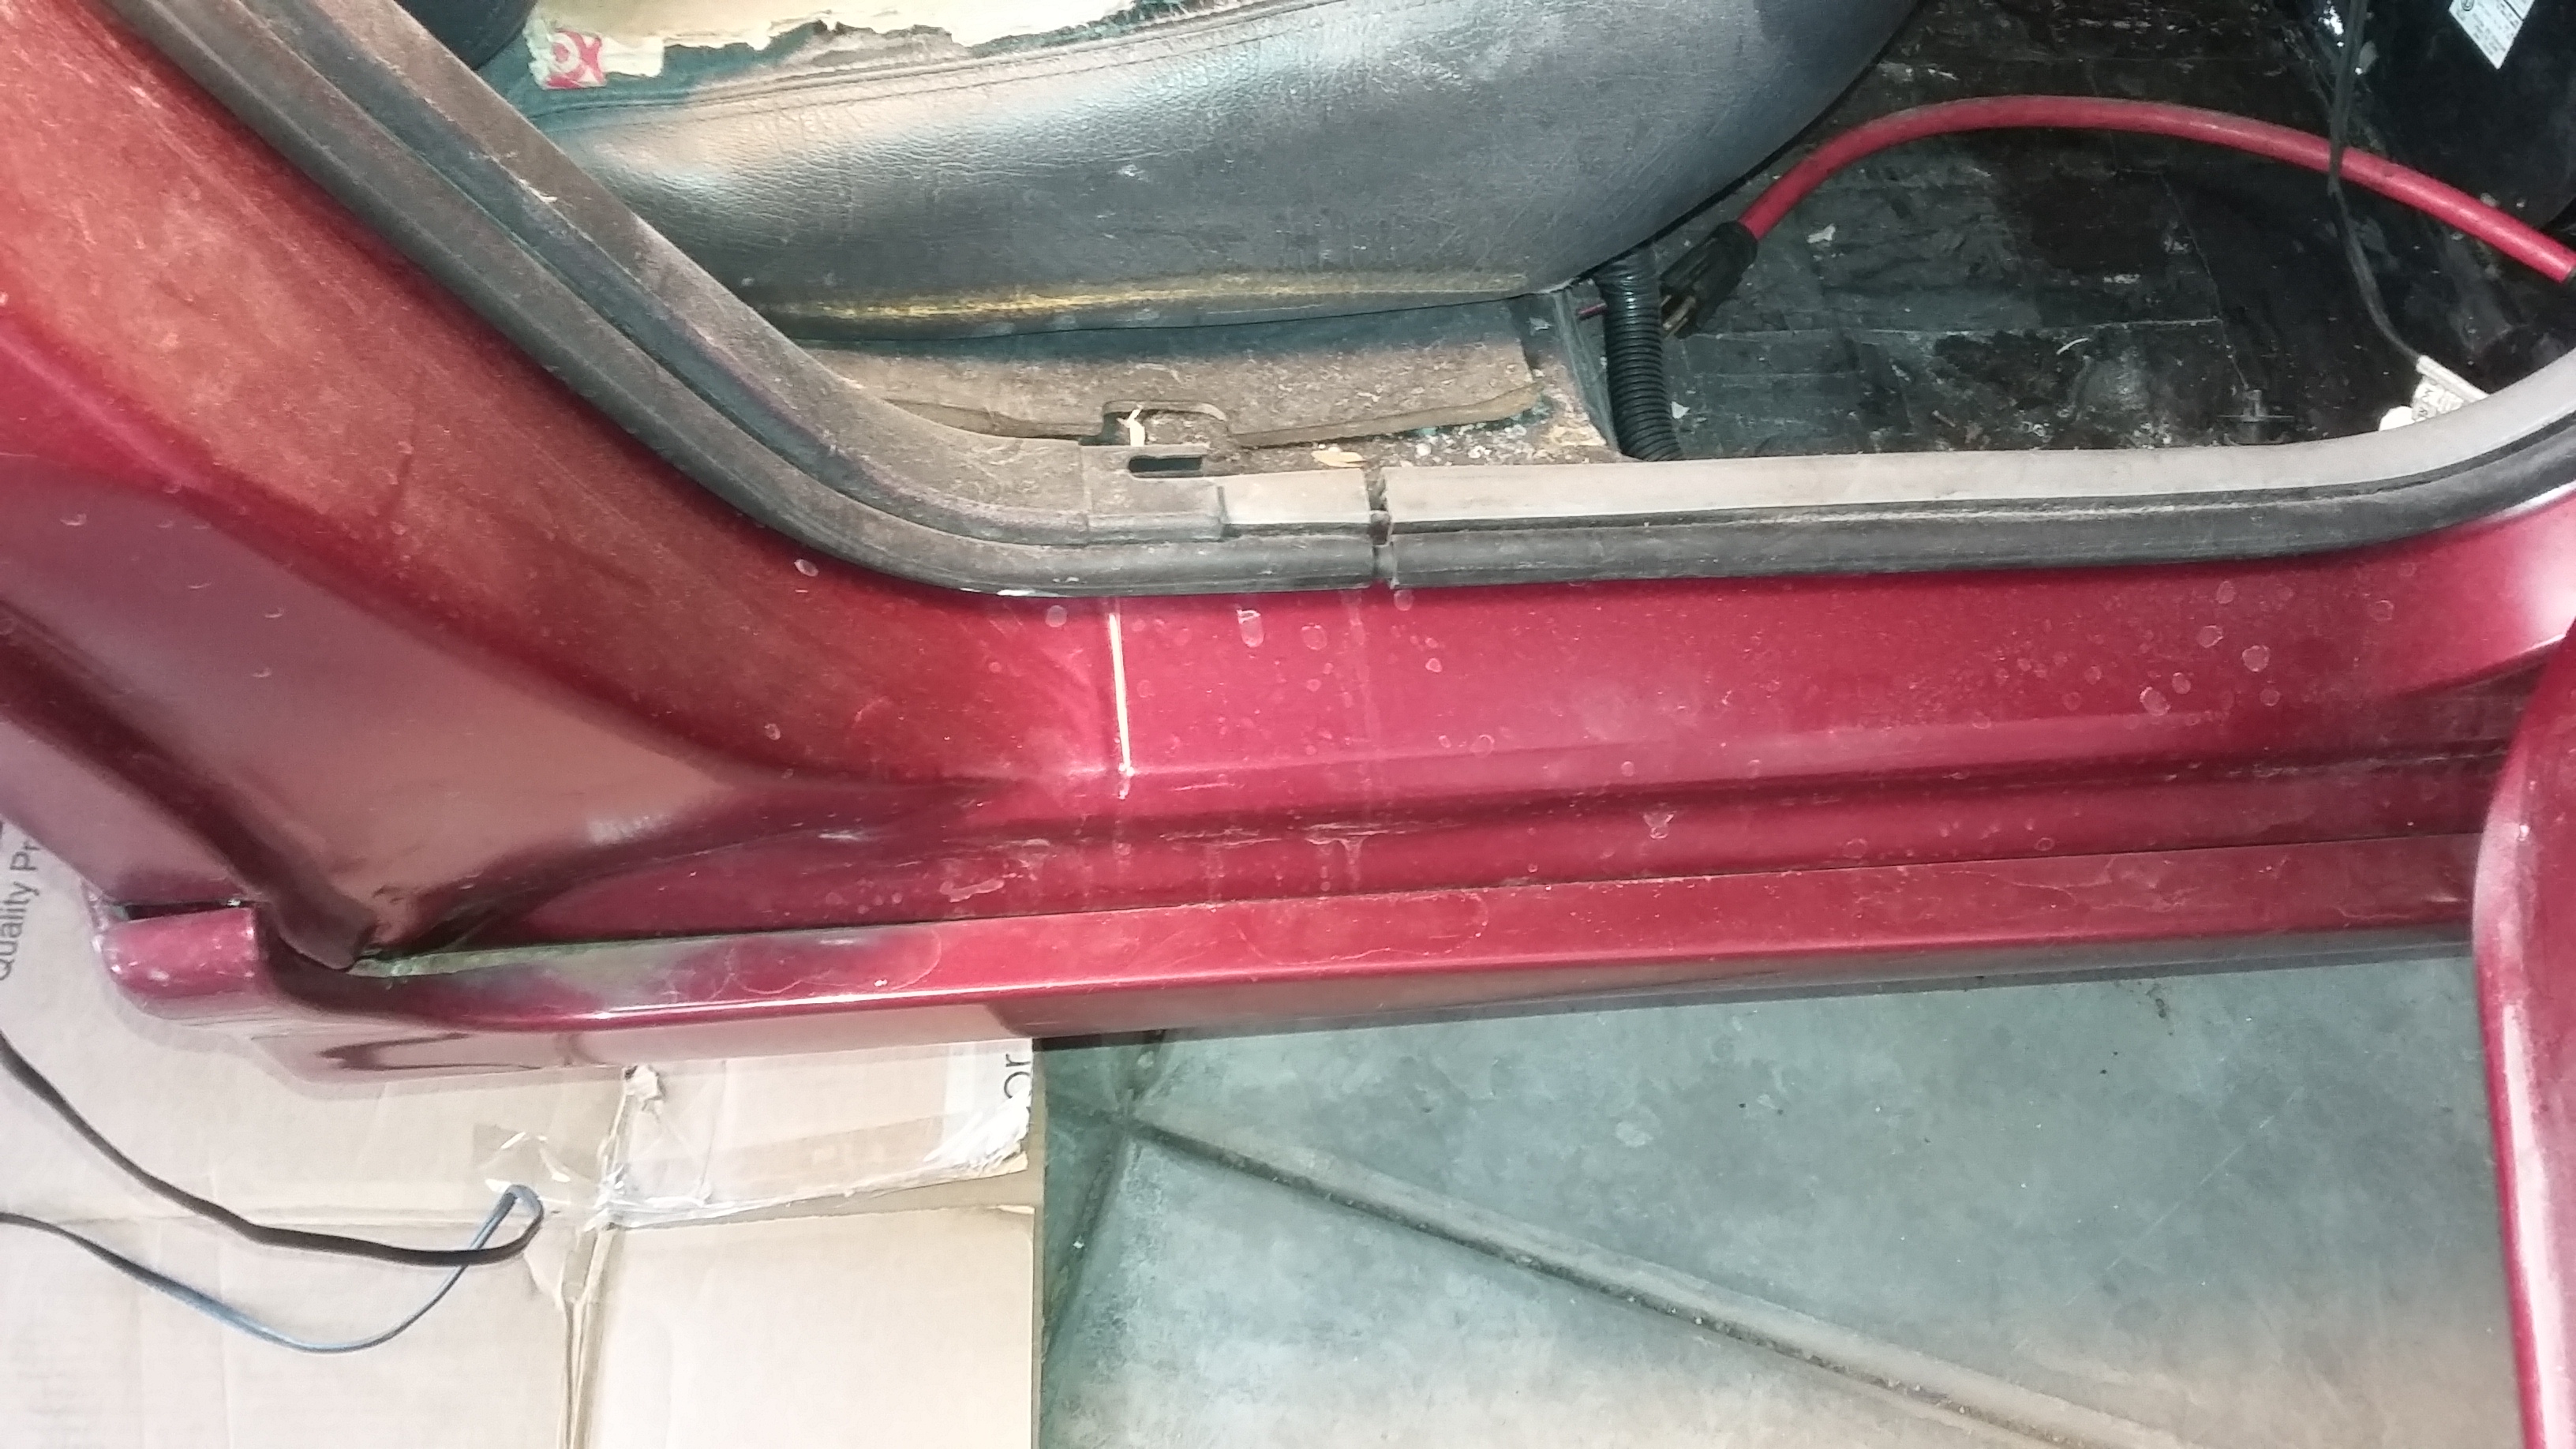
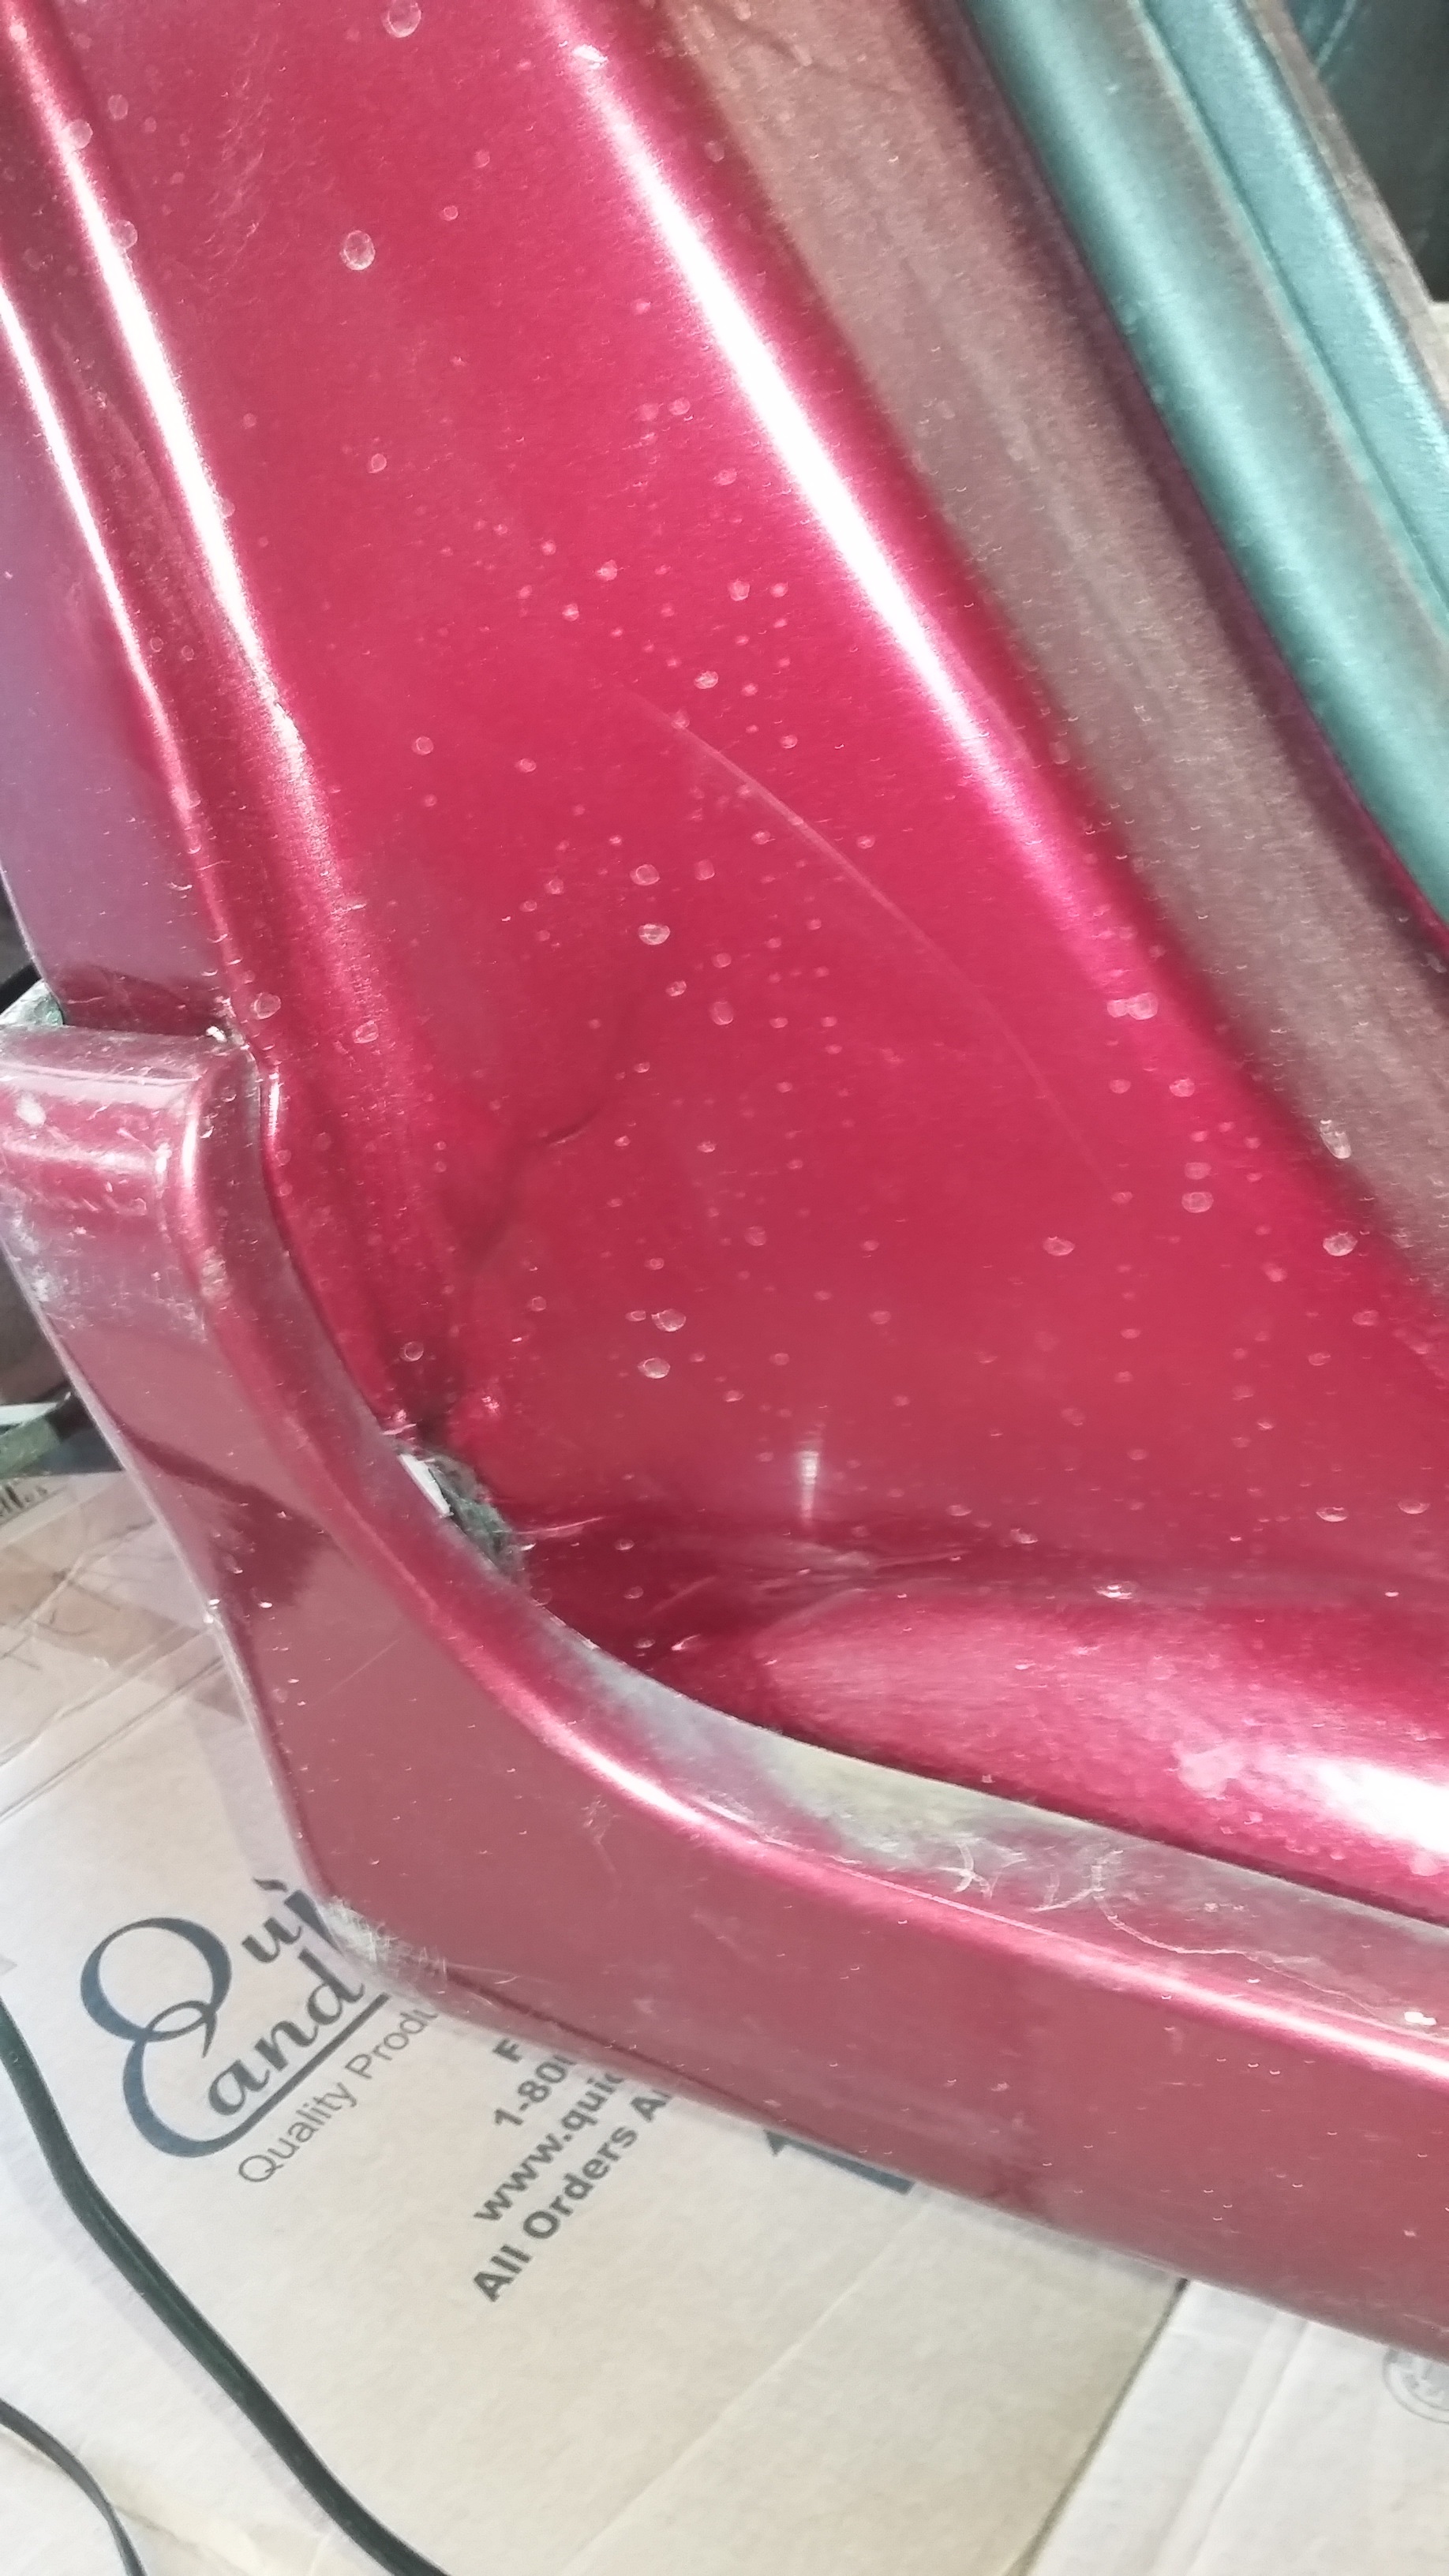
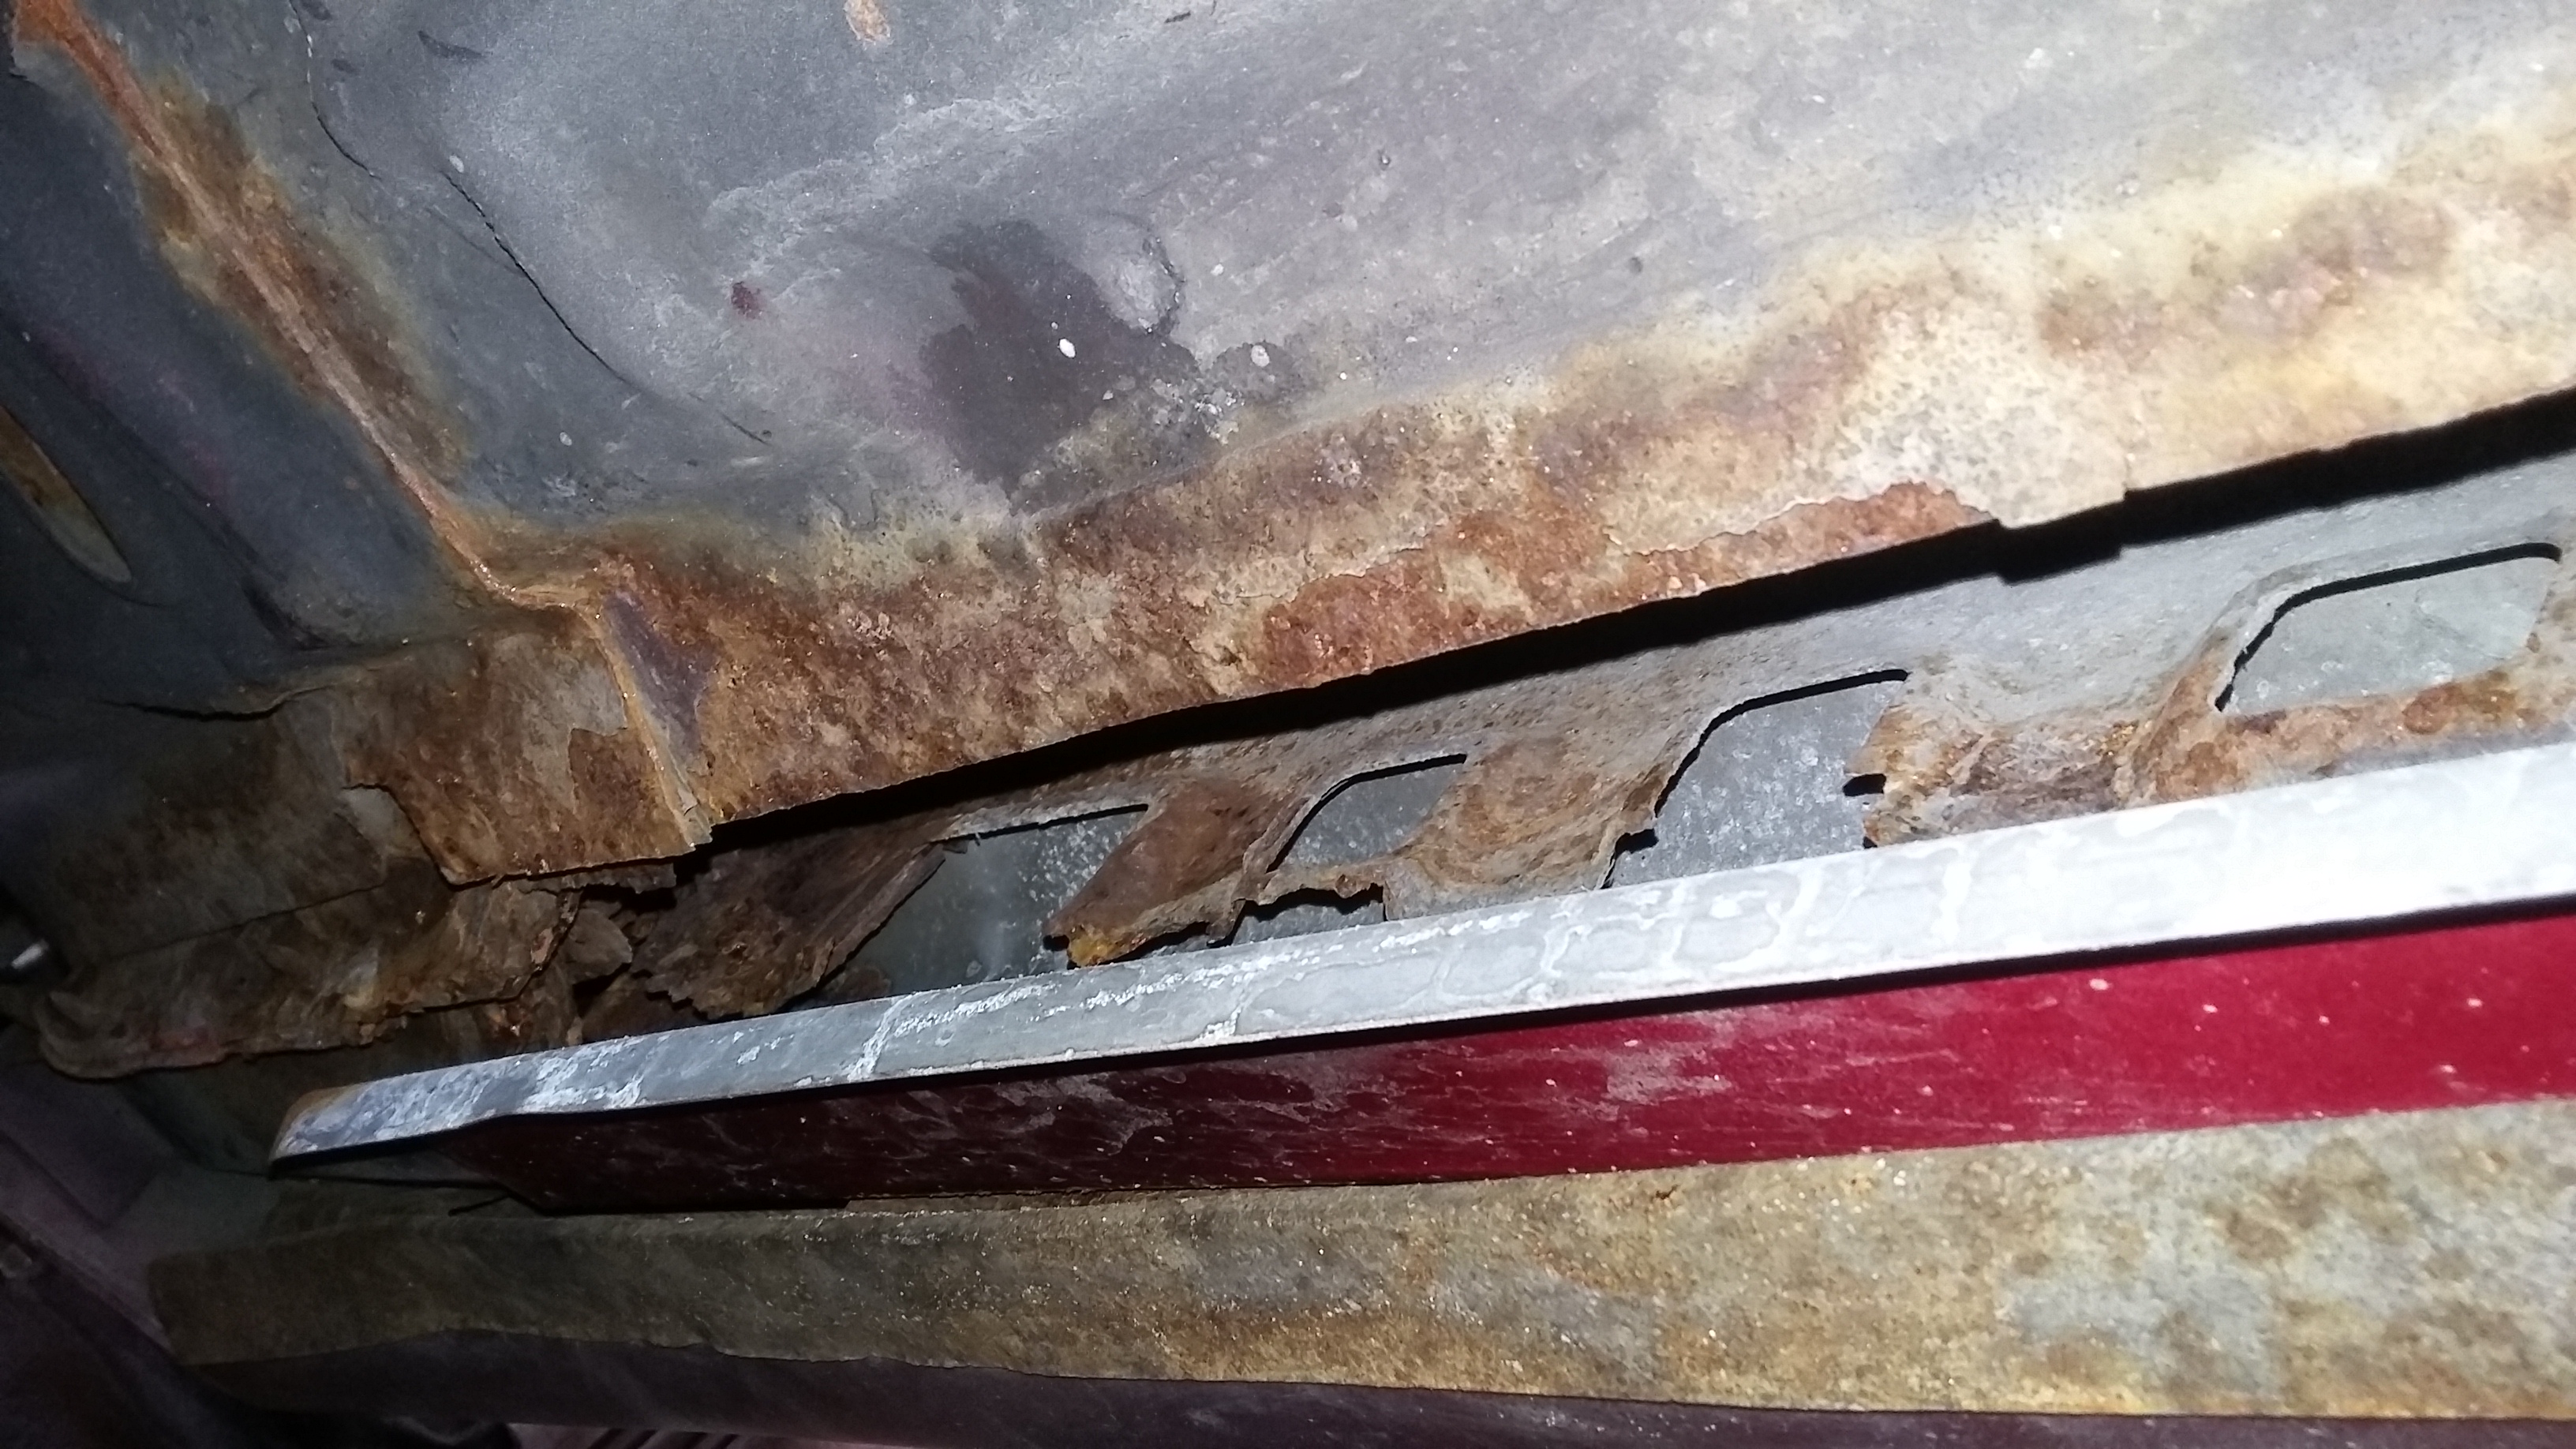
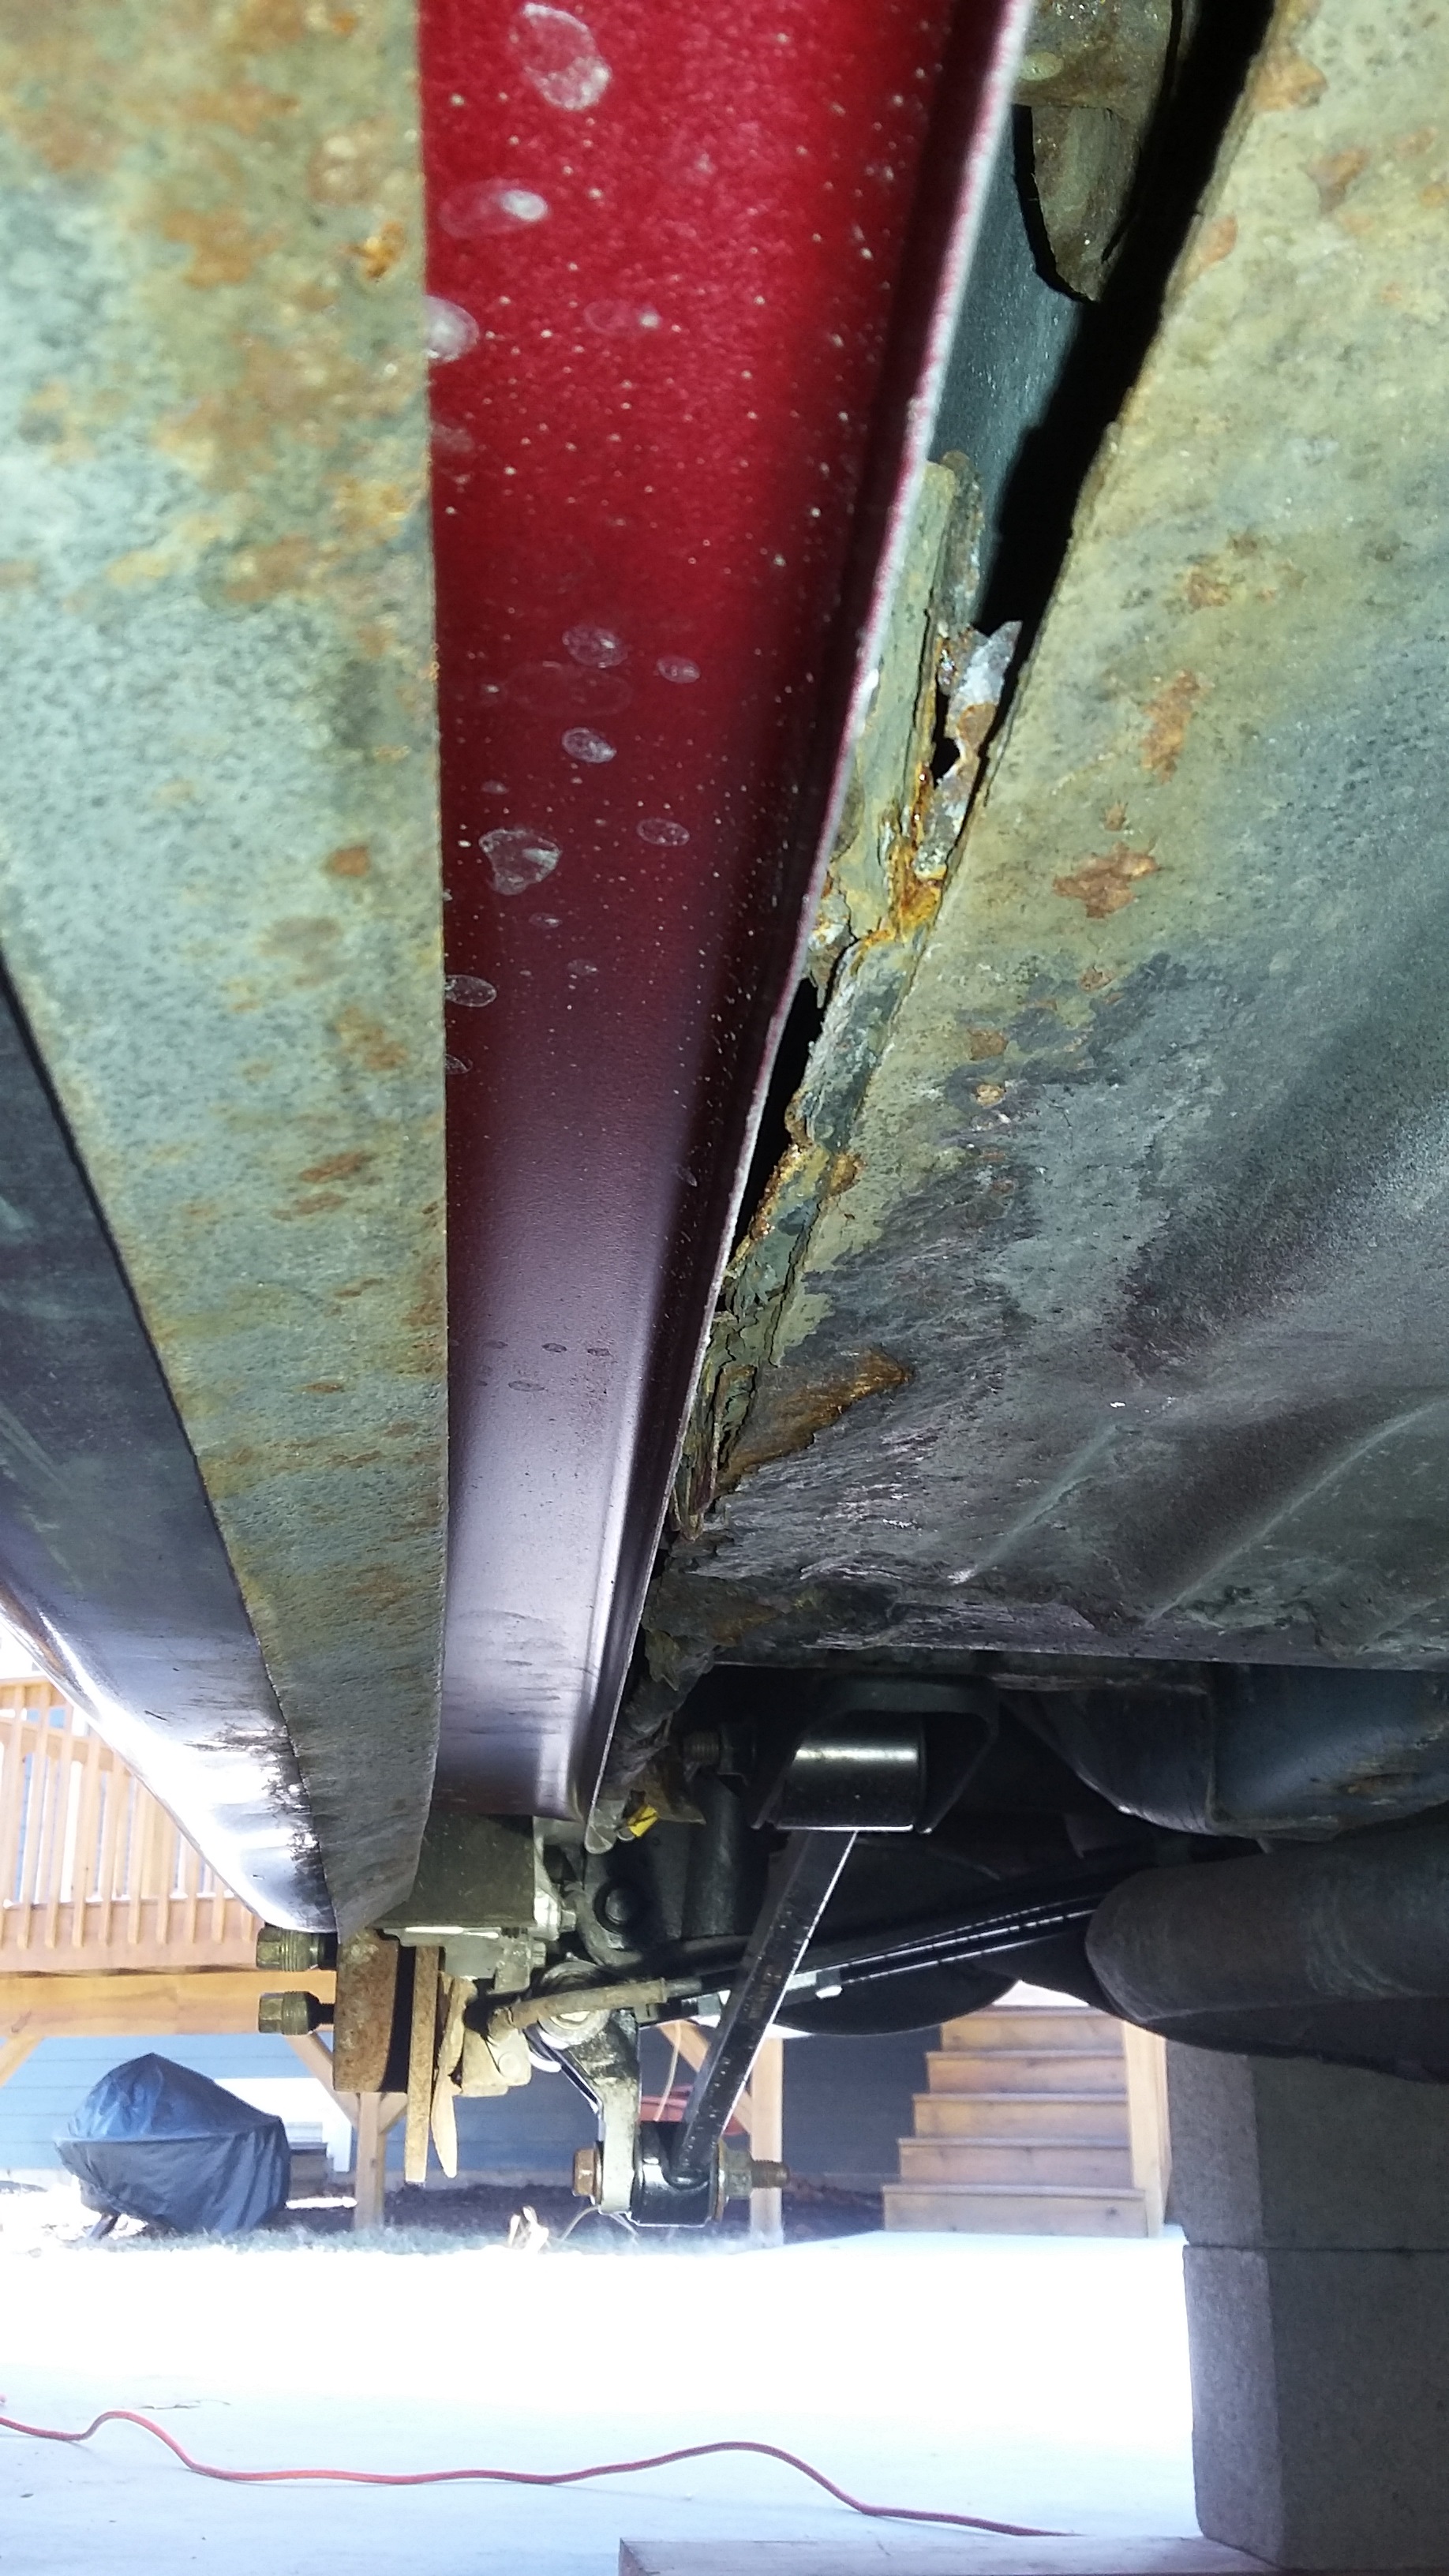
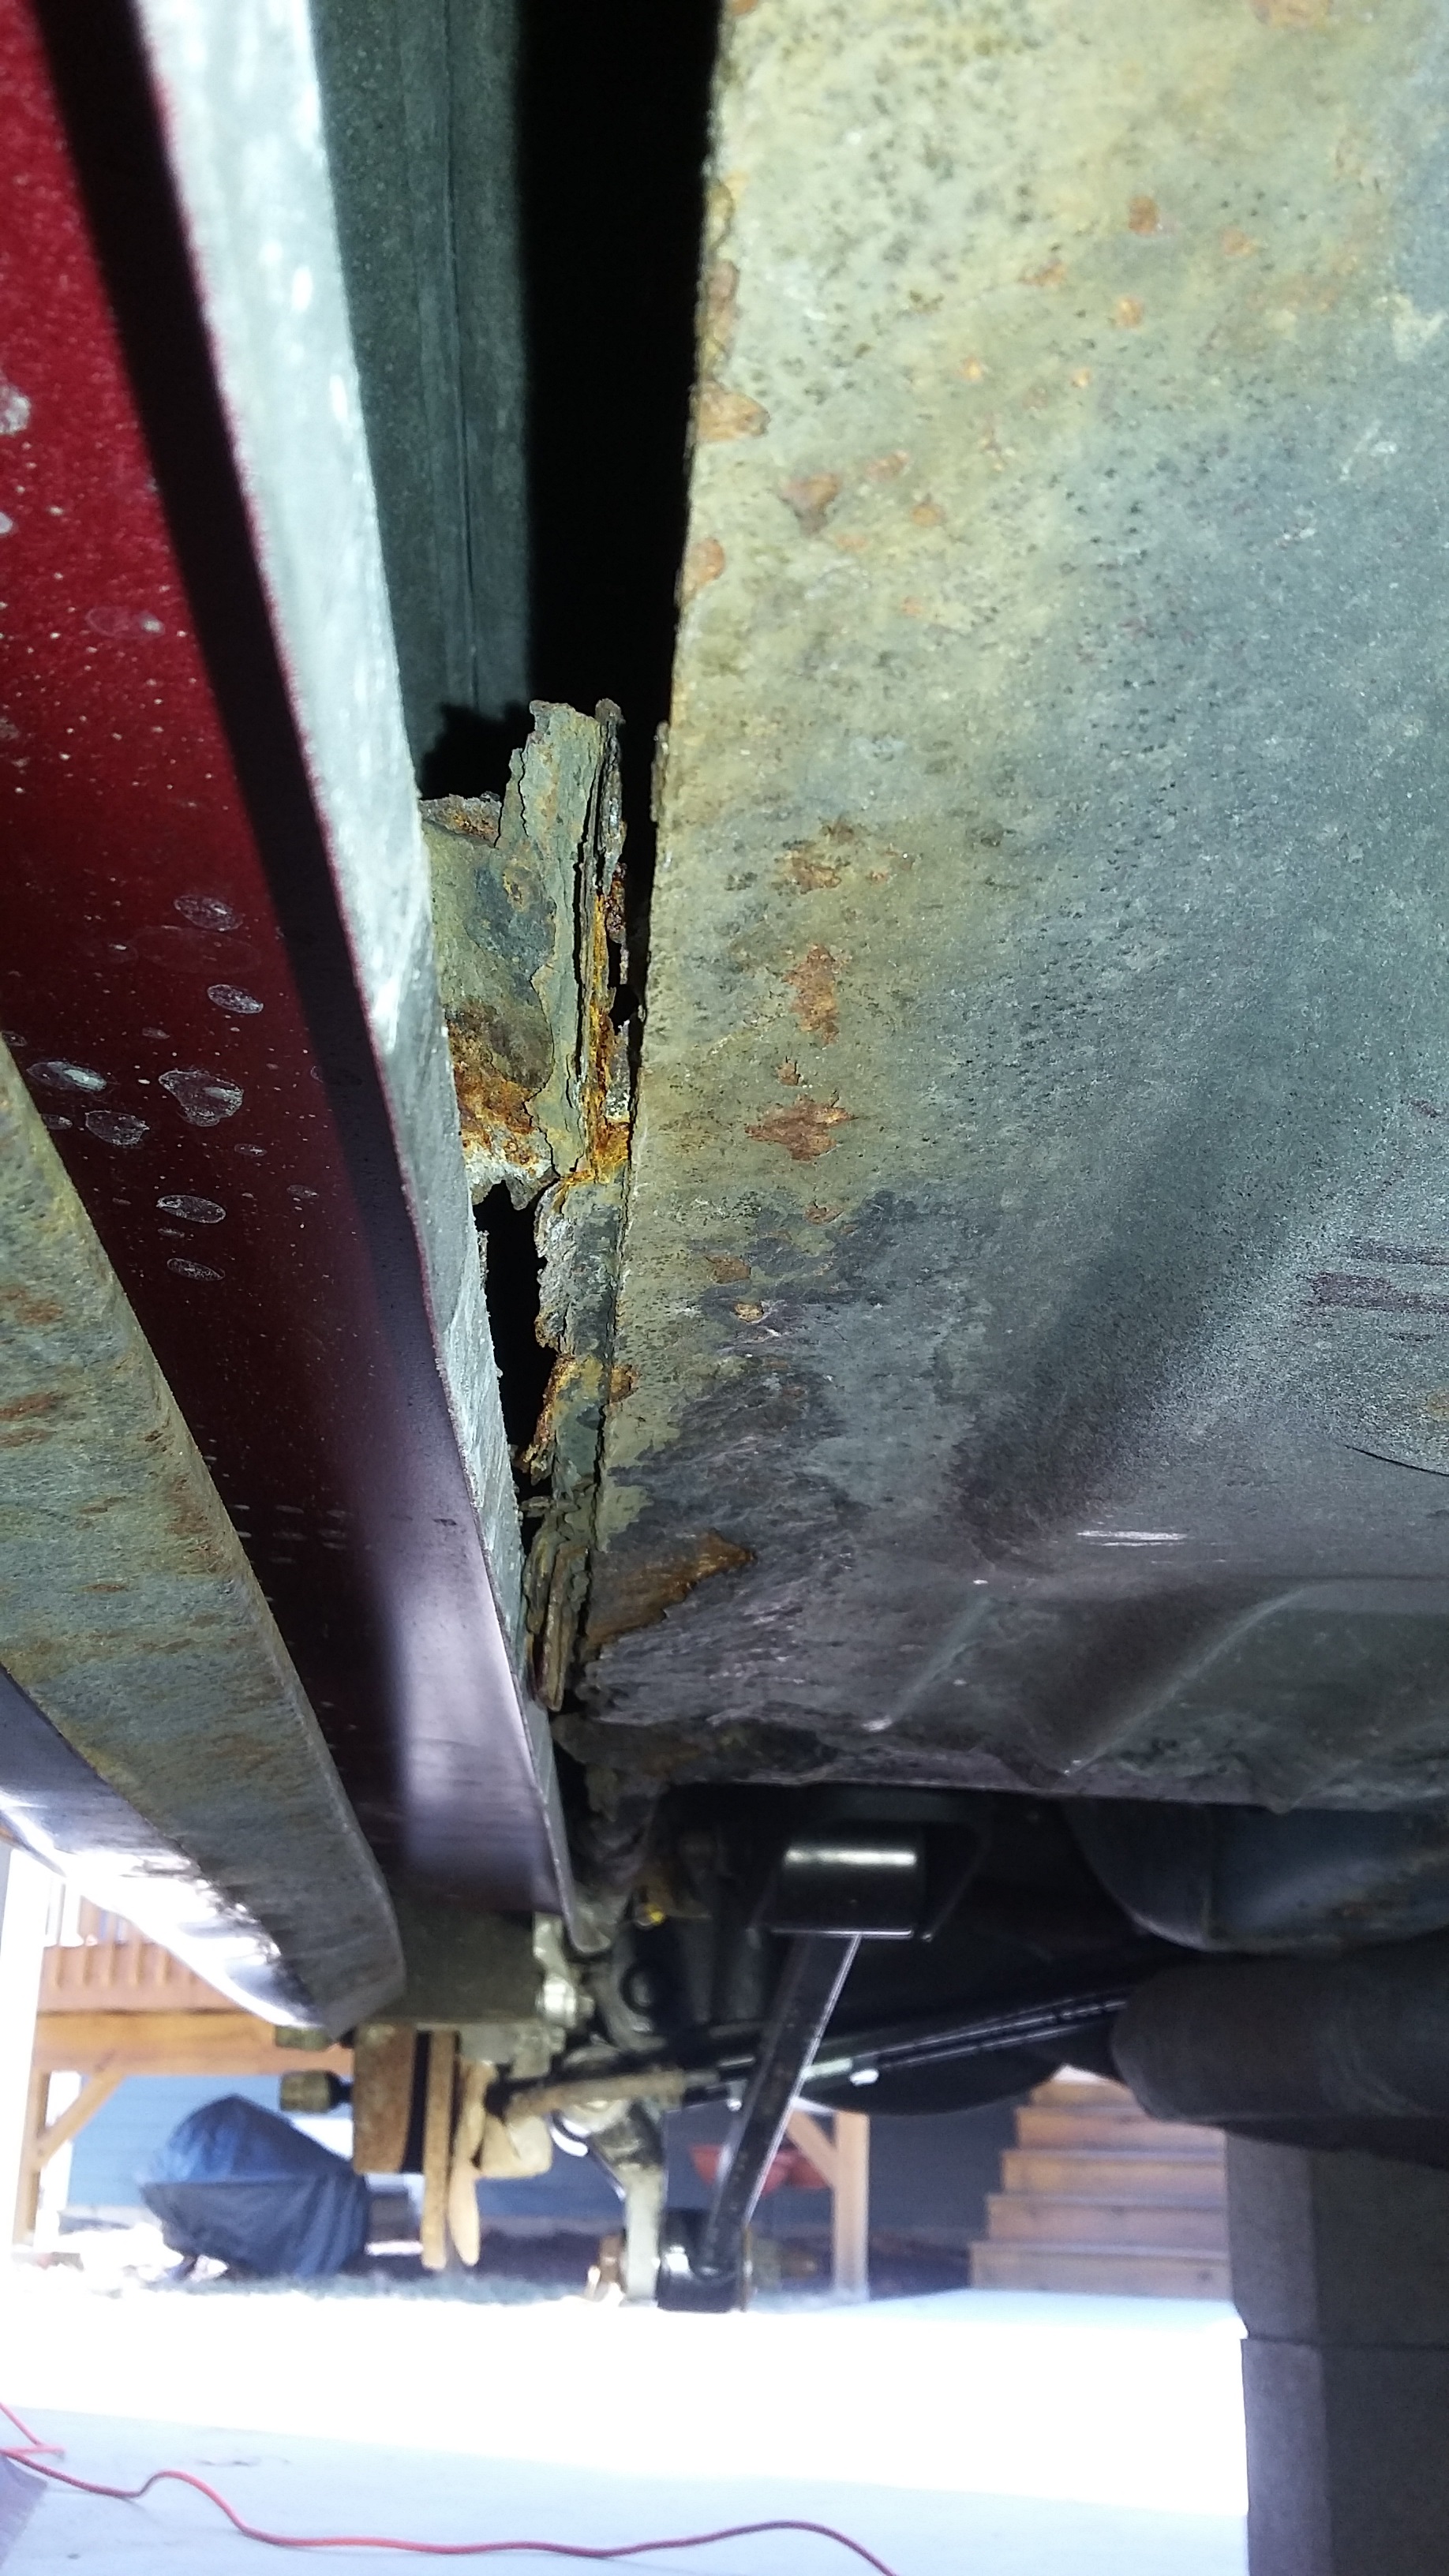
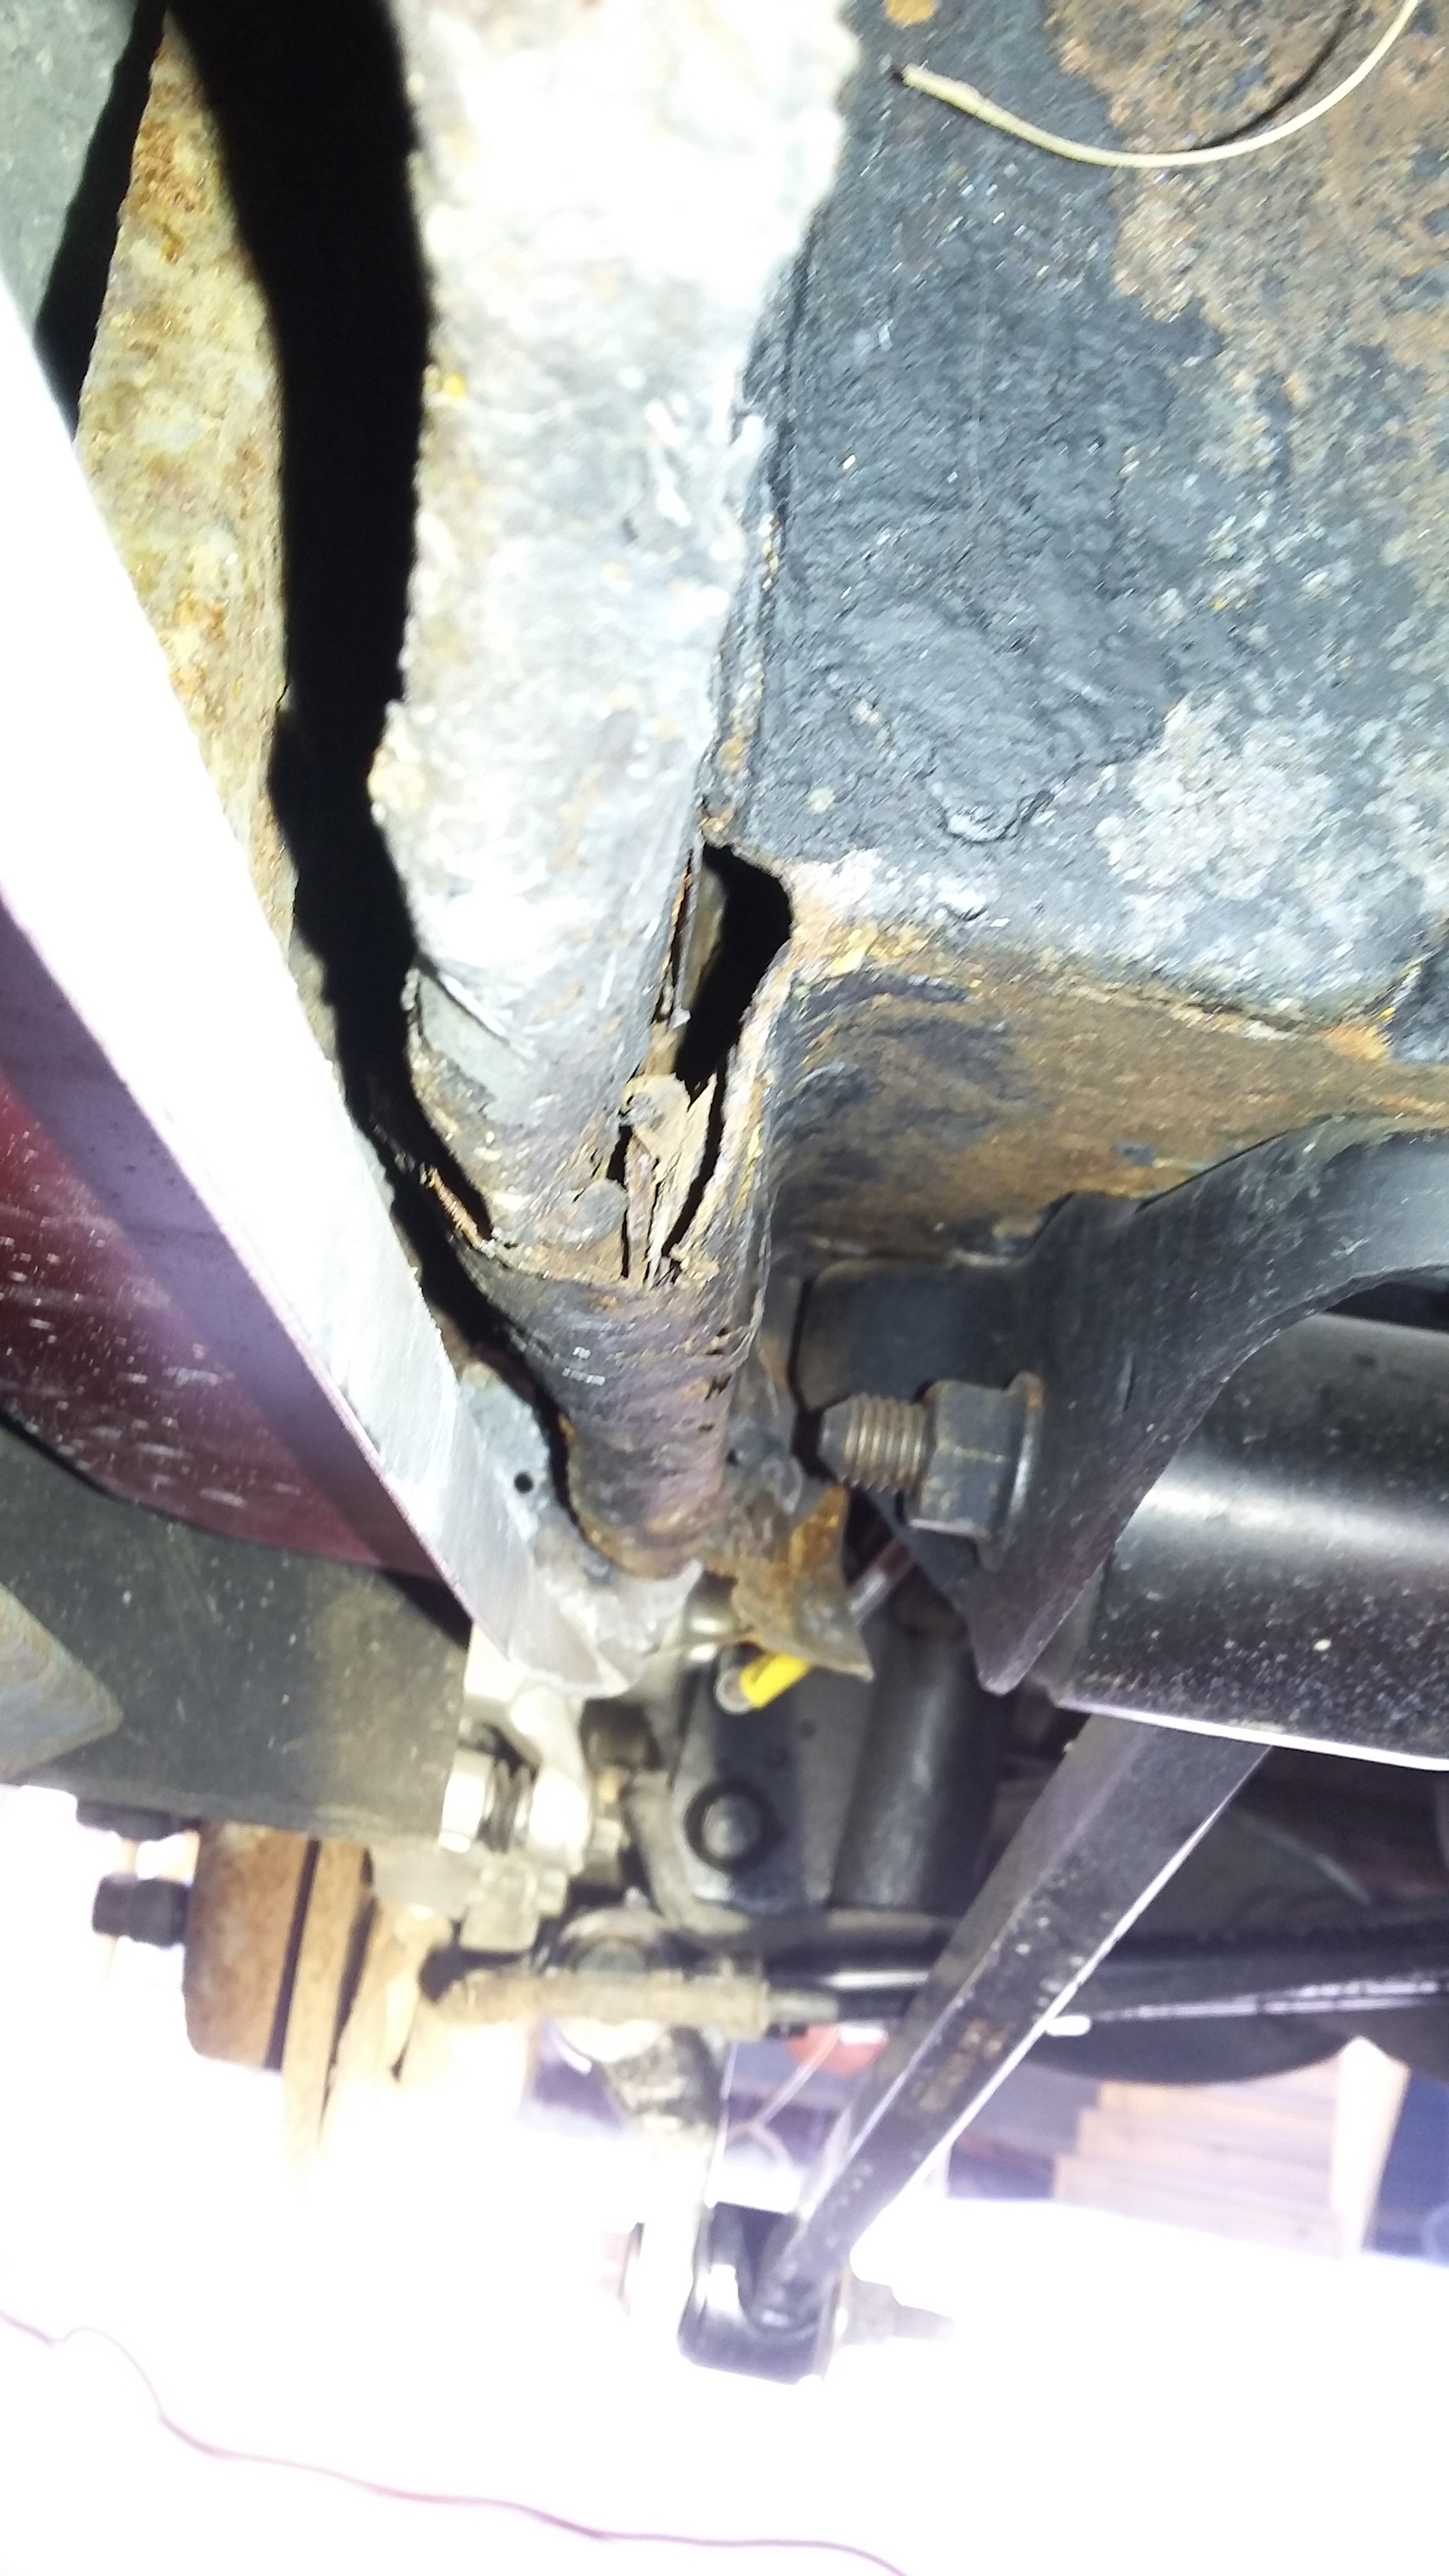
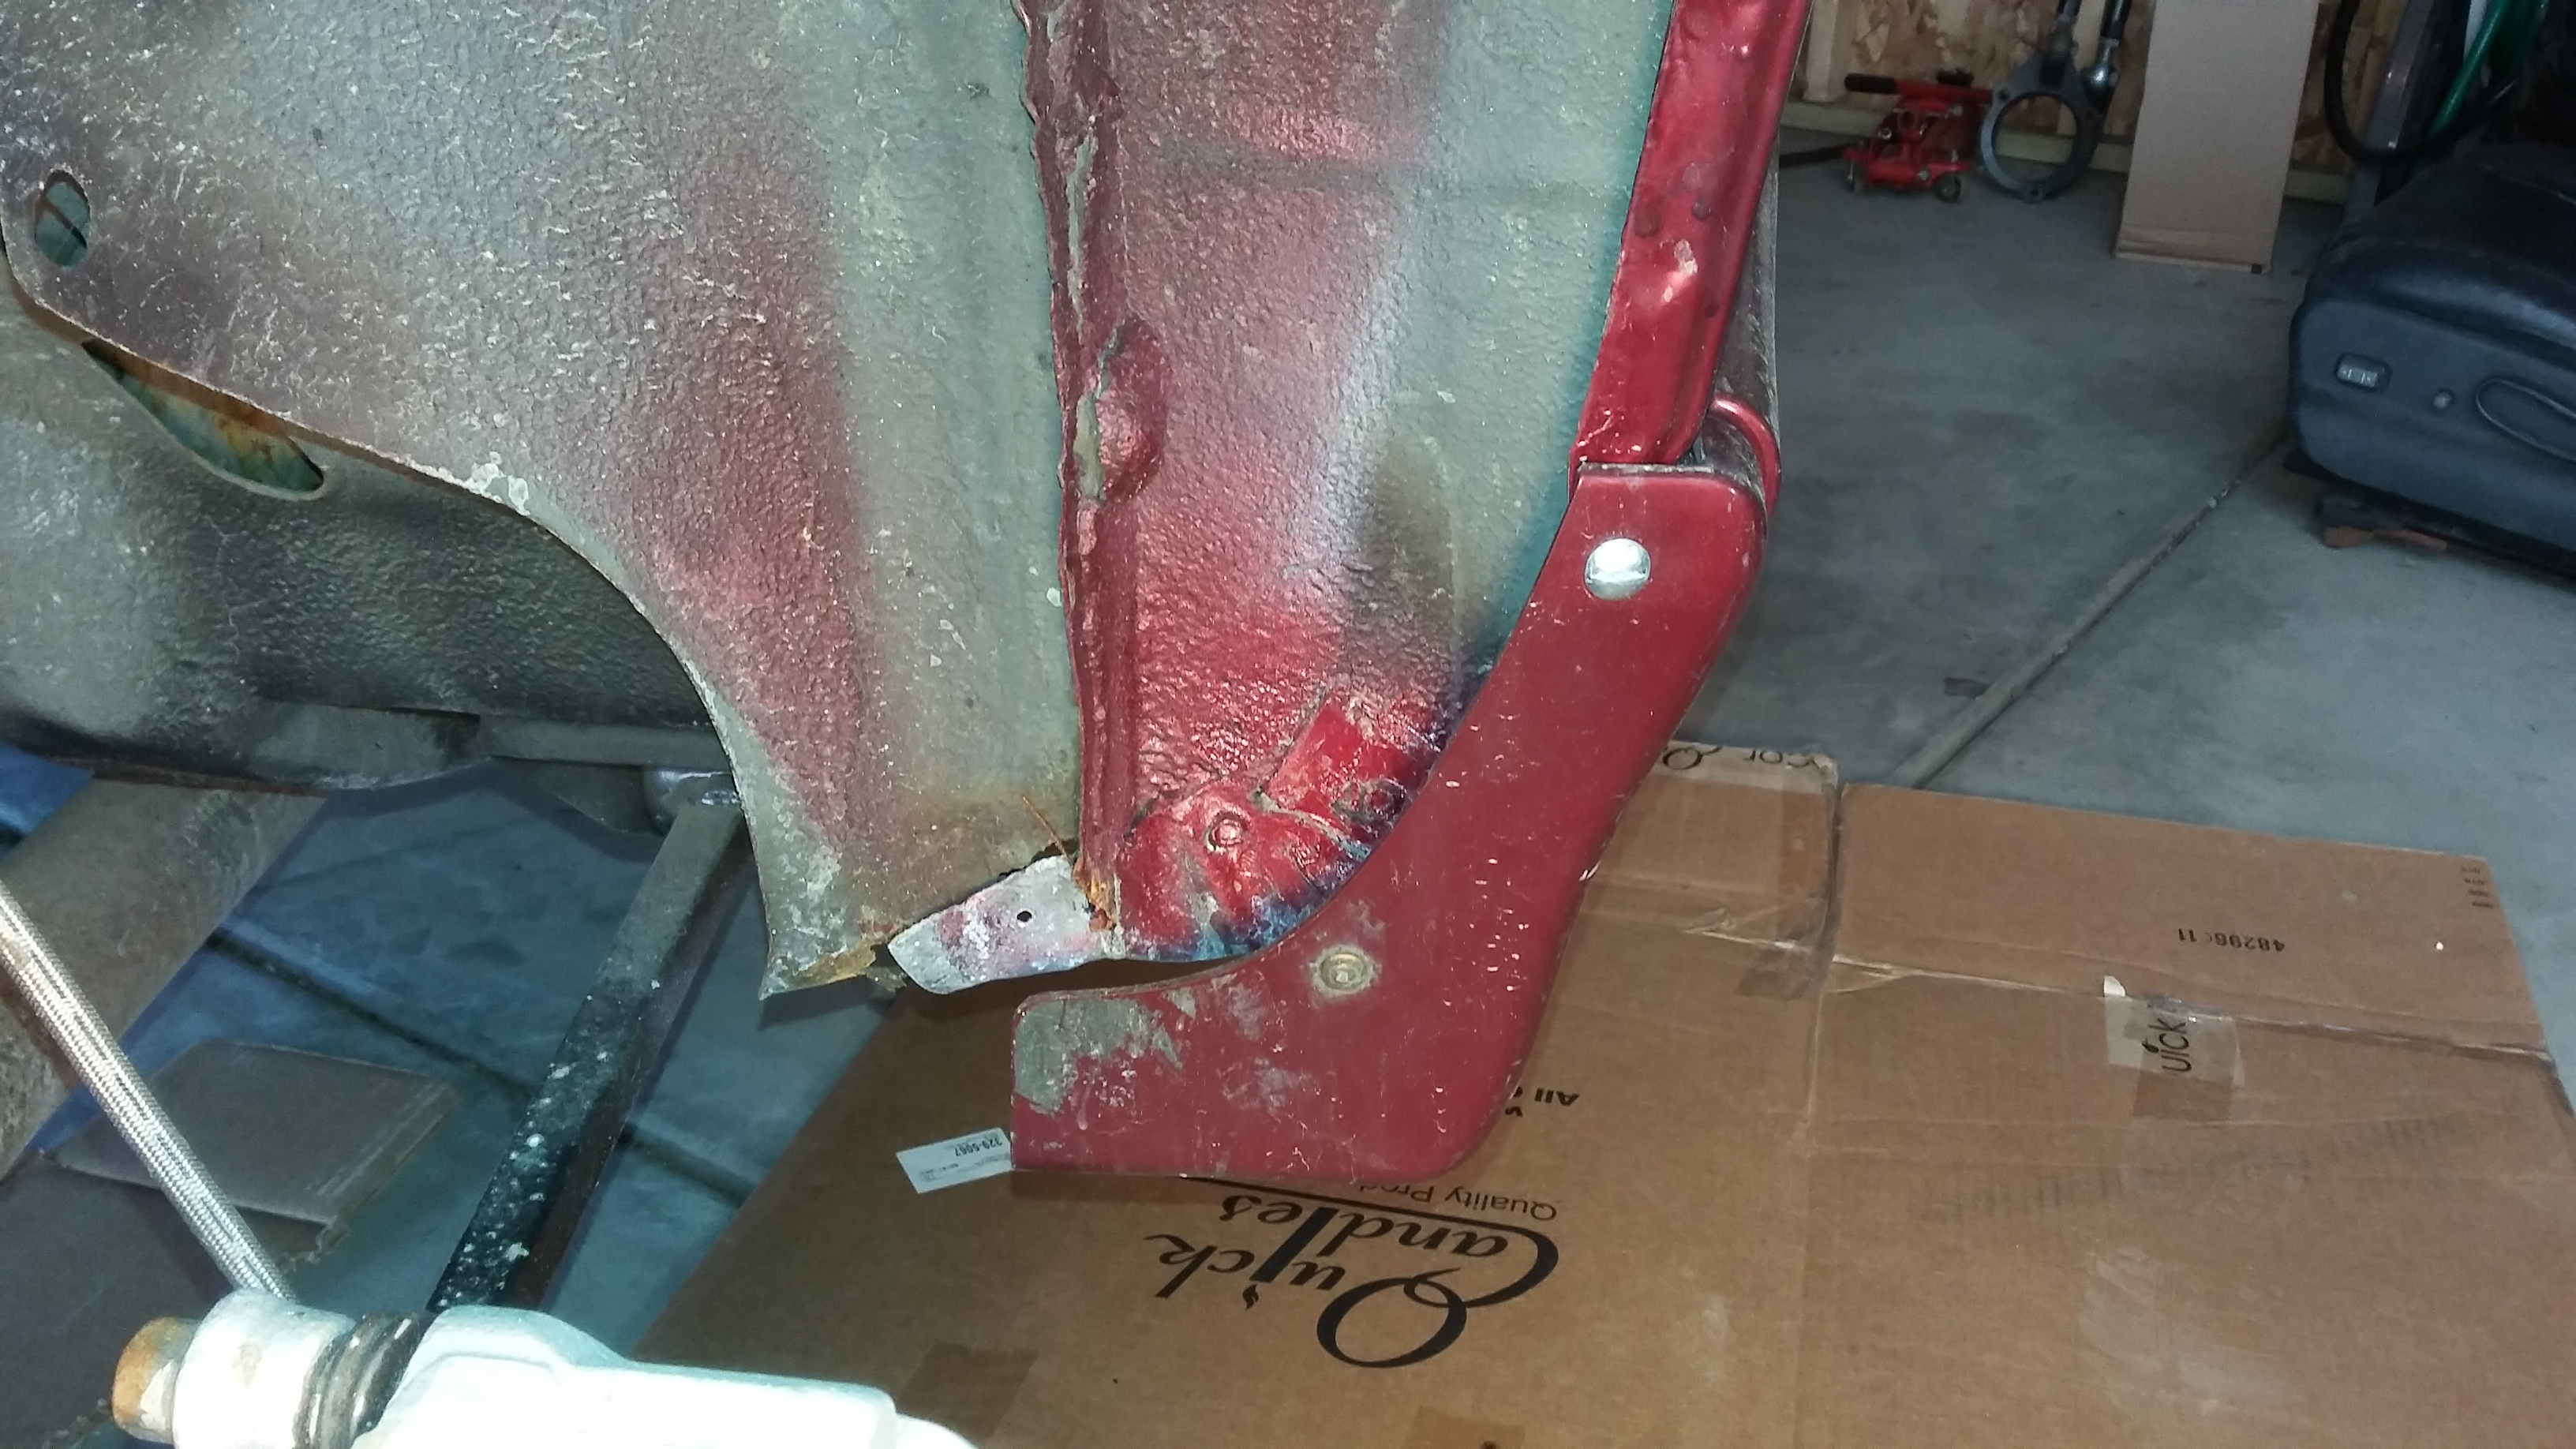
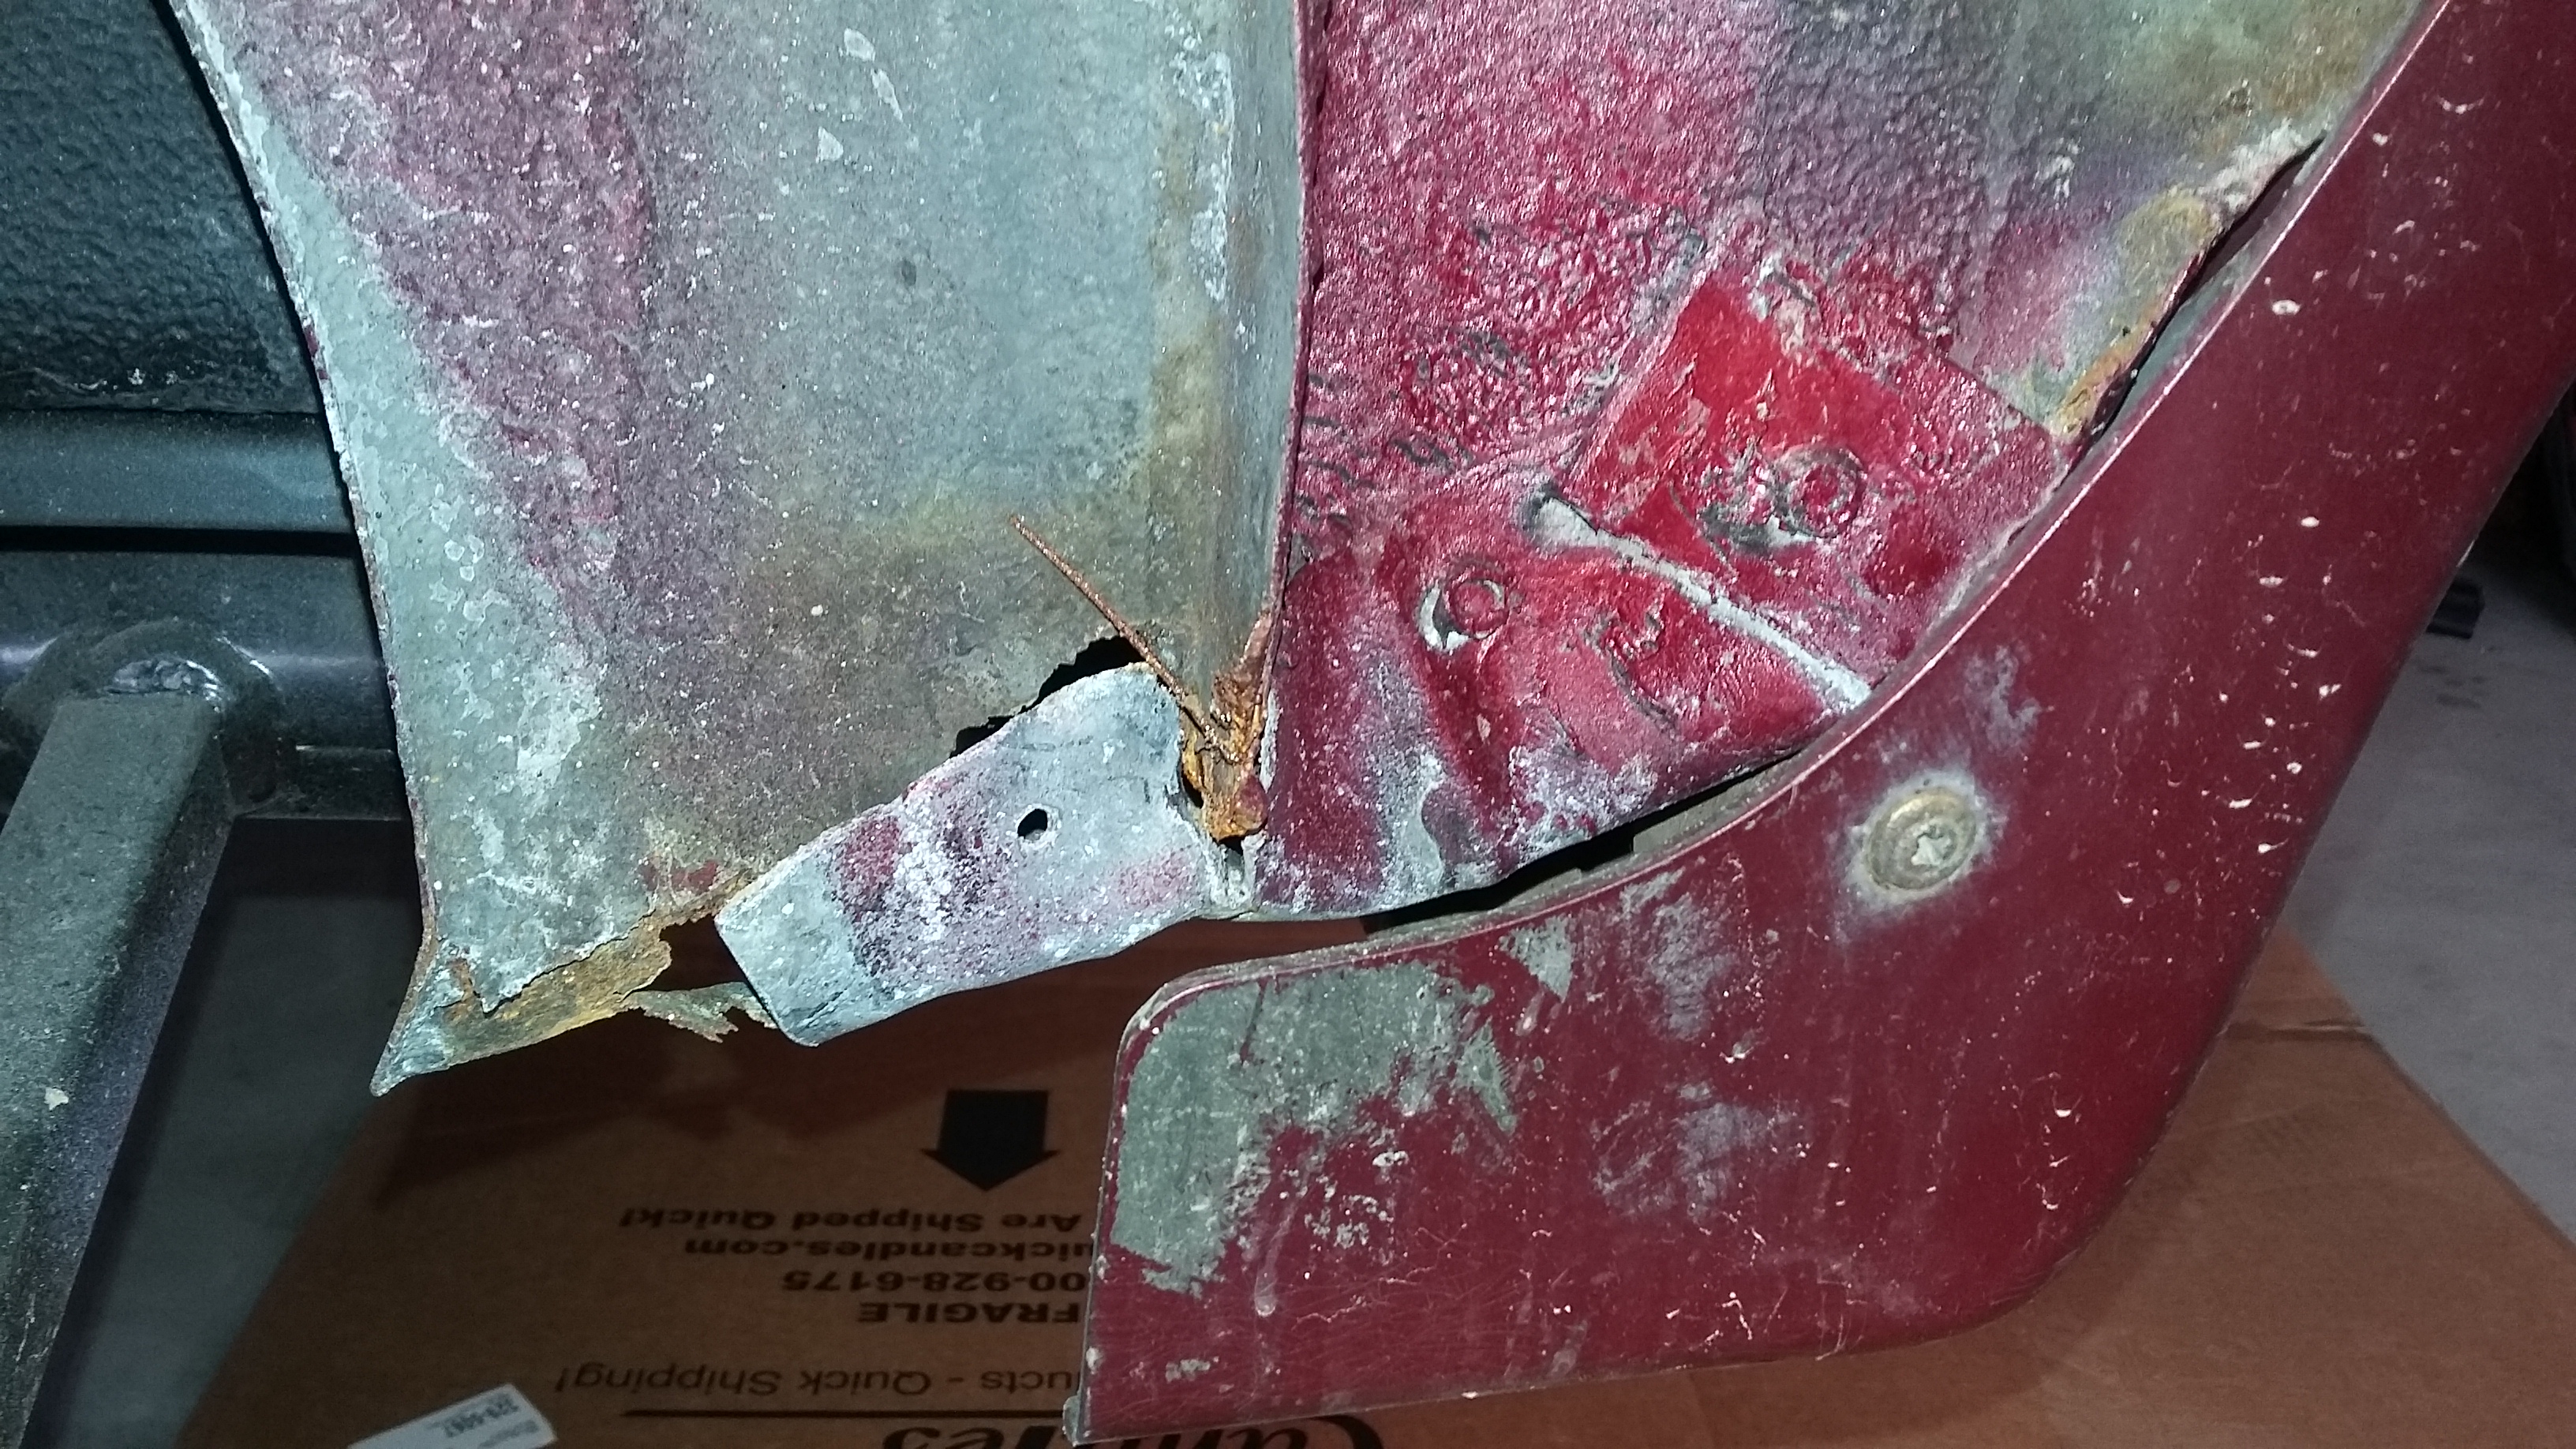
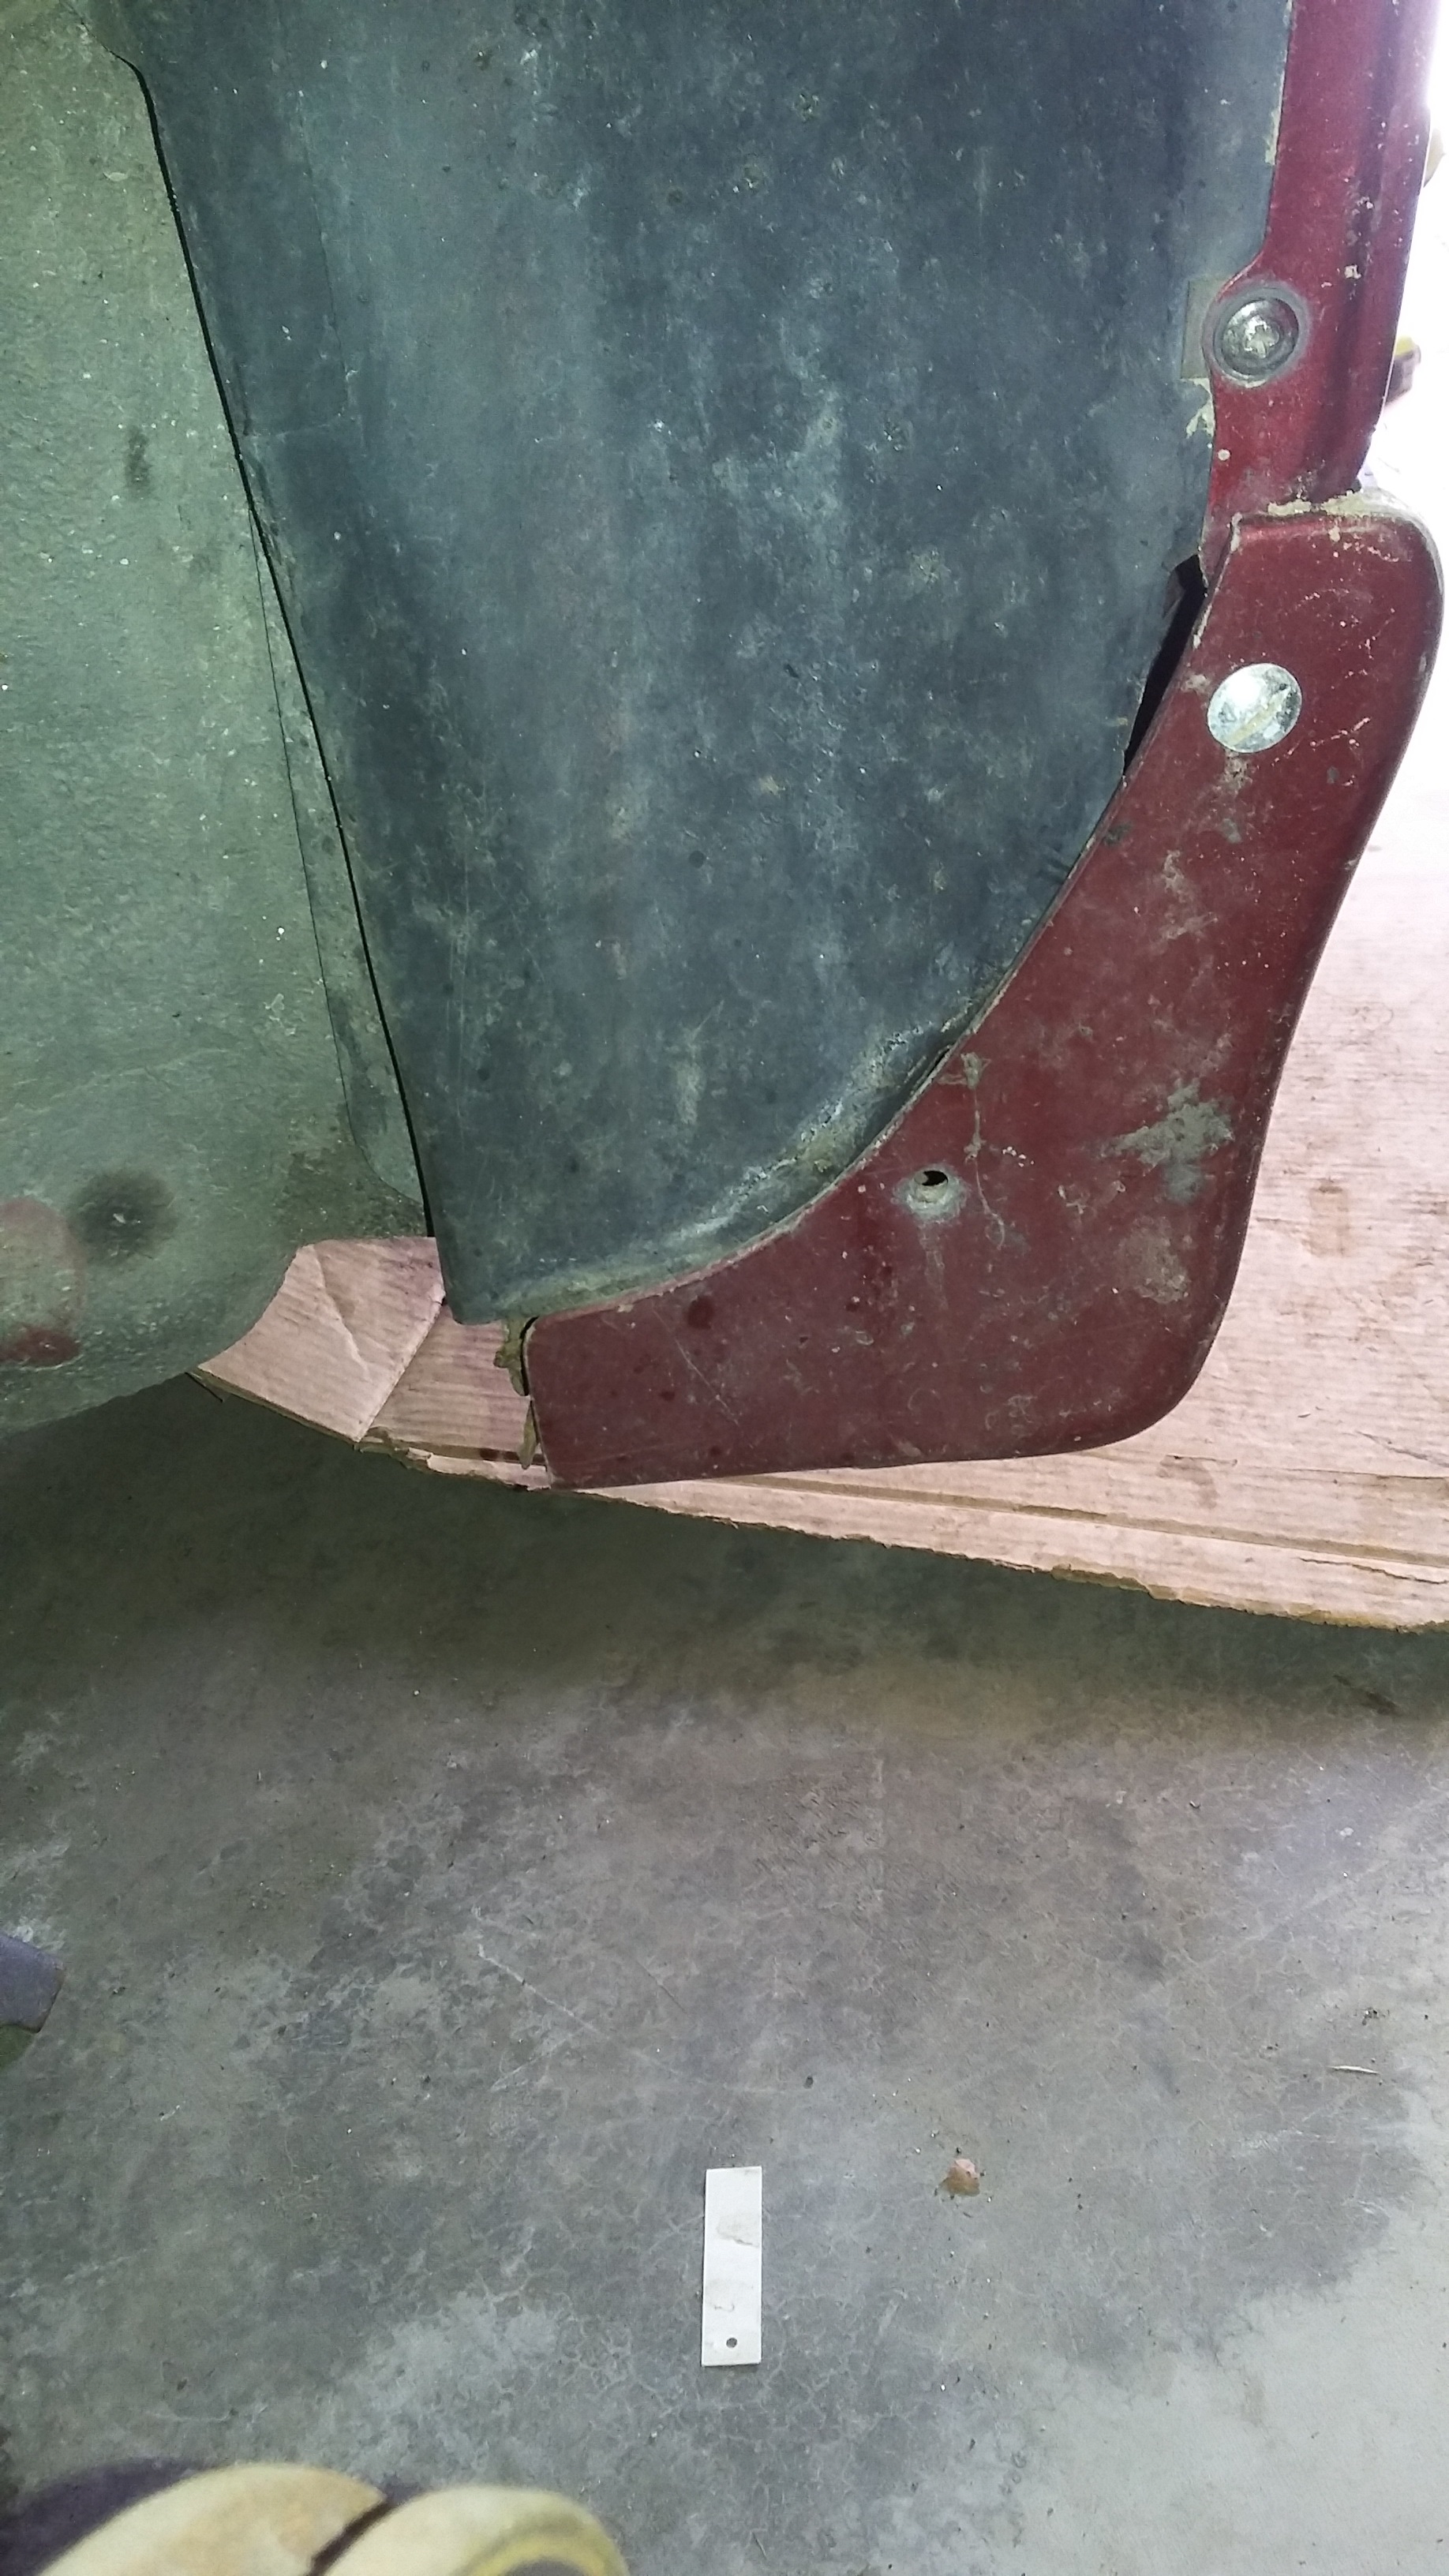
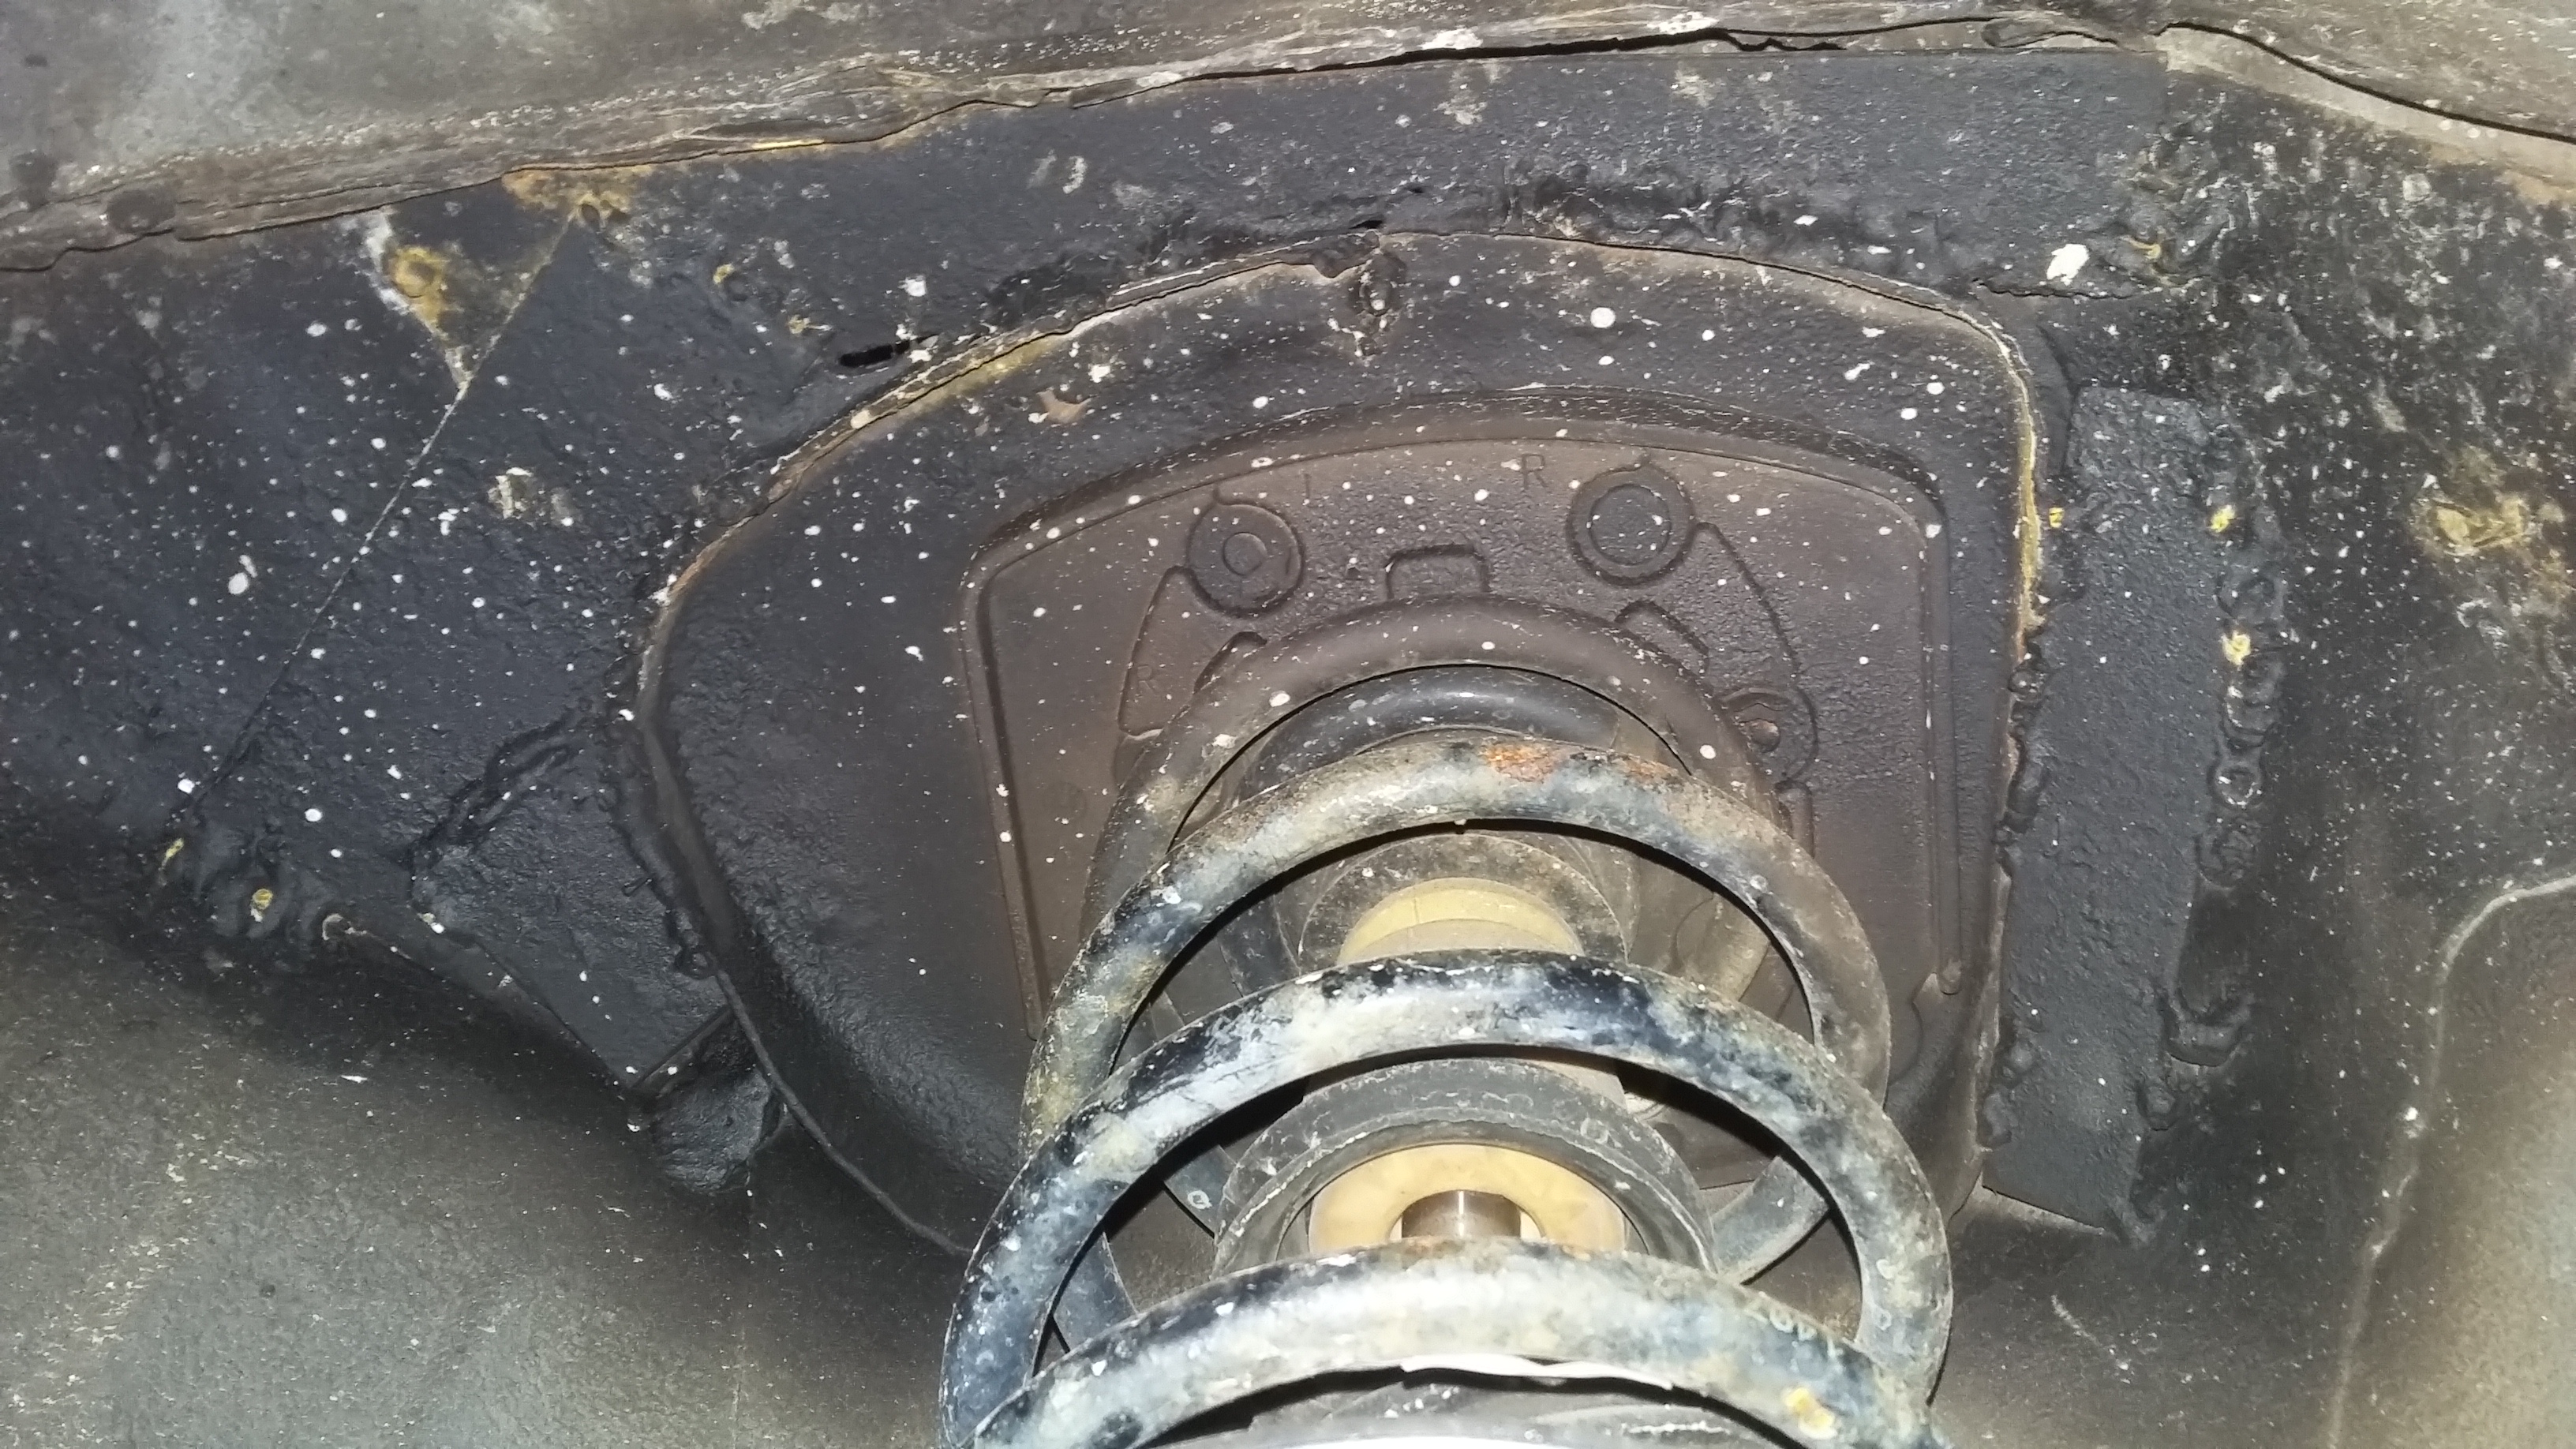
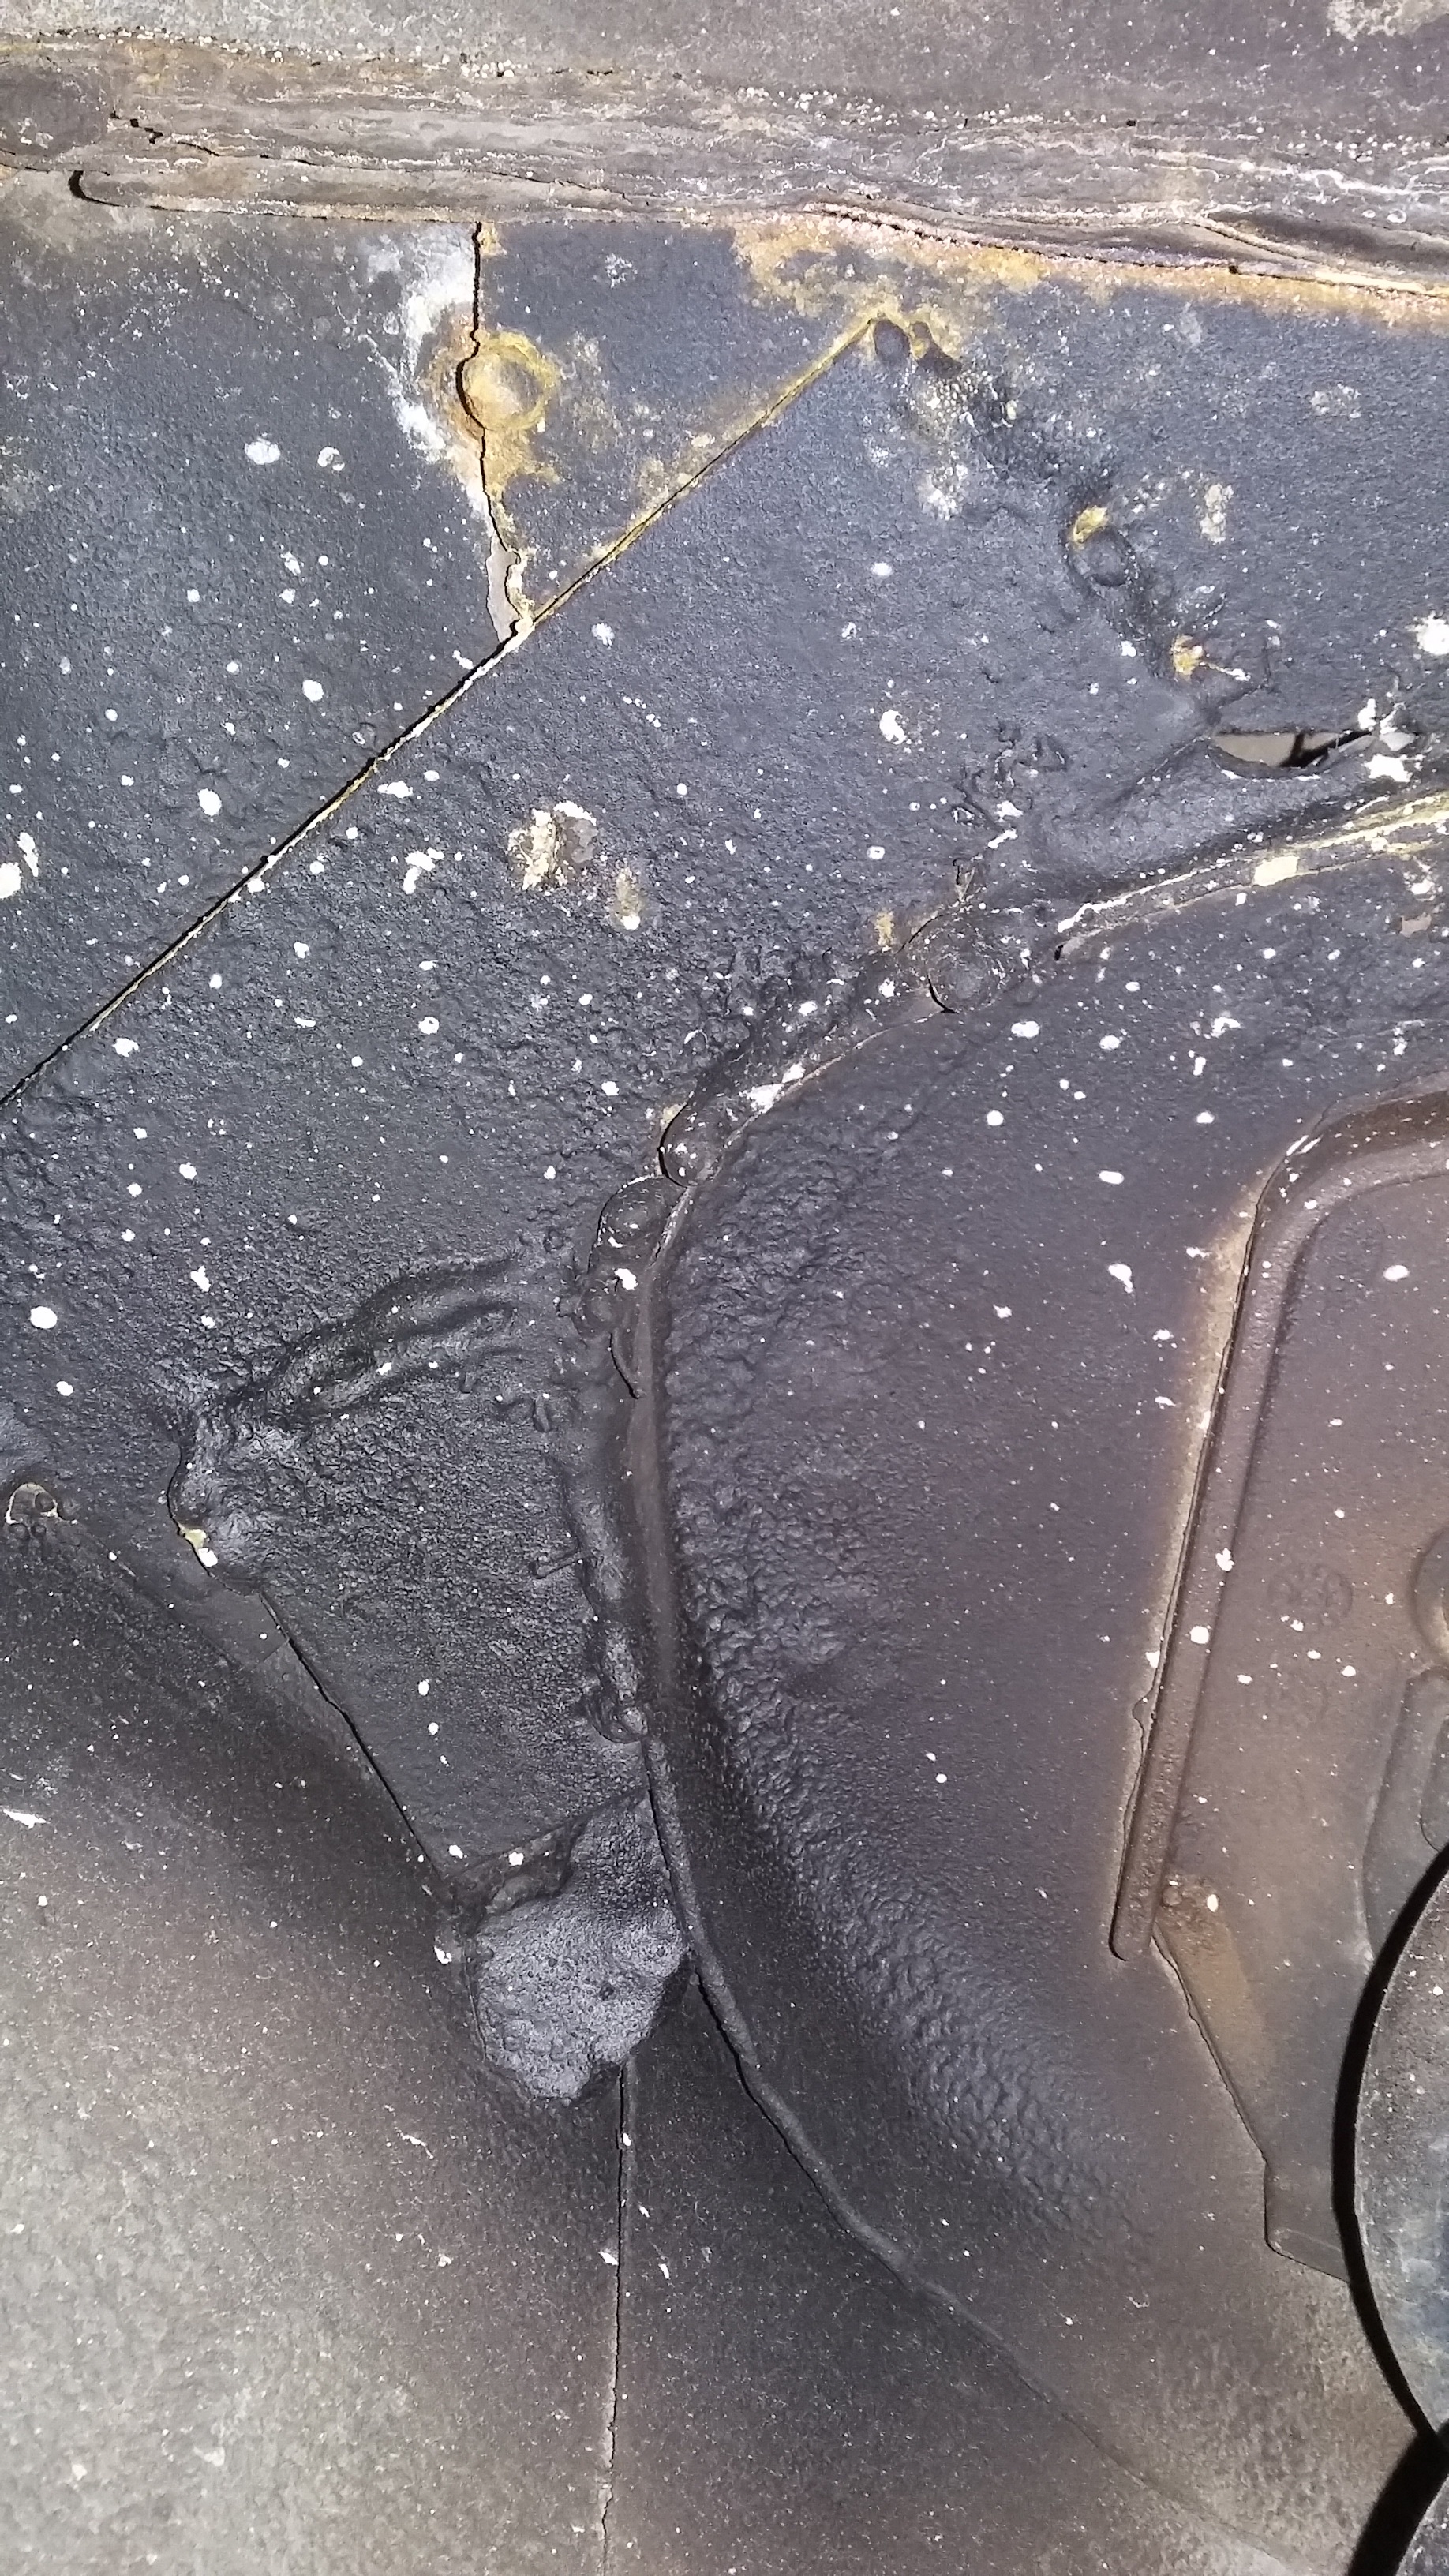
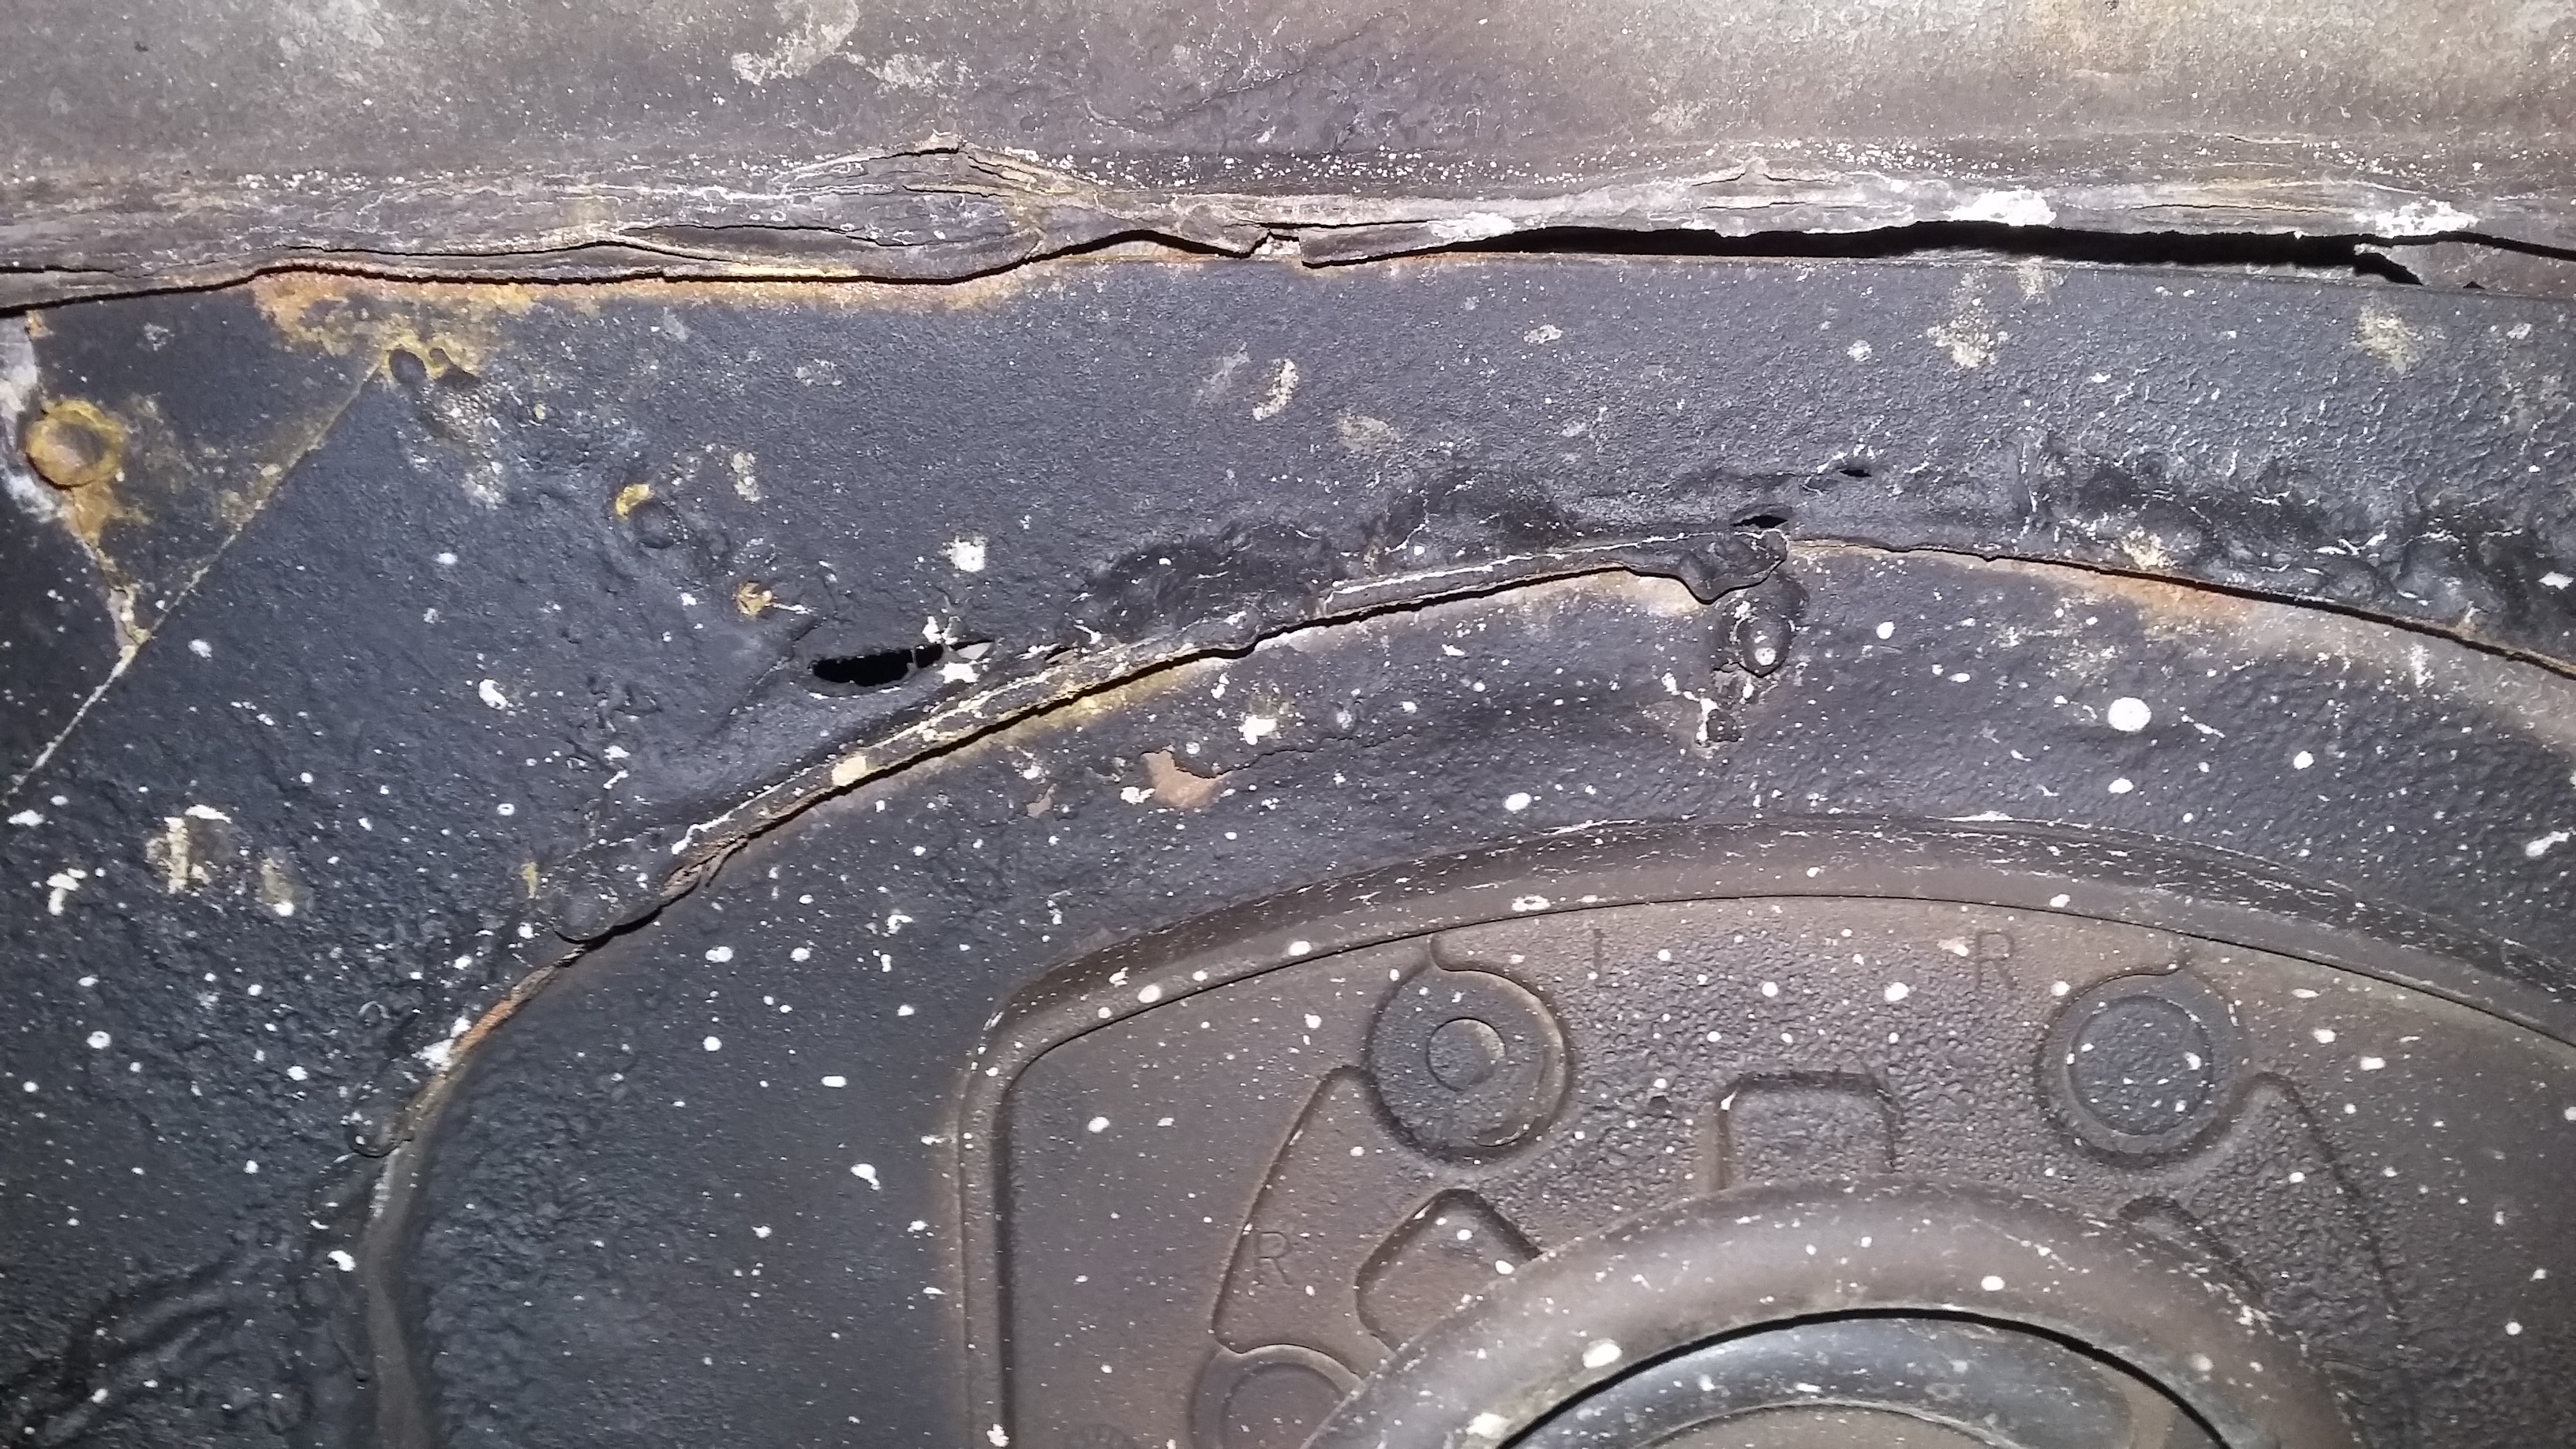
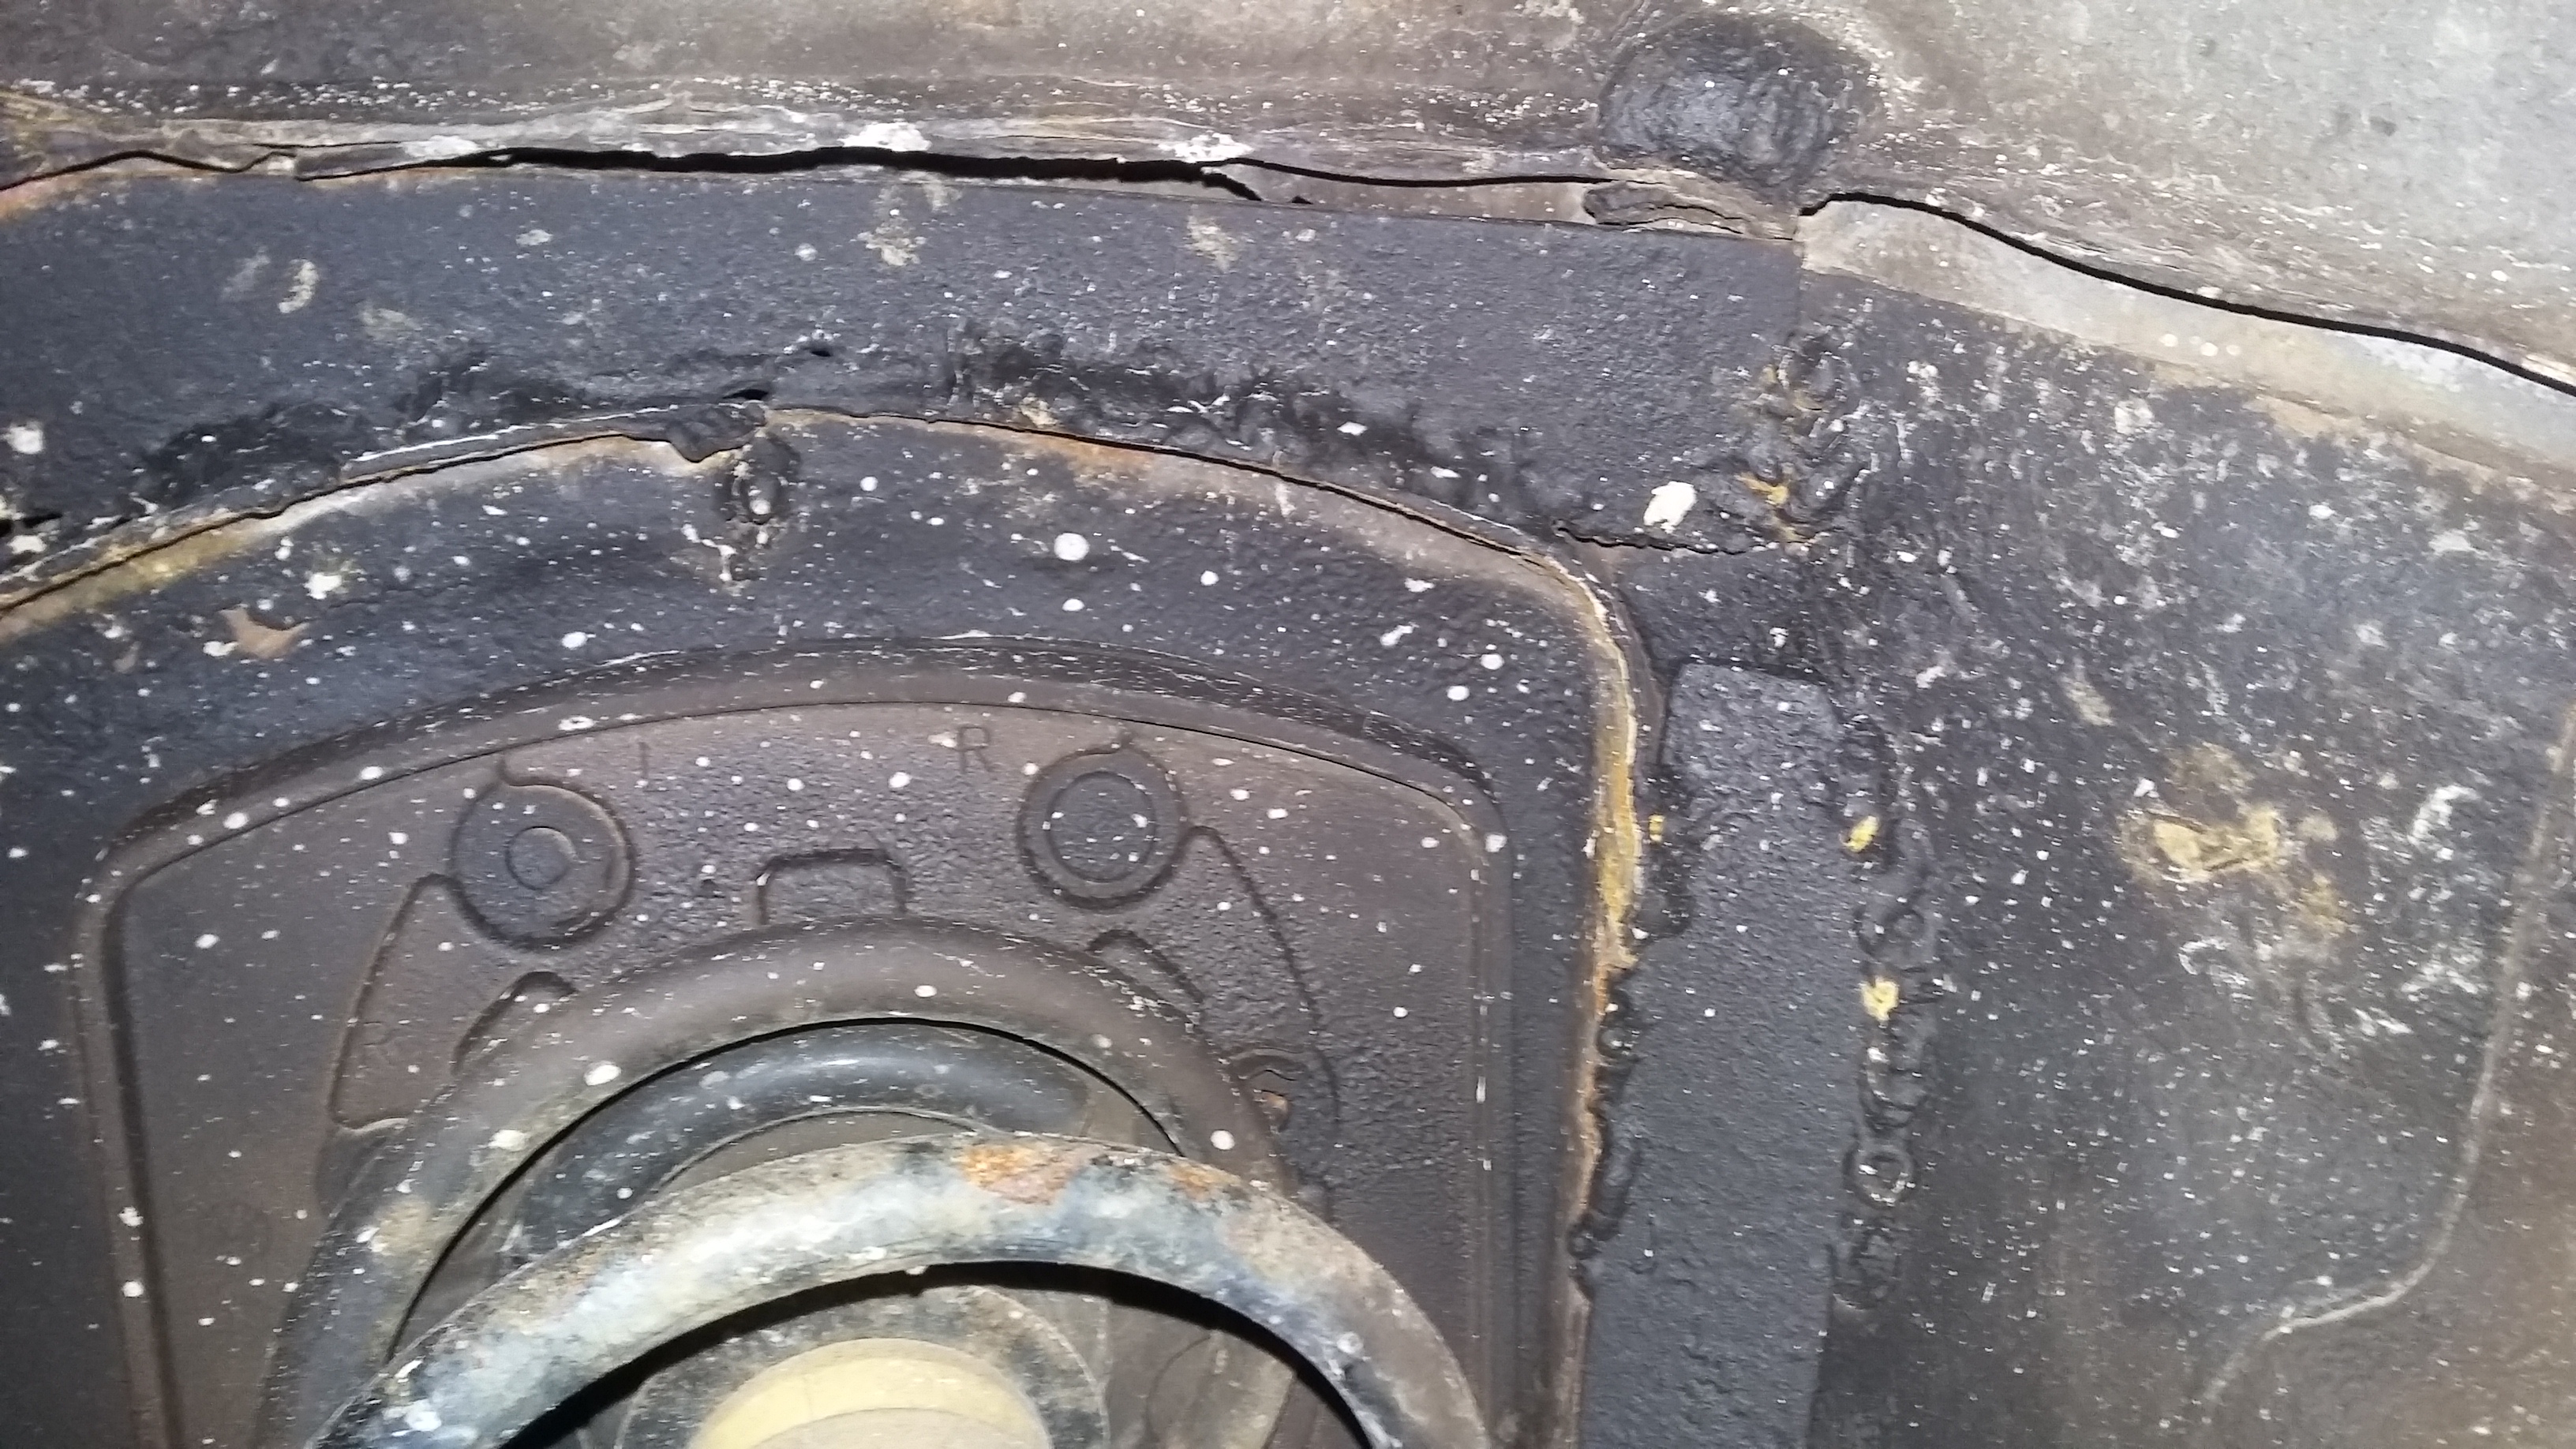
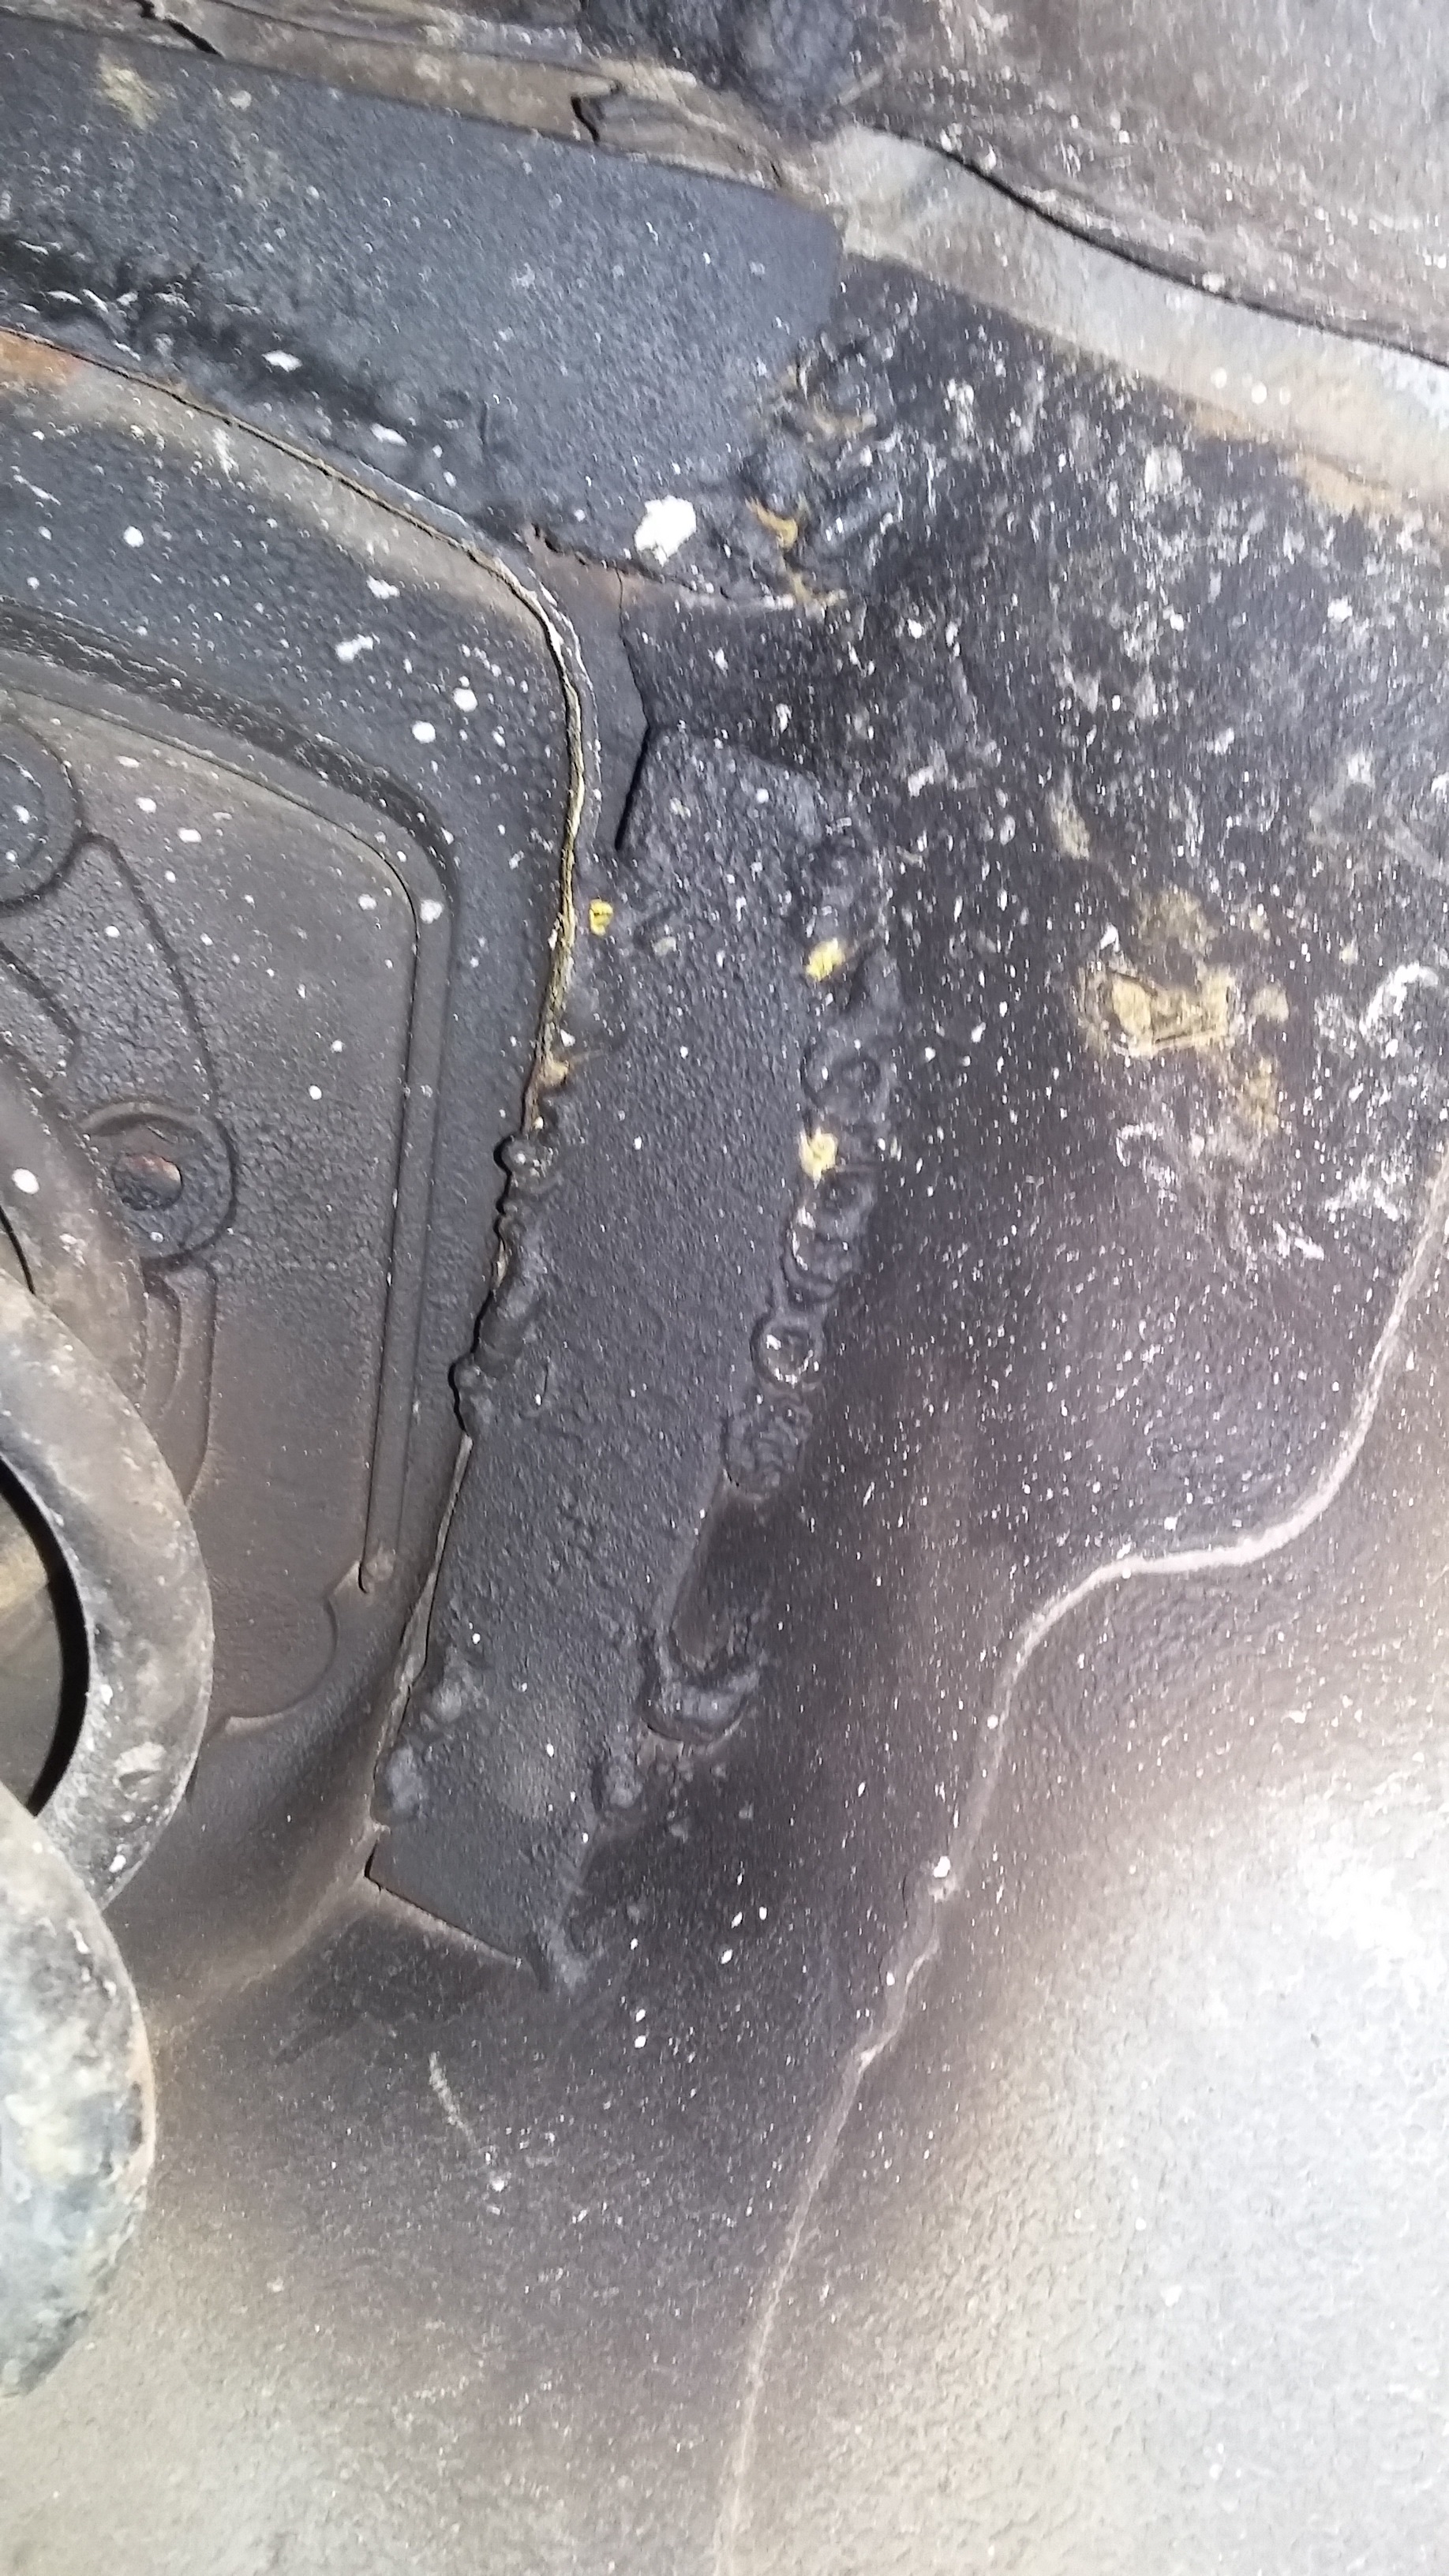
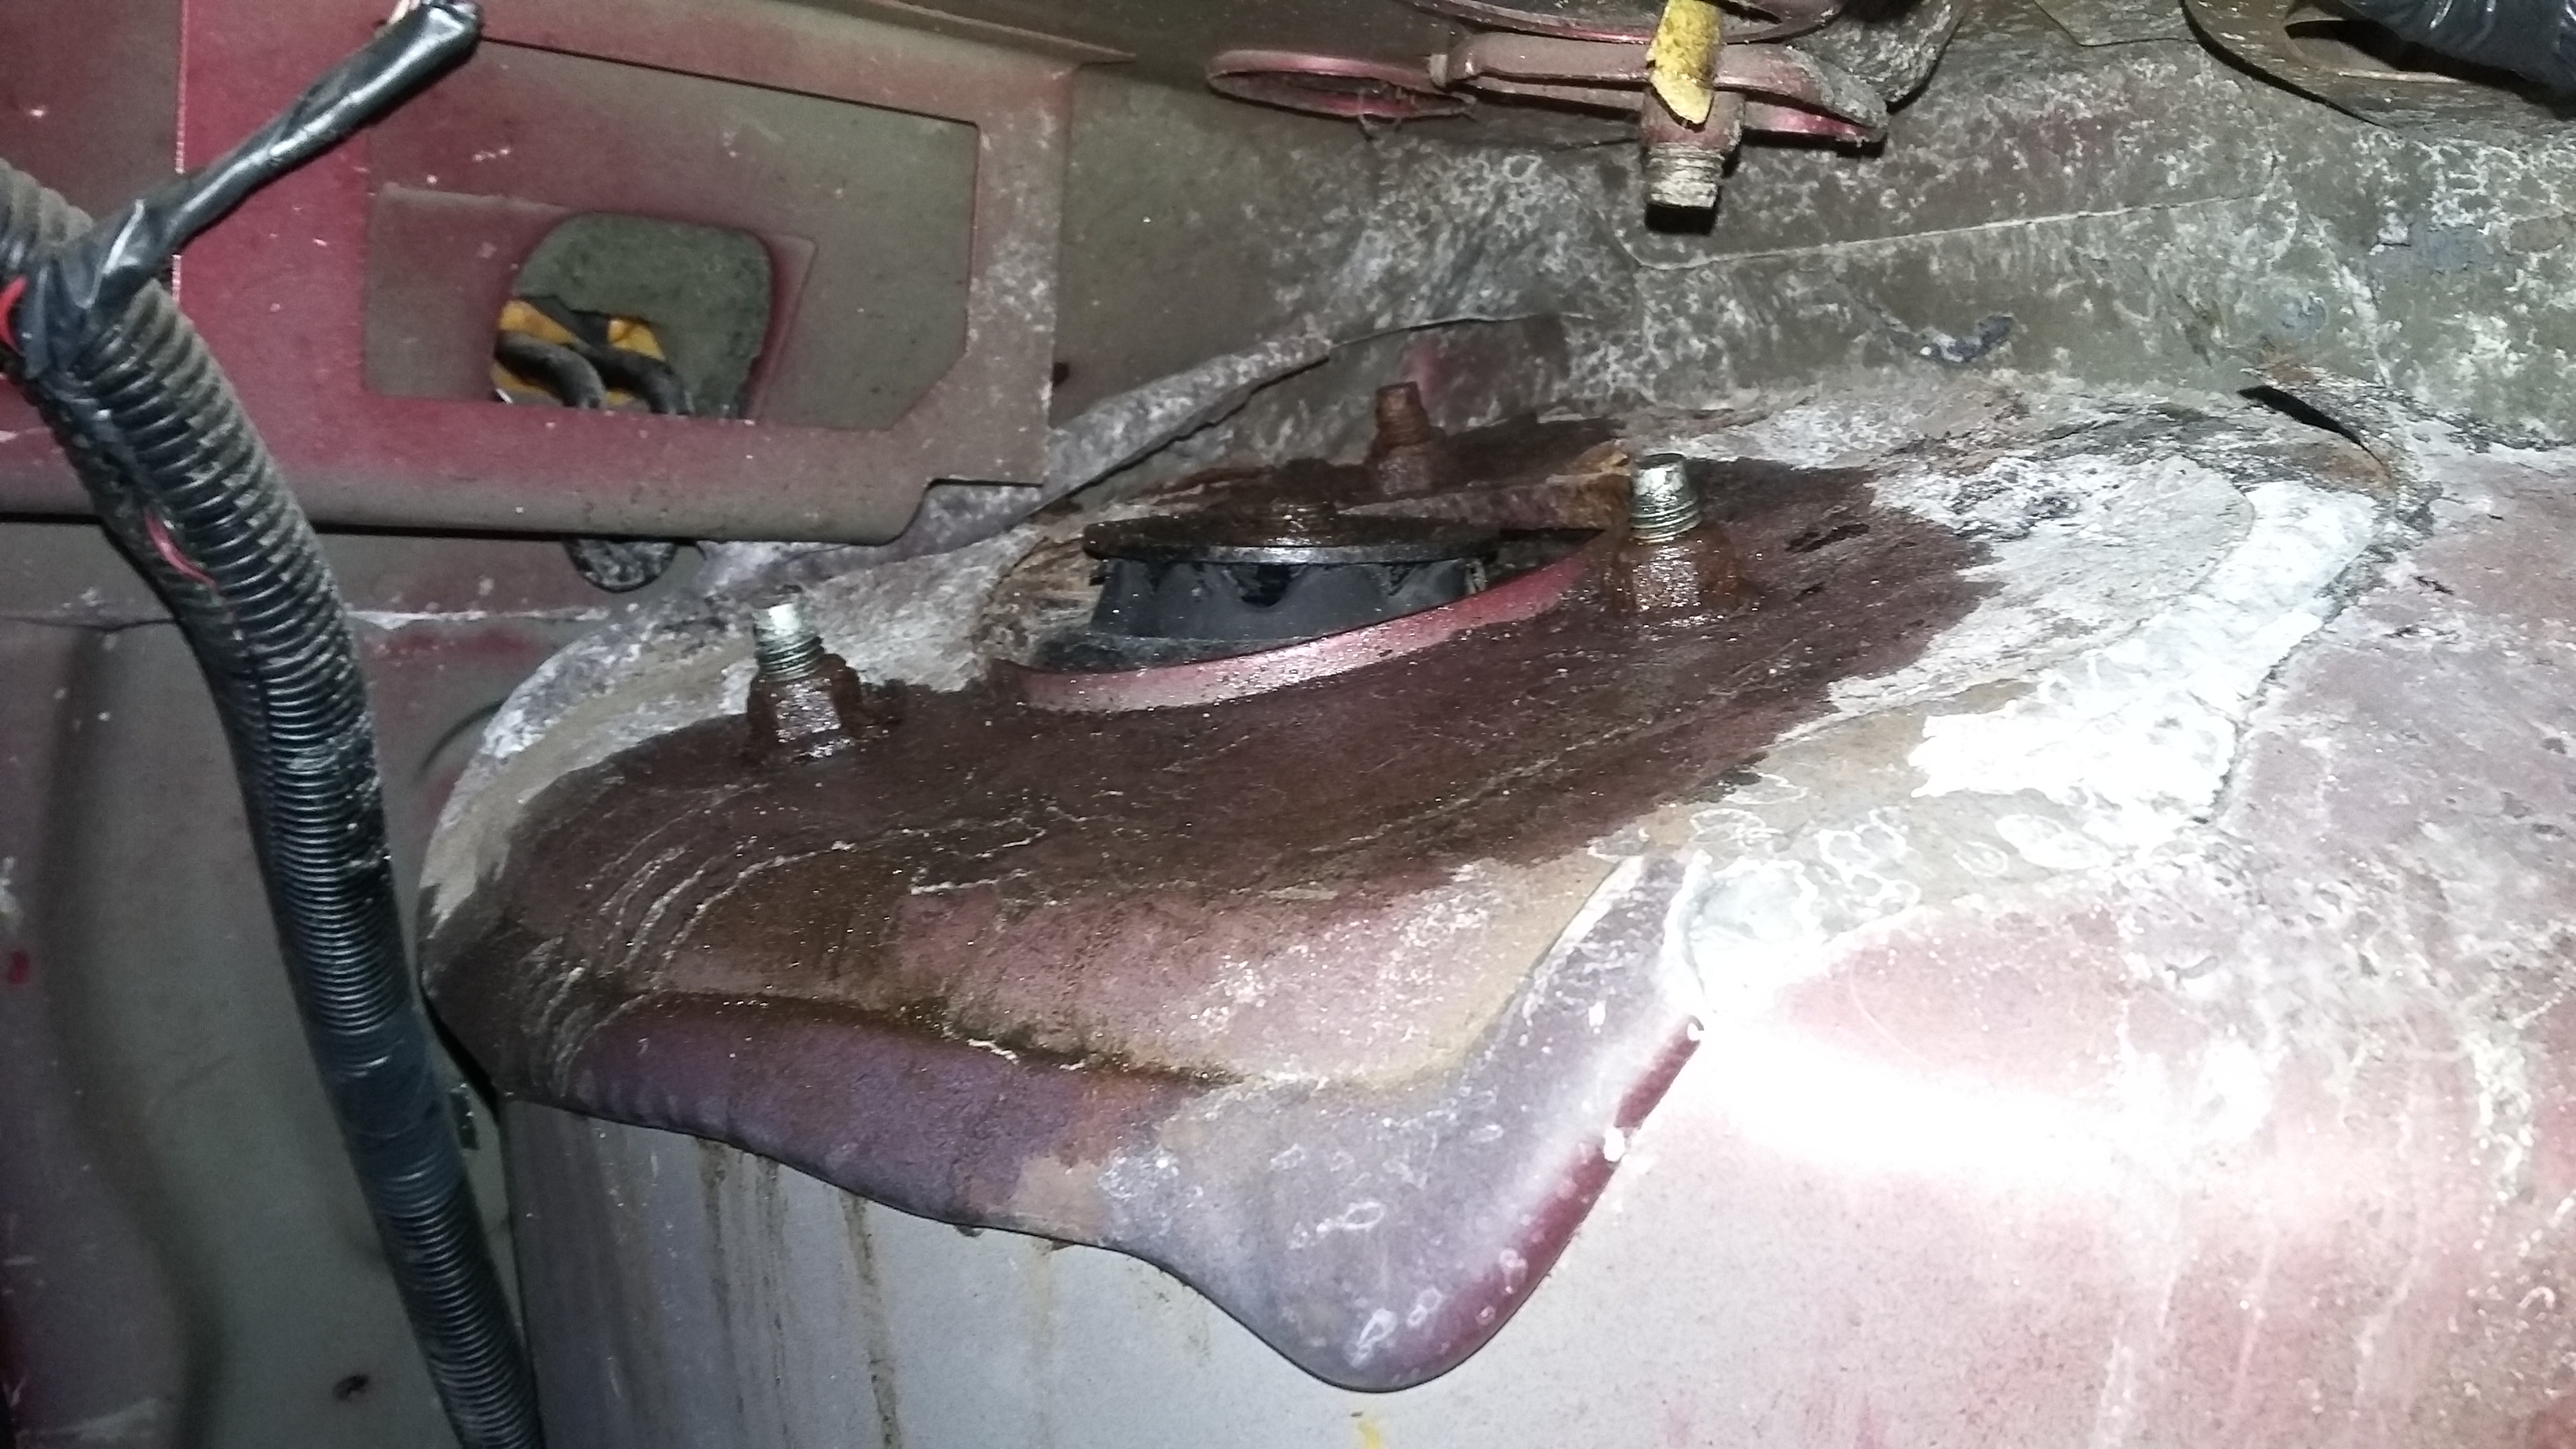
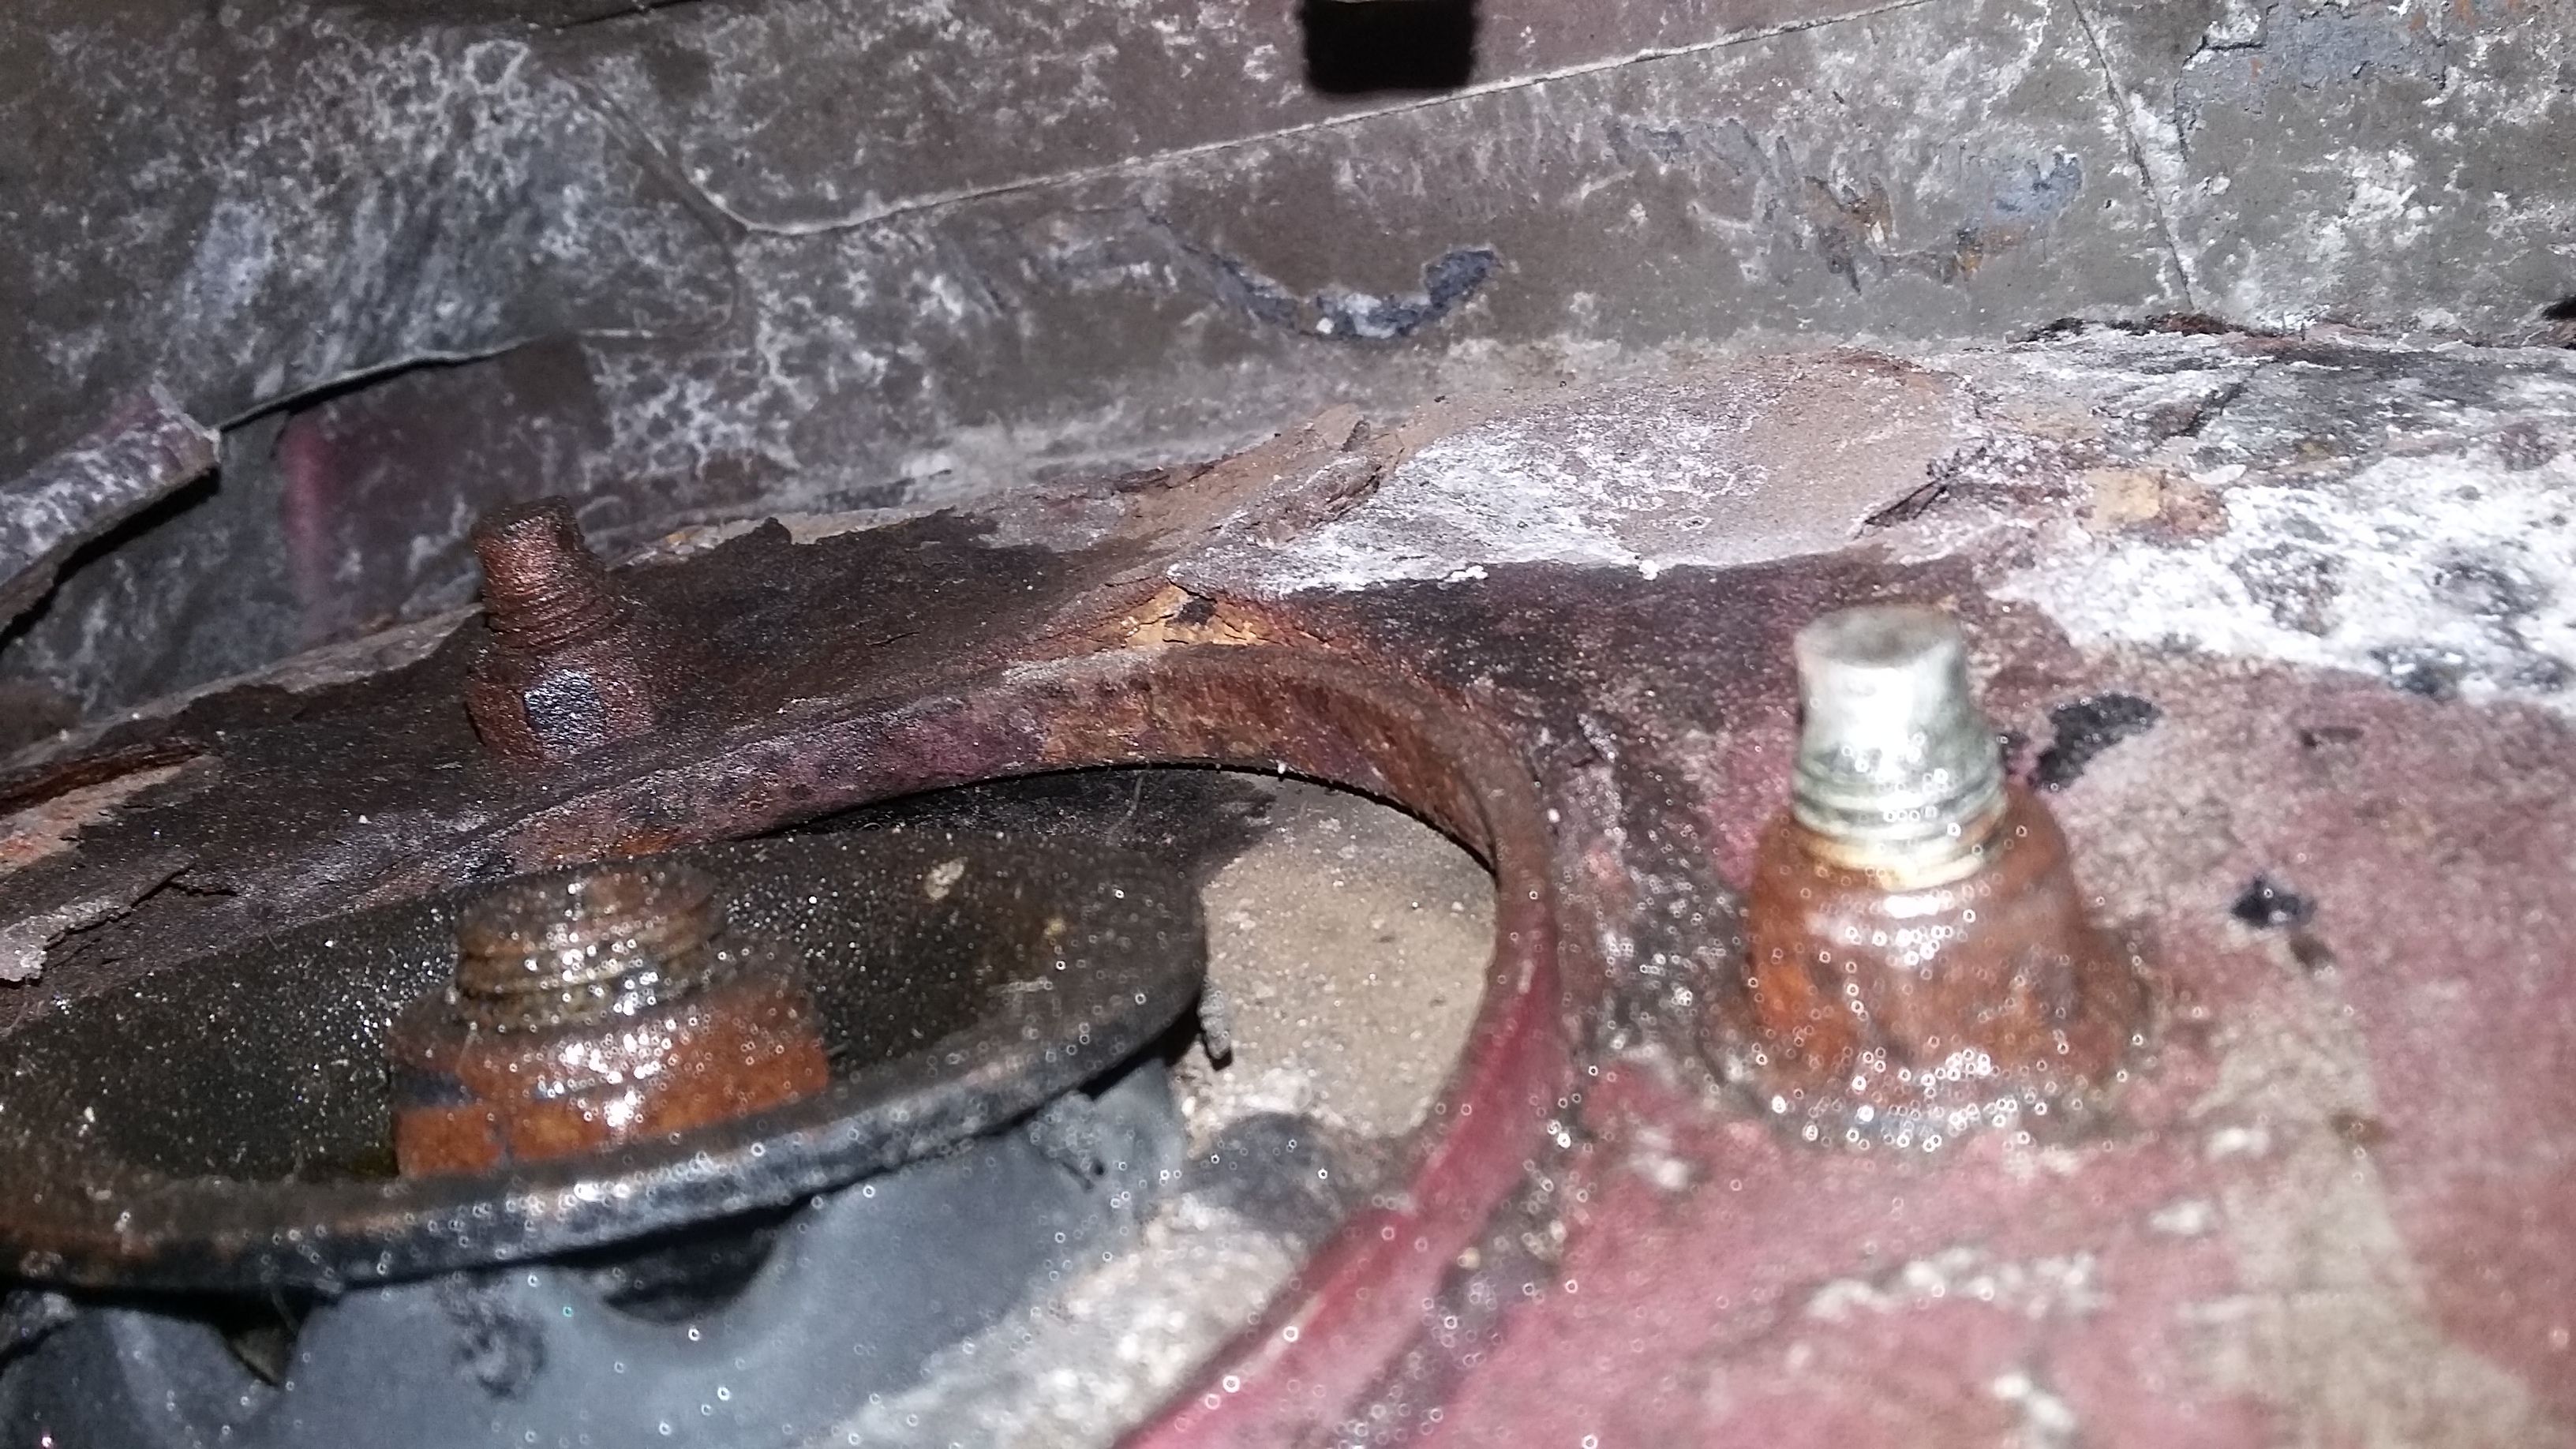
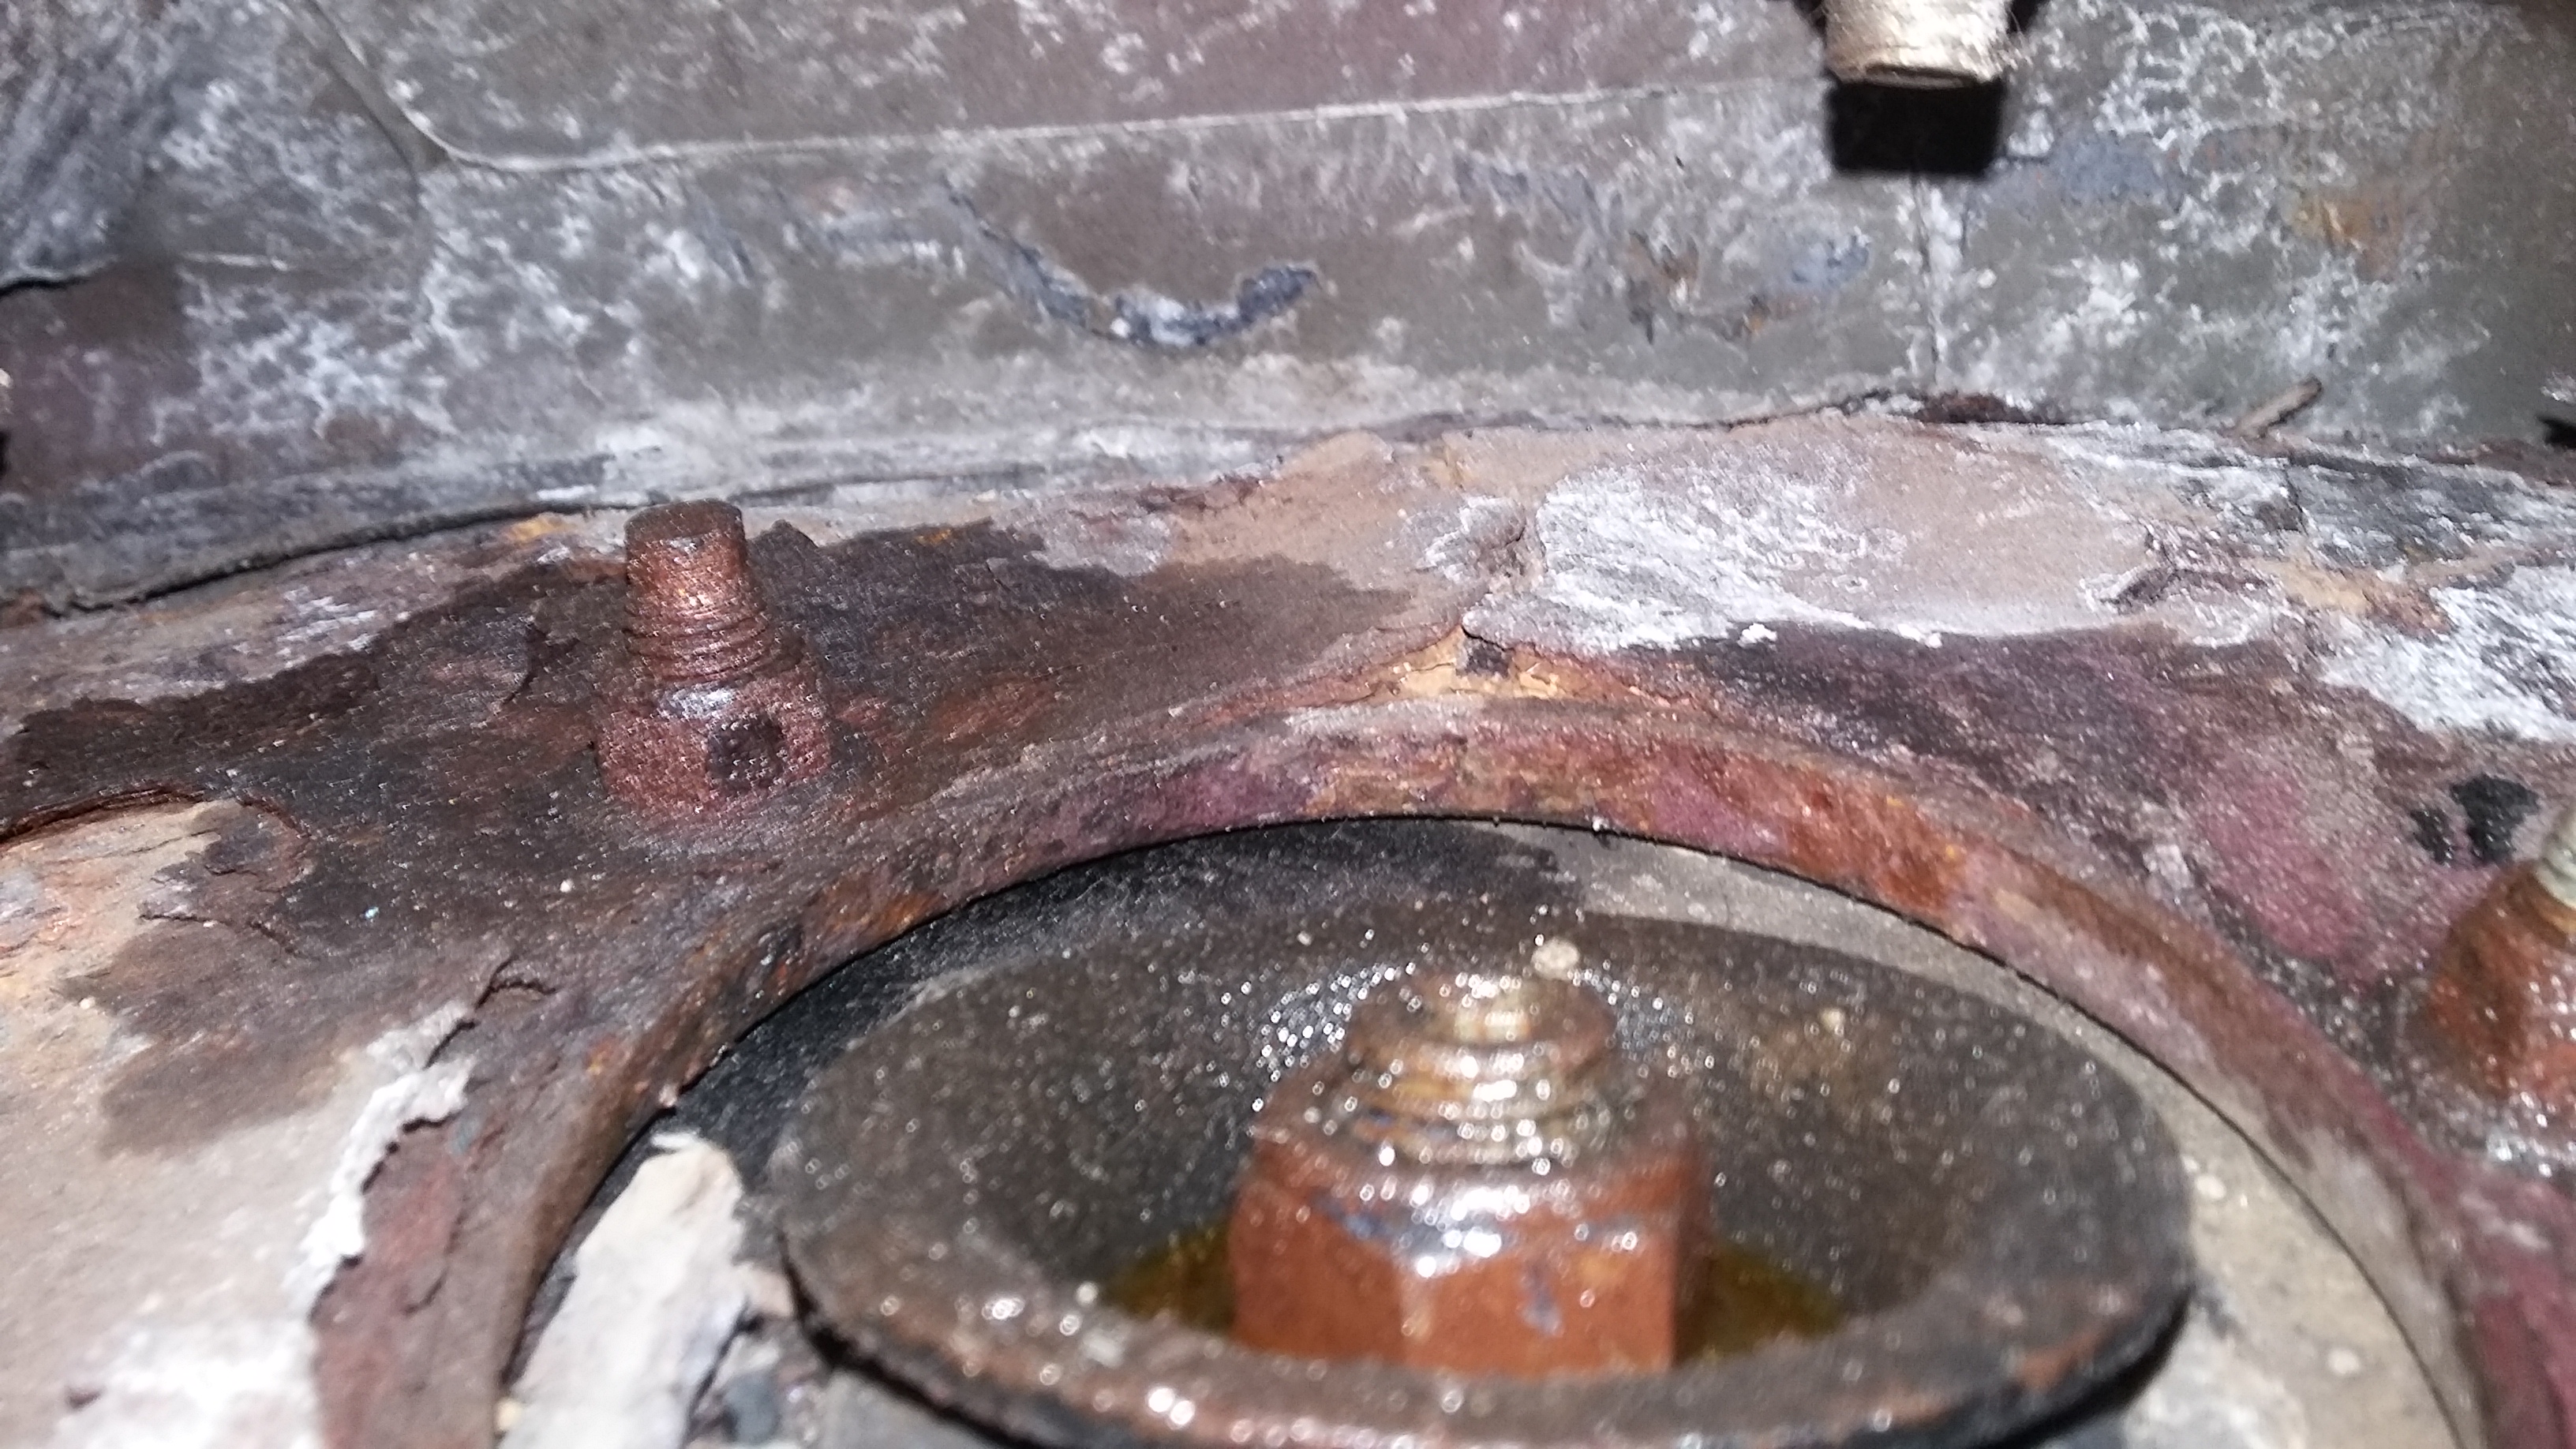
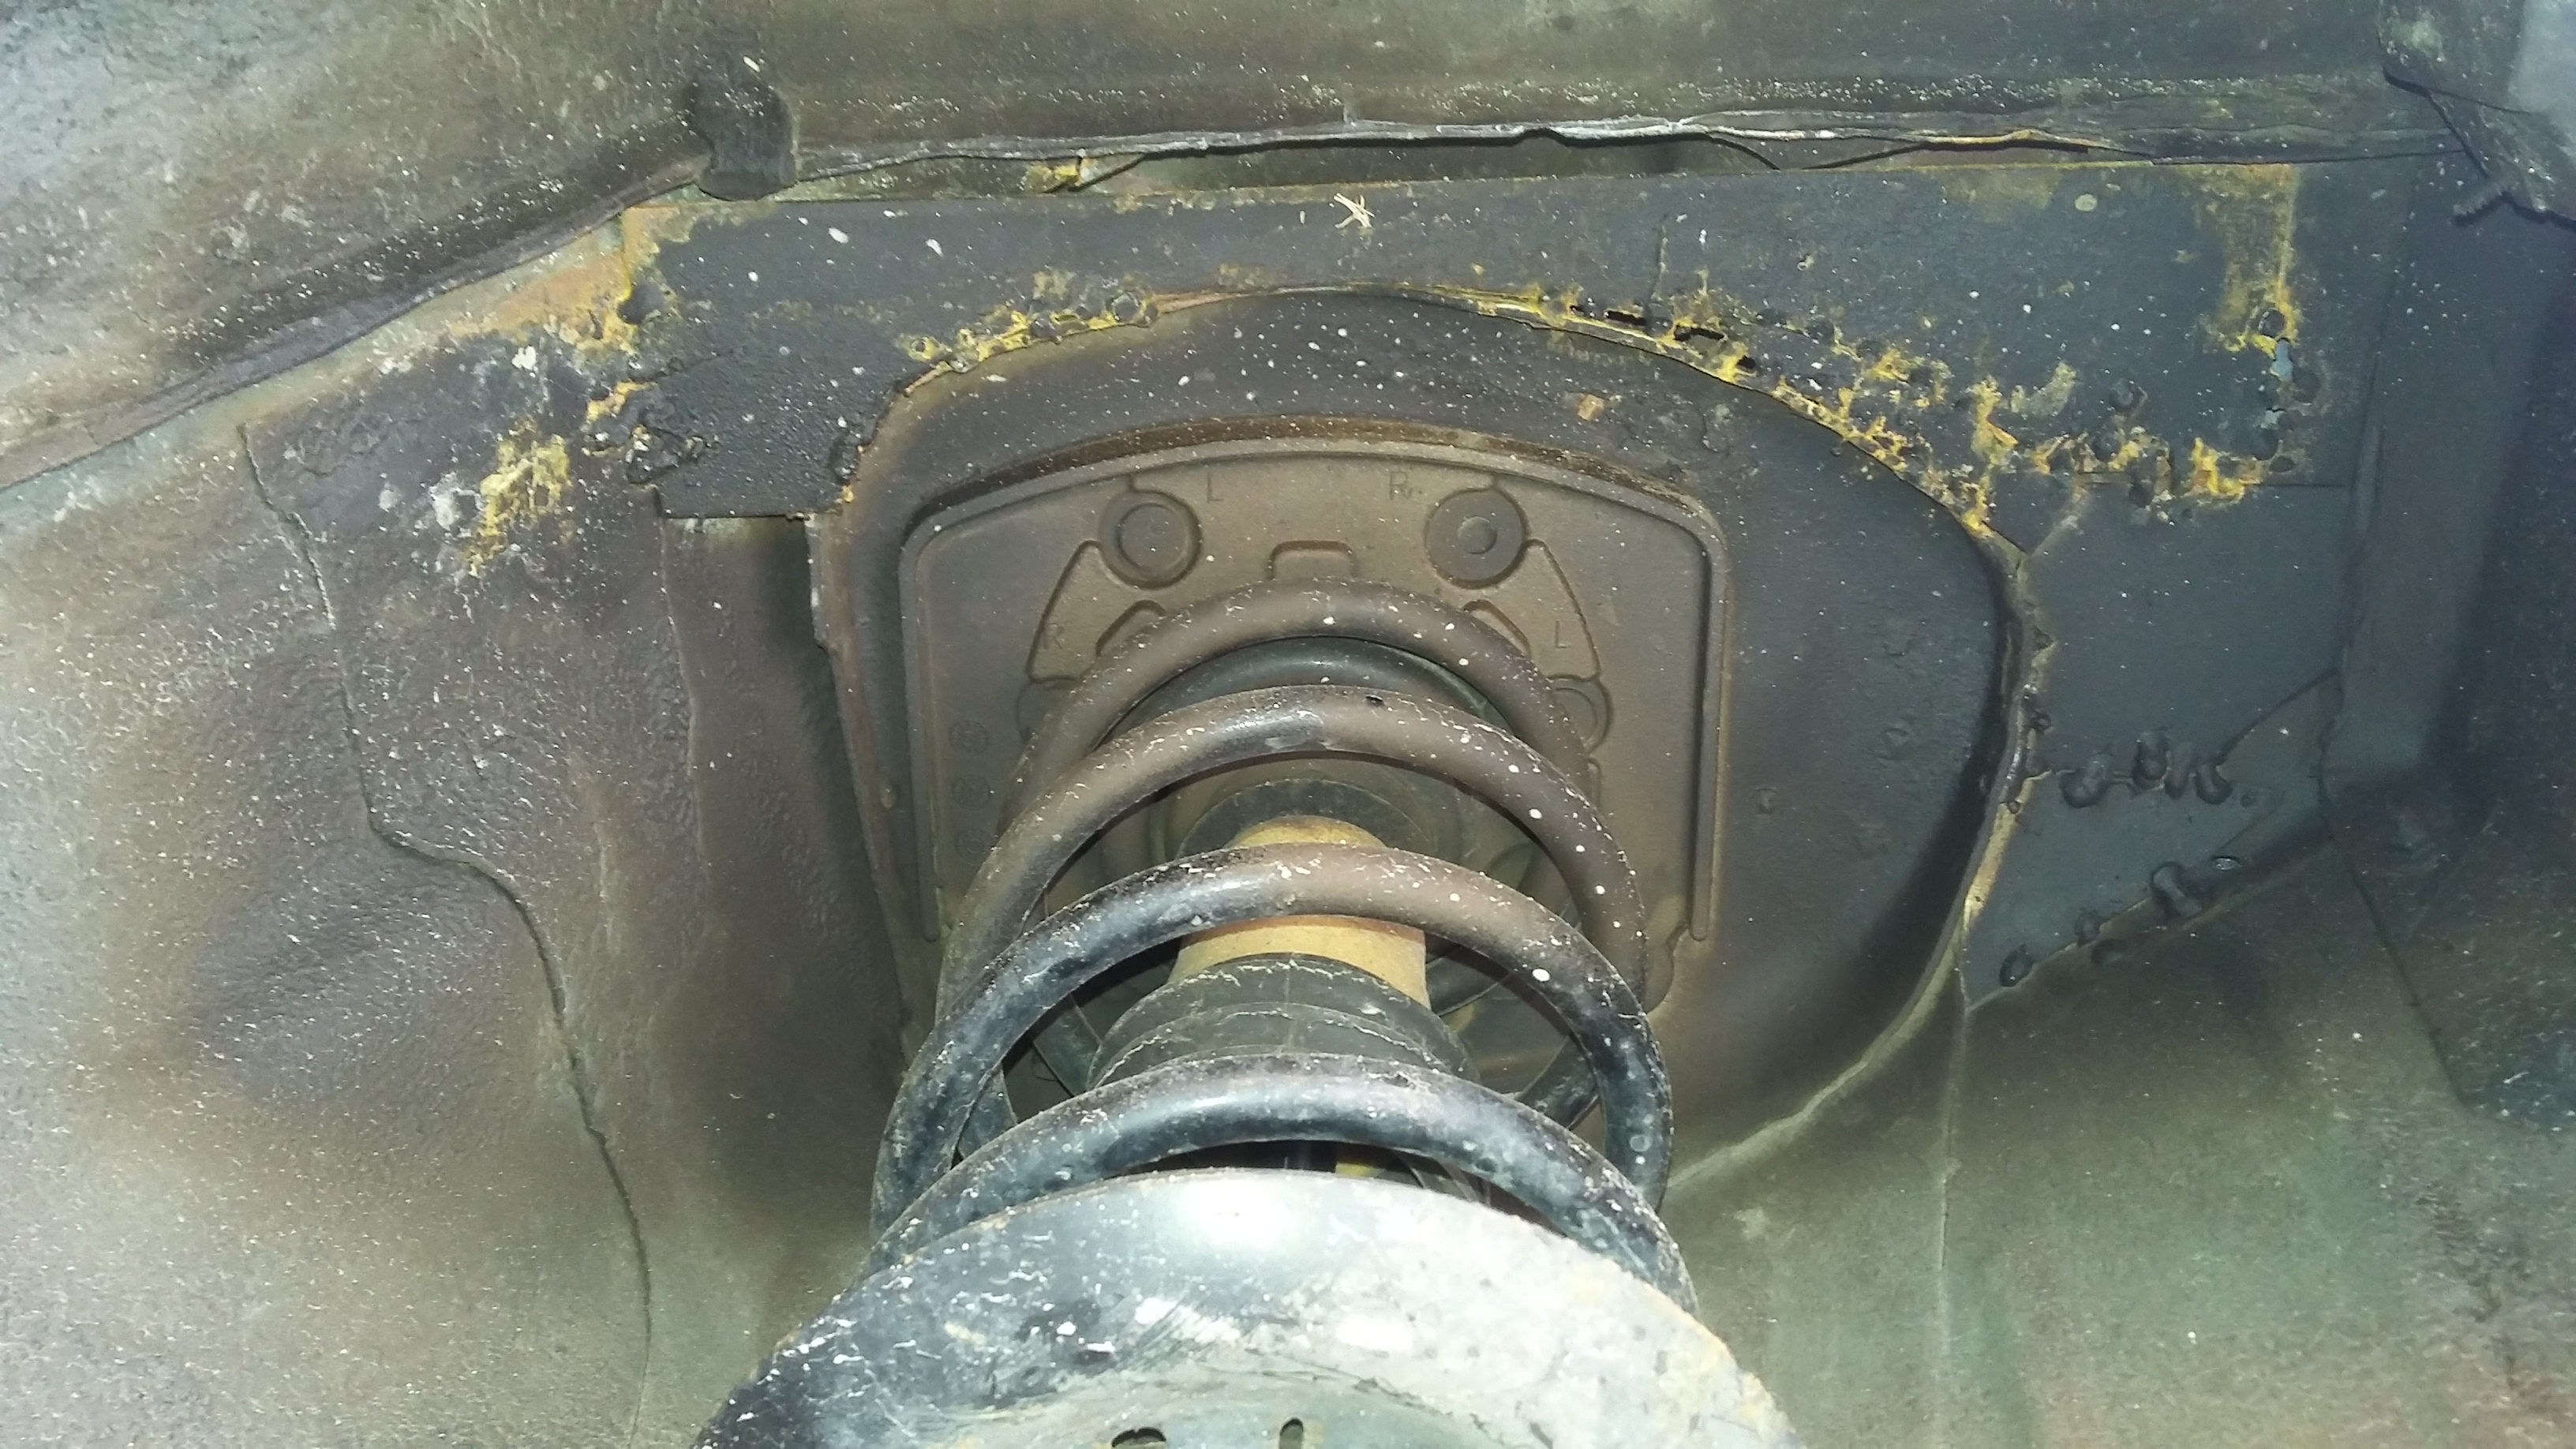
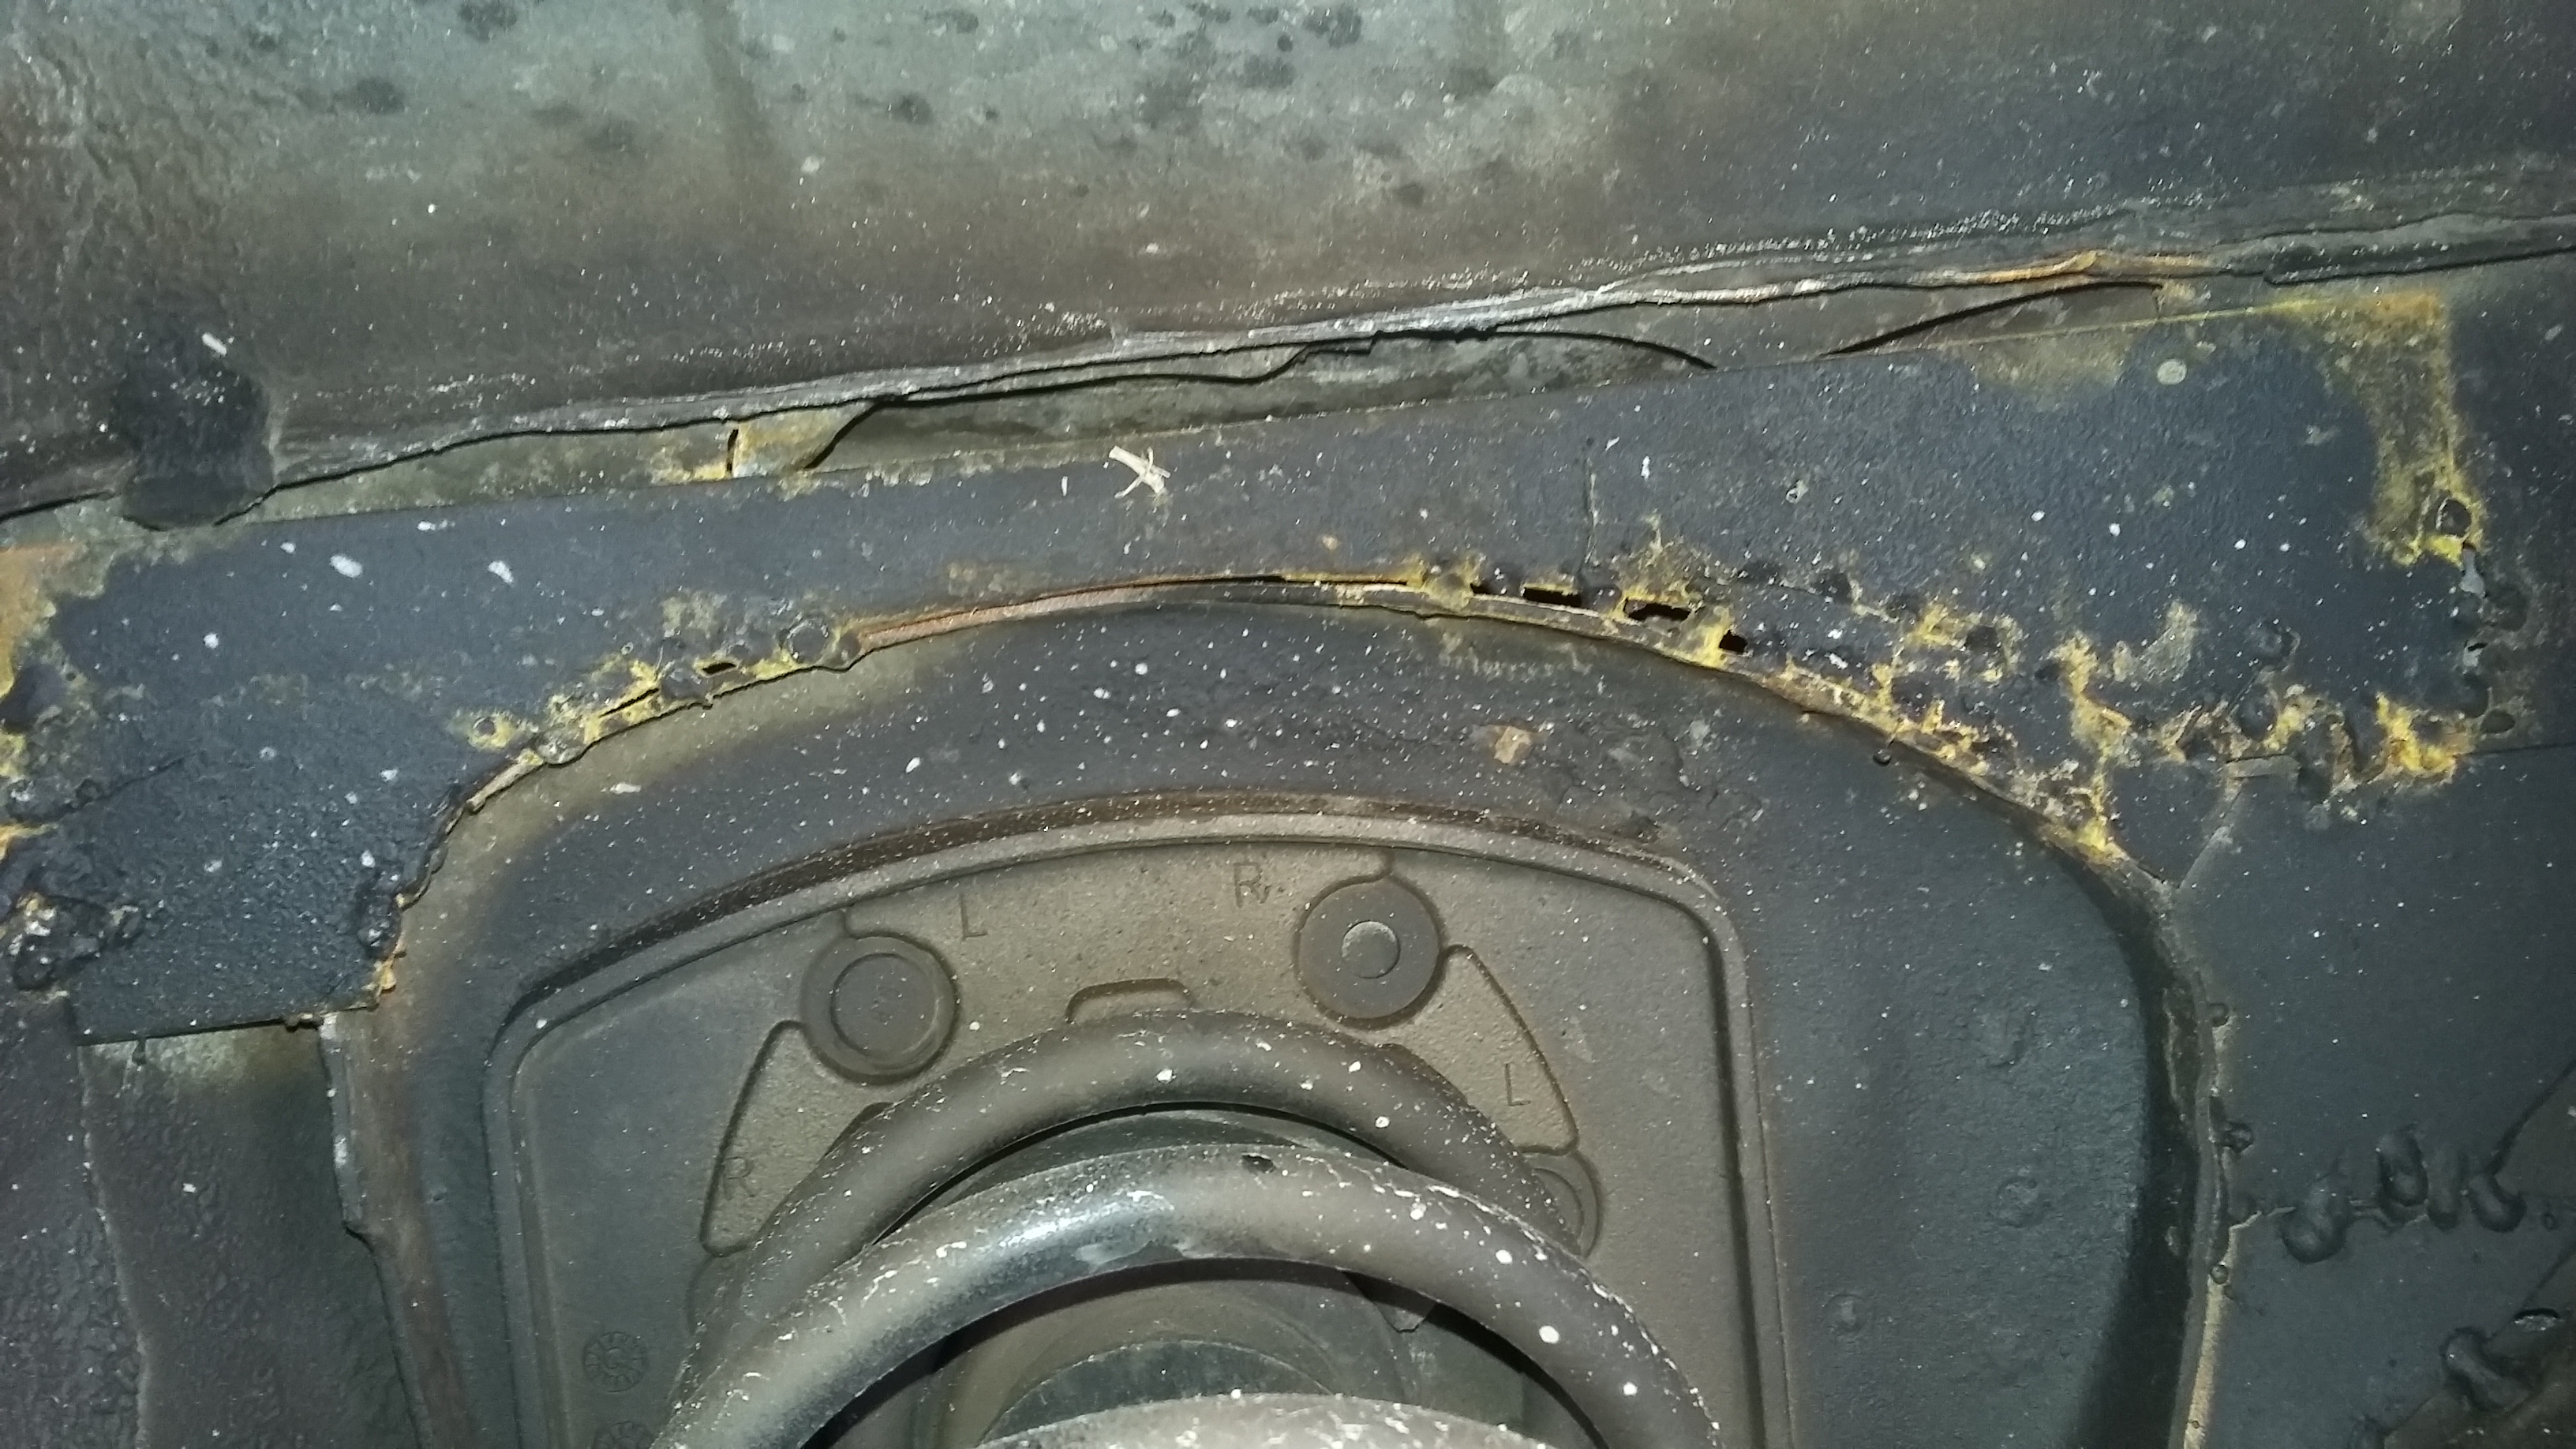
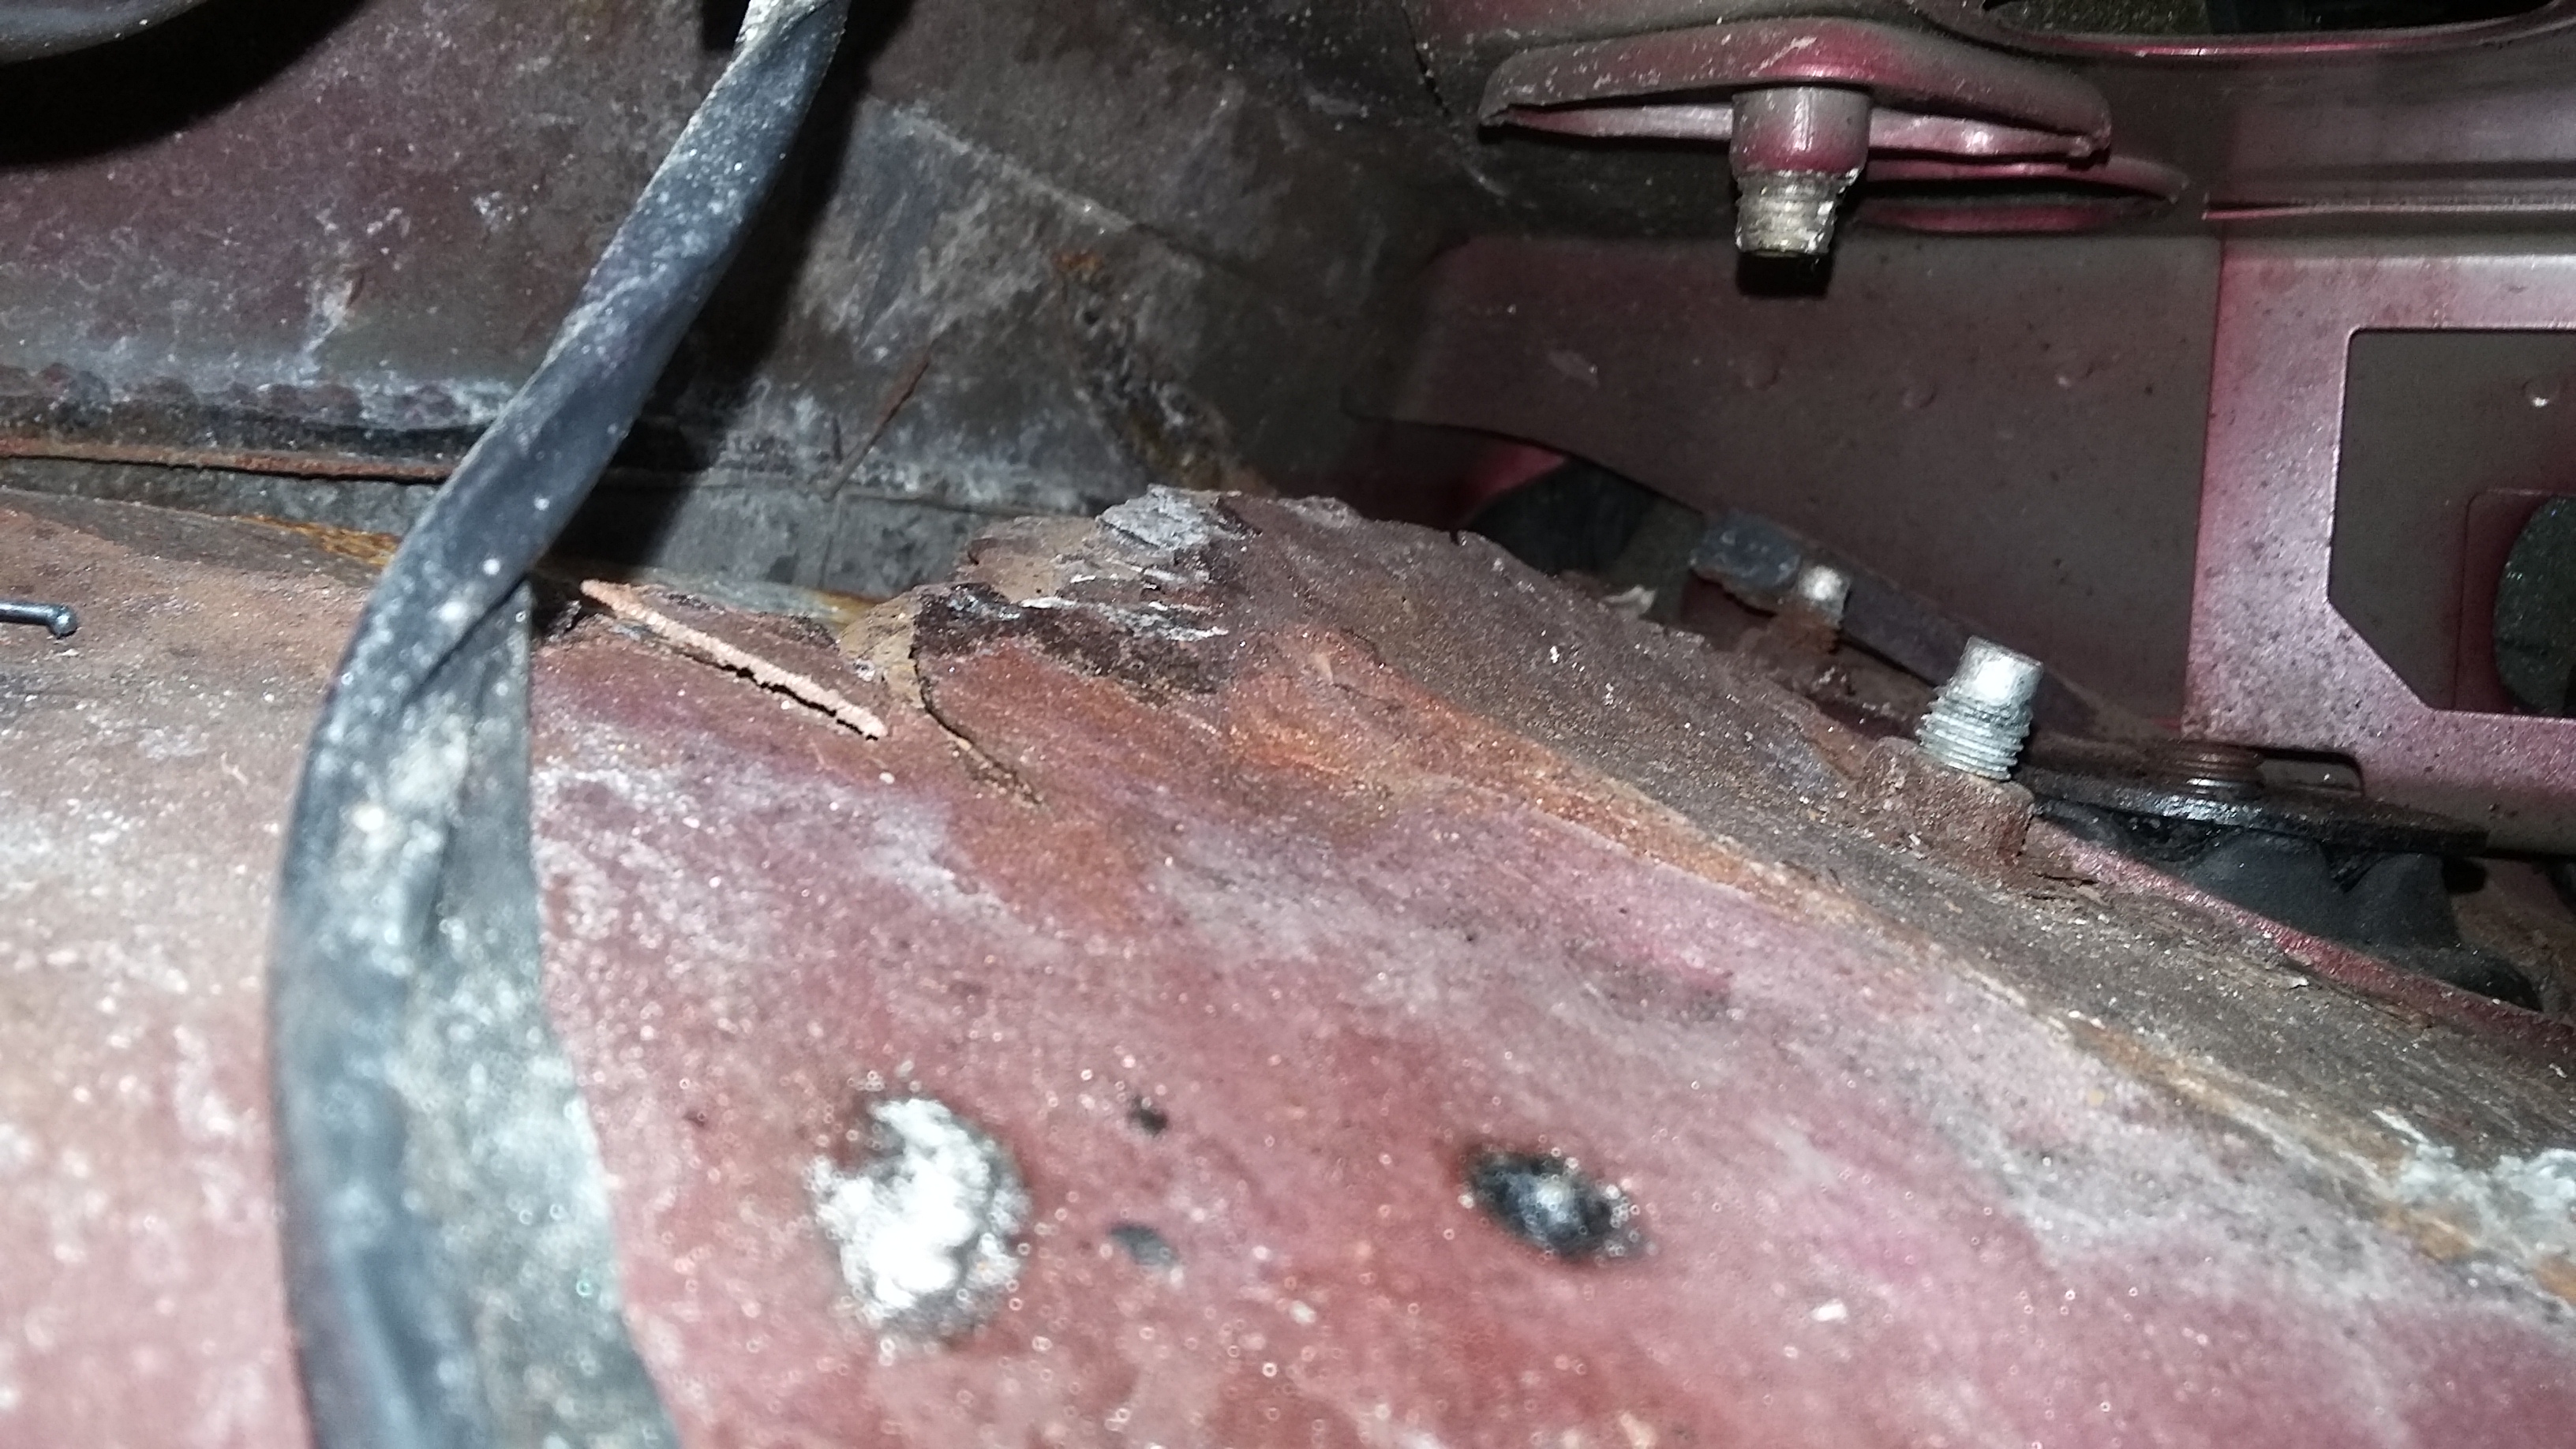
I’ll get post some good pics of the repairs. It’s gonna be a couple weeks before I get back to the car. Parked it at my moms for now. Prepared to be underwhelmed man. After closer inspection of the work he did, I would give it a B, maybe B-. The strut towers still need a solid coat of either roofing tar, or some sort of gooey rust proofing substance. The rockers were definitely painted after they were attached to the car, instead of before, which seems most logical. The rockers were only painted on the side facing out, but when I was under the car, I could see the inside part of the rockers which are bare metal. Maybe they were treated with something but doesn’t look like it. Those will need to get hit with some rattle can and rust sealant as well. Also, some of the old rust wasn’t cut out as well as I would have liked, or expected I guess. Looks like the price I paid covered welding, …. and welding only. If I want it sealed and looking good, that’s on me I guess. I’ll post some close ups of the work once I’m at the car again. I’m leaning more towards B- because both rear wheels were missing lug nuts. Passenger side only had 3 of them. Drivers side had 4, but he rounded 1 out with the impact, leaving 3. Lol


theres damn good chance mine were factory, if i had to do it with only hand tools id still be bishhing about the pain im in lol the air gun is a new treat for me. i like it a lot. in the past ive not been in a much better place then you are now, hand tools, pissing behind another car ect ect lol
 
theres damn good chance mine were factory, if i had to do it with only hand tools id still be bishhing about the pain im in lol the air gun is a new treat for me. i like it a lot.

Mine are definitely from the factory. I had to drop the rear sub-frame last year to route the brake line correctly, and to install the fuel pump re-wire. I dealt with those frozen azz bolts then. After that I cleaned them, put a drop of grease on them, and now their just normally tough to unscrew.

in the past ive not been in a much better place then you are now, hand tools, pissing behind another car ect ect lol

It's doable. Just some hand tools, determiniation, and grit.
 
you dont want to know how many sockets, ratchets and breaker bars ive blown up with a 4 foot pipe. and my feet up on a frame pulling as hard as i can, then boom!!!!!!! im flat on the ground lol
 
Can someone educate me as to which one of these I need? Did some research, but it left me confused.

downpipe.jpg
 
3 inch with cat if you need one for inspection


edit, you dont need the 3 inch exit. thats only if you have a full 3 inch cat back.
 
Last edited:


even stock a 3 inch is better to have over the 2.5. let that baby breath. if you have kr it could help kill it for ya too.
 
Ok. Cool. I want the 3 inch, despite the extra $20. I was worried that the 3" will not match up right to the stock pipes when welding it in.
 
bolts right up like normal. as long as you dont get the 3 inch exit.

and id leave it a bolt together flange, much easier if you need to drop the exhaust.


The correct answer is neither, buy headers or junk the car.


I Have 2.5" catback still sitting here doing nothing:) round maga up front, flowtech afterburners I beleive in the rear with stainless single outlet tips :)
 
The correct answer is neither, buy headers or junk the car.

Ha! Good one. I would have done the headers already but I'm absolutely certain that each and every one of those rusted-azz manifold bolts is going to snap. For right now I just don't feel like dealing with pulling the heads and carefully drilling the bolts out. They have been through 243,000 miles of heat cycles... Snap, crackle, and pop. There's barely a bolt there right now. Each one is covered in 1" of fuzzy rust. I'm gonna have to get some sort of IV drip system going with PB Blaster in the bladder and wires going to each bolt. The wires would deliver the PB Blaster right onto the bolt, all day and night. hahahA


I Have 2.5" catback still sitting here doing nothing:) round maga up front, flowtech afterburners I beleive in the rear with stainless single outlet tips :)

So what you're saying is... I can have it?


Picked up some goodies last night from a dude on a different forum. Hooked me up. BMR braces, intake, PCM tray from 92 blazer, rear sway bar bushings. $150 for all that.

Starting this Sunday it's back to full steam ahead with the Pontiac. I will post up some photos of the rust repair as well.

20180227_171519.jpg
 
Alright… some 40+ rust repair photos coming your way. Had the car in my sisters garage again. Working on some odds and ends. Lifted it using my preferred way with the cider blocks.


00.jpg


Passenger side door jam:
01.jpg


Door jam close up:
02.jpg


Under the hinges. Sheet metal screw poking through:
03.jpg


Passenger rear door jam:
04.jpg


Door jam close up:
05.01.jpg


Passenger side front. Under the car. Lots of old rot still visible:
07.jpg


08.jpg


Passenger side rear. Under the car:
10.01.jpg


11.01.jpg


12.01.jpg


Passenger side front wheel well, ground effects:
13.01.jpg


14.01.jpg


Passenger side rear wheel well, ground effects:
15.jpg


16.jpg


Drivers front door jam:
17.01.jpg


Old rot very visible under the hinges:
18.01.jpg


Driver side rear door jam:
20.jpg


21.jpg


22.jpg
 
And continuing... only 25 photos per post. Here's another 20+

Drivers side front, under car:
23.01.jpg


24.01.jpg


Drivers side rear, under car:
26.01.jpg


Drivers side front wheel well ground effects:
29.01.jpg


30.01.jpg


Driver side rear wheel well, ground effects:
31.01.jpg


32.jpg


Strut towers still look ugly as hell. Maybe they are stronger now but man, doesn’t look vewry pretty. Welder dude kept as much of the old plate as possible and welded to it. Both sides already showing tiny amounts of surface rust:


Passenger Side:
33.jpg


34.01.jpg


35.jpg


36.jpg


37.01.jpg


38.jpg


39.jpg


40.jpg


Drivers side:
41.jpg


42.01.jpg


43.jpg


44.01.jpg


45.jpg


46.jpg


47.jpg
 
The post above this one has detailed photos of the rust repair for anyone wondering what that looked like.


Other items got attention this past week as well. Lifted the car and took the wheels off. Rear brake lines were rubbing against the wheel so I had to adjust the angle of the line. Needed to bleed the brakes again. No pics of that. 3rd time bleeding these brakes. WTH

New trans lines & misc. hardware came in. Probably going to outsource the installation of these:
20180310_172920.jpg


Finished applying the dampening insulation. Everything is covered in the cabin, along with the door panels. Total of 80sq.ft. Used every last little bit:
20180310_172800.jpg


Cleaned out trunk. Looks good. Shyttt, best looking part of the car right now, LOL:
20180310_172948(0).jpg


Started sizing up the carpet. That is my mission this week. Install carpet:
20180310_173317.jpg


20180310_174359.jpg


20180310_174426.jpg


With the wheels off, I noticed the rear strut is shot...leaking fluid everywhere. Probably from welder dude over heating it. Bet that's what happened. Other 3 are fine. Gonna have to get to get 2 struts now, and replace both rear ones to make it symmetrical:

65.jpg


66.jpg


67.jpg
 
Last edited:
Back
Top