BlownBigBlock
New member
Ever since I've seen these I wanted to make one, had some days off I needed to use at work and since the weather is cooperating finally, decided to see what I could come up with. Nothing fancy and cheap is also in the equation...
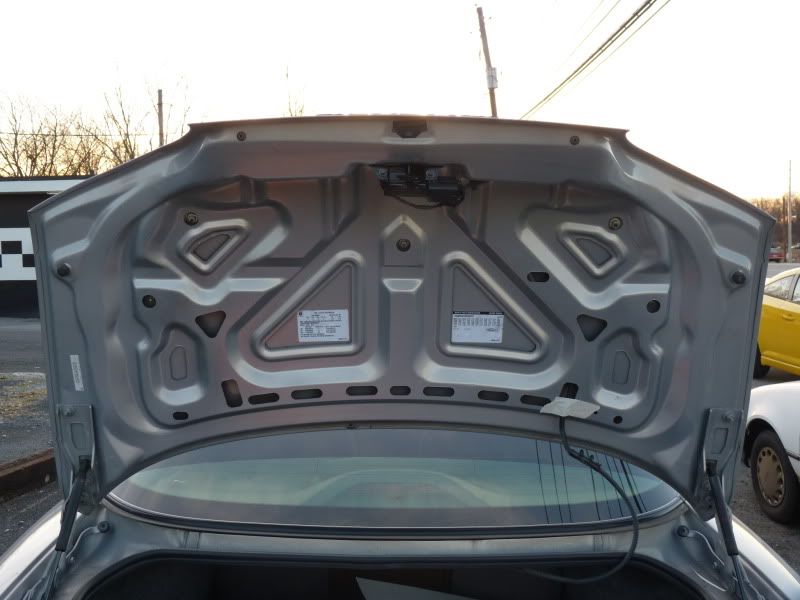
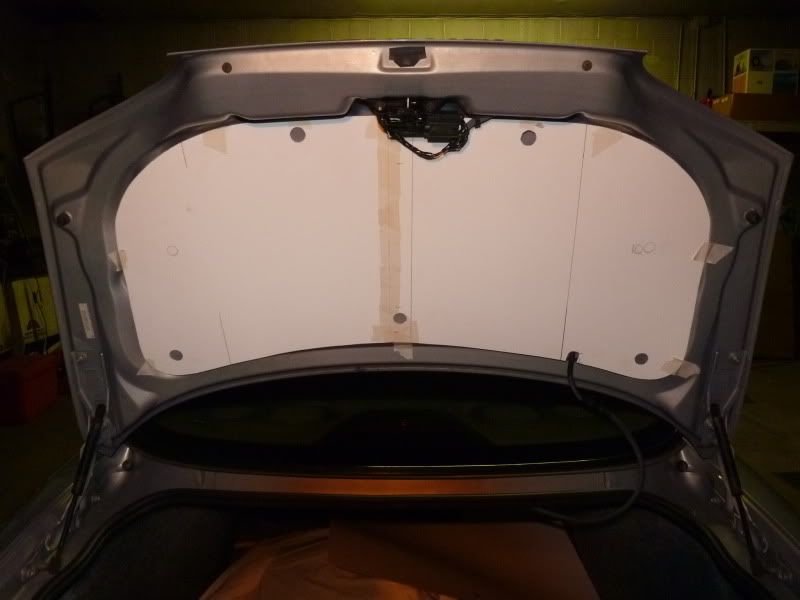
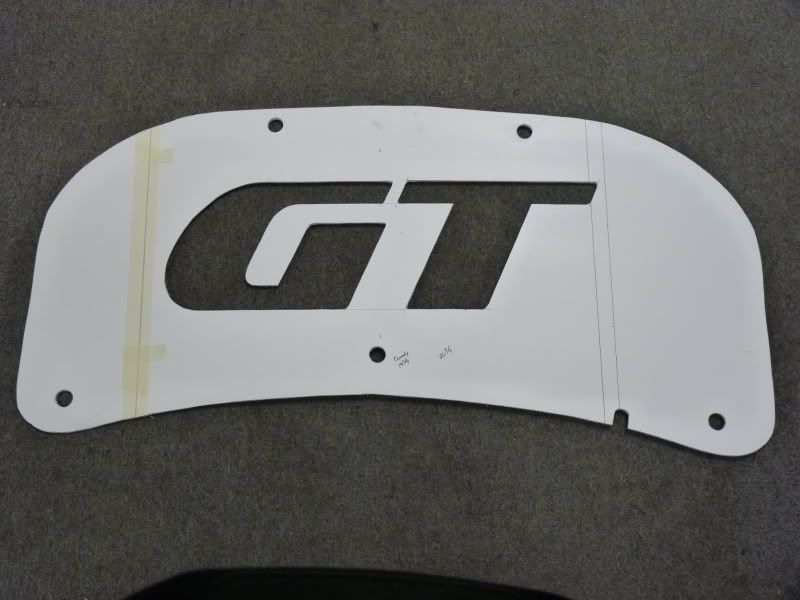
As everyone has seen, your basic GP trunk lid, removed the clips holding the wire for the trunk release.
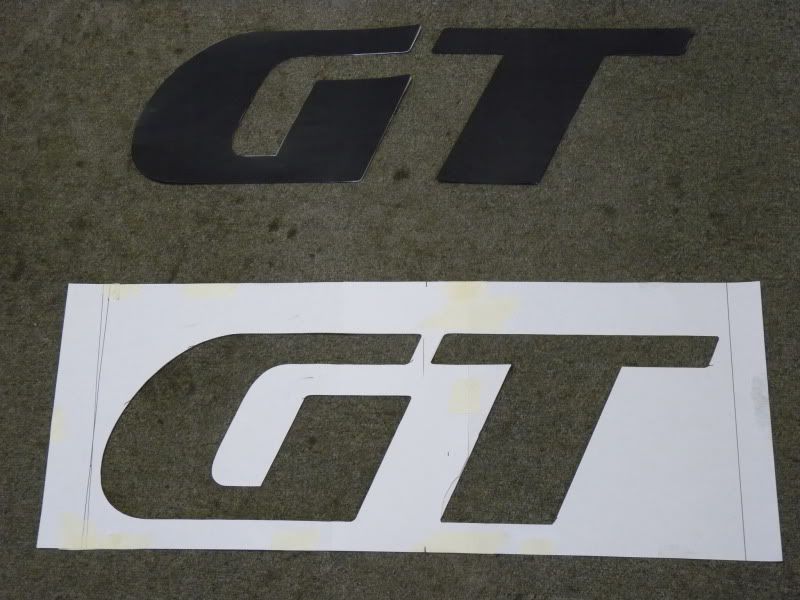
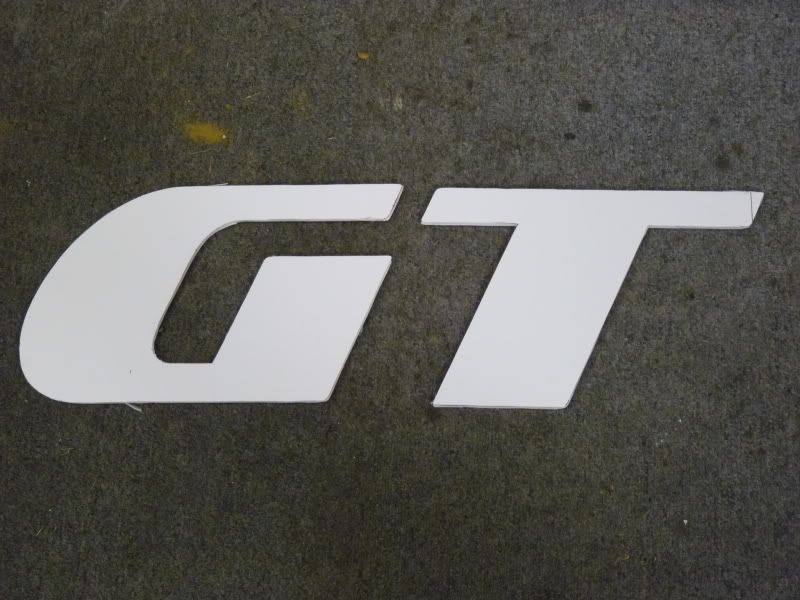
First off, decided I wanted a simple GT emblem on the trunk lid, also wanted it done in the same material as what's currently in the trunk. The material is called trunk liner and is code A23 Heather Charcoal. The font for our emblems is called SofaChrome Italic and can be gotten on the internet for free. I tried at work to make a "GT" but our printers couldn't handle the size I wanted, went to the UPS store that makes banners, told them what I wanted, they downloaded the font and got this for $4.00. This picture is after I had cut out the lettering. The font size I selected to go with was 800.
Stopped by the craft store, bought 2 sheets of poster board at 49 cents a piece along with 3 pieces of a heavier poster board at 79 cents a pop. Figured while I was there bought some masking tape at $3.
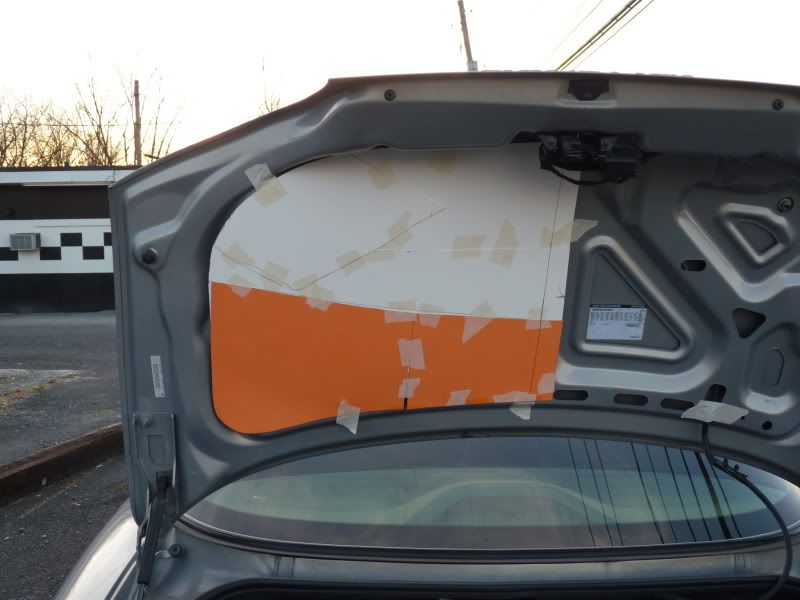
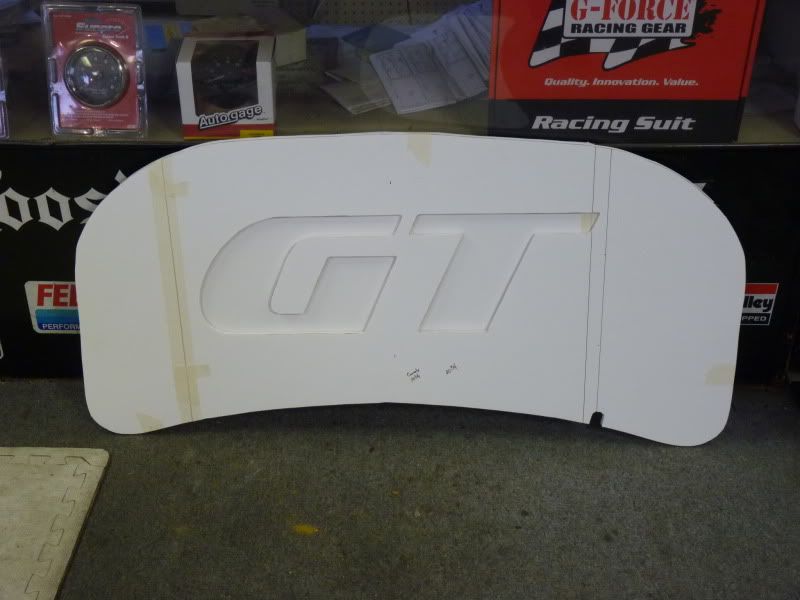
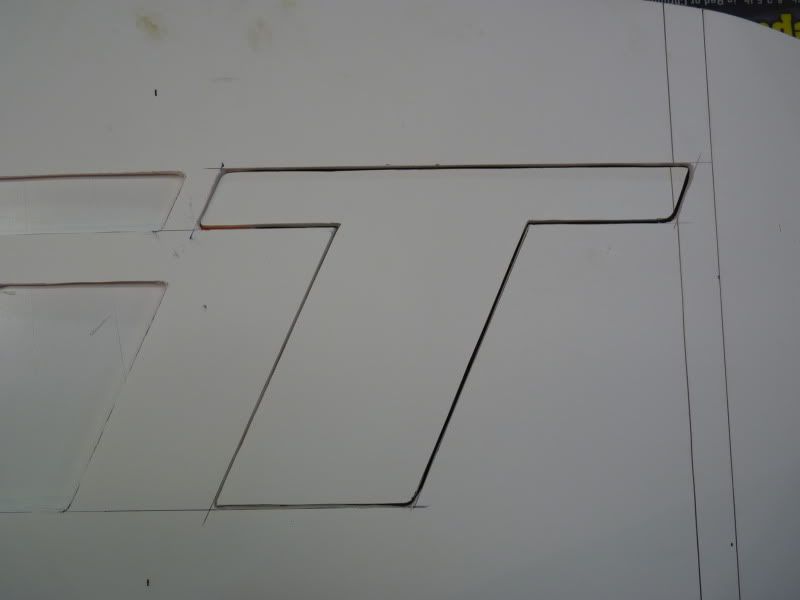
The hardest part for me was making the pattern, at first tried to do in one large piece, after decided that doing it that way was a pita, tried half the lid in one piece, still a failure. Then decided making it in multiple pieces would be the easiest. This picture is after the fact and not aligned, but just shown as reference, using the spoiler studs as my center line.
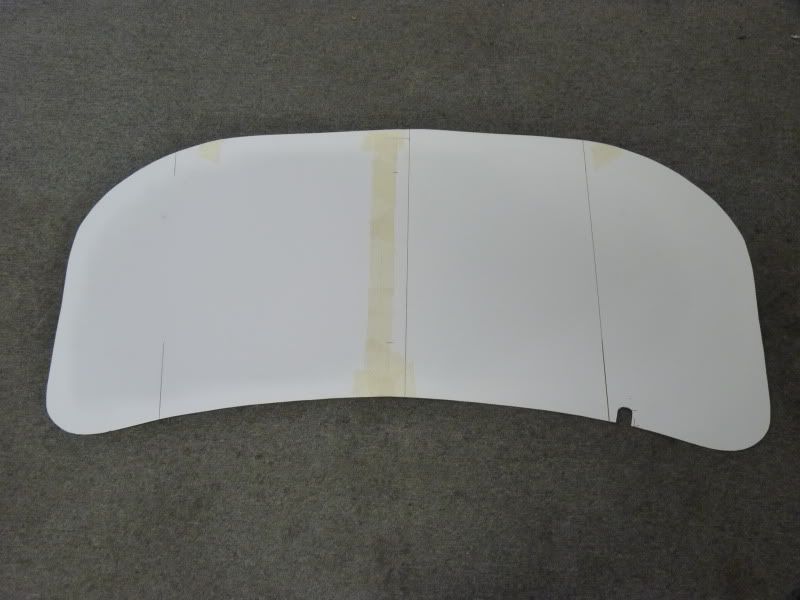
With pattern in hand I then transferred the pattern to the heavier poster board I had, just flipped it over to do the other side. This is what I have.
With some minor trimming I was happy with the way it fit. I had also bought a 3 pack of 3/16" 20"x40" foam board, I think the cost was $10. It's light yet still durable, only pain was the mat was going to be 41" so I had to make 2 pieces. I'm also doubling the thickness, so my mat will be
3/8" thick when done.
This is after transferring my pattern to the foam board, you can see where I made the split, the bottom board is split but on the other side. I did the best I could to center the letters, with razor blade in hand I cut out the letters on the top foam piece.
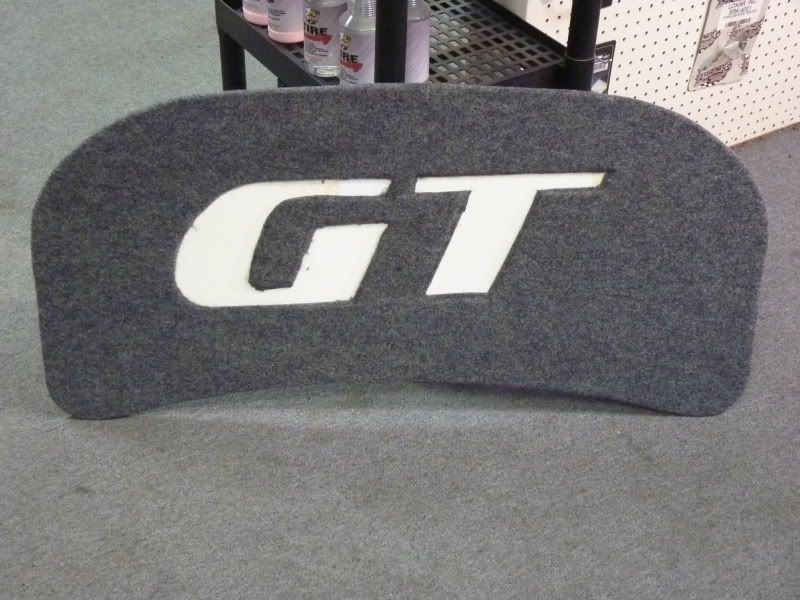
This is what I have left, not sure if I'll just cover the letters with a material or have the letters recessed.
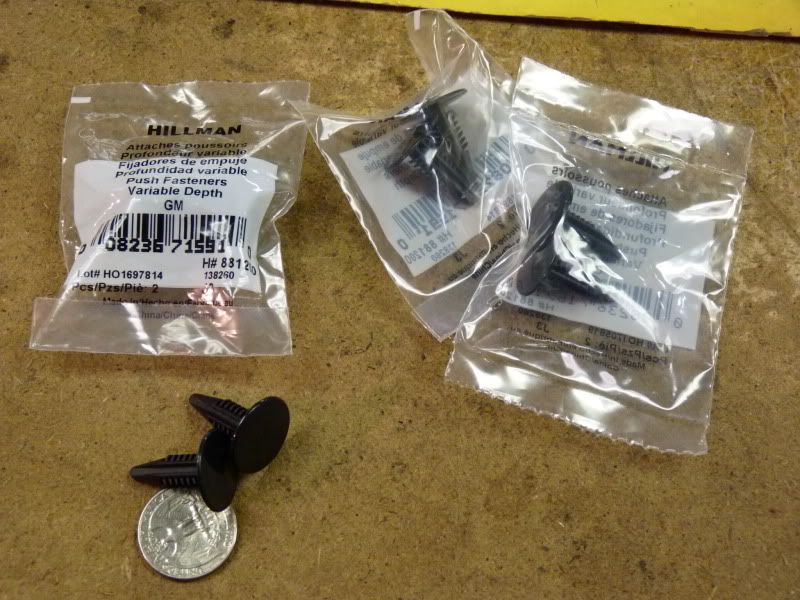
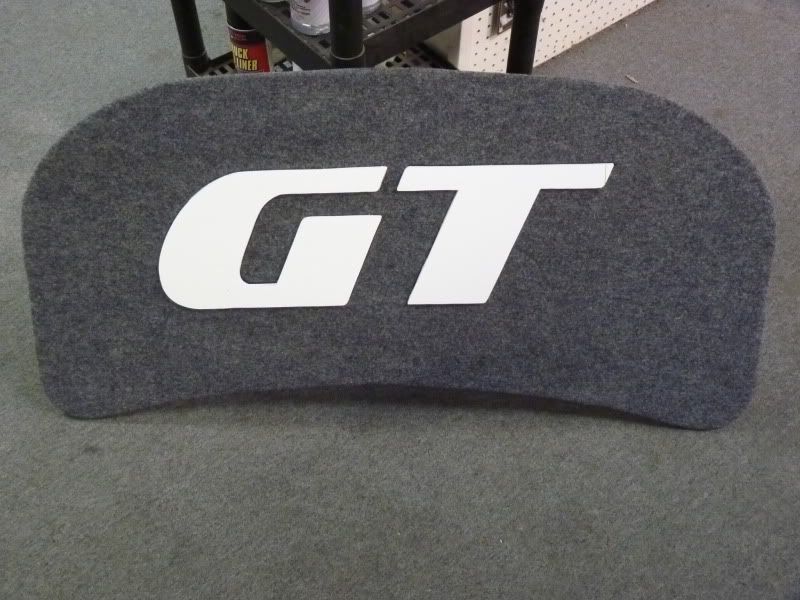
That's where I stopped, next I'll smooth out the edges abit, the trunk liner material cost me $10. Still need to purchase the plastic body pins along with some 3M spray glue to glue the panels together. May not get a chance to work on it again till early next week. Figure so far I have roughly $30 total into it. Thanks for lookin'. :th_winking:
As everyone has seen, your basic GP trunk lid, removed the clips holding the wire for the trunk release.
First off, decided I wanted a simple GT emblem on the trunk lid, also wanted it done in the same material as what's currently in the trunk. The material is called trunk liner and is code A23 Heather Charcoal. The font for our emblems is called SofaChrome Italic and can be gotten on the internet for free. I tried at work to make a "GT" but our printers couldn't handle the size I wanted, went to the UPS store that makes banners, told them what I wanted, they downloaded the font and got this for $4.00. This picture is after I had cut out the lettering. The font size I selected to go with was 800.
Stopped by the craft store, bought 2 sheets of poster board at 49 cents a piece along with 3 pieces of a heavier poster board at 79 cents a pop. Figured while I was there bought some masking tape at $3.
The hardest part for me was making the pattern, at first tried to do in one large piece, after decided that doing it that way was a pita, tried half the lid in one piece, still a failure. Then decided making it in multiple pieces would be the easiest. This picture is after the fact and not aligned, but just shown as reference, using the spoiler studs as my center line.
With pattern in hand I then transferred the pattern to the heavier poster board I had, just flipped it over to do the other side. This is what I have.
With some minor trimming I was happy with the way it fit. I had also bought a 3 pack of 3/16" 20"x40" foam board, I think the cost was $10. It's light yet still durable, only pain was the mat was going to be 41" so I had to make 2 pieces. I'm also doubling the thickness, so my mat will be
3/8" thick when done.
This is after transferring my pattern to the foam board, you can see where I made the split, the bottom board is split but on the other side. I did the best I could to center the letters, with razor blade in hand I cut out the letters on the top foam piece.
This is what I have left, not sure if I'll just cover the letters with a material or have the letters recessed.
That's where I stopped, next I'll smooth out the edges abit, the trunk liner material cost me $10. Still need to purchase the plastic body pins along with some 3M spray glue to glue the panels together. May not get a chance to work on it again till early next week. Figure so far I have roughly $30 total into it. Thanks for lookin'. :th_winking:
Last edited:
")
