BillBoost37
New member
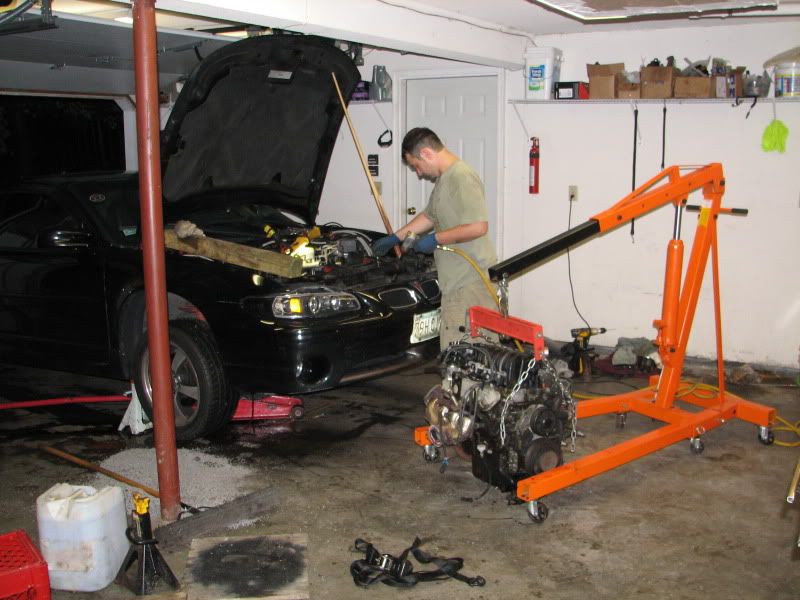
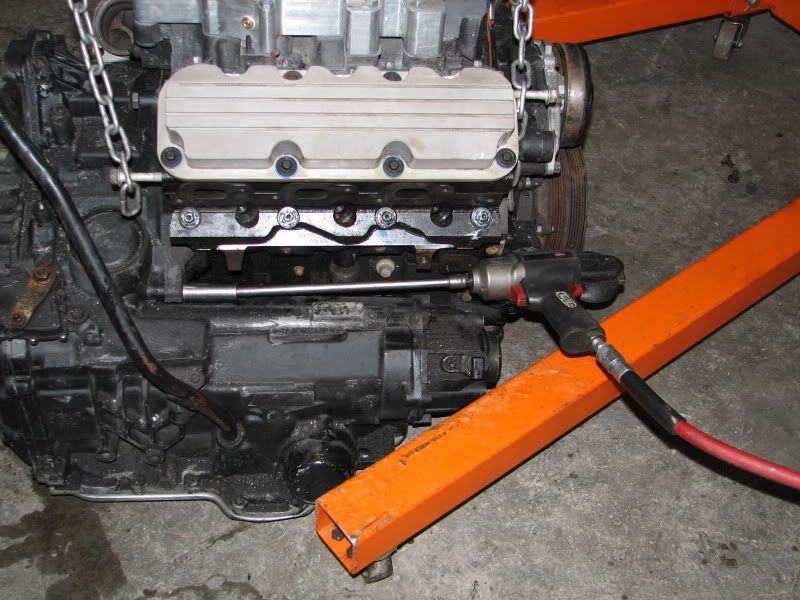
This is the typical way I will pull an engine out the top. I've found it to be about the fastest way. Little things like working while the oil and coolant are draining will save you more time. Taking the tools indicated to the car once will always save you time.
1. Jack and support the car
2. Disconnect negative battery cable
3. Drain engine oil and coolant
Top of motor
Tools: hose clamp tool, pick, 10mm socket, magnet (for 10mm's if needed)
4. Disconnect TPS, MAP, IAC, Evap, big connector next to passenger dogbone connection (on motor), ECT, alternator (cable plus connector), EGR and injectors. (Injectors on older style is push in on wire clip and wiggle connctor off)
5. Unclip the couple of places the wiring loom is held on the top of motor. Unclip loom that goes down by the rear of the anlternator.
6. Unhook top radiator hose at engine, Unhook lower at radiator or engine, remove heater hoses at alternator bracket.
7. Disconnect fuel lines. If you do not have the tool, remove the 4 10mm nuts holding the fuel rail to the engine and gently flop the rail with lines attached up on the cowl/windshield. Disconnect Evap lines at the evap soleniod. Typically one squeeze to make round connector.
Under passenger side
13mm, 15mm, 18mm, 19mm sockets, long extension (close to 3 feet), something to tie up a power steering pump, phillips screw driver
8. Remove passenger tire
9. Remove splash shield
10. Going through the power steering pump pulley, loosen 2 13mm bolts. One at 6 o'clock, one at 12. Leave the bolts in the pump. Tie the pump up to the strut tower or hood support to hold it up. NOTE: if this is the first time the pump has been moved, there is a wire/connector clipped to the back of it. Pull the connector loose from the pump. And disconnect the connector. This is your rear knock sensor extension harness.
11. Disconnect the oil pressure sensor and remove the oil pressure sensor. It will leak about a 1/2 cup of oil.
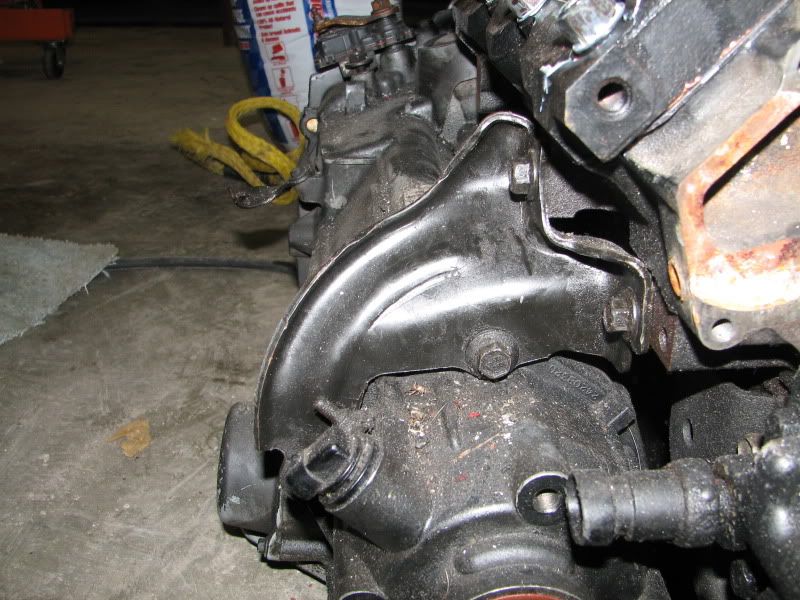
12. Look straight in at a black bracket from teh diff to engine. Remove the 4 13mm bolts holding it in. Remove bracket
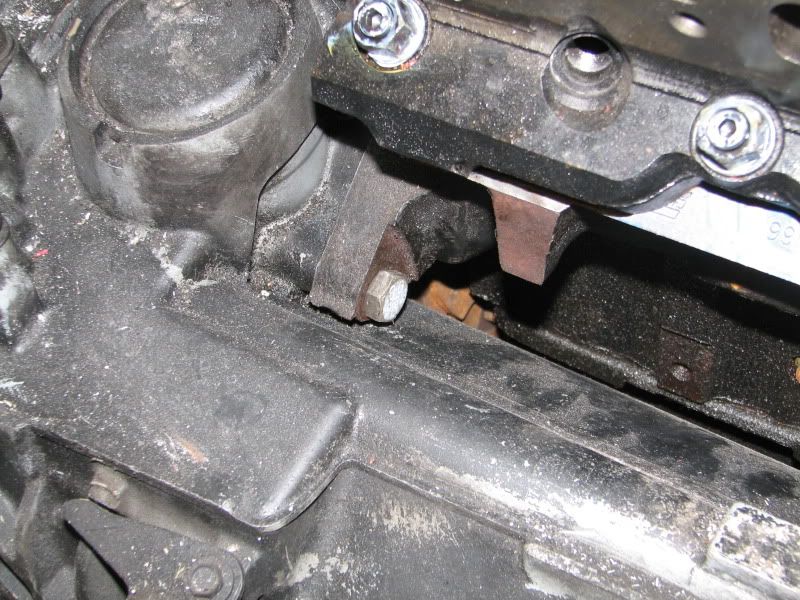
13. Look along the back of the engine toward the transmission, see the 18mm bolt. Using the long extensions and a deep 18mm socket, remove that bolt. The long socket will hold the bolt.
14. Remove the electrical connector on the top front of the AC compressor. Remove 3 15mm nuts holding the AC compressor to the bracket.
15. Look under the motor mount under the subframe and remove 2 15mm nuts holding the mount to the subframe.
Under front of car:
8mm, 10mm, 13mm, 15mm, 18mm sockets, flat screw driver, I like a 10mm ratcheting wrench, pick
16. Remove the 3 10mm bolts holding the plastic inspection covers over the starter and flex plate.
17. Remove the 2 15mm bolts holding the starter to the motor
18. Remove and reinstall (once wiring is off) the 8mm nut and 13mm nut holding the wires to the starter. Might be good to zip tie the wires from the 13mm nut together so you can't confuse the black one with a ground on reassembly.
19. On the front of the oil pan is the oil level sensor. Turn if necessary to see a gap in it. Use your pick to push frm the oil pan outward in that gap. There is a connector and it's clipped, but you likely can't see it under the grime.
20. Remove the two 15mm bolts holding the AC compressor to the bracket in the rear. Push it off the front studs and allow it lay on the front subframe member.
21. Turn the engine with your screwdriver through the inspection area via the teeth of the flexplate to see the torque converter bolts. Remove the three 18mm TC bolts holding the flex with your screwdriver. Optionally a helper turning the harmonic balancer bolt and holding it for you can eliminate the screwdriver. Who has a helper though?
Under rear of engine:
13mm or 15mm socket and long extension. Ideally you have Snap on Deep ball pivot sockets.
22. Remove the two exhaust manifold to dowpipe nuts.
Front top (drivers side)
23. Look at the bolts holding the transmission to motor. At the bottom most front position is the bolt/stud holding the negative battery cable. Remove the 15mm nut holding the cable/grounds. Remove the grounds, then with an 18mm remove that bolt.
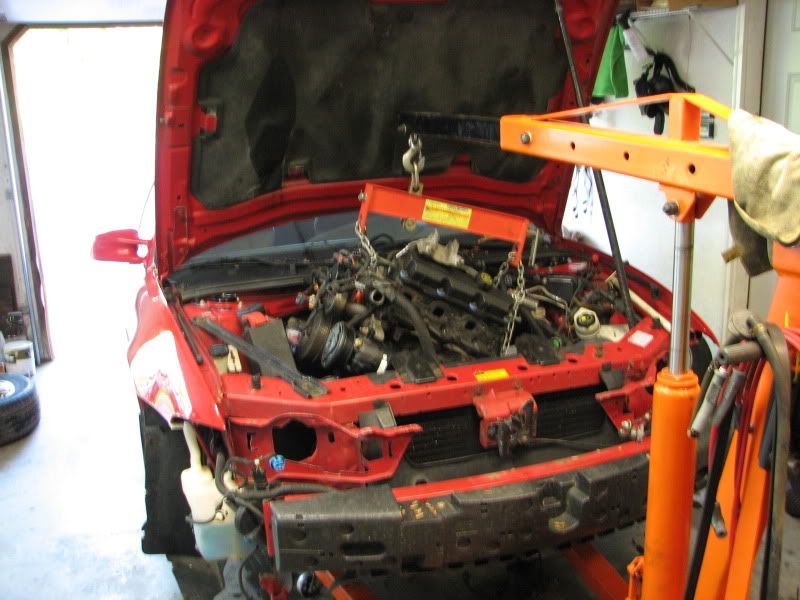
24. flop the wiring harness to the passenger side, off the motor. Position your hoist in place, hook up and lightly take the slack out of the chains.
25. Take the remaining 3 18mm bolts out of the transmission to engine.
26. Position a floor jack under the passenger end of the transmission tail shaft. Kiss the bottom of it to support it when the engine is out.
27. Wiggle motor loose and start to lift. Disconnect your hood struts at the hood and prop the hood open for a moment. Pull engine. Reconnect struts.
1. Jack and support the car
2. Disconnect negative battery cable
3. Drain engine oil and coolant
Top of motor
Tools: hose clamp tool, pick, 10mm socket, magnet (for 10mm's if needed)
4. Disconnect TPS, MAP, IAC, Evap, big connector next to passenger dogbone connection (on motor), ECT, alternator (cable plus connector), EGR and injectors. (Injectors on older style is push in on wire clip and wiggle connctor off)
5. Unclip the couple of places the wiring loom is held on the top of motor. Unclip loom that goes down by the rear of the anlternator.
6. Unhook top radiator hose at engine, Unhook lower at radiator or engine, remove heater hoses at alternator bracket.
7. Disconnect fuel lines. If you do not have the tool, remove the 4 10mm nuts holding the fuel rail to the engine and gently flop the rail with lines attached up on the cowl/windshield. Disconnect Evap lines at the evap soleniod. Typically one squeeze to make round connector.
Under passenger side
13mm, 15mm, 18mm, 19mm sockets, long extension (close to 3 feet), something to tie up a power steering pump, phillips screw driver
8. Remove passenger tire
9. Remove splash shield
10. Going through the power steering pump pulley, loosen 2 13mm bolts. One at 6 o'clock, one at 12. Leave the bolts in the pump. Tie the pump up to the strut tower or hood support to hold it up. NOTE: if this is the first time the pump has been moved, there is a wire/connector clipped to the back of it. Pull the connector loose from the pump. And disconnect the connector. This is your rear knock sensor extension harness.
11. Disconnect the oil pressure sensor and remove the oil pressure sensor. It will leak about a 1/2 cup of oil.
12. Look straight in at a black bracket from teh diff to engine. Remove the 4 13mm bolts holding it in. Remove bracket
13. Look along the back of the engine toward the transmission, see the 18mm bolt. Using the long extensions and a deep 18mm socket, remove that bolt. The long socket will hold the bolt.
14. Remove the electrical connector on the top front of the AC compressor. Remove 3 15mm nuts holding the AC compressor to the bracket.
15. Look under the motor mount under the subframe and remove 2 15mm nuts holding the mount to the subframe.
Under front of car:
8mm, 10mm, 13mm, 15mm, 18mm sockets, flat screw driver, I like a 10mm ratcheting wrench, pick
16. Remove the 3 10mm bolts holding the plastic inspection covers over the starter and flex plate.
17. Remove the 2 15mm bolts holding the starter to the motor
18. Remove and reinstall (once wiring is off) the 8mm nut and 13mm nut holding the wires to the starter. Might be good to zip tie the wires from the 13mm nut together so you can't confuse the black one with a ground on reassembly.
19. On the front of the oil pan is the oil level sensor. Turn if necessary to see a gap in it. Use your pick to push frm the oil pan outward in that gap. There is a connector and it's clipped, but you likely can't see it under the grime.
20. Remove the two 15mm bolts holding the AC compressor to the bracket in the rear. Push it off the front studs and allow it lay on the front subframe member.
21. Turn the engine with your screwdriver through the inspection area via the teeth of the flexplate to see the torque converter bolts. Remove the three 18mm TC bolts holding the flex with your screwdriver. Optionally a helper turning the harmonic balancer bolt and holding it for you can eliminate the screwdriver. Who has a helper though?
Under rear of engine:
13mm or 15mm socket and long extension. Ideally you have Snap on Deep ball pivot sockets.
22. Remove the two exhaust manifold to dowpipe nuts.
Front top (drivers side)
23. Look at the bolts holding the transmission to motor. At the bottom most front position is the bolt/stud holding the negative battery cable. Remove the 15mm nut holding the cable/grounds. Remove the grounds, then with an 18mm remove that bolt.
24. flop the wiring harness to the passenger side, off the motor. Position your hoist in place, hook up and lightly take the slack out of the chains.
25. Take the remaining 3 18mm bolts out of the transmission to engine.
26. Position a floor jack under the passenger end of the transmission tail shaft. Kiss the bottom of it to support it when the engine is out.
27. Wiggle motor loose and start to lift. Disconnect your hood struts at the hood and prop the hood open for a moment. Pull engine. Reconnect struts.
Last edited: