• The site migration is complete! Hopefully everything transferred properly from the multiple decades old software we were using before. If you notice any issues please let me know, thanks! Also, I'm still working on things like chatbox, etc so hopefully those will be working in the next week or two.

Hard on's SLP Gtp Journey (Lots of pics) Go away silver paint haters!!!

Hardonyomom

New member
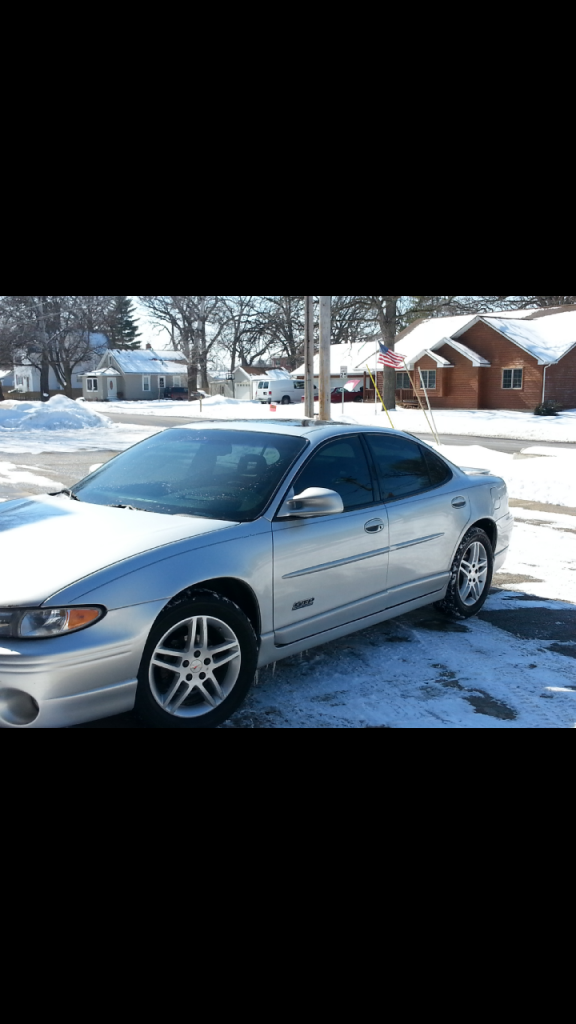
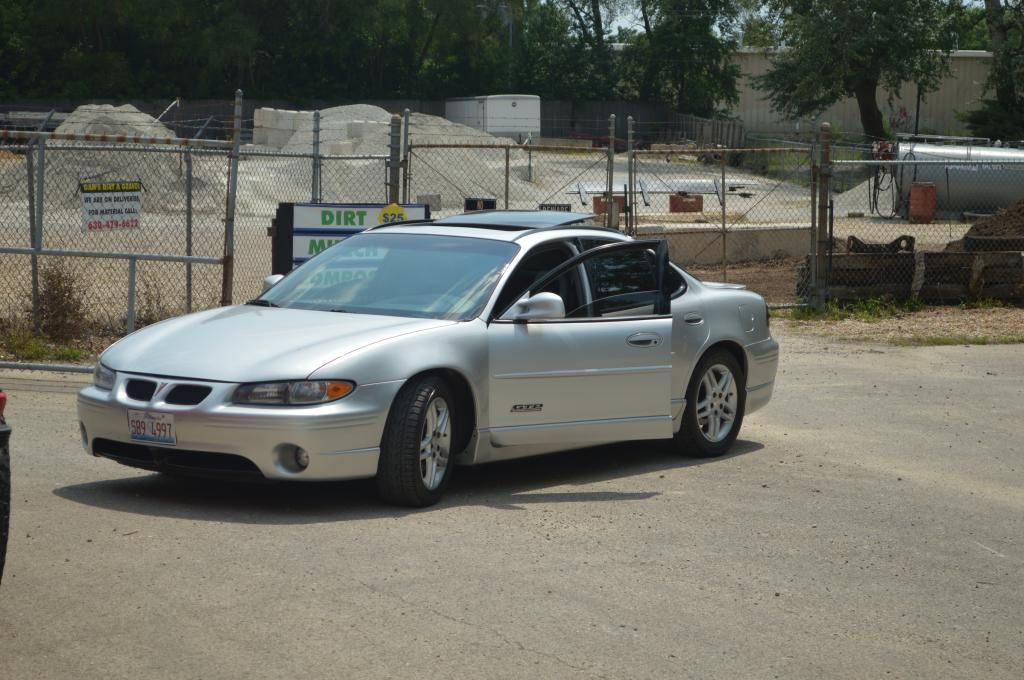
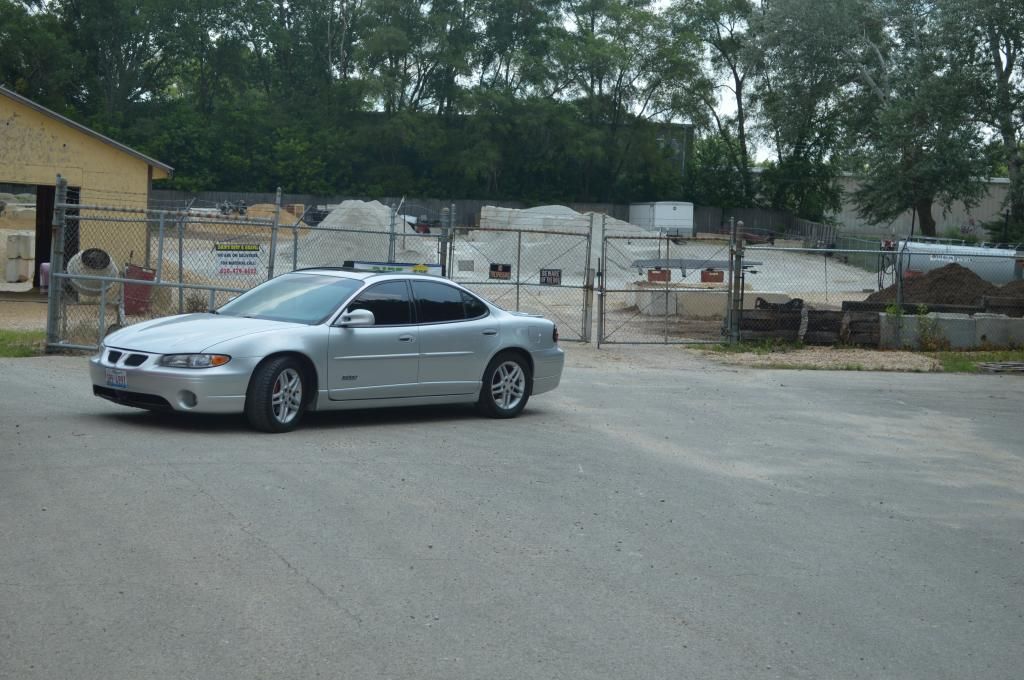
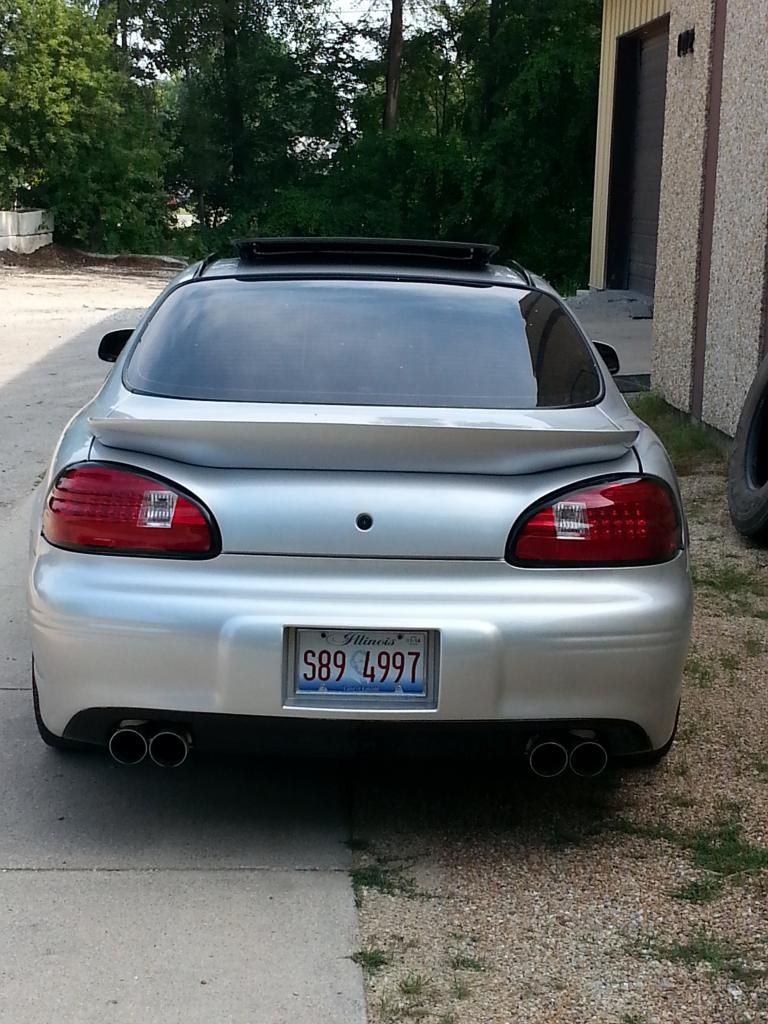
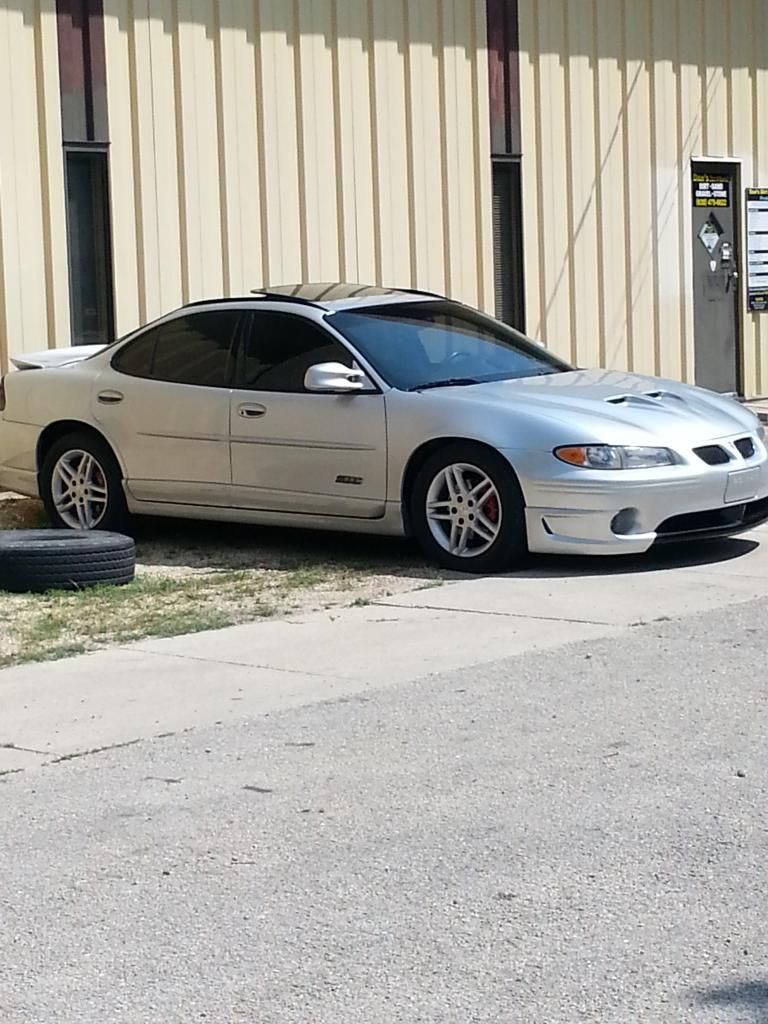
Hey all, Most of you here know me as Hardgainer or Hard on or hard of hearing but anyways I got the car back in December of 2013. I have pictures from the day i got it, all up until now. Every upgrade i have done has been well thought out. In the process i have wasted probably 3 times more than the car is worth but I didnt just want to buy a totally done car. I wanted the hobby of fixing up my car the right way. I bought the car off an old lady that had it for 10 years since 18000 miles. It had 11600 on it when i got and a rebuilt trans done around 112000. I paid 4k for it so i was happy at the time.

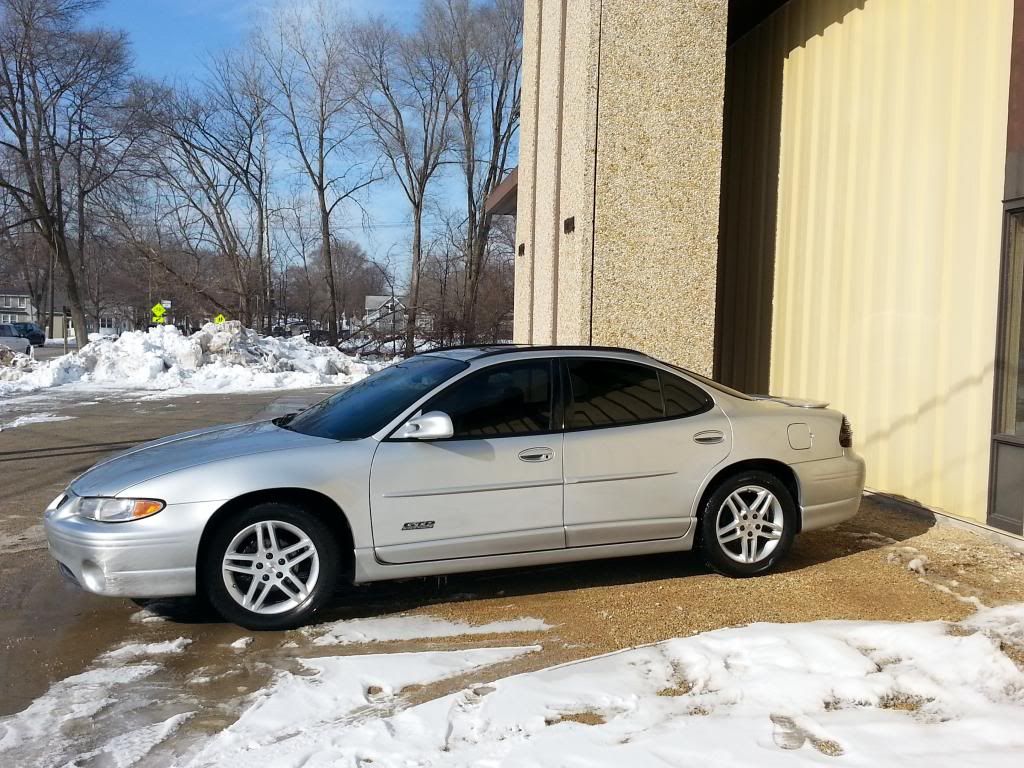
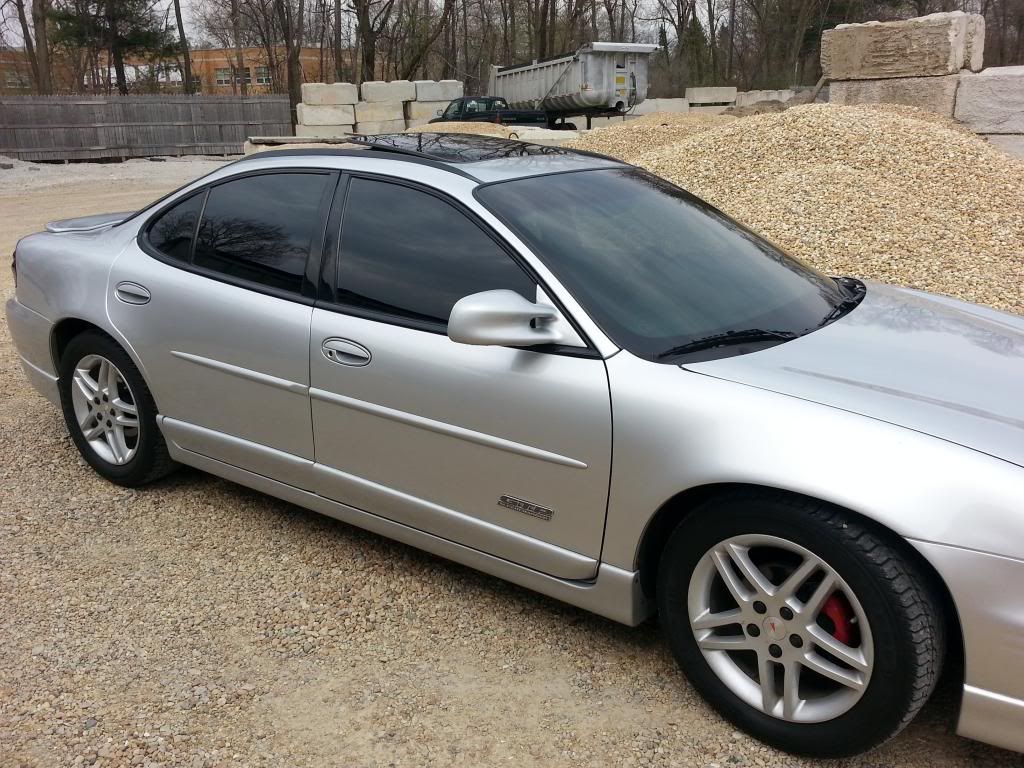
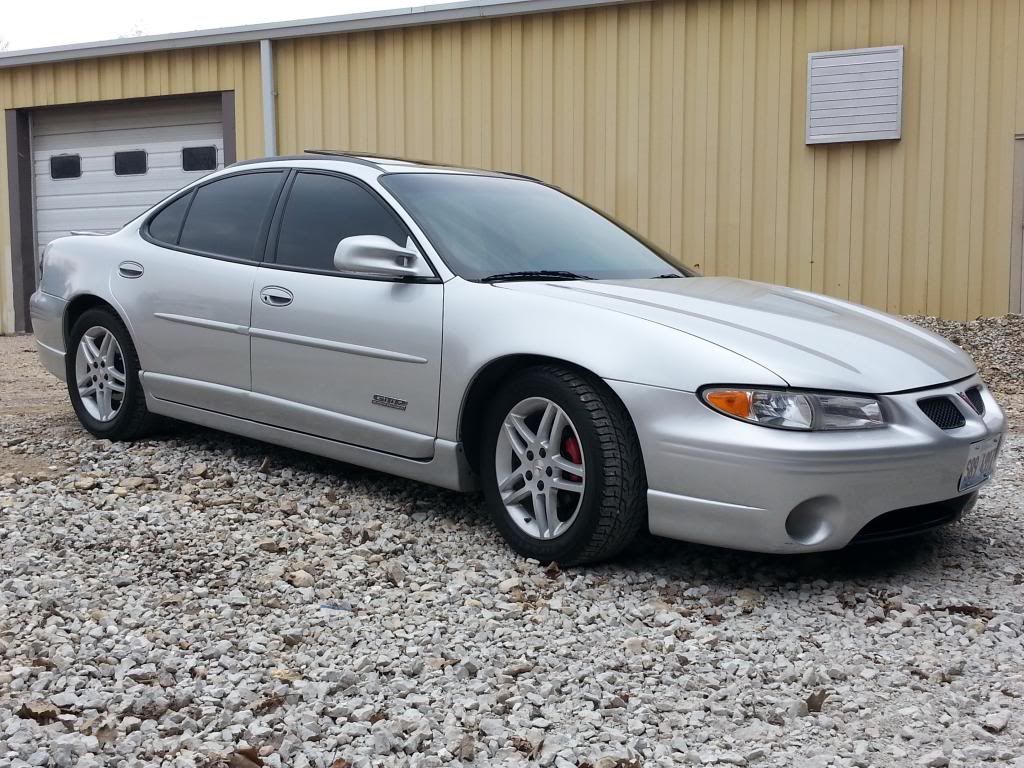
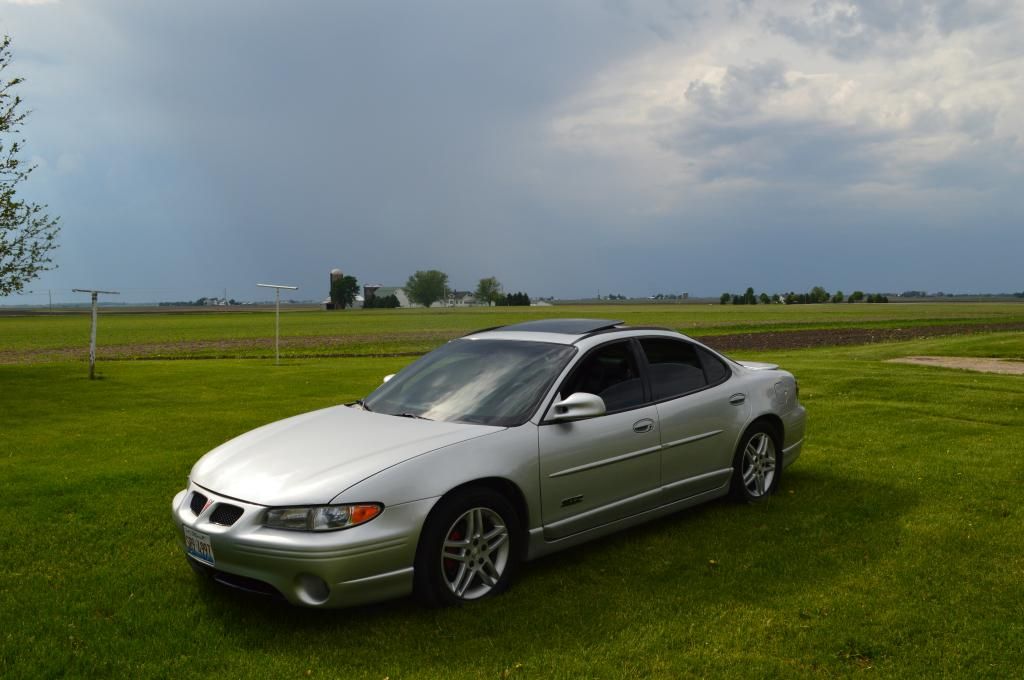
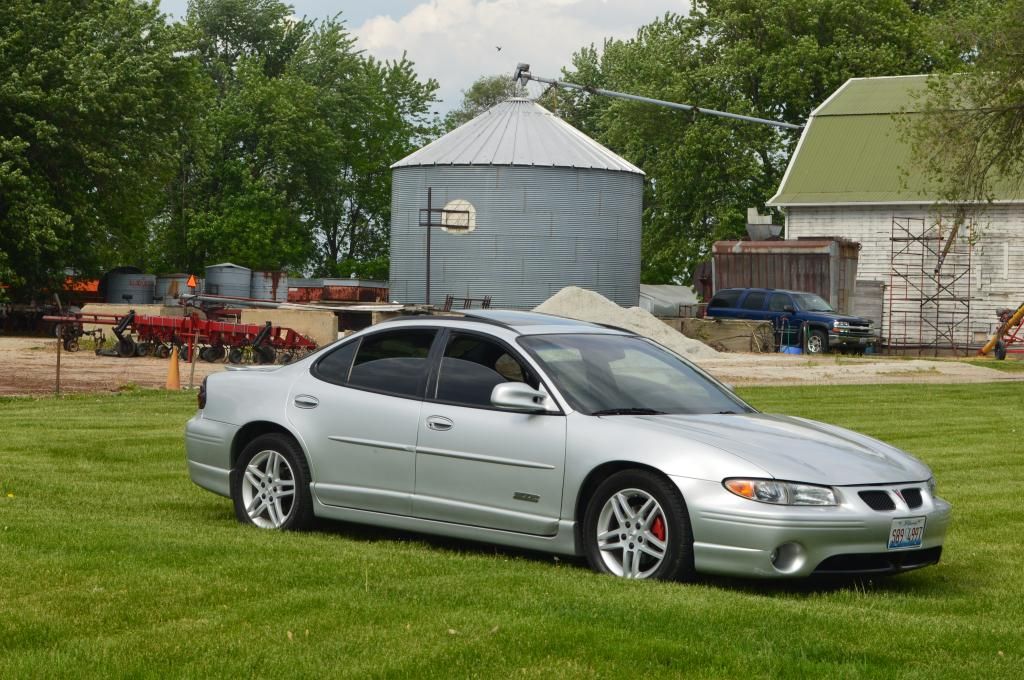
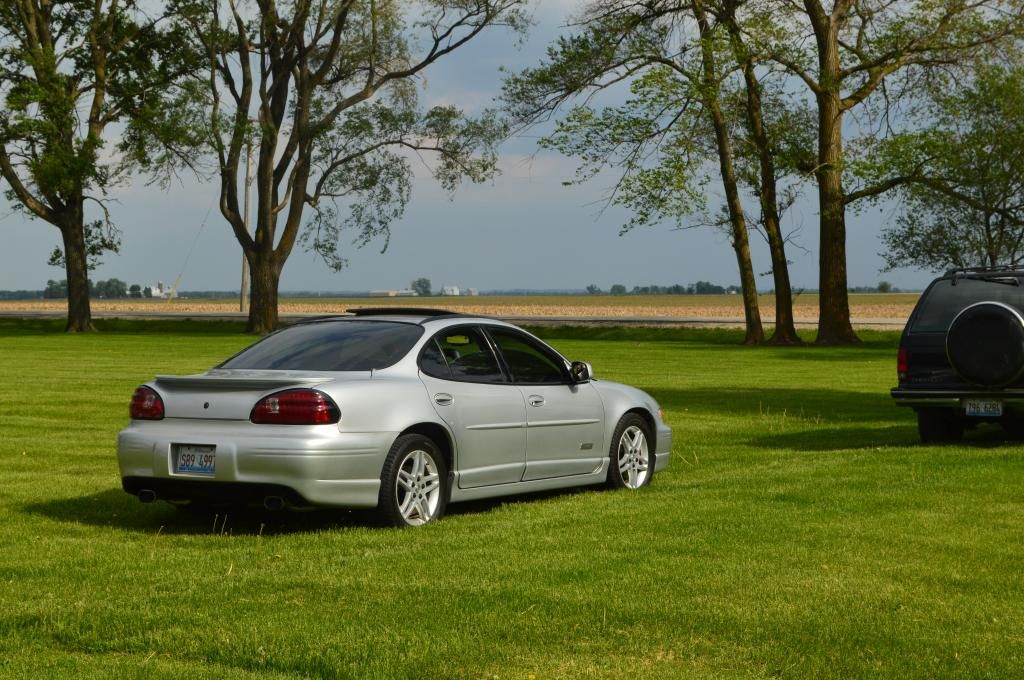
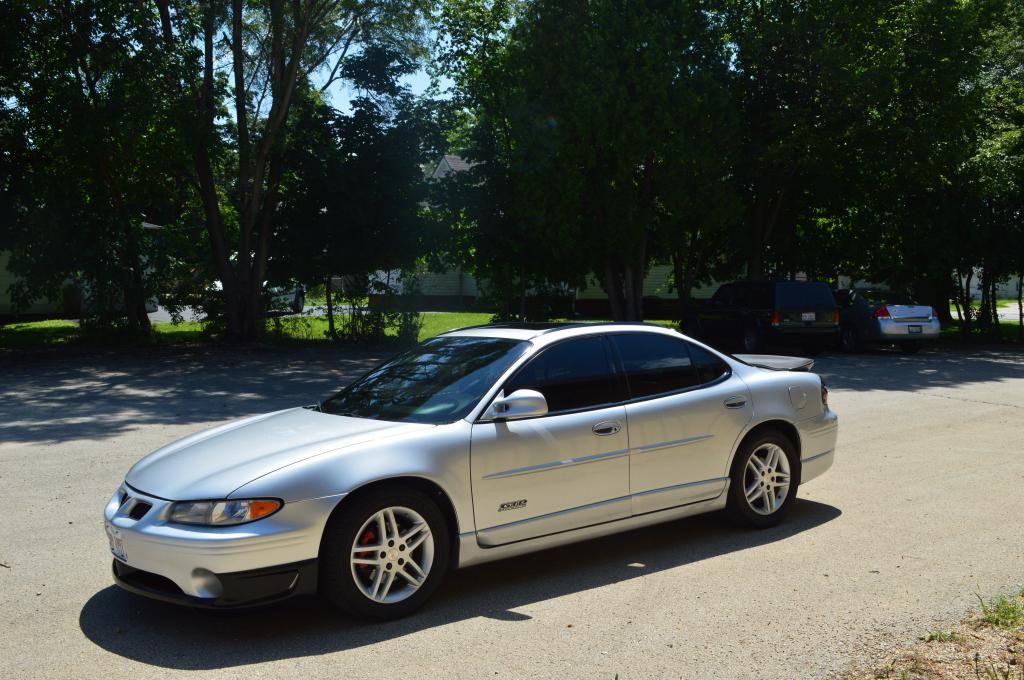
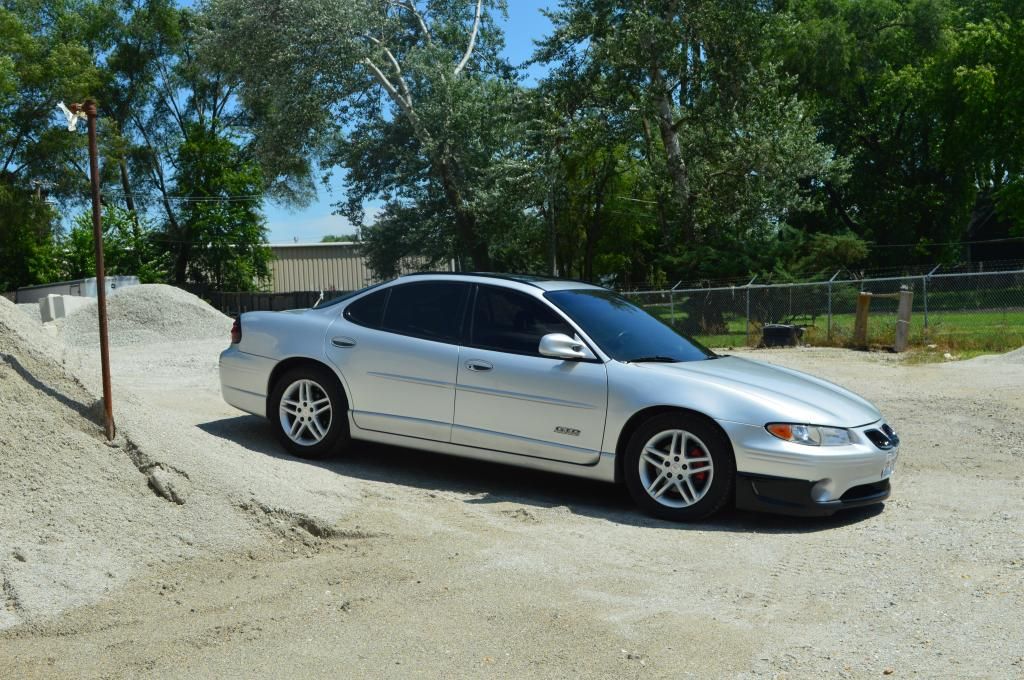
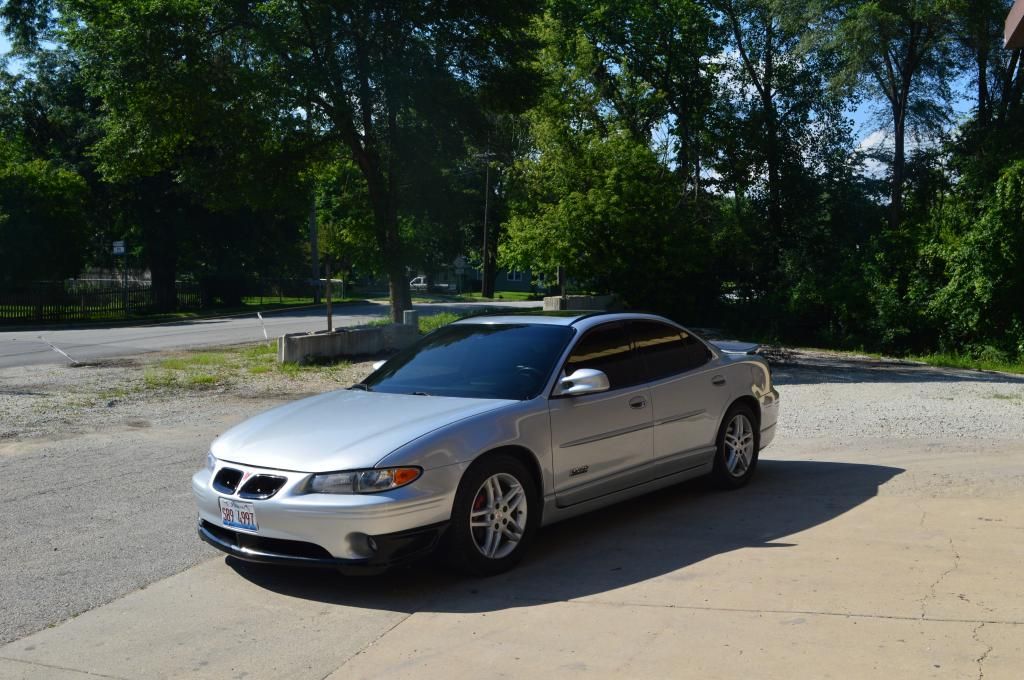
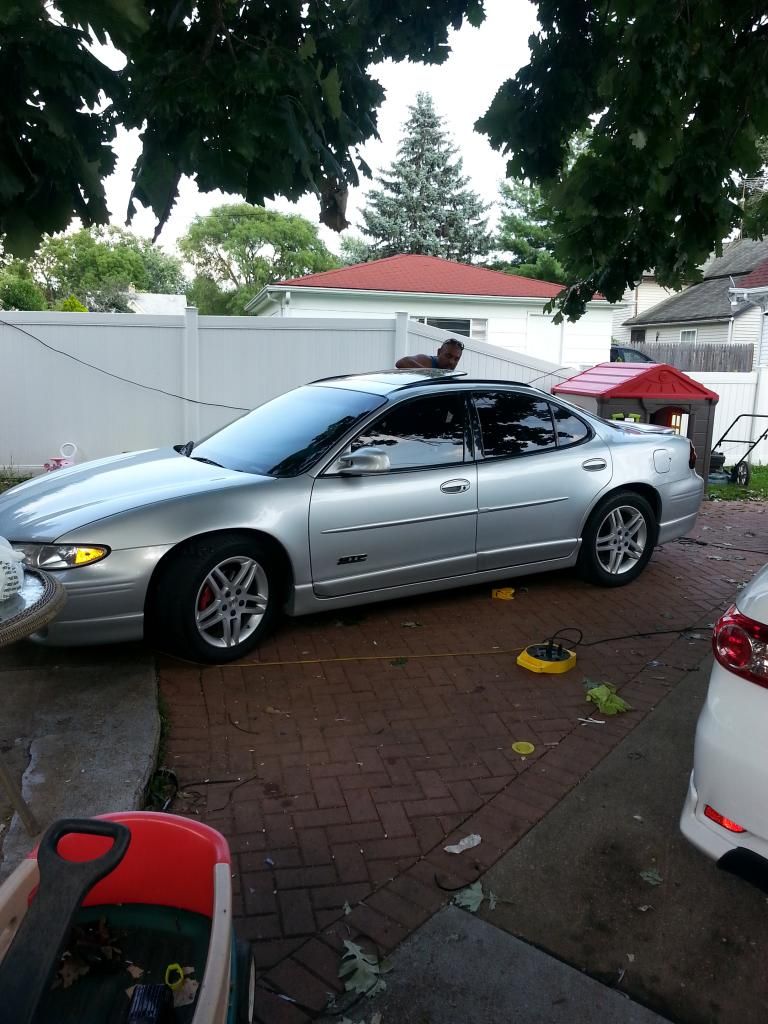
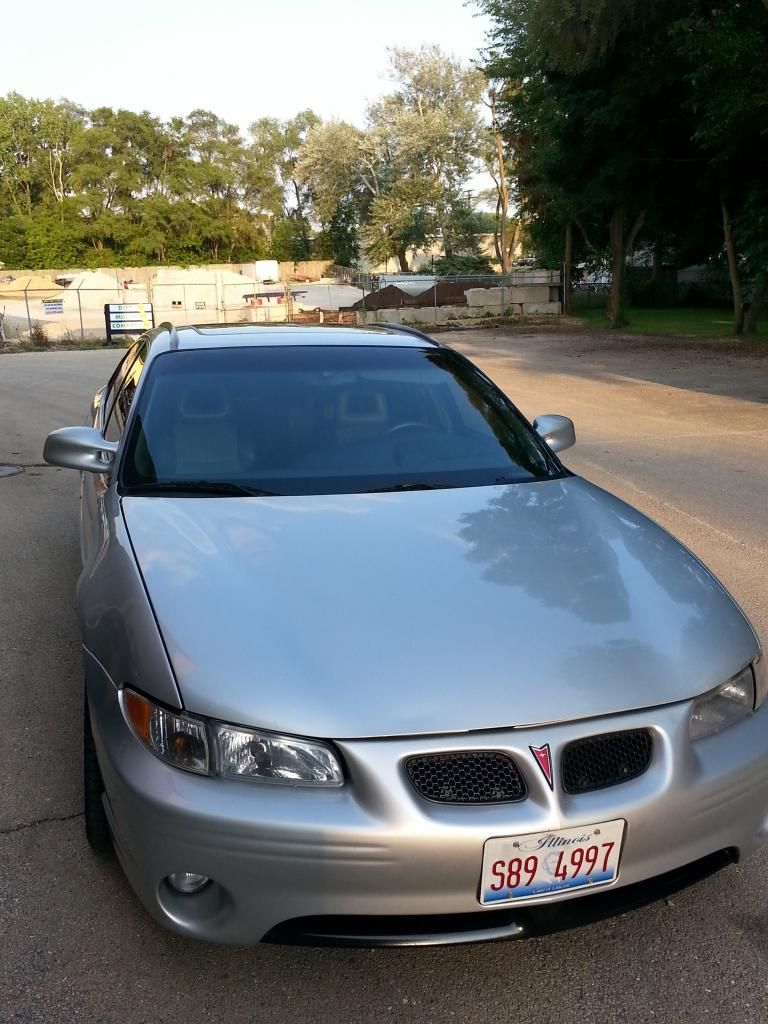
This is my 3rd Gtp. The last one i had i owned for 6 years. It was silvermist. I LOVE the classiness of SILVER!!! Once i sold it, i immediately wanted to try and have One LAST run at the gtp 97-03 bodystyle. Galaxy silver done right is Soo classy IMO! Here are a few pictures to just start this thread out. I will do more organizing and listing of parts when i get time. I would like to create a timeline of everything i have bought and before and after pictures from cosmetic to performance.

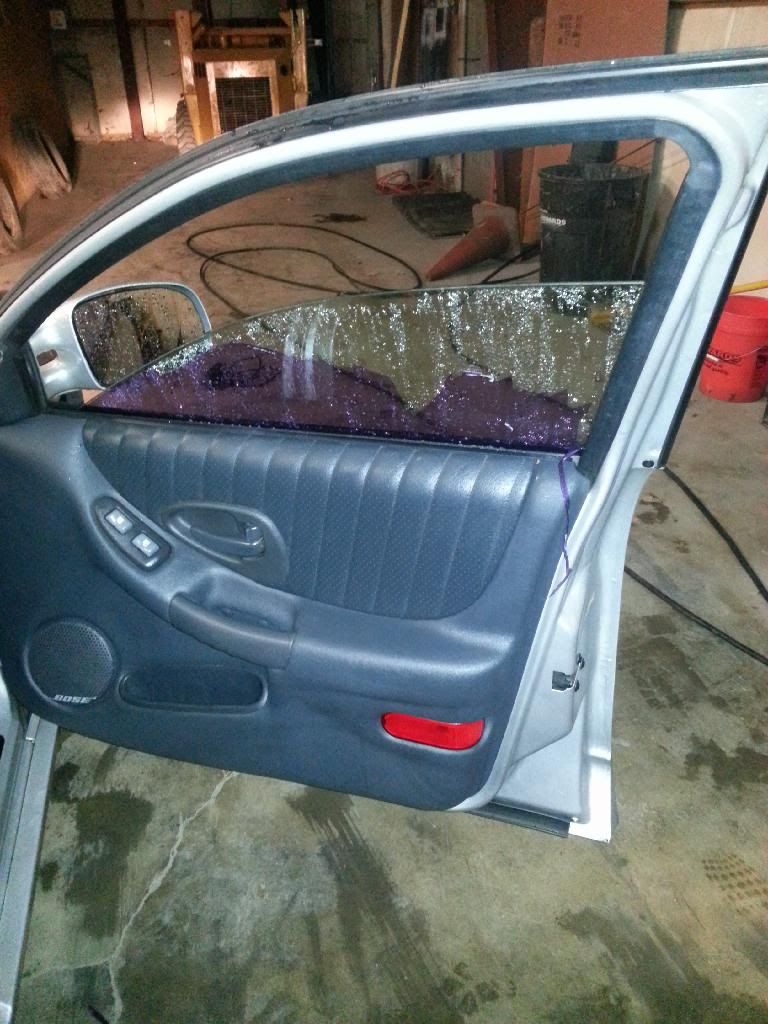
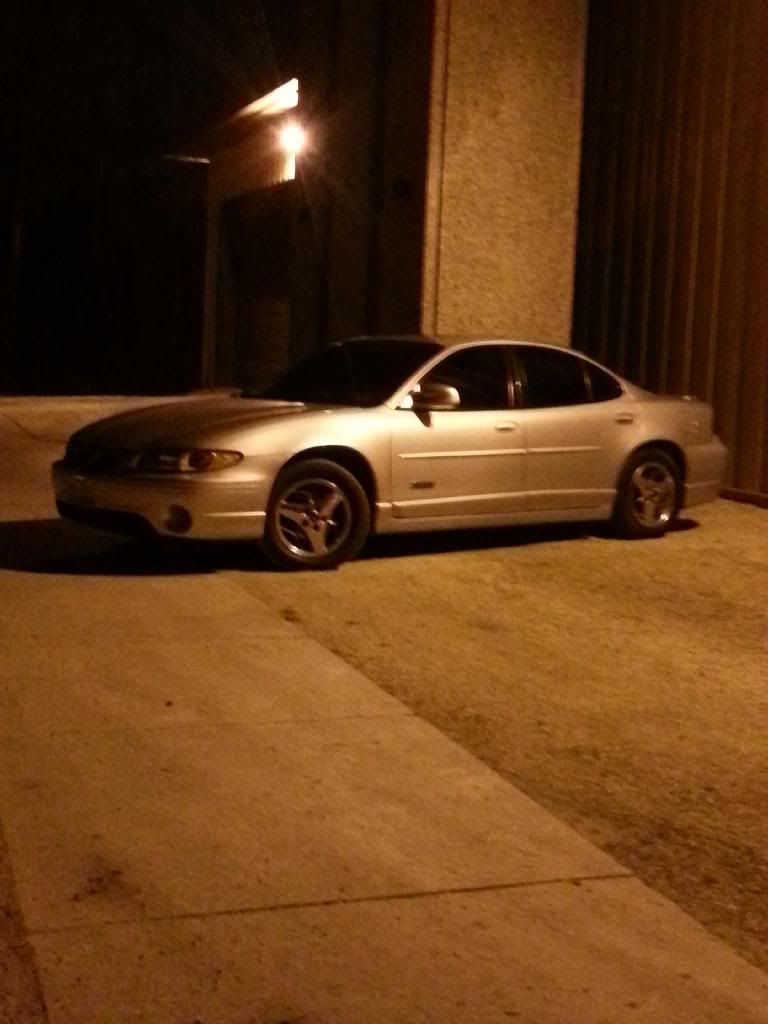
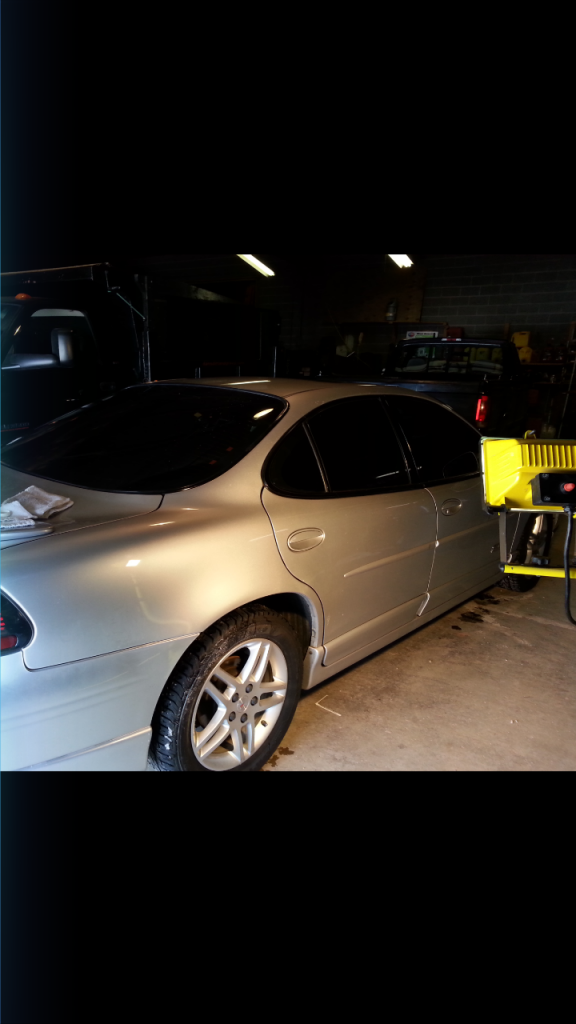
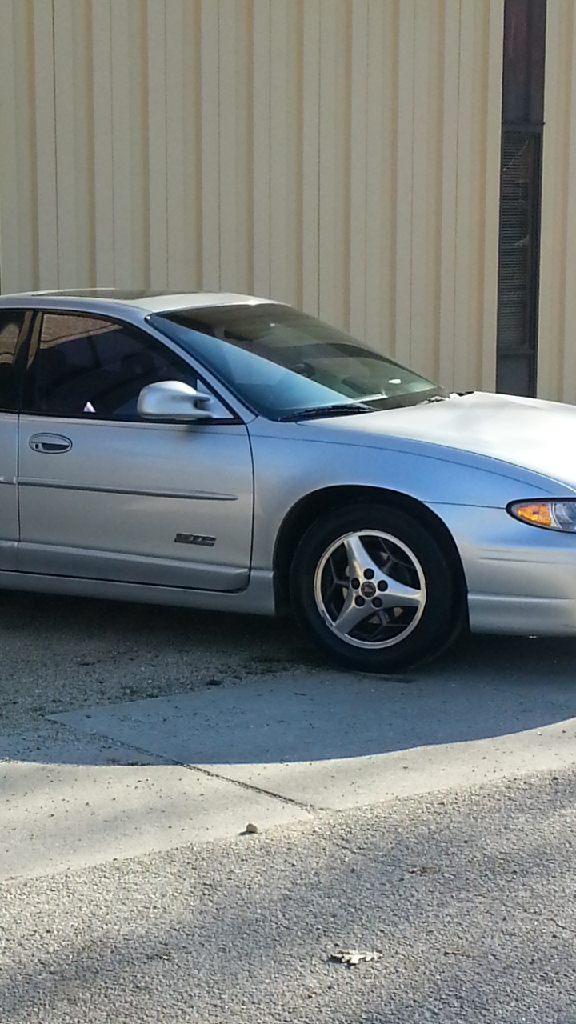
Here is a few from the first week or so i got the car. Notice how the tint was old and purple. I had that changed to 20 percent all around, which still wasn't good enough and ill get back to that more later
Screenshot_2013-12-13-22-49-59.png

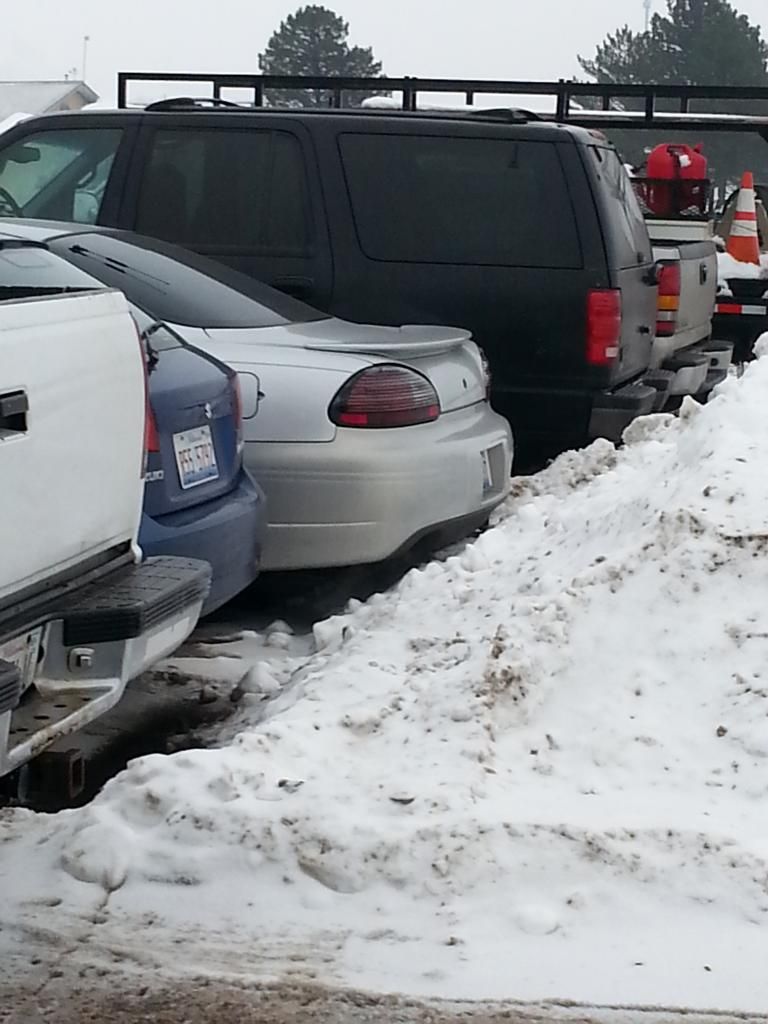
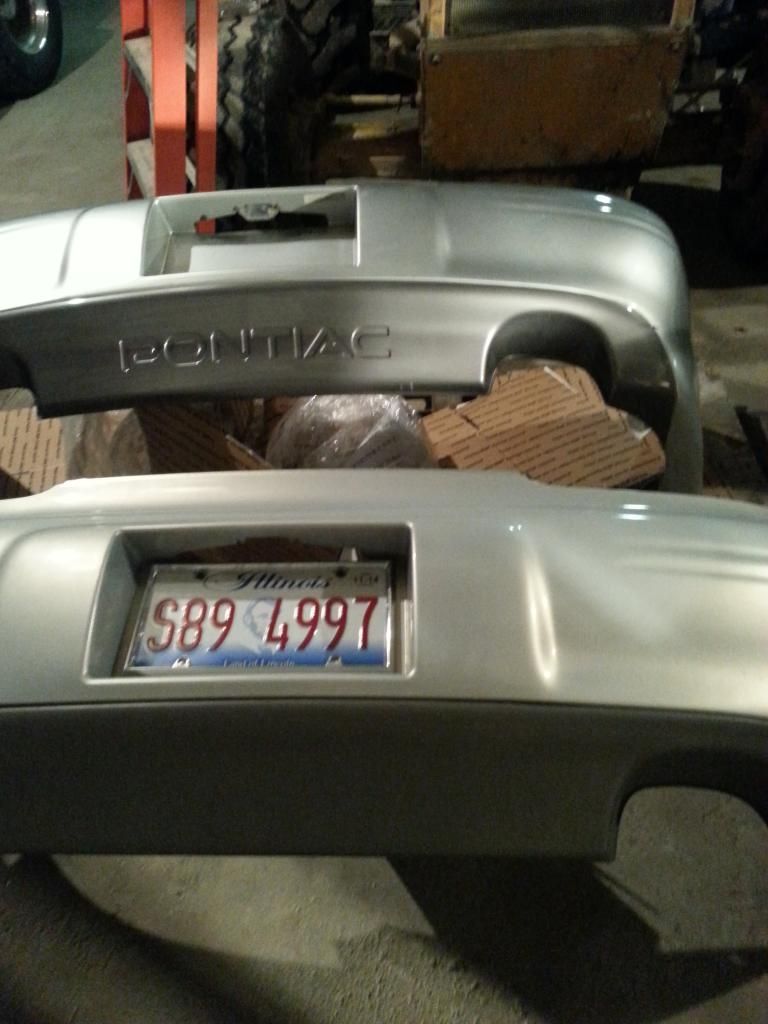
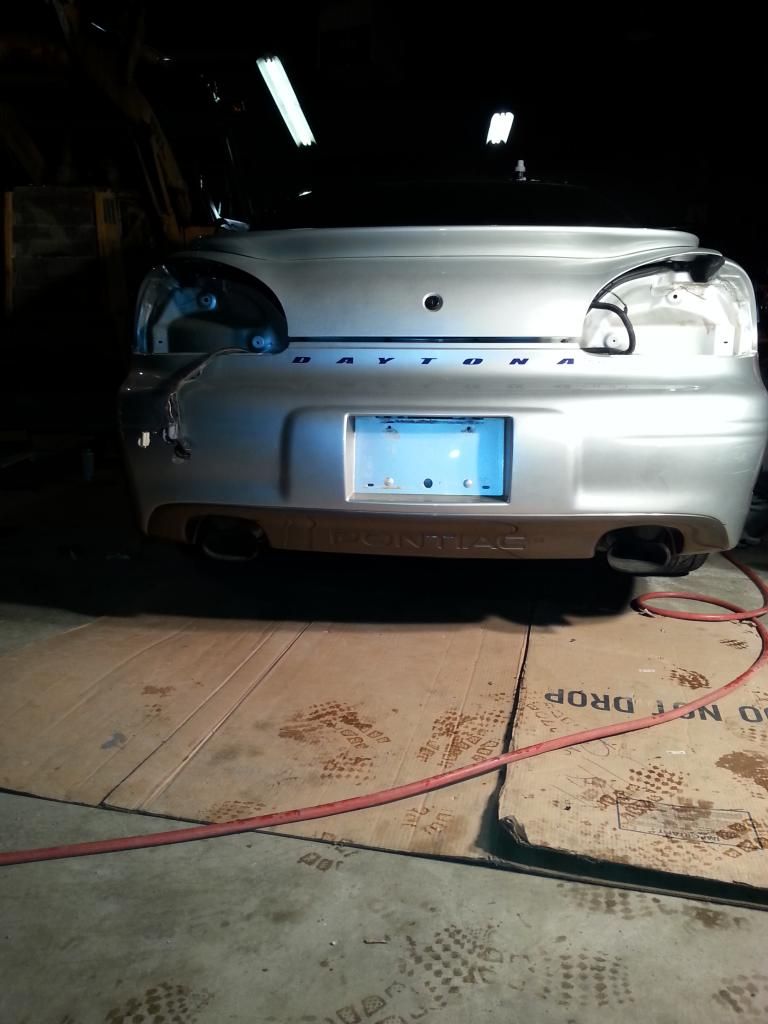
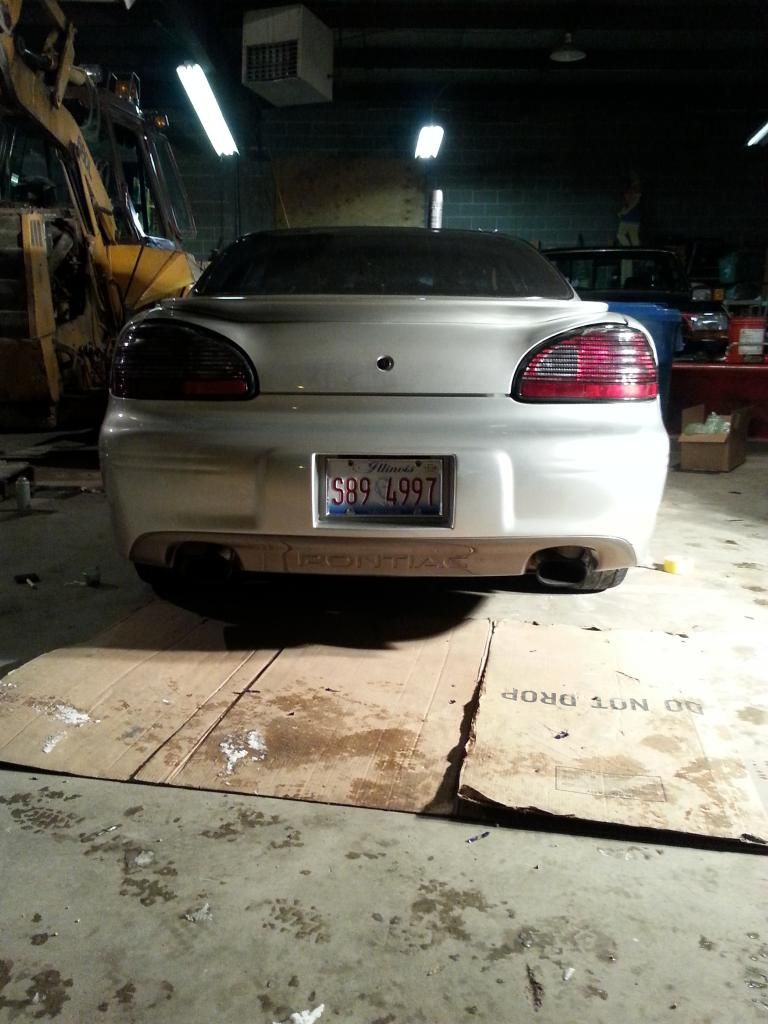
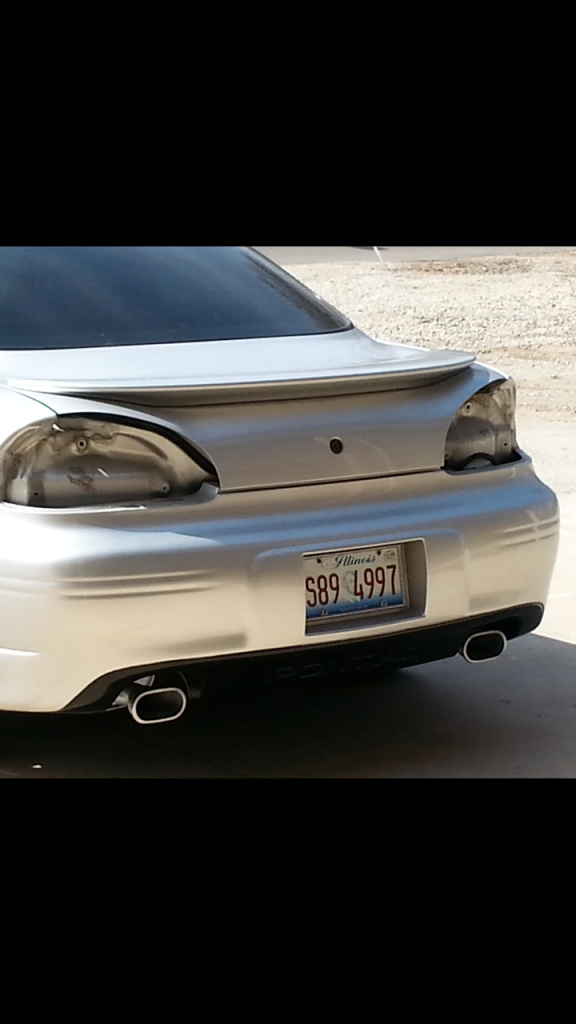
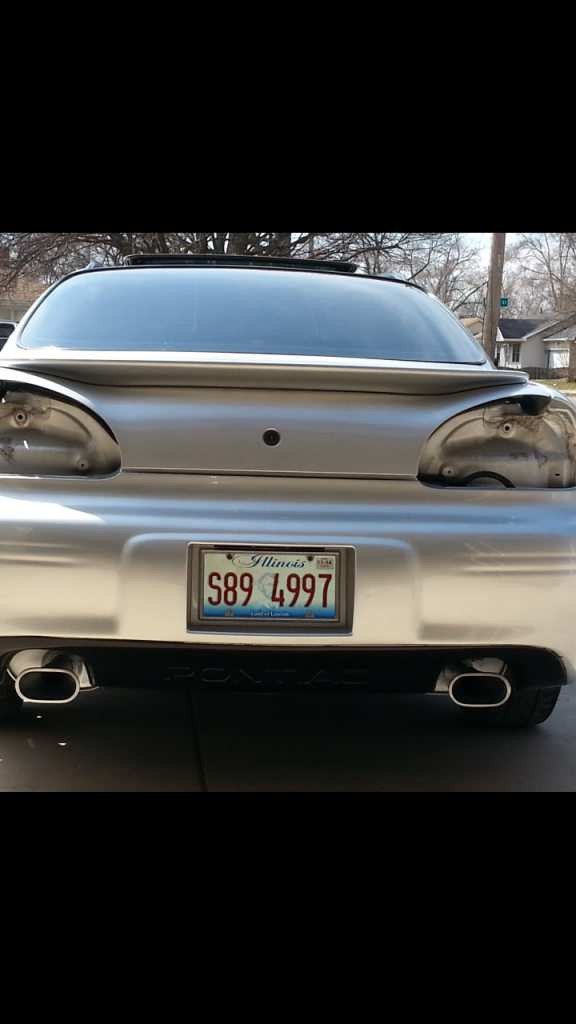
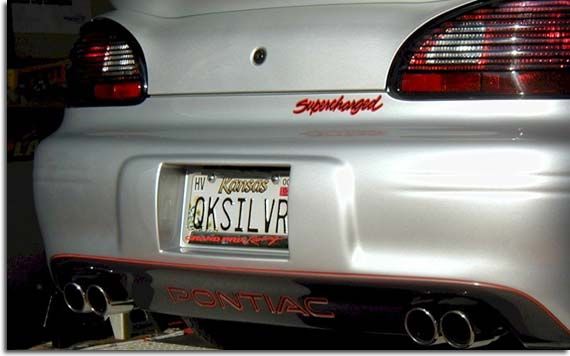
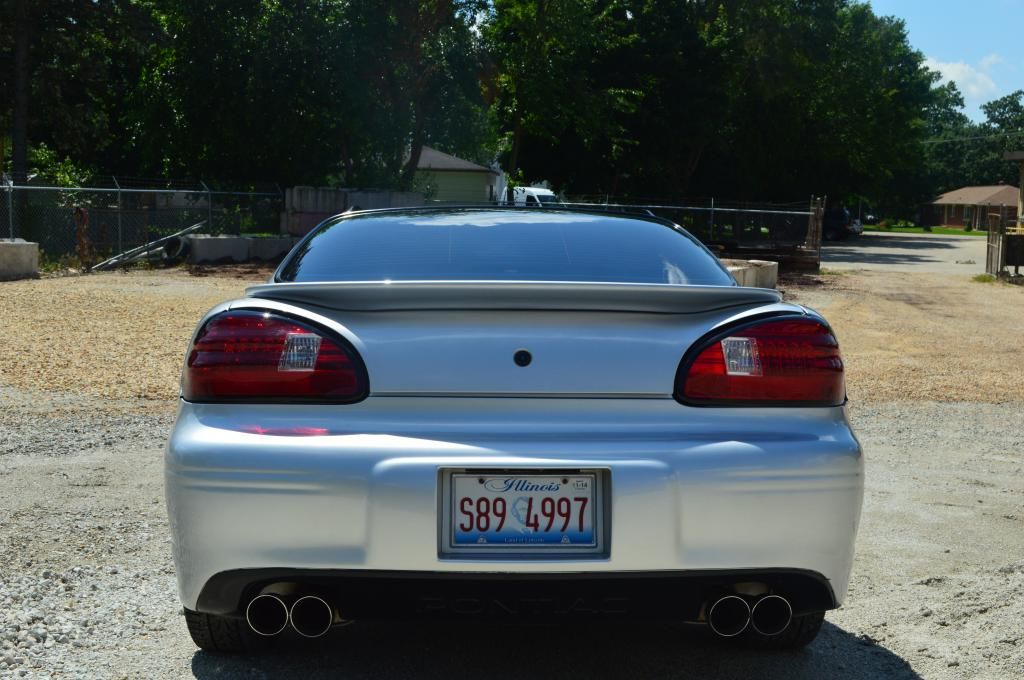
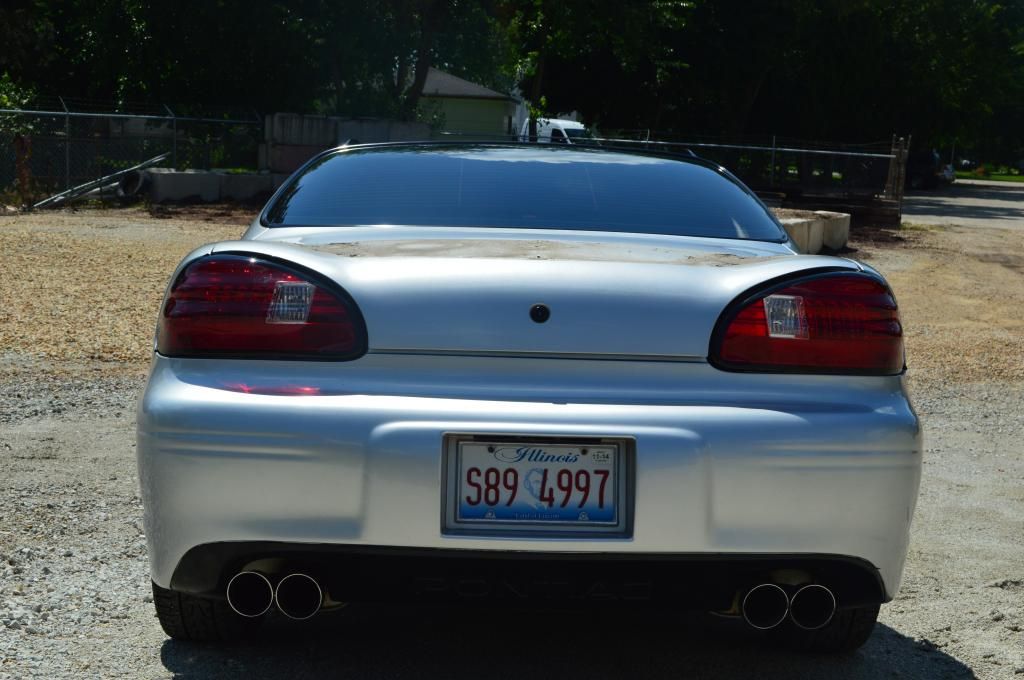
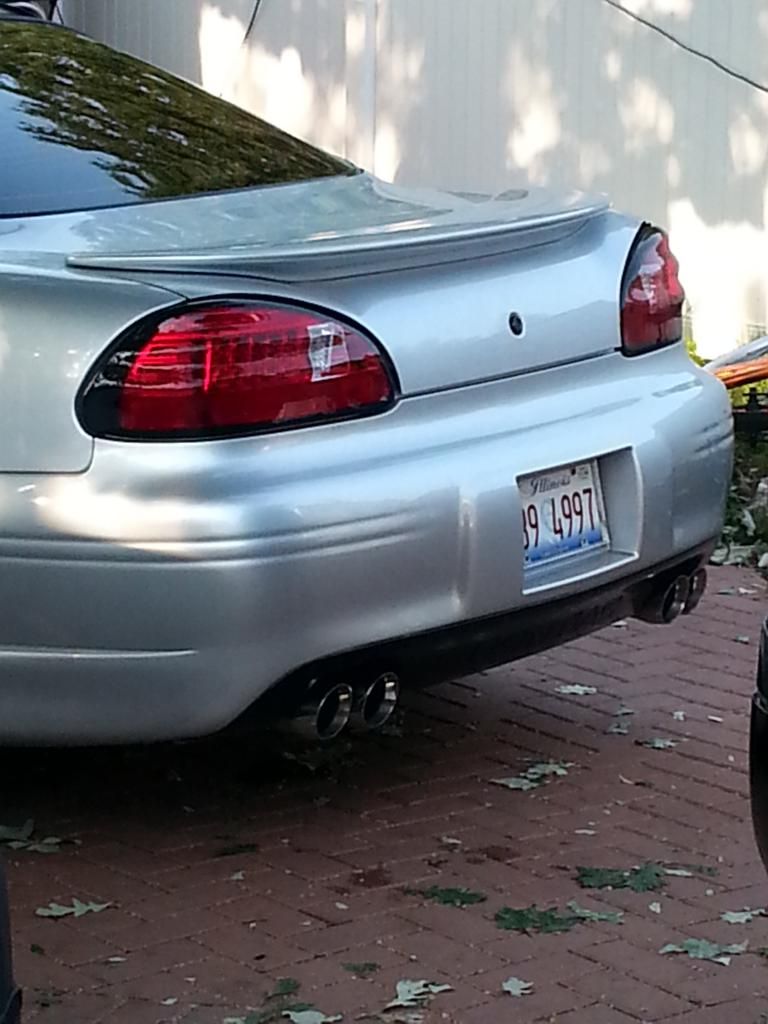
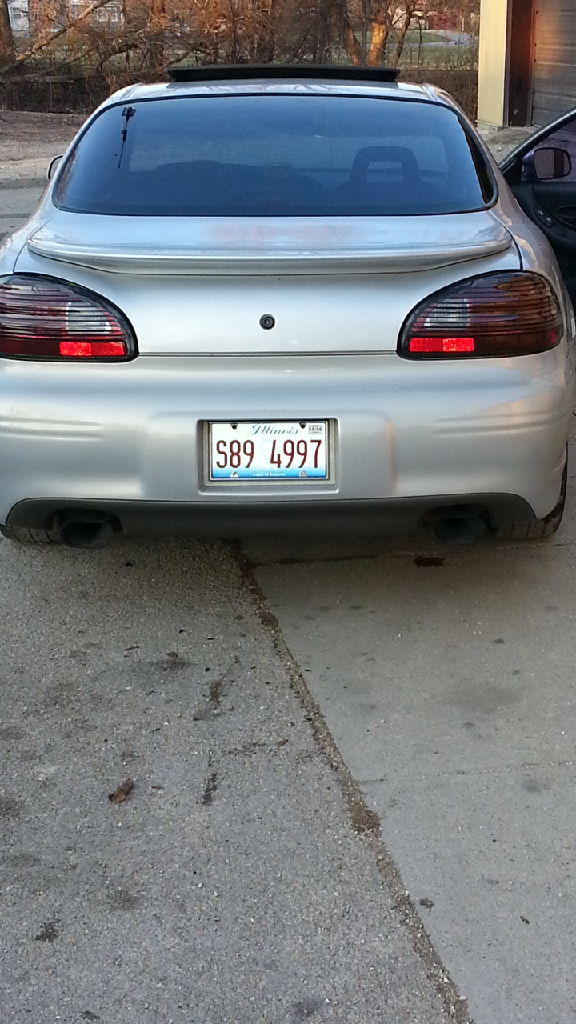
Notice how the rear bumper doesn't even say pontiac on it? yep its a knockoff which i later found out. Was too dumb to notice it at night. I was even too dumb to notice that the paint didn't match on the rear bumper but oh well
Screenshot_2013-12-25-08-31-49.png

Old Tint had to go!!!
20131204_171006.jpg

20131204_182049.jpg

20131204_200158.jpg

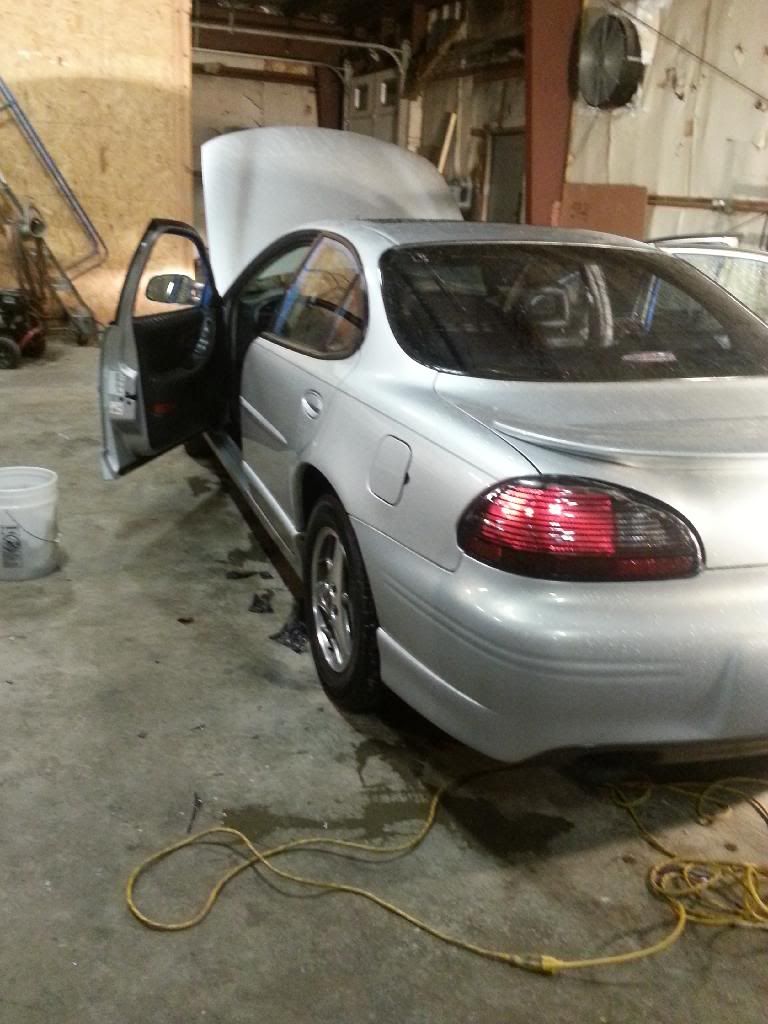
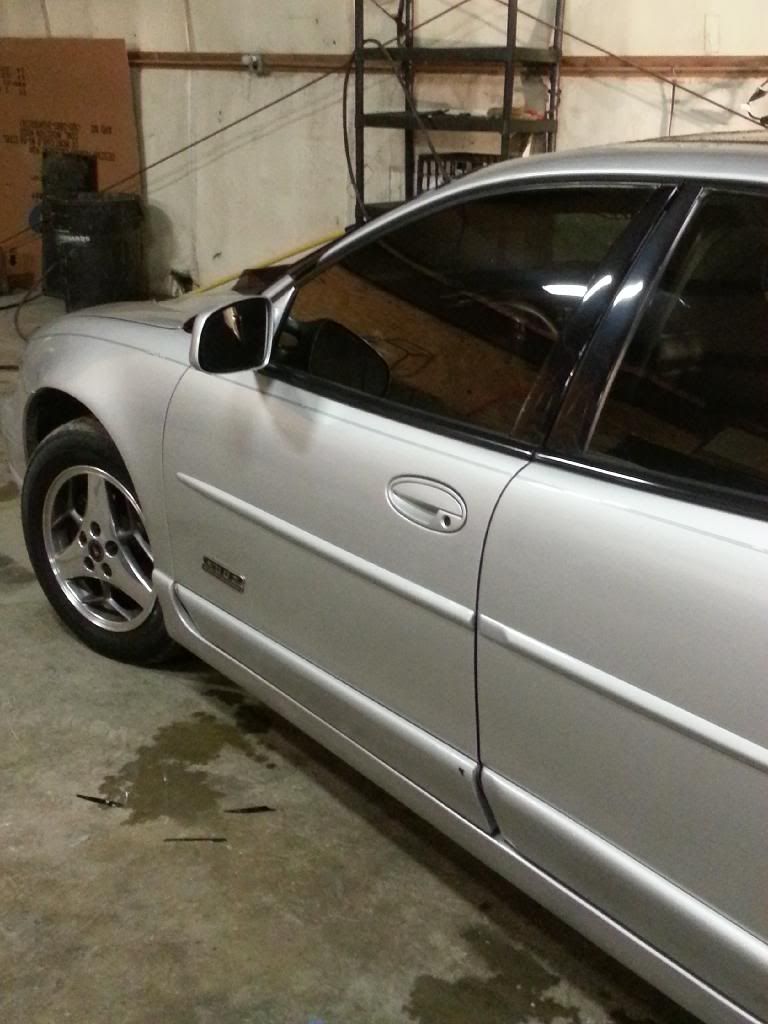
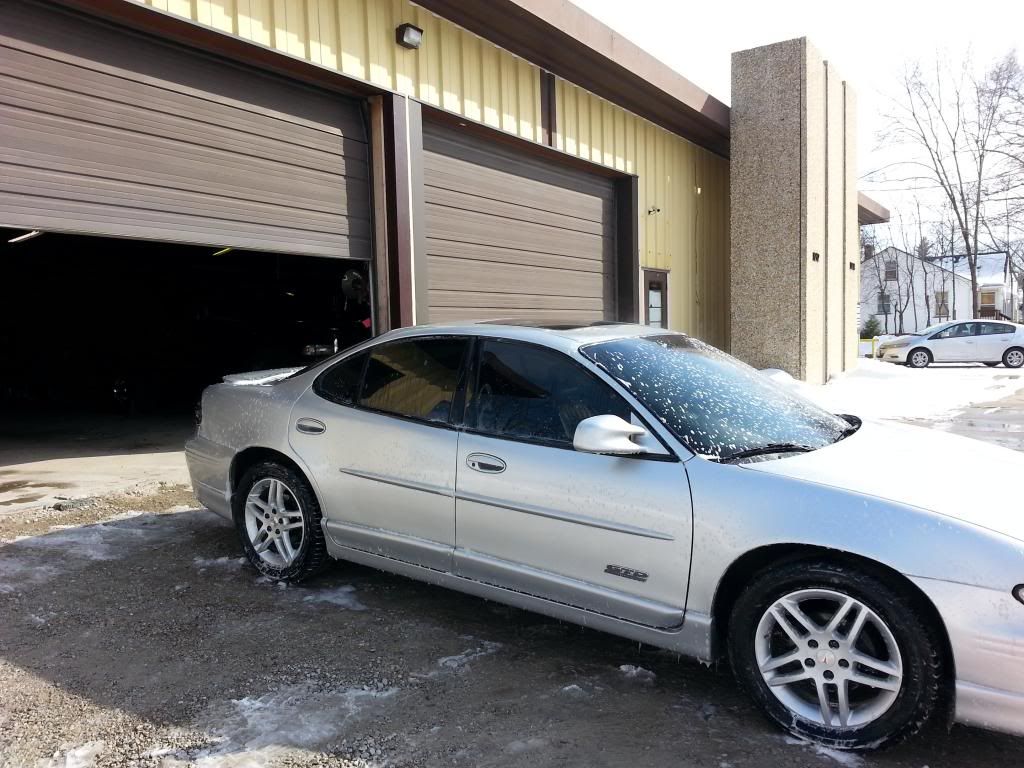
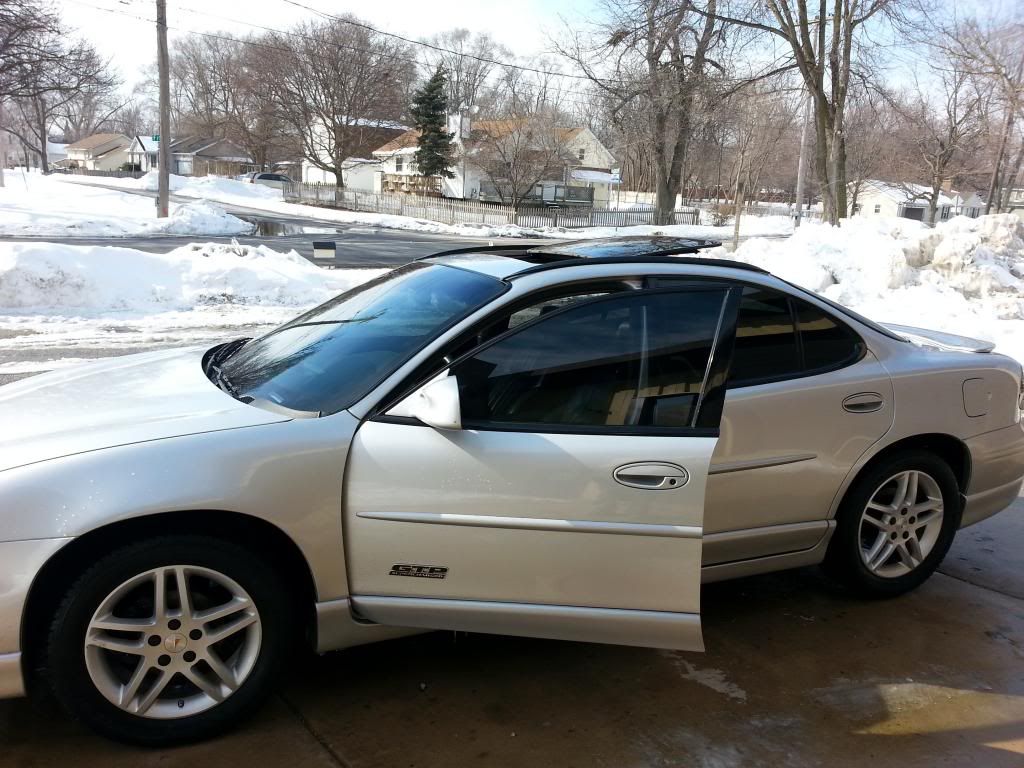
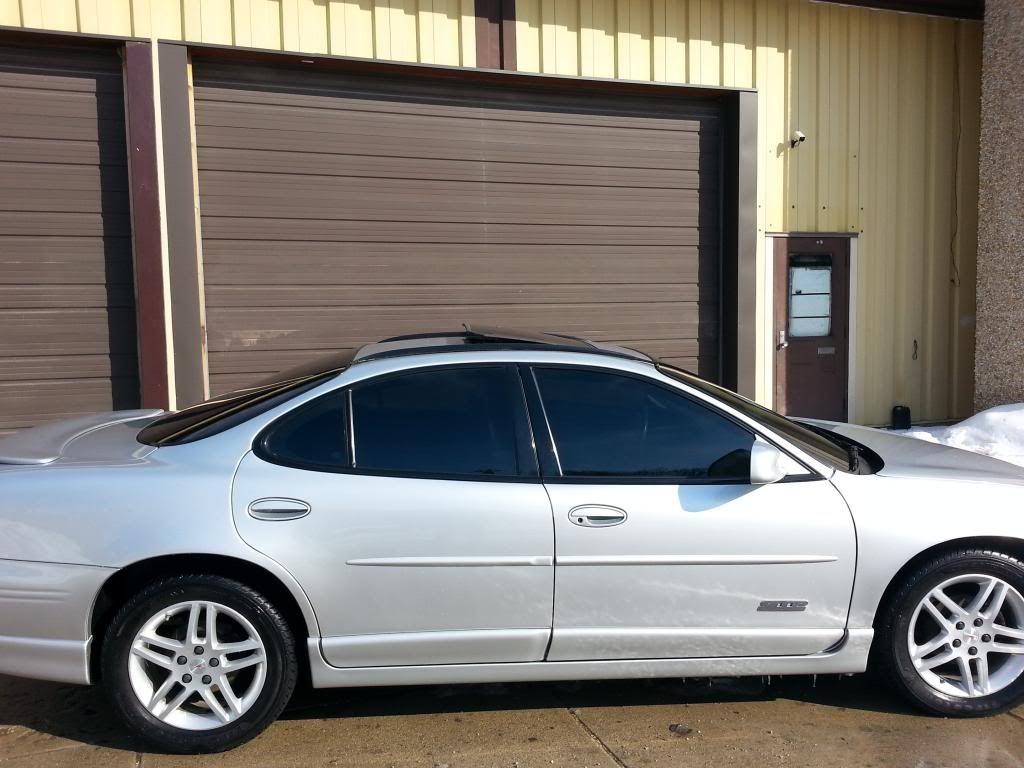
And here she was after new tint of 20 percent all around and stock snowflake wheels with pin stripes.
px1ds.jpg

20131205_204348.jpg


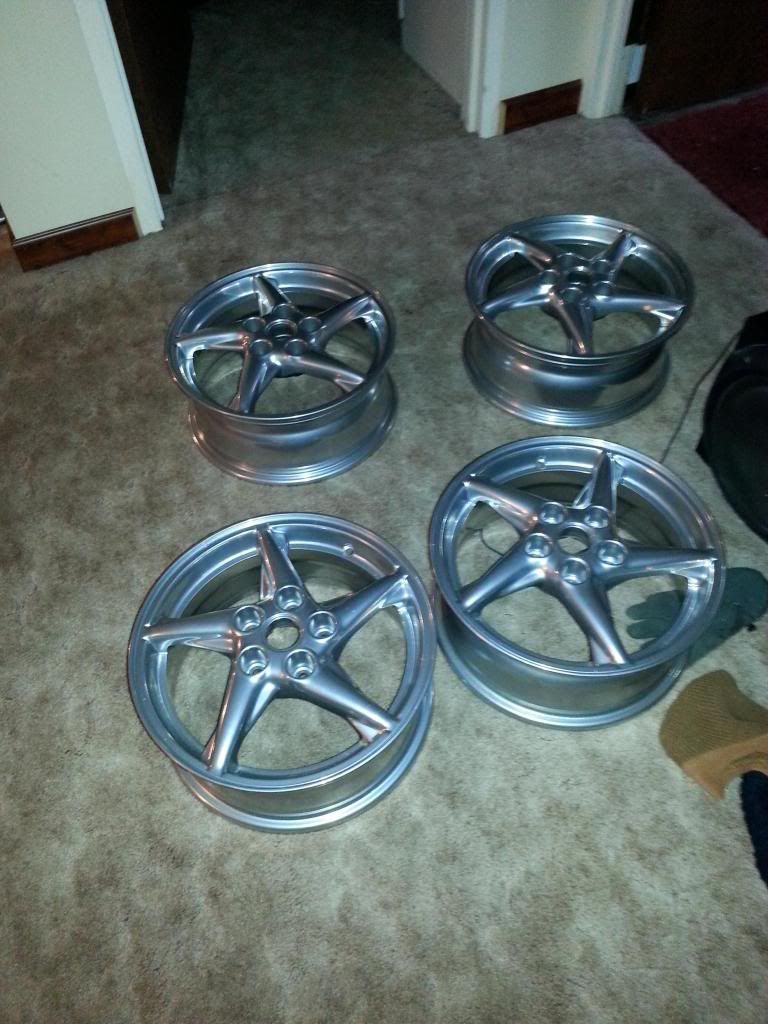
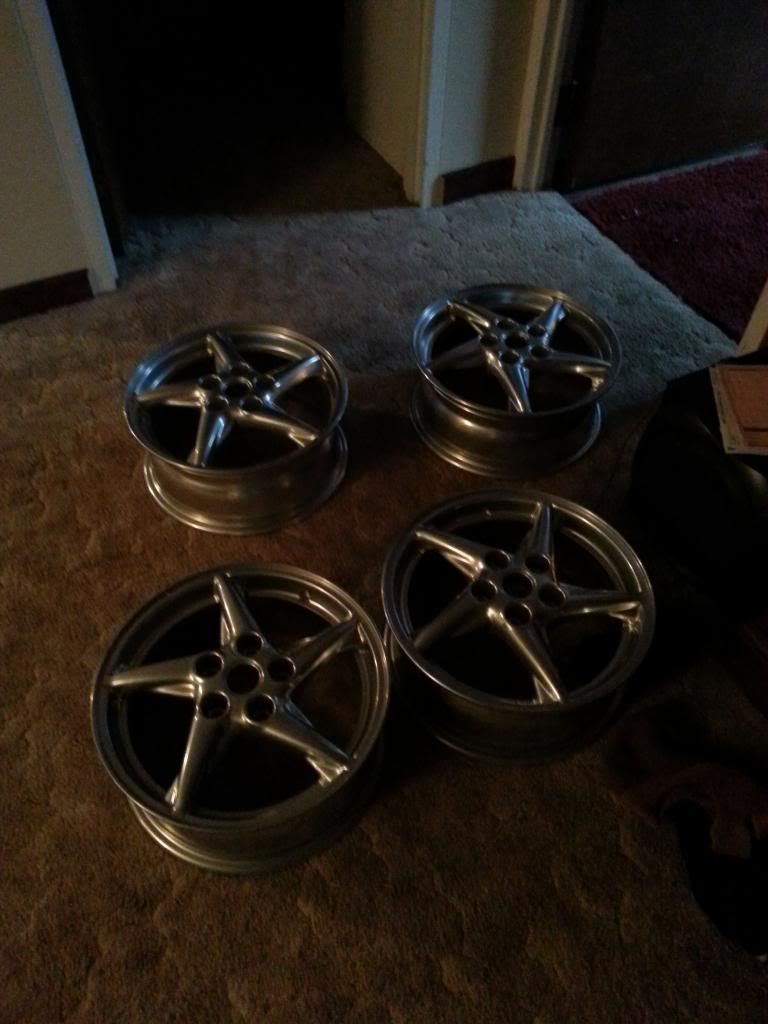
I really wanted to have the torque star wheels like on my last car so i set out to find a set of torque star wheels on craigslist. I found a set for 400 dollars with crappy tires. Again i was ignorant and impatient and would find out this was a bad decision later like everything else in life. I get the wheels over to discount tire and have them get me some tires. Upon inspecting the wheels i notice there are some scratches i did not want so instead of bothering the seller with asking for a refund, I decided to go spend 440 dollars extra to get them powdercoated in a superchrome finish. It gets even worse. Once i get the wheels back i finally get some tires for it only to find out that they are all bent and two of them are pretty bad to where you can feel the car shaking. I liked the look of it though so decided to just go with it for awhile. So now i have wheels for 400 and Powdercoating for 440 and tires for 500. I now had a set of worthless 1340 wheels. I later went back and switched the tires to put on the snowflakes. That was phase 1 of my tire ordeal. Here are some pictures of the timelime of that process for you all.

4fck.png

yhxo.jpg

y44w.jpg

ajo0.jpg

20140110_134410.jpg

20140110_134359.jpg

Attempting to get the wheels UNbent. This guy was a professional and said they were too out of balance. The inside barrel was warped and bent :(
3oz7.jpg

Here is a few shots of how it looked with the torque stars
myiq.png

s4ep.jpg

l5t0.png

7q2l.jpg

qsia.png

8nvo.png

And that was the end of the journey for the 16 inch wheels, They are sale still with new tires. I have both sets sitting in my garage all stored away

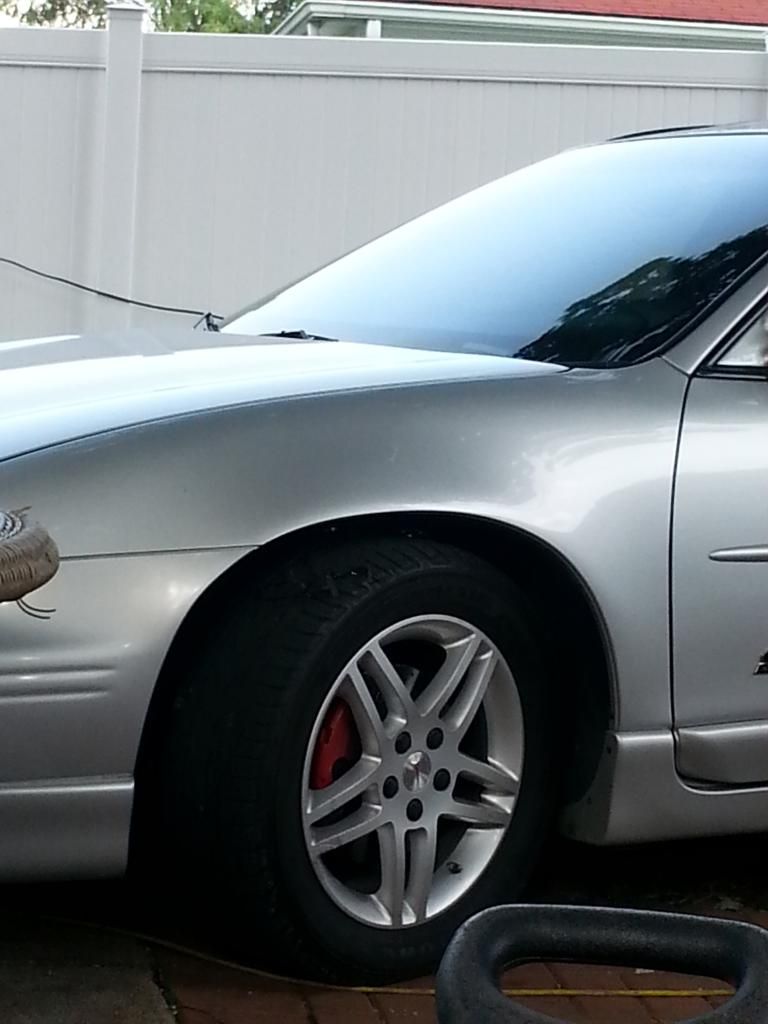
Next i got lucky enough to find a set of 06 GP wheels from a guy that met me halfway about a 2 hour drive for both of us. I snagged them off his hands for 350 with pretty good tires too :)
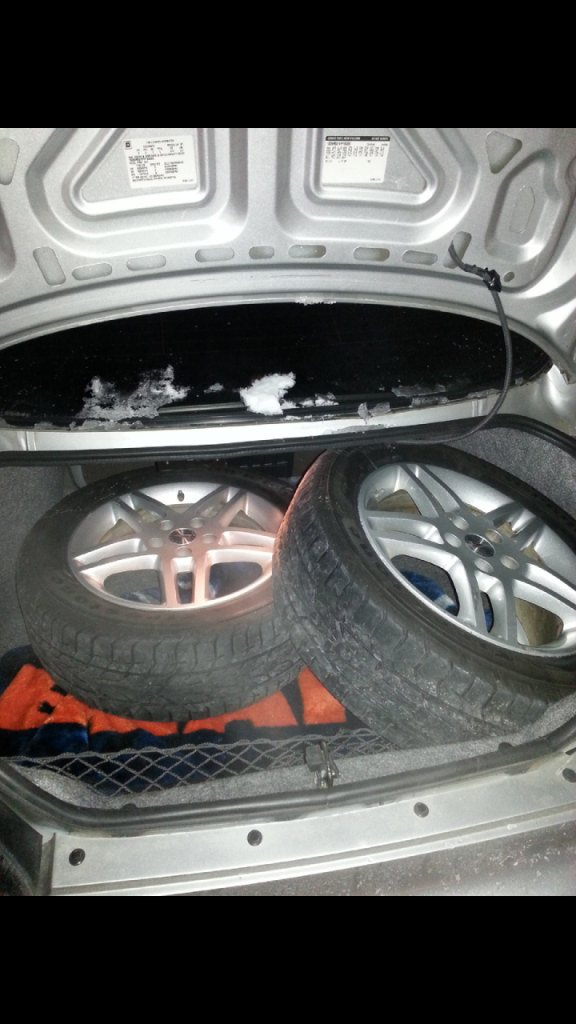
Screenshot_2014-03-02-19-06-06.png

Screenshot_2014-03-06-11-34-29.png

Screenshot_2014-03-06-11-50-31.png


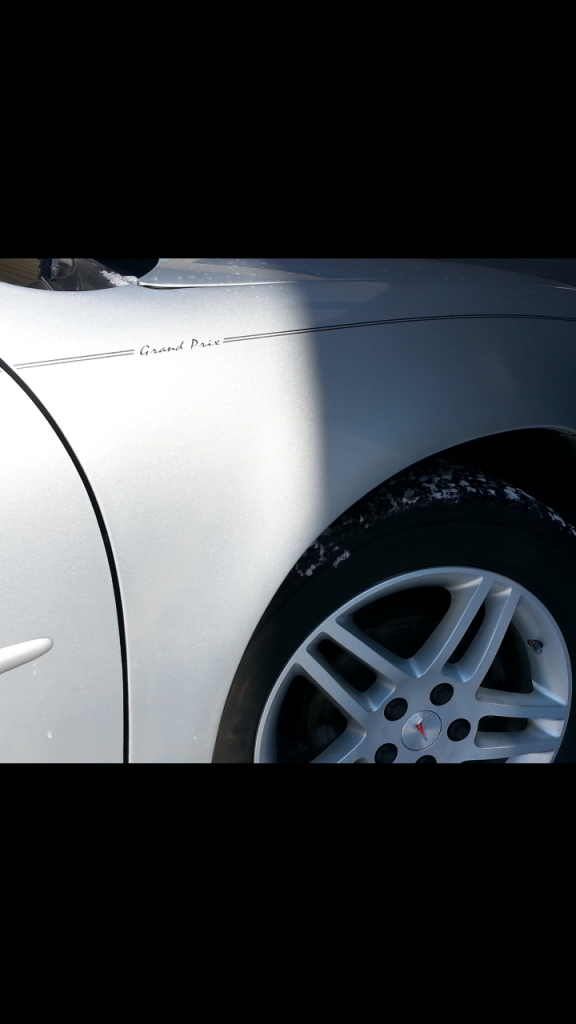
Next up was to Remove the pinstripes. I took an hour or so. I used isopropyl alcohol and a heat gun and my fingernail. In the below pic the pinstripes were just removed and i decided to give it a good wash
 
Last edited:
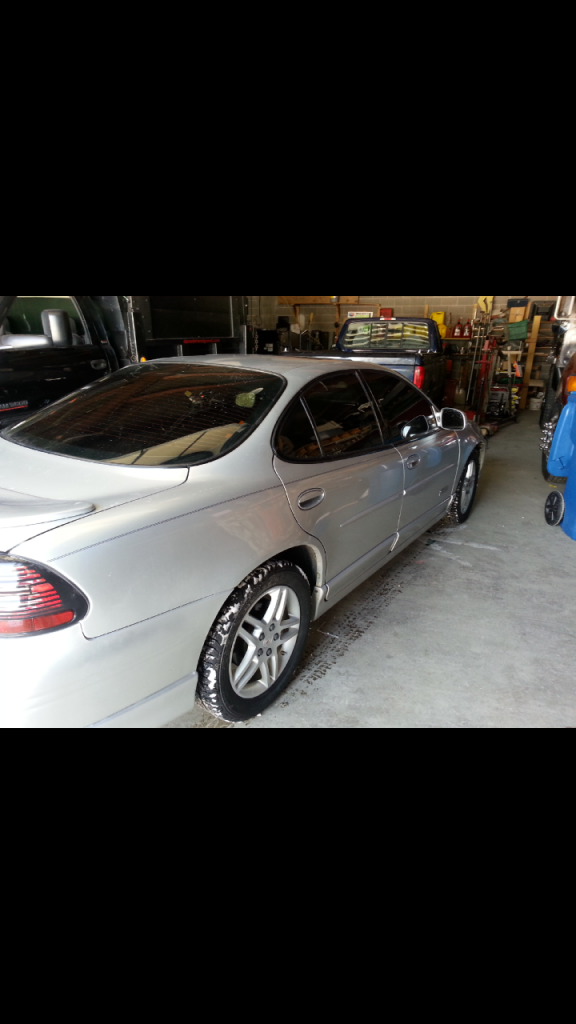

Here is a good way to show the before and after of the pinstripes.
Screenshot_2014-03-06-11-34-19.png


Screenshot_2014-03-16-19-49-24.png

Next up was to Remove the pinstripes. I took an hour or so. I used isopropyl alcohol and a heat gun and my fingernail. In the below pic the pinstripes were just removed and i decided to give it a good wash
20140306_141717.jpg

20140306_145426.jpg

20140306_145606.jpg

20140306_145809.jpg

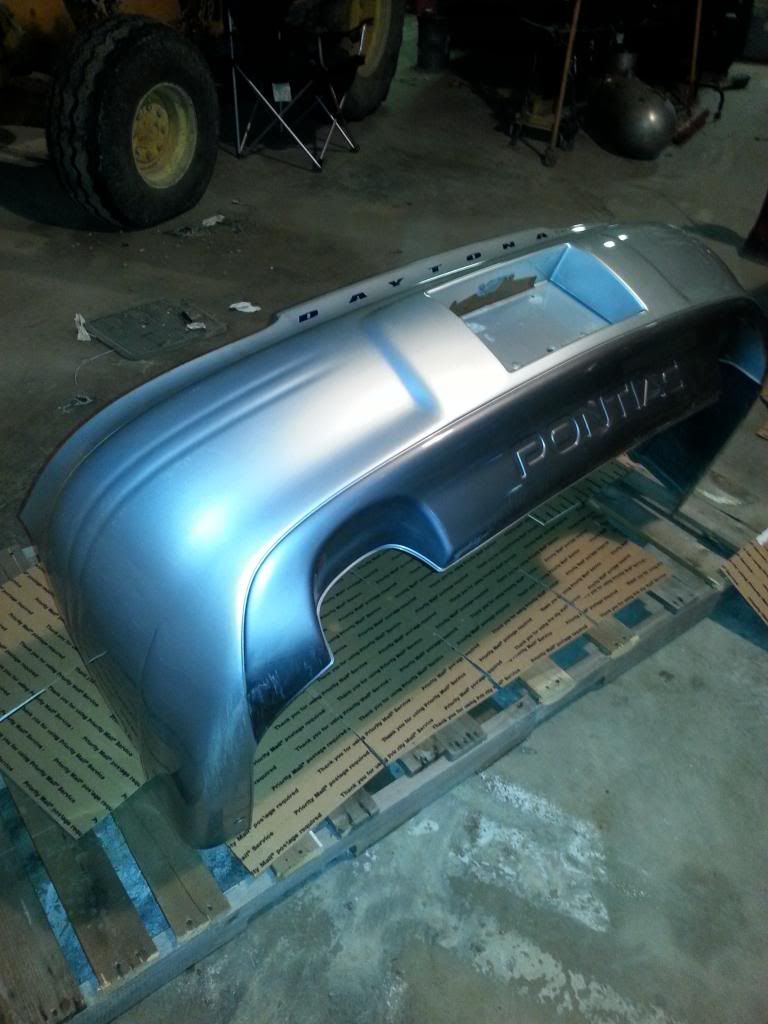
Remember me saying the back bumper was a fake? I located a real one that was on ebay and came from moradparts. It was a daytona one that was guaranteed to match my paint
20140115_144258.jpg

See how the color did not match? It was even worse on the passenger side but this was the only pic i could find.
20140110_131439.jpg

And now for the new bumper installed.
20140118_174027.jpg

20140118_175340.jpg

20140118_182702.jpg

More rear bumper ass update shots to come in later pics in the thread
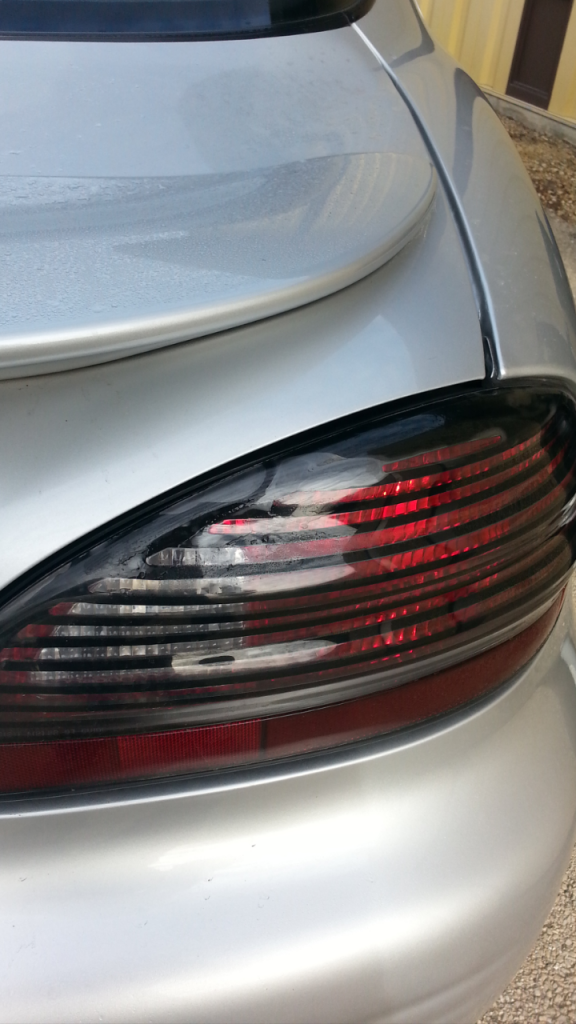
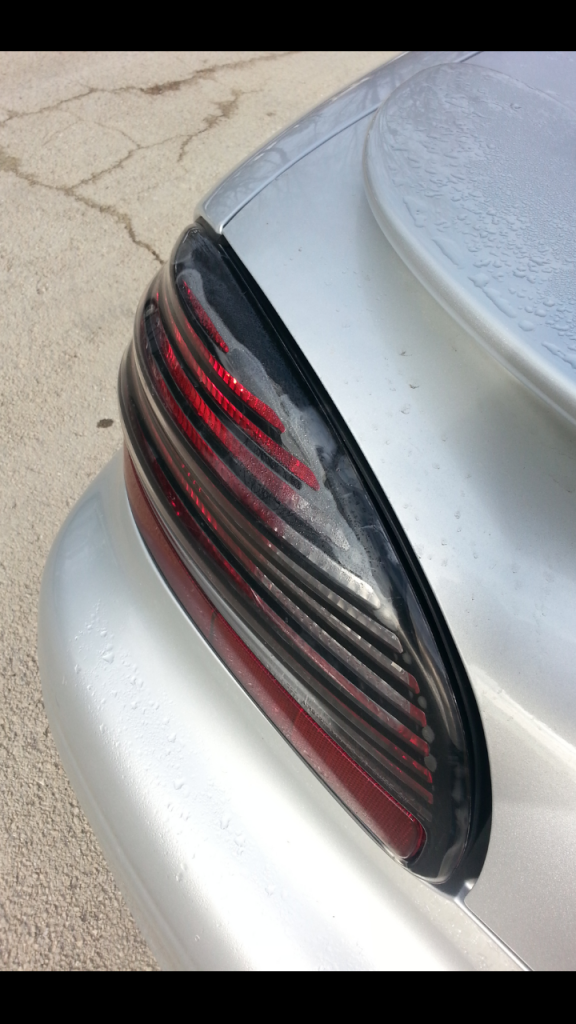
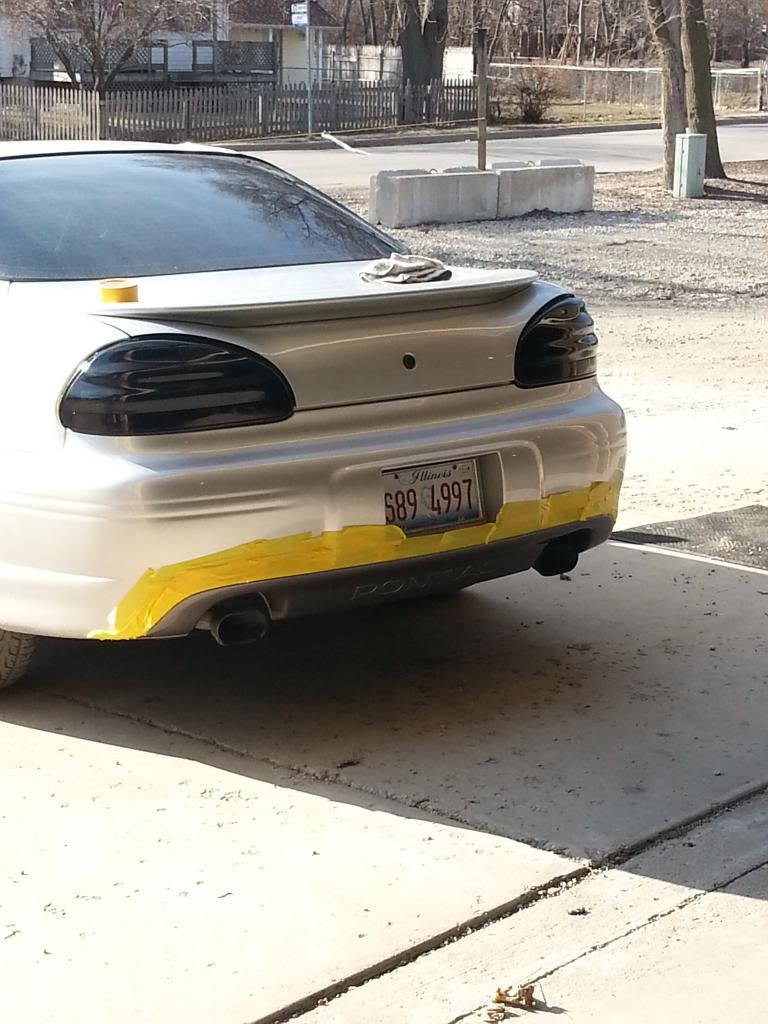
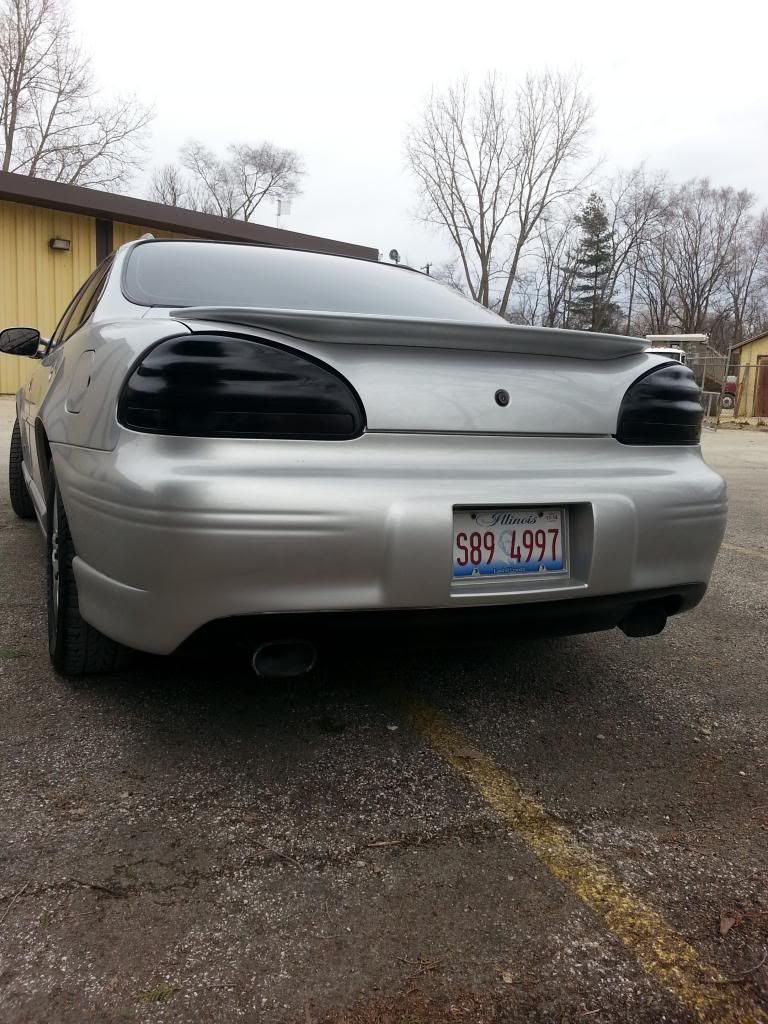
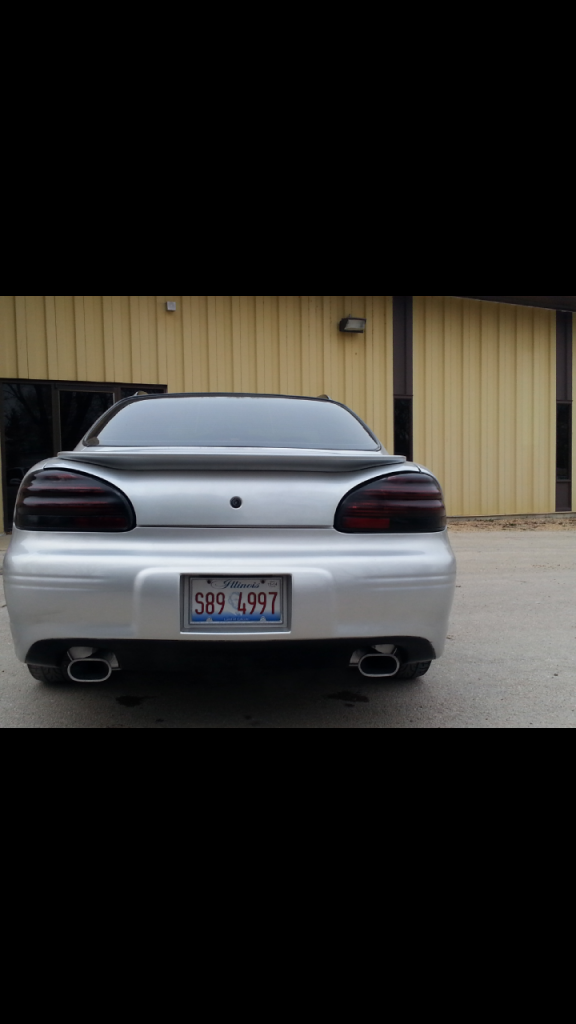
I then was sick of my tail lights and wanted my lower front fasica to be black and the rear bumper to black was well so i started painting and polishing my stock tips which still wasnt good enough for me...
Screenshot_2014-03-16-13-12-04.png

Screenshot_2014-03-16-13-12-11.png

So i started painting and even attempted to VHT nightshade them two shades darker. I wasn't impressed for very long lol
20140330_171227.jpg

20140331_153920.jpg

Screenshot_2014-04-07-18-09-16.png

Screenshot_2014-04-07-18-09-44.png

This picture is NOT mine but it was the picture that inspired me to get my bumper the way it is today as you will see in later pictures. Only thing i have different is LED tails
gp1008_3.jpg

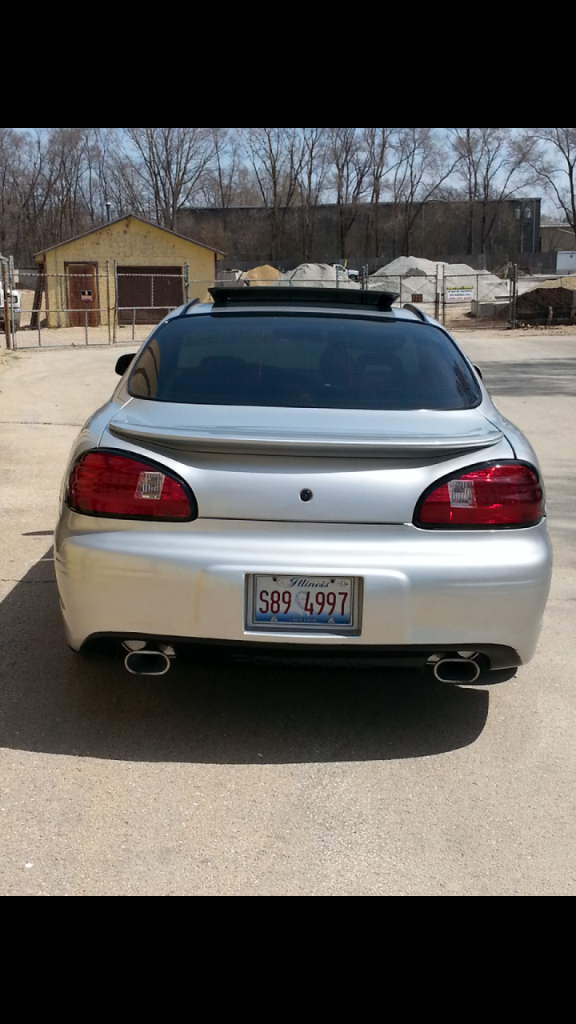
I ended up with something like this
Screenshot_2014-04-07-18-41-13.png

Screenshot_2014-04-20-22-03-33.png


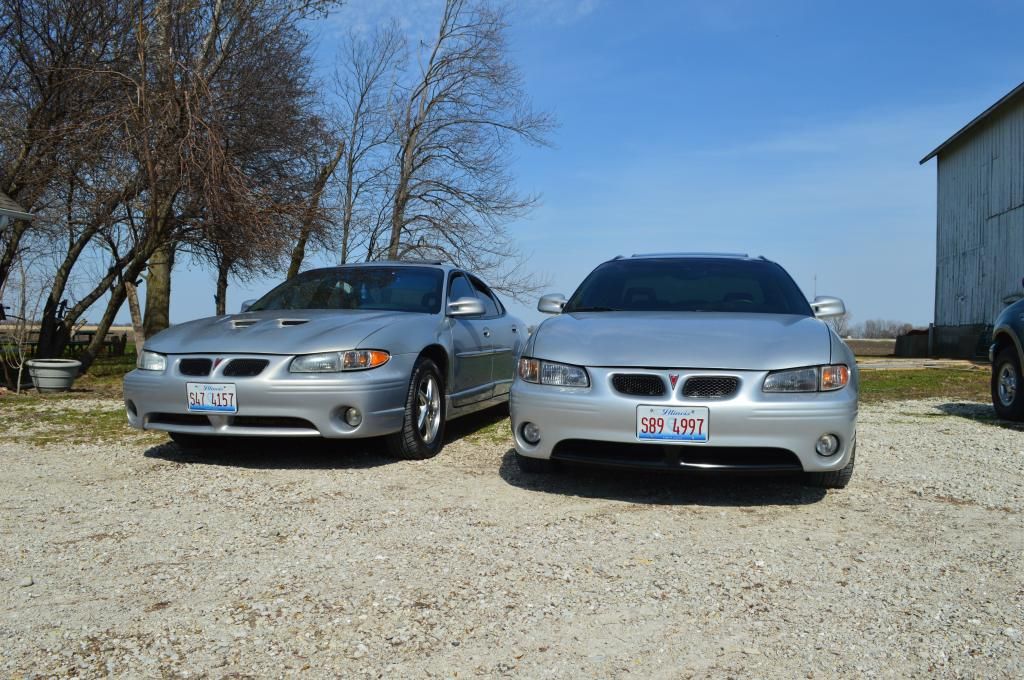
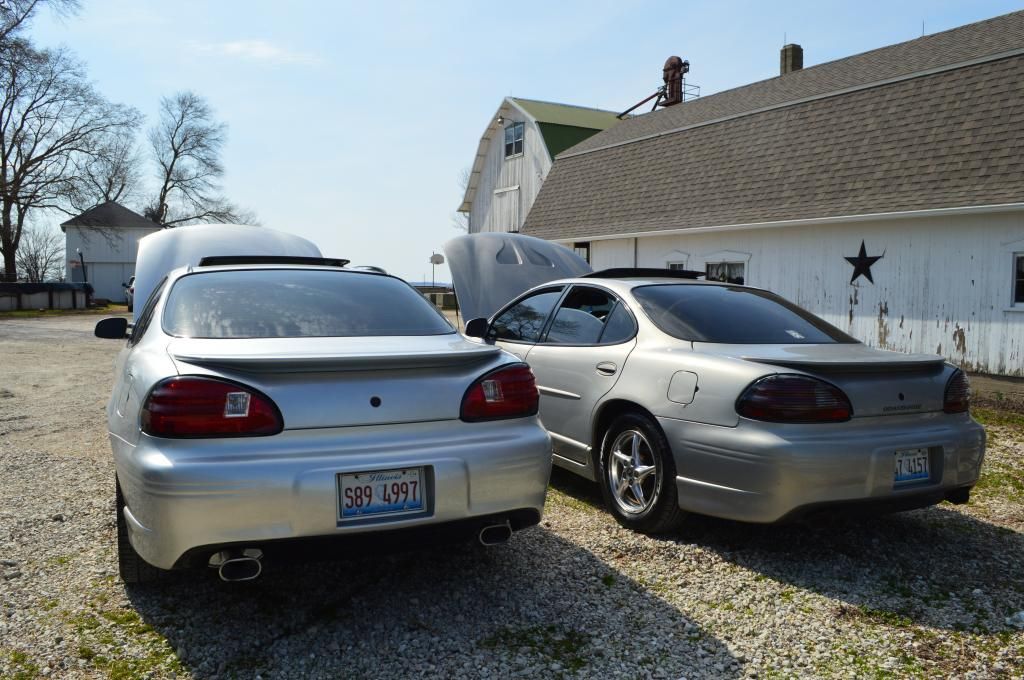
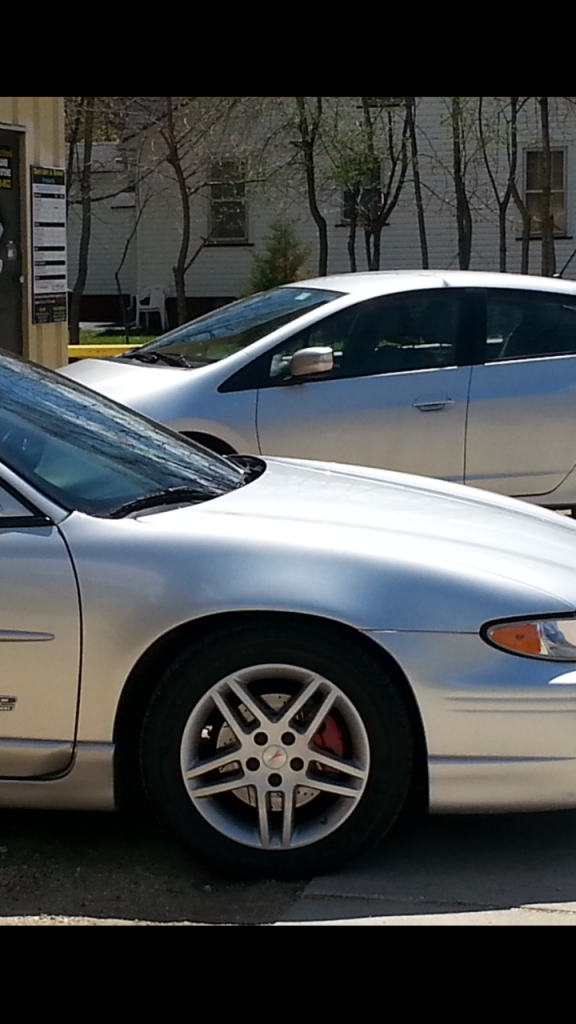
I then got my LED tail lights installed and went to my girlfriend's farm where i ran into the old GTP that i sold her relative and got side by side shots. How rare is that???
DSC_0276.jpg

DSC_0268.jpg


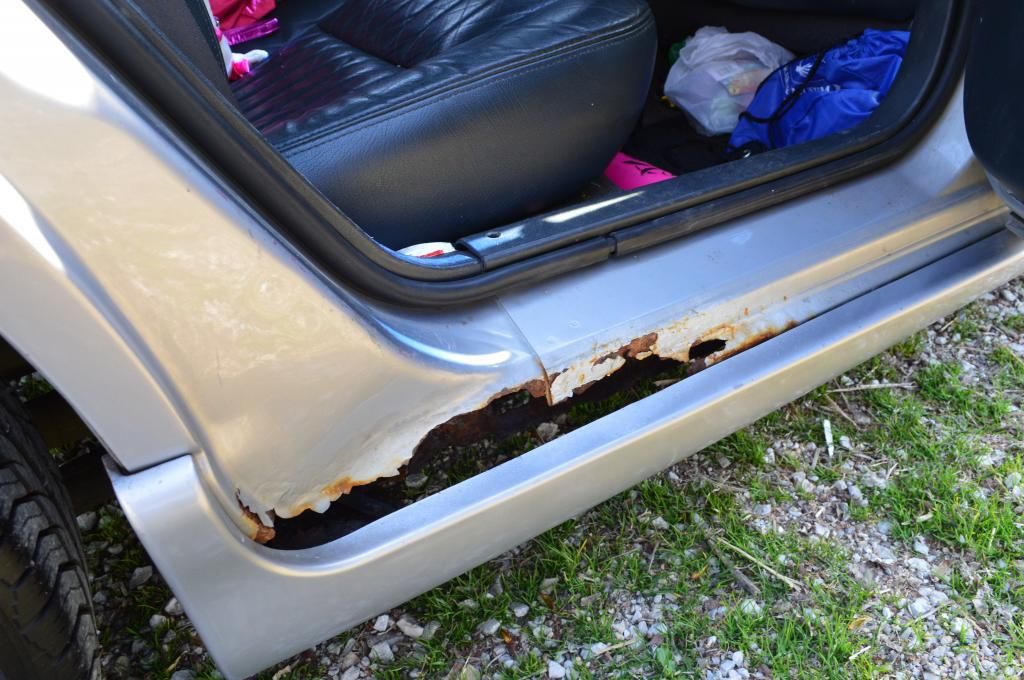
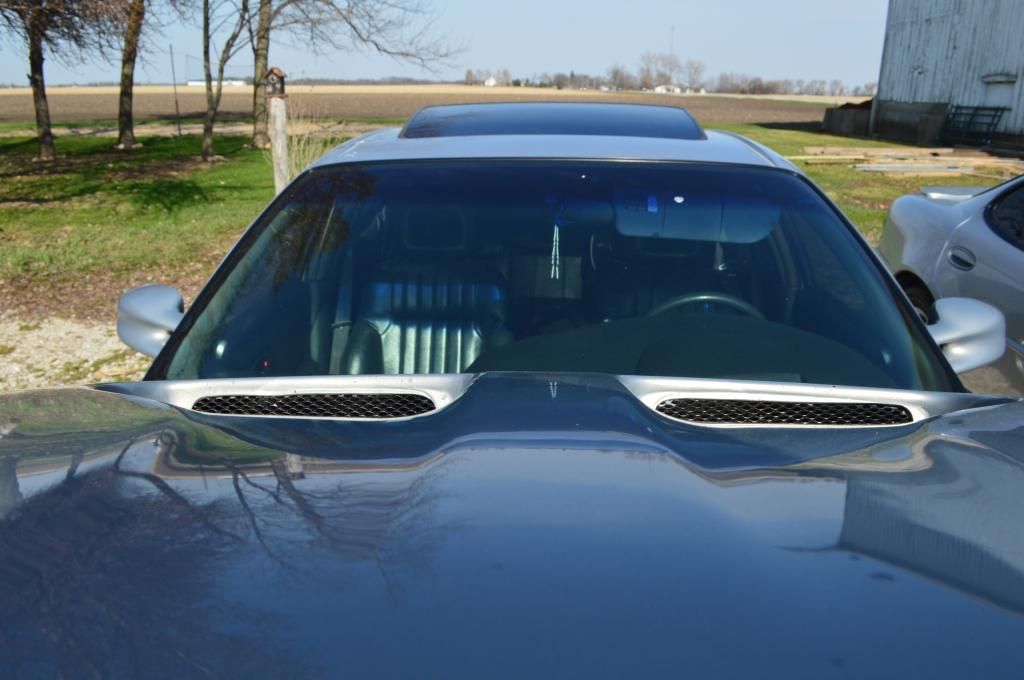
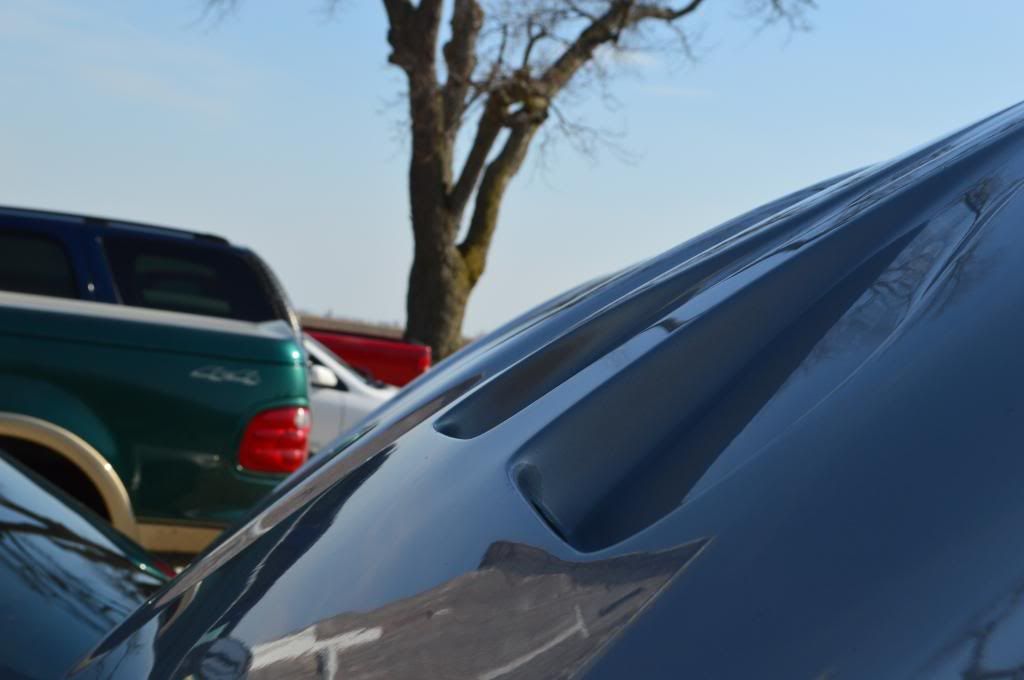
Here is his GTX hood which is i really loved, but then i get to looking at his interior and rust and i was like THANK GOD i sold that car!!!
DSC_0310.jpg

DSC_0314.jpg

DSC_0323.jpg


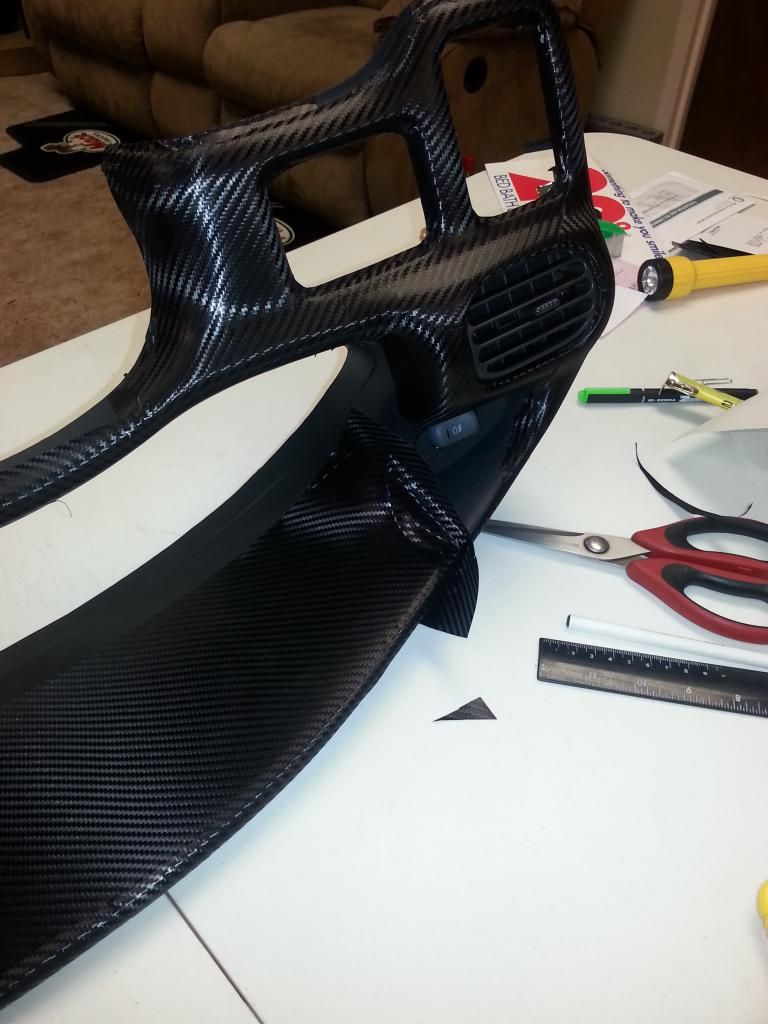
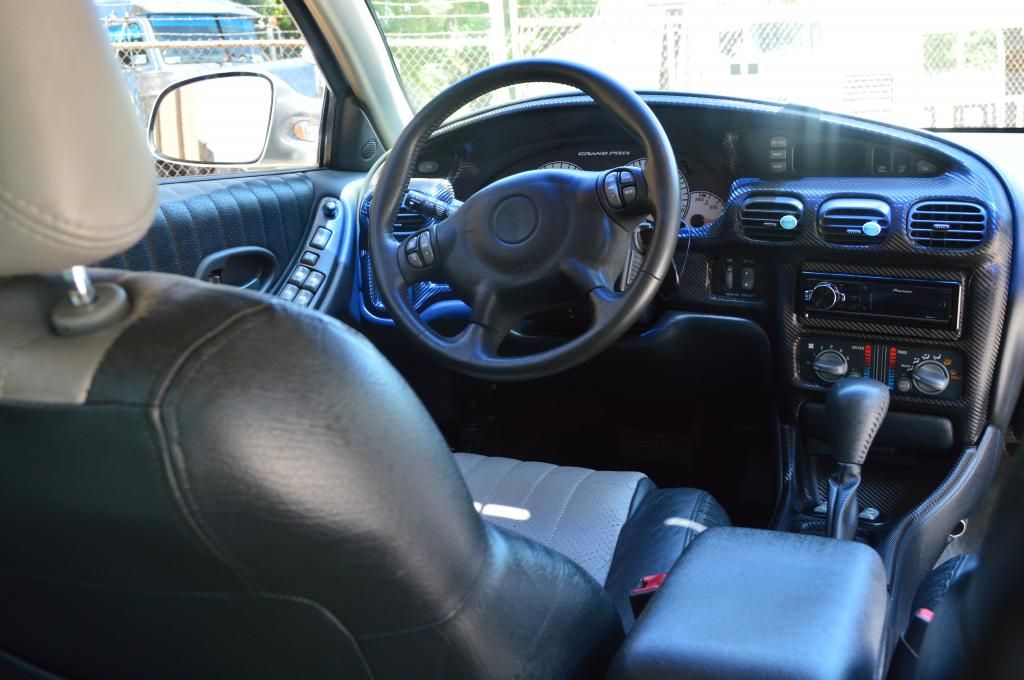
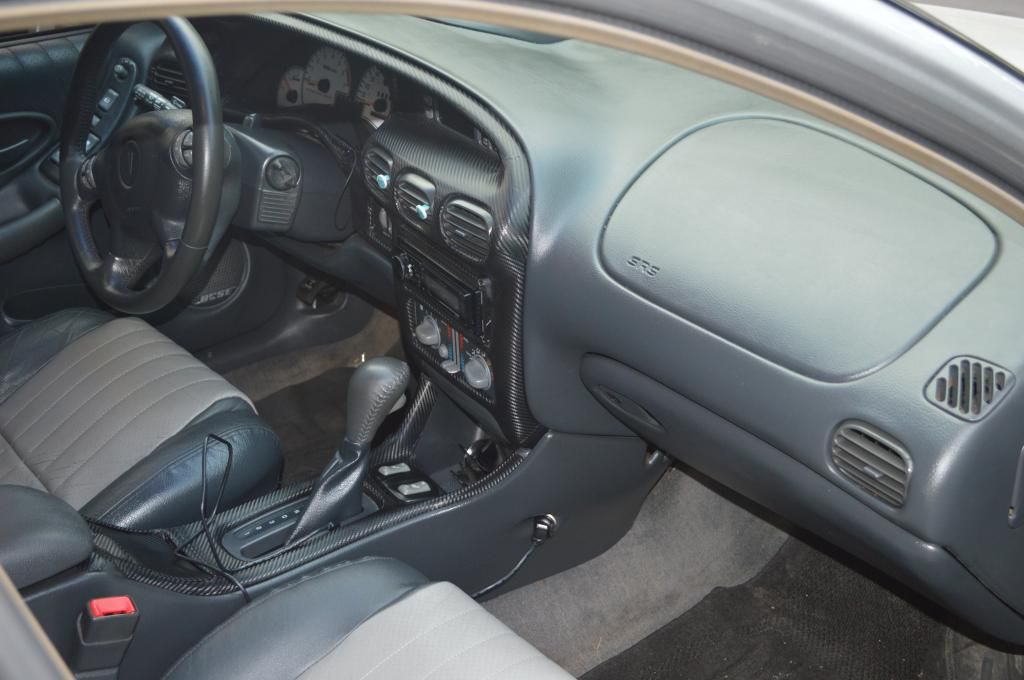
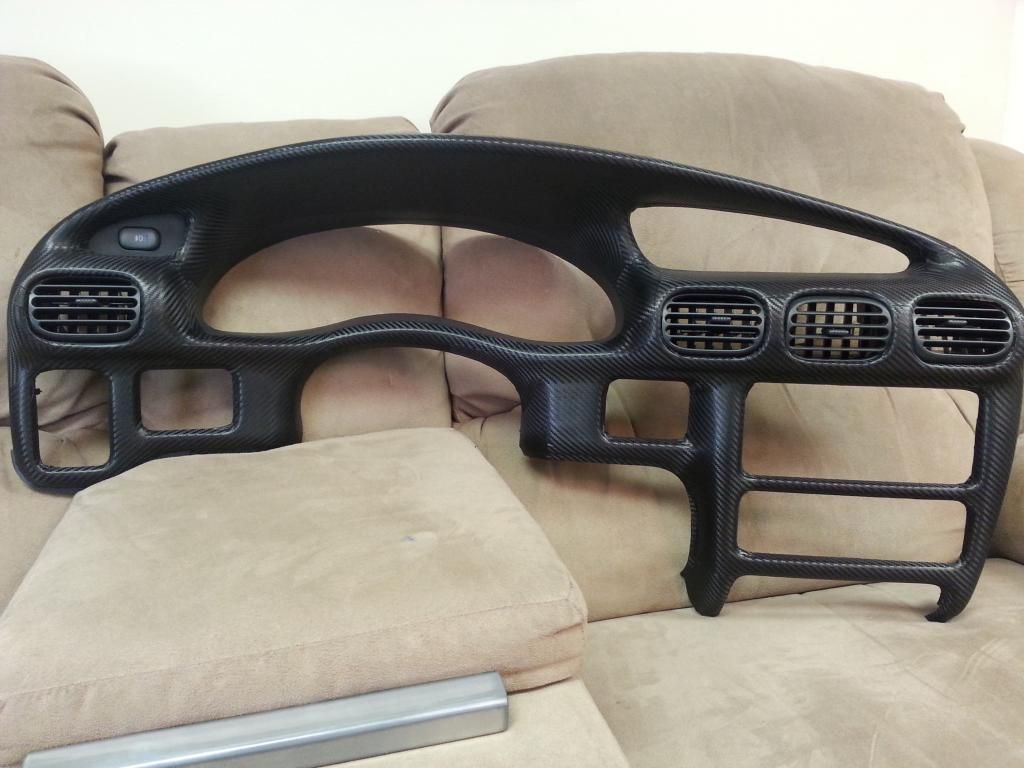
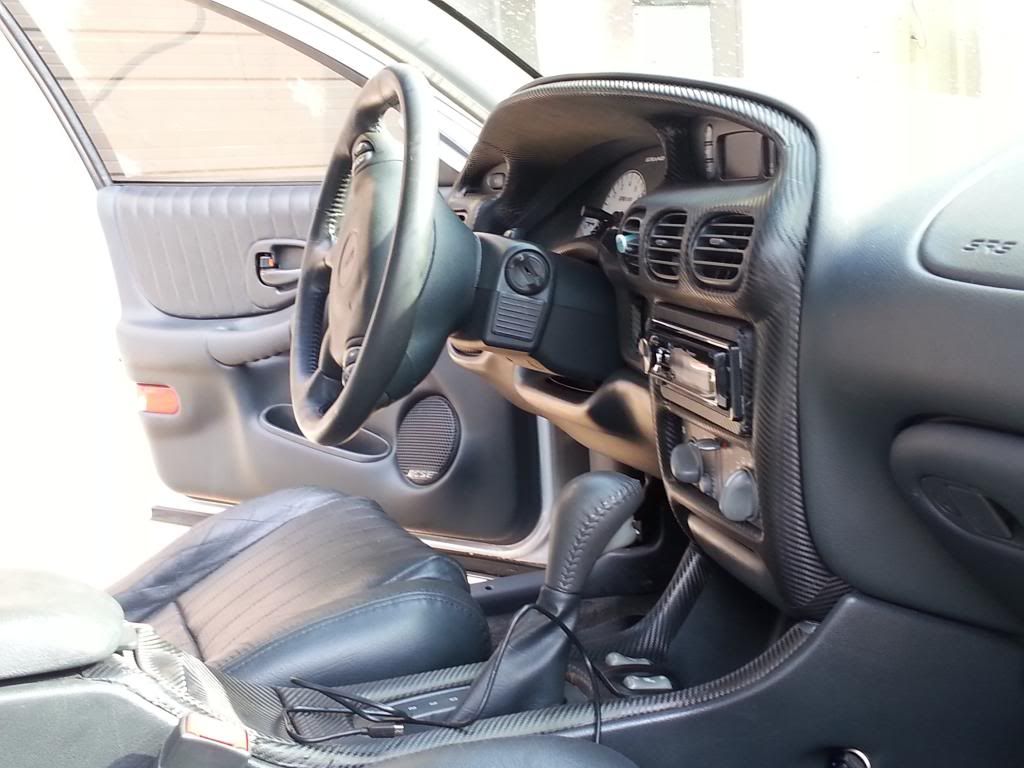
Then i decided to Wrap my dash in 3m Dinoc carbon fiber vinyl. I made a thread on it but just to save you the trip it took me about 12 hours total to cut and wrap and heat etc to get it the way it turned out. I since then removed it and had it painted gloss black which you will see in later pictures.
 
Last edited:
20140125_162111.jpg

kyld.jpg

fzbw.jpg

ANNDD the finished product!
20140126_132942.jpg

20140306_143946.jpg

99a7.png

ylel.png

zfbo.png

1j85.png


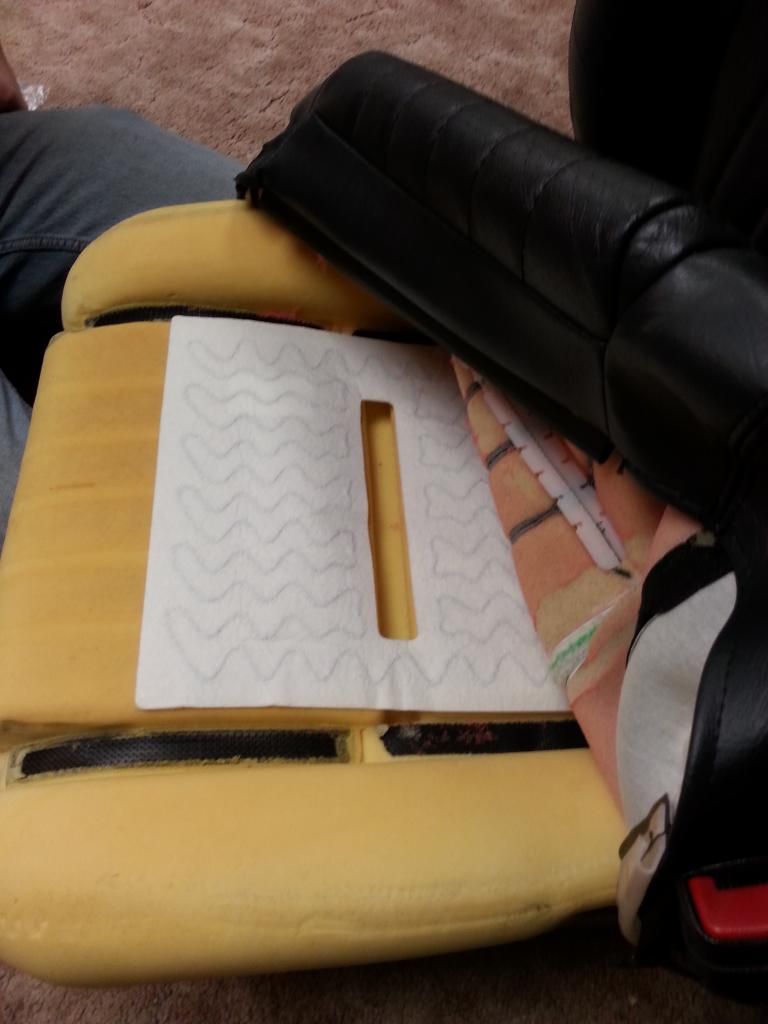
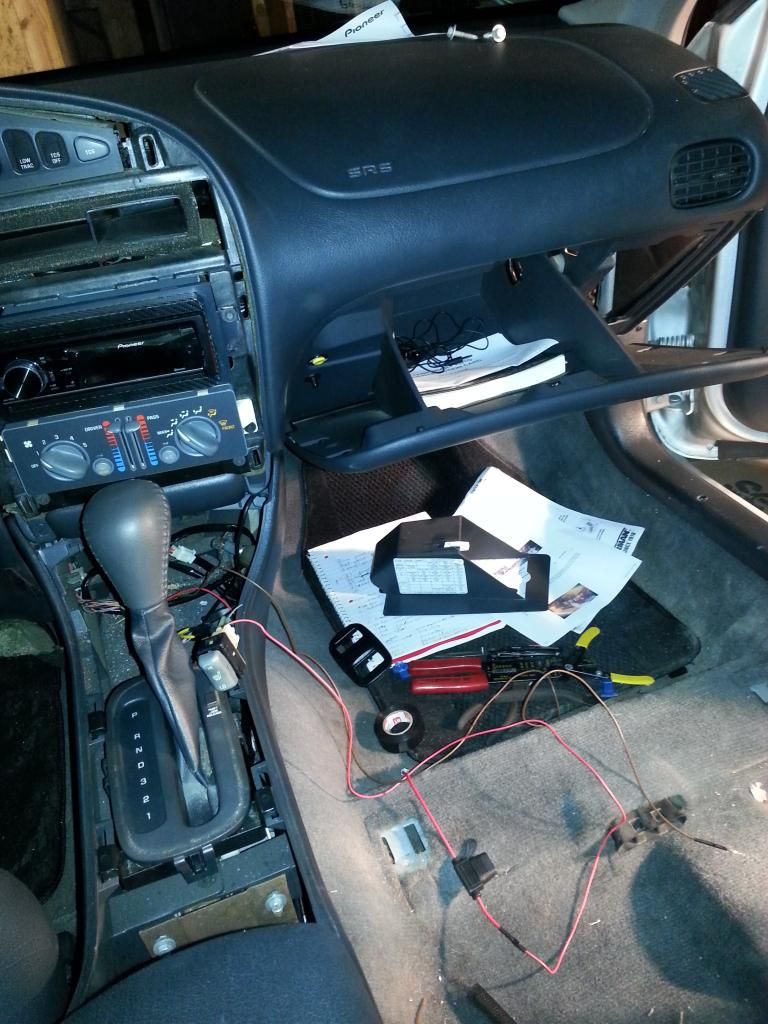
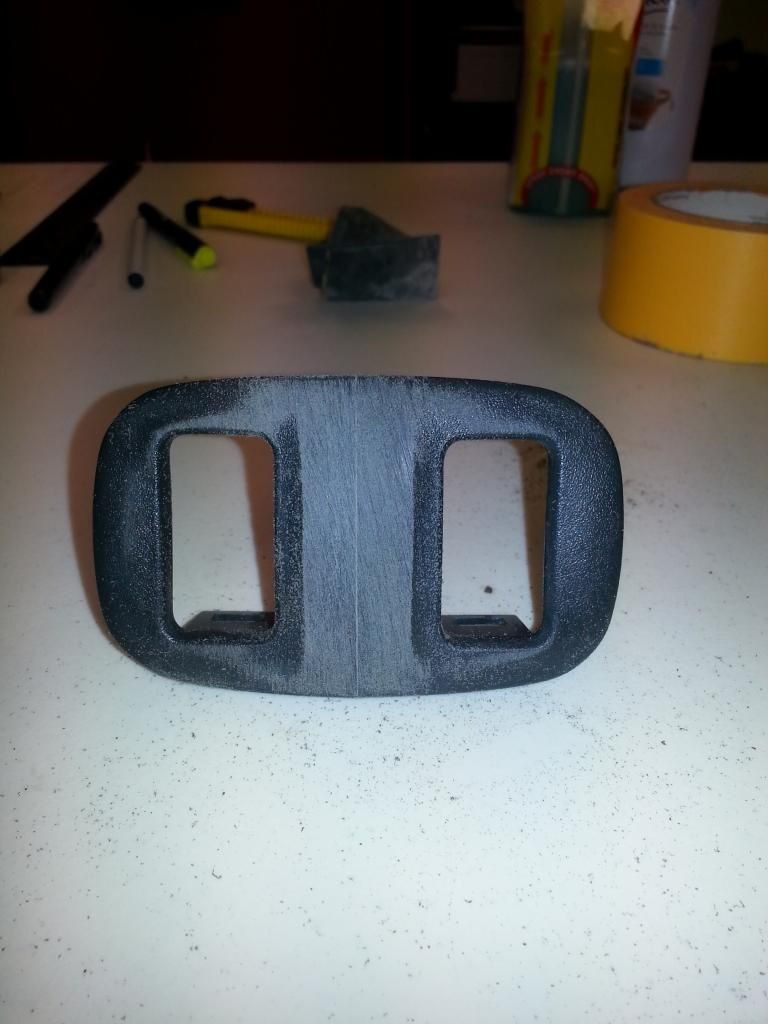
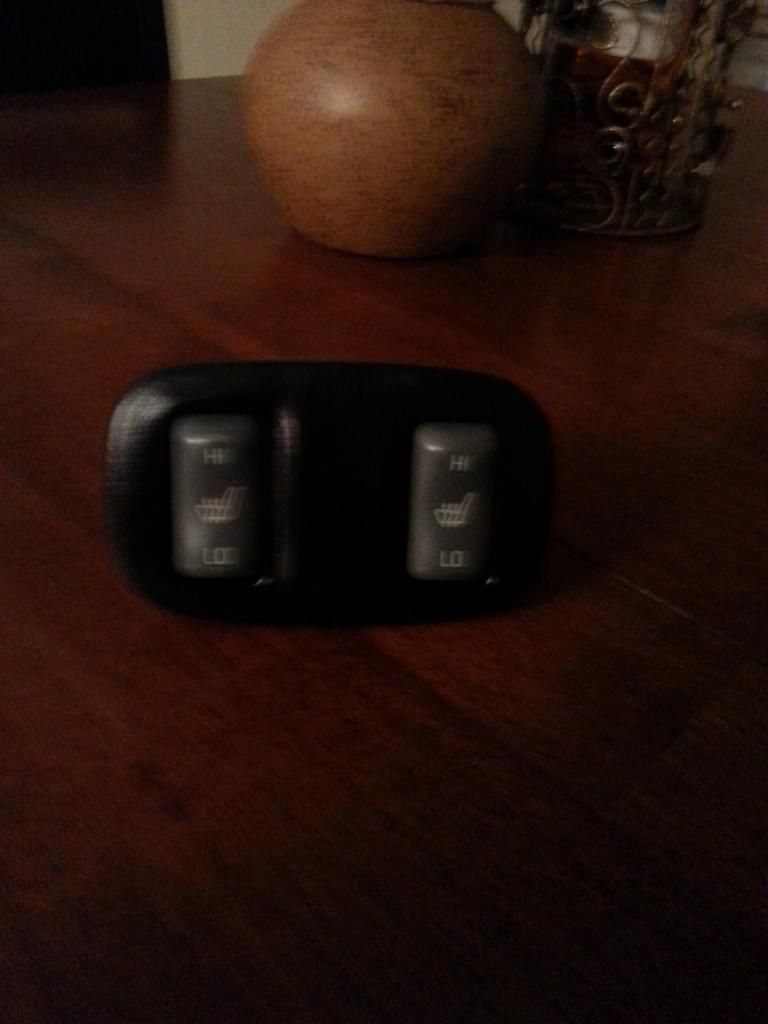
And yes, i have dual heated seats. That project was a ton of fun.... Here are a few shots of that as well. I also located a SE gauge cluster on ebay with 2000 mile difference than what i had. You can see it in the pics
20140124_134323.jpg

20140124_161609.jpg

20140120_172453.jpg

20140120_190032.jpg


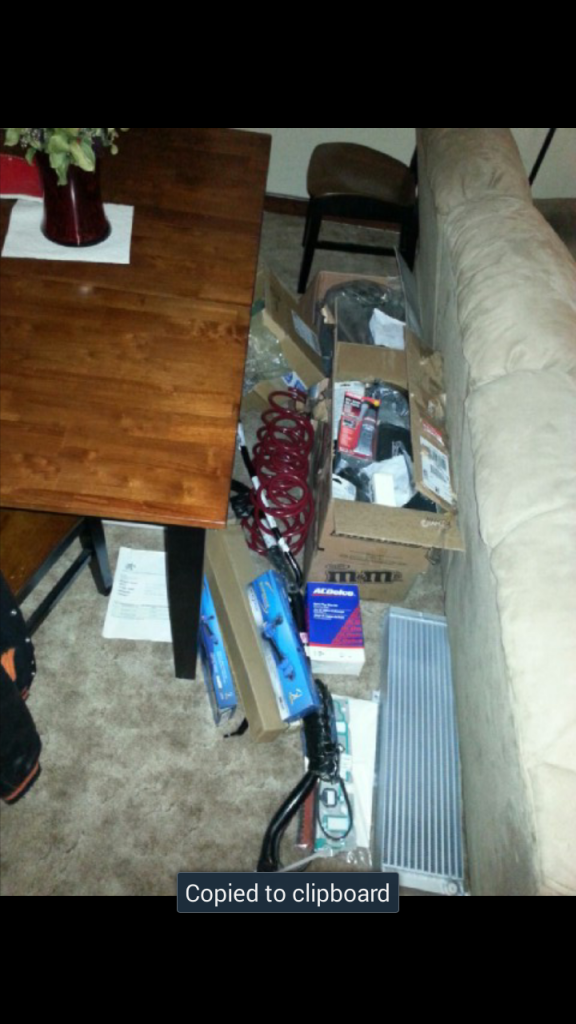
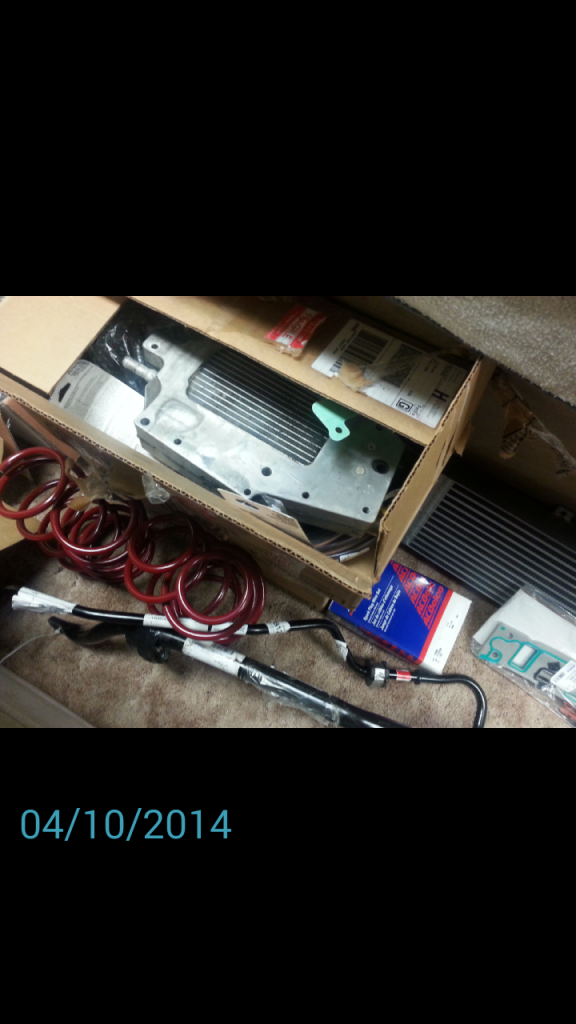
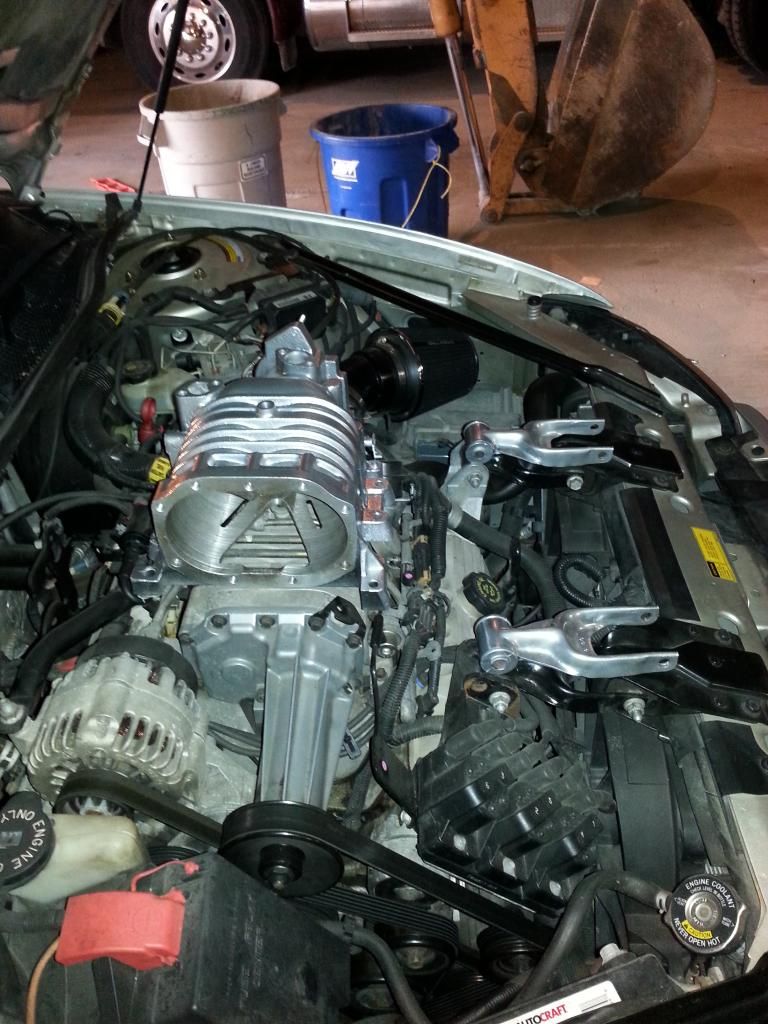
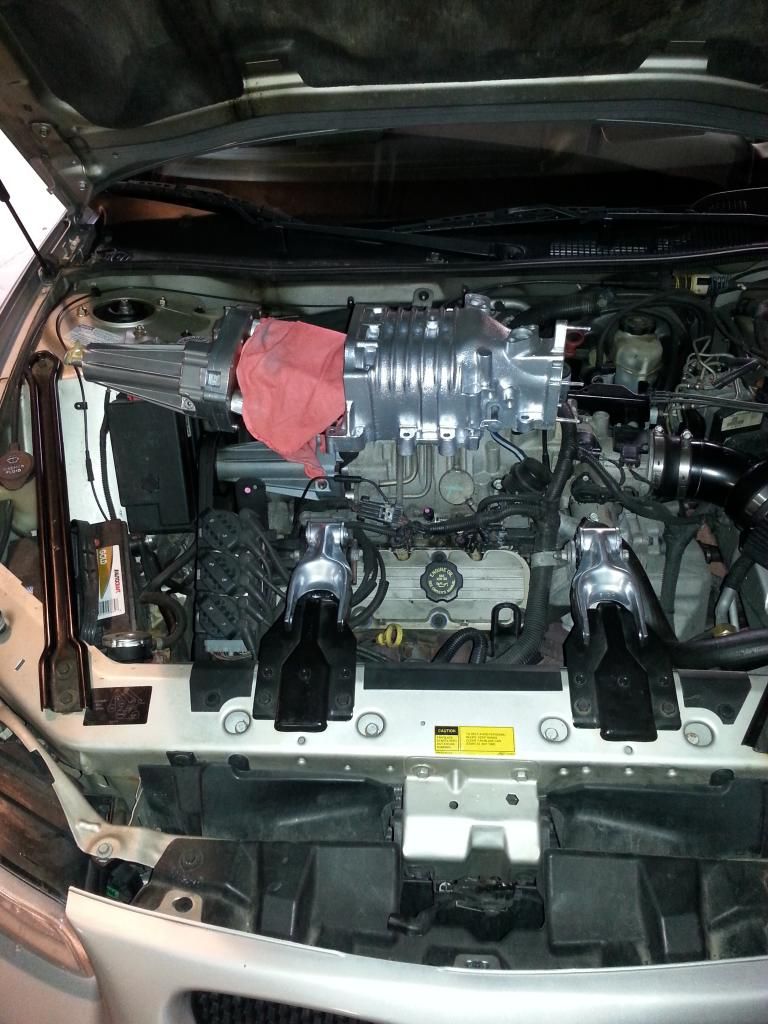
Next thing i decided to do was get my lowering springs. I was not looking to ever intercool this car. I thought i would be happy with just a 3.5 or 3.4 setup like my last car but a member on here was selling his FSIC and ported gen 3 and zzp lim with new frozen boost heat exhchanger so i took it. I had the parts sitting in my living room for probably 3 months.
Screenshot_2014-04-20-22-01-26.png


Notice the front and rear GMPP sway bars too I also have SD headers in the background too
Screenshot_2014-04-20-22-04-07.png

Here are some shots after i got LOW :)

Timboku helped me from here on and was the reason i got my F body brakes too which you will see in the pics
20140424_172414.jpg

20140424_172824.jpg

20140424_173204.jpg

Screenshot_2014-05-10-11-37-44.png

Screenshot_2014-05-10-11-39-12.png


DSC_0437.jpg

DSC_0441.jpg

From this point on, things are starting to look a little better
DSC_0449.jpg


Next up, i located a GTX hood online and went and picked it up. I'm trying to find pictures of it but it was rattle canned black and in pretty good shape. It fit in the back of my jack cherokee 1 hour from where i lived.
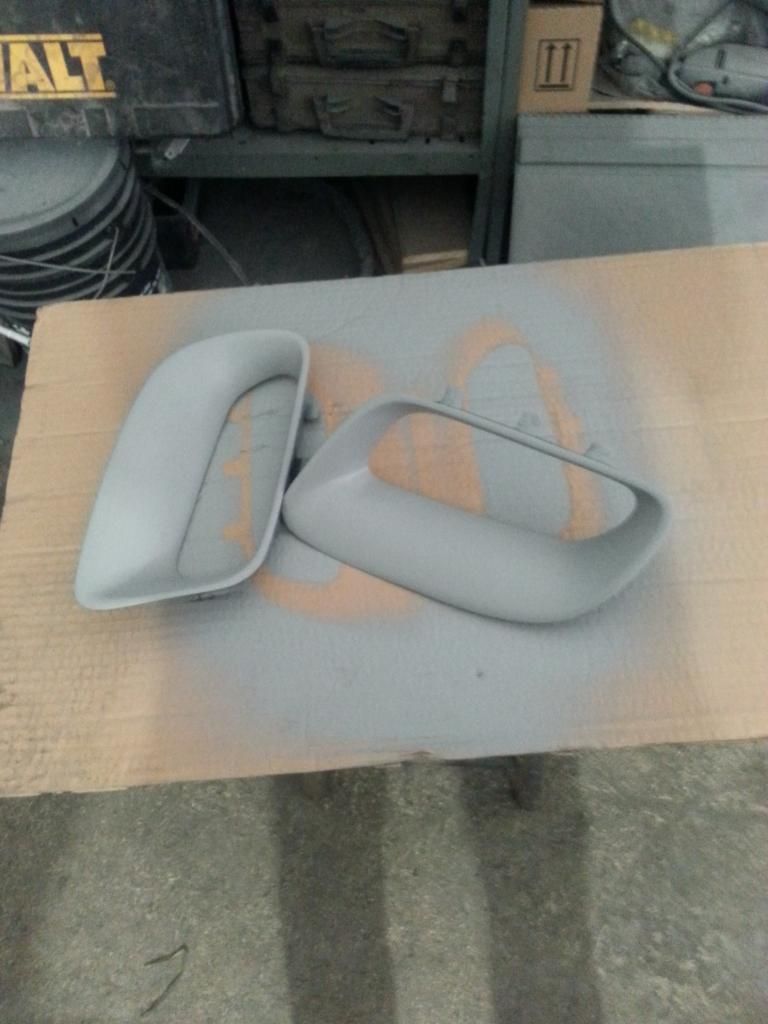
I also bought the SD air dam, SLP gen 1 spoiler and Gpo's off of Tyler ( 98grandprixnoballs vet or whatever he is called these days lmao )
I will post pics of my progress pics of all that below
 
Last edited:
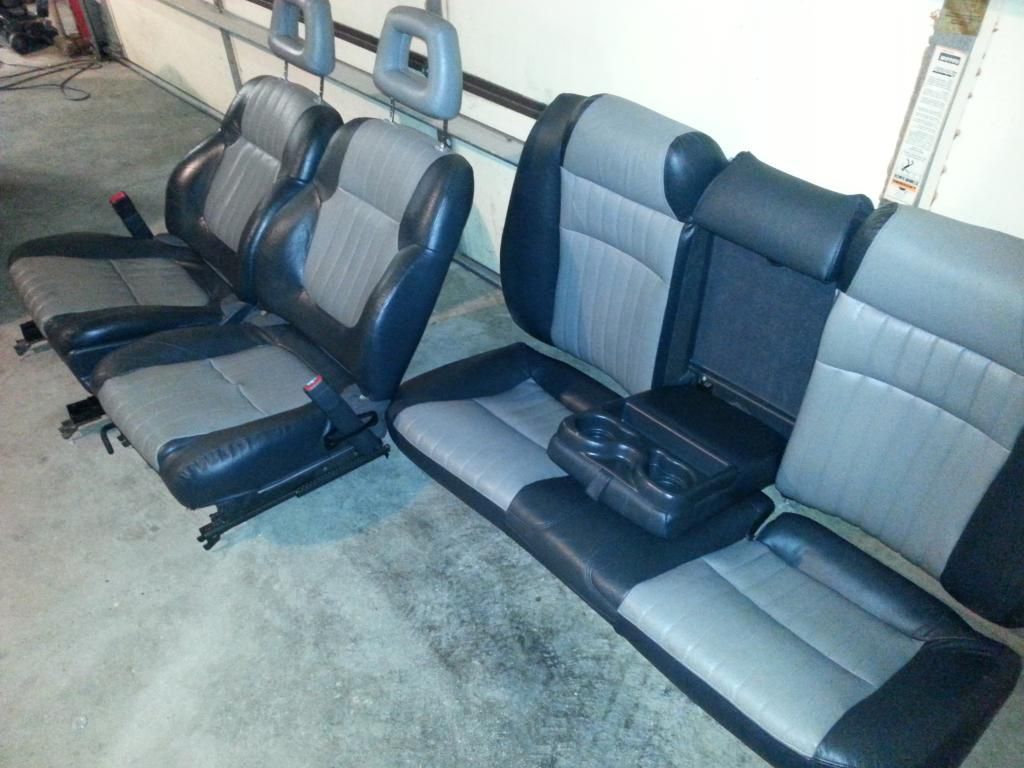
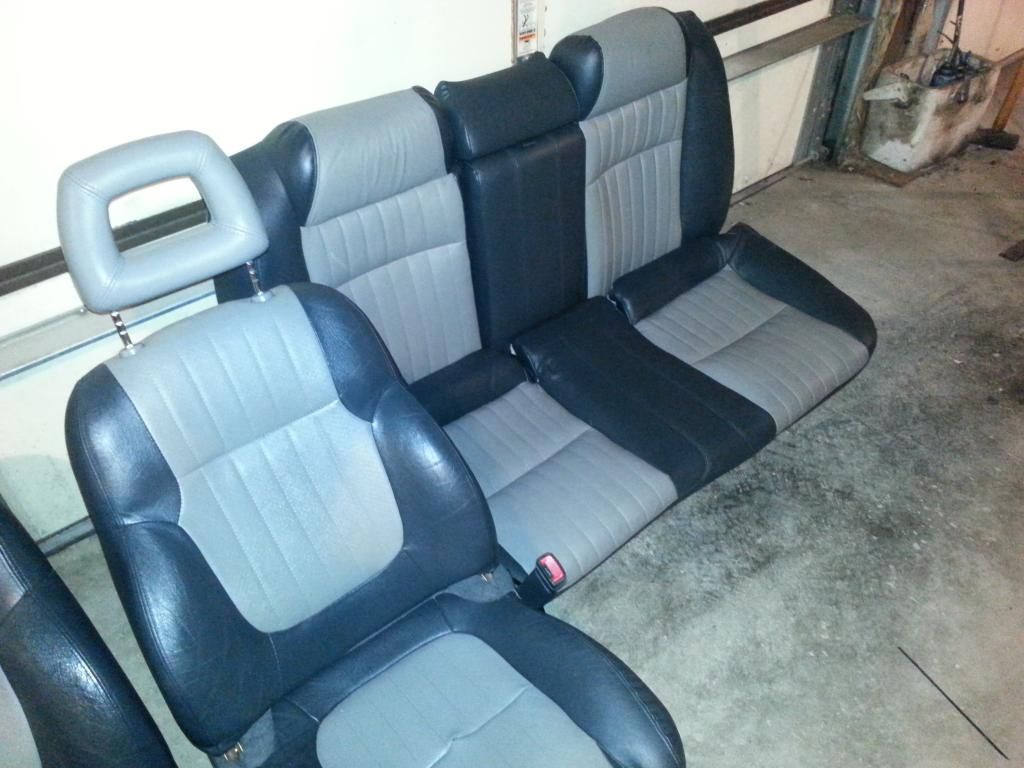
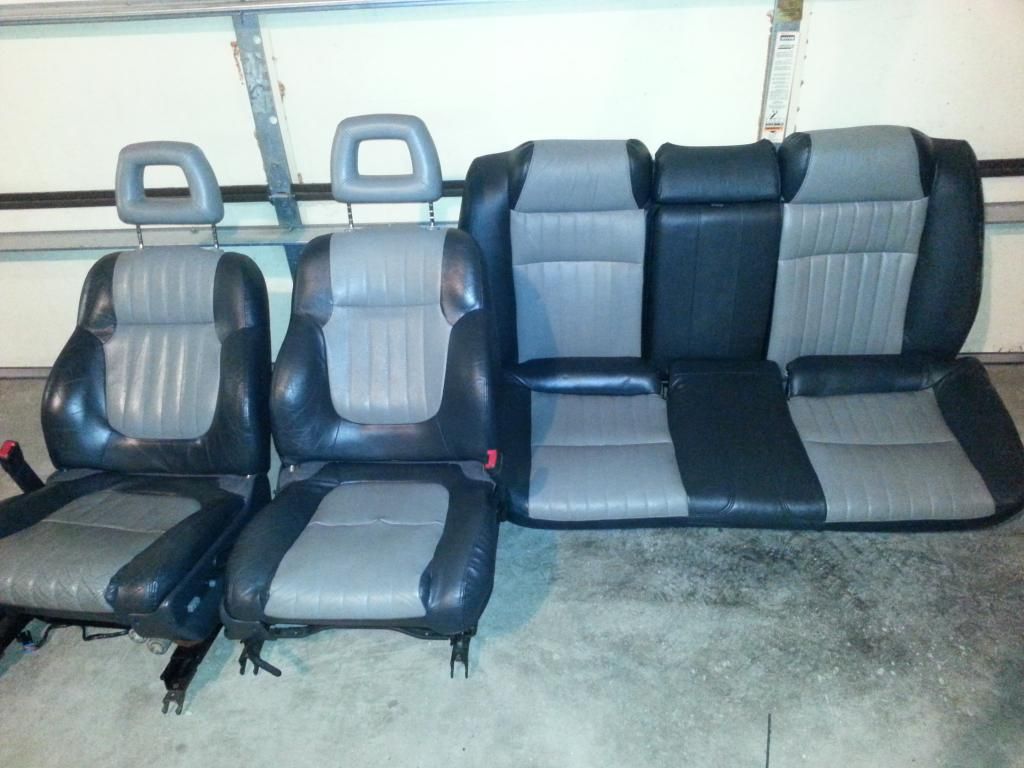
I ended up getting special edition seats which was a HUGE mistake. The foam was all wore out. I ended up switching the foam from my old seats and putting in the SE seats. I ended up not liking the color. It didnt look sleek enough to me with a silver car so i sold them to a guy on craigslist who came 2 hours away to buy them lmao
20140622_023252.jpg

20140622_023145.jpg

20140622_023110.jpg

DSC_0539.jpg


Very nice indeed and its always great to see a GP getting some love and attention! I love the Torque Stars, but not the size. Great job with the dash and heated seat. You should show the details on that dual switch setup, looks like you did a great job on it. Keep us posted!


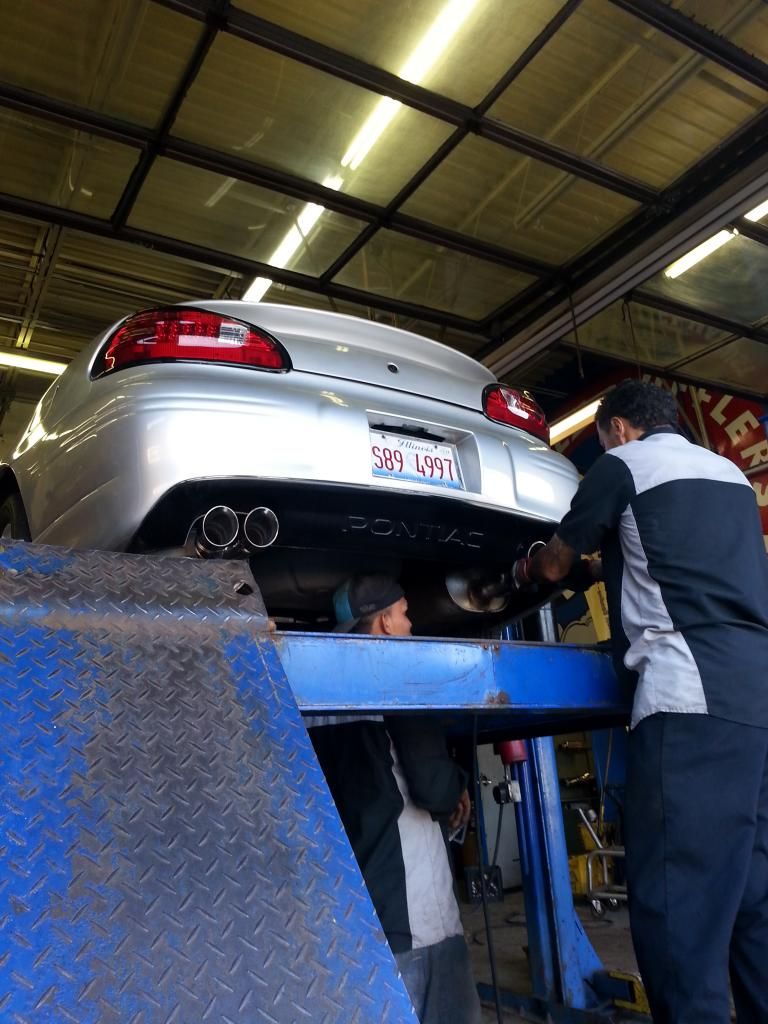
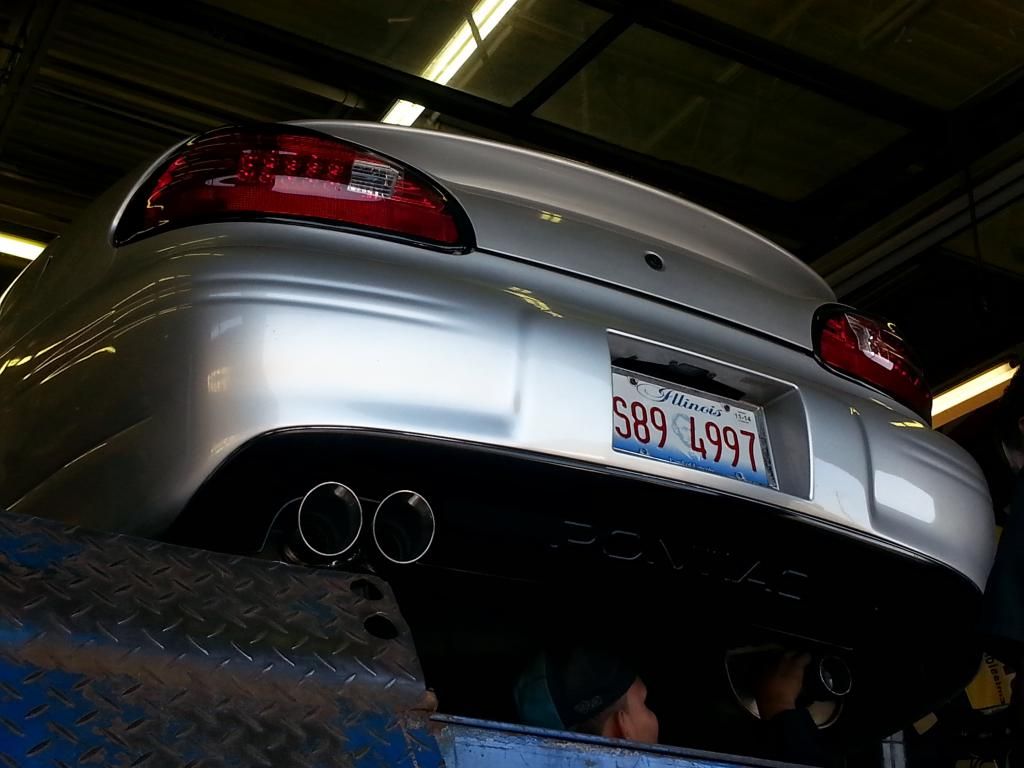
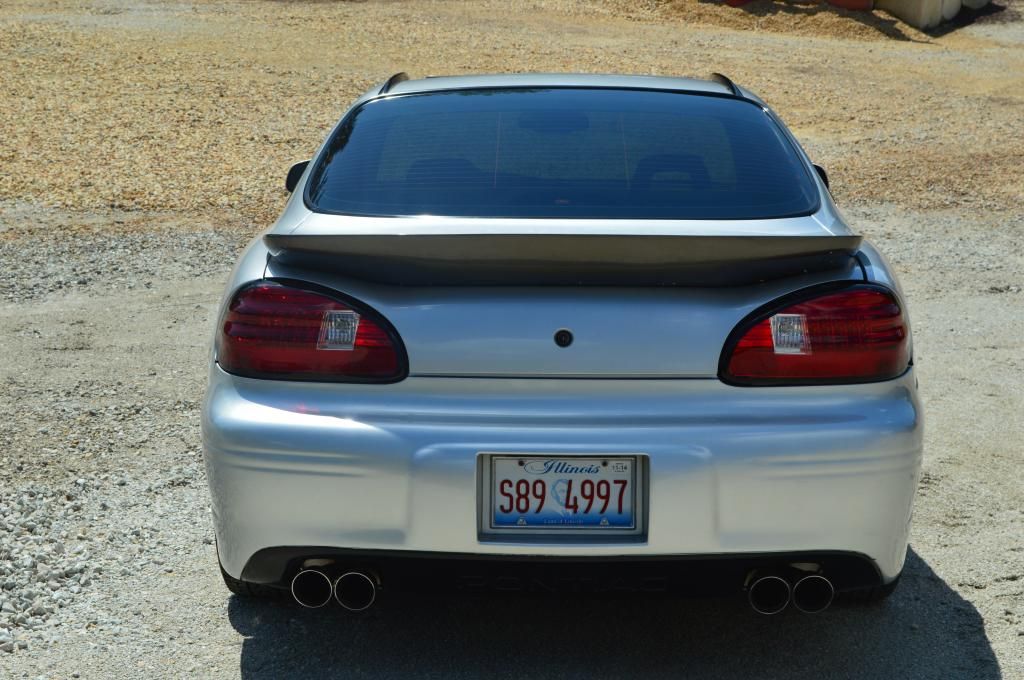
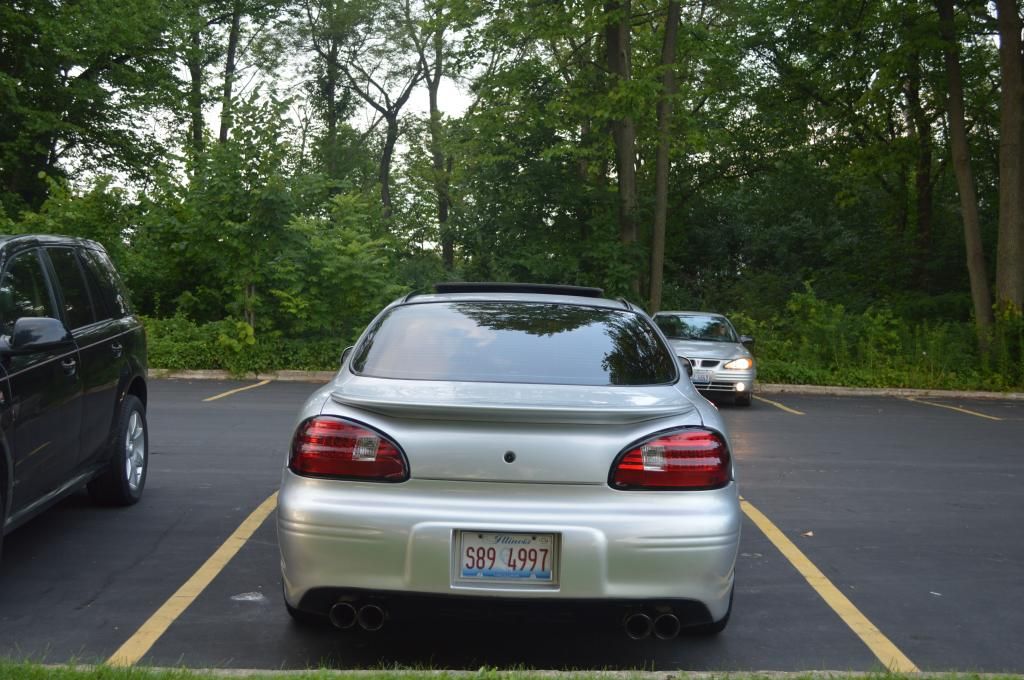
Then i decided to get the 3.5 inch tips mounted (They are Trans am Tips from ebay) The guy there was really good and he spent some time getting it just right and welding them up.
20140530_180629.jpg

20140530_180619.jpg


The Below pics of are me just messing around with the body parts and seeing how it would look. I always was thinking the tail lights were throwing off the color contrast too much and might be better black but i stuck with the LED look

DSC_0531.jpg

DSC_0545.jpg

DSC_0550.jpg

DSC_0555.jpg

DSC_0554.jpg

DSC_0562.jpg

20140804_093413.jpg.html

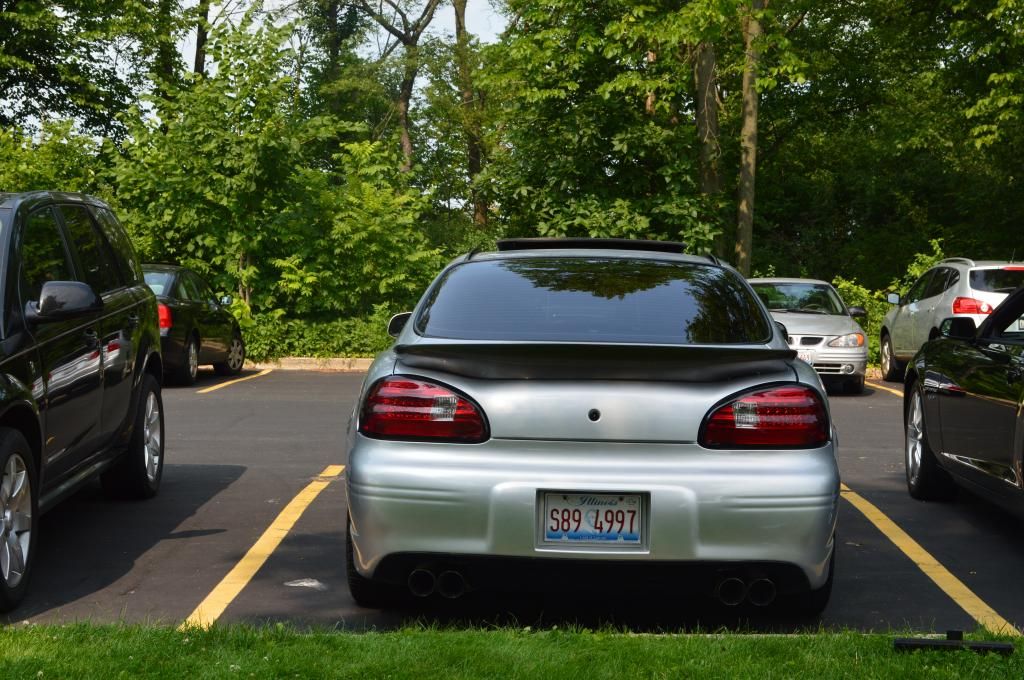
Spoiler was not mounted yet in these pics but more just to see if i like it or not. I think it looked better without a spoiler in some pics but i always wanted a genuine whale tale so i decided to have it painted
DSC_0571.jpg

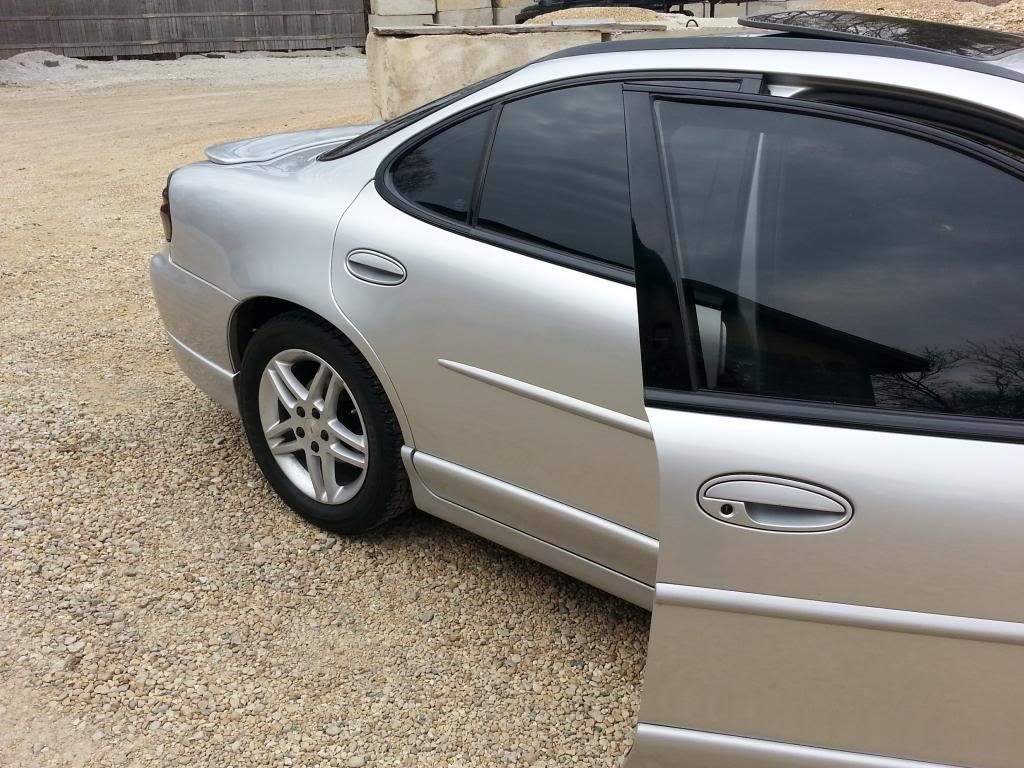
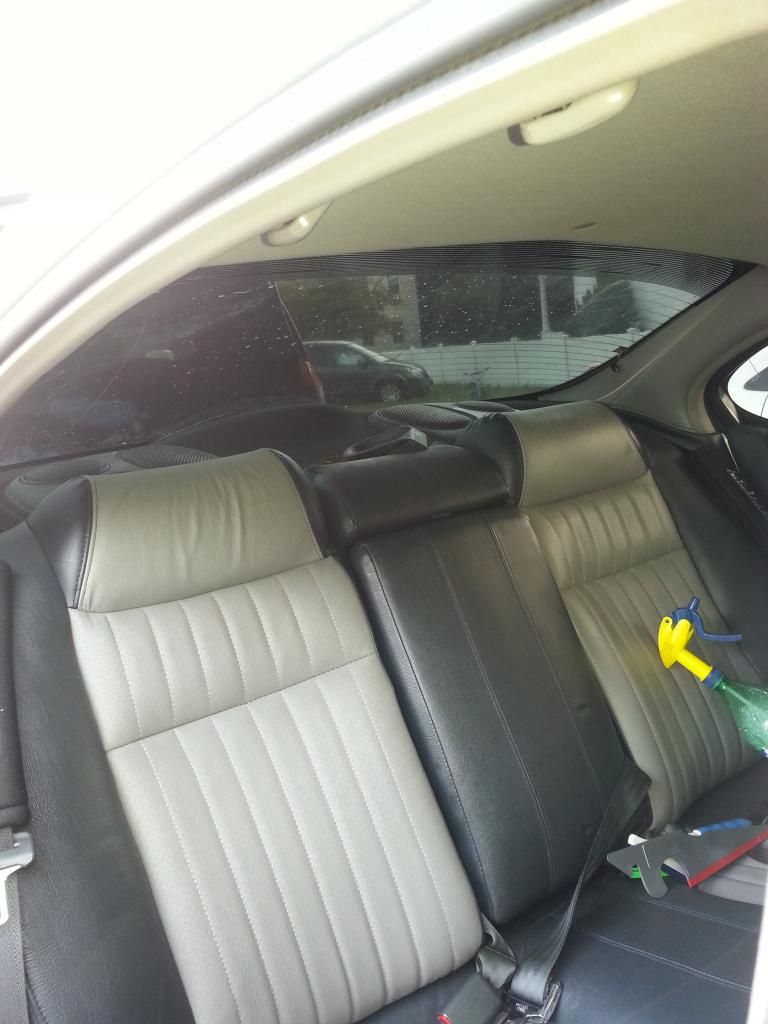
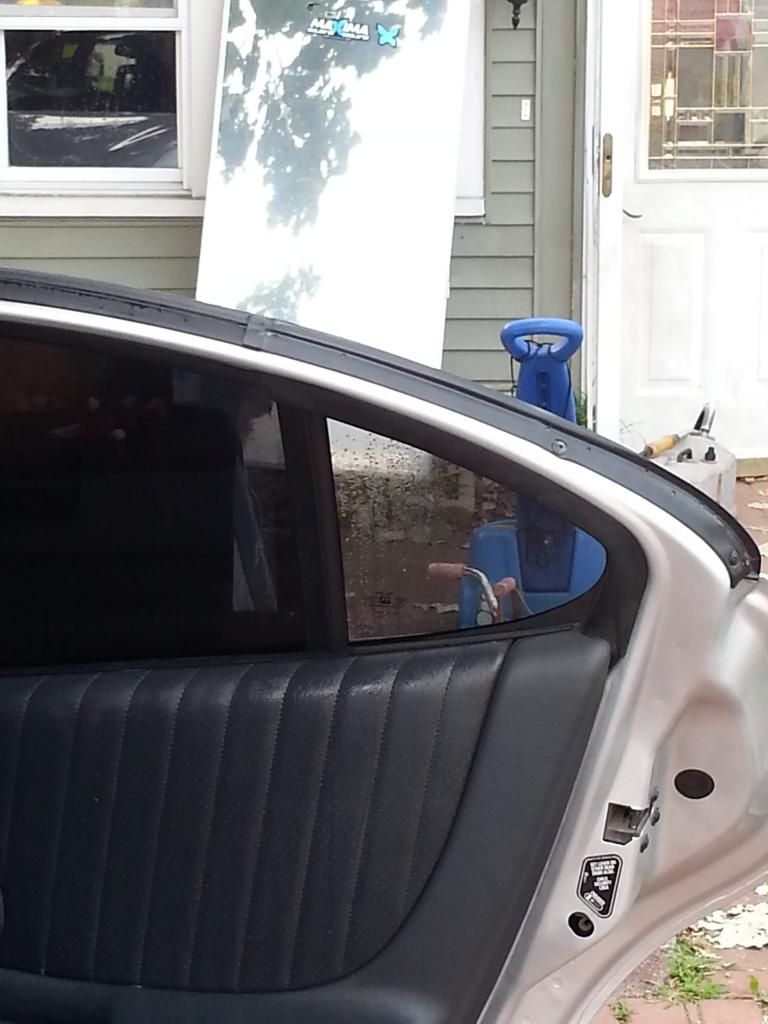
I still didnt think i had enough tint yet. I had 20 percent all around in the above pics but the windshield was 50 percent which made the rest of the car look darker but i was driving at night on a dark road and thought i can't really see that far ahead and that it was stupid so despite how good it looked i went over to a guys house and had the 50 on the windshield and removed and had another layer of 20 put over the rear windshield and another layer of 20 of rear windows. The formula is easy if anyone wants to know how it will look when overlapping tints. I ended up with 4 percent tint. Formula is whatever number add to existing is added. so i had 20 then added 20. 20+22=40 which is 4 percent.
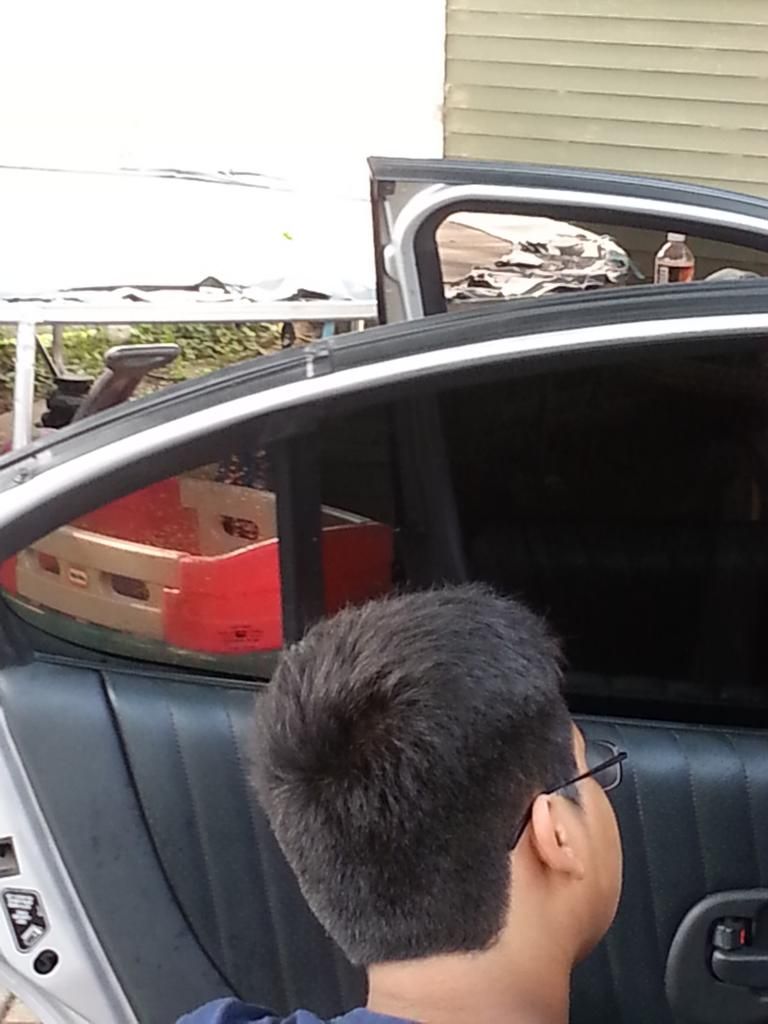
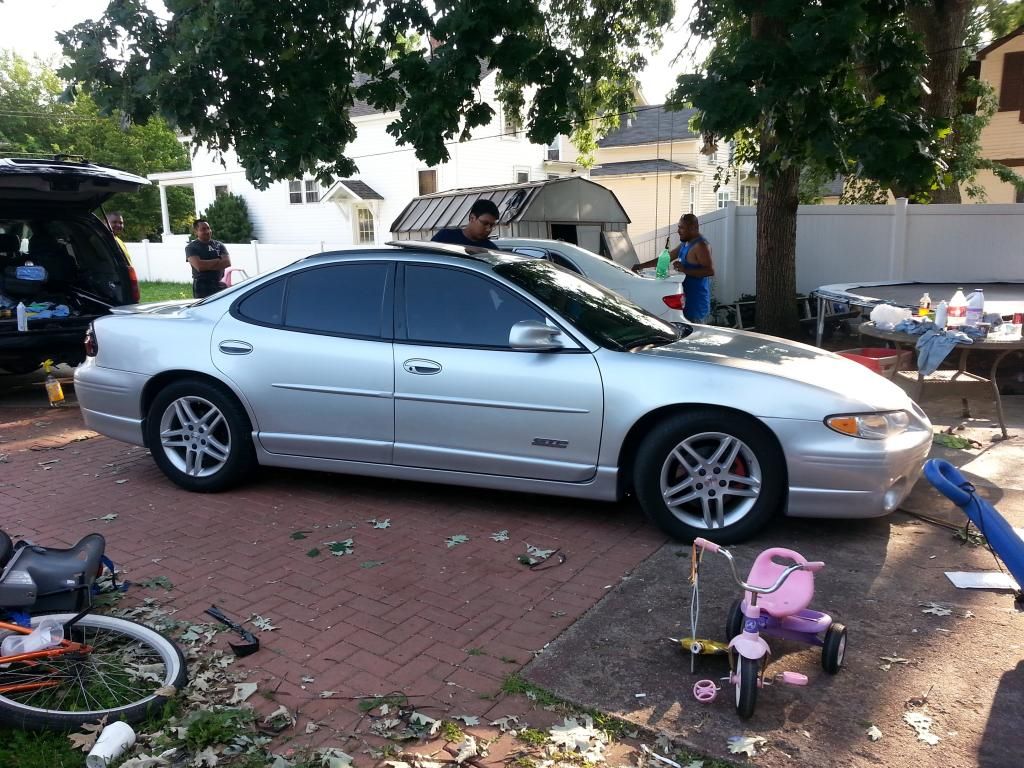
Here are some pics of how it looked when i was there getting it tinted and then when i got home i took pics of how the front windshield looked

Below you can see how the 20 percent was on the rear windshield and how the extra 20 is covering half of it already. It's a pretty big difference
20140717_173456.jpg

20140717_174732.jpg

As you can see, its a house i went to with a bunch of mexicans that just went to work on my car and other peoples cars. I have the WORST luck with tint people though. Even though i tipped him an extra 20 dollars and they give you a warranty, i thought i would have made a good connection. The guy lives 5 mins from me but wont travel to my big shop i have and i have a semi truck too i wanted them to tint and they blew me off 3 times till i finally gave up and have started learning how to tint myself.
20140717_174743.jpg

20140717_180903.jpg

20140717_182936.jpg

20140717_173706.jpg

20140717_173554.jpg

Then i got the front windshield tint taken off so i could have my SE seats seen from the outside of the car. I regret taking that film off even though it is safer but it looked hella good with 50 percent on windshield. I may go with 70 percent over windshield again to see if that helps at all with the overall look and still makes it safe at night
20140717_192410-1.jpg


Might as well show you a few more pics of how the car looked in its final stage before i spent another 2000 to get paint and body work done
DSC_0659.jpg

DSC_0647.jpg

DSC_0612.jpg

DSC_0616.jpg

DSC_0571.jpg

DSC_0621.jpg
 
Last edited:
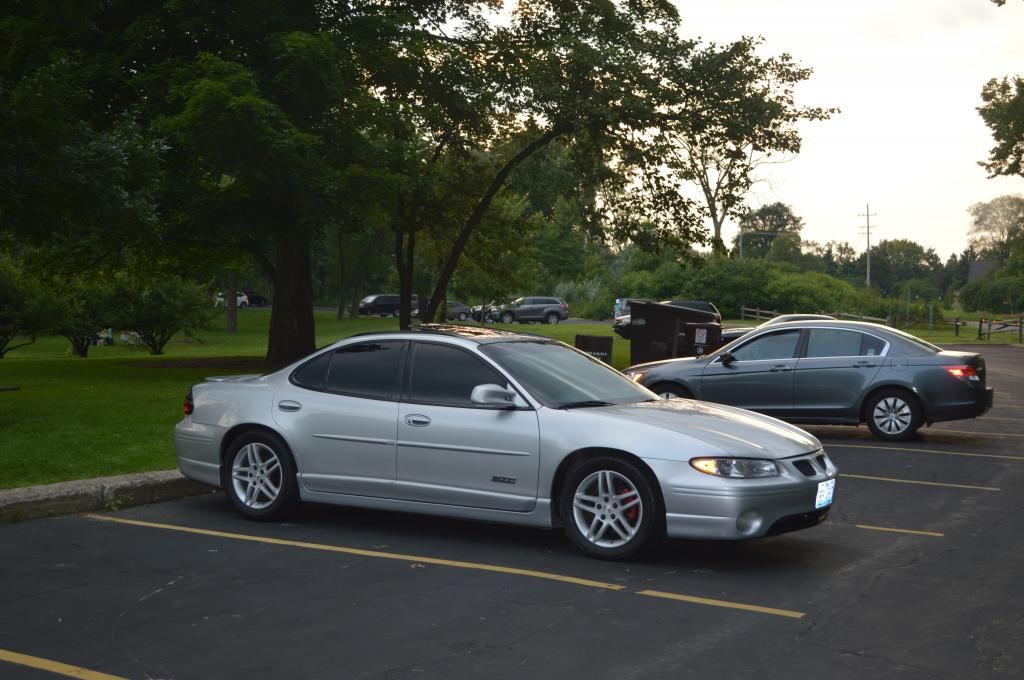
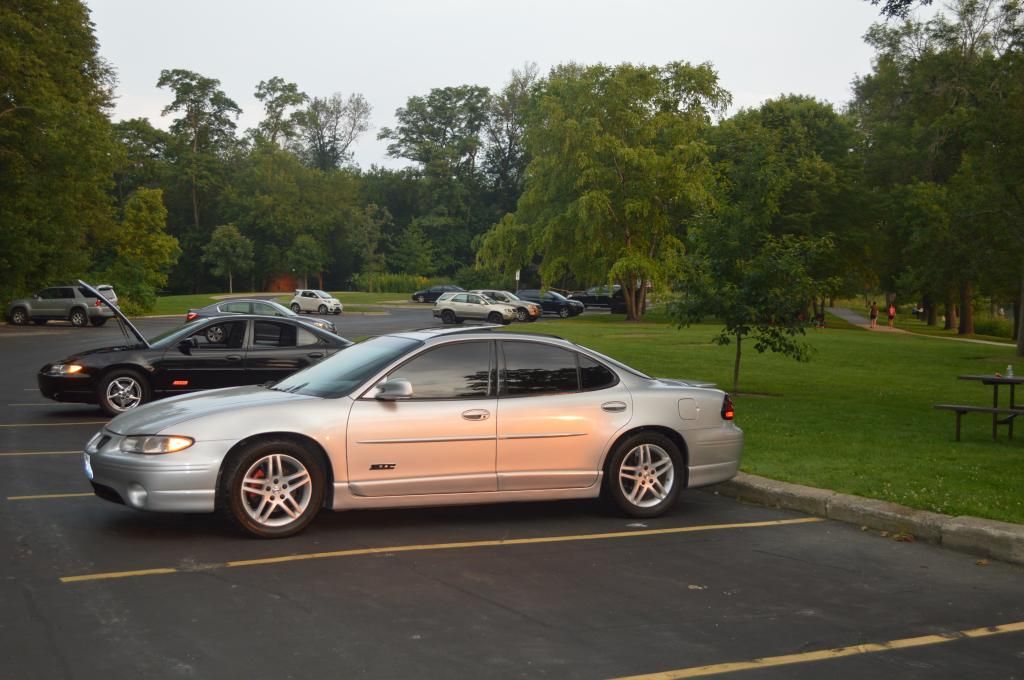
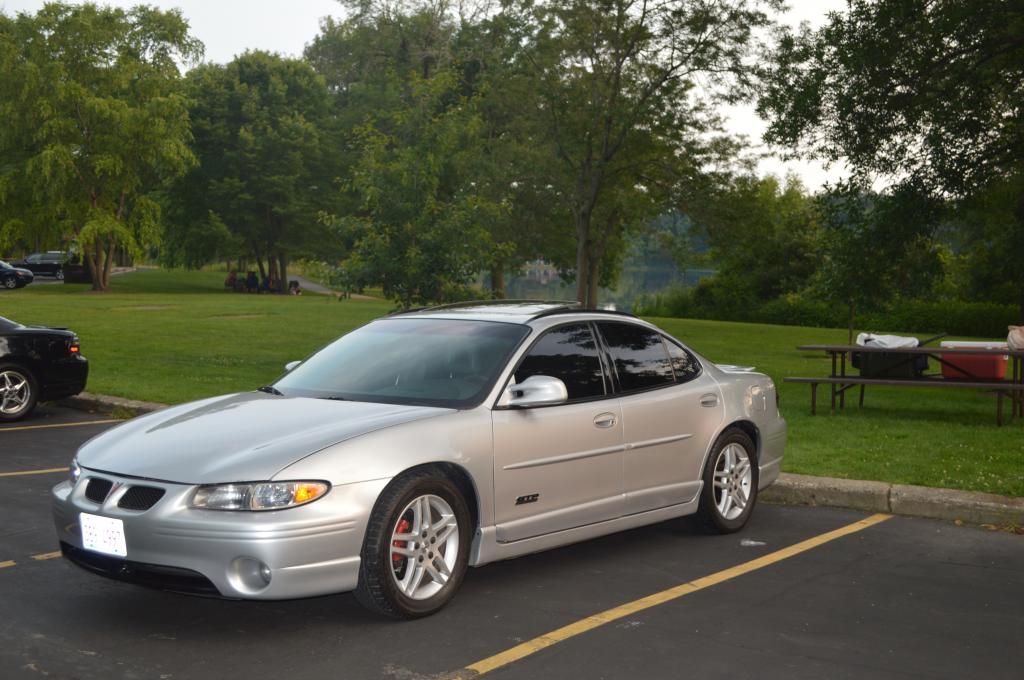
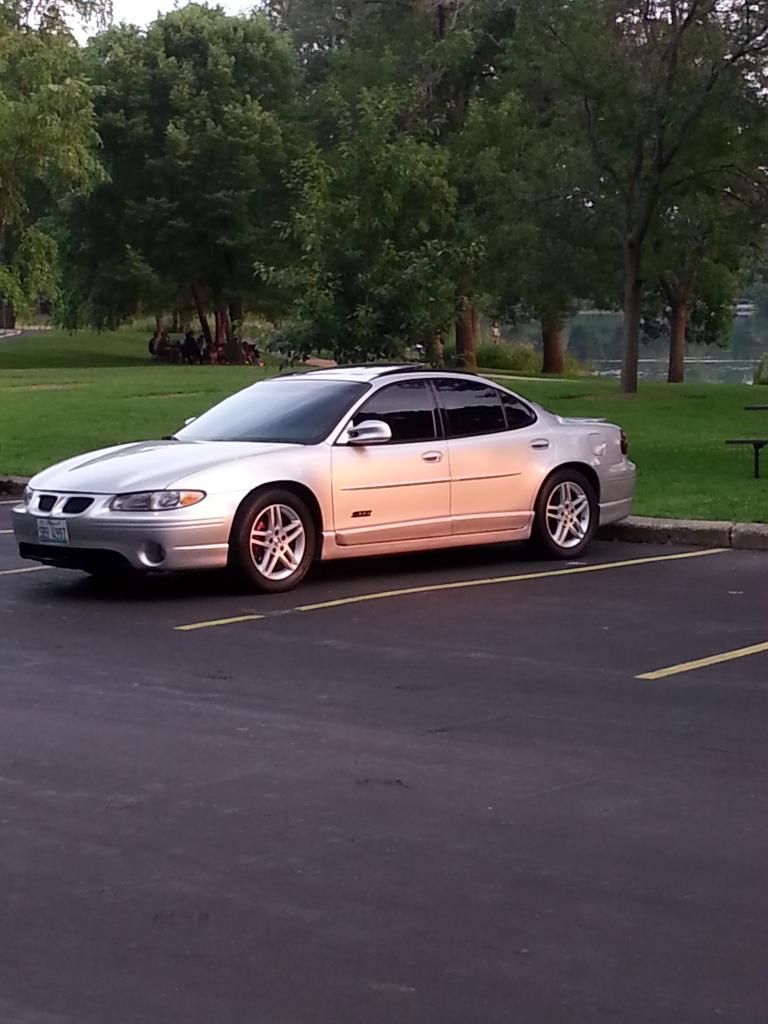
See how nice silver can look when its clean and the sun hits it at sunset? :) BTW that is RAREGMFAN's car. This was at the meet at herrick road this year.

DSC_0634.jpg

DSC_0642.jpg

20140719_192423.jpg


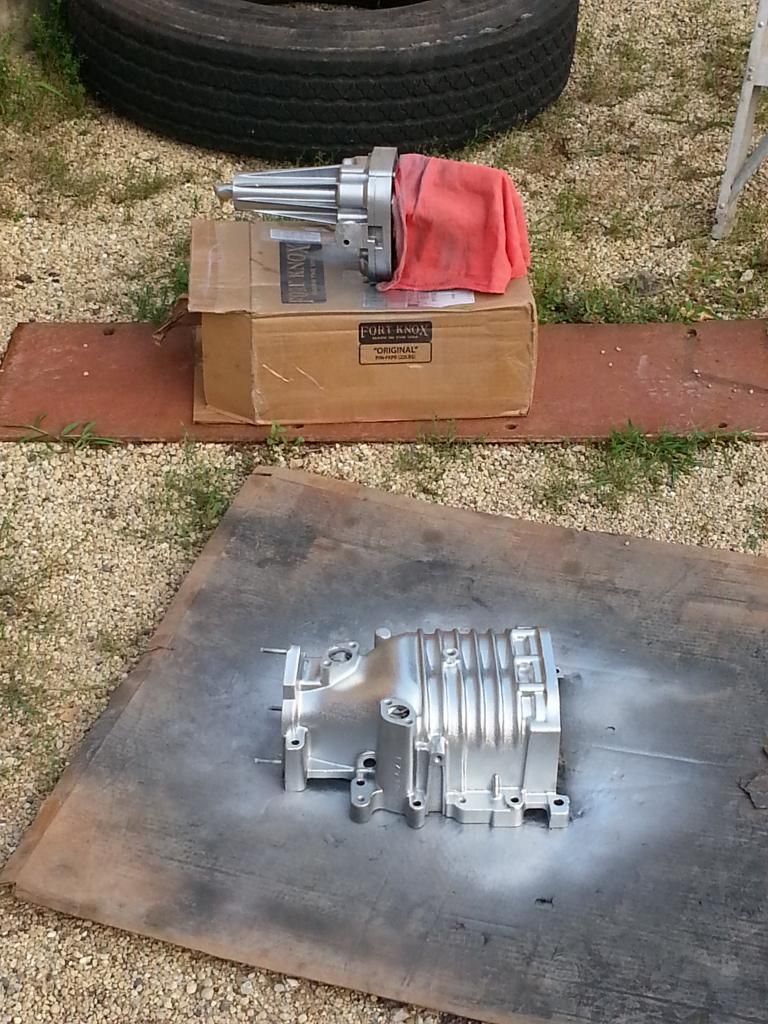
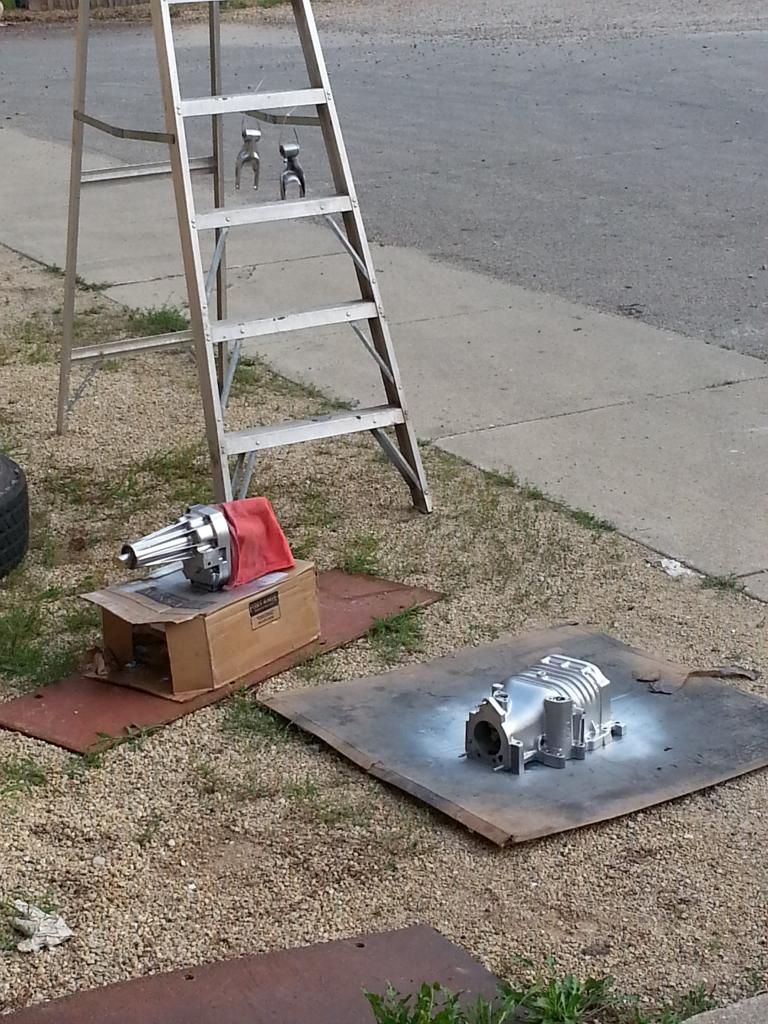
Next up will be the time i wasted painting my ported gen 3 chrome and then when i almost mounted it after intercooler install i decided to change it anyways lol. Sorry for wasting your time with these pics as well but its even a bigger waste for me to upload them but oh well right?

20140720_192020.jpg

20140720_184906.jpg

20140720_185112.jpg

20140720_192012.jpg

LOOK AT THAT PORT JOB!!!
20140720_192624.jpg

20140720_200135.jpg

I did not end up sticking with this color scheme and im glad i didnt cause wait till you see the later pictures of the color scheme i went with.

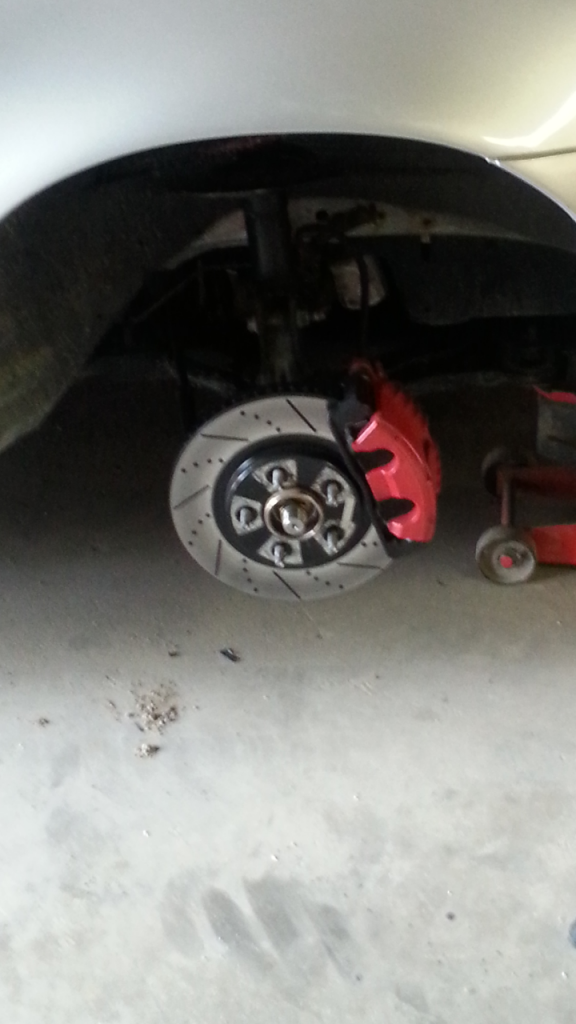
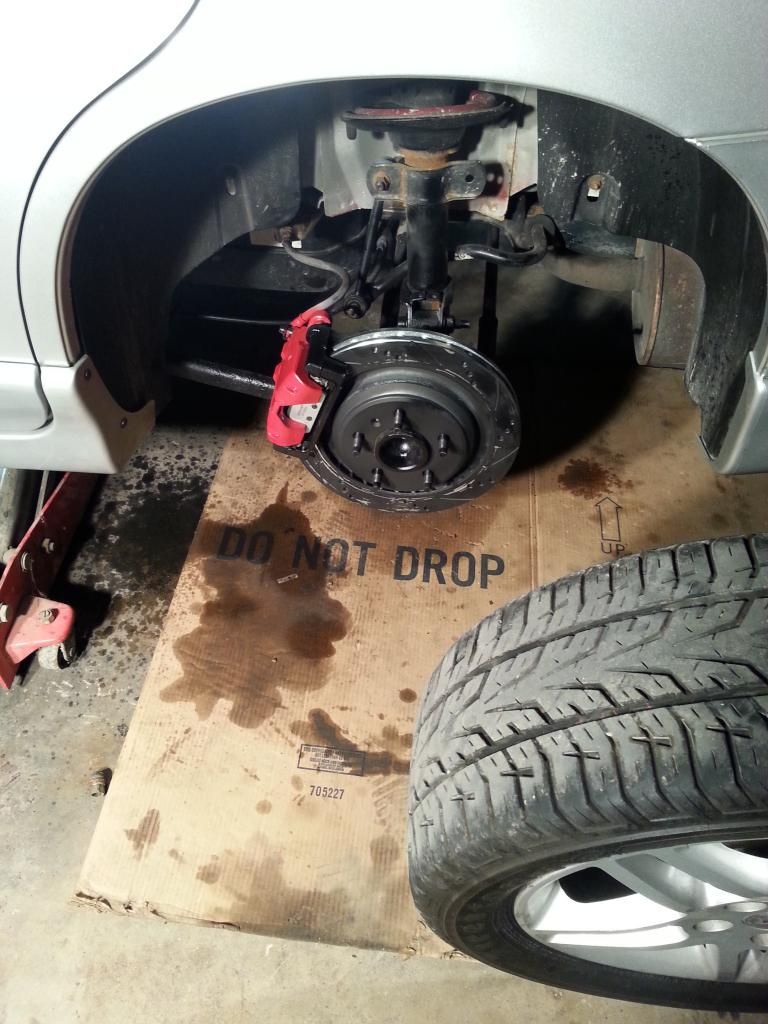
My GXP Rear brake setup was finally ready for install
20140722_221515.jpg


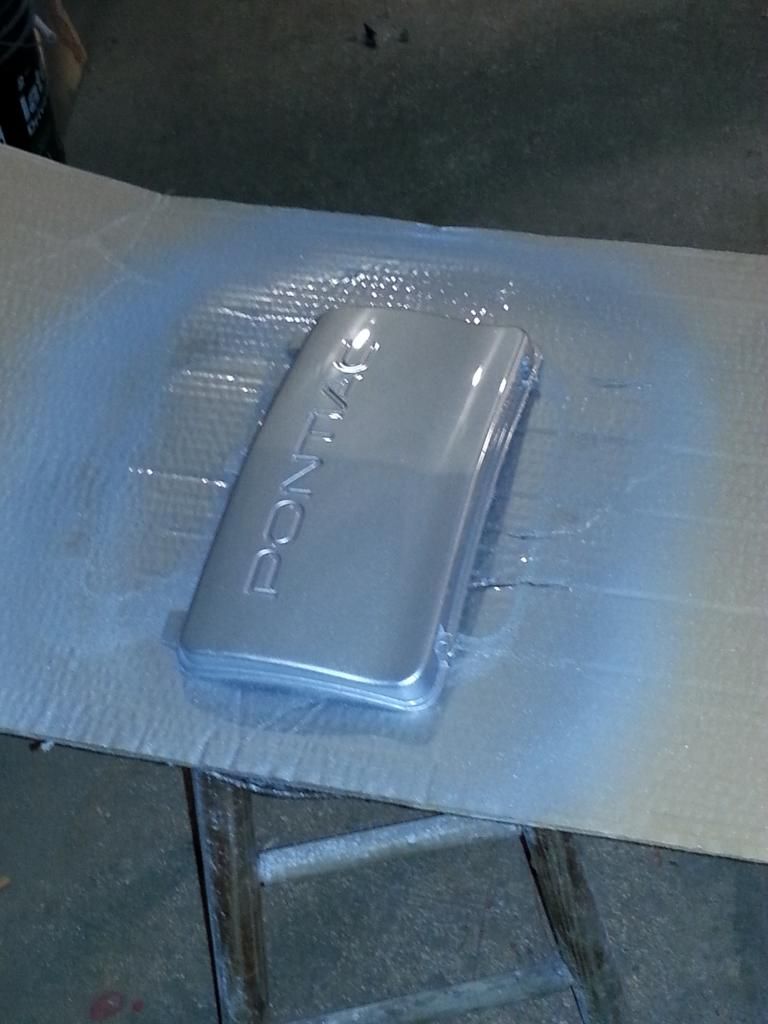
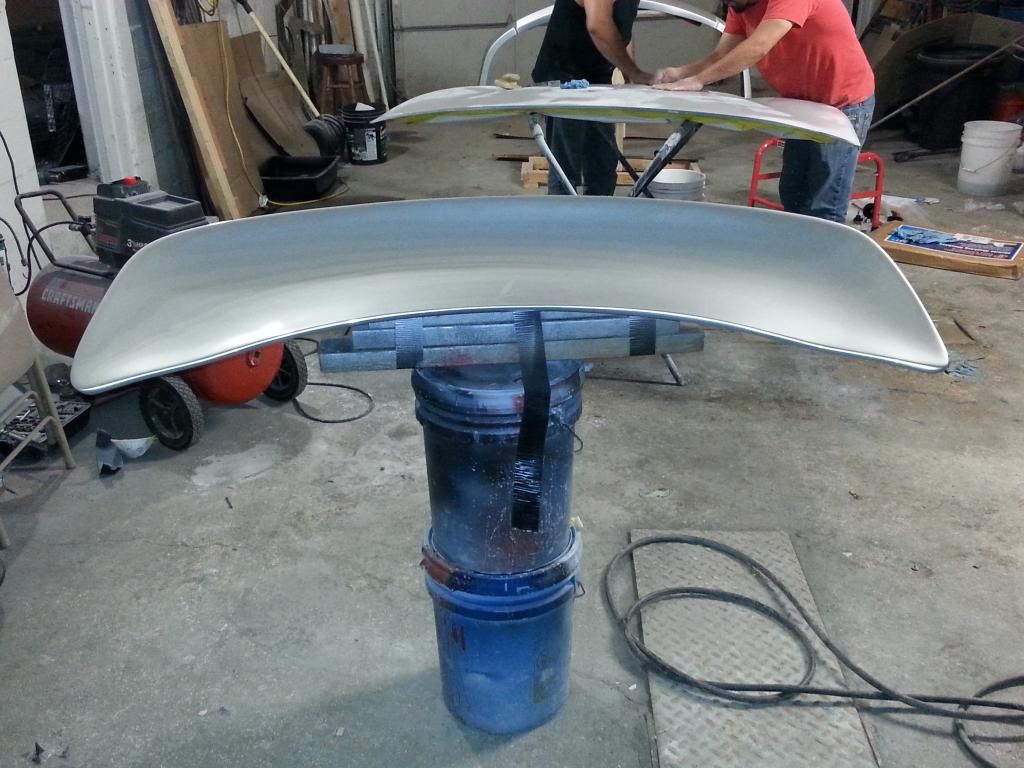
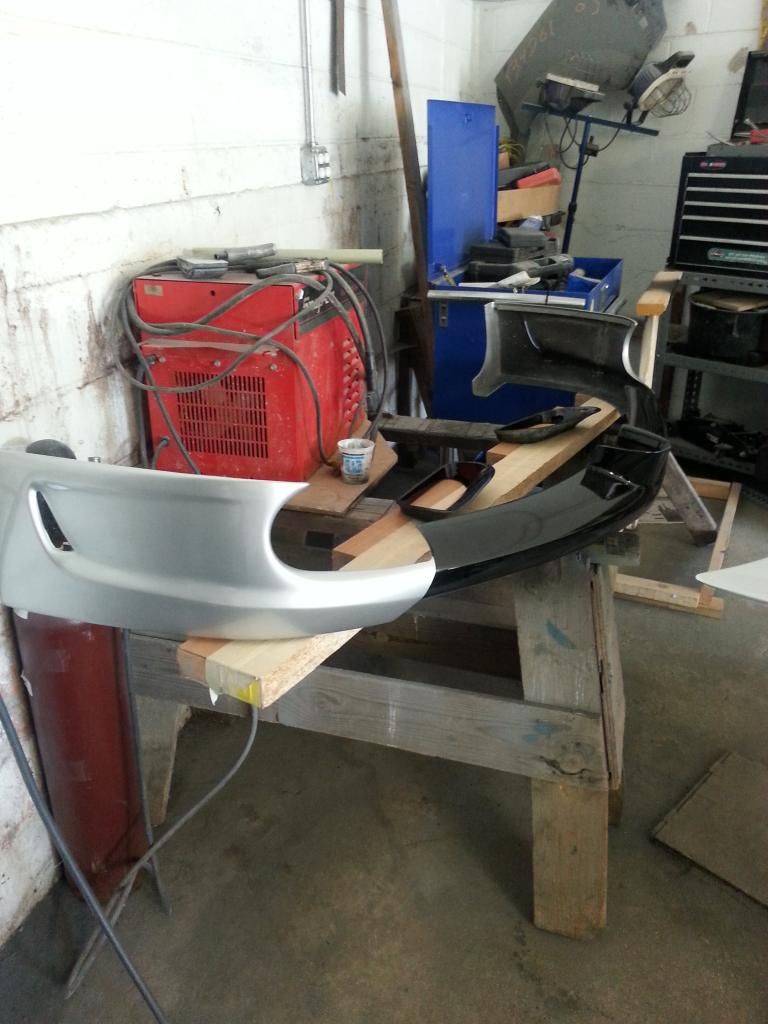
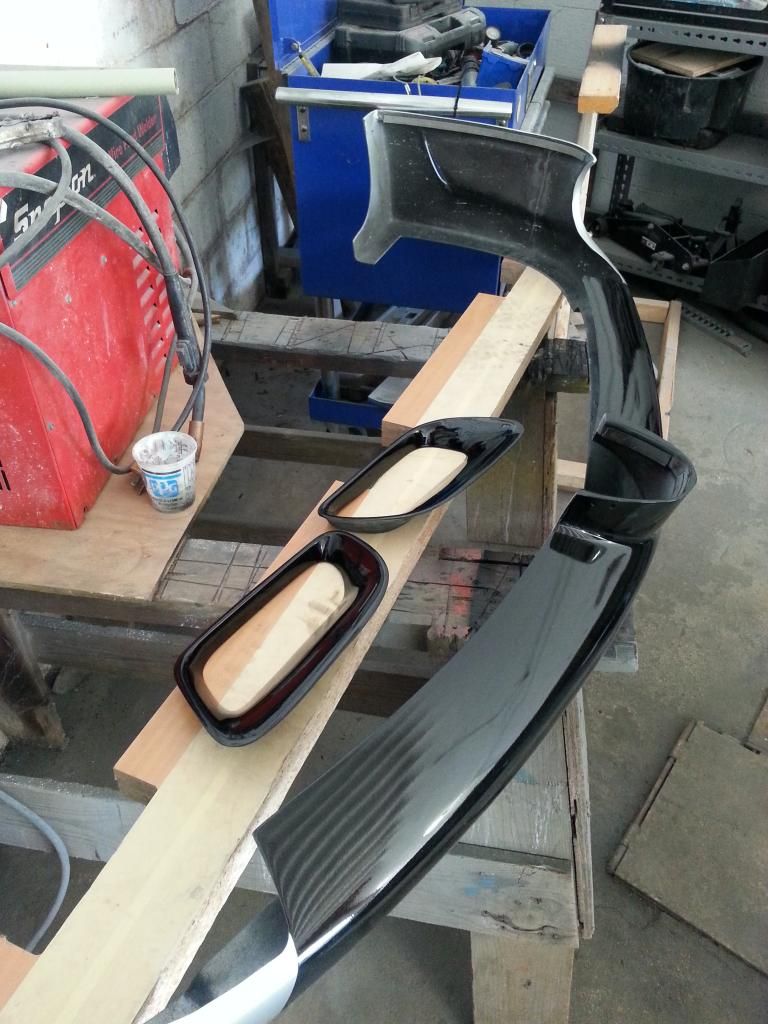
Next up i will post pictures of the paint progress and install of my SLP spoiler, SD air dam, GPO's and GTX hood. Go get some popcorn now!

20140725_170320.jpg

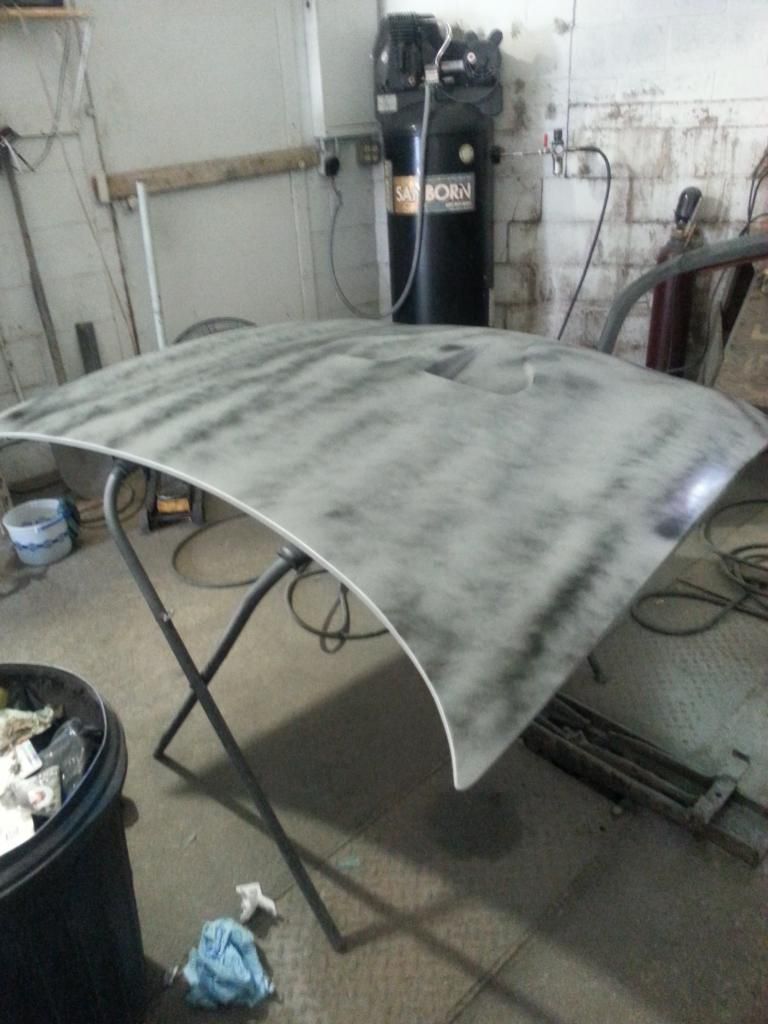
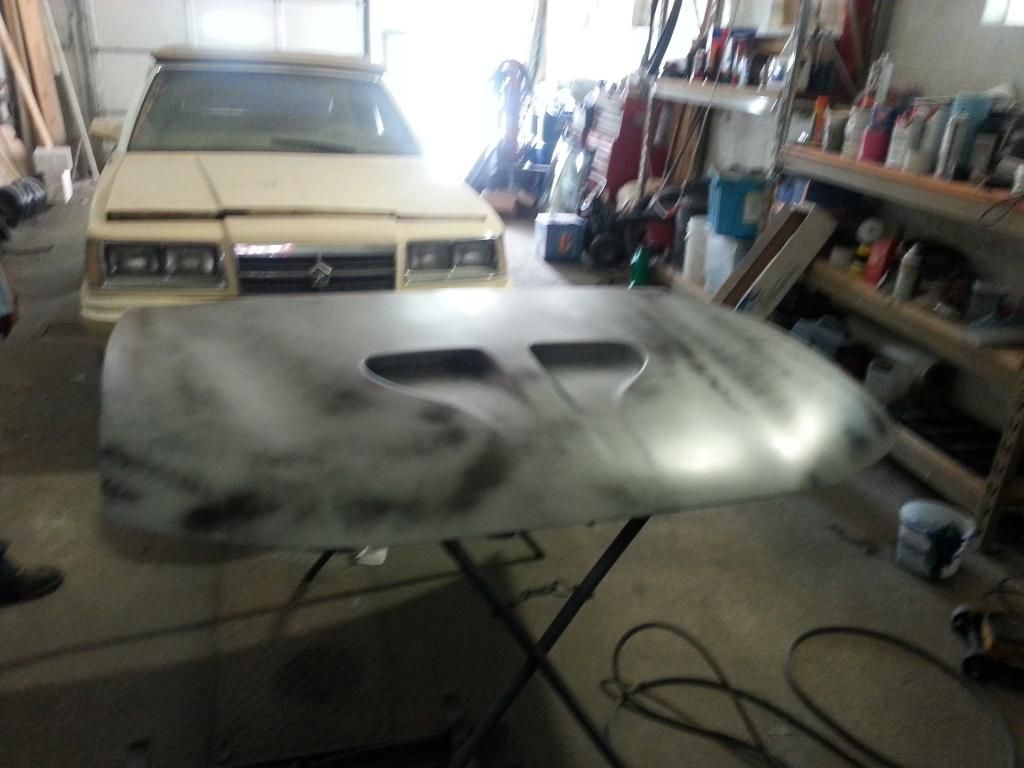
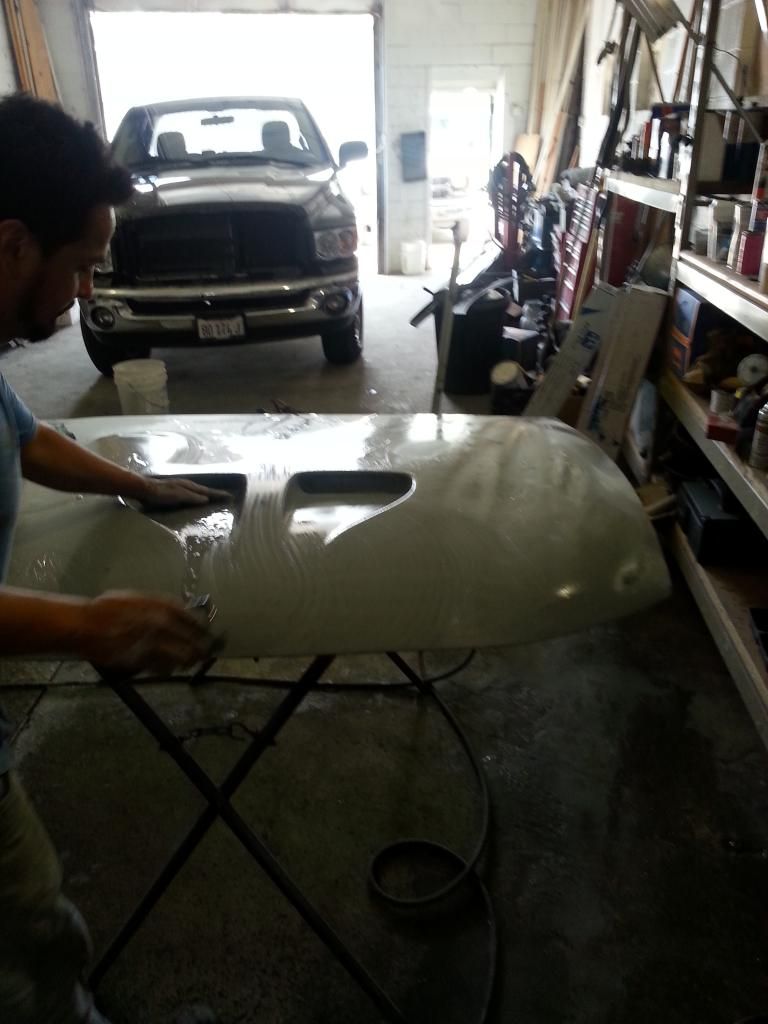
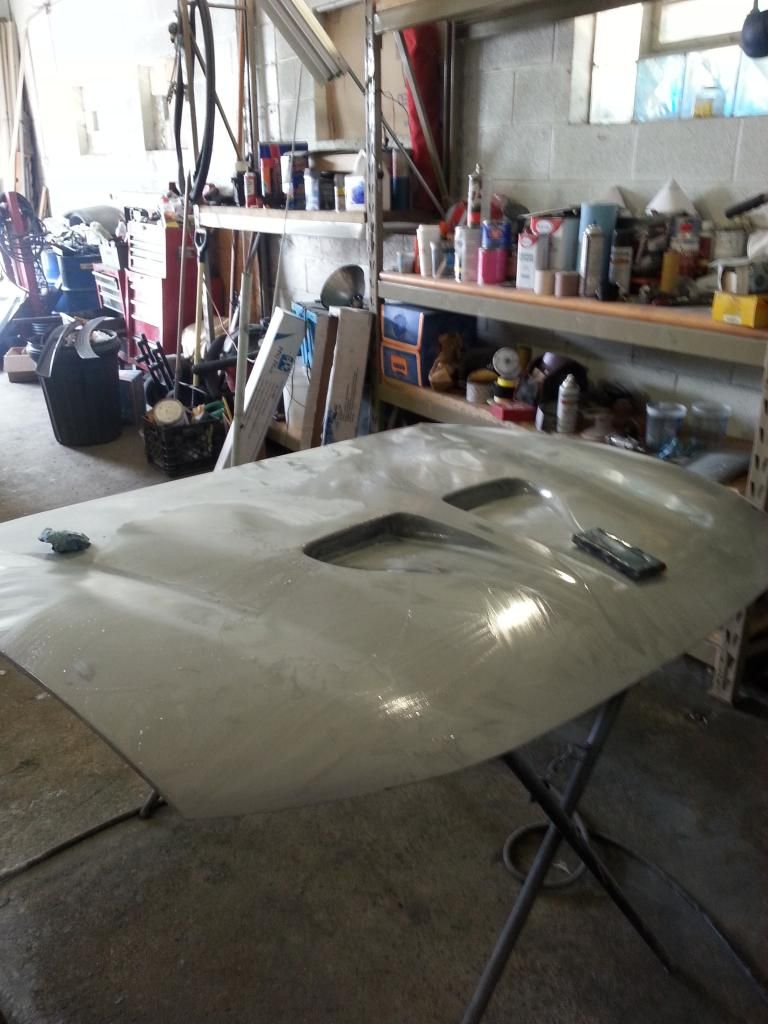
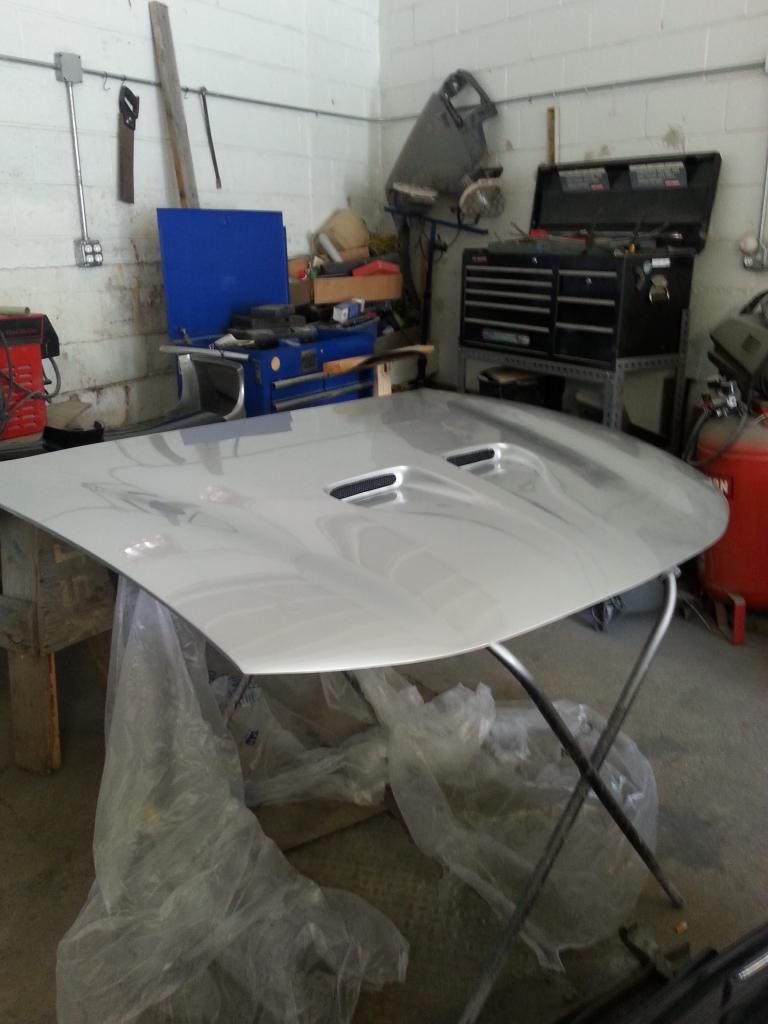
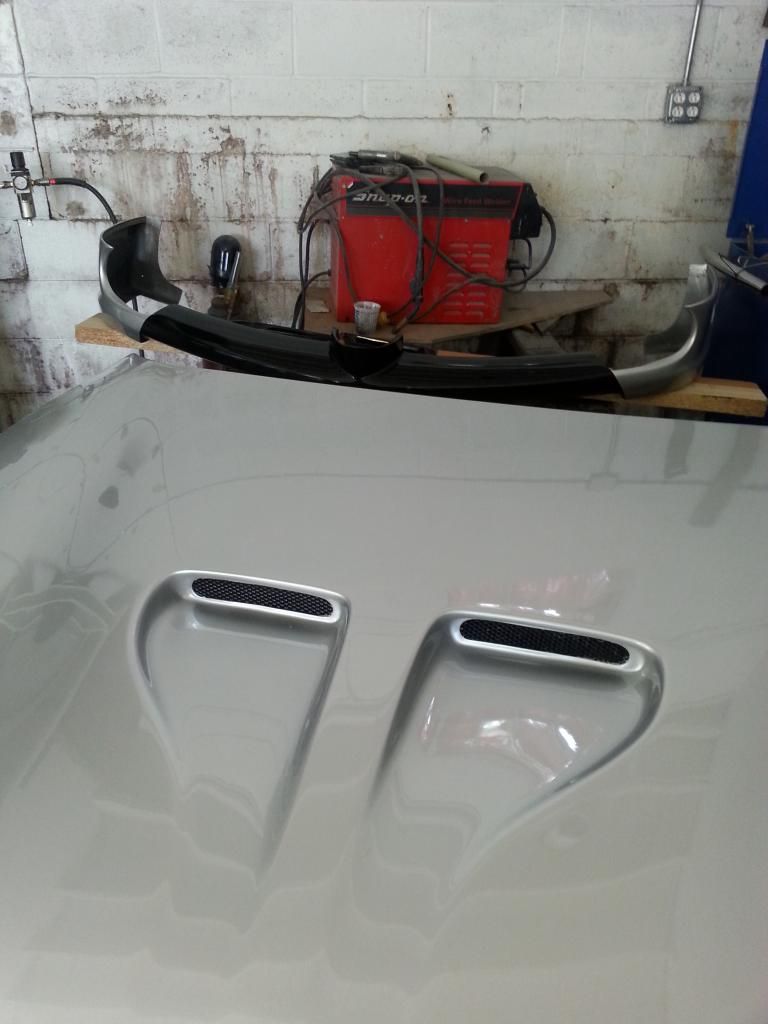
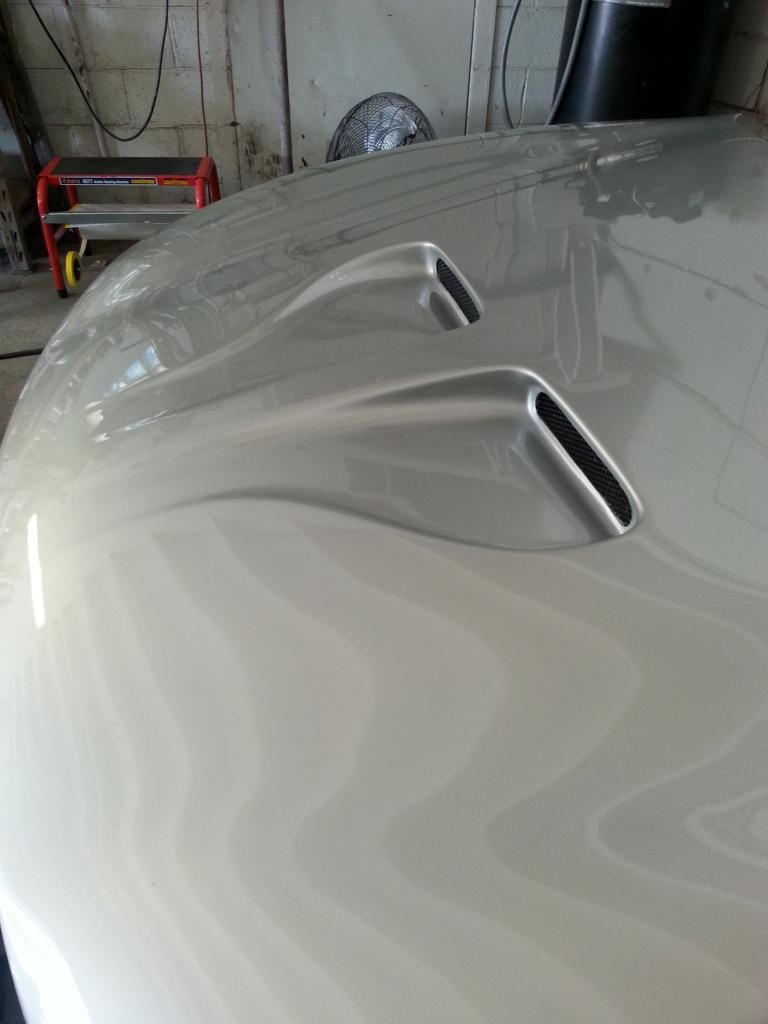
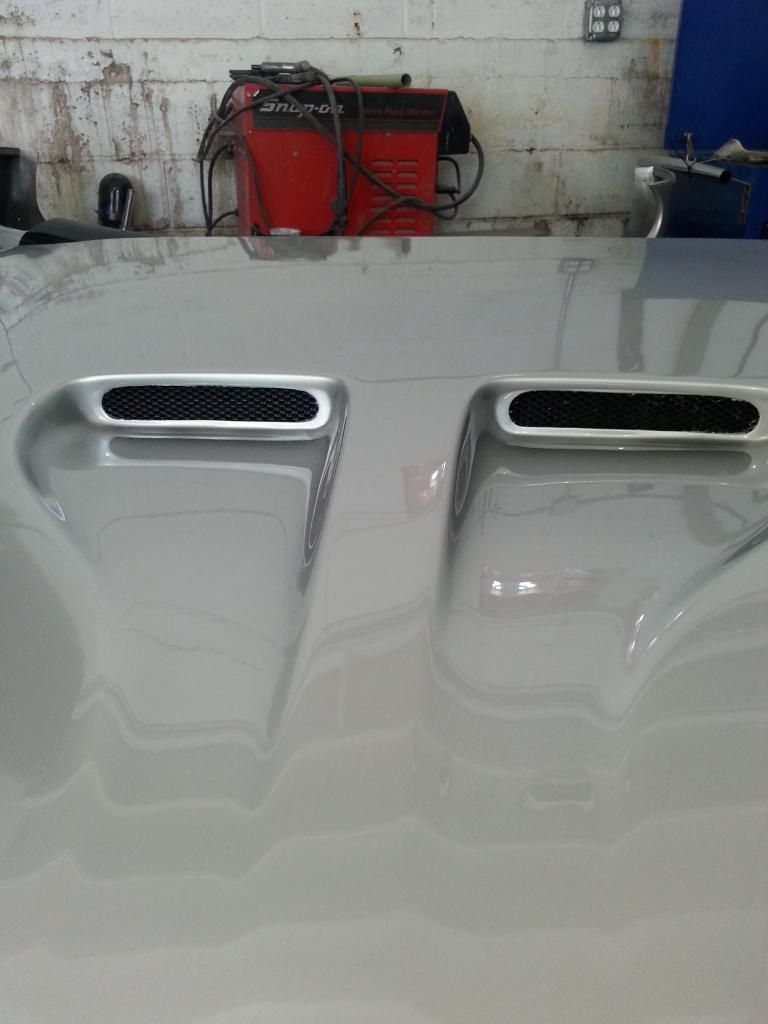
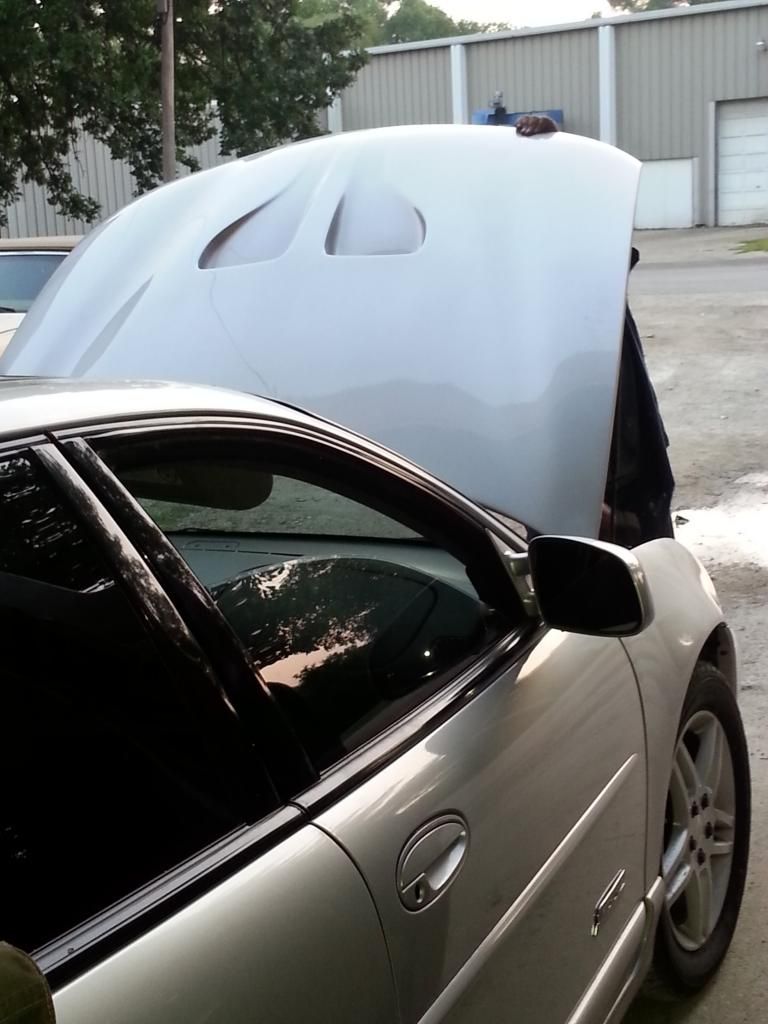
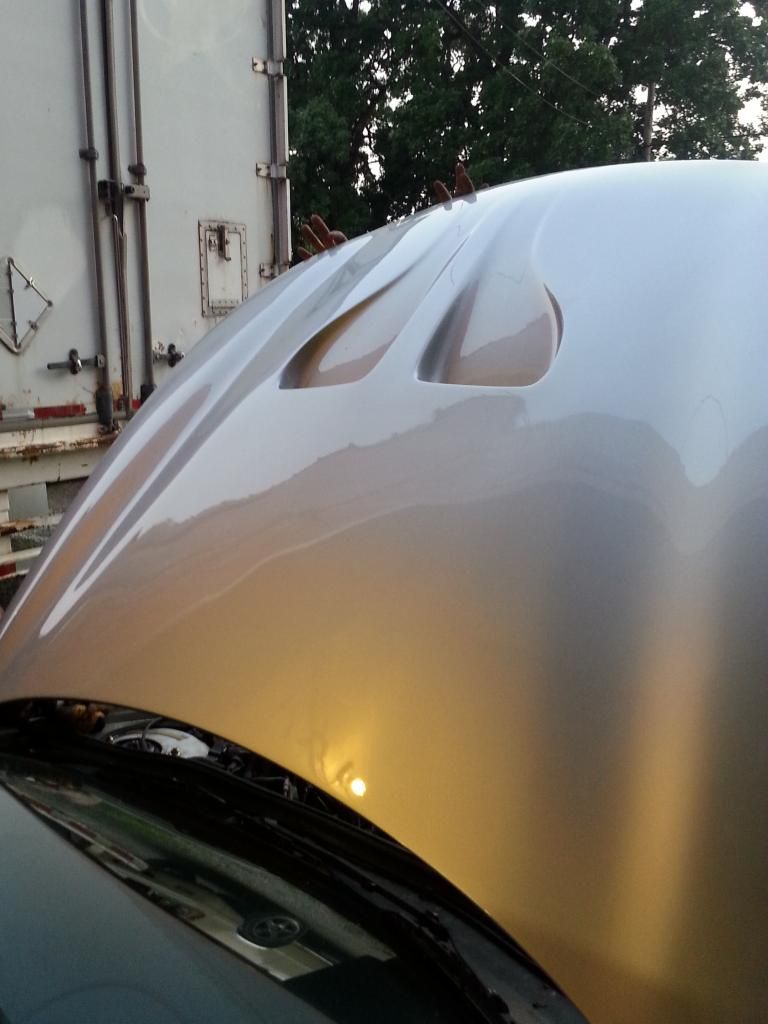
That hood took FOREVER to do. They got mad because of what they quoted me and it took about 4 coats of paint to finally soak up the fiberglass,not to mention the hood was rattlecanned black to begin with which is not the easiest to sand off.
20140725_170329.jpg

20140725_170343.jpg

20140726_130230.jpg

20140726_130433.jpg

20140802_141329.jpg

20140729_210717.jpg

20140729_210731.jpg

20140802_141352.jpg

20140802_141917.jpg

20140802_141927.jpg

20140802_141948.jpg

20140802_142724.jpg

20140802_152738-1.jpg
 
Last edited:
I decided to have them remove some of my wheel well rust i tried fixing on my own. It was pretty small but i didn't want it to get worse.

20140802_165926.jpg

20140802_190354.jpg

20140802_190413.jpg

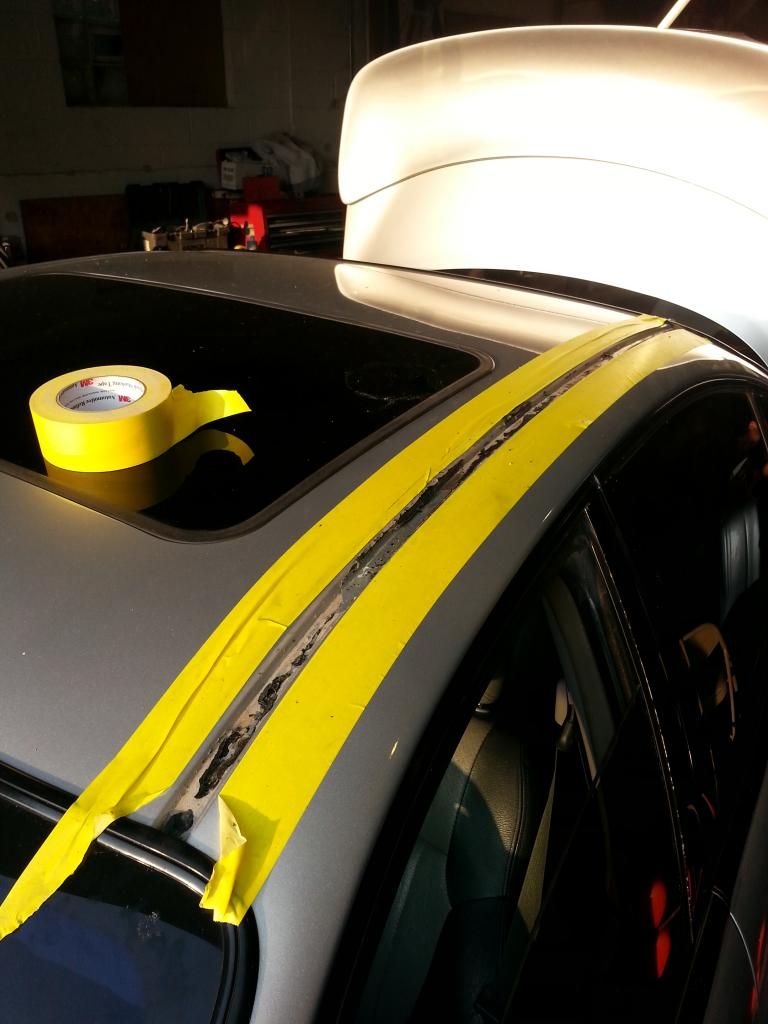
Then since i wanted to spend even more money, i had them remove my roof rails that i painted myself, and had them done professionally.
20140802_190611.jpg

20140802_191111.jpg

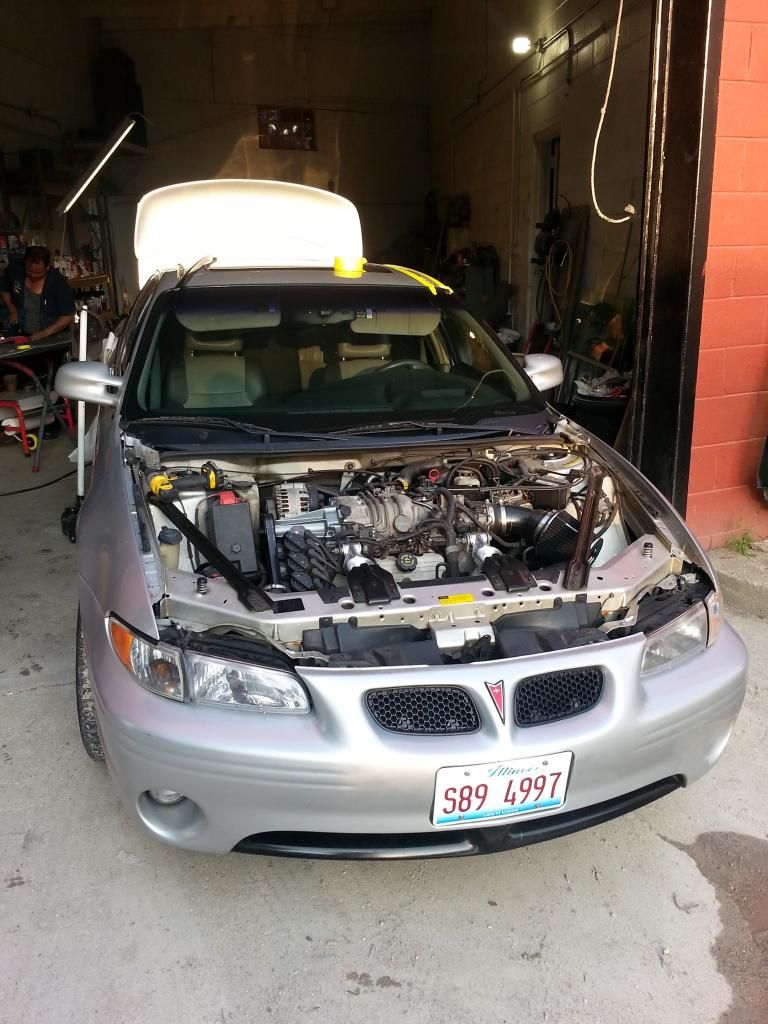
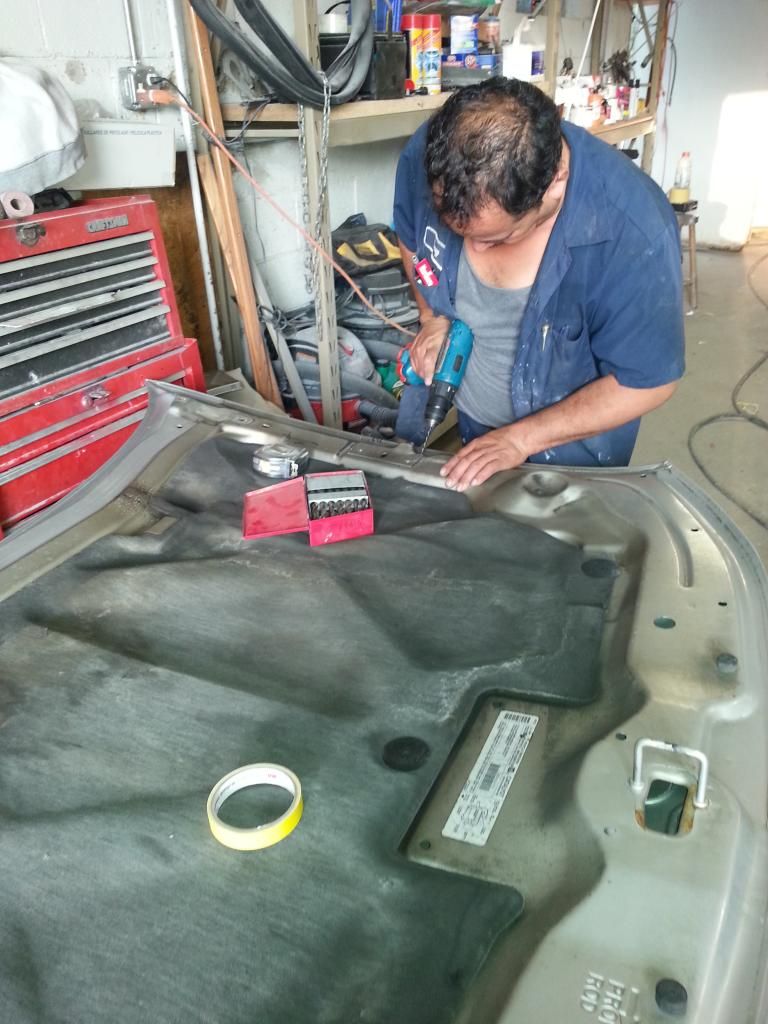
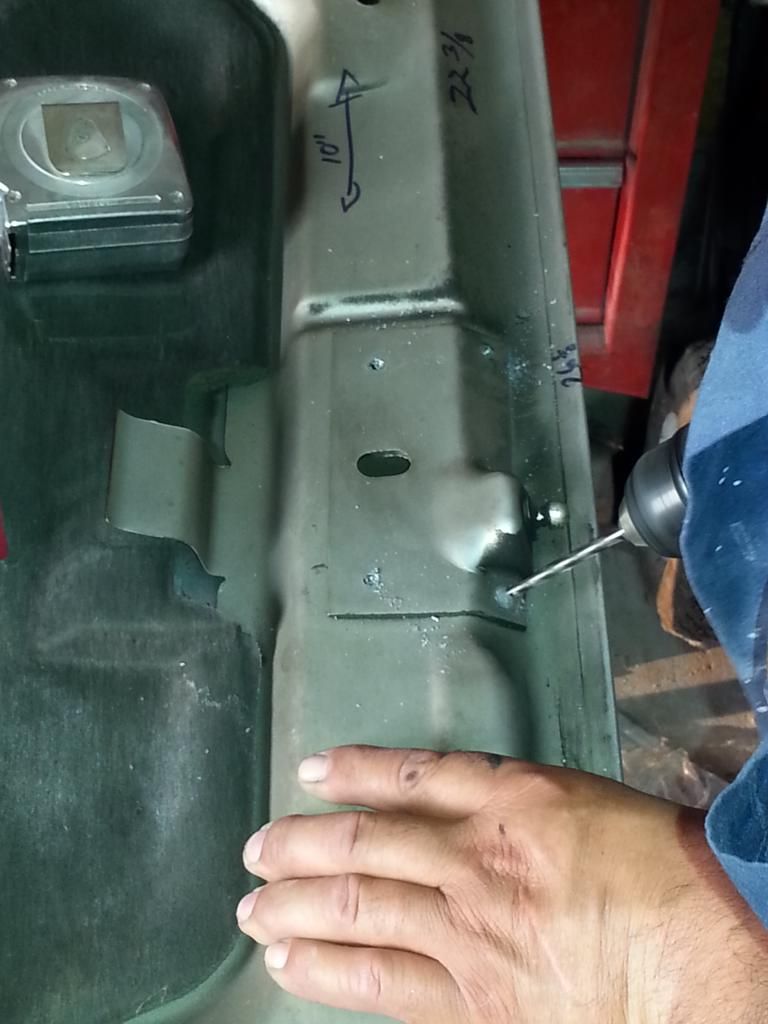
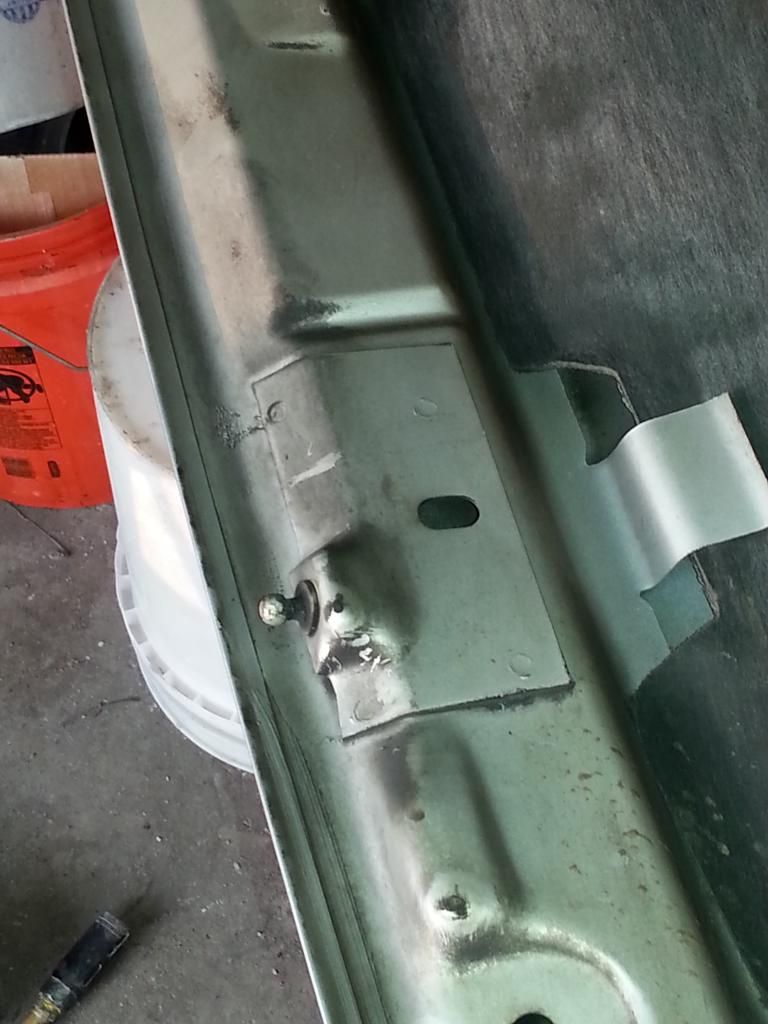
Here they are taking off the stock brackets on the inside of my hood to make the GTX hood fit. This was not easy at first because they couldnt get more than one hood prop to fit. In the end the hood wasnt fit right and after a week of having it i noticed i chipped some paint on the corner of hood so they told me to wait a week and my hood was at the shop for another week and redone lol and the hood props were installed proper and fitment was perfect, which is kinda a reason im unsure about getting hood washers to tilt the hood for clearance.
20140802_191244.jpg

20140802_191310.jpg

20140802_191320.jpg

And hood is finally getting fitted!!!
20140802_200250.jpg

20140802_201042.jpg

Then i finally got here home. GPO"S are not installed yet
20140803_154021.jpg


20140804_093413.jpg

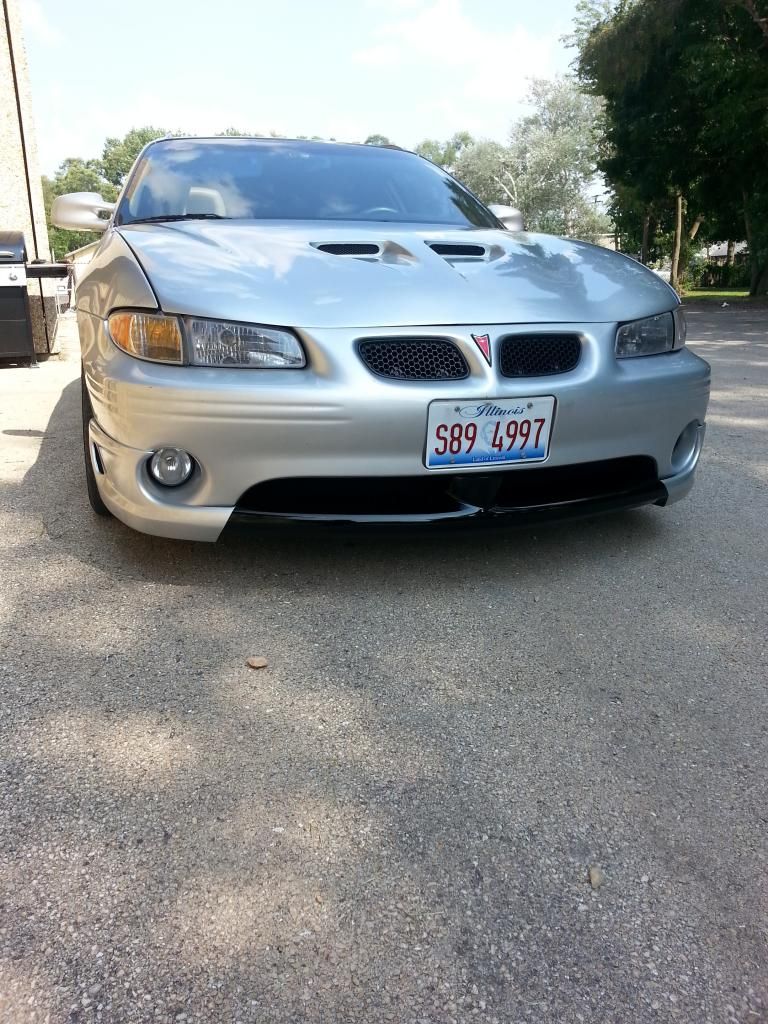
Finally, my vision of what i thought this car could become is becoming a reality
20140809_143702.jpg


Time to take another break as i continue to get more pictures together.


we all know a hell of a lot of cussing went in to get the car this far and imo its worth it!!
damn good looking car now!!

glad all those sexy cosmetic parts got a good home instead of my closet!

great work dustin.
 
I also have a Front Air Dam, SLP Gen 1 Spoiler, and GPO's. Amazing how those parts + the hood just completely transforms the car.

Car looks fantastic man, great work on it. Everything you did. It's also nice to see a members ride thread with many pictures, details, and explaining the process of transforming your car without having to go through a million pages.
 
Back
Top