You are using an out of date browser. It may not display this or other websites correctly.
You should upgrade or use an alternative browser.
You should upgrade or use an alternative browser.
From Grand Prix to TDI
- Thread starter I800C0LLECT
- Start date

I800C0LLECT
Audio Moderator
I chose the GB10, GB25, GB60, and GB10D4 subwoofer.
This is going to make a killer 3-way audio install") I have a JBL MS-8 for the processing and MS-A1004 and MS-A5001 for the amplifiers. The speakers should have shipped today! So excited
I have a JBL MS-8 for the processing and MS-A1004 and MS-A5001 for the amplifiers. The speakers should have shipped today! So excited 
This is going to make a killer 3-way audio install
I have a JBL MS-8 for the processing and MS-A1004 and MS-A5001 for the amplifiers. The speakers should have shipped today! So excited I800C0LLECT
Audio Moderator
Everything came in the 7th and I've been getting all the materials together to get this thing moving along...because I'm headed out the door again ;P gd'it.

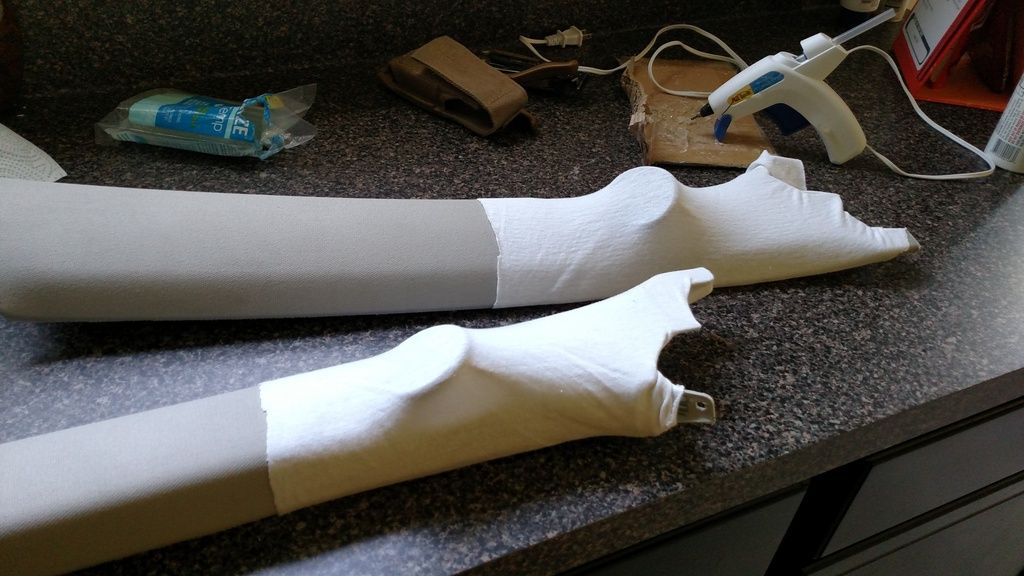
So I haven't been able to get away from the kids to get any work done so I figured I'd turn them into minions. One A-pillar is awaiting cloth and resin. Tomorrow we'll prep another and hopefully get these things vinyled on Wednesday. Here's my little girl cleaning up after me...

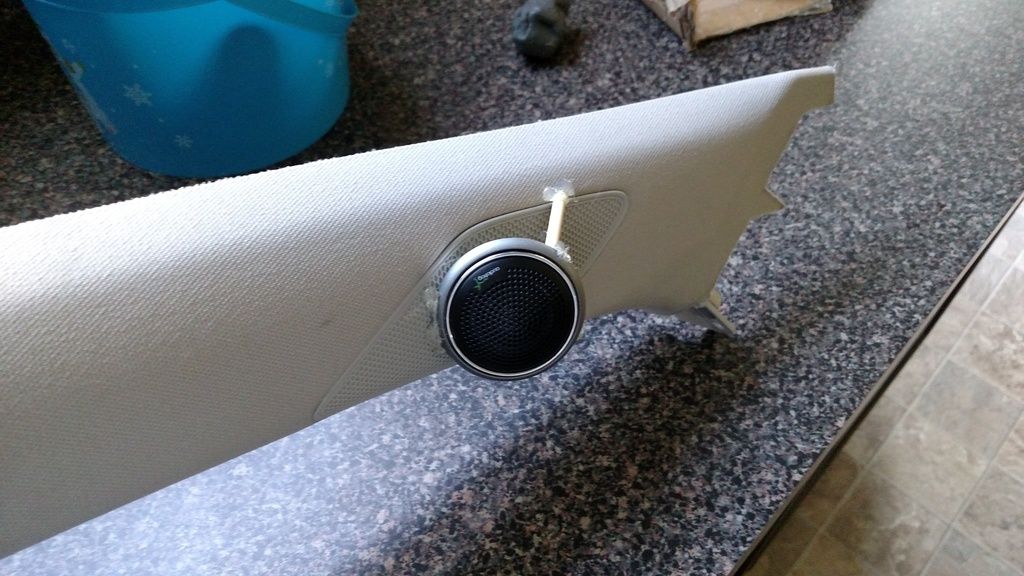
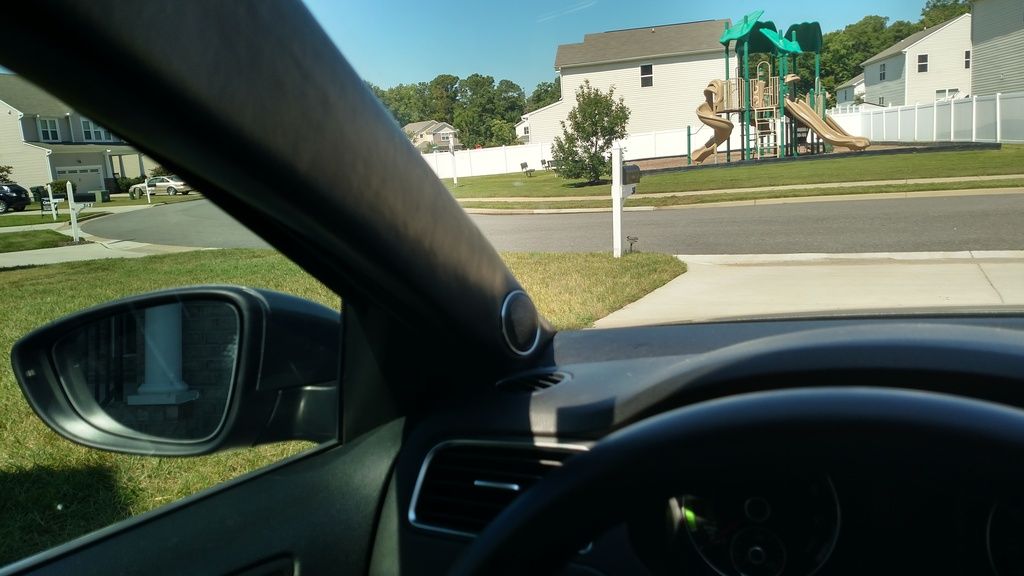
She helped me aim them...going to be towards the back of the rearview.

Time to get this done. Here's hoping to completing it all before August 1st. With my new 10" sub I'm going to seal it in the trunk in the spare tire well. The mids will go in the kick panels, mid-bass in the doors and obviously the tweeters in the pillars.
So I haven't been able to get away from the kids to get any work done so I figured I'd turn them into minions. One A-pillar is awaiting cloth and resin. Tomorrow we'll prep another and hopefully get these things vinyled on Wednesday. Here's my little girl cleaning up after me...
She helped me aim them...going to be towards the back of the rearview.
Time to get this done. Here's hoping to completing it all before August 1st. With my new 10" sub I'm going to seal it in the trunk in the spare tire well. The mids will go in the kick panels, mid-bass in the doors and obviously the tweeters in the pillars.
I800C0LLECT
Audio Moderator
Slight update... Waiting for my daughter to get home from friends house to help me resin these things.
Any tips for cutting out the tweeter ring without damaging the edge? Exacto knife?
Moving on because I'm tired of waiting on my daughter....

Any tips for cutting out the tweeter ring without damaging the edge? Exacto knife?
Moving on because I'm tired of waiting on my daughter....
I800C0LLECT
Audio Moderator
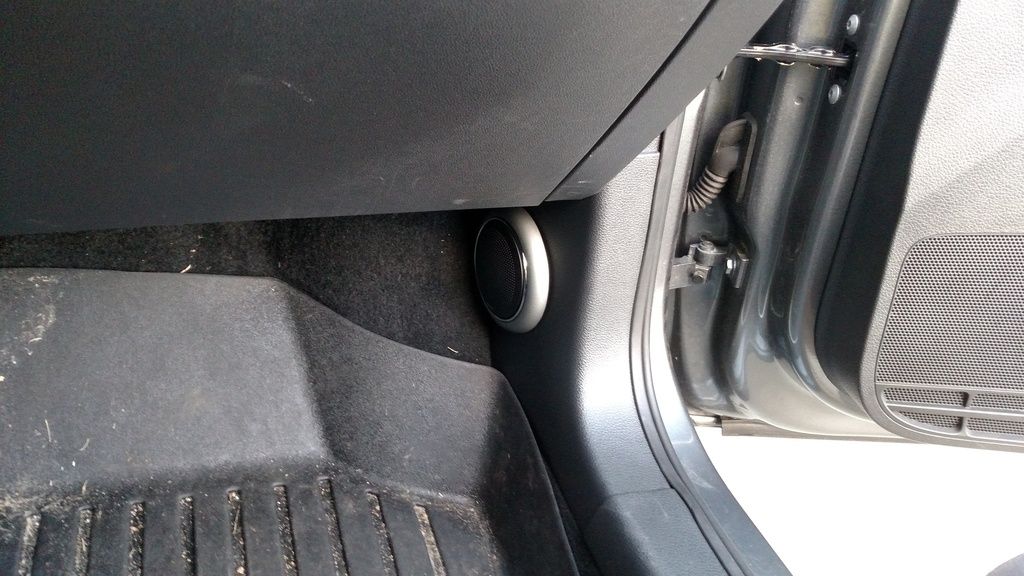
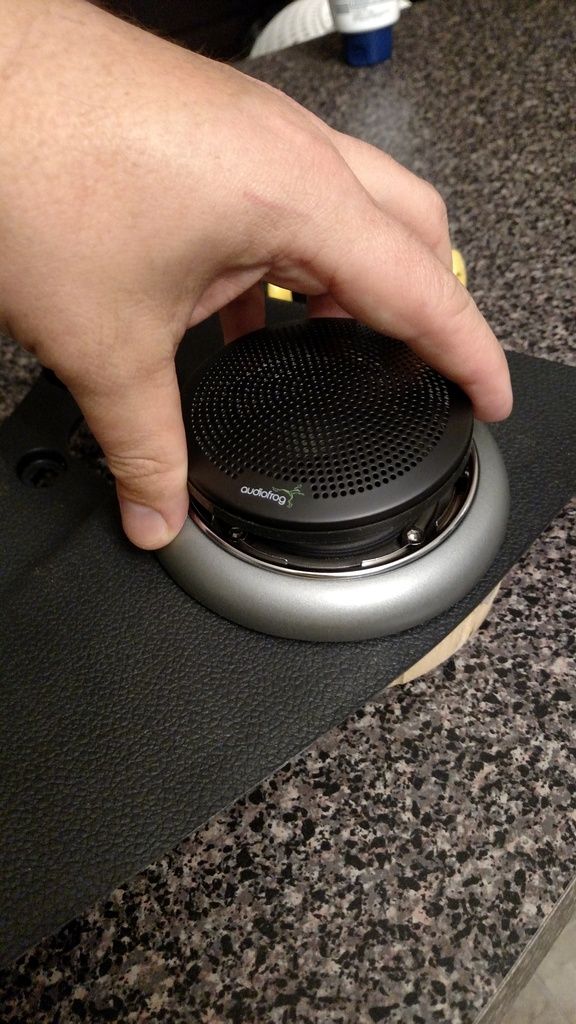
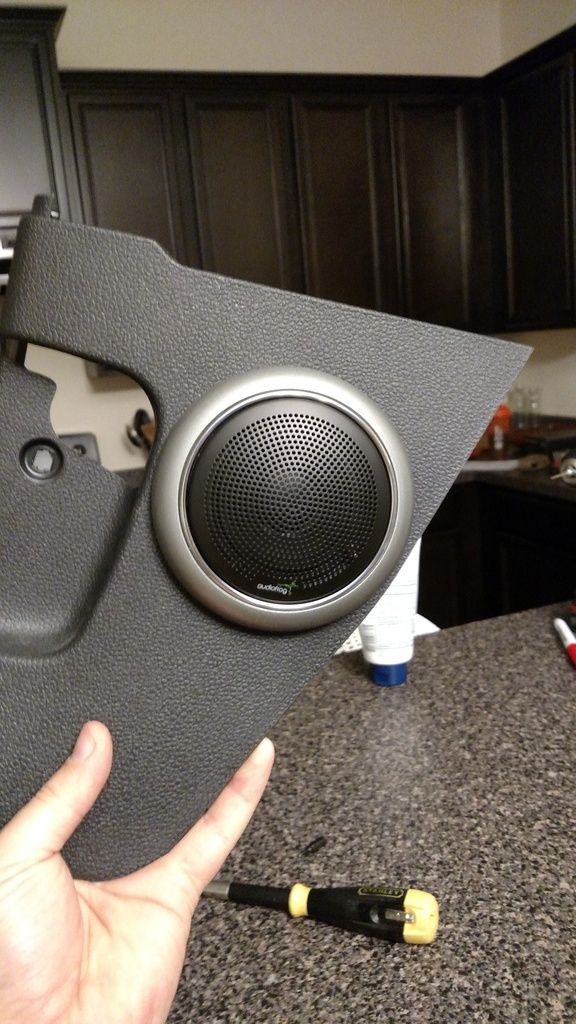
Unfortunately, I forgot to account for the hood release on the other kick panel...I guess that's why I'm not a professional installer; so the speakers aren't symetrical...uh, who cares? It turned out well and I provided detailed photos to show how easy this hardware goes together. I'm really impressed with Audio Frog's packaging and install oriented assembly. I can't tell you how many different combinations can be made for mounting the speakers without having to resort to your own method. It REALLY cuts down on the work load.
Also, I had these speaker rings laying around and they were the PERFECT fit so I figured I might as well use them. If I hadn't noticed them sitting in the box they probably wouldn't have been used. The manual doesn't seem to indicate a need for them.
The mids will be IB. I don't konw if it helps any but I noticed that there's a cut out directly behind so maybe they'll vent somewhere?
1) Speaker cut out
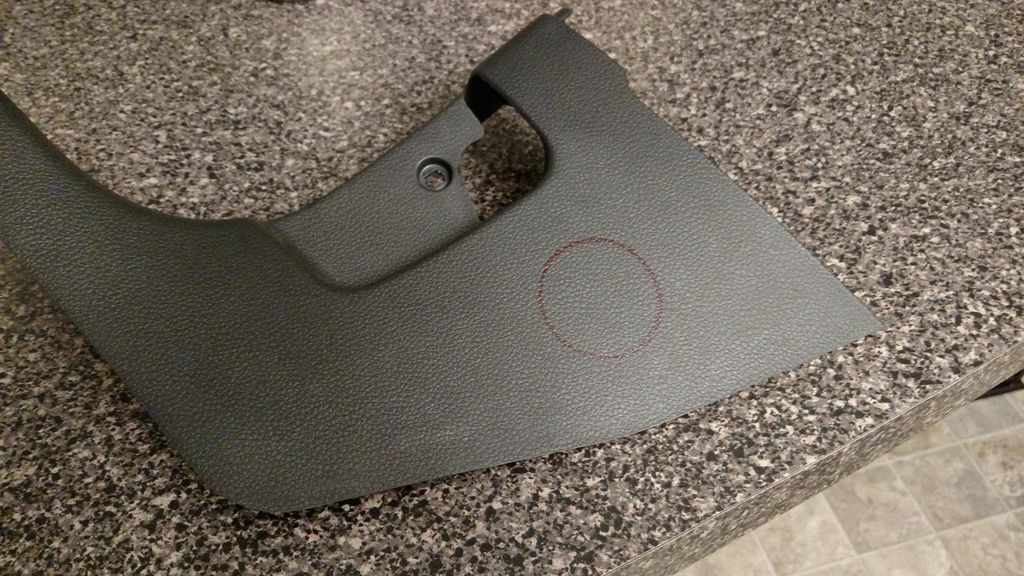
2) Dremel
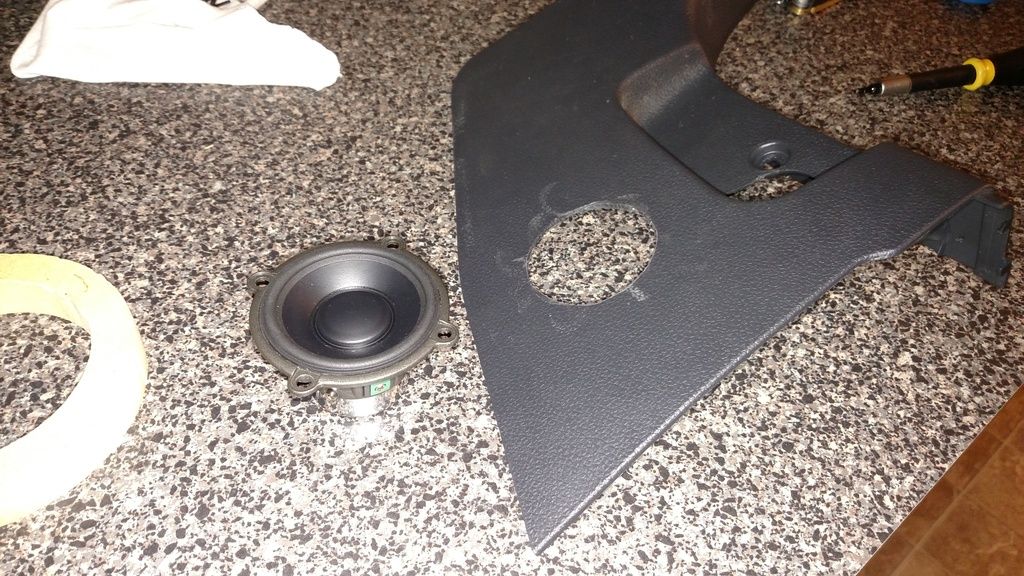
3) Check fit. It fits.
4) Use double sided tape for mounting ring and baffle. Sandwich panel and mount.
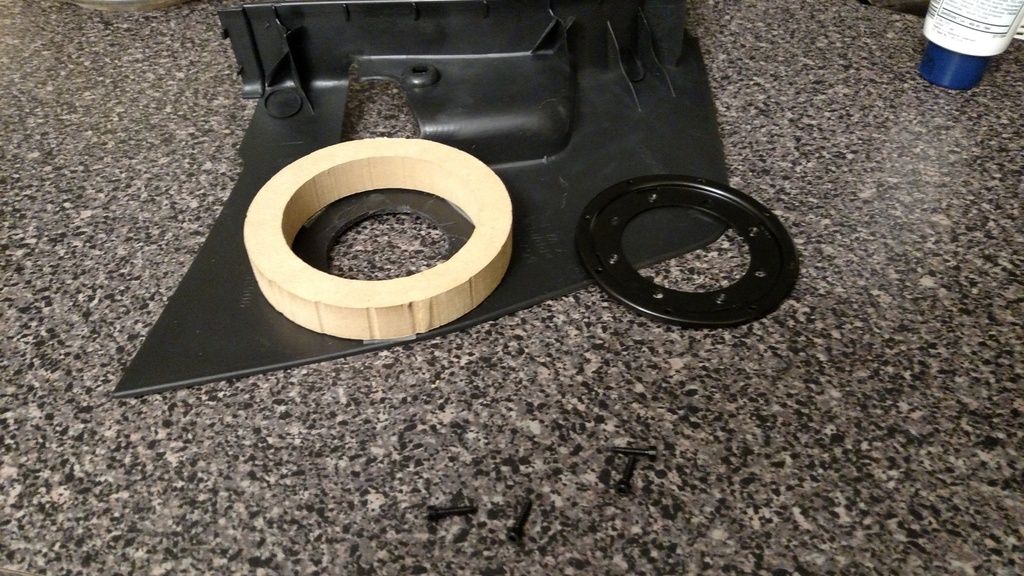
5) Prepare aluminum ring -- cut trim tabs
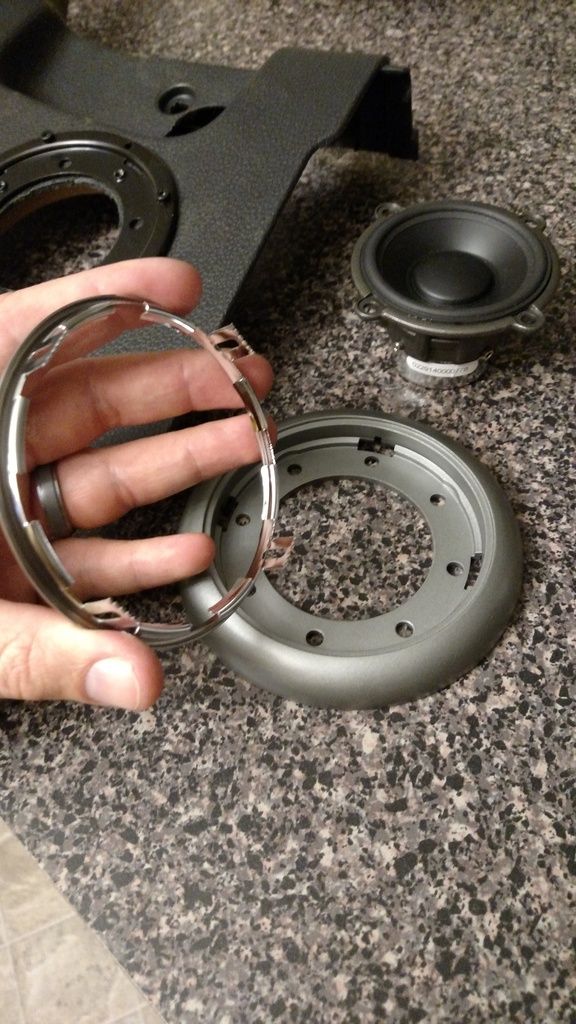
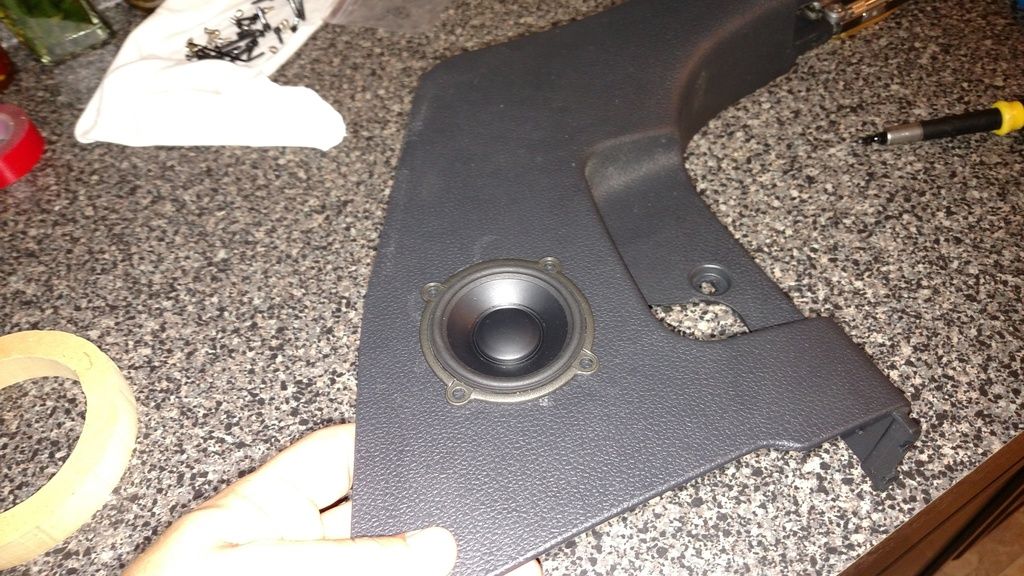
6) Attach trim piece.
7) Mount speaker and aluminum ring

8) Add rubber gasket to speaker grill
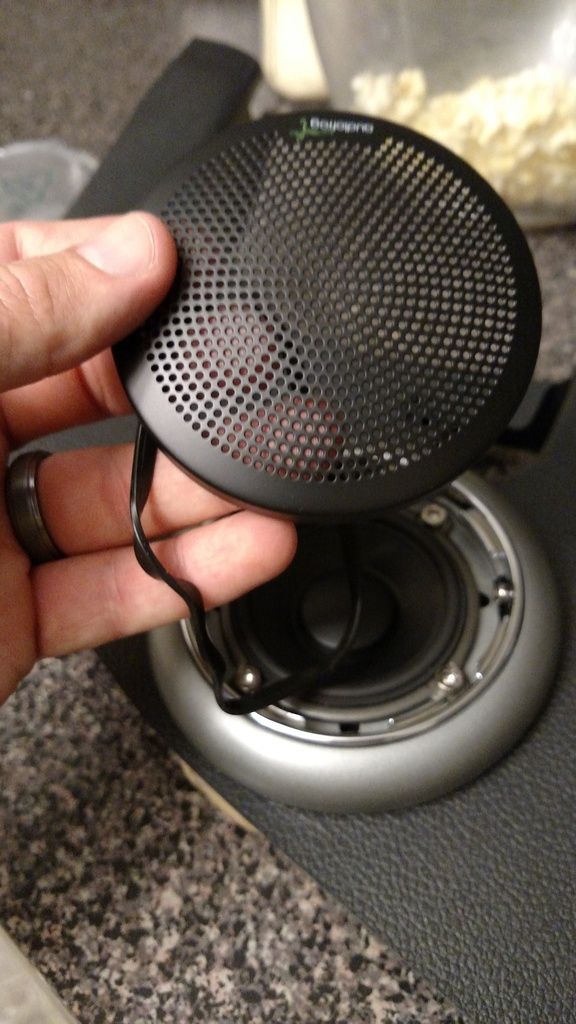
9) Mount grill

Also, I had these speaker rings laying around and they were the PERFECT fit so I figured I might as well use them. If I hadn't noticed them sitting in the box they probably wouldn't have been used. The manual doesn't seem to indicate a need for them.
The mids will be IB. I don't konw if it helps any but I noticed that there's a cut out directly behind so maybe they'll vent somewhere?
1) Speaker cut out
2) Dremel
3) Check fit. It fits.
4) Use double sided tape for mounting ring and baffle. Sandwich panel and mount.
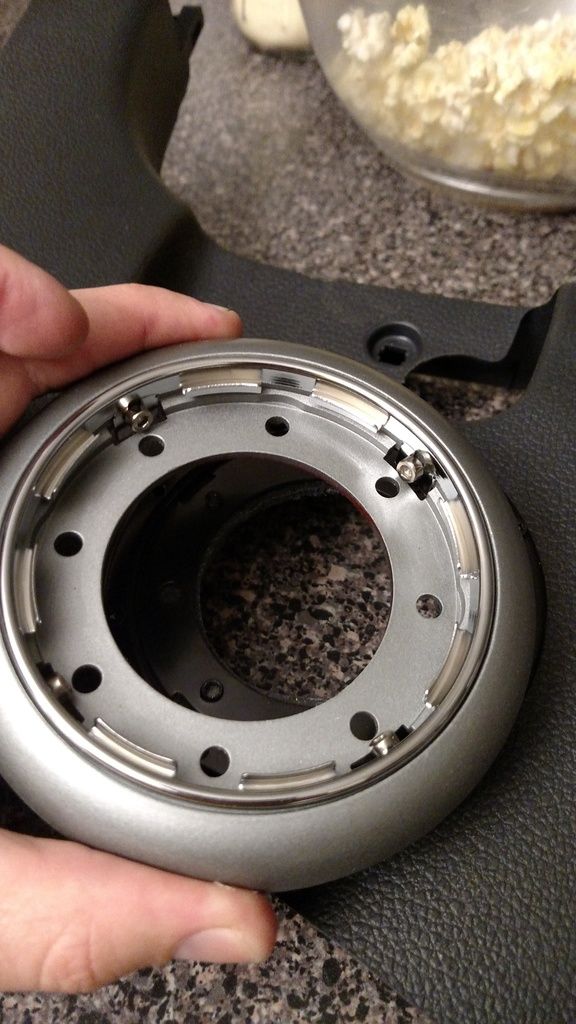
5) Prepare aluminum ring -- cut trim tabs
6) Attach trim piece.
7) Mount speaker and aluminum ring
8) Add rubber gasket to speaker grill
9) Mount grill
I800C0LLECT
Audio Moderator
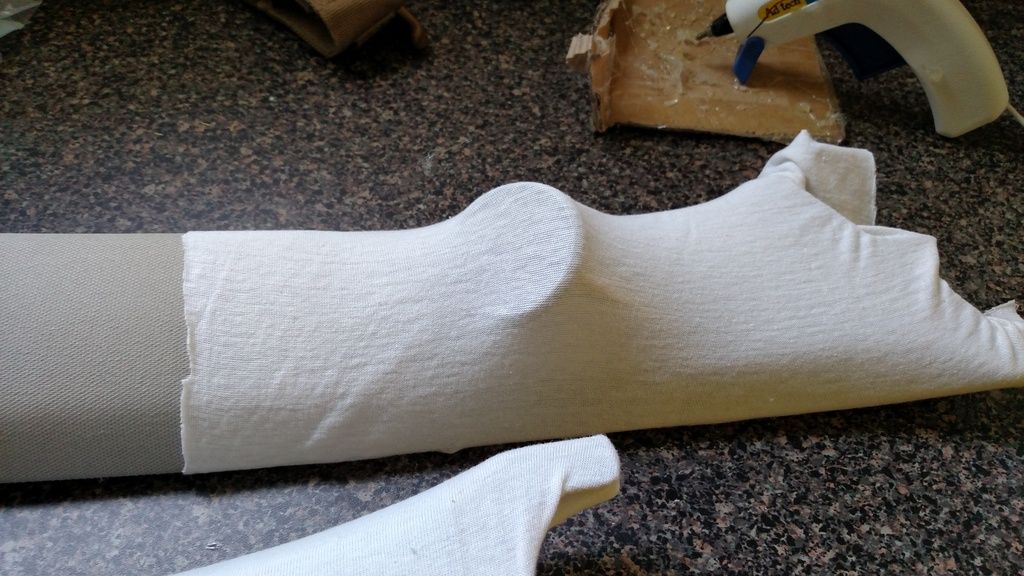
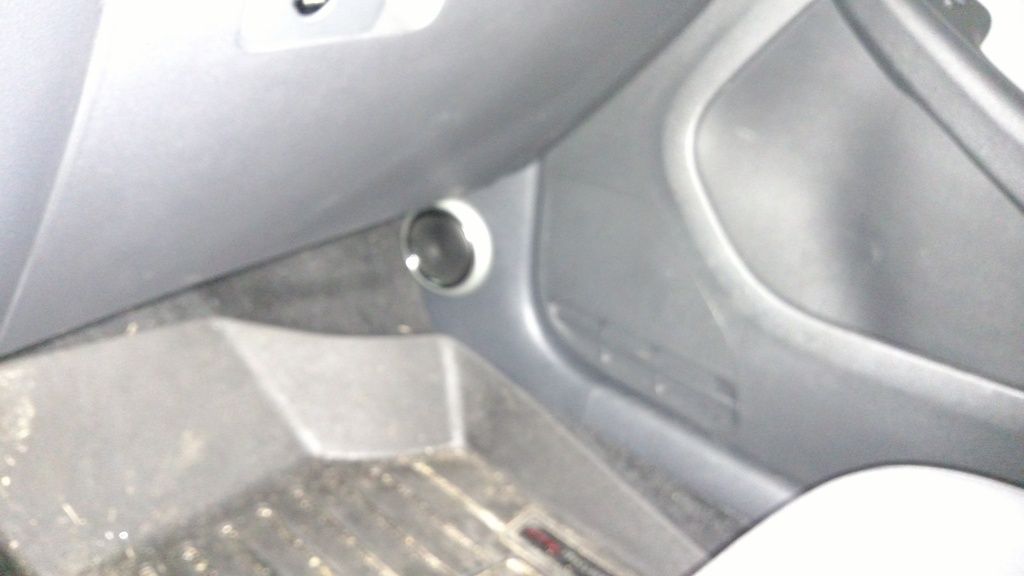
Pictures from drivers side. Sorry about the crappy night shots

I800C0LLECT
Audio Moderator
Test fit. Still a lot of prep before vinyl though
I800C0LLECT
Audio Moderator
Just so you guys know...I've been taking these pictures for members who are helping me at diymobileaudio.com
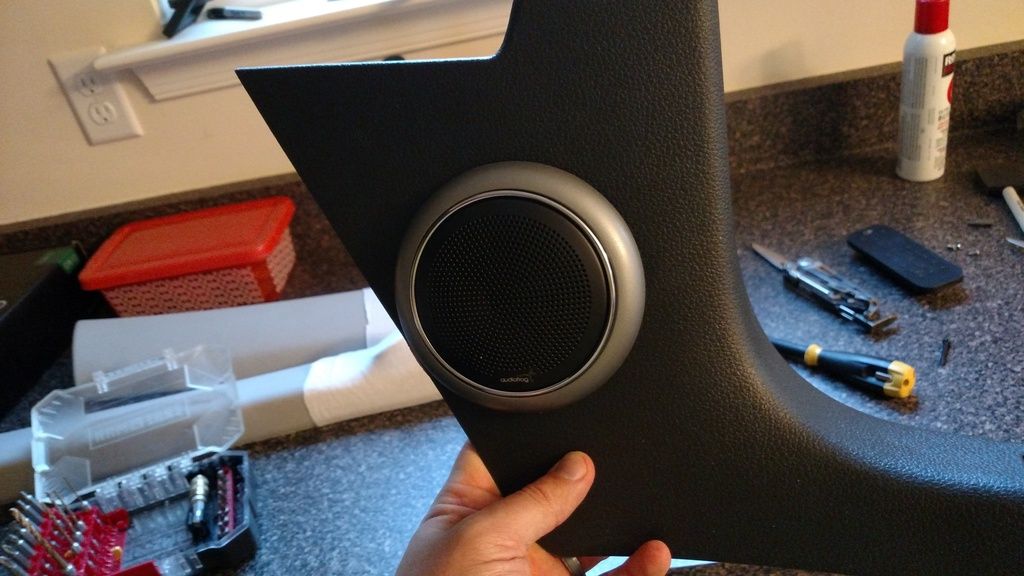
I have no idea if they're good or bad. I think they look pretty good though. I'm ready to move on to vinyl. Matter of fact...I'm so effing ready to move on...I might be giving money to somebody to finish this crap for me.
Here ya go...


I have no idea if they're good or bad. I think they look pretty good though. I'm ready to move on to vinyl. Matter of fact...I'm so effing ready to move on...I might be giving money to somebody to finish this crap for me.
Here ya go...
CrazyGuy03
Active member
Wow. Looks amazing man. Great work!
I800C0LLECT
Audio Moderator
Wow. Looks amazing man. Great work!
Appreciate that! I can't say I'm experienced at any of this. The pillars are the first time I've ever used bondo...I know there's better stuff but for a one time project it didn't seem that bad to work with.
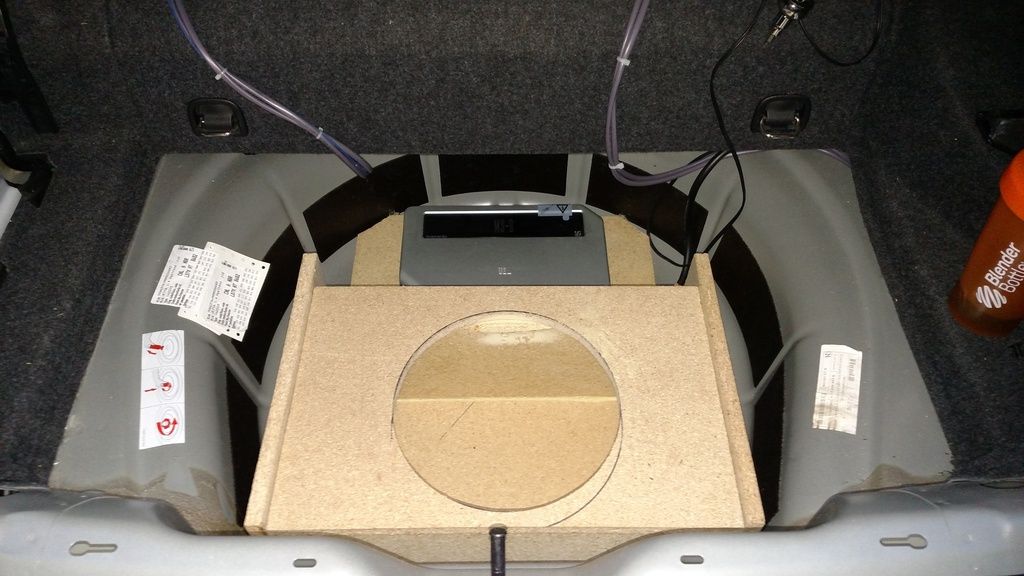
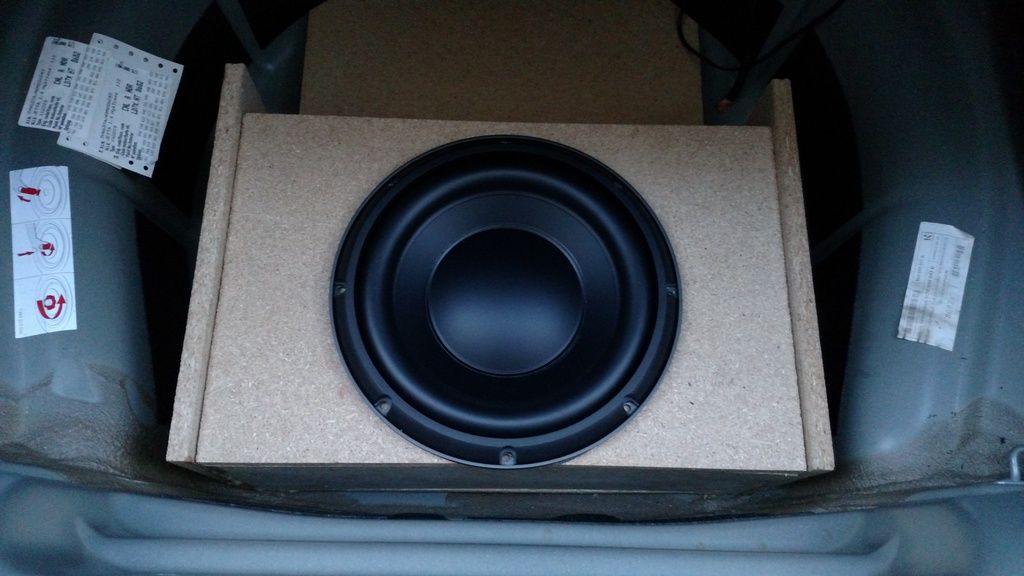
Alright...so here's my update. I started working the trunk. I'm not happy with what I came up with. I'm getting short on time and didn't feel like doing fiberglass. But I think I need to start from scratch with this. I barely had enough space to get the sub to fit and a small portion of the ring is sitting off the edge. I made a mistake on height calculation too so those sides that are sticking up should be taller. Luckily, I can just add some runners to the OEM false floor and that's np. It's my fault but I was paying more attention to my little guy and getting him involved. It's tough to keep track of the kids when they're helping and keep focus on the project.
The other issue is all I have laying around is 3/4 MDF and I'm being cheap right now. All in all, I'm not being real efficient with my space. My box is about .6 cubic feet so I'm at minimum recommended box size. I might look into adding a pound or two of poly-fill.
I guess being cheap isn't paying off.
Otherwise, I'll place the MS-8 towards the front of the trunk with a shelf sitting over top to hold the amps. It's not going to be a fun work space. I may hit the brakes and start over.

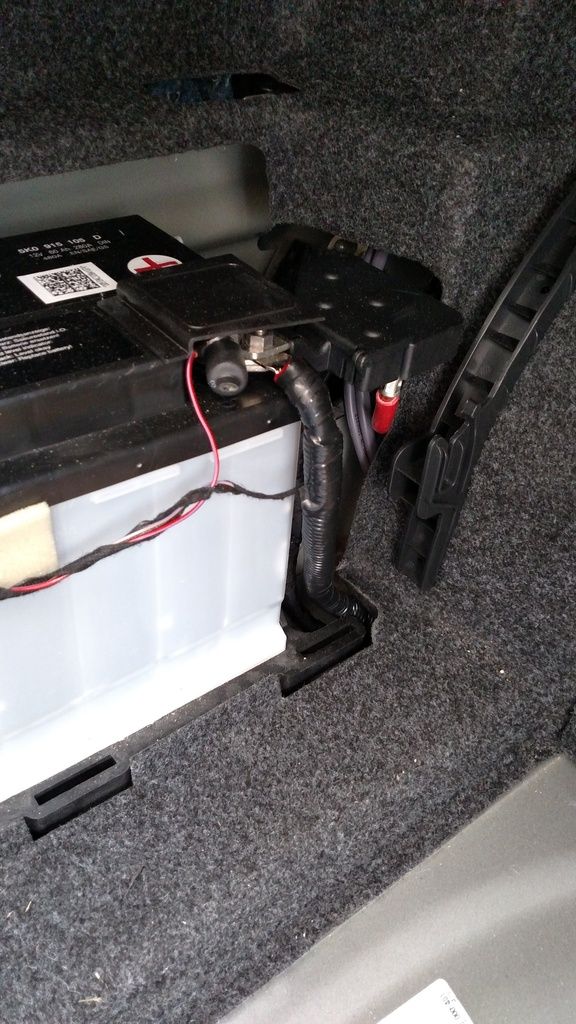
EDIT: Forgot the battery shot. Relocated from the front to the trunk.
Last edited:
I800C0LLECT
Audio Moderator
More progress.
So there's some other turrible photos; but these pics are just like those BBW's on facebook...you'll never know the truth until your up close and personal. Then it's too late. So...enjoy the angles")


So there's some other turrible photos; but these pics are just like those BBW's on facebook...you'll never know the truth until your up close and personal. Then it's too late. So...enjoy the angles
Sven the Sexman
New member
Love the progress on the VeeDub! Good yo see you back around the forum too!
I800C0LLECT
Audio Moderator
Appreciate that
I'm sort of a creeper right now...posting updates and not saying much. I really want this install to look good and sound better when I'm done. These are Andy W's meal ticket with his new company, Audio Frog, and I'd hate for him to be ashamed of what I do!
I'm sort of a creeper right now...posting updates and not saying much. I really want this install to look good and sound better when I'm done. These are Andy W's meal ticket with his new company, Audio Frog, and I'd hate for him to be ashamed of what I do!
Sven the Sexman
New member
I'll be in the market for some stuff within a year so keep me posted on the results. Got my 86 Z24 that will need to sound better than the Alpine setup in my 200s.
I800C0LLECT
Audio Moderator
Sounds good to me! Maybe I can come down to help out too
I800C0LLECT
Audio Moderator
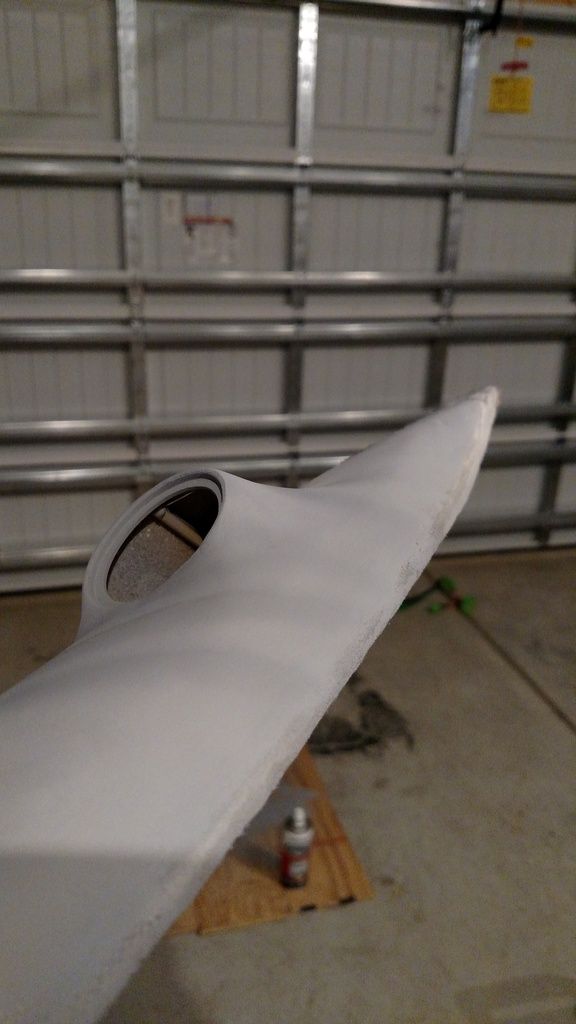
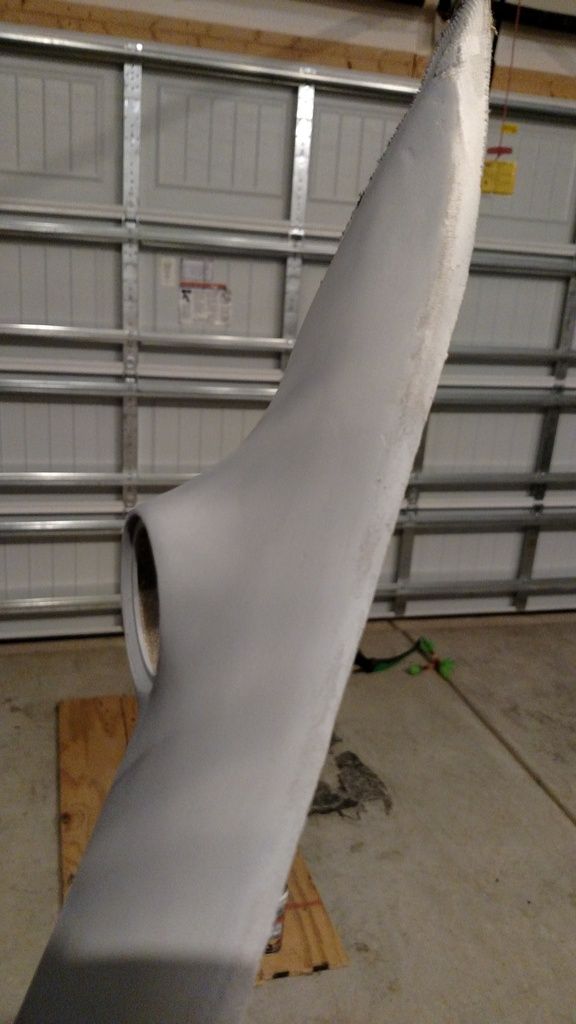
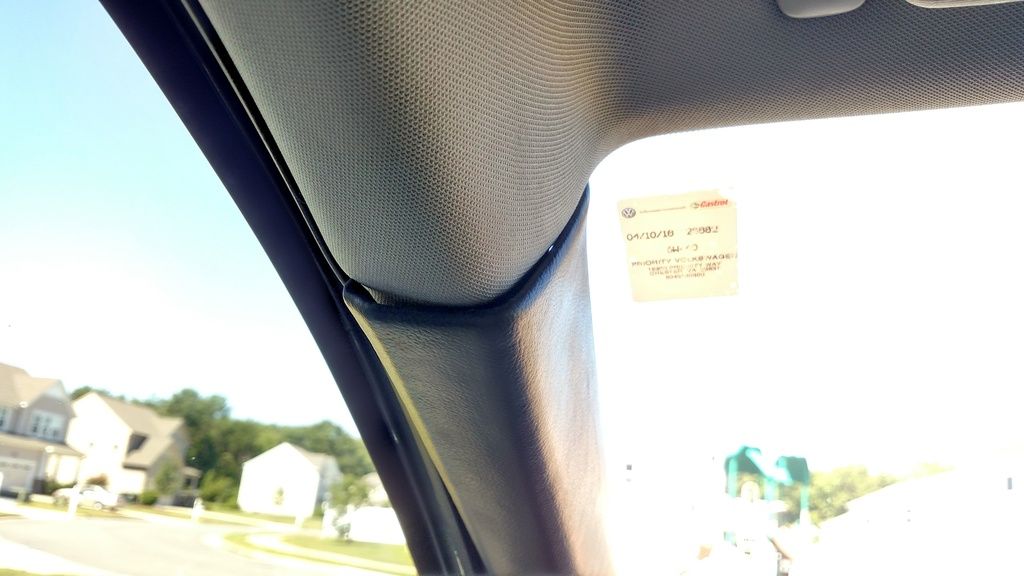
This same problem reared its head before the pillars were ever wrapped. It's an issue from the factory but now more pronounced. I thought about getting a heat gun on it to see if I could get it to pull around. I'll have to work that.
I800C0LLECT
Audio Moderator
So it's definitely a fitment issue with that one from the factory. I suspect they used the shorter clip to help the fitment.
The right one had absolutely no issues.

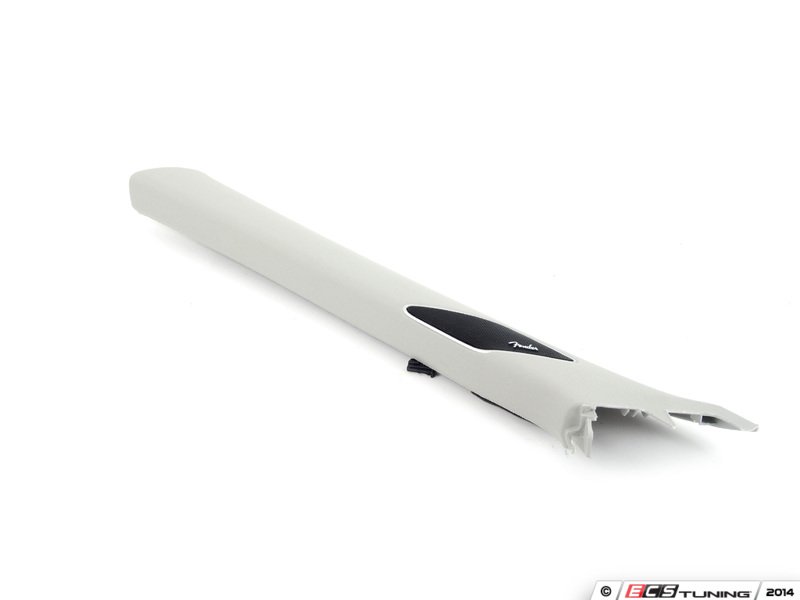
Also, ecs sells the fender A-pillars for $120 a piece I think. My hybrid A-pillars already had a factory tweeter mount same as fender. This was mostly for fun and to learn. I'm fairly certain I'm going to do these over again at some point.
But I'm very sick of the plastics and clips used on the Jetta. I've spoken to some master fabricators who hate it too. They've avoided the doors the same as I plan to because it's so bad.
I've messed with a lot of cars and this is just maddening.
The right one had absolutely no issues.
Also, ecs sells the fender A-pillars for $120 a piece I think. My hybrid A-pillars already had a factory tweeter mount same as fender. This was mostly for fun and to learn. I'm fairly certain I'm going to do these over again at some point.
But I'm very sick of the plastics and clips used on the Jetta. I've spoken to some master fabricators who hate it too. They've avoided the doors the same as I plan to because it's so bad.
I've messed with a lot of cars and this is just maddening.
Sven the Sexman
New member
Sounds good to me! Maybe I can come down to help out too
That would be awesome. I'm going to try to keep as much of the car original as possible...in other words no external pods or anything. Dash takes 4x6 speakers...thinking a decent 4 inch round with a tweeter on a plate for this. Rear is 6x9 but thinking 6.5 on a plate for this. Not sure what to do about a sub yet. Was thinking about possibly building pods to put in the foot area but it's a tiny car and I don't think that'd work out.
I800C0LLECT
Audio Moderator
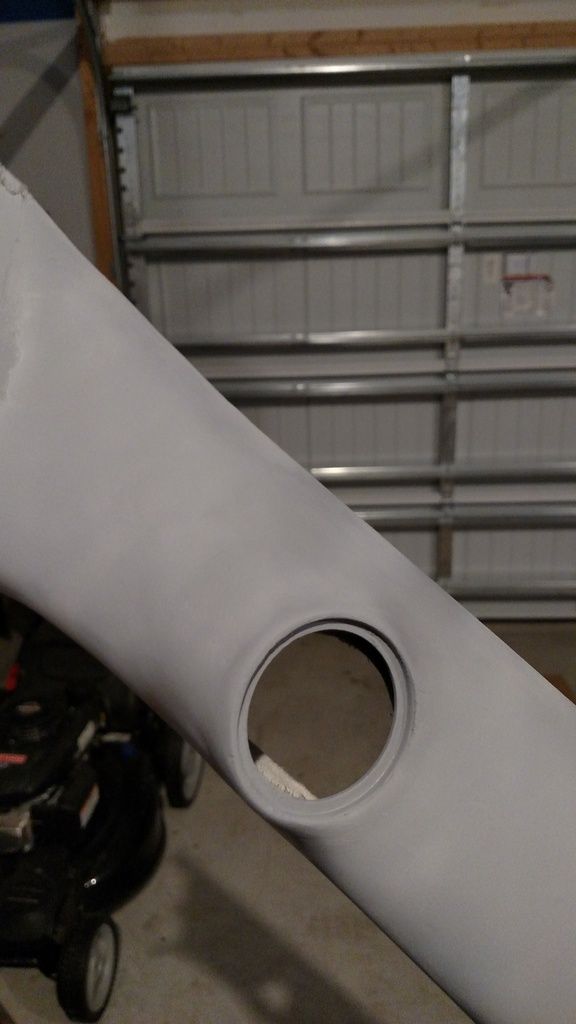
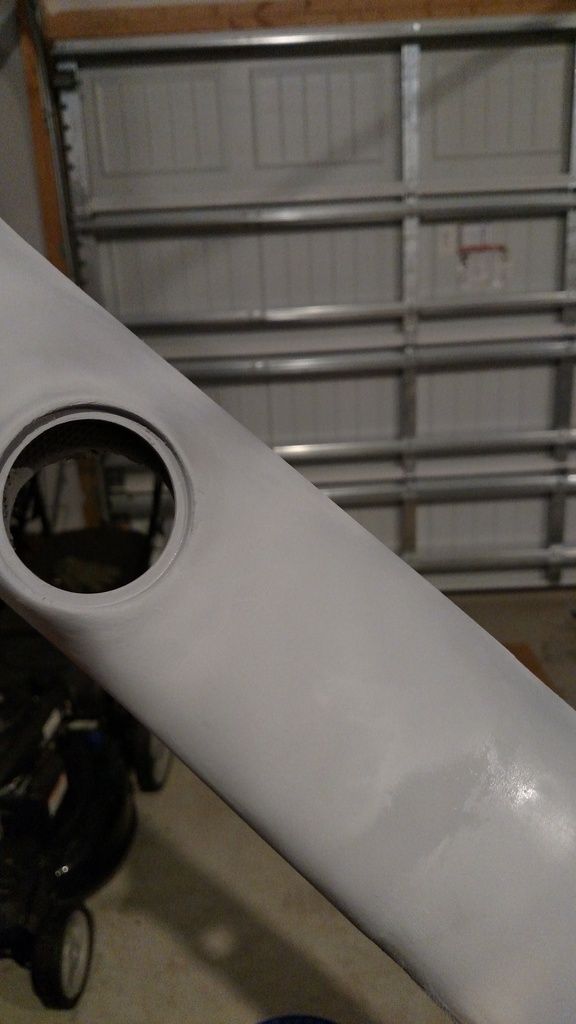
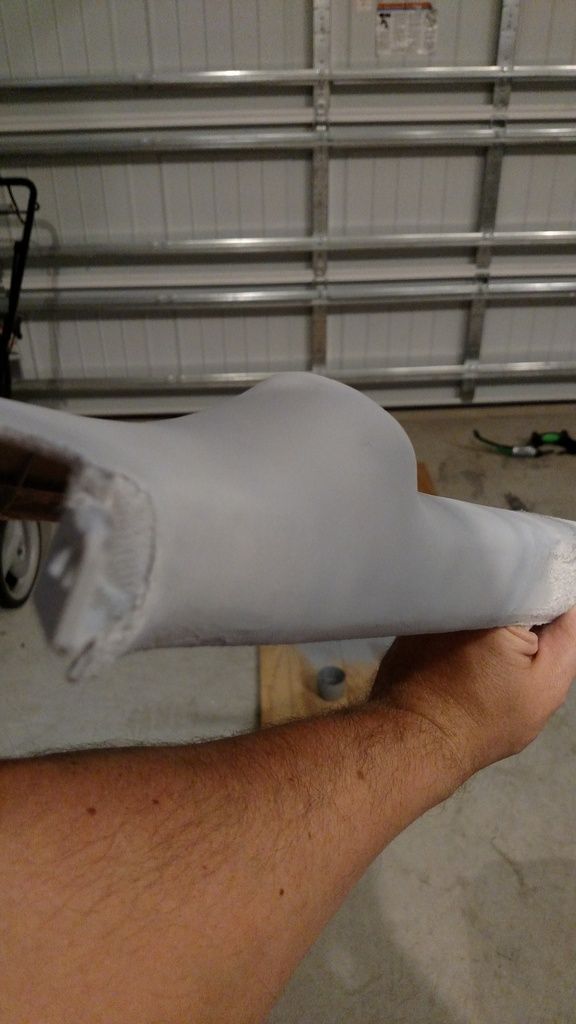
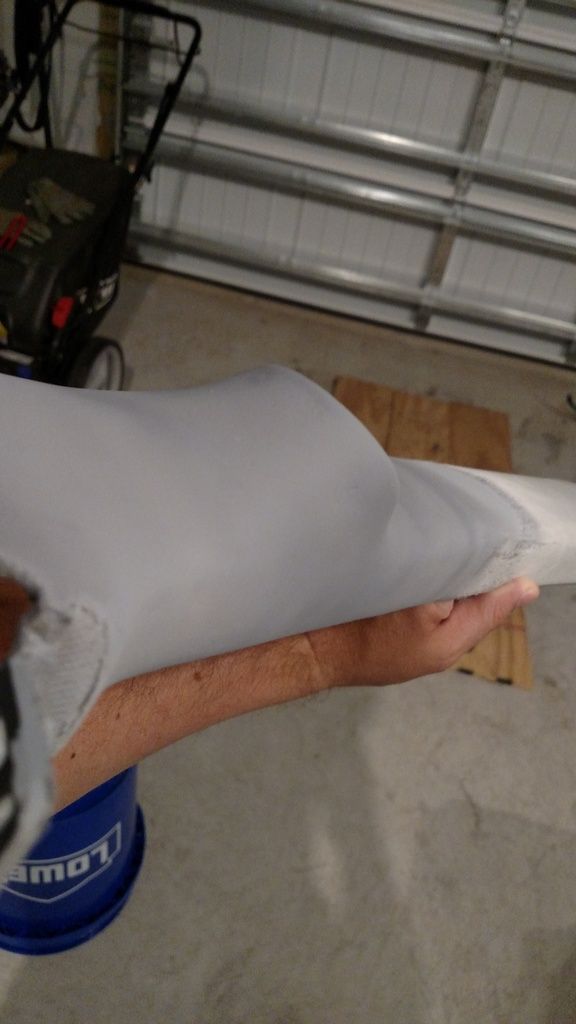
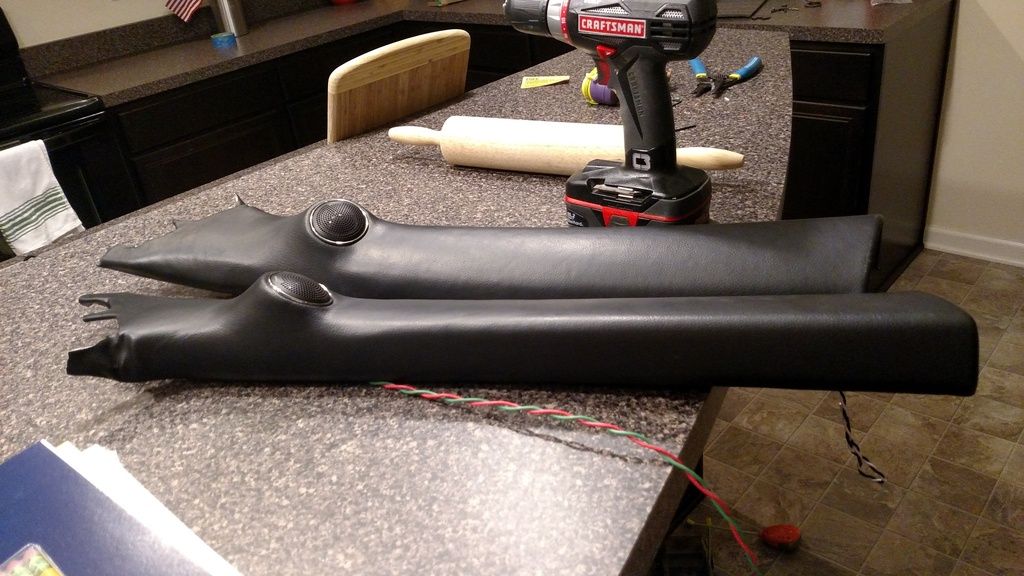
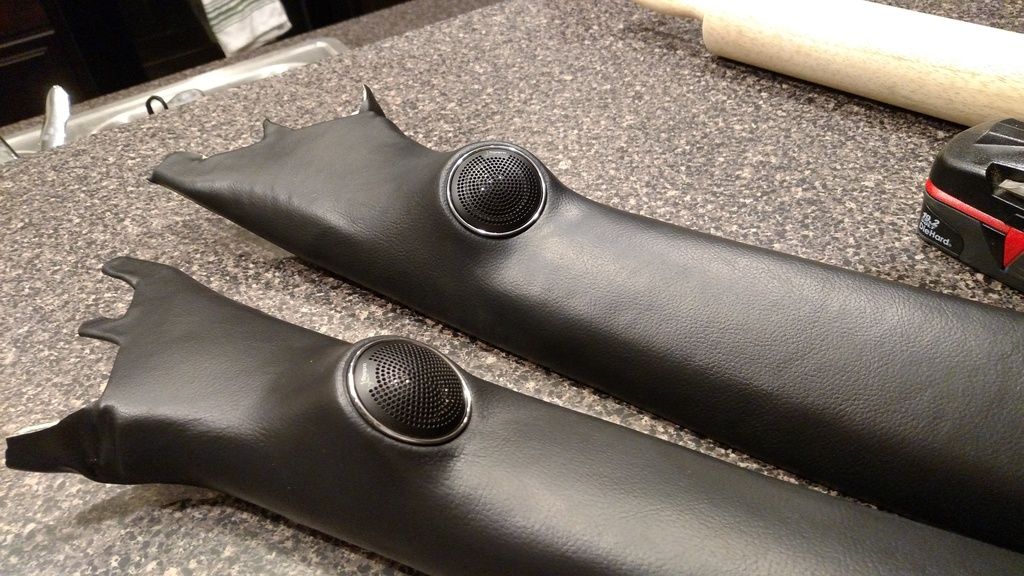
I think I hate the vinyl wrap.
I didn't subtract the thickness of the vinyl from the pillar edges as mentioned a few times in the diymobile audio thread -- this lead to an EXTREMELY TIGHT FIT and it's pulling the vinyl...looks horrible in person. I'm sure one of you master builders could make it work if you wanted. Additionally, realizing I can't fix the fitment of that one pillar(it's been bugging me since purchase) means there's a REALLY good chance I'll just buy new pillars. I think I'm going to rip it all off and start over. It won't be right now though. I'll likely just do a primer w/filler. Add texture. Paint.
Anybody think I should just hide the GB10's behind the factory Fender Audio A-pillar?
Last edited:
I800C0LLECT
Audio Moderator
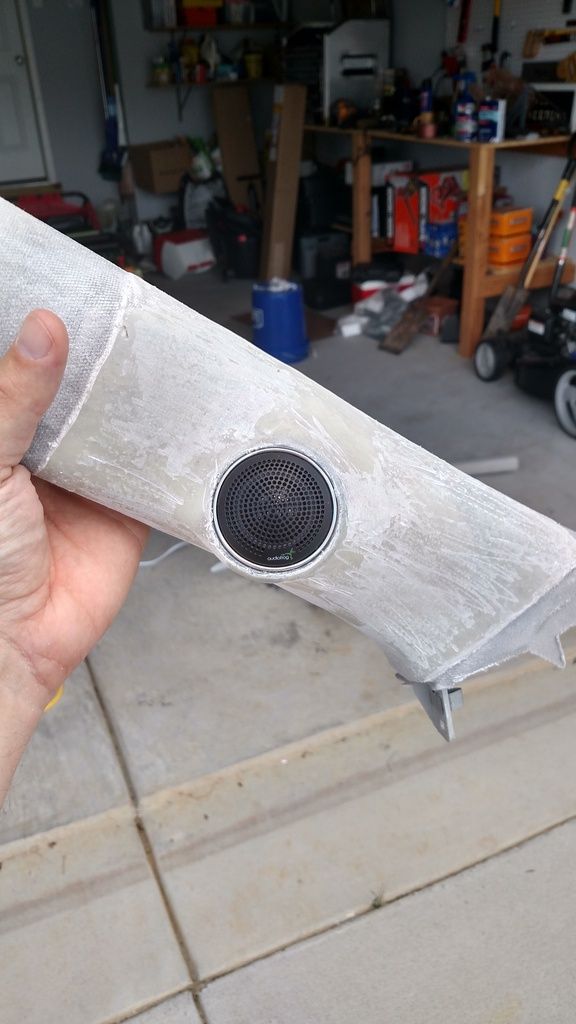
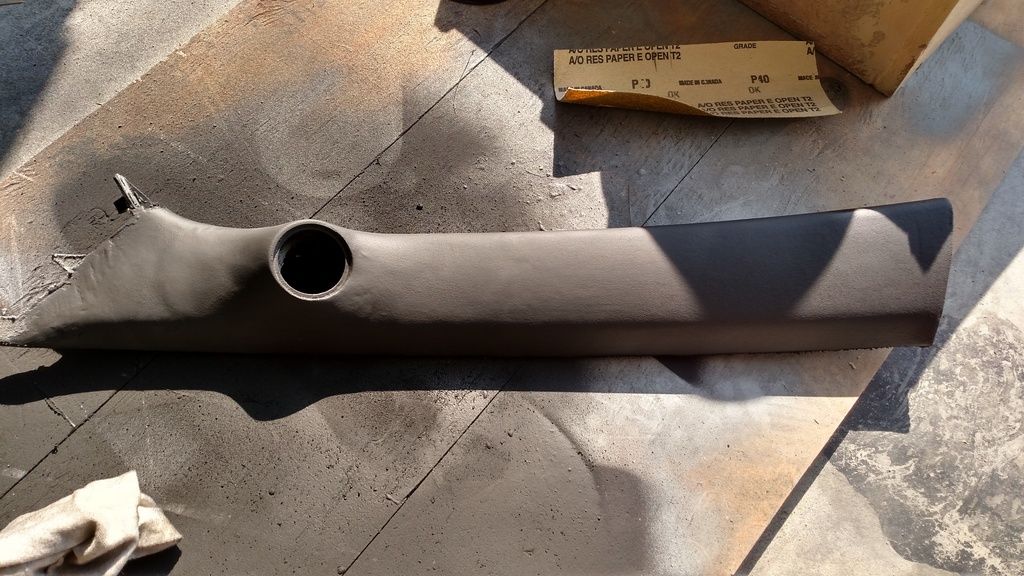
Update.
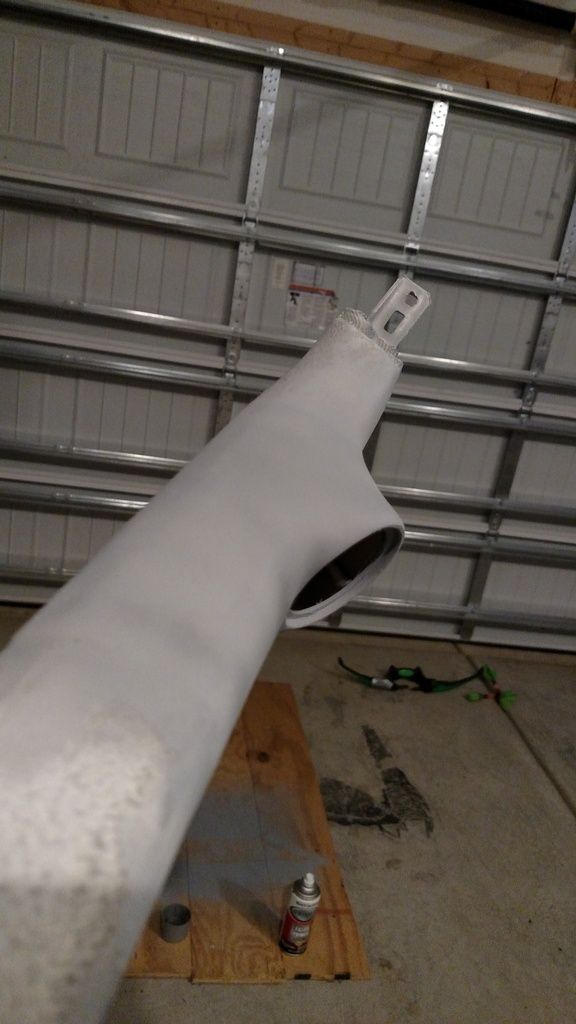
That glue was ridiculous. It almost ripped off everything I did removing the vinyl. I realized why my install was looking so bad too. Part of the vinyl had been stretched so much it pulled itself from the pillar. gah.
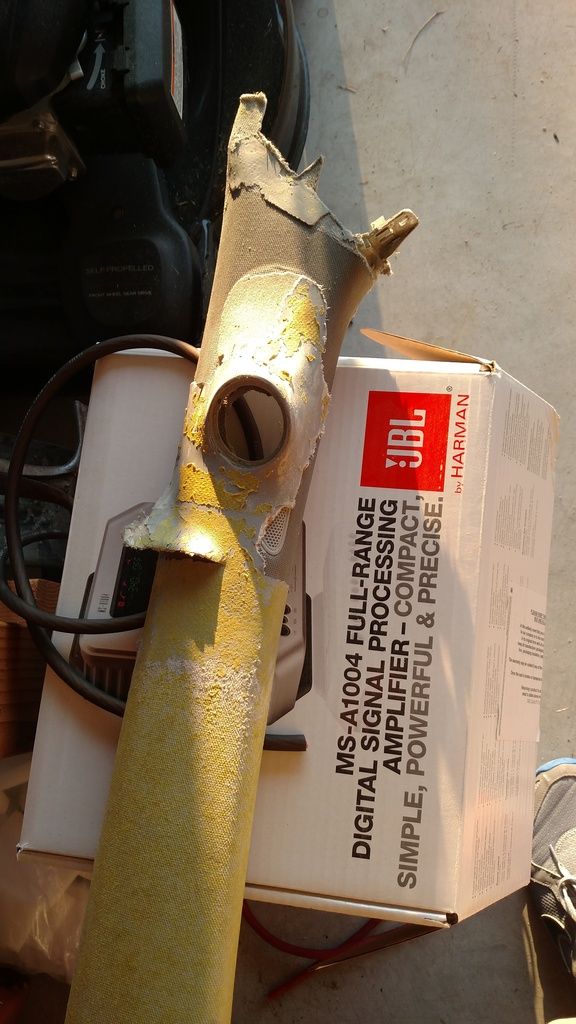
I've repaired most of the damage but I'm having an issue with the resin/fabric not being flexible where it was ripped off. So right now I'm throwing on a LOT of this SEM flexible spray on top of the repair. It may not be the right thing to do but it's what I have on hand and it's working. The cracking where the repair met the original area is gone. I just need to layer up a little more and sand down a few spots.
Here's the inspiration for the A-pillars(thanks simplicitynsound). These have been painted using the SEM texture as well. Full build here...
http://www.diymobileaudio.com/forum/build-logs-project-install-gallery/149268-2012-jetta-tdi-sq-build-morel-arc-audio-mosconi-illusion-audio-200-pics.html


That glue was ridiculous. It almost ripped off everything I did removing the vinyl. I realized why my install was looking so bad too. Part of the vinyl had been stretched so much it pulled itself from the pillar. gah.
I've repaired most of the damage but I'm having an issue with the resin/fabric not being flexible where it was ripped off. So right now I'm throwing on a LOT of this SEM flexible spray on top of the repair. It may not be the right thing to do but it's what I have on hand and it's working. The cracking where the repair met the original area is gone. I just need to layer up a little more and sand down a few spots.
Here's the inspiration for the A-pillars(thanks simplicitynsound). These have been painted using the SEM texture as well. Full build here...
http://www.diymobileaudio.com/forum/build-logs-project-install-gallery/149268-2012-jetta-tdi-sq-build-morel-arc-audio-mosconi-illusion-audio-200-pics.html