• The site migration is complete! Hopefully everything transferred properly from the multiple decades old software we were using before. If you notice any issues please let me know, thanks! Also, I'm still working on things like chatbox, etc so hopefully those will be working in the next week or two.

Built 4t65e - The results are in.

Re: Built 4t65e - Quality takes time

They should have designed it so you could use a small cotter pin or something

Sent from my HTC One_M8 using Tapatalk


Re: Built 4t65e - Quality takes time

Minor detail... :th_tongue3: You know the pictures tell the story. My words are meaningless.

I just really envy your eye for detail and patience, is this your first trans build? It cant be, if it was Id be inpressed. Im not scared to do my own trans, I just usually forget steps when I do repairs, but you cant really screw up if you want a nice trans. Wish I lived closer to you, Id definitely be down to learn a lot.
 
Re: Built 4t65e - Quality takes time

What's funny is, I used to live in Michigan. In Newaygo, about 3 minutes form Croton dam. If I was still there, I'd just bring the sprocket to work (in Comstock Park) and burn it myself. Now I gotta find someone I trust to do it for me. I hate having people do things for me. Maybe someone will let me borrow their welder for 60 seconds...

This isn't my first build. Definitely won't be the last!

This build actually started as my brother in law's. That's why there's no disassembly pictures. He's currently running a junkyard trans in his Regal, and he wanted to replace that with a mildly upgraded fresh build. He wanted to build it himself under my supervision. Well, after he got it apart, his work picked up and mine slowed down. We both figured it would be better for me to take it over rather than letting it sit blown apart for 4 months...


Im keeping you in mind for my build, love seeing the work you do


Re: Built 4t65e - Quality takes time

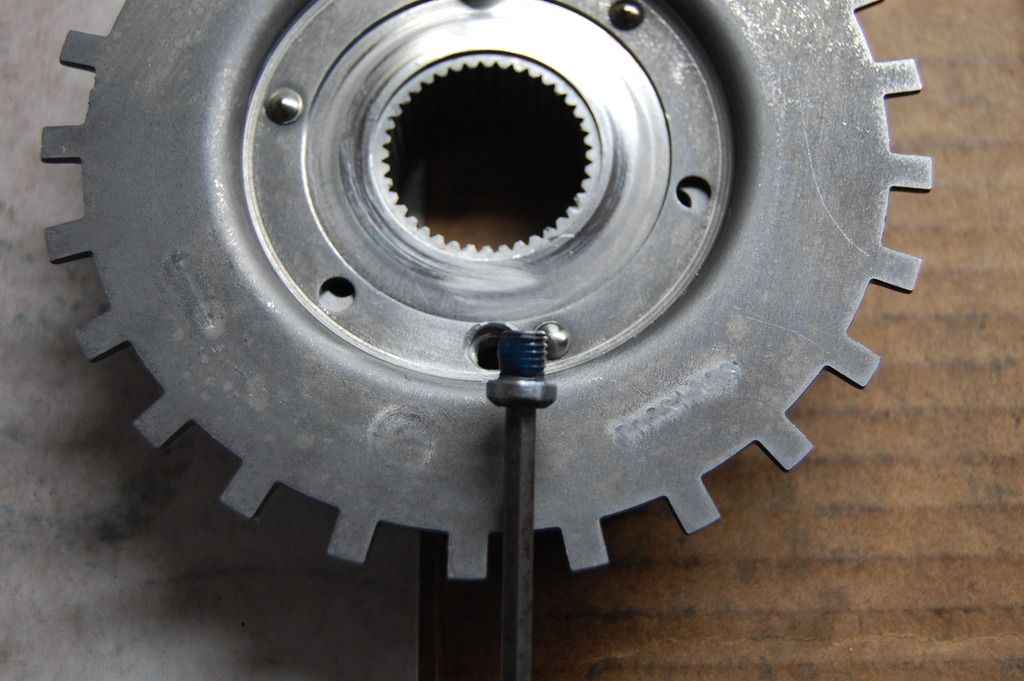
Well, Bill mentioned welding the reluctor. Now I have to do it. Found a guy on craigslist that can do it tomorrow. We'll see how that goes...

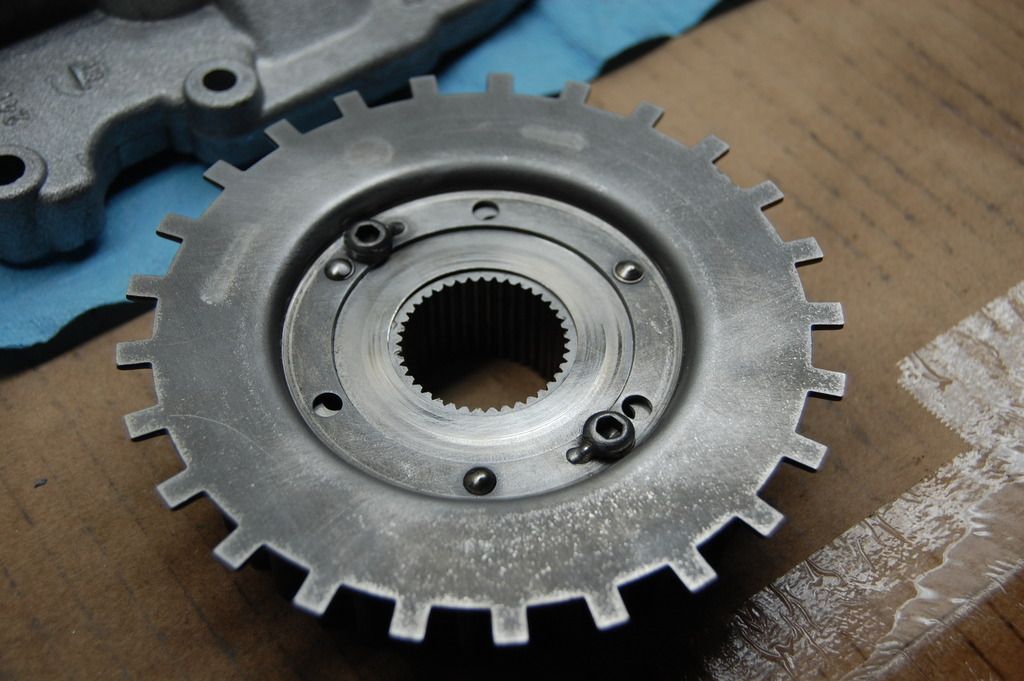
I'm taking a little different approach though. By tacking the screw heads, that will keep them from backing out. If, for some reason I ever need to separate the reluctor from the sprocket, I'll just cut the weld and back the screw out. Or drill the screw head off. Either way, the sprocket remains un touched.

Two steps forward, one back. Had to excavate the sprocket

DSC_0070_zps3hsblwpr.jpg


DSC_0077_zpstjv6ev5o.jpg


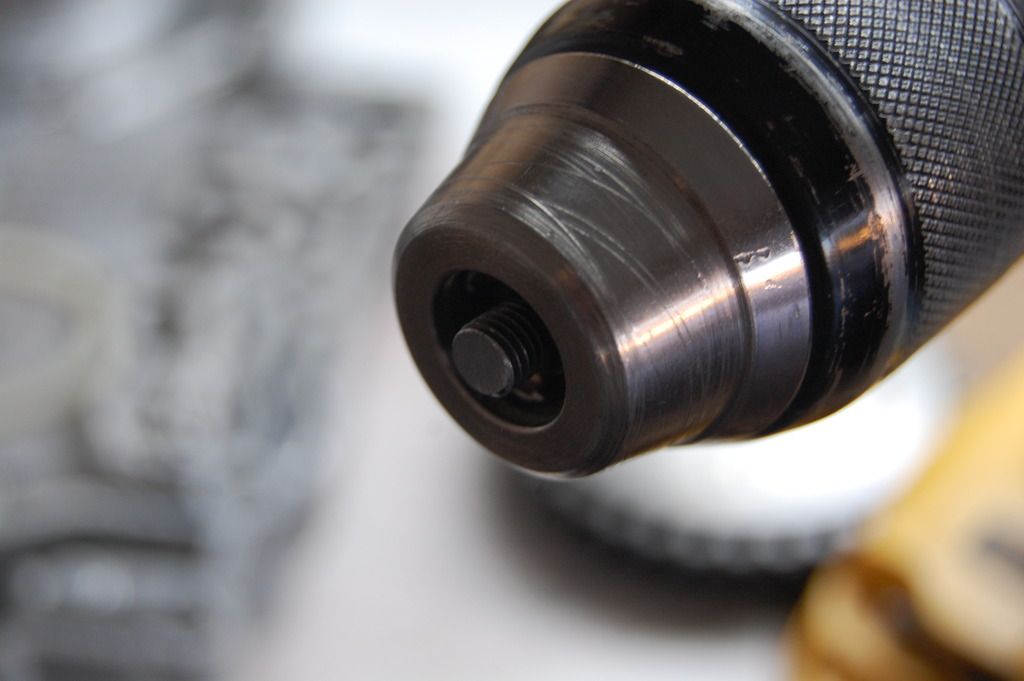
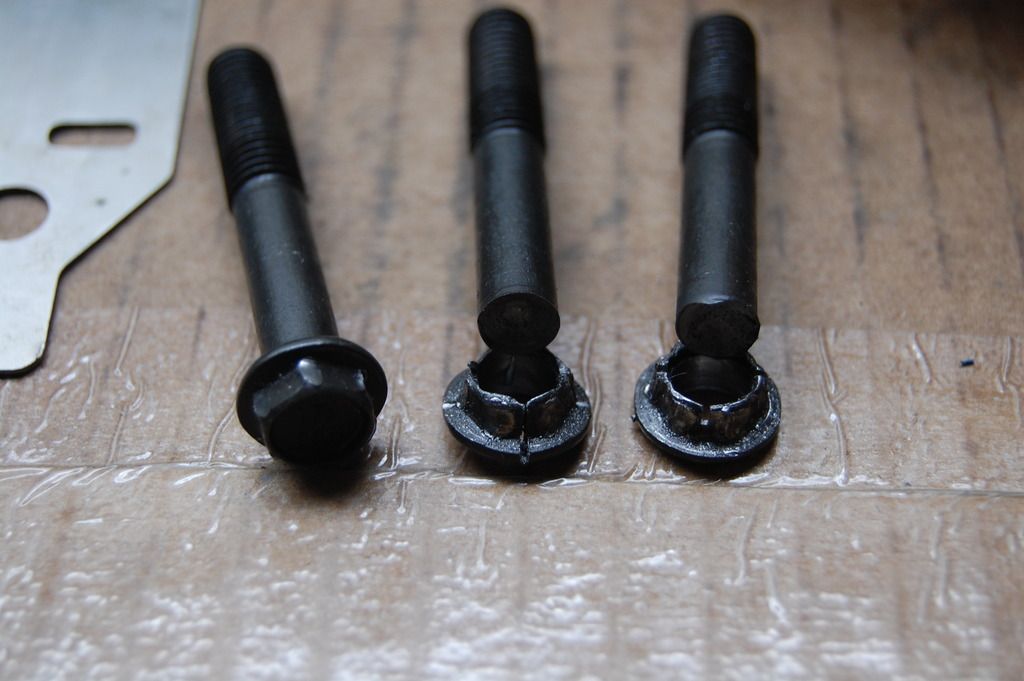
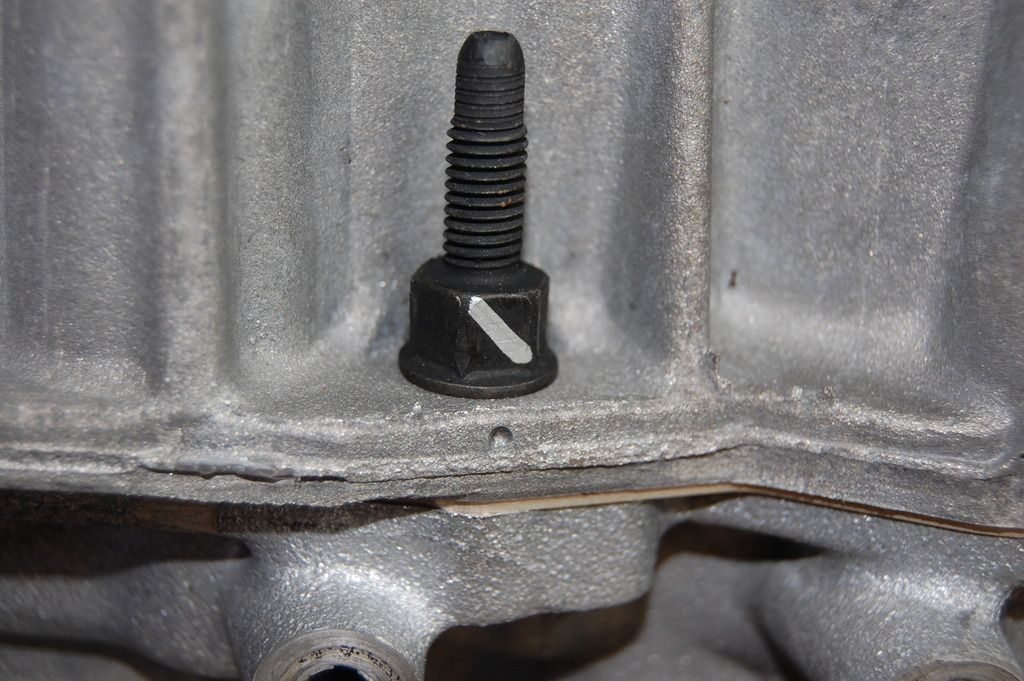
While prepping for the weld, I noticed one of the screws was just a hair too long. Ground it down then threw it in my hillbilly lathe to chamfer the thread

DSC_0064_zps876sxyqw.jpg


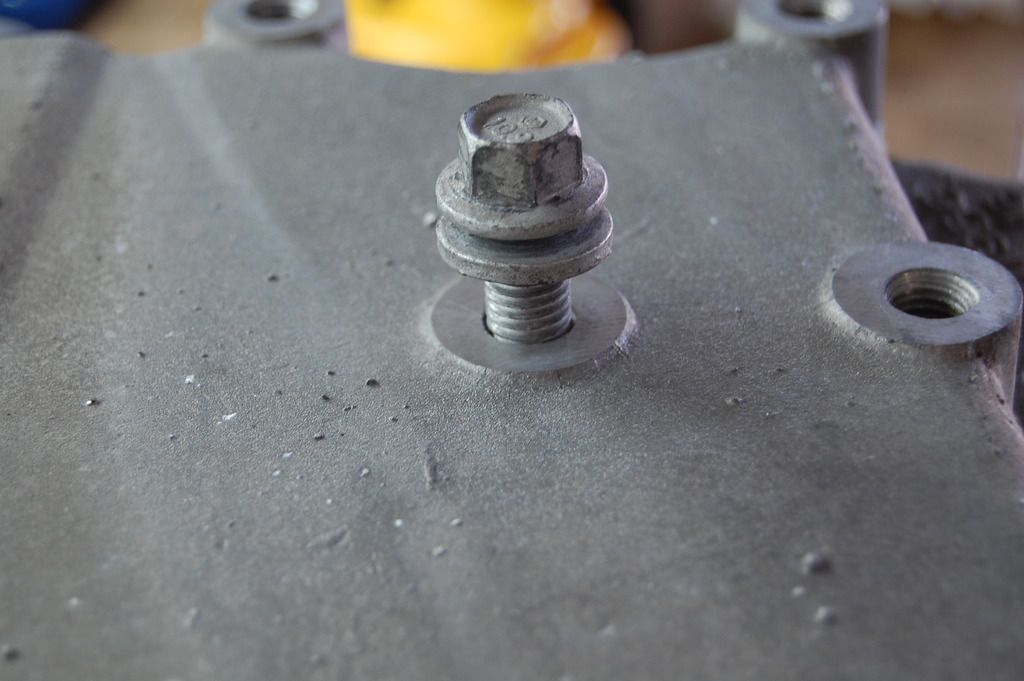
A little loctite cause, why not?

DSC_0065_zpsiryg0sjx.jpg


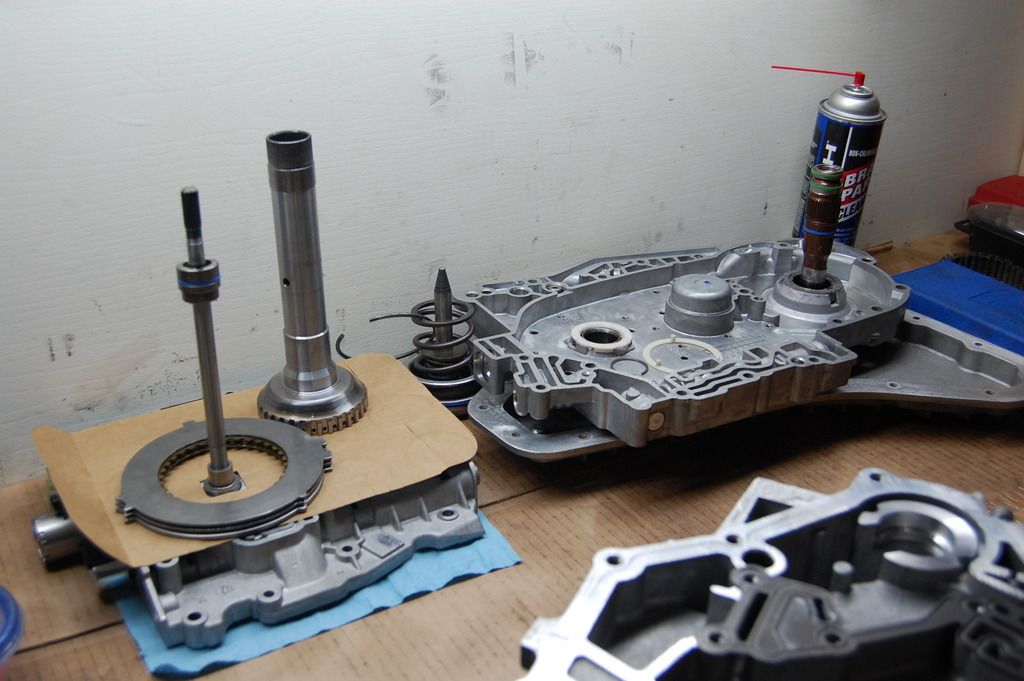
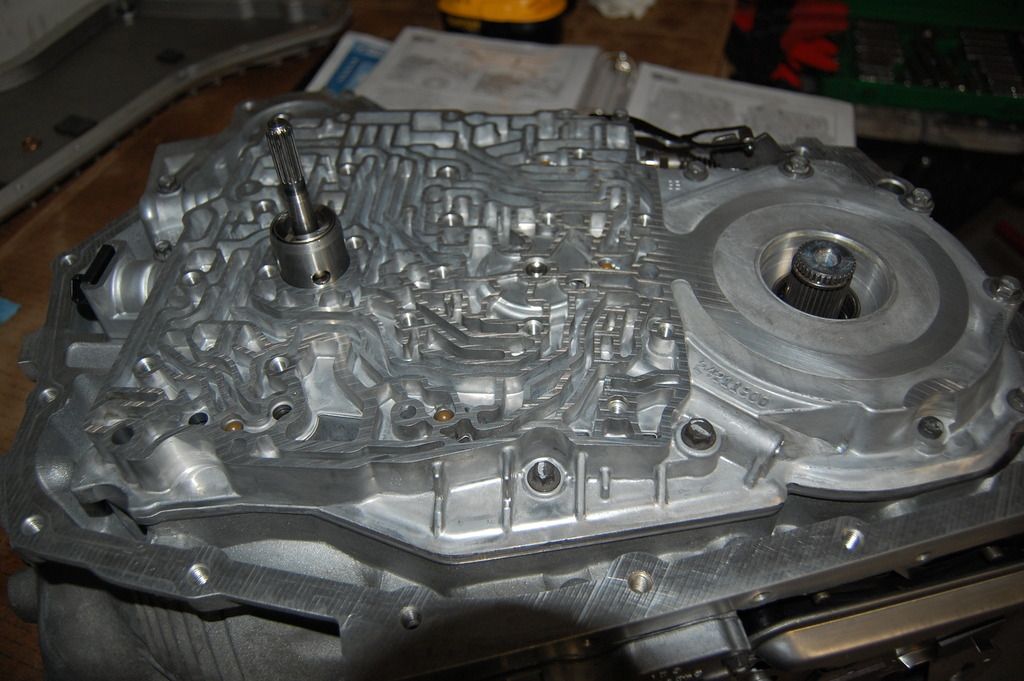
That's about all I can do until I get the welded sprocket back, so I just started taking pictures....
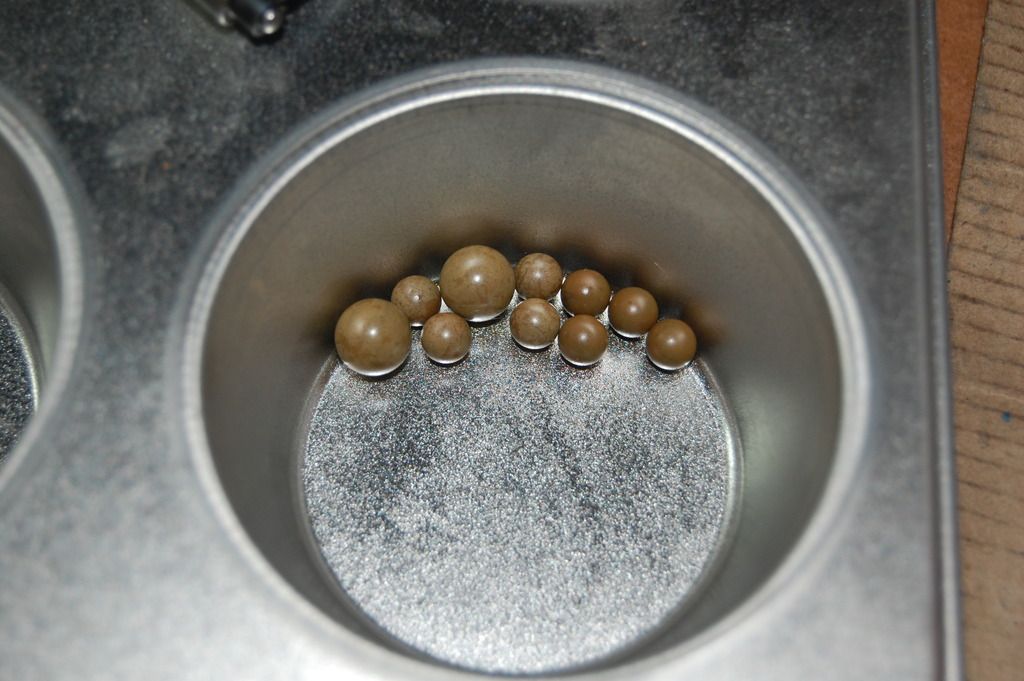
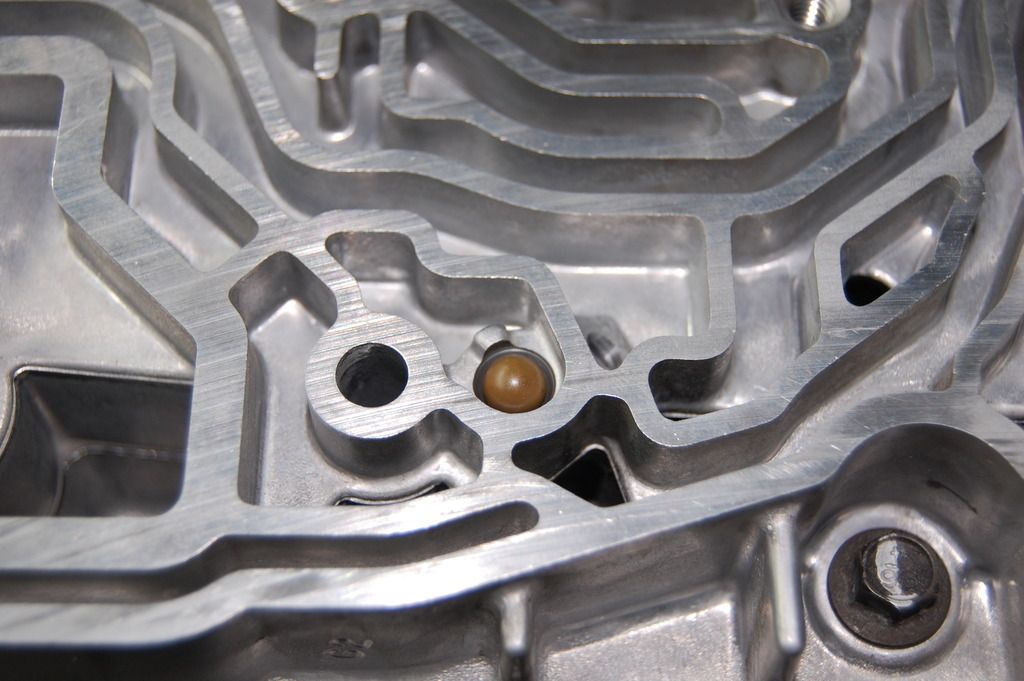
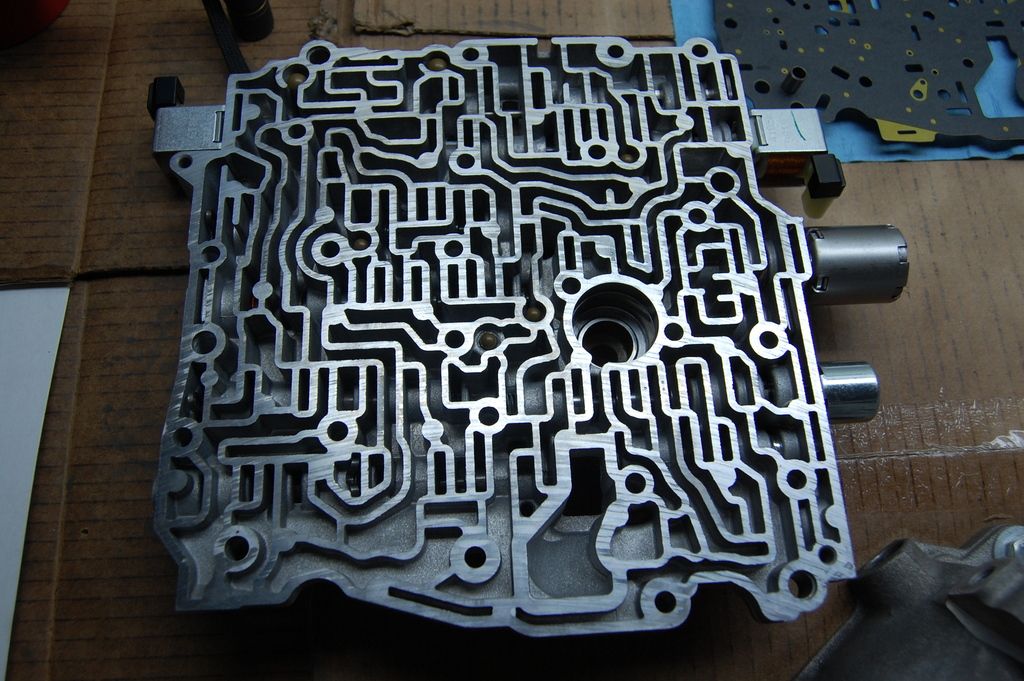
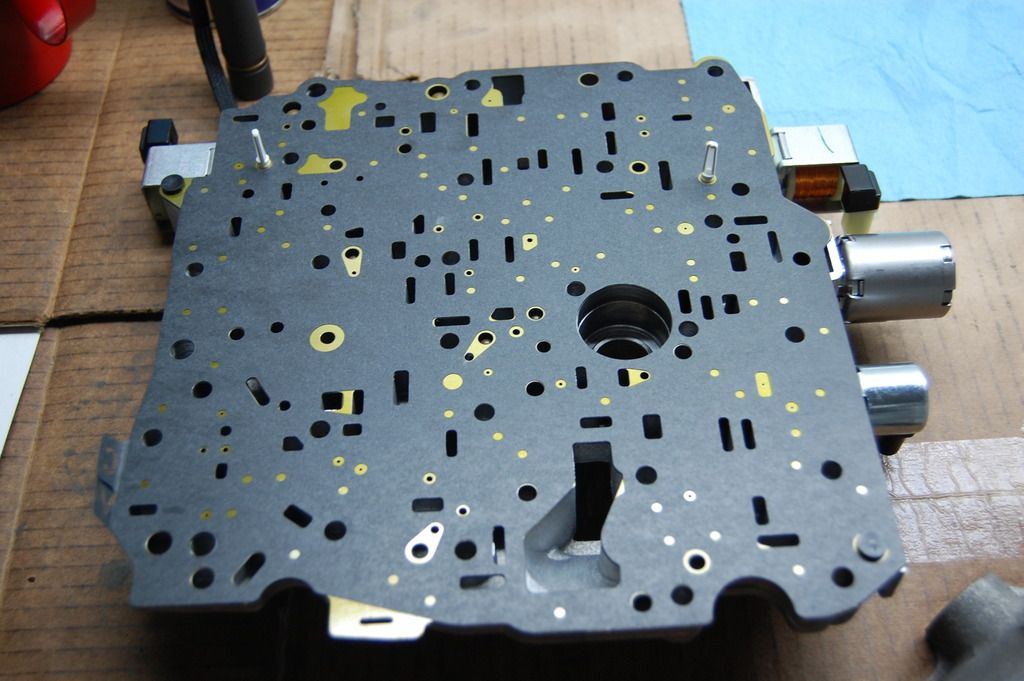
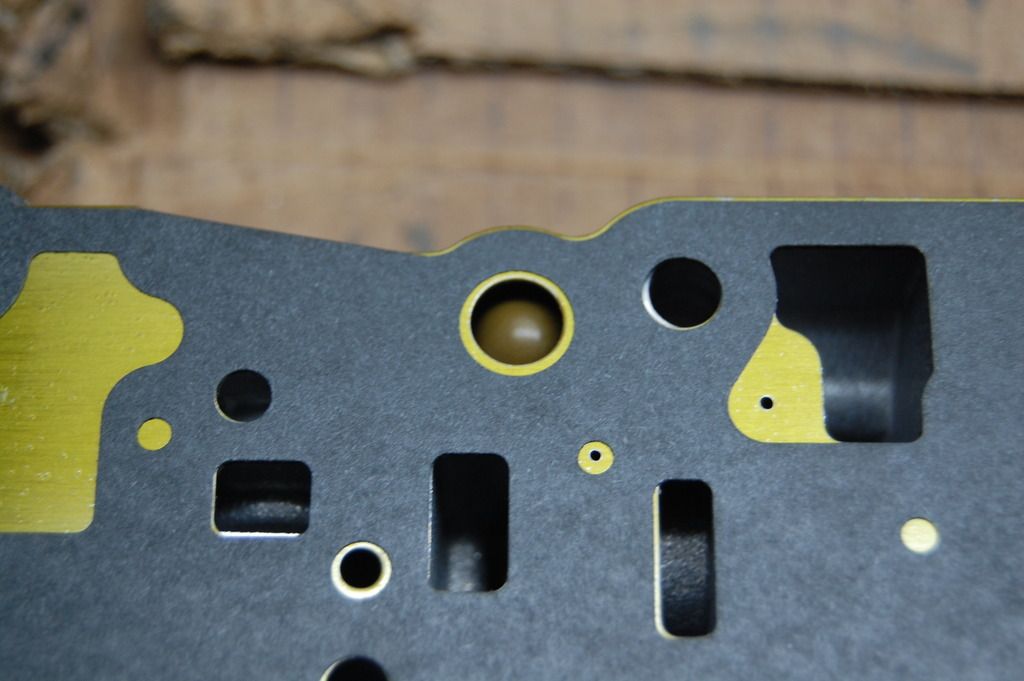
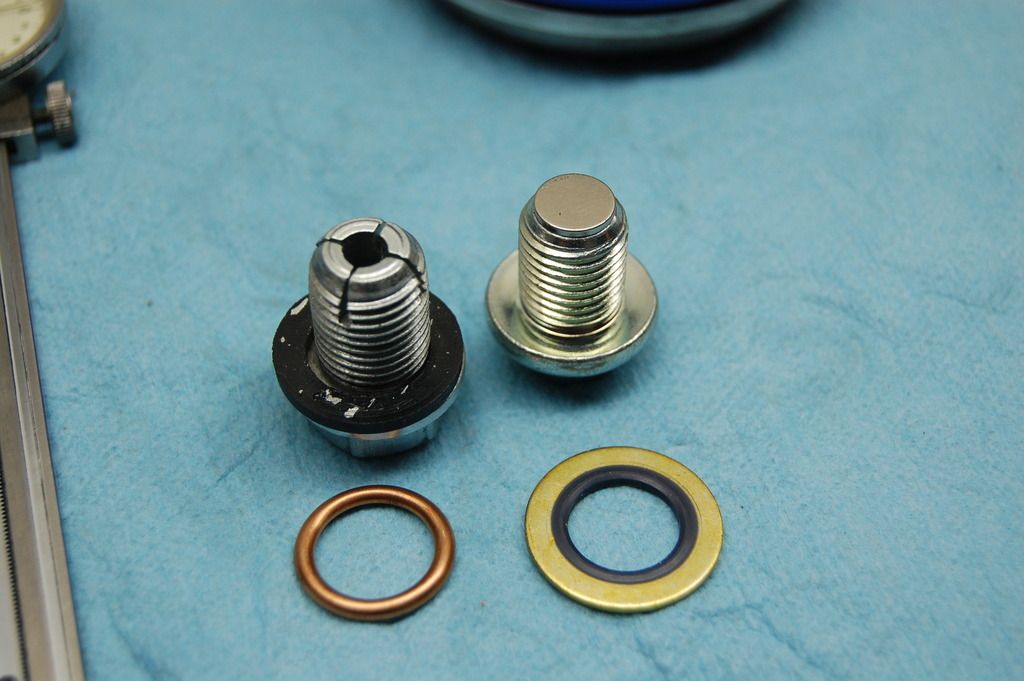
My upgraded balls

DSC_0074_zps8atpmnw8.jpg


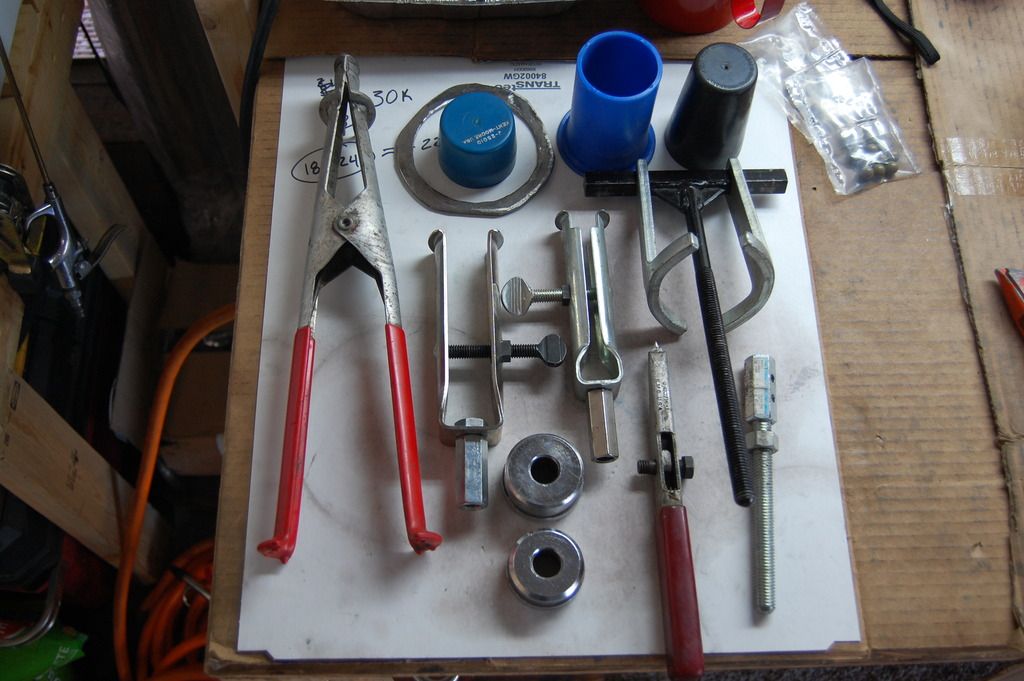
Newly acquired tools. Thanks Billboost :th_thumbsup-wink:

DSC_0062_zpspnoqzhes.jpg


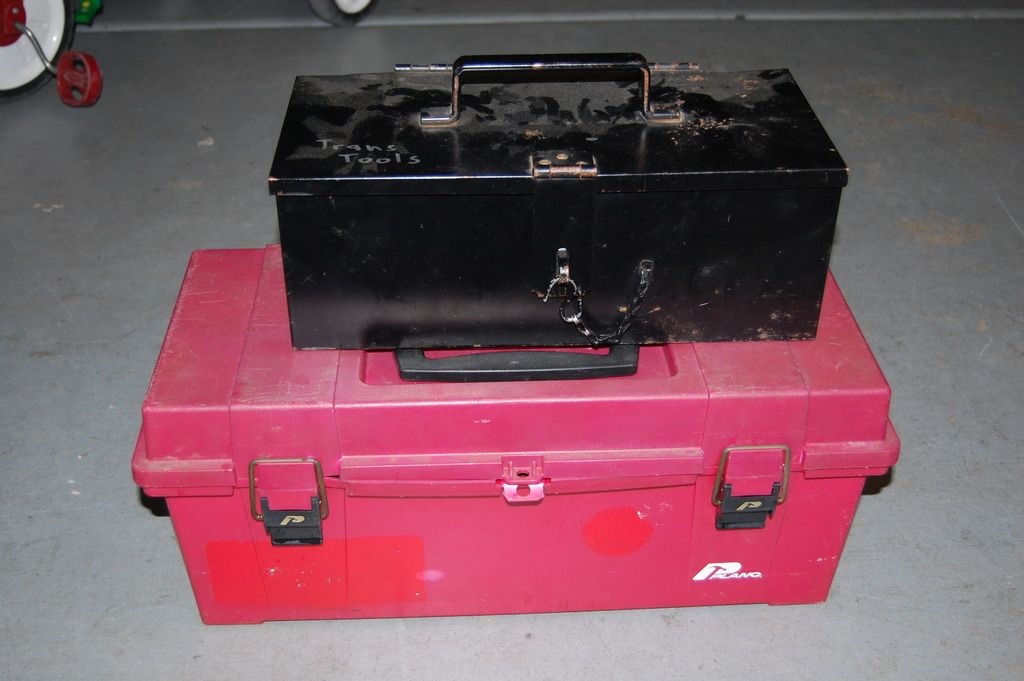
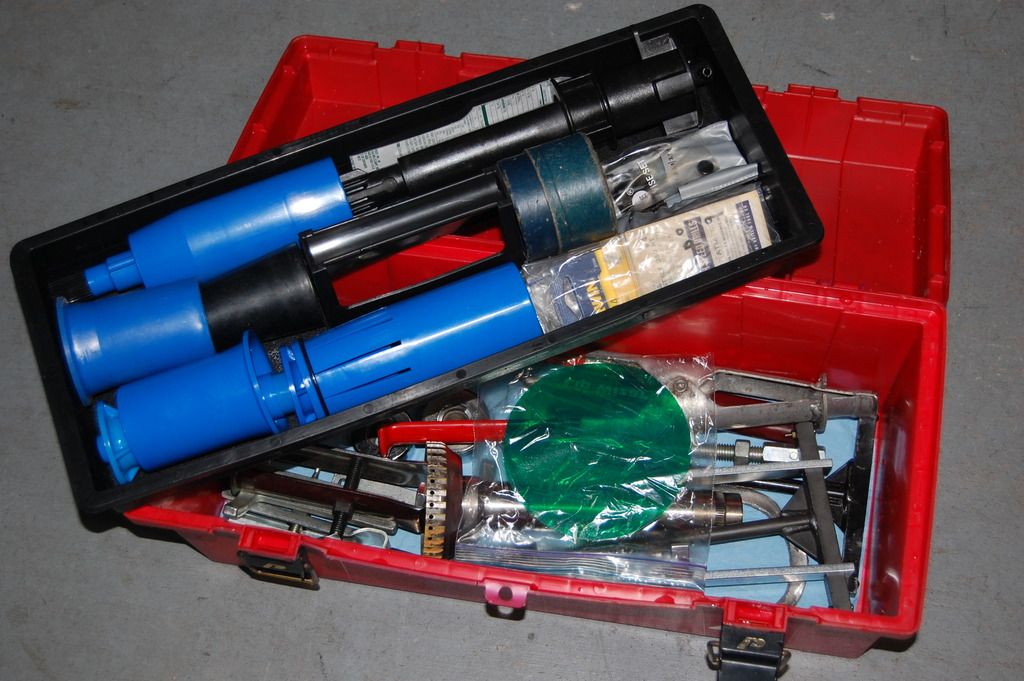
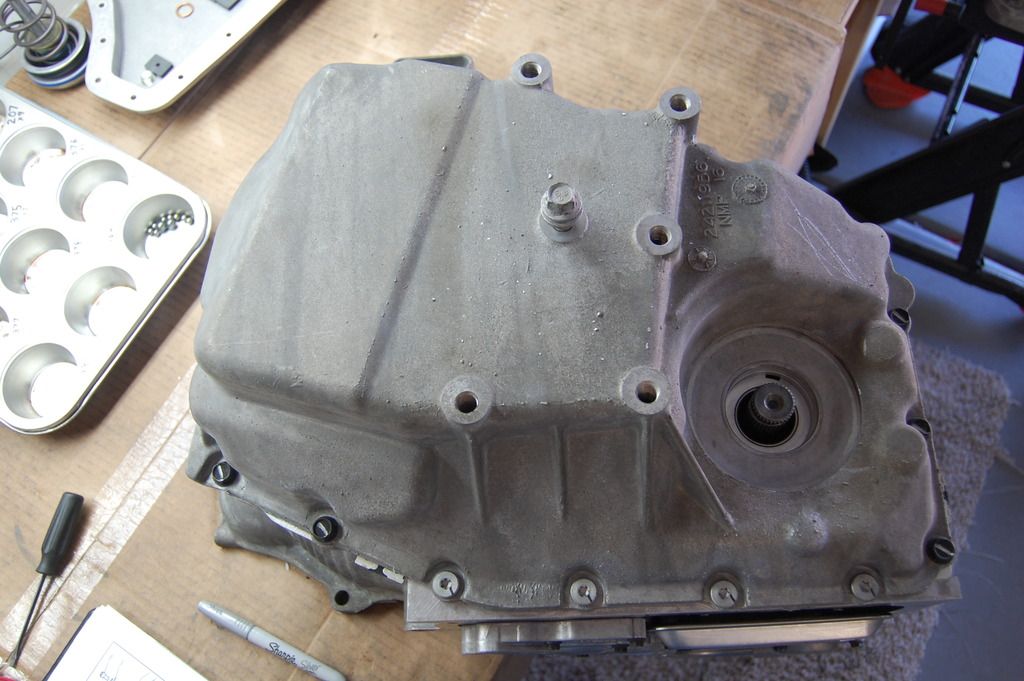
It's a terrible thing when you outgrow a toolbox. The black one used to hold all my transmission specific tools

DSC_0072_zpsl77q2fba.jpg


Not anymore

DSC_0071_zpskymwu4m1.jpg


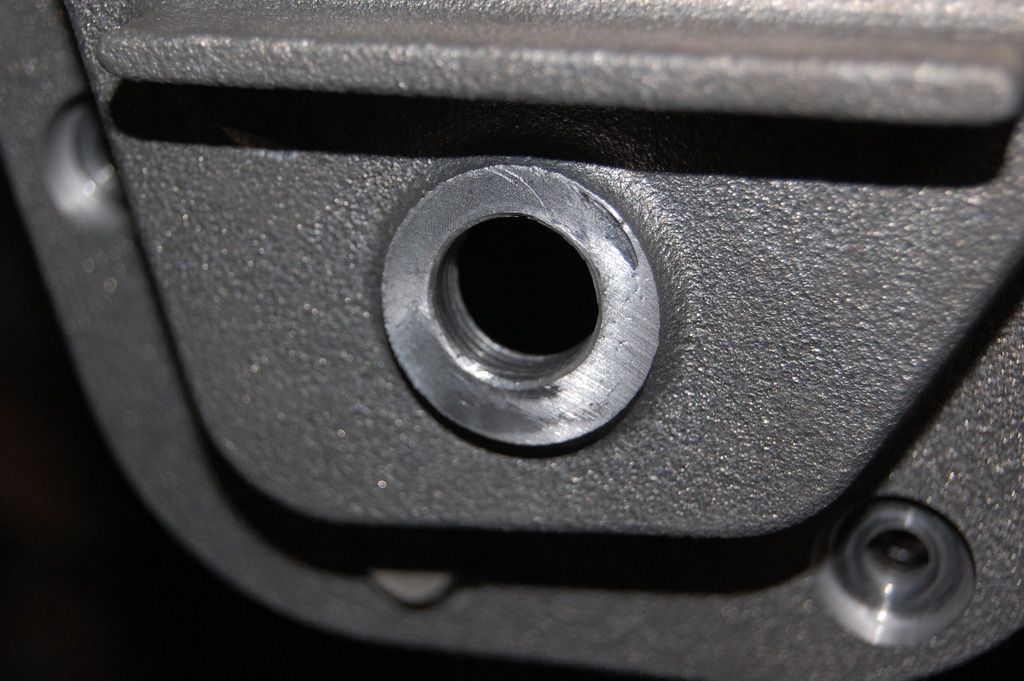
Remember me saying I wasn't the one who tore this down? Here's what happens when you go after #435 unprepared. I managed to extricate them without too much trouble though

DSC_0075_zpswlbyhi7w.jpg


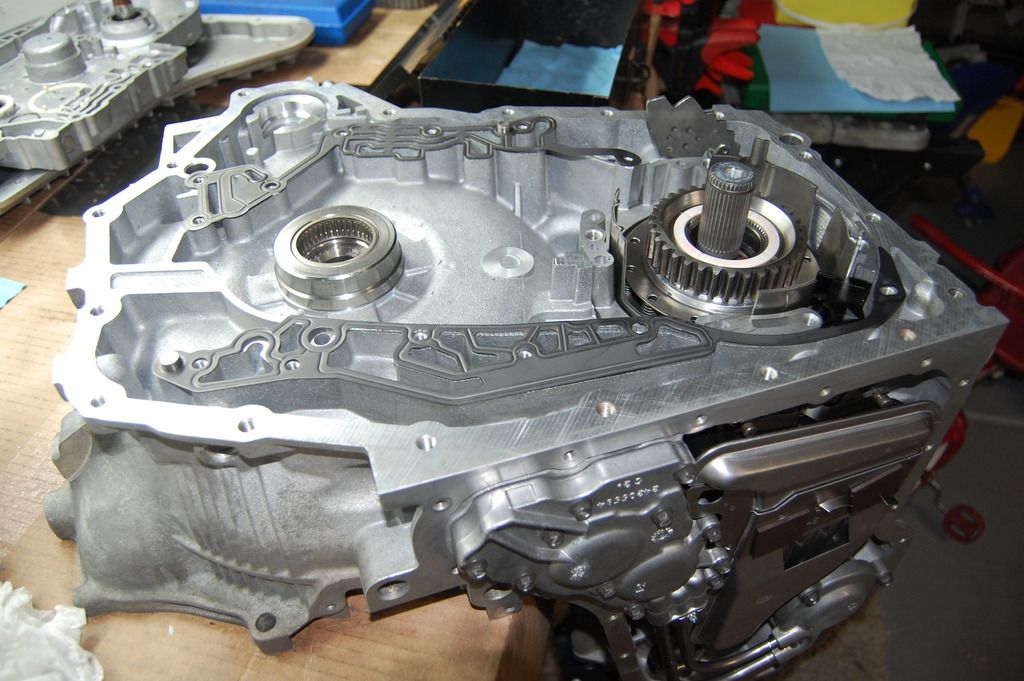
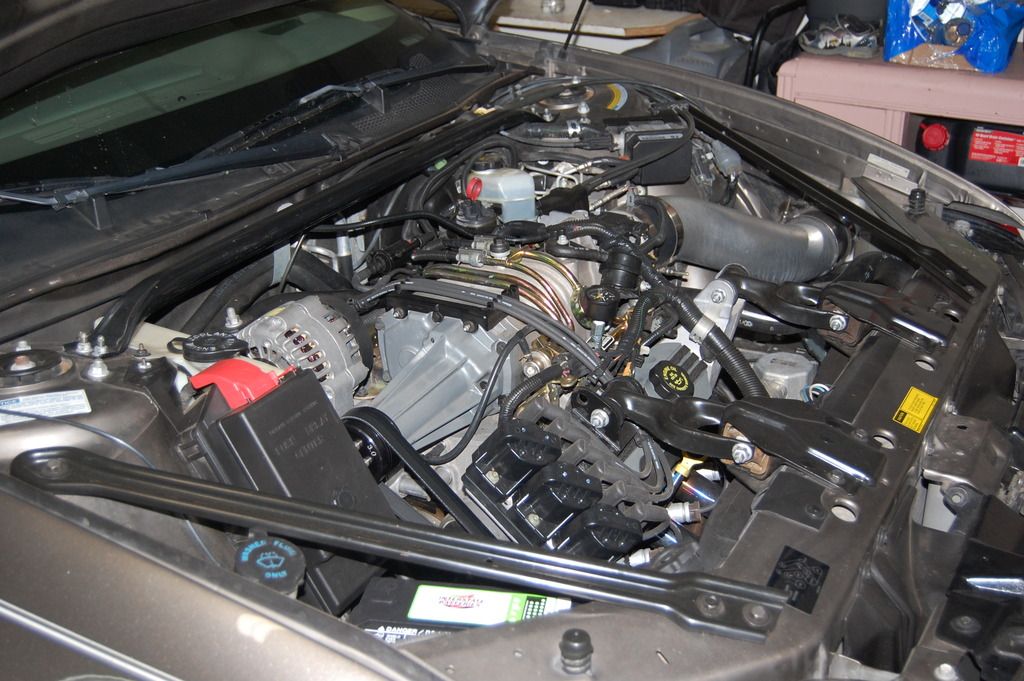
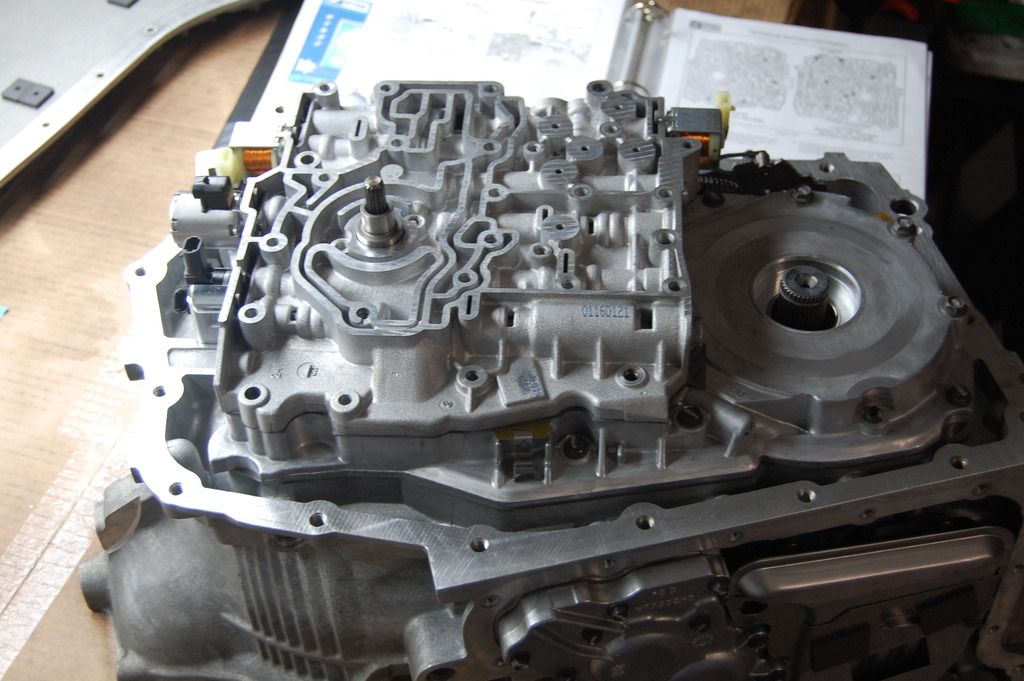
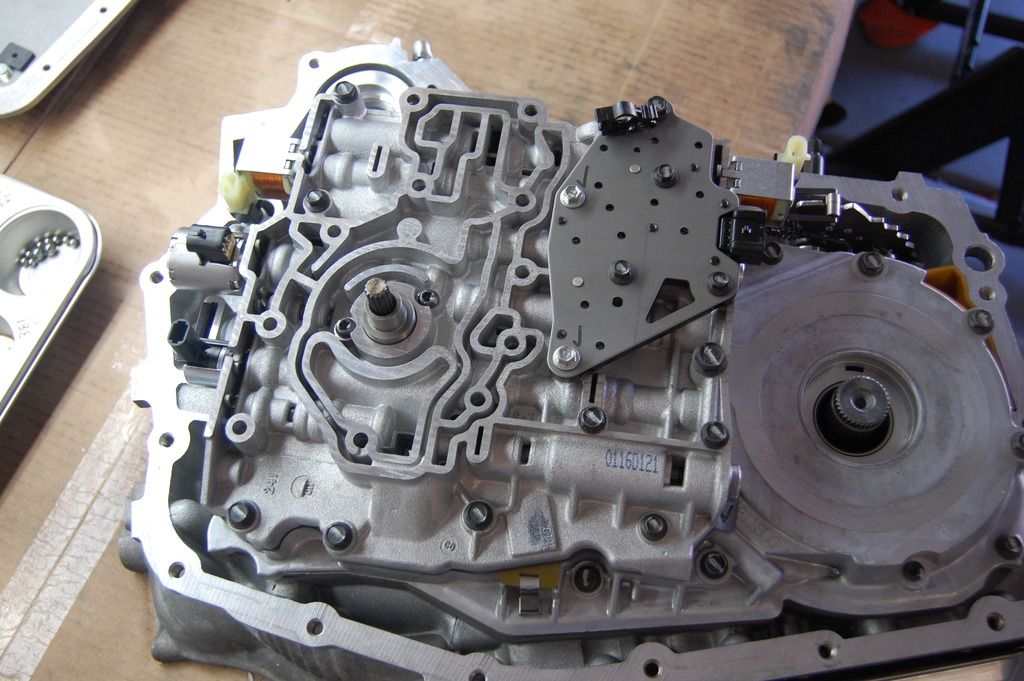
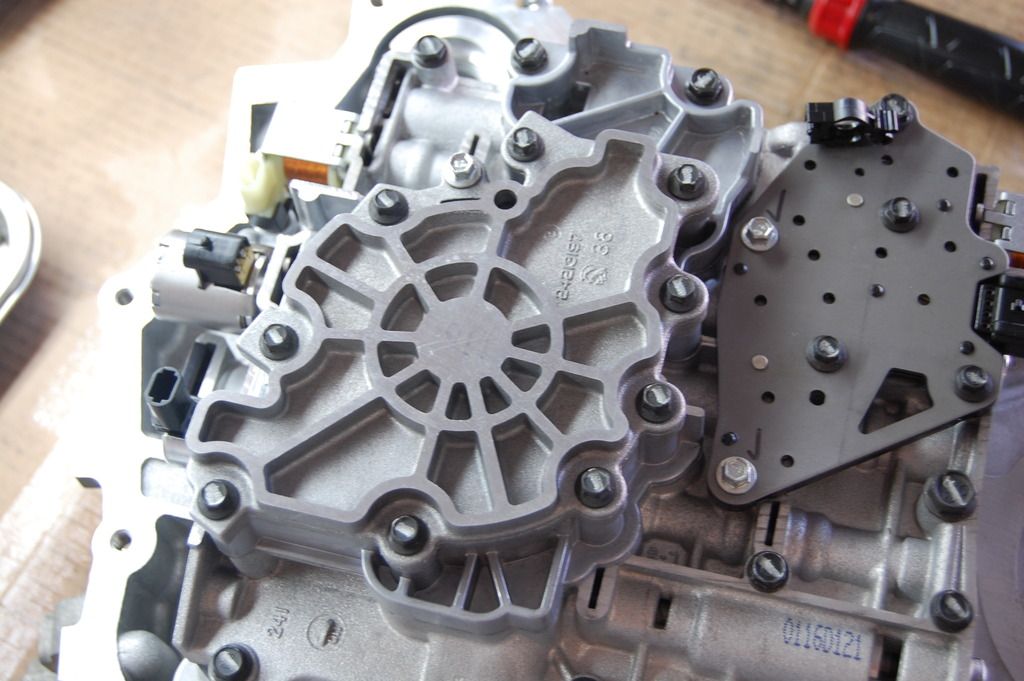
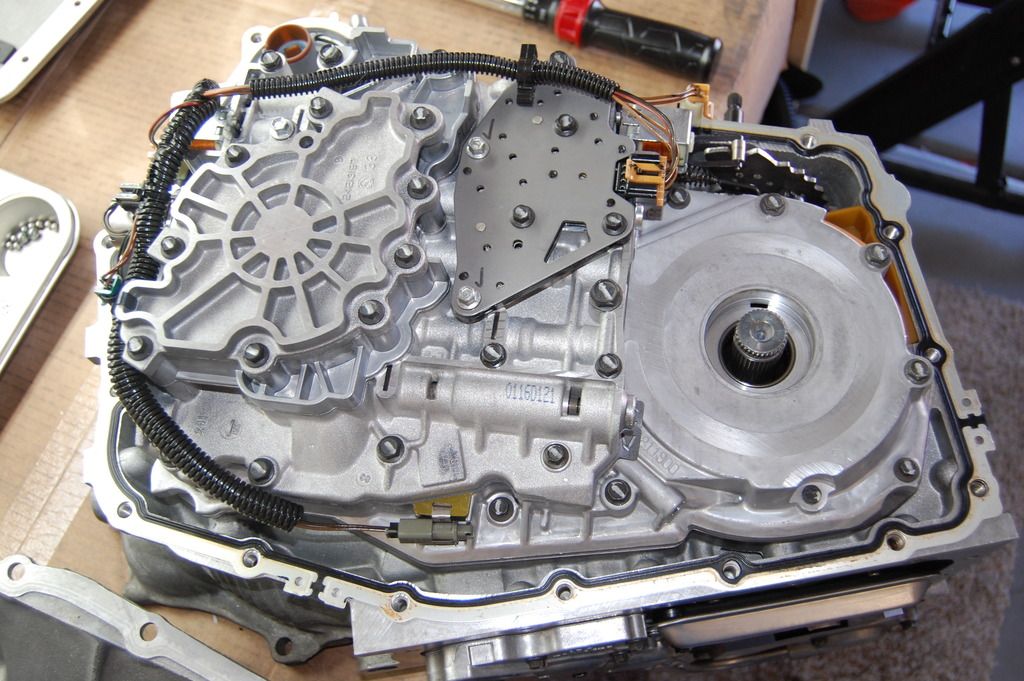
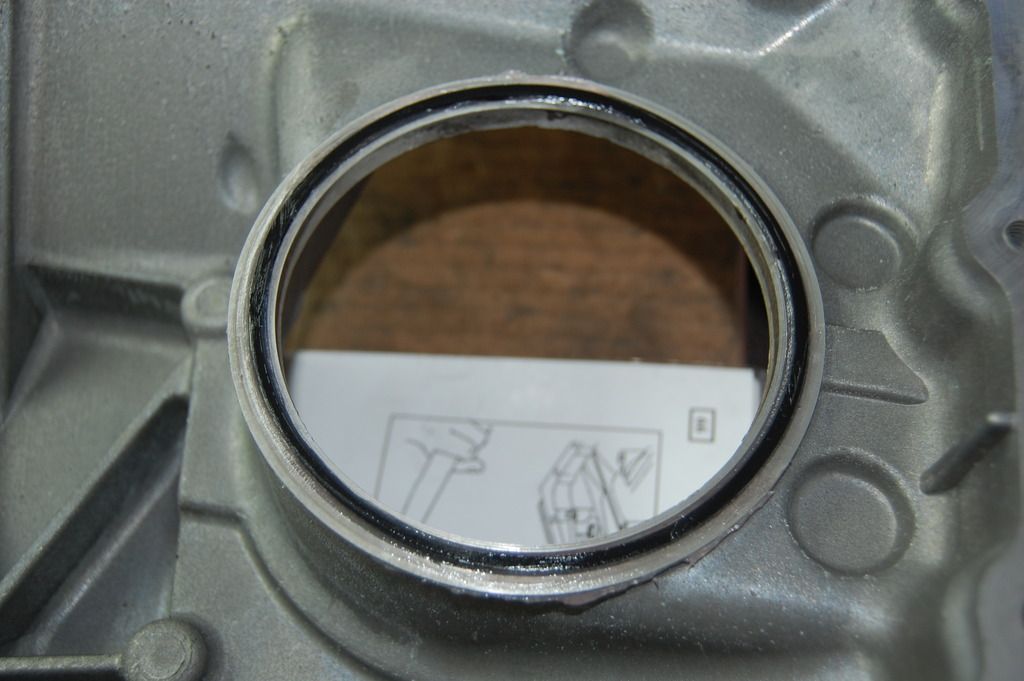
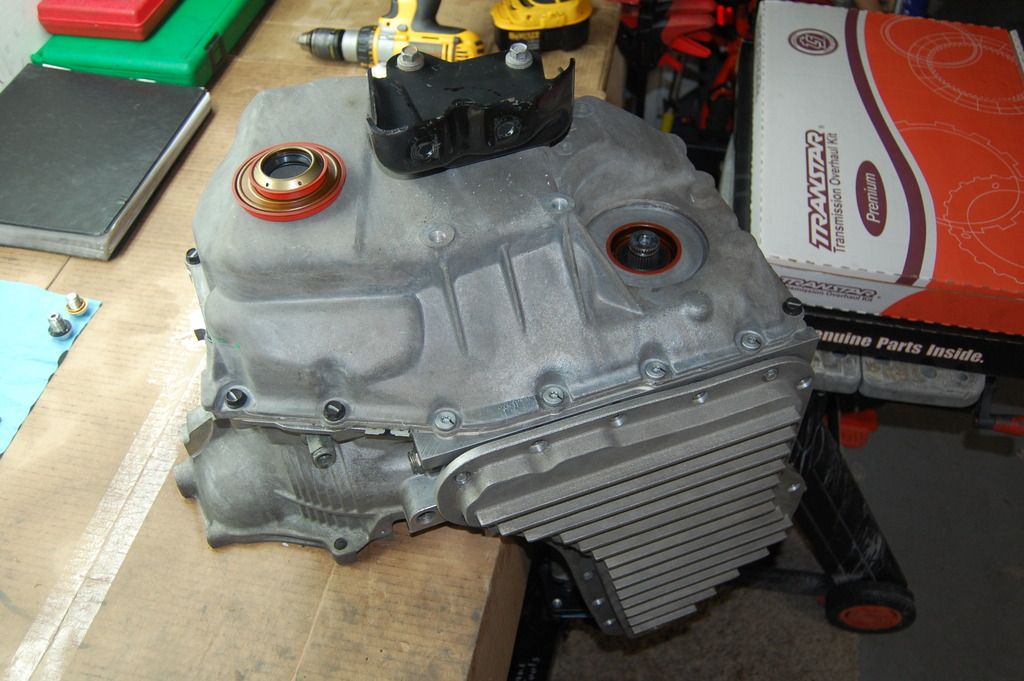
And just so I don't forget why I'm doing all this

DSC_0076_zpsmfqy9ppj.jpg
 
Re: Built 4t65e - Quality takes time

Bronzemist cars are the fastest............ lolololol!

would you please post part #s and spread sheet of cost once your done. i realize cost may very but would still be great to see on a spreadsheet or whatever.
 
Re: Built 4t65e - No short cuts

would you please post part #s and spread sheet of cost once your done. i realize cost may very but would still be great to see on a spreadsheet or whatever.

Maybe.

what are your overall powergoals ?

Nothing crazy. I don't have any particular number in mind. I guess I'd like to see the near full potential of an M90 setup. Cam, IC and E85 would be a pretty potent setup, I think. Here's my reasoning behind building this trans:

1.) I've seen more than a couple stories of guys spending a lot of dough on power adders, only to blow the trans. Then the car either sits forever, waiting for transmission funds OR it gets parted out. I wanted to fix the weal link first.

2.) I really like building transmissions. I honestly love the mechanics of how they work. It's a good hobby for me.
 
Re: Built 4t65e - No short cuts

Well, I got the sprocket welded

DSC_0062_zpsq3bkdvrz.jpg


For anyone concerned about that little amount of weld, don't be. It's only purpose is keep the screws from backing out. The screws are what retains the reluctor wheel.

I'm hoping to get the channel plate back on tonight yet, but I'm not banking on it.
 
Last edited:


Re: Built 4t65e - No short cuts

I was feeling ambitious. Channel plate is back on and torqued

DSC_0062_zpstlq0balz.jpg


Threw the check balls in

DSC_0063_zps7iuvc4tb.jpg


DSC_0064_zpsa118hyxh.jpg


Separator plate on the valve body

DSC_0066_zpsnjoez6x2.jpg


Torlon!

DSC_0067_zps7zuvclyp.jpg


Set the valve body on. Called it a night. I'll torque it tomorrow

DSC_0068_zpsg3qifm6p.jpg
 
Re: Built 4t65e - No short cuts

Hey Brandon, what's the benefit to the Torlon check balls, couldn't find any info about them??
 
Re: Built 4t65e - No short cuts

The torlon check balls tend to "conform" to any irregularity in the valve body a little better than the hard steel balls, might stop some seepage under pressure.
 
Re: Built 4t65e - No short cuts

The torlon check balls tend to "conform" to any irregularity in the valve body a little better than the hard steel balls, might stop some seepage under pressure.

This, and to reduce/eliminate separator plate wear. I've been told it's possible for the steel balls to actually beat their way clean through the plate. It would take a long time though. Here's what I found while searching the web:

"Sonnax check balls 10000-08 (.250") are made out of tough, wear-resistant imidized plastic. The Sonnax imidized plastic balls seal better than steel balls because they conform to the separator plate ball seats. Steel check balls are hard and heavy, wearing separator plate ball seats from the repeated high impact of the ball on the seat. Elastomer or rubber check balls seal well. However, the elastomer material wears, reducing the size of the ball. Similar imidized plastic balls have been used on some original equipment late model valve bodies with excellent results. These imidized plastic check balls are not available through the original manufacturer."

Imidized plastic is the generic term for the trademark name Torlon.
 
Re: Built 4t65e - No short cuts

Torqued the screws in for the valve body, but before I did, I checked the torque on all the channel plate bolts. All good.

DSC_0062_zpsodsndnxt.jpg


Oil pump next

DSC_0063_zpszz8kter0.jpg


Torqued

DSC_0064_zpsodqkjukm.jpg


Harness was next, but before I put it in, I checked all the wires with the DVOM. No breaks

DSC_0065_zpsdgfowuhb.jpg


Side cover next. A little goop to hold the seal in place

DSC_0066_zpsnjeg62af.jpg


It's on

DSC_0067_zpsmhapmzev.jpg


I used one of the screws as a handle

DSC_0068_zpsljlev0cm.jpg


Be sure to mark where the studs go before disassembly

DSC_0069_zpslrvhhngg.jpg


Left axle seal was next. Make sure you have the proper tool

DSC_0071_zpsrxx8aaf2.jpg


That's how she sits until I can fix the threads in the pan

DSC_0072_zpsx347nfuf.jpg


Soooo close


Re: Built 4t65e - No short cuts

let me guess your drain threads pulled clean out....

ive already fixed two with 1/2-20 heilicoils though I shoulda probably gone with the more expensive m12 to use the GM engine oil pan drain plug with the captured Oring gasket....would work great with the nice flat boss of the zzp pan.

both of the ones ive seen had some crappy machining of the pan rails....
 
Re: Built 4t65e - No short cuts

let me guess your drain threads pulled clean out....

Well, they're not completely gone. :th_eyesrolling: But useless, nonetheless.

DSC_0064_zpsfjb9vfmr.jpg


ive already fixed two with 1/2-20 heilicoils though I shoulda probably gone with the more expensive m12 to use the GM engine oil pan drain plug with the captured Oring gasket....would work great with the nice flat boss of the zzp pan.

I have no idea what the original thread was. I bought it used knowing the threads were hosed. Previously, it had an M14x1.5 "oversize" plug. I'm hoping there's enough material left in the hole for a standard M14x1.5 HeliCoil. My local hardware actually has generic drain plugs in stock, and a pretty good assortment of sealing washers. The plug I got was the perfect size for one of the Neo magnets I have floating around the garage.

DSC_0063_zpswb3g1rbx.jpg


both of the ones ive seen had some crappy machining of the pan rails....

There was some pretty bad machining chatter. Bad enough that I hit it with some emery cloth. Should be good now.
 
Re: Built 4t65e - No short cuts

on the TR I actually went nuts. its 1/2-13 helicoiled, I then got a flanged 1/2" uhl bolt, drilled the end for a neo rod, filled it from the bottom with rtv (get the big ****ing coffee stirrer straws) and shoved it in, I then used a std Teflon washer

McMaster is awesome.... 7/8ths hex so I can use a std o2 socket in a fix, I know, kinda stupid but this is the stupid overthinking that's gonna kill me one day
 
Back
Top