Mitchstrp
New member
Tools you will need:
7mm
8mm
10mm
13mm
15mm
Hex socket
engine assembly lube
torque wrench
roller rockers
valve cover gaskets
install kit
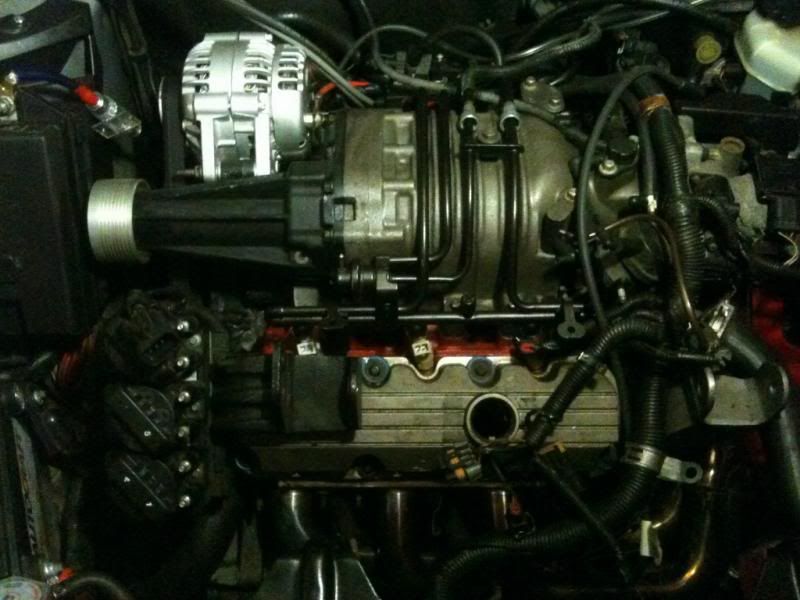
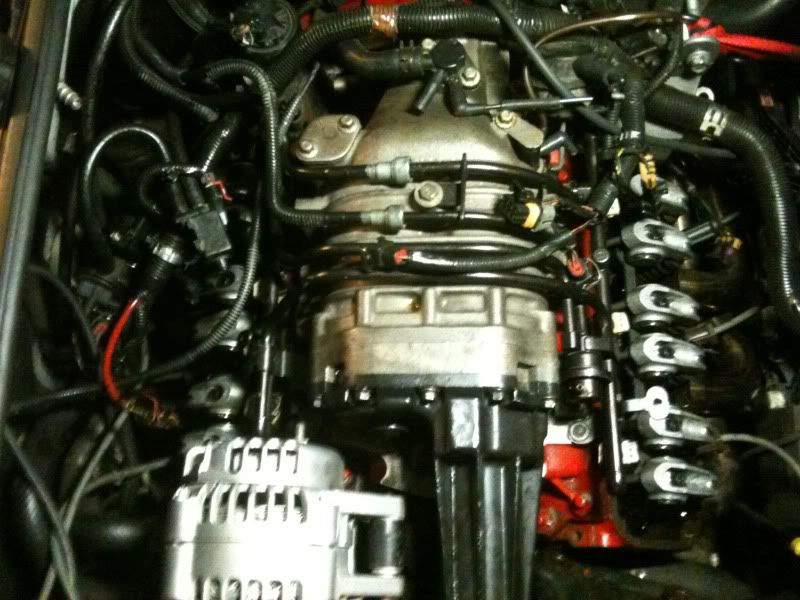
Pop your hood, this is what you should see.
first things first, disconnect the battery and remove all both the belts.
second remove the ICM wire harness (under the coil packs) then start removing the s/c tensioner and idler pulley.
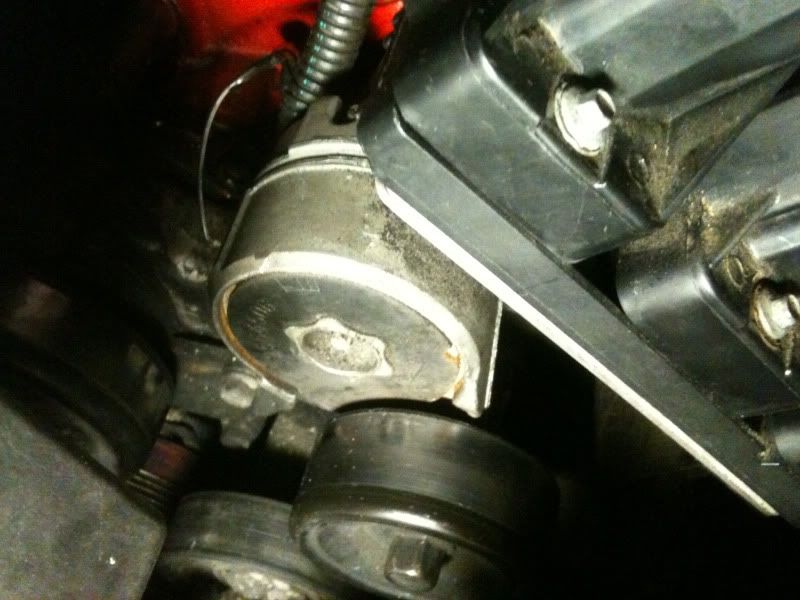
After removing tensioner pulley there should be a long stud
then above the tensioner there is a stud that has a ground on it, its the ICM ground, remove the stud.
Then remove the stud where the tensioner pulley was.
Next there is a stud that is held in by a 15 mm and you will need a very deep well socket it is located in between the tensioner and idler pulley.
Once you have that last stud out. the entire bracket will just pull right out. Now you can access the front valve cover.
Remove the bolts and gromets and pull out the valve cover.
You should now be looking at something like this.
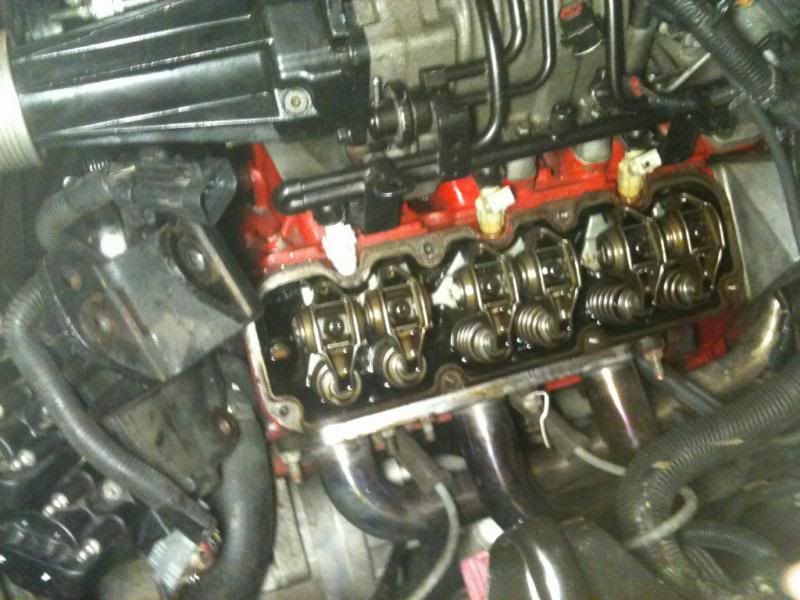
Now with your 10mm remove all the old rockers and pushrods and the pedistal.
Now install your Yella Terra (or other brand) pedistal with the logo facing you.
Put the black spacers in place (they insert in the pedistal) then put the push rod where you removed the previous one then with the round side down place the rocker on the spacer and put a comp cam bolt in the rocker and hand tighten, once hand tightened adjust the rocker so that the roller tip is perfectly sitting on the spring and that the pushrod is under the proper side of the rocker.
Do this for all the rockers and make sure that before you install the pushrods and roller rockers that they are well lubed with some engine assembly lube or soak them over night in cam assembly lube.
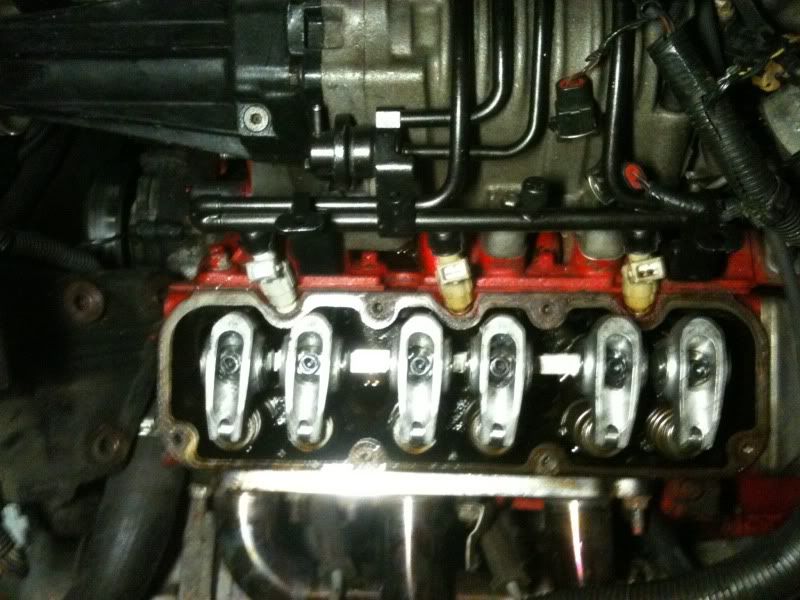
When your done with the front this is what it should look like.
Now onto the back!")
First ratchet the motor forward.
Then remove the rear engine pull bracket with a 13 mm its only two bolts. After that remove the alternator bracket also a 13 mm i believe.
Now your ready to get dirty. lol.
Take off all the bolts and grommets then start remove the old rockers and pushrods, do the back just like you did the front.
Thats all there is to it.
final steps:
Torque all of rocker bolts to 25 ft lbs then assemble just as you took apart. After you have reinstalled everything you can top off the front valve cover with a little oil.
When you start the car you may get a low oil light but it should go off after a minute or so.
If I missed anything feel free to let me know and ill add it.
Hopes this helps
7mm
8mm
10mm
13mm
15mm
Hex socket
engine assembly lube
torque wrench
roller rockers
valve cover gaskets
install kit
Pop your hood, this is what you should see.
first things first, disconnect the battery and remove all both the belts.
second remove the ICM wire harness (under the coil packs) then start removing the s/c tensioner and idler pulley.
After removing tensioner pulley there should be a long stud
then above the tensioner there is a stud that has a ground on it, its the ICM ground, remove the stud.
Then remove the stud where the tensioner pulley was.
Next there is a stud that is held in by a 15 mm and you will need a very deep well socket it is located in between the tensioner and idler pulley.
Once you have that last stud out. the entire bracket will just pull right out. Now you can access the front valve cover.
Remove the bolts and gromets and pull out the valve cover.
You should now be looking at something like this.
Now with your 10mm remove all the old rockers and pushrods and the pedistal.
Now install your Yella Terra (or other brand) pedistal with the logo facing you.
Put the black spacers in place (they insert in the pedistal) then put the push rod where you removed the previous one then with the round side down place the rocker on the spacer and put a comp cam bolt in the rocker and hand tighten, once hand tightened adjust the rocker so that the roller tip is perfectly sitting on the spring and that the pushrod is under the proper side of the rocker.
Do this for all the rockers and make sure that before you install the pushrods and roller rockers that they are well lubed with some engine assembly lube or soak them over night in cam assembly lube.
When your done with the front this is what it should look like.
Now onto the back!
First ratchet the motor forward.
Then remove the rear engine pull bracket with a 13 mm its only two bolts. After that remove the alternator bracket also a 13 mm i believe.
Now your ready to get dirty. lol.
Take off all the bolts and grommets then start remove the old rockers and pushrods, do the back just like you did the front.
Thats all there is to it.
final steps:
Torque all of rocker bolts to 25 ft lbs then assemble just as you took apart. After you have reinstalled everything you can top off the front valve cover with a little oil.
When you start the car you may get a low oil light but it should go off after a minute or so.
If I missed anything feel free to let me know and ill add it.
Hopes this helps
Last edited by a moderator:
