• The site migration is complete! Hopefully everything transferred properly from the multiple decades old software we were using before. If you notice any issues please let me know, thanks! Also, I'm still working on things like chatbox, etc so hopefully those will be working in the next week or two.

Installing new Tranny and Engine Mounts w/ Vinnie's cradle spacers

GeddyLee

New member
Howdy folks,

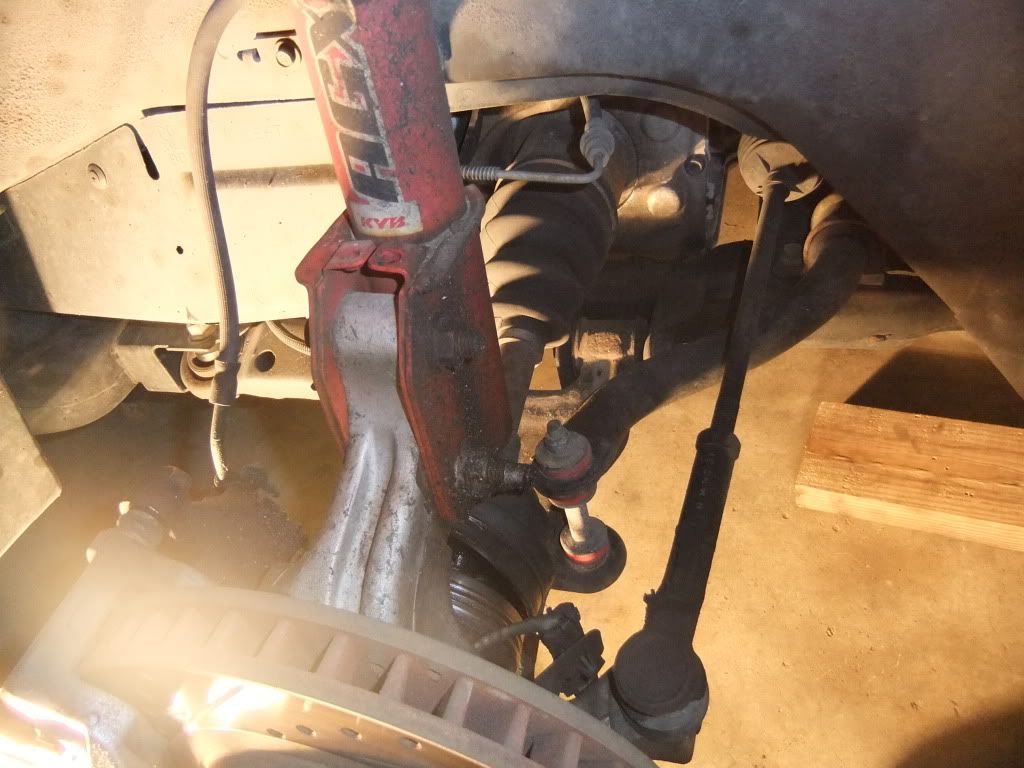
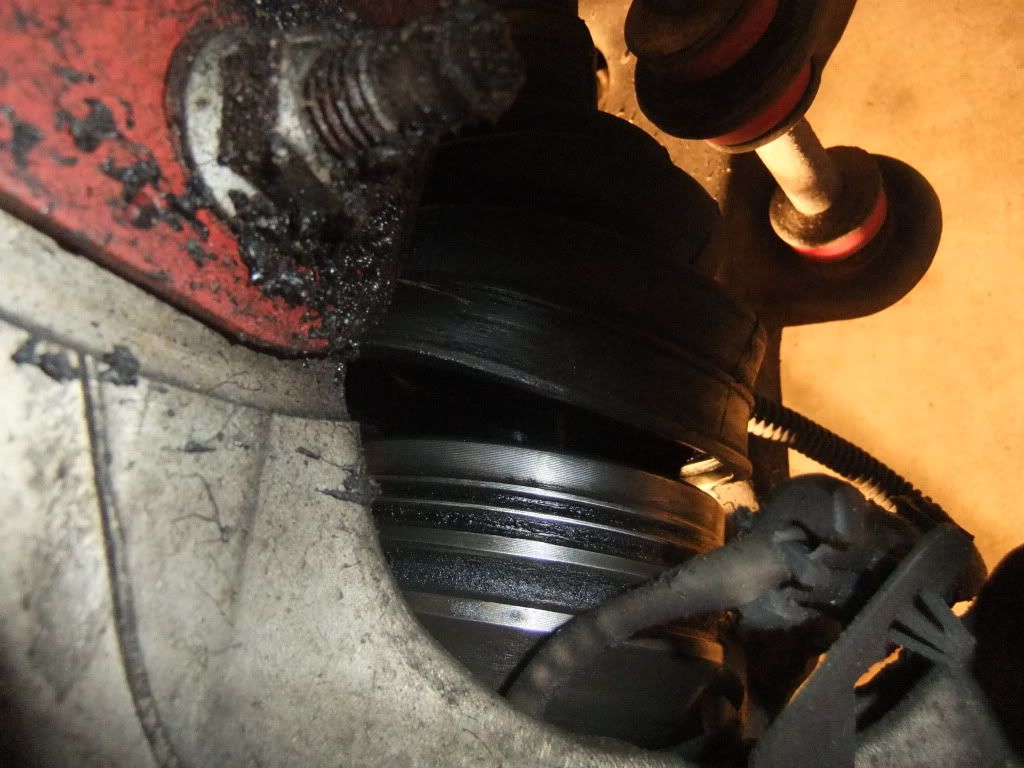
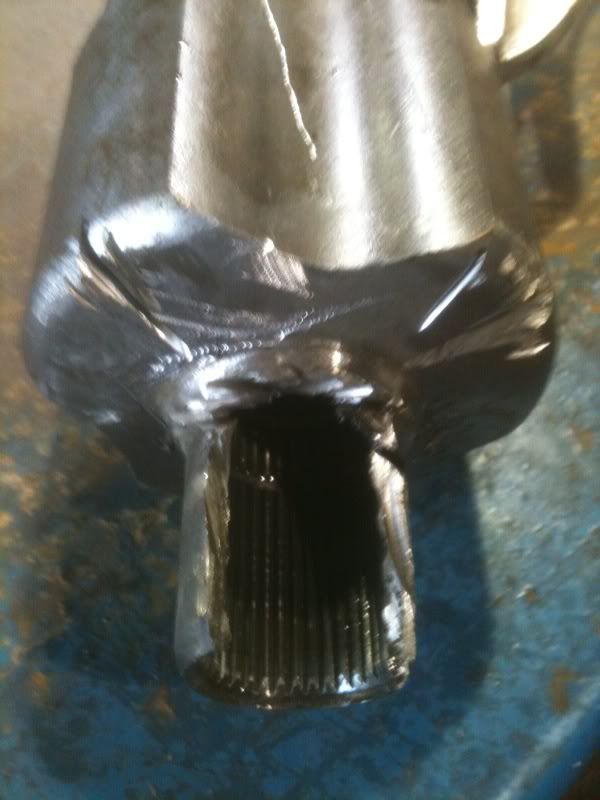
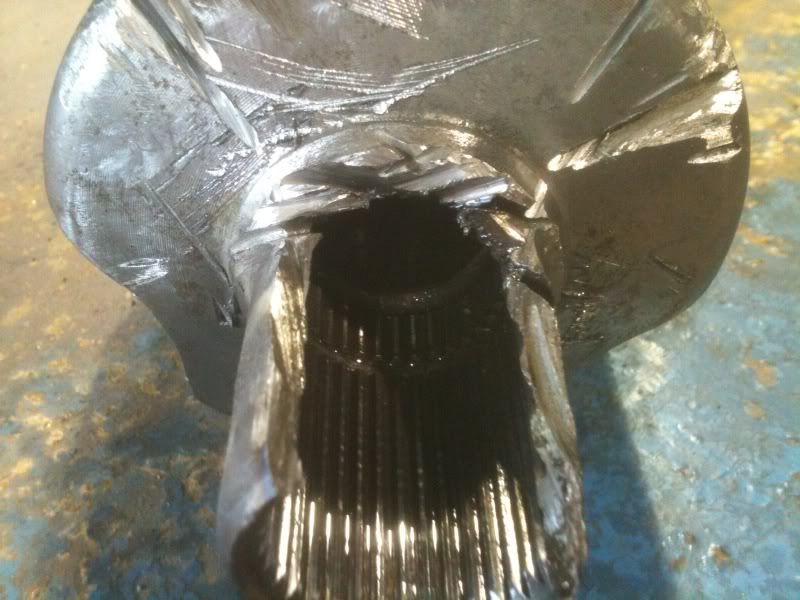
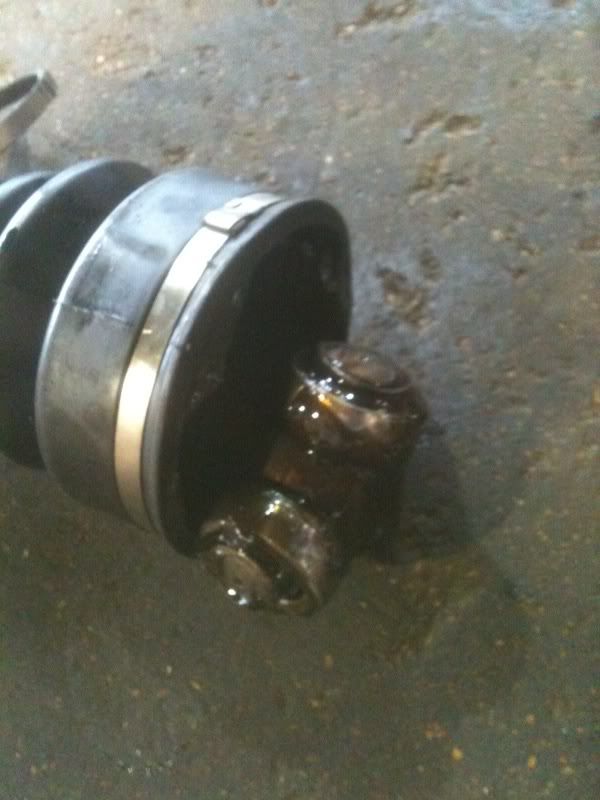
After blowing my 3rd CV Boot in a year, I have decided it was time to do something about it. I purchased Vinnie's cradle spacers to add height to the engine and tranny to give the axles their proper angle back. However decided also to get new solid motor and tranny mounts to boot. I figured I already will have it jacked up, so why not? The questions I have are gonna be noooooooooobish to some I am sure. But I need ask them anyways seeing I hvae not done this type of fix/repair/replace before.

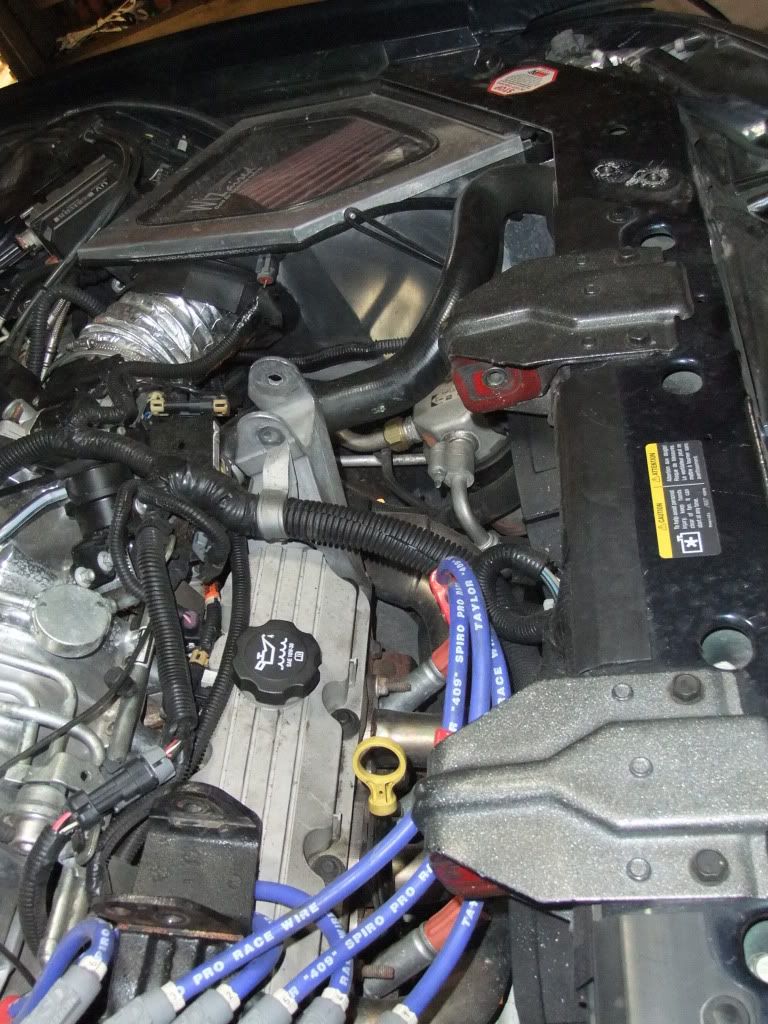
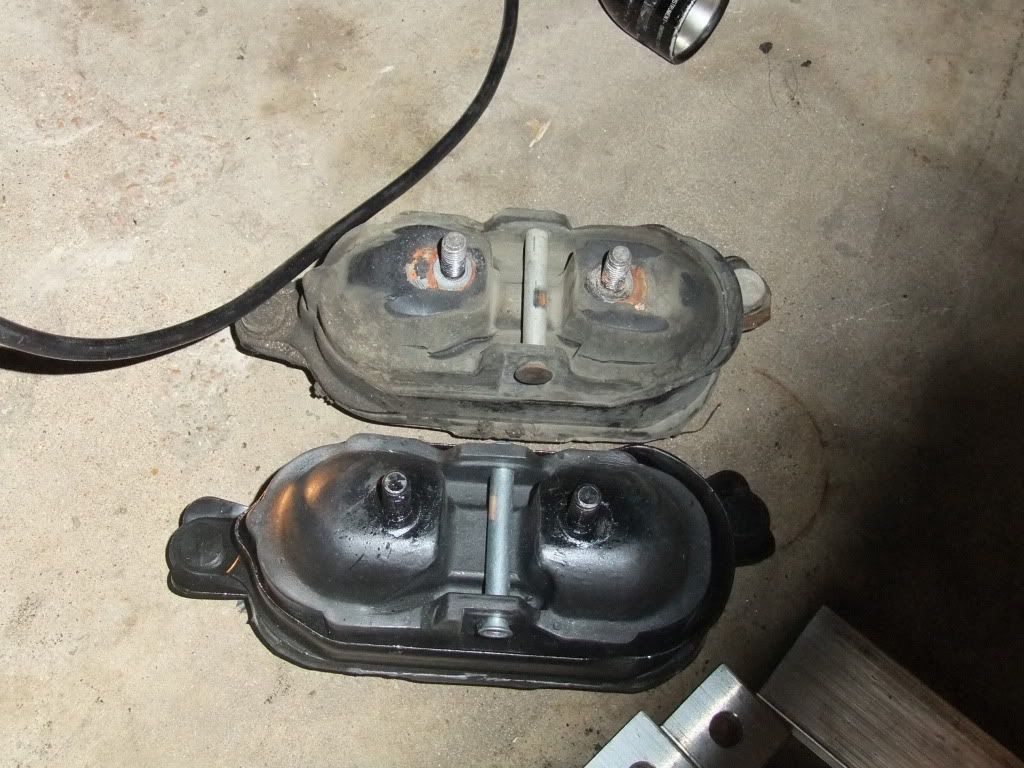
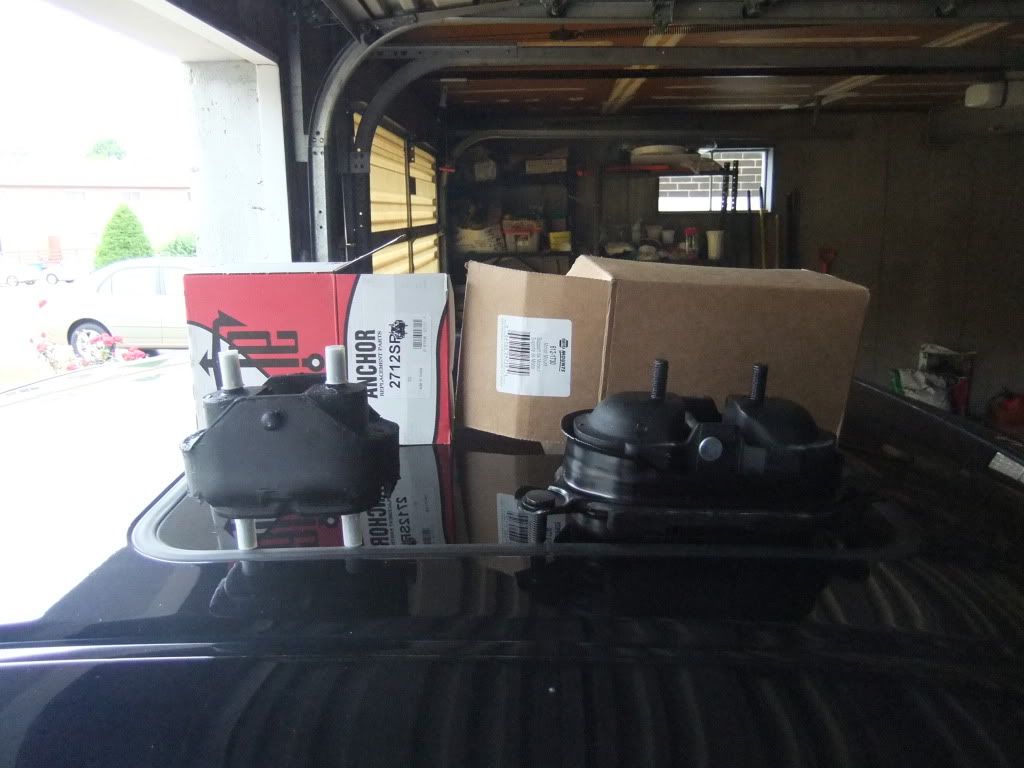
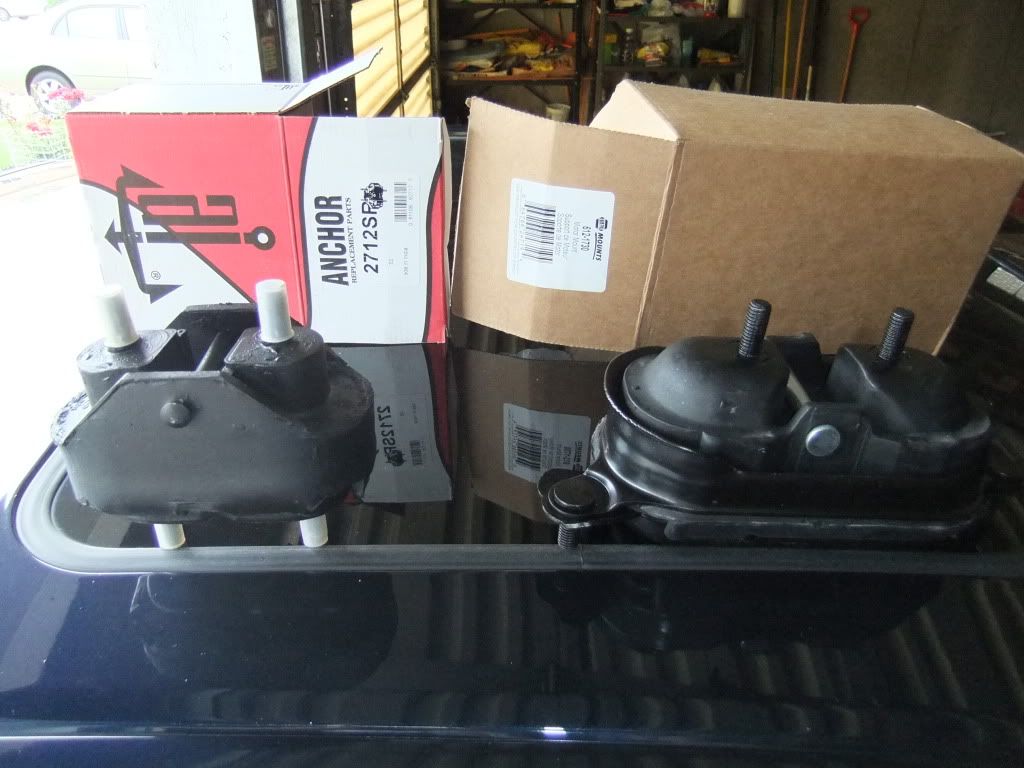
I will say in advance that I have read Jay's How To on replacing the motor mount, but my question seems to be the size of the motor mount. in the pictures the mount doesnt look all that big. But when I purchased my solid motor mount from NAPA, its bloody huge!!! (at least seems to me that way) and then the solid tranny mount is smaller size. I just want to make sure I got the right ones, the part numbers are supposidly correct for my car, but it just seems off.

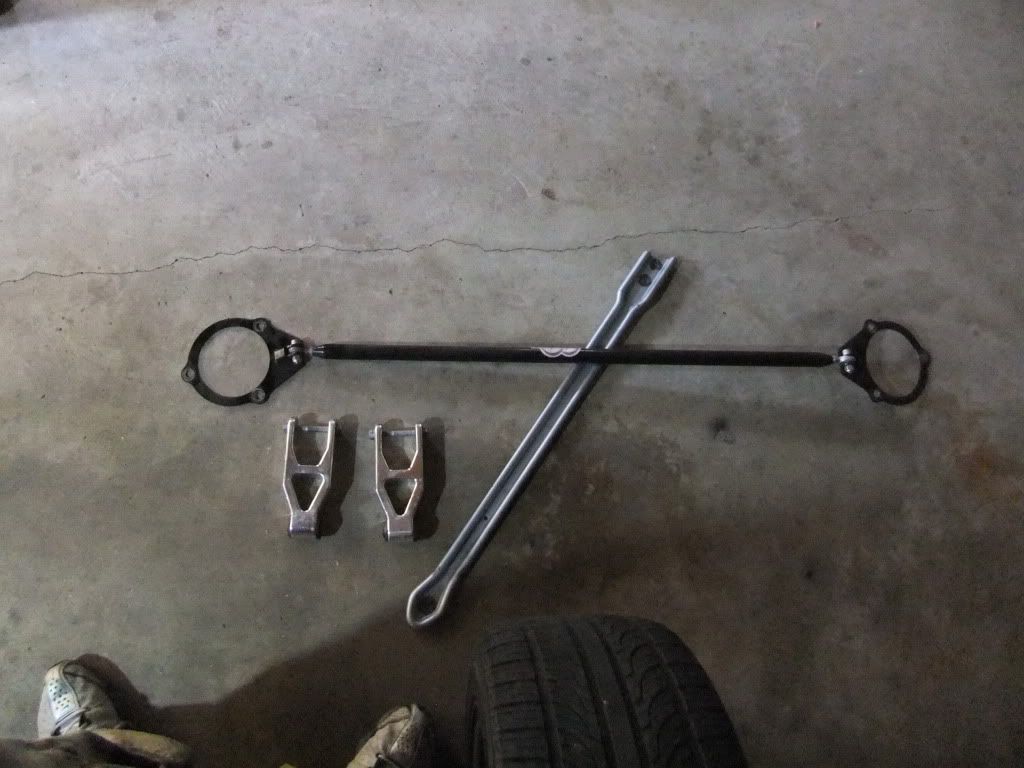
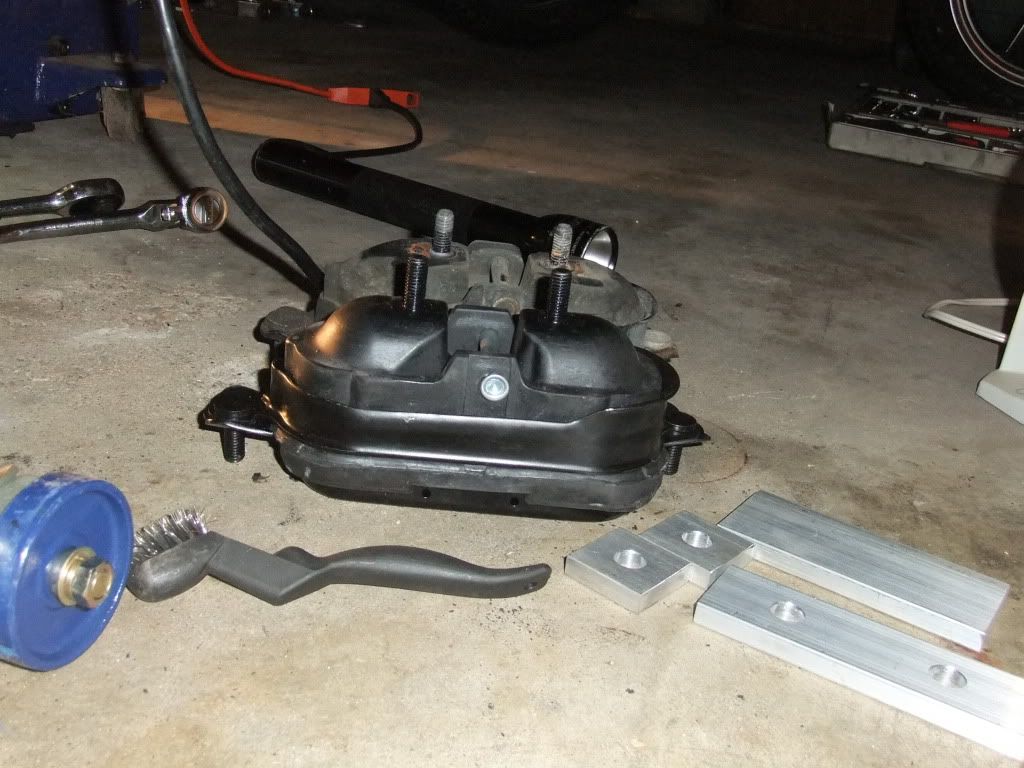
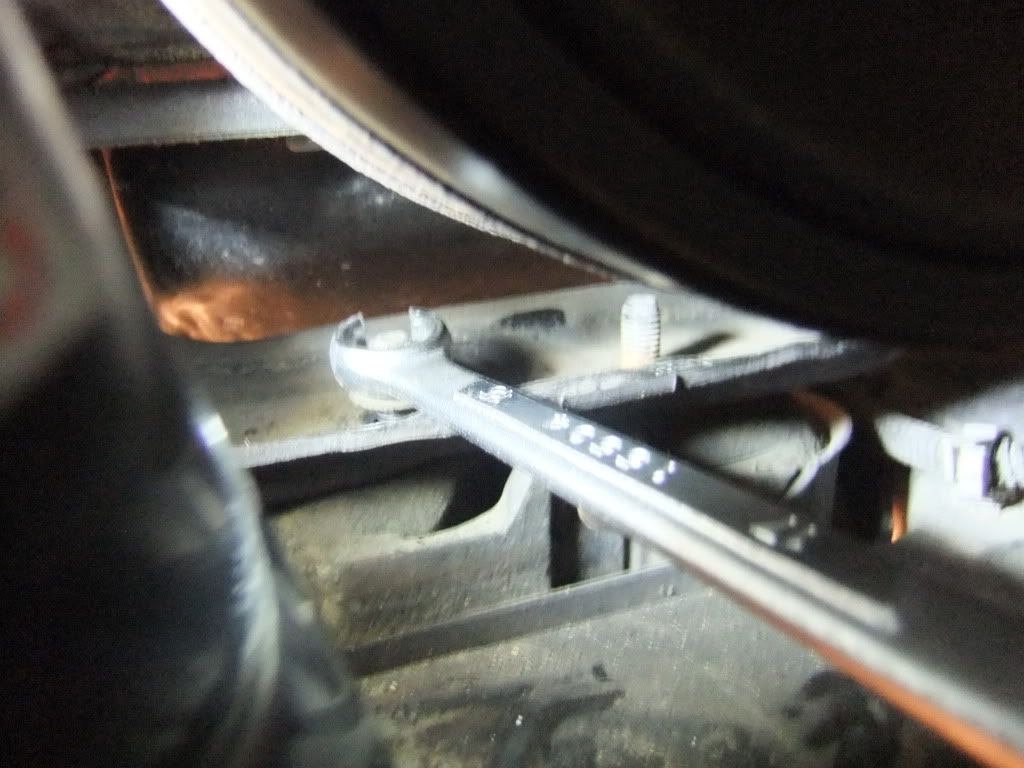
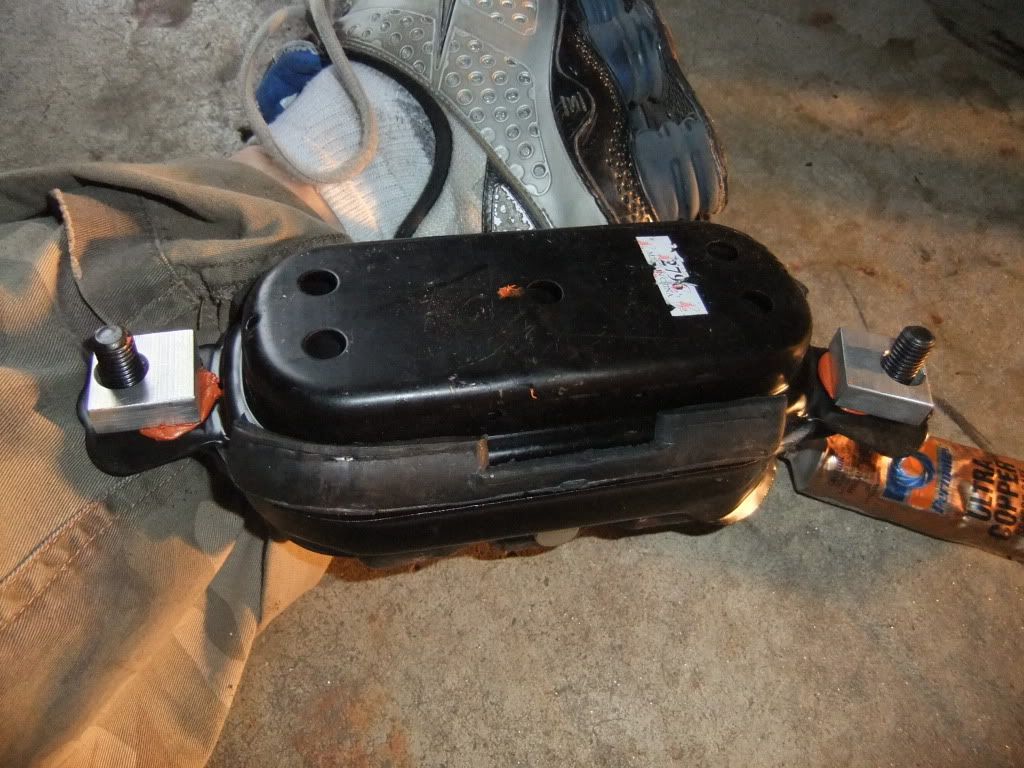
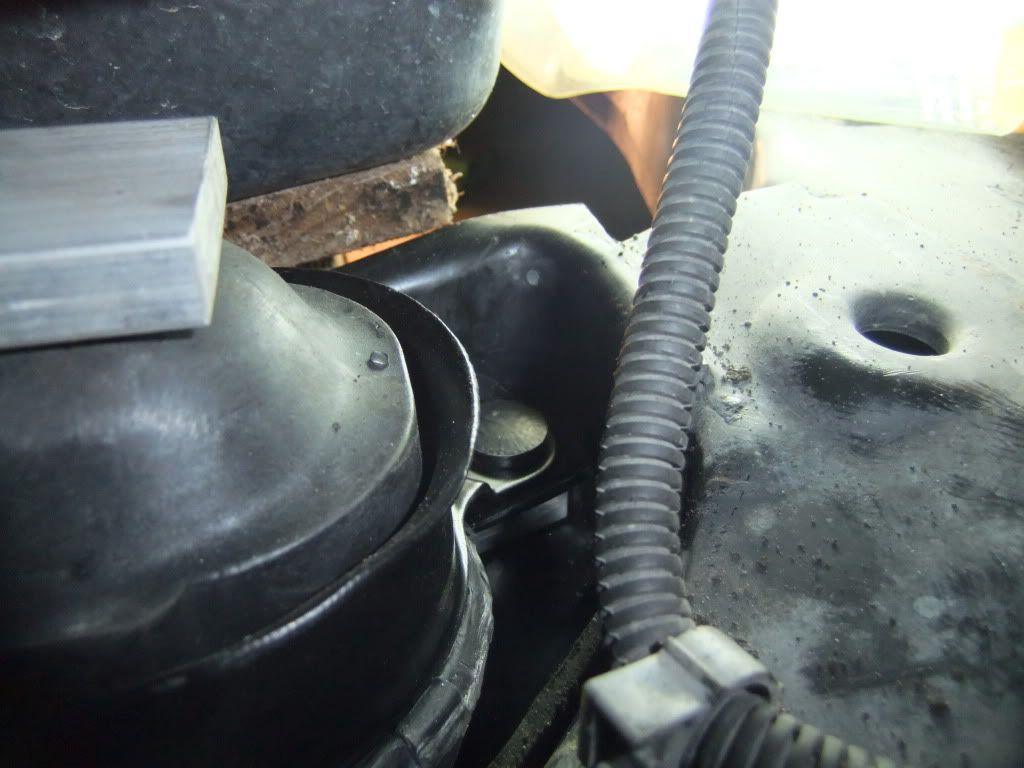
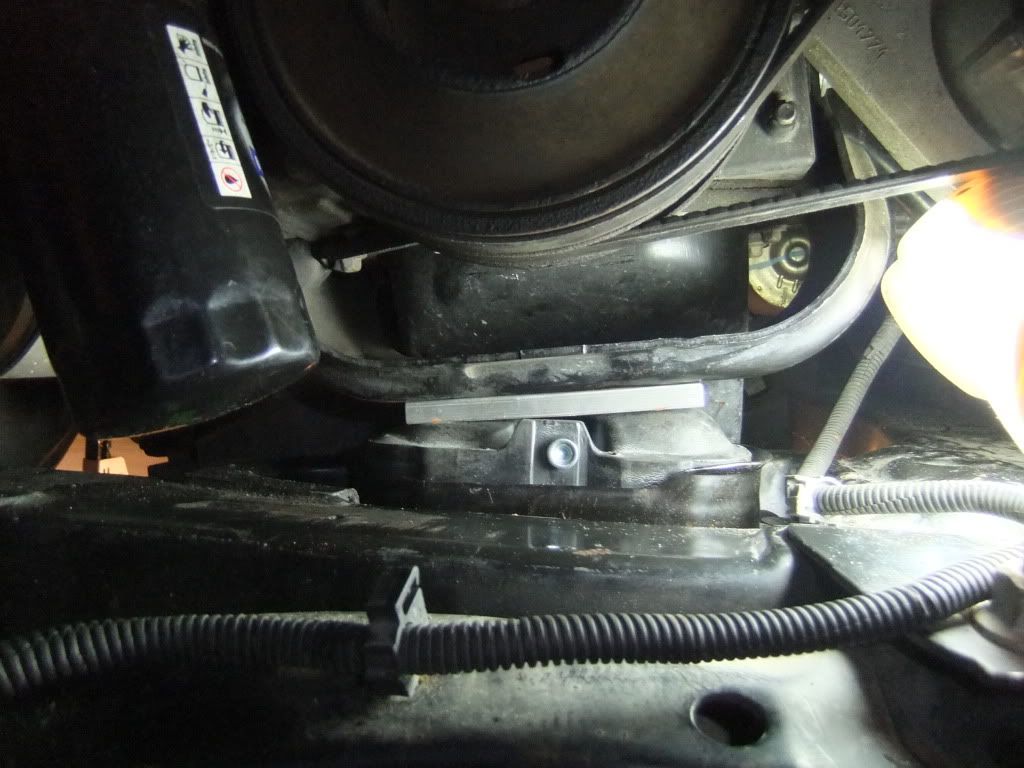
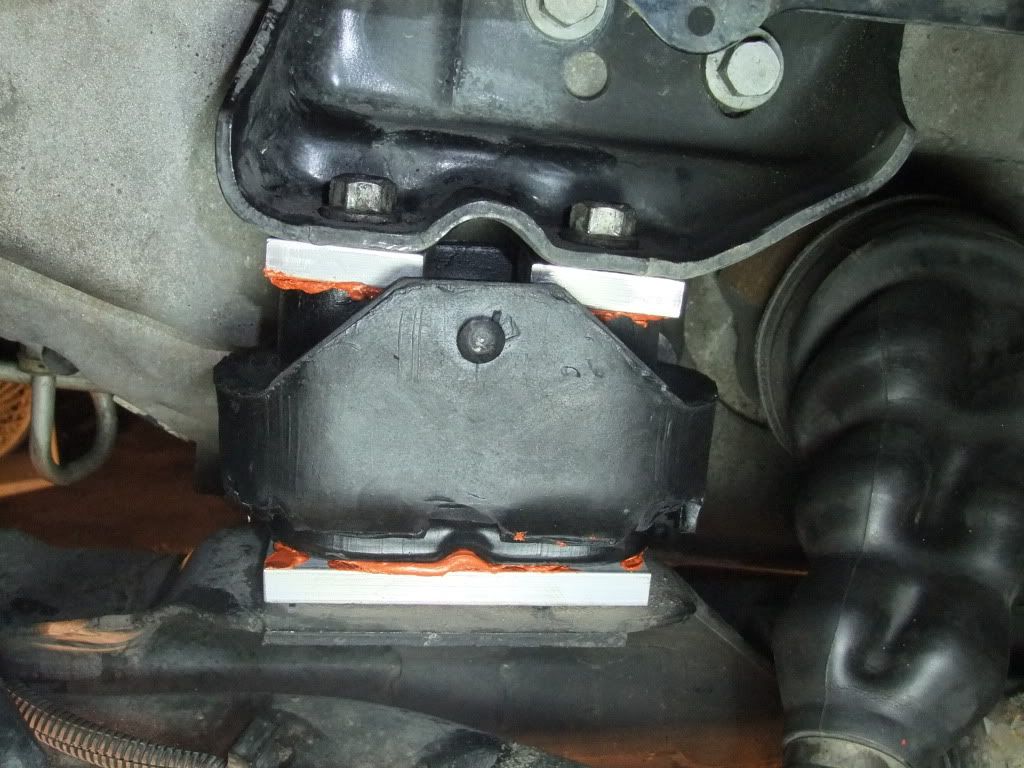
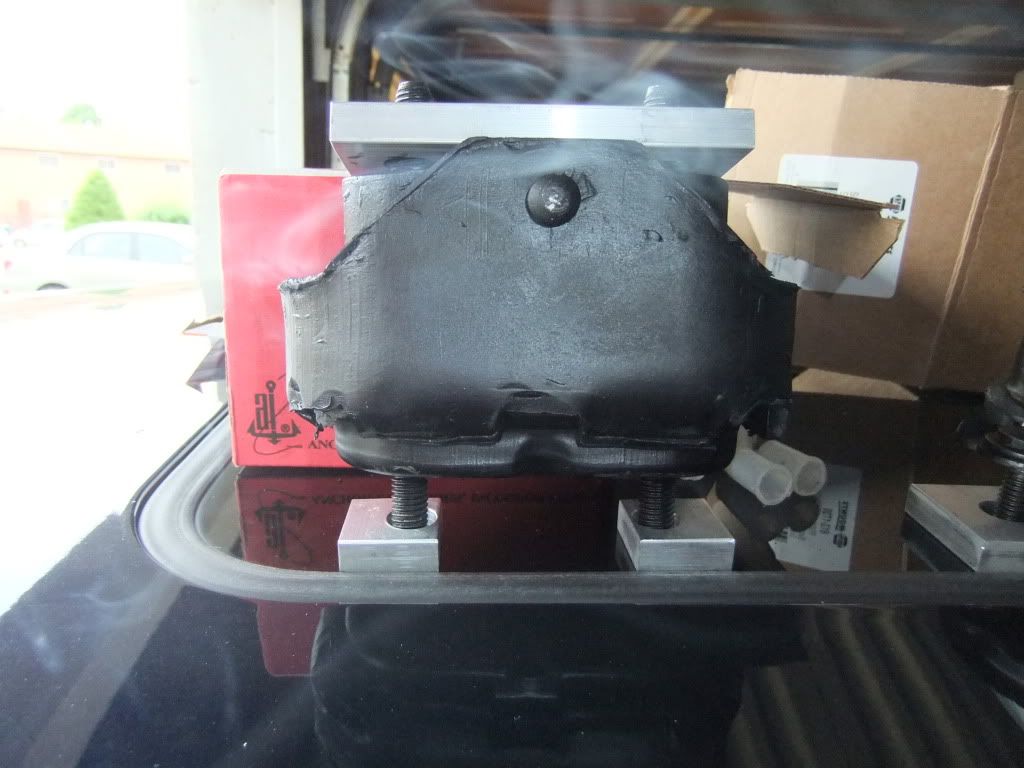
And then for Vinnie's spacers. I took some photos with the pieces in place to see how they would go in with the new mounts. I have never done these before so I am gonna ask some noobish questions again..... I get the two longer pieces and where they sit in accordance to the mount and engine/tranny. My question lies in the bottom half of the mount where the little seperate pieces go. I know or can at least guess which ones go where, but its more of a question which way are they facing on the mount when installed. I am going to use some RTV to hold them when I install them. (Seeing I am doing this job alone) I just want to make sure the correct positions of the lower spacers is correct.

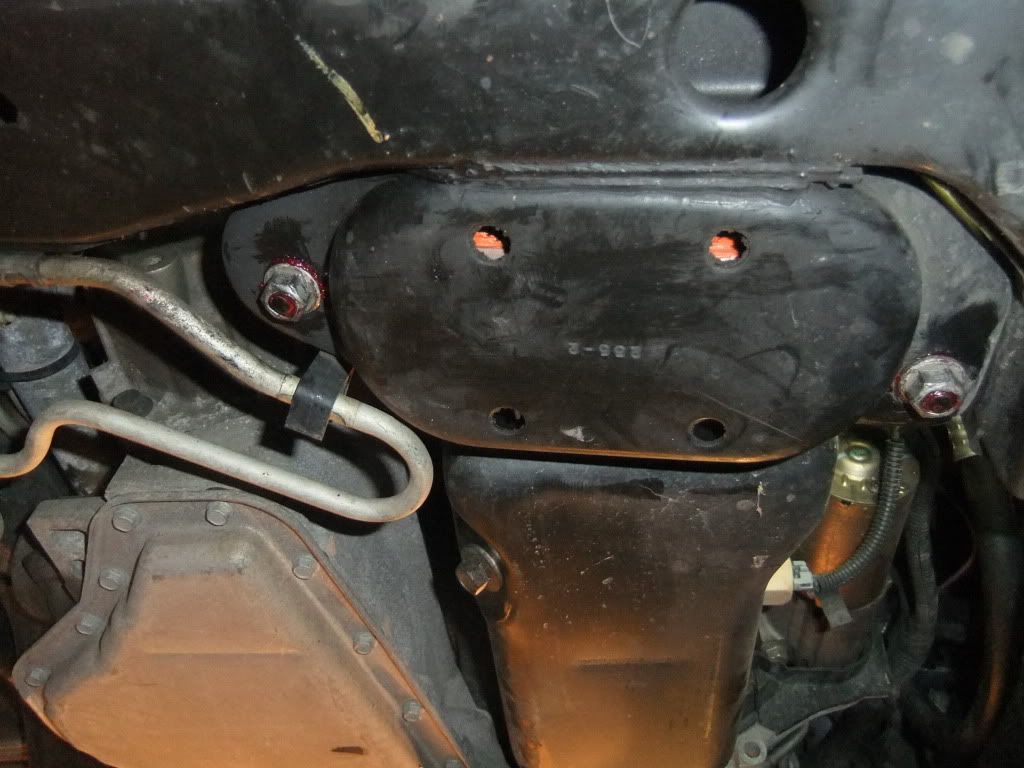
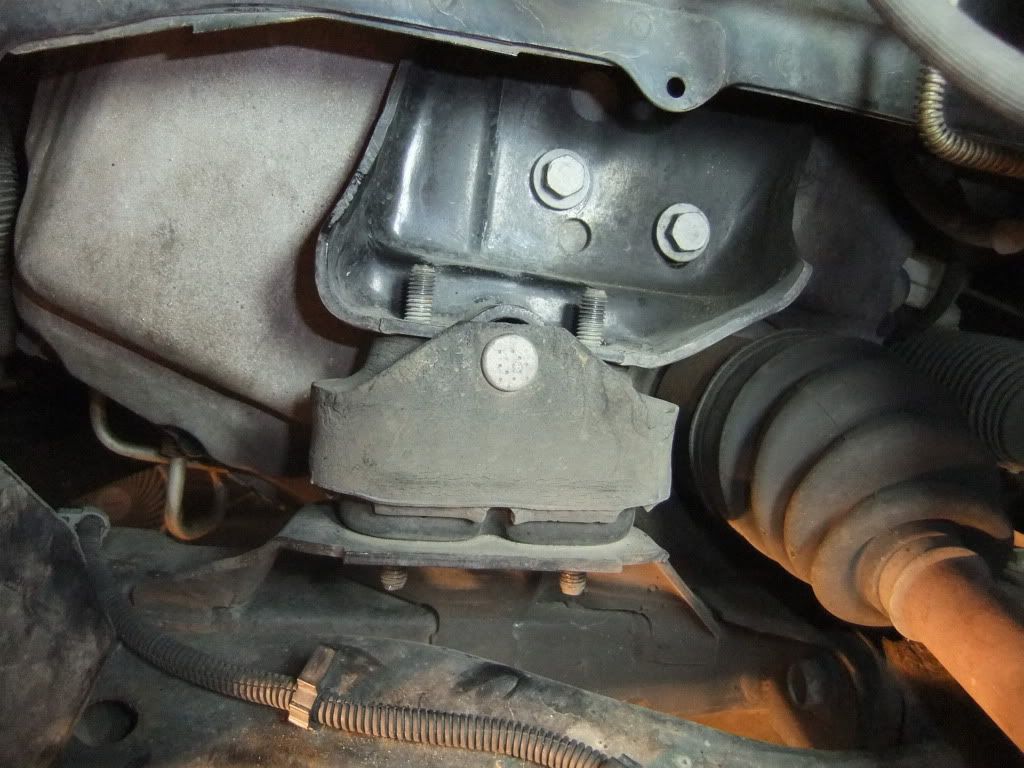
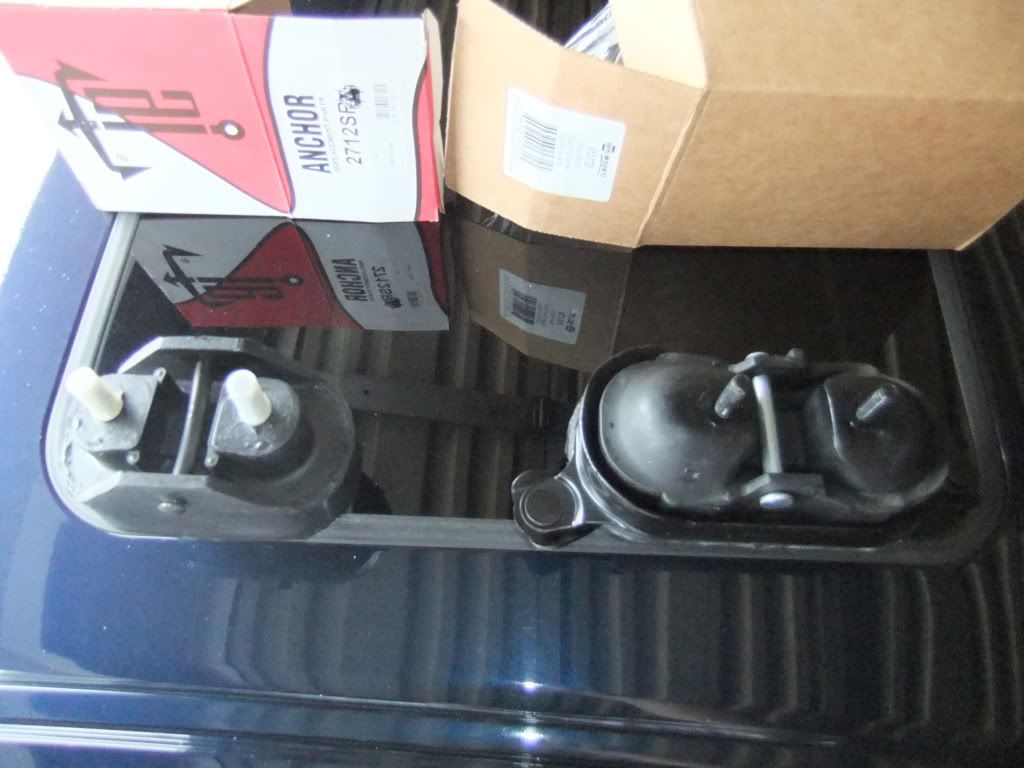
Here are the photos of the solid tranny and motor mounts. And the last couple are with Vinnie's Spacers added.

DSCF1237.jpg


DSCF1239.jpg


DSCF1242.jpg


Now with the spacers added.

Engine Mount

DSCF1244.jpg


Tranny Mount

DSCF1245.jpg


IIRC if you pull off your front passenger wheel you should be able to see the engine mount, might give a better idea of how big it is.
 
I am soooooooooooooo not messing with my car anymore!!!! I got the mounts in and the cradle lifters installed, but I could not for the life of me get that stupid driver side half shaft out!!!!! I am just gonna bite the bullet and goto CarX and have then remove the stupid thing!! I am soooooooooooooooo sick of it!!!

But on the good news side of things, the engine on acceleration feels 100x better than before, but I really havent had out on the highway yet, I wanna get that axle replace before I really hammer on it to see just how it feels. Maybe its just me, but the steering feels a bit more responsive than before. I dunno if that is cause of the mounts or the cradle spacers, but I like it.

I am uploading photos to PB now. I will post after I decontaminate myself!! 5 hours is just to much bull on one car, but when you are doing it alone, its a little tricky trying to get those mounts back into place, plus I just took my time to make sure I got it right. The only questionable spot I might have is on the tranny mount, I am not sure if I got the spacers in the right place, but they seemed logical to go where I placed them.


Ok now for the shots of this freakin mess!!!

DSCF1252.jpg


DSCF1250.jpg


DSCF1253.jpg


Removed the Dogbones

DSCF1257.jpg


Removed the strut tower bar

DSCF1260.jpg


All the parts I had to remove from the engine bay.

DSCF1262.jpg


New solid motor mount and Vinnie's cradle spacers

DSCF1279.jpg


The back stud was a buggar cause I could not use my ratchet on cause it kept hitting the oil pan, so I had to use a 15mm line wrech to slowly the buggar off....

DSCF1272.jpg


Got the old mount and the new one next to it for comparision.

DSCF1280.jpg


I used RTV on the offsets to keep them place, there is also a long aluminum piece that sits in the tray below the mount to help keep it level with the off set spacers. I used RTV on that too to keep in place.

DSCF1282.jpg


You can catcha glimpse of the off set spacer under the mount.

DSCF1284.jpg


The most time consuming part of this whole mess was realigning the engine with the mounts and the bolt holes. Took forever doing it by myself.

DSCF1286.jpg


Plenty of locktite on the bottom nuts and you can see some RTV showing through the hole of the seat where the motor mount goes and you can see a hint of the solid spacer in the hole too.


DSCF1290.jpg


Next up, the tranny mount. This one was a piece of cake to get to without much effort.

DSCF1291.jpg


Here it is installed, i used the single spacers uptop cause it seemed more likely they went up there and the long solid piece went on the bottom to fit snuggley on the base of the cradle.

DSCF1296.jpg


Last but not least, a dirty job well done!!

DSCF1297.jpg
 
even with the slide hammer tool my driver side was a ***** busted my knuckles pretty good but it came out with out the tool i would have gave up lol
 
hey, nice job there :th_thumbsup-wink:

did you put it all back together and take it out for a drive? feel any better/different?
 
even with the slide hammer tool my driver side was a ***** busted my knuckles pretty good but it came out with out the tool i would have gave up lol

Yeah I totally agree!!!! I was able by pure luck to get it out the first time with a crow bar. The very first time Jay and Brian helped with getting it out. I am tired of it. I am just pay someone else to bust their knuckles on it :th_thumbsup-wink:
 
hey, nice job there :th_thumbsup-wink:

did you put it all back together and take it out for a drive? feel any better/different?

Well I only drove it around Lakeshire. I didnt wanna push it to hard with the bum CV Boot missing. But the initial drive seemed to be a lot firmer of a response from the pedal to the engine no doubt. but I didnt go crazy. After I get the new half shaft installed, I will be a more willing to give it a little more juice.

I will report back later once I find out.


vinnie definitely found the best fix for lowering associated problems. the only problem with his solution is that sometimes you may run into hood clearance issues when running a fullsize intercooler. either way, good work.
 
vinnie definitely found the best fix for lowering associated problems. the only problem with his solution is that sometimes you may run into hood clearance issues when running a fullsize intercooler. either way, good work.

Yeah luckily I dont have that problem. It certainly did raise the engine in the bay, its noticeable. but it definitely feels firmer than before. But unfortuately I had to spend $154 bucks today to get the stupid half shaft off on the driver's side. Why? Well the half shaft inlet decided it was a good time to mate with the input shaft of the tranny. When they tried popping it out it literally unseated the input shaft. I was soooooooooooo pissed at the GSP half shaft. They literally had to cut into the shaft to allow it to unhook from the input shaft. When they put the new one on, they coated it heavily with anti seize grease. Incase the thing has to come off again!

I am soooooooooooooooooooooooooo sick and done messing with this car!!! I can only hope Vinnie's trick will save my CV Boots until I can find a proper replacement!

I posted the photos on my Facebook page, I took them with my iPhone so I really could not load them here. Hopefully later I will download them and post them here!
 
the real solution is notching the frame and running shorter axles, but the liklihood of someone paying to run custom length axles is very slim.
 
It looks like you got them in the right places. Ill pieces are marked before shipped, Motor top, motor bottom, trans top, trans bottom.

Motor gets - a plate on top, 2 small offest hole squares for the lower studs, and the large flat piece under the motor mount.\

Trans - flat piece for the bottom and 2 squares for the top. They have a whole drilled in the center on them.

Hoped that made sense.


Vinnie, first off, thanks for getting me the parts!!!! *coughs* they weren't marked *coughs* But I was able to sit there and look at them and pretty much figure it out. After that it was breeze to set them up. A little RTV, well ok a lot in some places, went a long way in keeping the spacers in their respective places.

And the combination of the Polymounts, Solid Engine mount, Solid Tranny mount is simply remarkable. I got it today after my debacle with the drivers side half shaft, and I can attest these things work WONDERFULLY!!! There is absolutely no vibration to speak of what so ever!! As for people saying I might feel more vibration due to the solid mounts, there is NONE!!! Maybe I am lucky? I dunno, but I am certainly praising this combination!!!

The engine response from throttle is immediate! You can feel the engine hit and there is no lag in the response. It's simply pedal, engage and gone! There is no wheel vibration like there was before the spacers and new mounts. So I sincerely thank you again Vinnie!!!!!

So if anyone else is considering this for their lowered GP, DO IT!!! You will be thanking yourself later, and Vinnie too!! :th_thumbsup-wink: :th_thumbsup-wink:


Here is what happened to my half shaft on the driver side.

photo.jpg


photo3.jpg


photo2.jpg


Somehow half shaft basically mated with the tranny's input shaft, and the seal between the two would not pop off. They tried popping it so many times that the input shaft popped out of its seal. Which of course I freaked out about when I saw that come out. Then for basically two hours CarX tried different methods to get the input shaft and the axle apart.

Finally they got fed up and I got fed and i told them if i have to buy another input shaft or something to just do it. They decided the next best thing was to cut up the half shaft. I was sure cut that Bi$tch. And as the photos show, the cutting of the half shaft, even with that large chunck out of it, it still would not pop.

Finally a third person comes and he was able to finally pop the half shaft off the input shaft. And the final bill was $154 bucks. Needless to say I was not happy at all about that.
 
thats awsome :th_thumbsup-wink: im glad they worked out for you and that your finally happy lol

Obviously you didnt see the pictures right above your post. That happiness is lessened by the fact of dishing all that green for that stupid half shaft!

But yes I am happy the results, but just not at the cost of it. :th_shakinghead2:
 
looks like a buncha fun... what stb's do u have.. i have the exact same ones .. i bought them when i first got car, before i gave a damn about modding. i cant remember for the life of me who made them... bio if ur reading this... i looked up BMR and the other ones u said i might have,.. unless they updated them with a slightly different design, all the pics i saw looked different than mine.
 
Back
Top