BrandonHall10
Solving problems
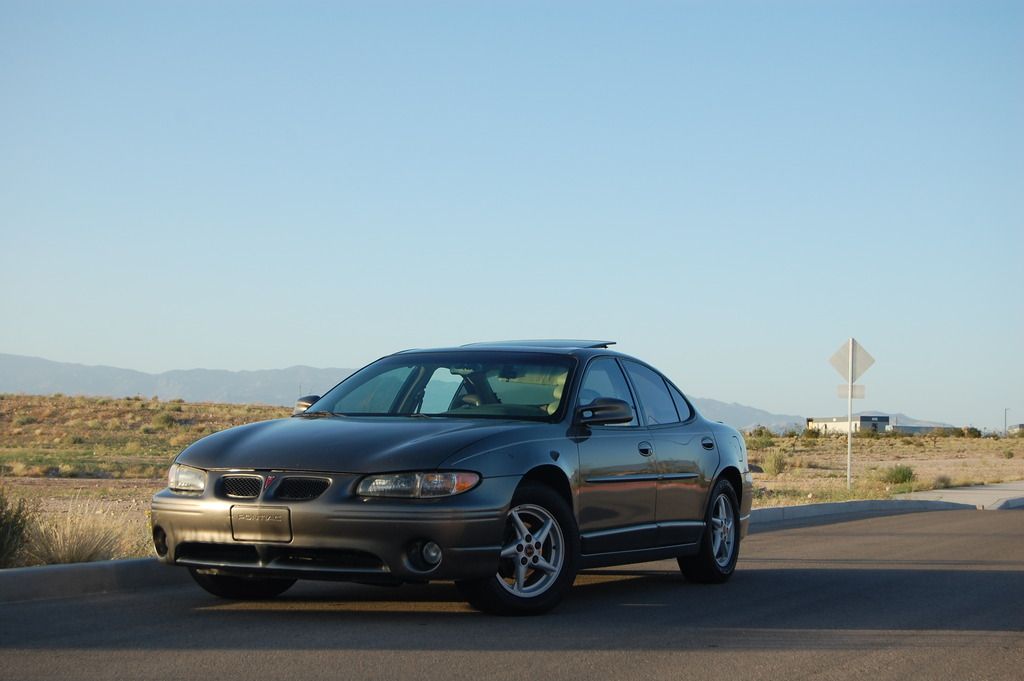
Here's how I added a standalone transmission cooler to my '00 Grand Prix. From what I understand, some '99s, and all '00 thru early '04's are unique in that they have an "external" check valve in the cooler feed fitting. So we are required to use this check-ball fitting in anything we do. So here's what I did based on a couple criteria:
1.) It had to work. If it didn't keep the fluid cooler, or it leaked, it was pointless.
2.) It had to look good. No hack job. I'm a professional.... Kinda.
3.) No hose clamps, because... See 1 and 2.
4.) I had to be able to revert back to stock fairly easily. I bought some extra cooler lines at the junkyard to hack up, and my original lines are sitting on a shelf.
Here's a complete parts list;
Hardware:
6- 1/4"-20x3/4" Bolts
2- 1/4"-20x1" Bolts
5- 1/4" Flat washer
8- 1/4"-20 Lock nut
Support:
1/16"x3/4"x36" Weld steel Local hardware store / Steel supply house
Cooler:
B&M Super Cooler # 70266 http://www.summitracing.com/parts/BMM-70266
Lines:
1- -6an x 3' ready made hose* http://www.jegs.com/i/JEGS-Performance-Products/555/110613/10002/-1
1- -6an x 4' ready made hose* http://www.jegs.com/i/JEGS-Performance-Products/555/110614/10002/-1
Fittings:
1- -6an x 1/2" NPT 90° http://www.jegs.com/i/JEGS-Performance-Products/555/110159/10002/-1
1- -6an x 1/2" NPT http://www.jegs.com/i/JEGS-Performance-Products/555/110119/10002/-1
2- -6an x 3/8" NPT http://www.jegs.com/i/JEGS+Performance+Products/555/110106/10002/-1
2- 3/8" Tube (Compression) x 3/8" FIP 90° Hardware store / Plumbing supply house
2- 3/8" NPT plugs (to plug old cooler holes in radiator)
I chose to splice into the factory lines where I did, because I wanted to retain the factory cooler line support on the transmission. I didn't want the weight of the cooler line hanging off that quick disconnect fitting. The only thing not shown here is the pipe plugs in the radiator to block off the old cooler.
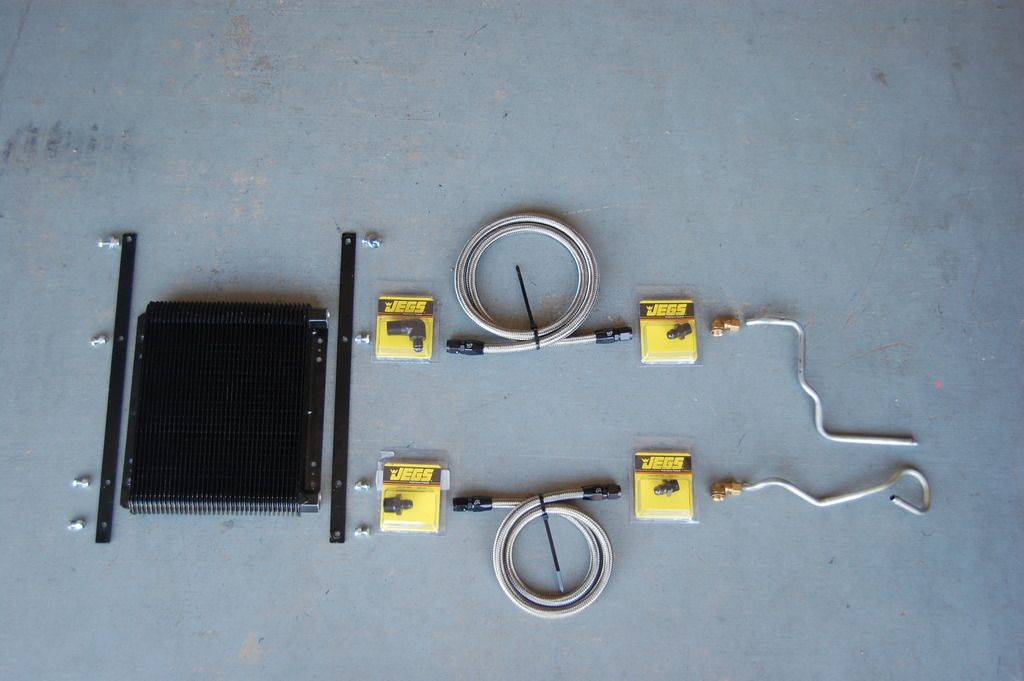
Everything laid out. An "exploded" view:
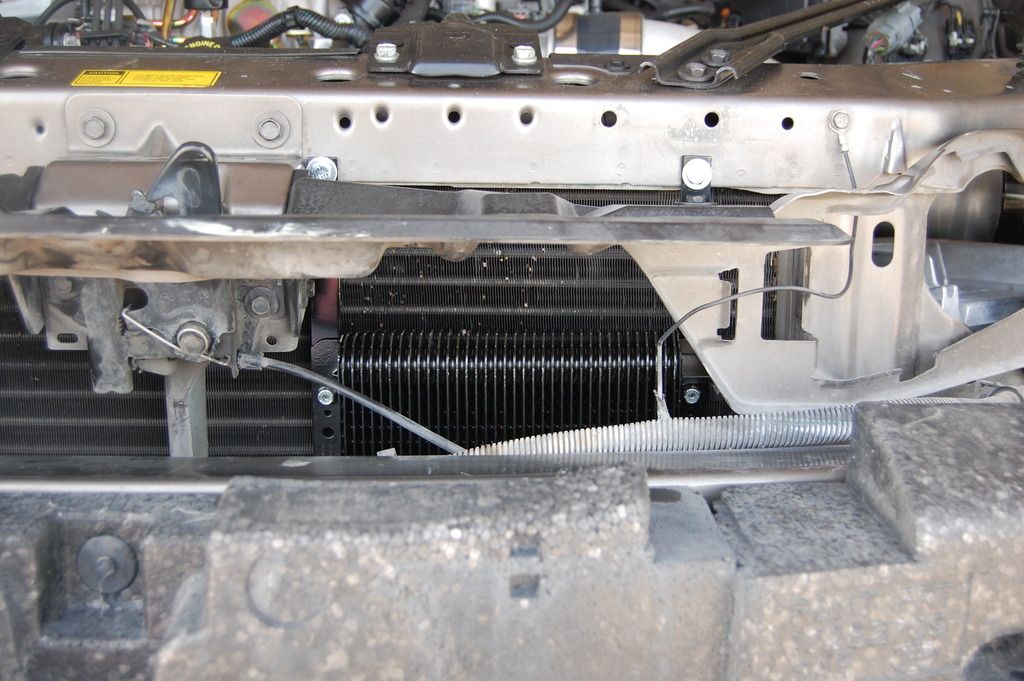
Here's the cooler mounted to the radiator support:
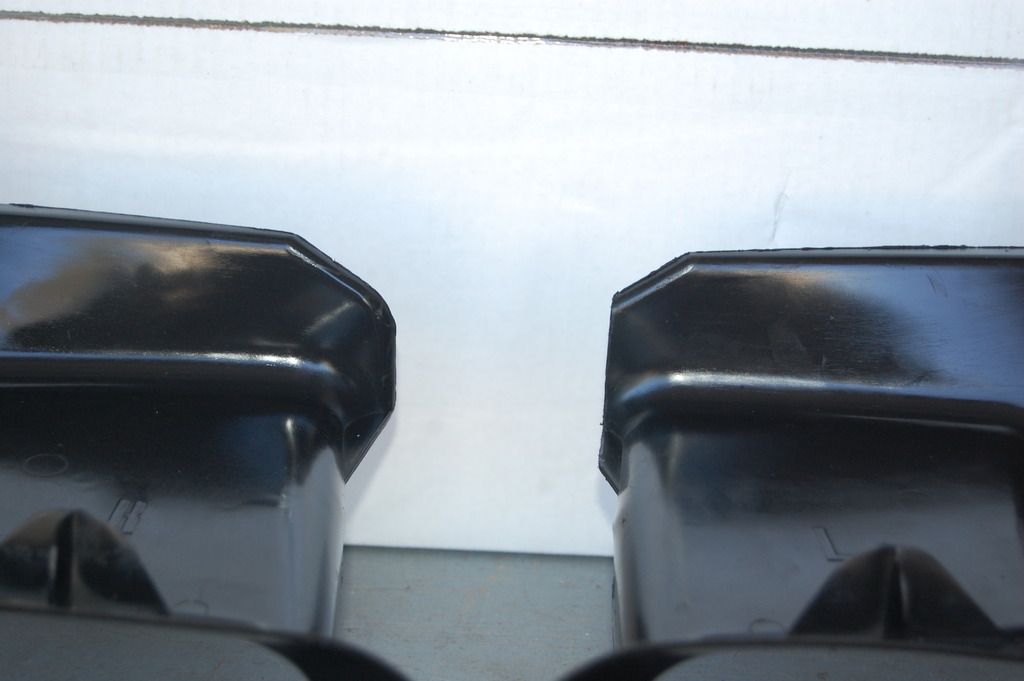
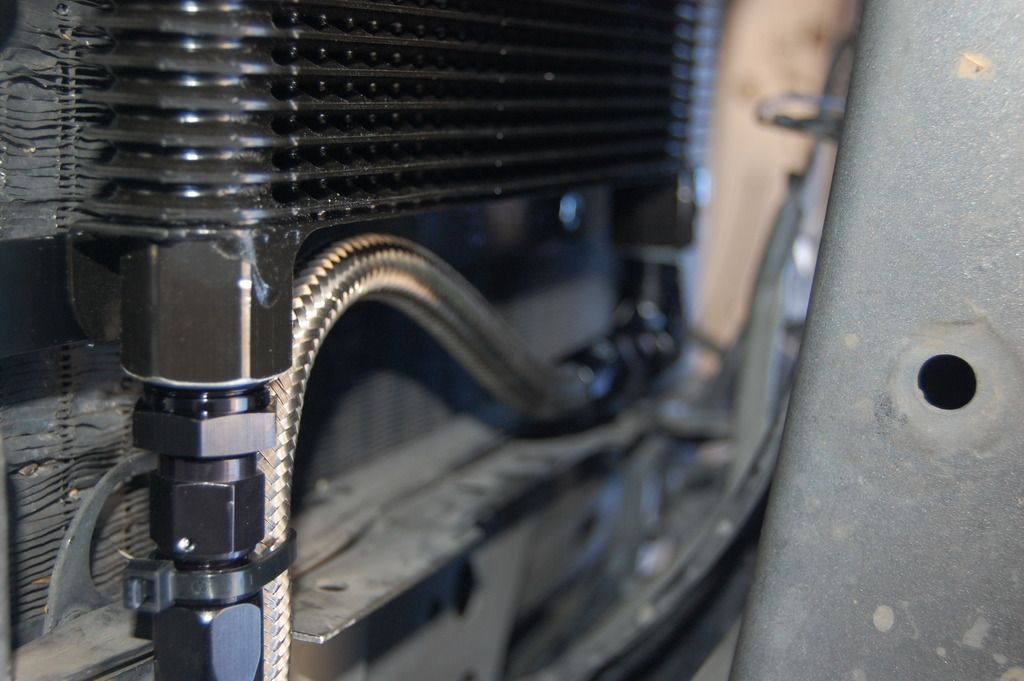
The clearance required for the support in the left air inlet duct:
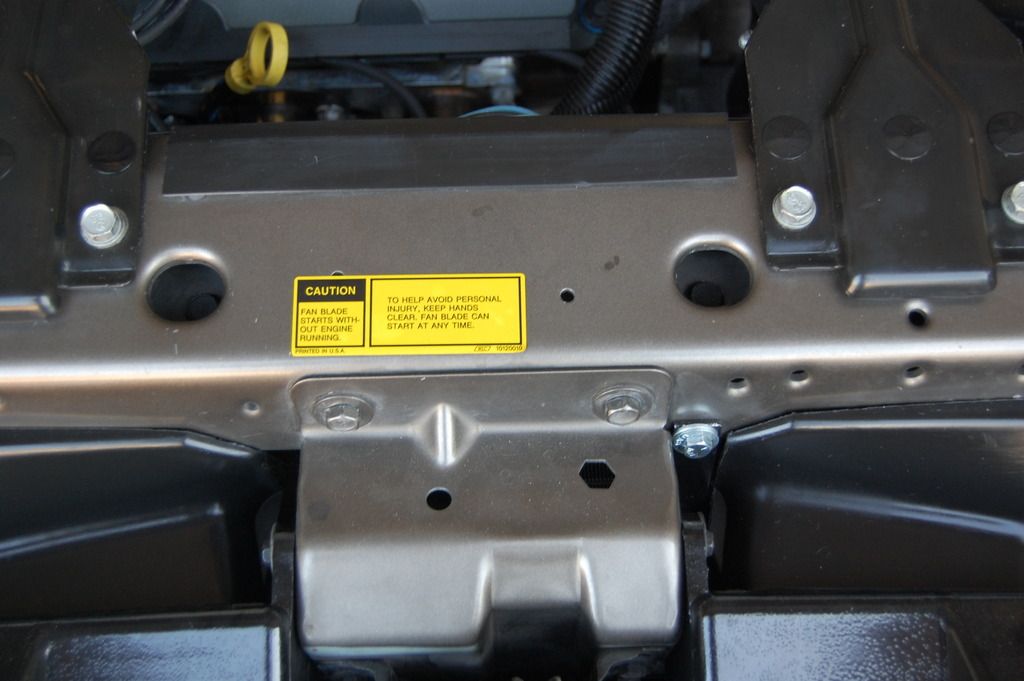
The clearance required for the upper elbow in the air baffle:
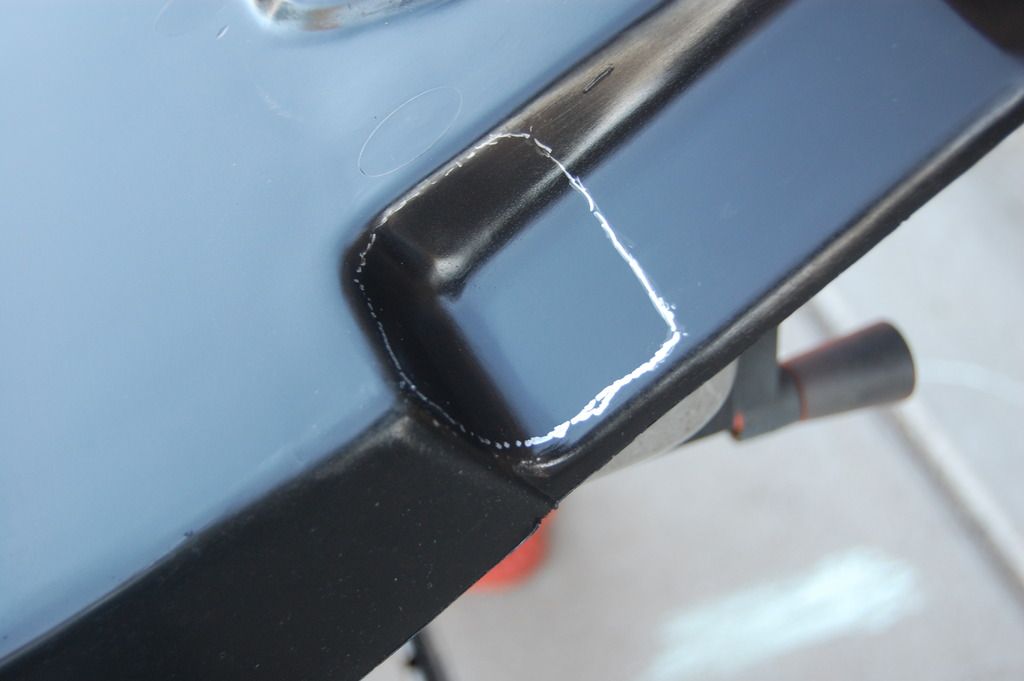
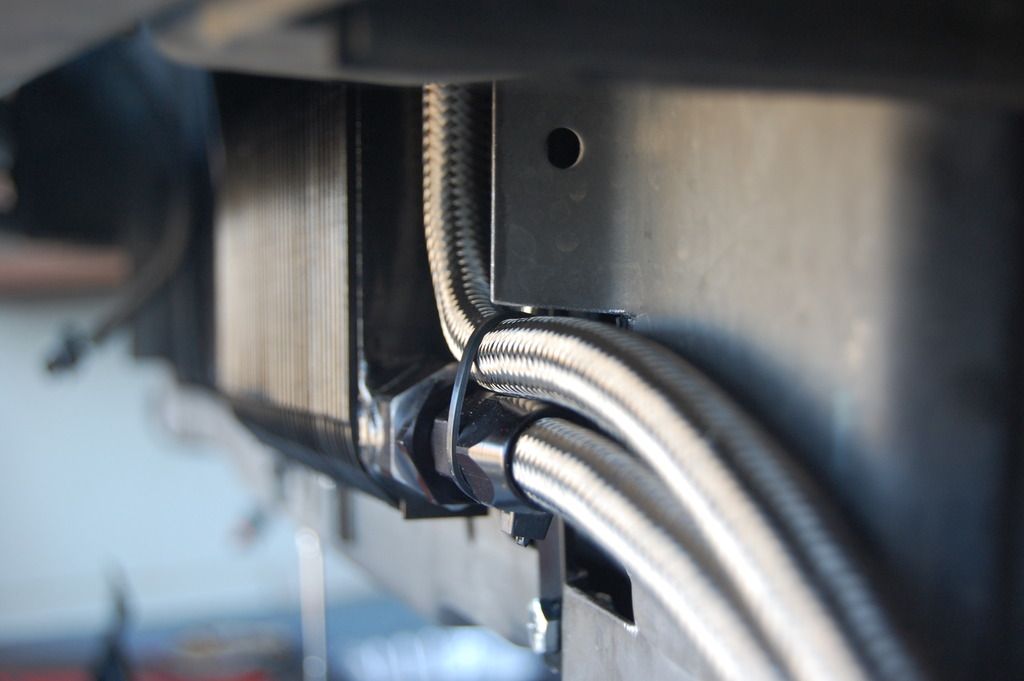
The clearance required for the hoses in the radiator support:
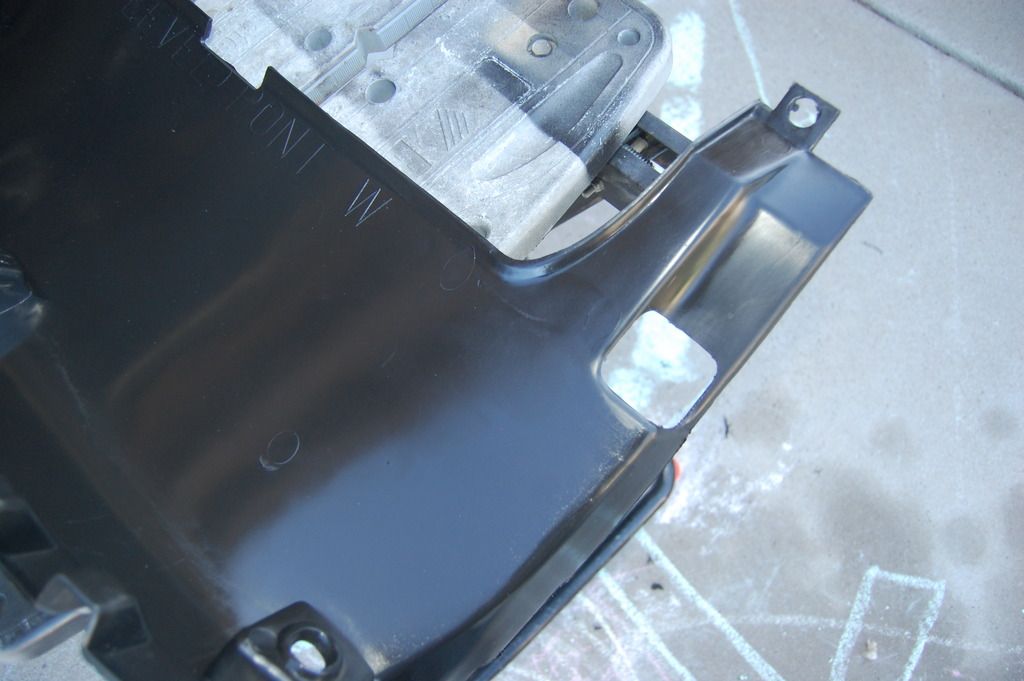
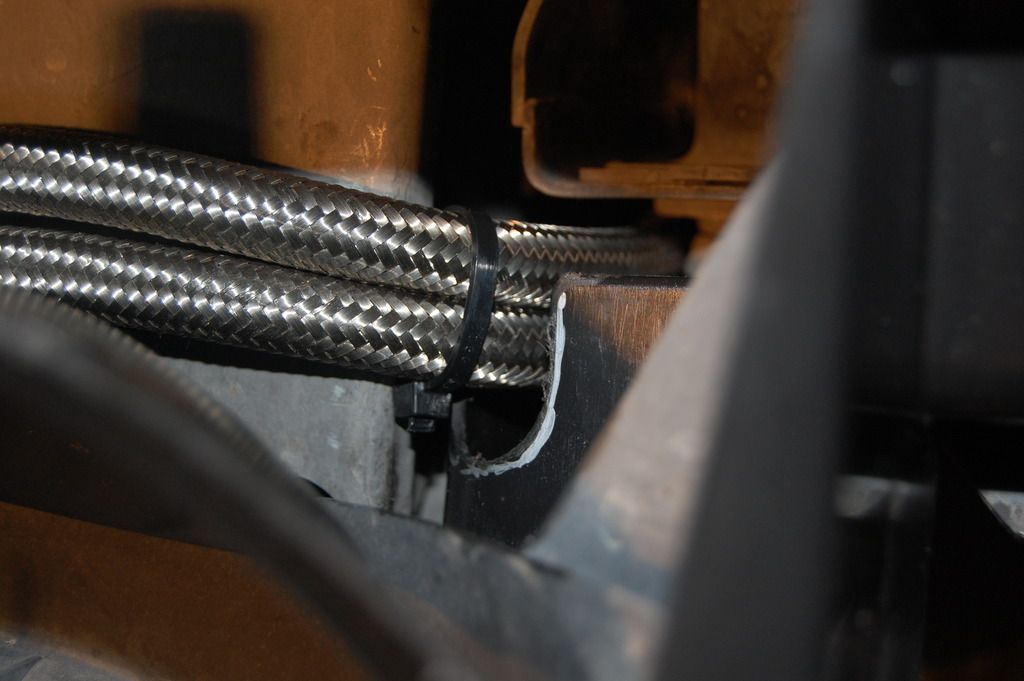
The clearance required for the hoses in the air baffle:
Compression fittings in a different location than shown in the layout view.
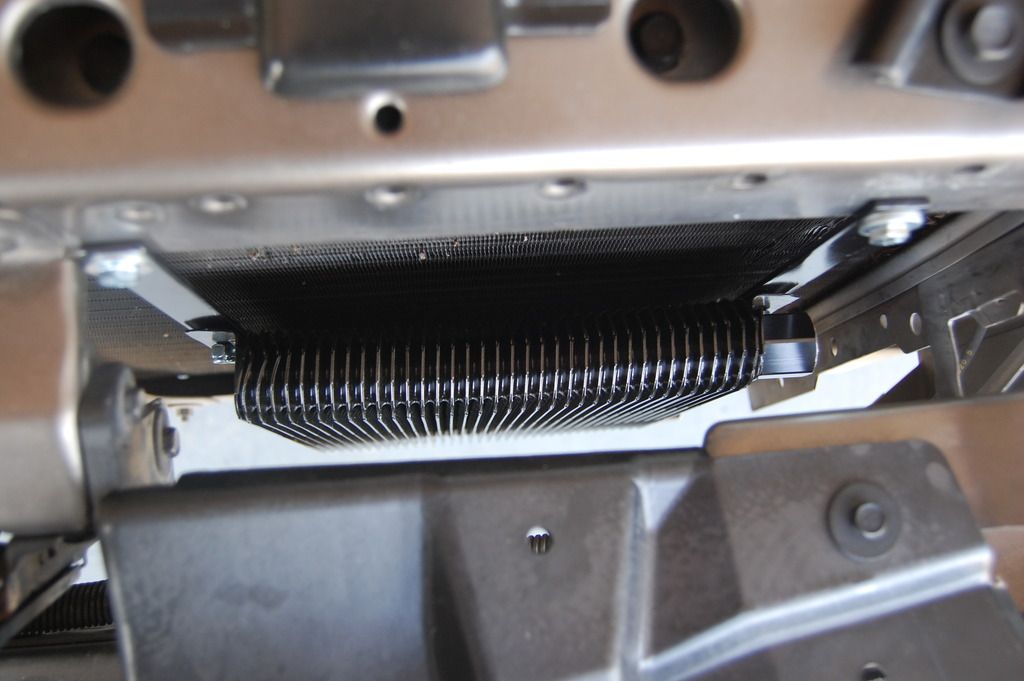
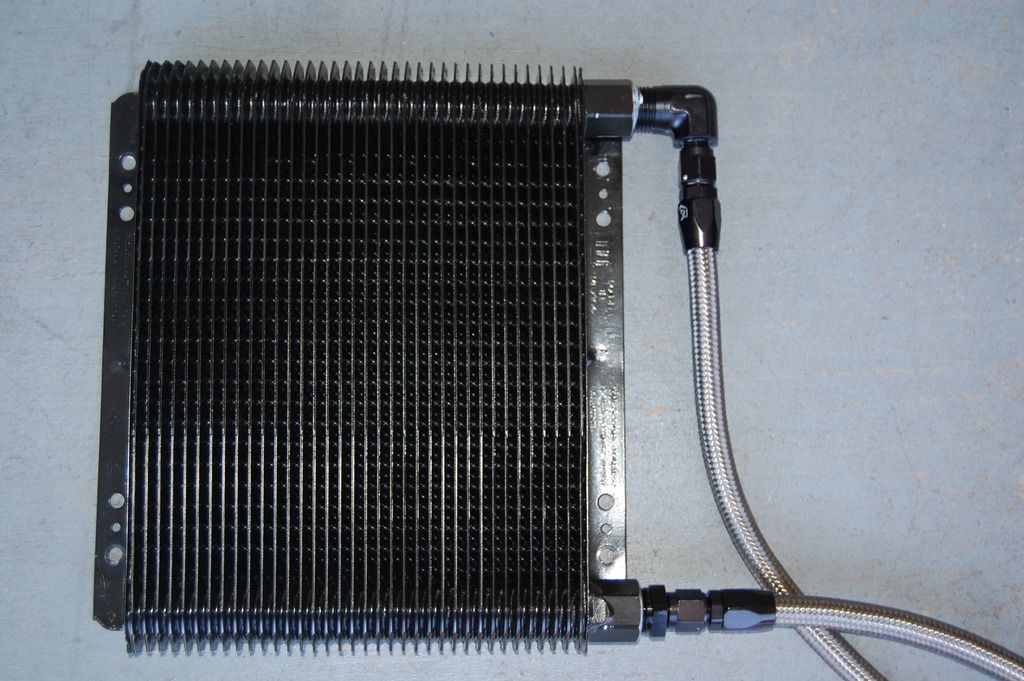
Assembled view from top:
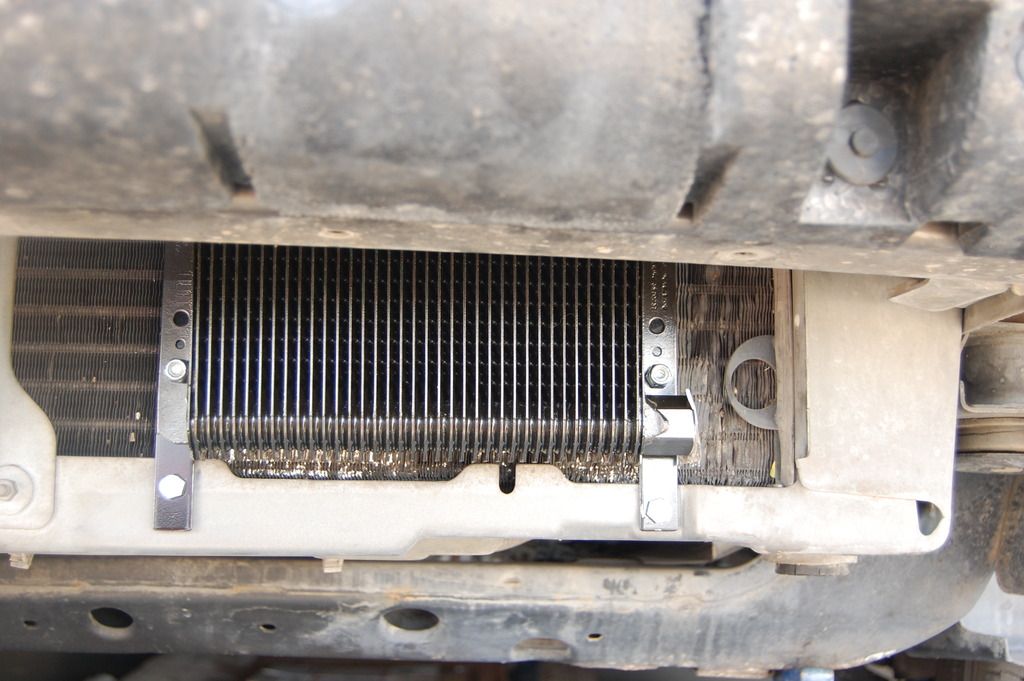
Assembled view from bottom:
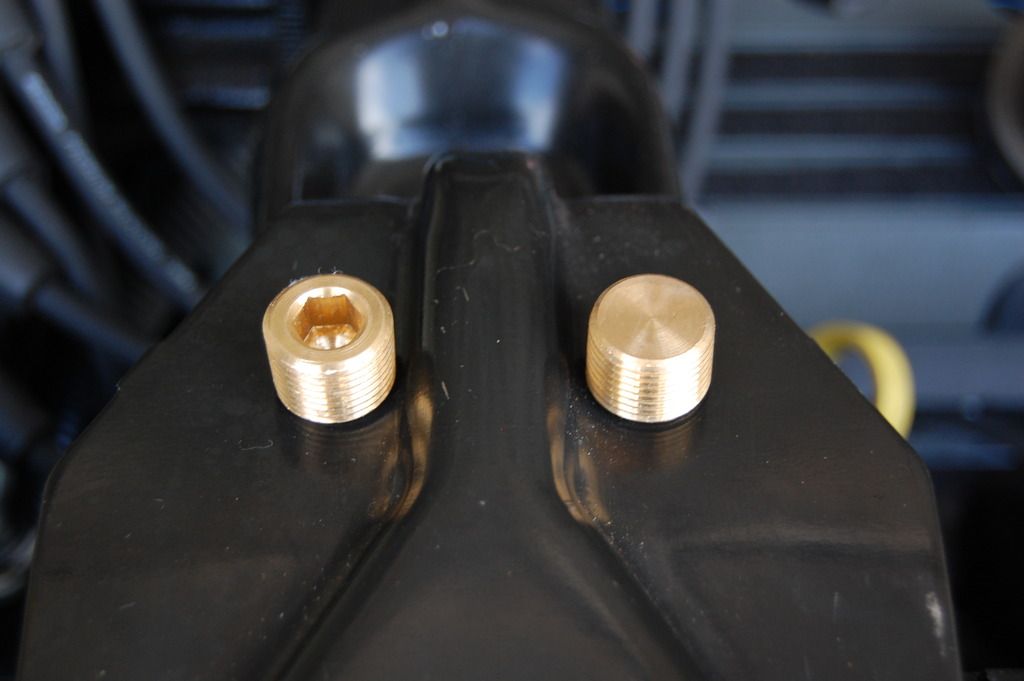
Standard 3/8" NPT brass pipe plugs
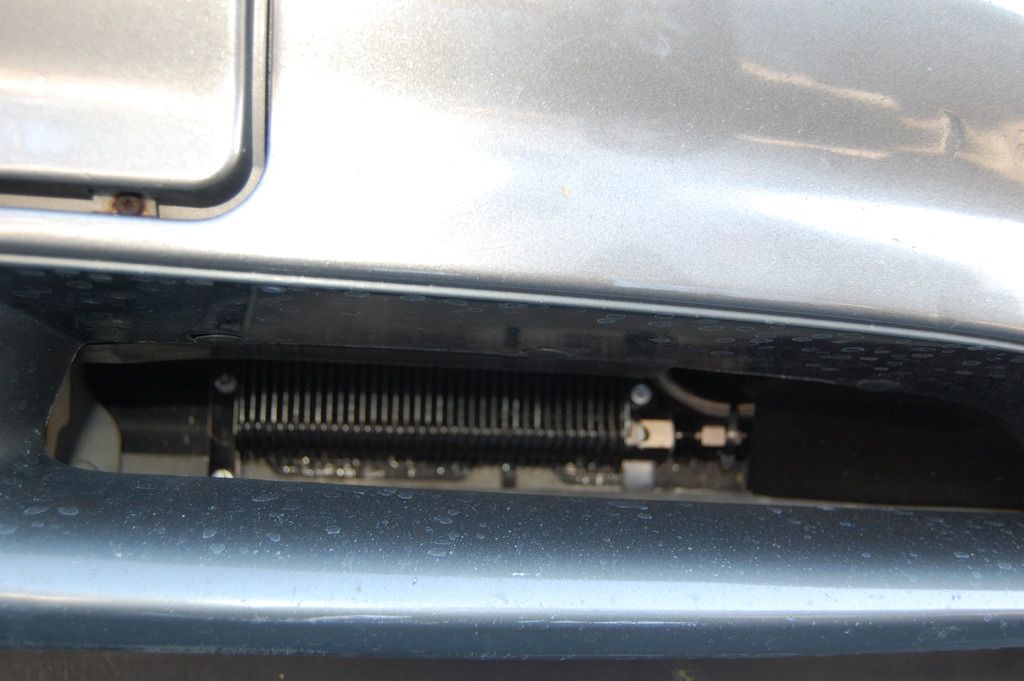
Installed

*After getting everything assembled, I ended up with about a foot extra on each hose. Knowing what I know now, I would order a 2' and 3' ready made hose. The little difference from the custom cut length wouldn't be a problem. The lengths of the hose reflect the feed line supplying the bottom of the cooler and the return line coming from the top. This ensures no air in the cooler.
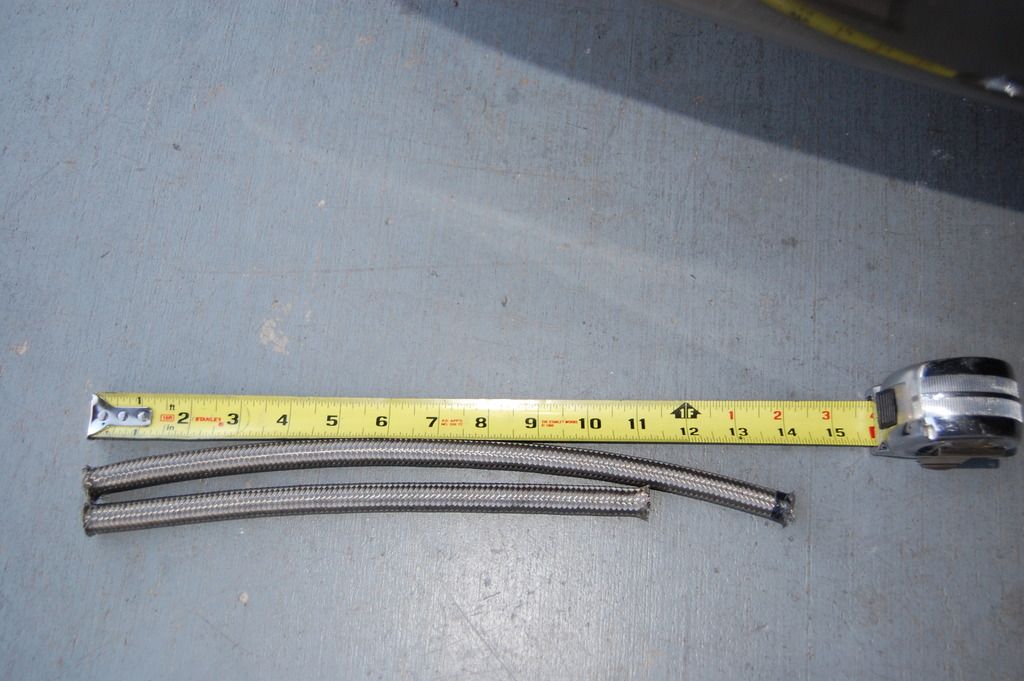
Leftover hose
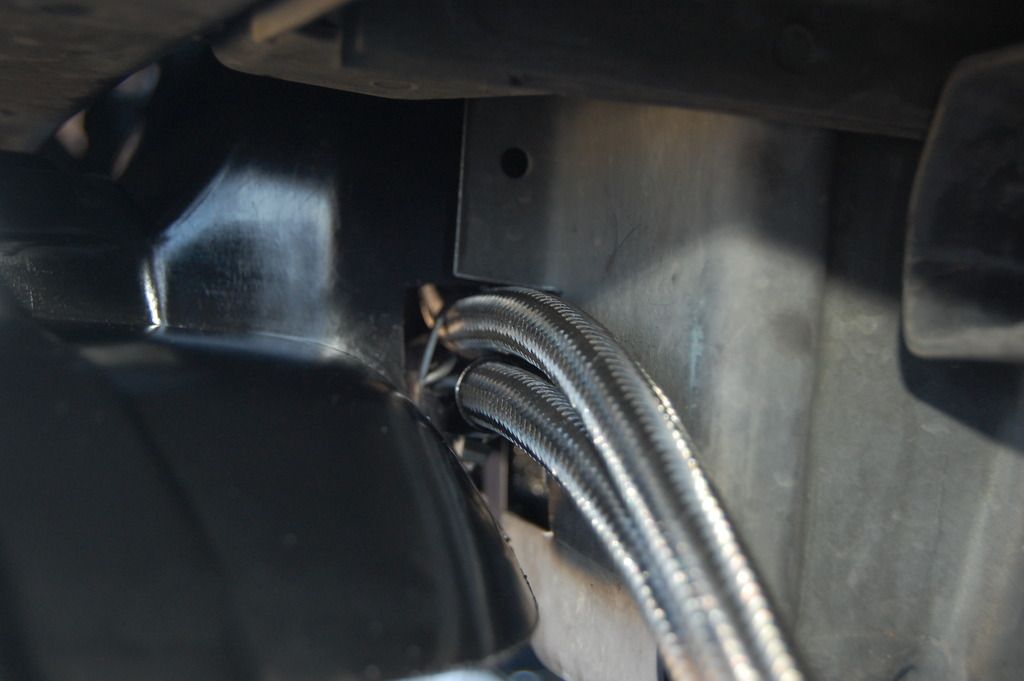
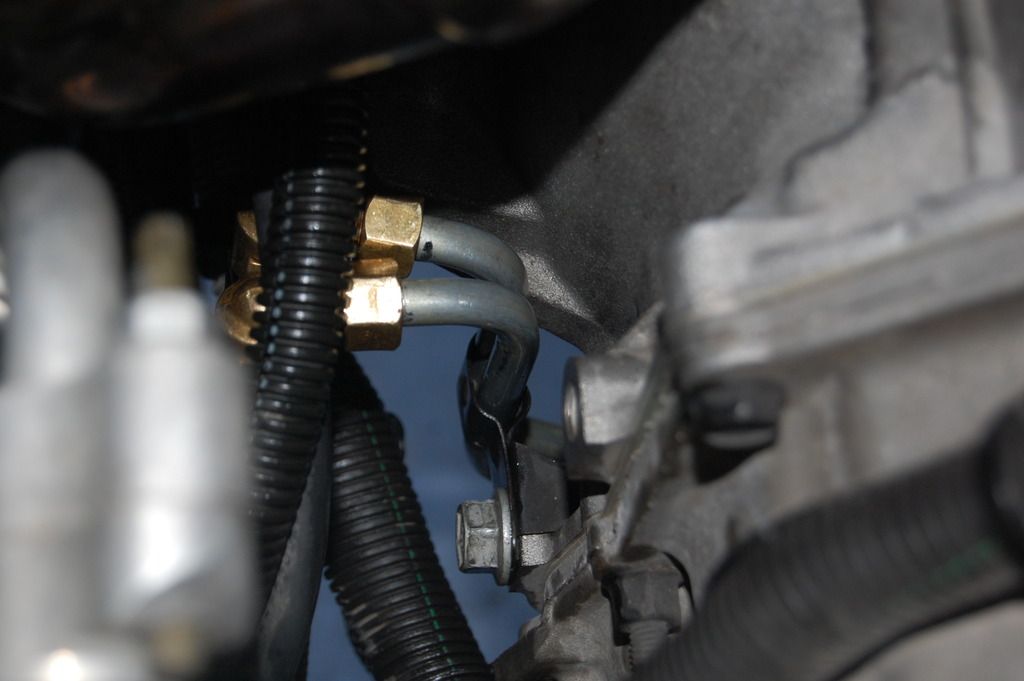
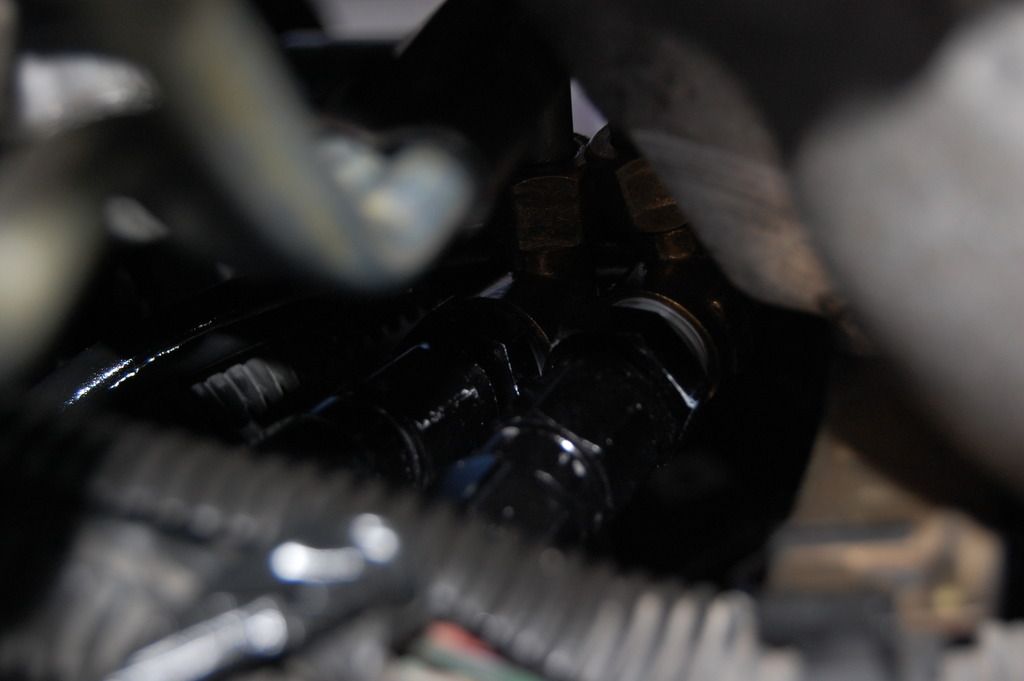
Random pictures:
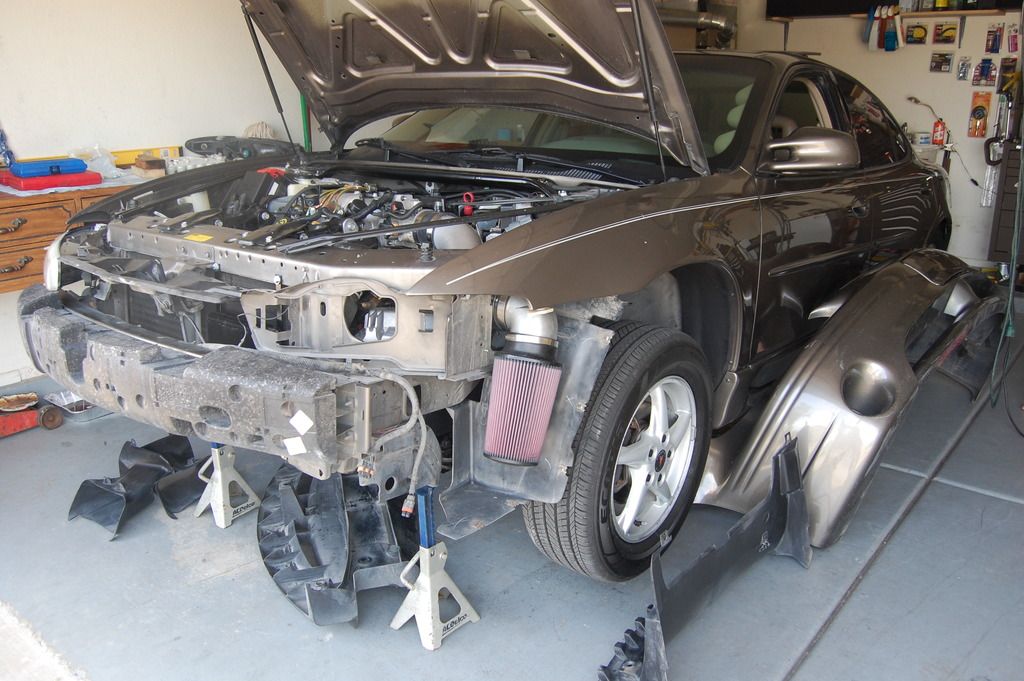
Teardown
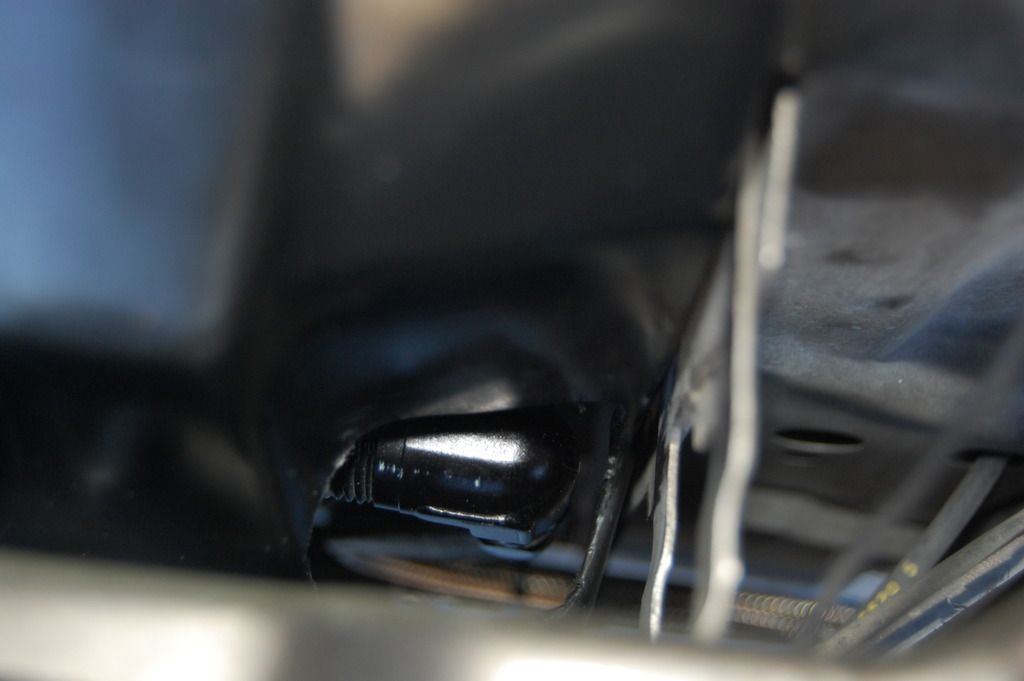
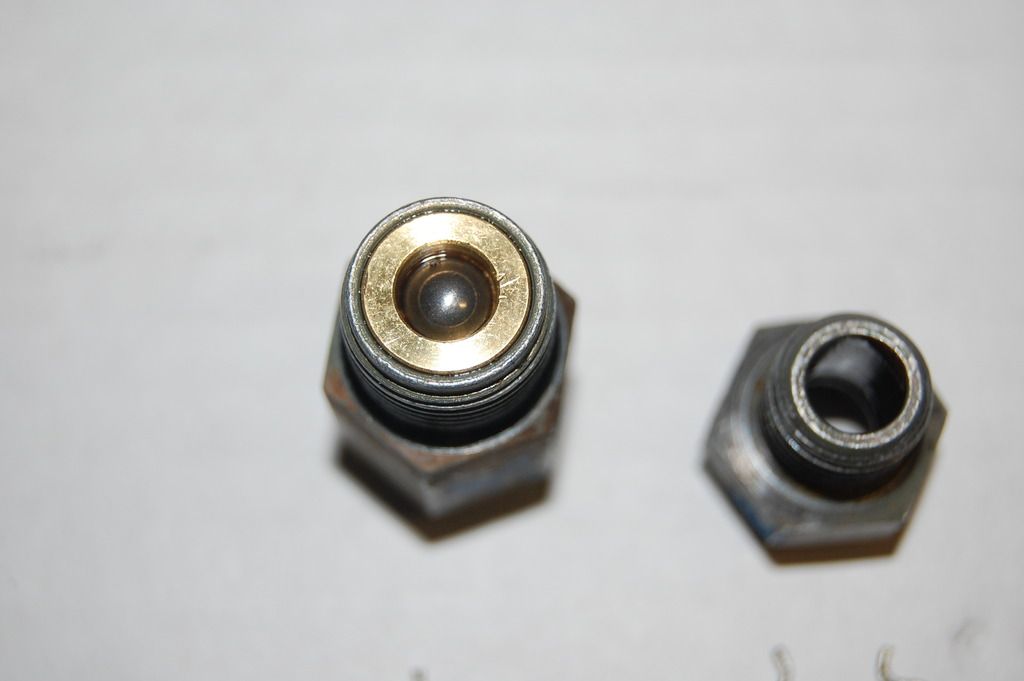
Check ball "feed/supply" fitting
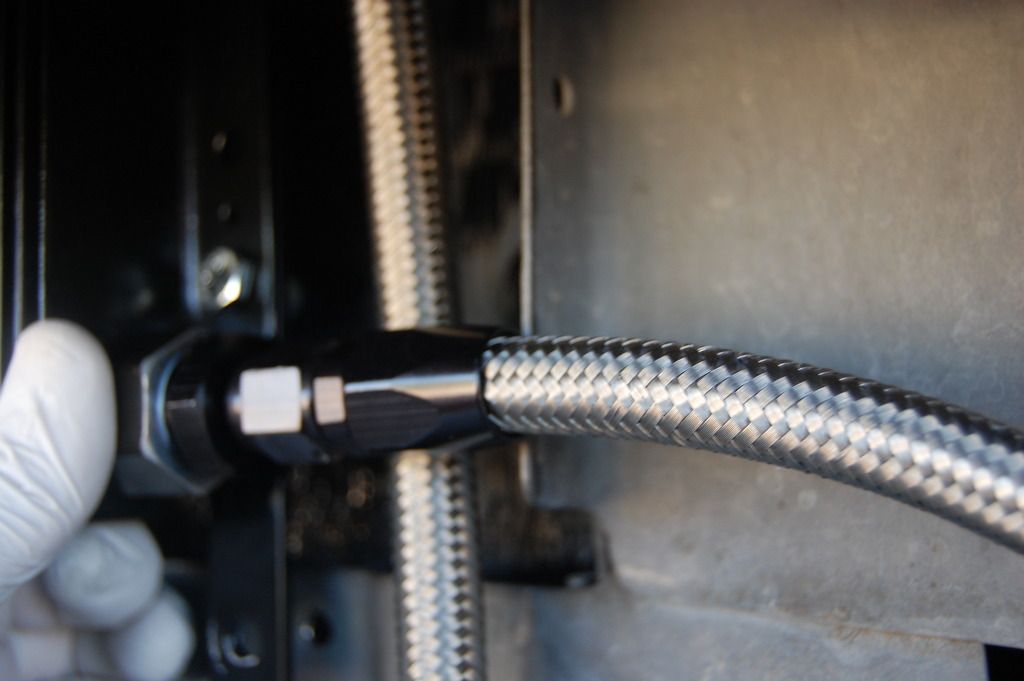
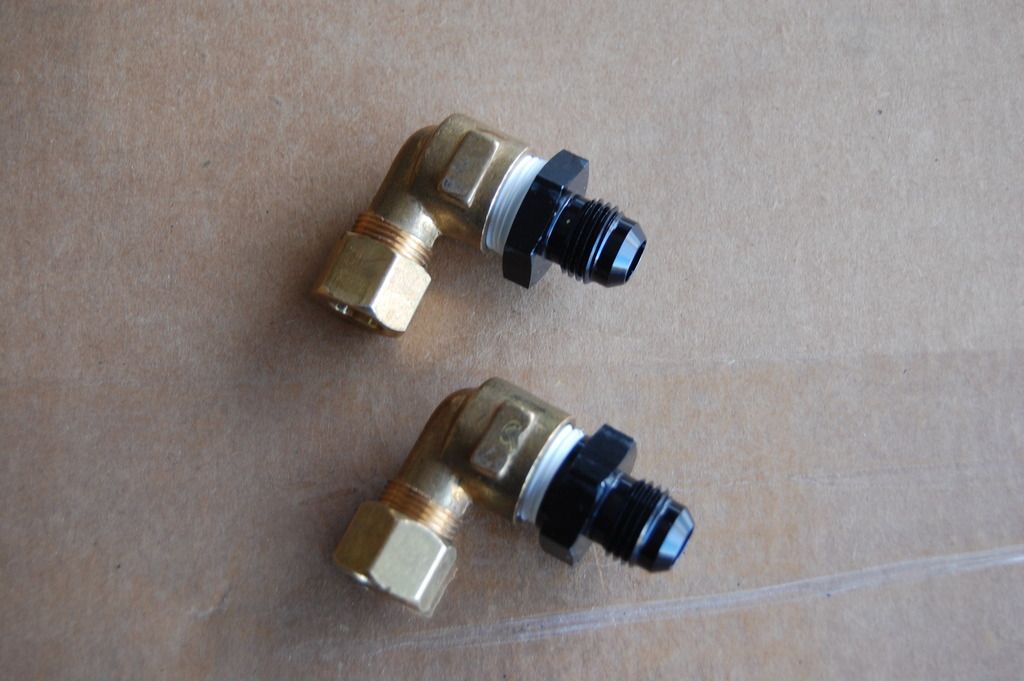
3/8" Tube to -6an fitting
Cooler hose laid out
Cooler view looking up
Assembled
I won't know for sure how much of a difference this makes for a while, but I have to image it can only help out here in the southwest.
1.) It had to work. If it didn't keep the fluid cooler, or it leaked, it was pointless.
2.) It had to look good. No hack job. I'm a professional.... Kinda.
3.) No hose clamps, because... See 1 and 2.
4.) I had to be able to revert back to stock fairly easily. I bought some extra cooler lines at the junkyard to hack up, and my original lines are sitting on a shelf.
Here's a complete parts list;
Hardware:
6- 1/4"-20x3/4" Bolts
2- 1/4"-20x1" Bolts
5- 1/4" Flat washer
8- 1/4"-20 Lock nut
Support:
1/16"x3/4"x36" Weld steel Local hardware store / Steel supply house
Cooler:
B&M Super Cooler # 70266 http://www.summitracing.com/parts/BMM-70266
Lines:
1- -6an x 3' ready made hose* http://www.jegs.com/i/JEGS-Performance-Products/555/110613/10002/-1
1- -6an x 4' ready made hose* http://www.jegs.com/i/JEGS-Performance-Products/555/110614/10002/-1
Fittings:
1- -6an x 1/2" NPT 90° http://www.jegs.com/i/JEGS-Performance-Products/555/110159/10002/-1
1- -6an x 1/2" NPT http://www.jegs.com/i/JEGS-Performance-Products/555/110119/10002/-1
2- -6an x 3/8" NPT http://www.jegs.com/i/JEGS+Performance+Products/555/110106/10002/-1
2- 3/8" Tube (Compression) x 3/8" FIP 90° Hardware store / Plumbing supply house
2- 3/8" NPT plugs (to plug old cooler holes in radiator)
I chose to splice into the factory lines where I did, because I wanted to retain the factory cooler line support on the transmission. I didn't want the weight of the cooler line hanging off that quick disconnect fitting. The only thing not shown here is the pipe plugs in the radiator to block off the old cooler.
Everything laid out. An "exploded" view:
Here's the cooler mounted to the radiator support:
The clearance required for the support in the left air inlet duct:
The clearance required for the upper elbow in the air baffle:
The clearance required for the hoses in the radiator support:
The clearance required for the hoses in the air baffle:
Compression fittings in a different location than shown in the layout view.
Assembled view from top:
Assembled view from bottom:
Standard 3/8" NPT brass pipe plugs
Installed
*After getting everything assembled, I ended up with about a foot extra on each hose. Knowing what I know now, I would order a 2' and 3' ready made hose. The little difference from the custom cut length wouldn't be a problem. The lengths of the hose reflect the feed line supplying the bottom of the cooler and the return line coming from the top. This ensures no air in the cooler.
Leftover hose
Random pictures:
Teardown
Check ball "feed/supply" fitting
3/8" Tube to -6an fitting
Cooler hose laid out
Cooler view looking up
Assembled
I won't know for sure how much of a difference this makes for a while, but I have to image it can only help out here in the southwest.
Last edited:
