Turbocharged400sbc
New member
ha now it makes sense why your interested in the monoball pins for roll center and bump steer correction.
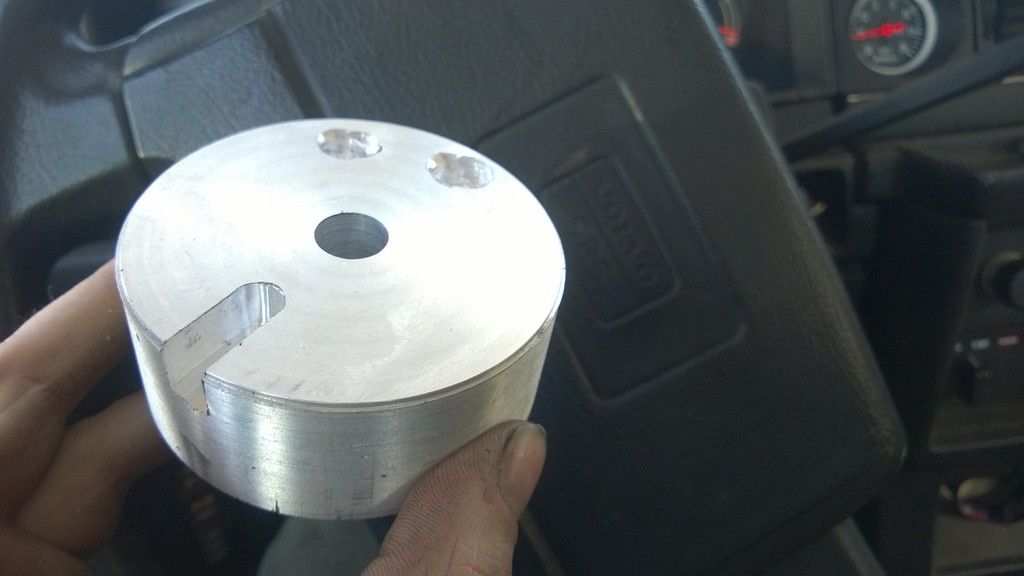
a bit of info for you to mull over, the lower joint pins are for 3/4" rod ends, so your oem or zzp lca's will need to be setup for a monoball or a heim.
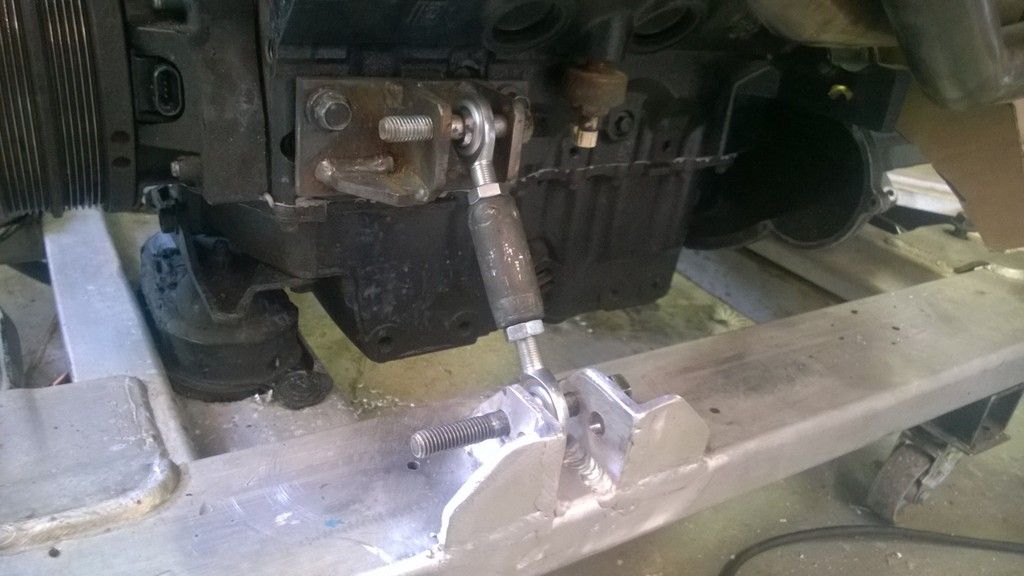
for the steering youll need the rod end adaptors for the F body guys that run the bump steer kits. our and their inner tie rods are the same thread and terminate at the same distance from the knuckle taper. so thats a bolt on with the F body stuff.
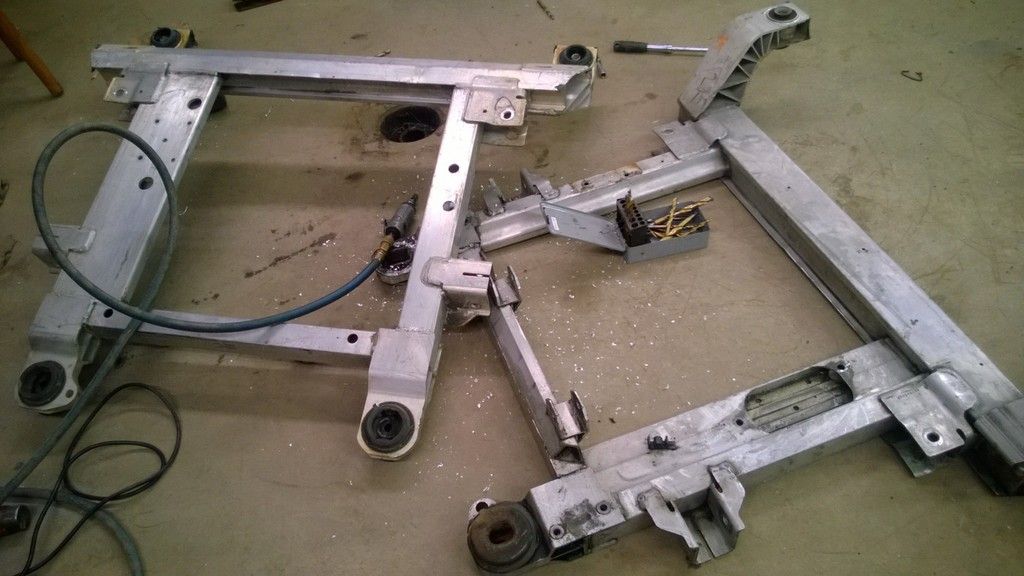
are your struts dropped at the knuckle ear to gain compression travel? how lowered are you?
a bit of info for you to mull over, the lower joint pins are for 3/4" rod ends, so your oem or zzp lca's will need to be setup for a monoball or a heim.
for the steering youll need the rod end adaptors for the F body guys that run the bump steer kits. our and their inner tie rods are the same thread and terminate at the same distance from the knuckle taper. so thats a bolt on with the F body stuff.
are your struts dropped at the knuckle ear to gain compression travel? how lowered are you?