What's up Paul? Getting back into it again huh?
Glad to hear from you KR. Happy belated birthday. Yes, back at it.
Also, if you haven't yet discovered it... There's an LKQ pullapart just south of 40 on macarthur,
No, I missed them. I did google the price for a sway bar, PAP was $12 and LKQ was $20. But as you said, looking at the online inventory did seem to have newer models. Nice to know for future. Found one at A and A $25 them pulling it. They did have a Red 98, makes me wonder how much is a hood. Mine has a lot of hail damage, I was going to test the harbor freight 'paintless dent repair'. Still going to, but wonder about time? Also I have heard that the pro's tend to replace hoods because their metal is hard to move. That's why the total cost to buy the GXP was extra $700.
that how to you found blows for a sway bar swap. do what he said ^^^^^^
Here is where it gets weird. I live about 1 hour from OKC. So for a buck, I wanted to look at what at the local Pull-A-Part(PAP) and see what they had. You can see the store below, but what's funny, is it came out with a hard pull.
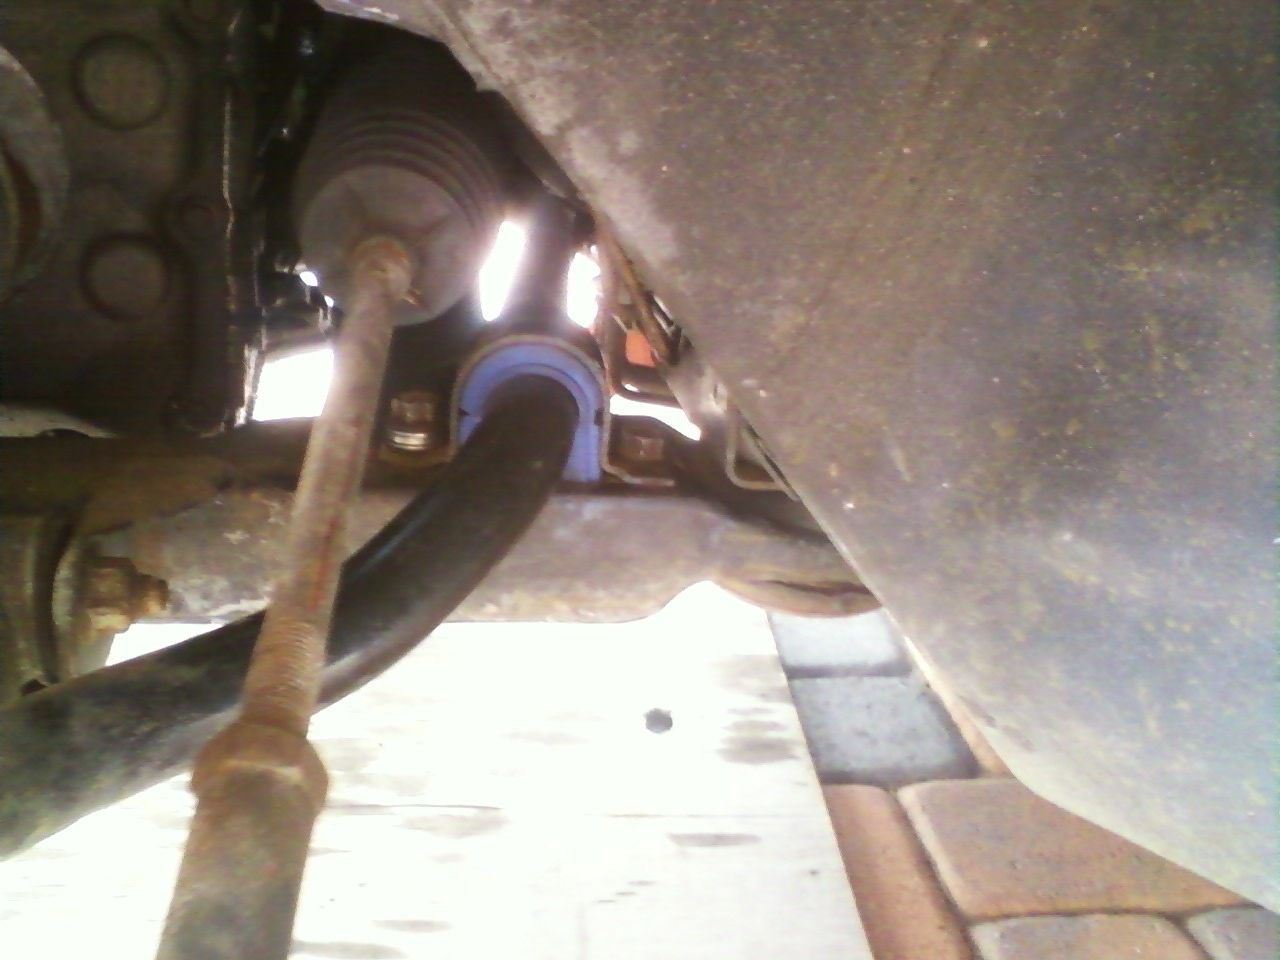
your axle is also torn and leaking grease
The boot is actually the steering dust cover. I do think it is leaking, that is why I was looking around some of those threads. May have to rebuild it some day. My 06 has quit, not sure why.
the frame there where the bushing cap is missing, did you take that off? or did it rot off? make sure the bolt holes are still good, or you'll have to drill and tap new threads and use larger bolts.
I took them off. Not bad shape though. Threads are good. Again more store below.
Here is what I found (what looks like rust is grease with Okla red dirt) ....
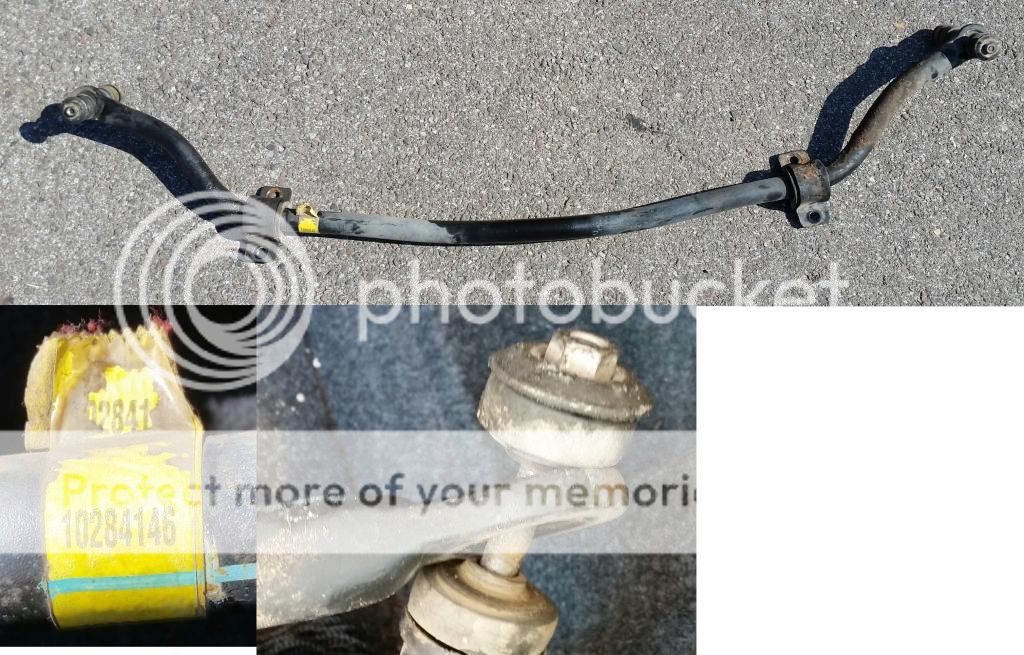
I am worried that it is going to fit my 97 GP. I thought 97 through 03 would work. I found this on a 03 SE. I am assuming the SE would not make a difference. Removing it seem about the same util I started to pull the bar out. Gave it a hard pull and popped out. It's a lot easier getting abusive doing a JY pull.
Anyway, some of the threads I saw talked about a 33mm. This one was thicker (around), so I assumed that what it was and the end was solid. For $12 buck, or at least that what it should have been. The guy asked me front or rear, I said front. When I got back to the office I saw he rung up a rear which is about $3 cheaper. I will pay them back next time I am in there, not going to make a special trip for $3.
So I google my trusty Rockauto to see what years have the same partnumber, my poor mans interchange list. Here is what I found.
[TABLE="class: layout, width: 885"]
[TR]
[TD]All Vehicles > PONTIAC > 1997 > GRAND PRIX > 3.8L V6 > Suspension > Stabilizer Bar Assembly[/TD]
[/TR]
[/TABLE]
[TABLE="class: main, width: 885"]
[TR]
[TH]1997 PONTIAC GRAND PRIX 3.8L V6 : Suspension : Stabilizer Bar Assembly  [/TH]
[/TH]
[TH="colspan: 3, align: center"]Price[/TH]
[TH="align: center"]Add to Cart[/TH]
[/TR]
[TR="class: part0, bgcolor: #F0F0F0"]
[TD][TABLE="class: parts, width: 767"]
[TR]
[TD="class: left"][TABLE="class: layout, width: 542"]
[TR]
[TD]DORMAN Part # 927110 More Info {#10243923}
Rear[/TD]
[/TR]
[/TABLE]
[/TD]
[TD="class: right, align: right"][/TD]
[/TR]
[/TABLE]
[/TD]
[TD="class: right, colspan: 3, align: right"]$51.79[/TD]
[TD="class: center, align: center"][/TD]
[/TR]
[TR="class: part1, bgcolor: #E0E0E0"]
[TD][TABLE="class: parts, width: 767"]
[TR]
[TD="class: left"][TABLE="class: layout, width: 693"]
[TR]
[TD]DORMAN Part # 927100 More Info {#10257316, 10257317, 10284146, 10287717, 10287944, 10404184, 10413385, 25861193, 25861194, 25861195, 25861196} Includes end links and bushings, center brackets, bushings
Front; 33 mm Diameter[/TD]
[/TR]
[/TABLE]
[/TD]
[TD="class: right, align: right"][/TD]
[/TR]
[/TABLE]
[/TD]
[/TR]
[/TABLE]
I am hoping that red 10284146 is the same as the yellow. The "More Info" called those numbers the 'OEM alternate part numbers'. Summit call called that the "Chevrolet performance shaft". Again, just hoping it fits.
I do have some installation questions. When I pull off the old bushing caps they were rusted on. Should I coat the bushing, links, or basically any rubber that touches metal. Will this help keep them from rusting to each other? Will the grease deteriorate the rubber faster?
Also 98GrandPrixIraqVet talked about wrapping with teflon tape. I am assuming that for the hard rubber kind or should I do it with these? Plumbers type of teflon? He said use White lithium, what about Red?


") Really, neither of you have steered me wrong yet.
Really, neither of you have steered me wrong yet.