• The site migration is complete! Hopefully everything transferred properly from the multiple decades old software we were using before. If you notice any issues please let me know, thanks! Also, I'm still working on things like chatbox, etc so hopefully those will be working in the next week or two.

How do we eliminate bounce?... and check out the pics of my cutoff line

ffball33323

New member
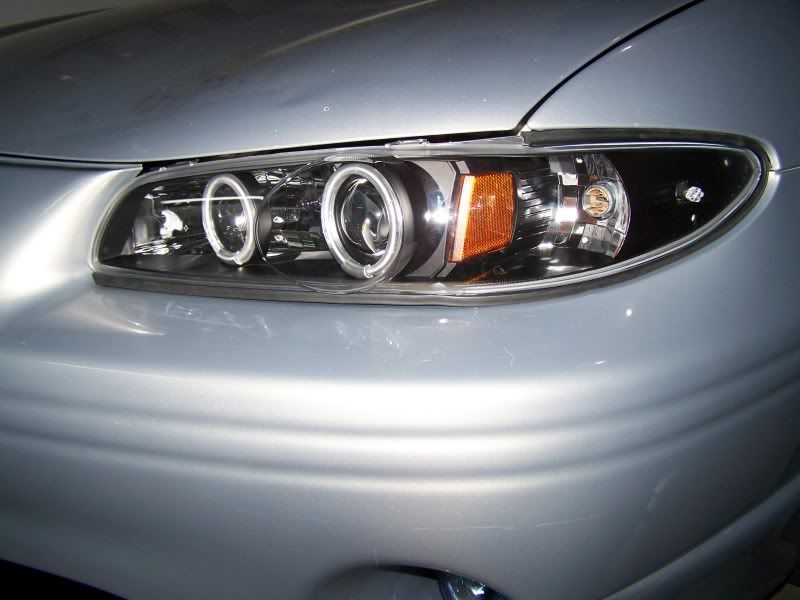
I got some retrofits from Classy..... New headlight housings, Morimoto Mini H1 6.0's, clear lense swap, Morimoto 3five ballasts, xb35 bulbs, 5000k.

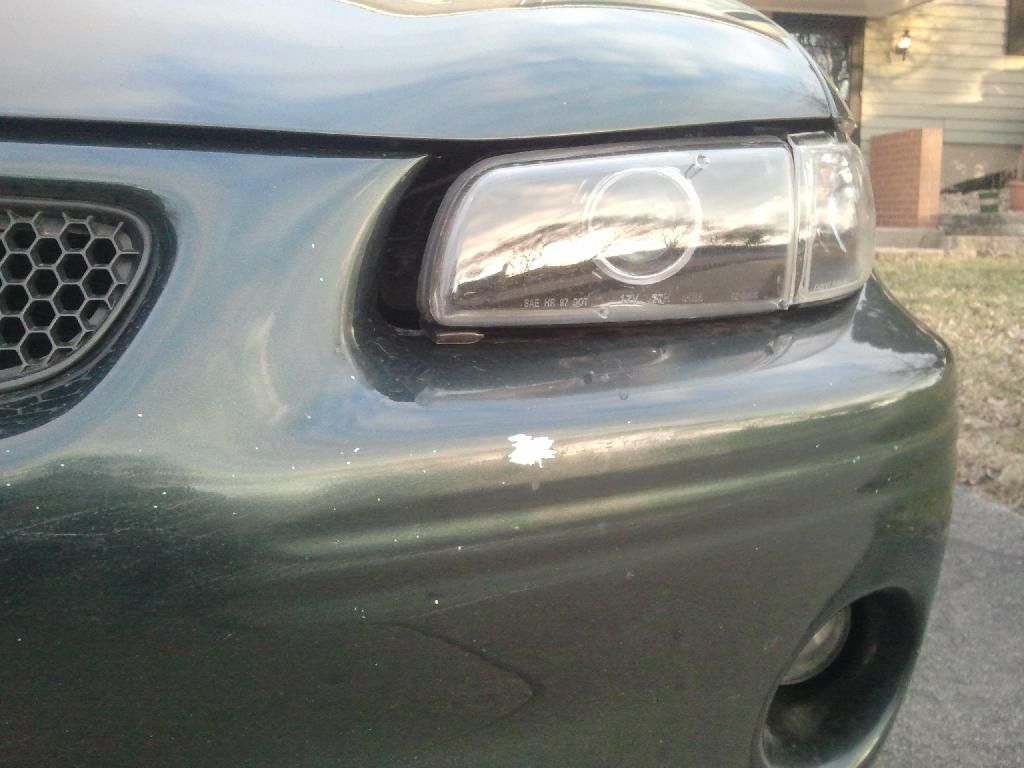
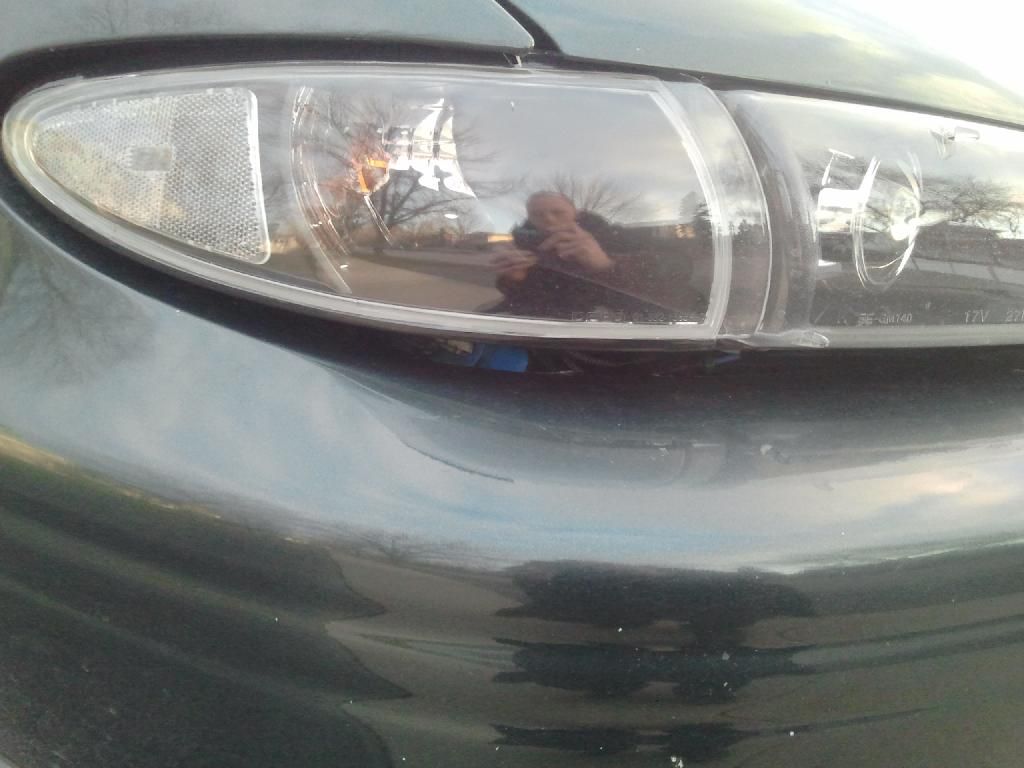
Because I had some problems with the Motocontrol 9007 relay harness and had to keep removing my lights, I broke a tab on the bracket on the new passenger side headlight. Went to the junk yard and got another bracket. the bracket is a slightly different in one spot so I had to drill out a wider hole for the mounting screw for the clear corners.

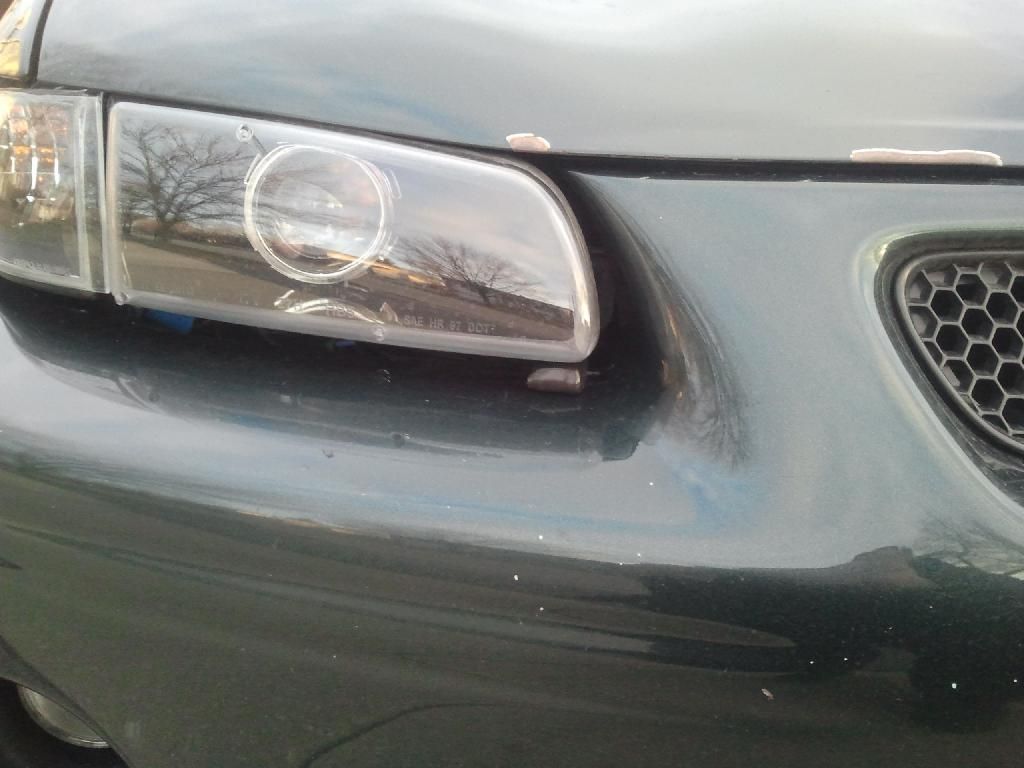
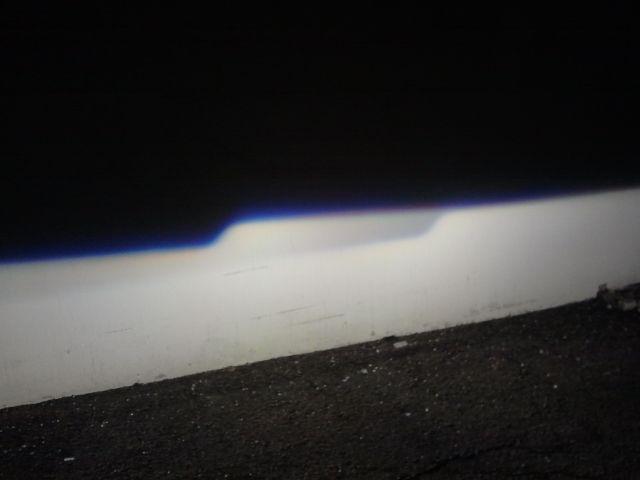
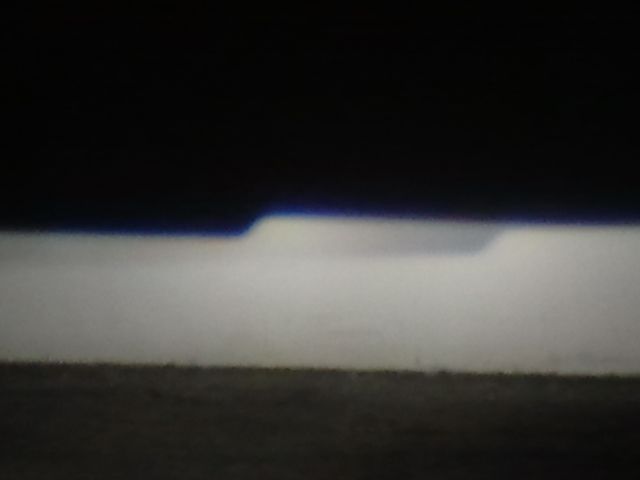
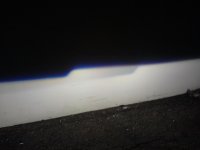
Last night, my drivers side headlight started bouncing and is already driving me nuts. What have you done that's worked best? I was thinking of trying to wedge something under the inside of the drivers side headlight to try and angle it up a little bit right there because it kinda looks like the projectors need to be rotated a little.

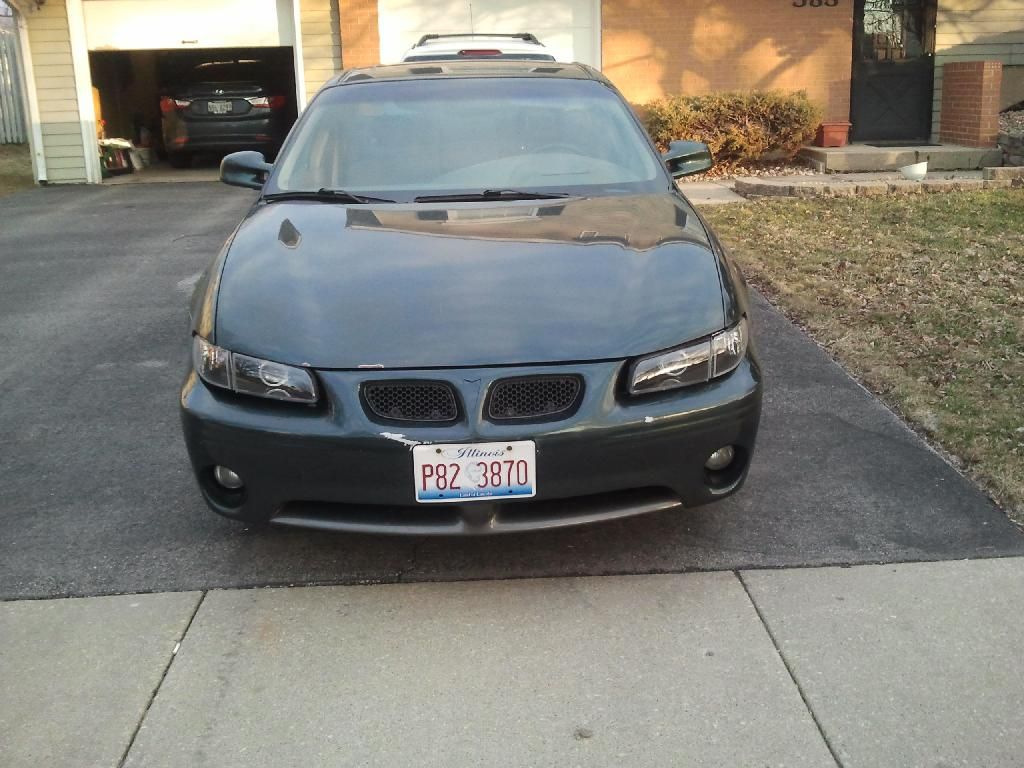
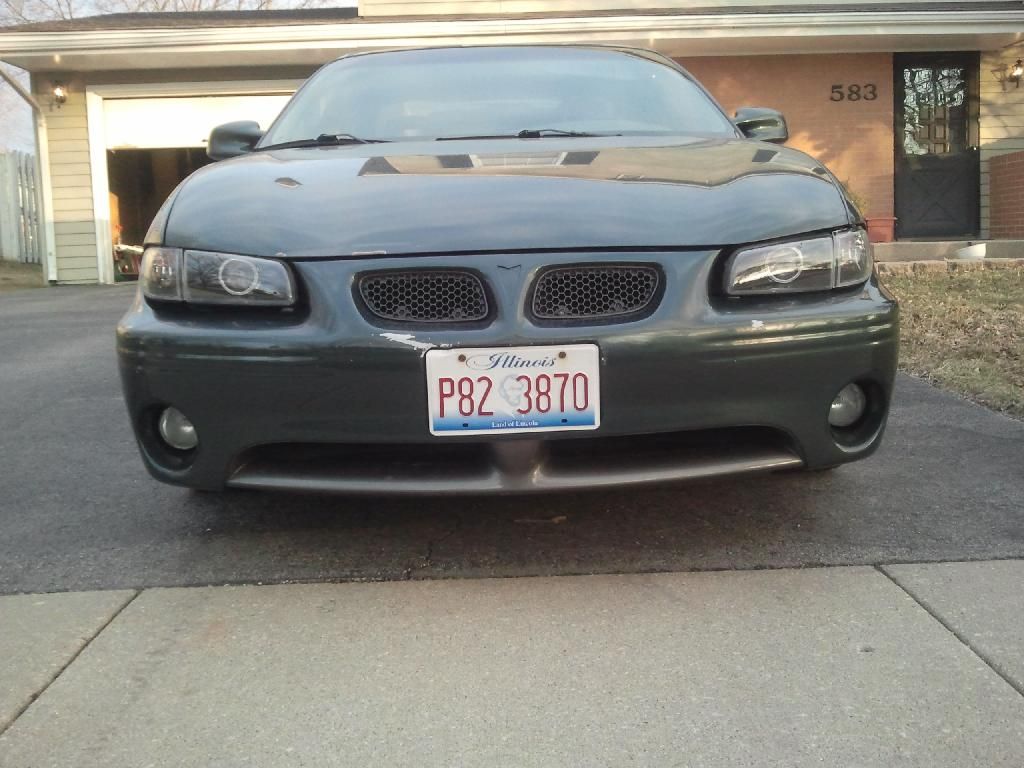
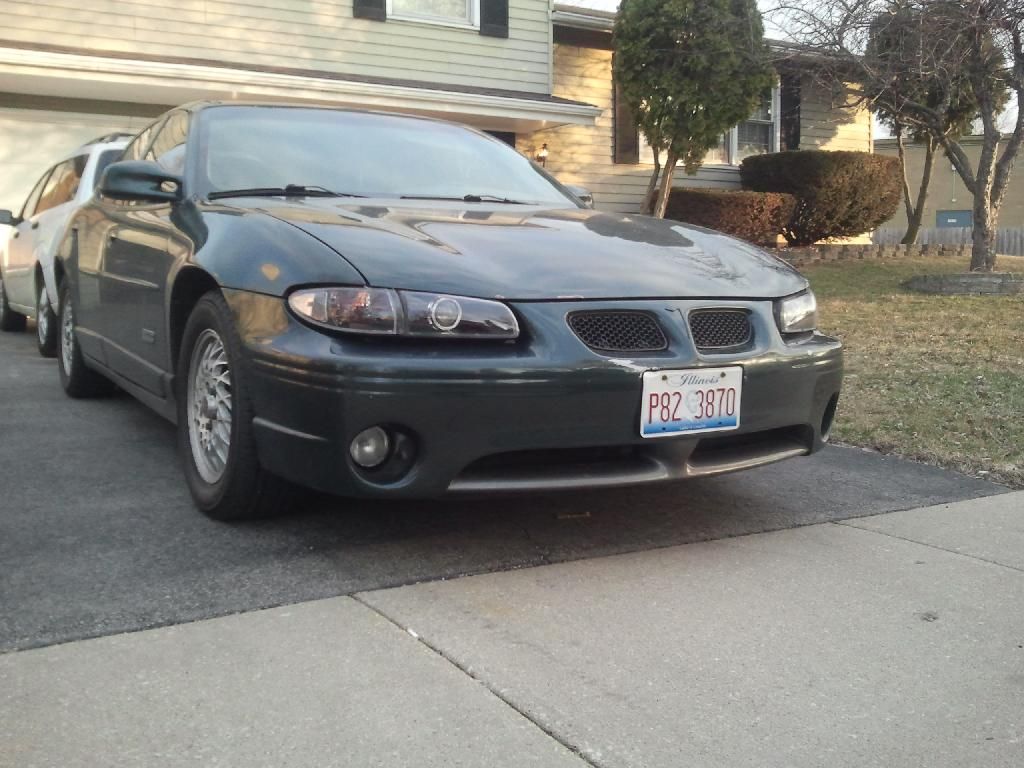
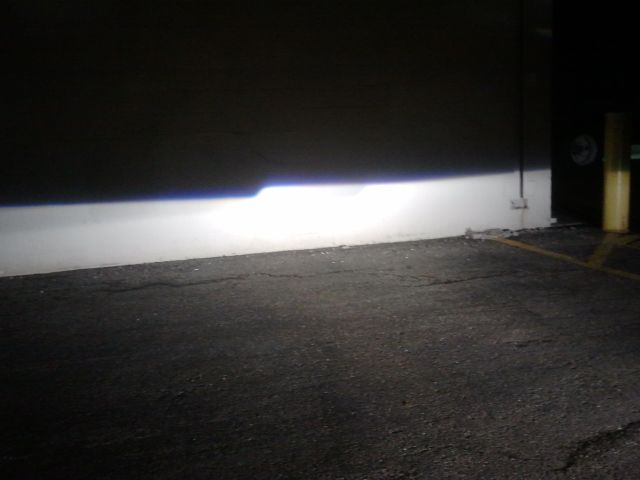
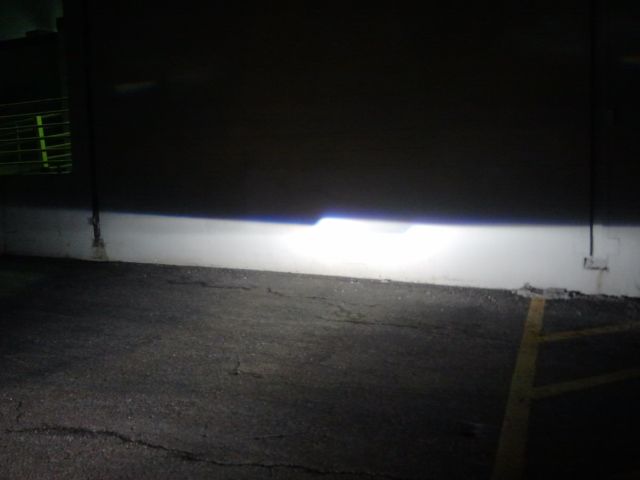
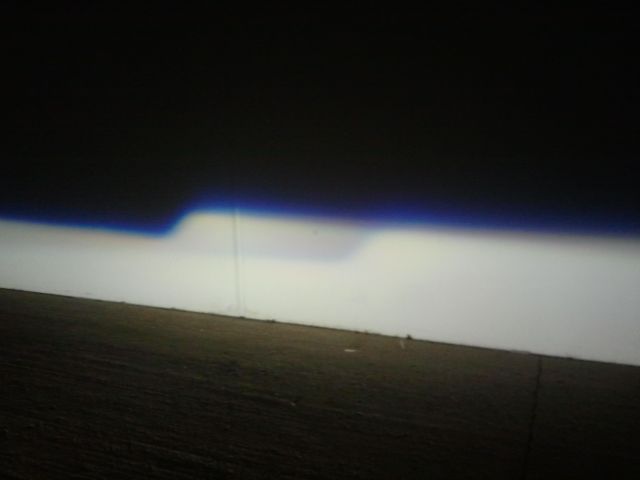
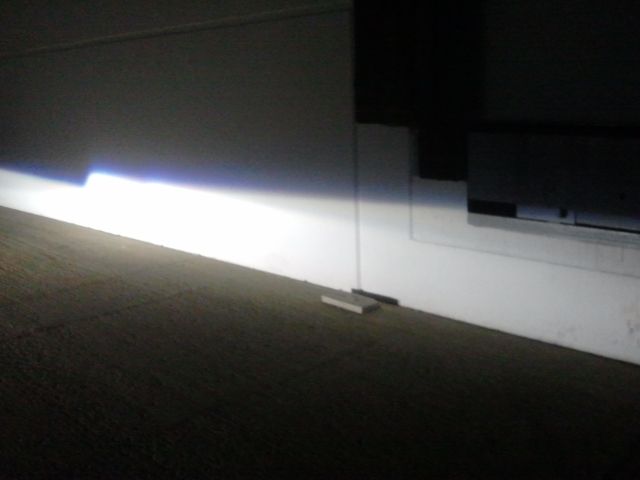
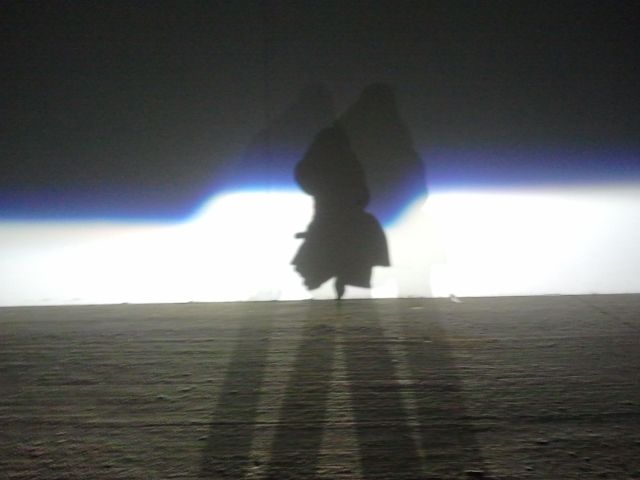
After these pics, I aimed them up a little higher, but what do you guys think of these....

2014-03-30041943_zps2dfc1e07.jpg


2014-03-30041925_zps5ab8c4c6.jpg


2014-03-30042005_zpsc8cfe330.jpg


2014-03-30042024_zps31740631.jpg


2014-03-30042047_zps5ab8c4c6.jpg


2014-03-30042111_zpse49242c2.jpg


2014-03-30055645_zps10fb7dae.jpg


2014-03-30055706_zps235430d5.jpg


2014-03-30055758_zps76b39a62.jpg~original
 

Attachments

  • 2014-03-30 04.19.25.jpg
    2014-03-30 04.19.25.jpg
    99.2 KB · Views: 18
Last edited:


I used some 3M double sided sticky tape rolled into a pile and wedged it in between the solid part, and the "wiggly" part, has not faulted yet, lol. Bubble gum probably would have worked too.
 
I've used the rubber feet off the bottom of old computers and printers before. They just peel off and are usually still sticky enough that they will stay where you put them.

Sent from my SAMSUNG-SGH-I337 using Tapatalk
 
Get weatherstripping, put some under the headlight and around the corner light. Like this:

100_4172.jpg


Thanks for all of the ideas. Because I wanted to get rid of headlight housing bounce and rotate them, I combined some ideas. It fixed my bouncing and lined up my cutoff lines so much better.

Keep in mind, the need to rotate my lights isn't because of Classy not lining them up when he built them, it's because my brother, the previous owner, had some sort of front end collision, and got it fixed cheaply(from the Buick/Pontiac dealer he sold cars for). I believe this is the reason why things are off a little bit. You'll be able to tell a little from the pics. Forgive me for not cleaning her up, I just wanted to show the fix.

I don't have black double sided tape, just clear, so I tightly rolled up some black self adhesive tape(it's what I use for electrical tape), put some double sided tape on the back side of it, and wedged it in a few places. The driver side needed to be rotated a little more than the passenger side. So on that one, I put 1 piece under the inside of the headlight, pushing up(see the pic below)

2014-04-01%2007.12.17_zpsyvxgr5v6.jpg


Then I wedged a piece on top of the clear corner, pushing it down a little...


2014-04-01%2007.12.31_zps1pbq7pxf.jpg


On the passenger side, I only wedged 1 piece under the same spot on the inside of the light....


2014-04-01%2007.12.49_zpssrmahdj0.jpg


Here's the front end. You can tell the bumper is off line slightly, and there's a bigger gap under the passenger side light. The hood was
bent back and kept after his accident. The marks on the bumper are courtesy of some pos tow truck driver recently.


2014-04-01%2007.14.11_zpsm3ywztzq.jpg


2014-04-01%2007.13.49_zps8umgio22.jpg


2014-04-01%2007.13.37_zpsryth7swb.jpg


2014-04-01%2007.14.00_zpsbohs3qh6.jpg


2014-04-01%2007.13.19_zpsbv8f81ev.jpg


I think it's suppose to rain the next few nights. After that, I'm going to clean her up and take some pics of my install and where I put my HID kit and wiring, along with some better quality pics of the light pattern and cutoff line now that both sides are lined up better.
 
Last edited:
Back
Top