• The site migration is complete! Hopefully everything transferred properly from the multiple decades old software we were using before. If you notice any issues please let me know, thanks! Also, I'm still working on things like chatbox, etc so hopefully those will be working in the next week or two.

trans build

Anthony Smith

New member
I dont post here much so heres a little backround. I bought a 99 GTP coupe last november. Chipped a piston in march after driving it 7k miles. Tore the whole car down to rebuild the engine and decided to build the trans while I had the engine out. Me and my dad run a full time transmission business and the trans has 140K on it so it only made sense. The car is getting cam, headers, tune, 3.4 so I wanted to build a trans that I wouldnt have to pull out and fix once a year. on to the build.

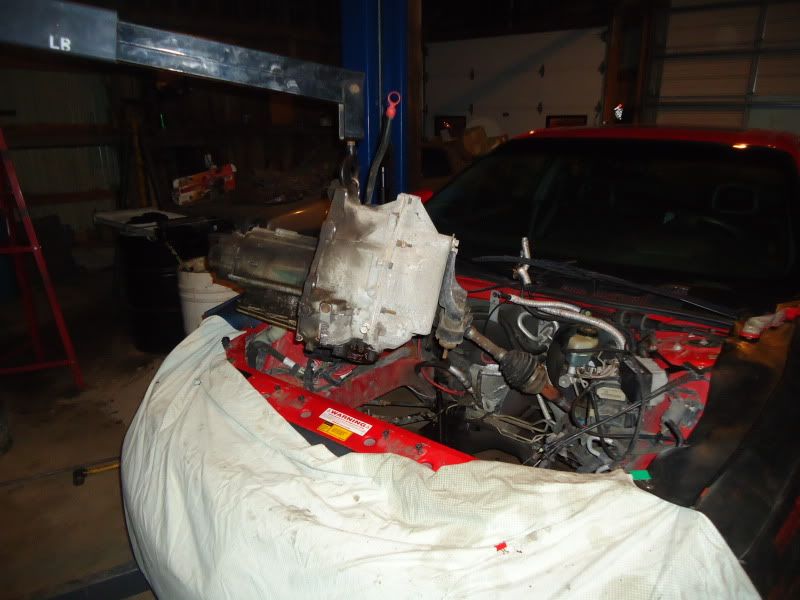
hoisted the trans out of the car after I had the engine out, simple enough.

DSC00268.jpg


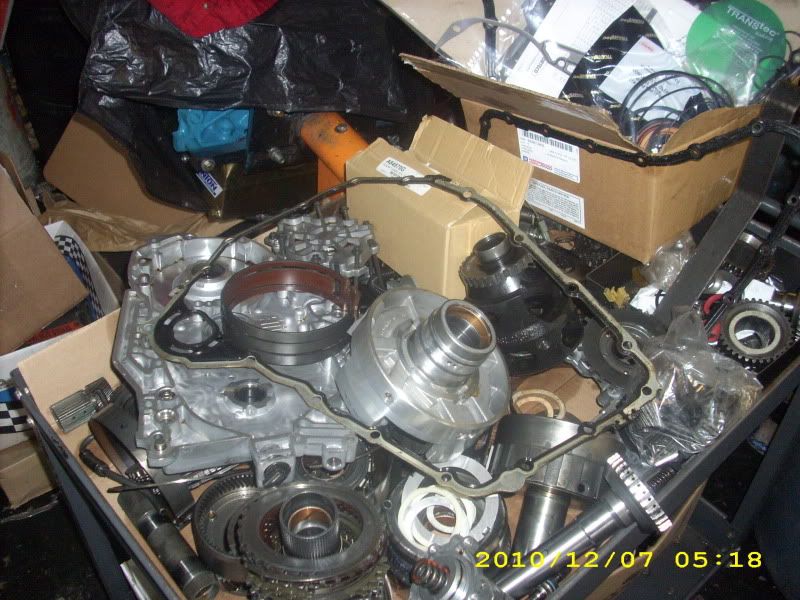
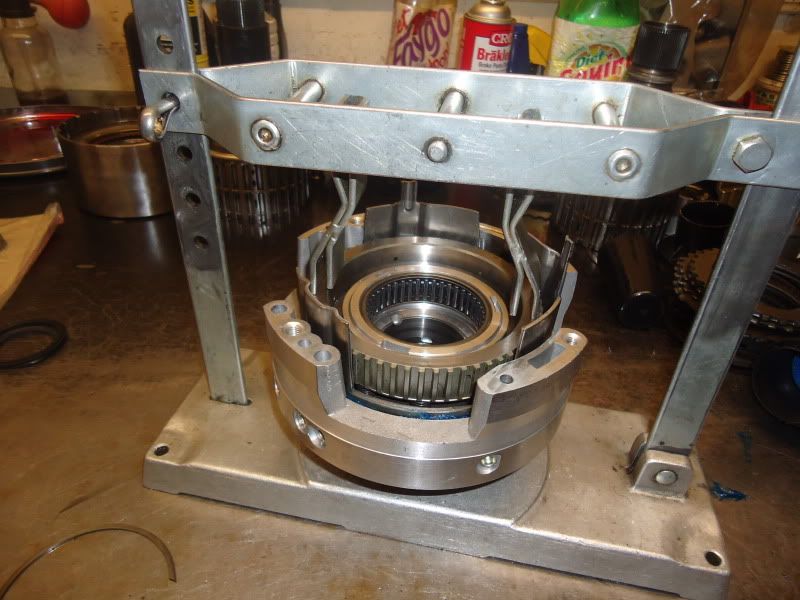
Got the trans on my tear down bench

DSC00282.jpg


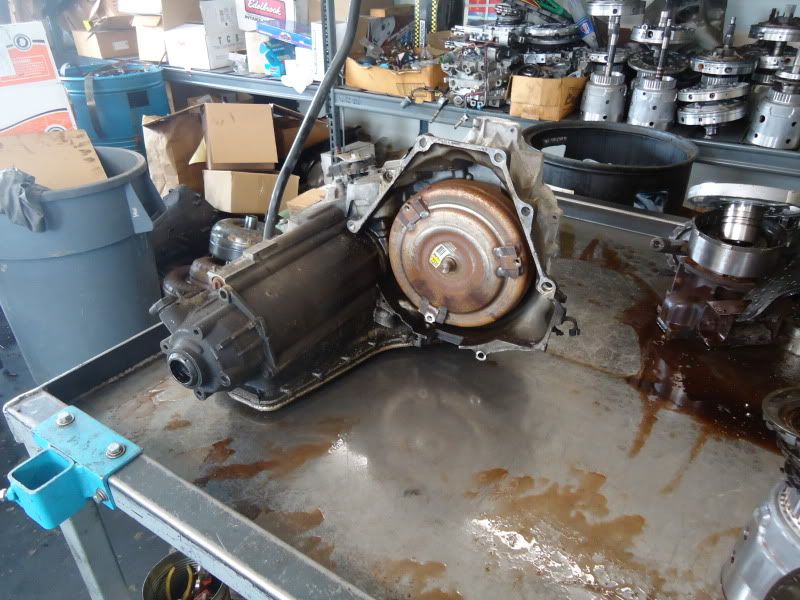
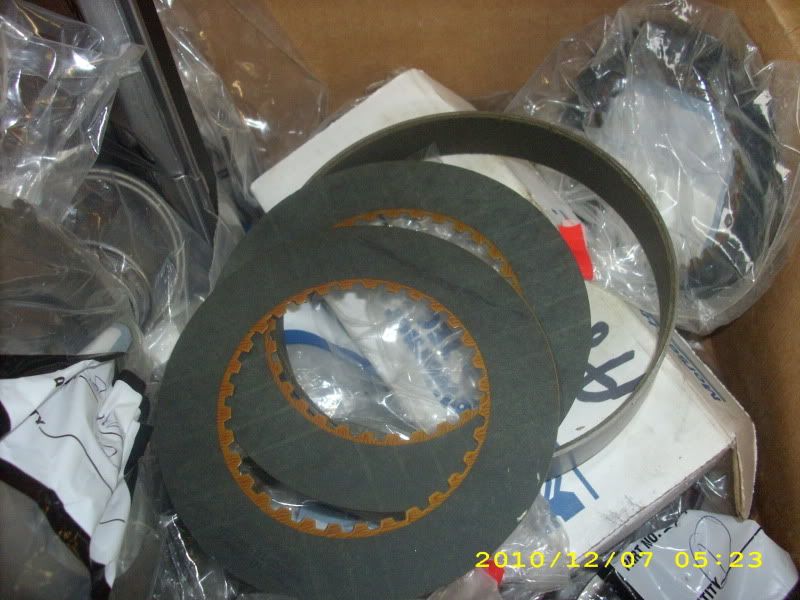
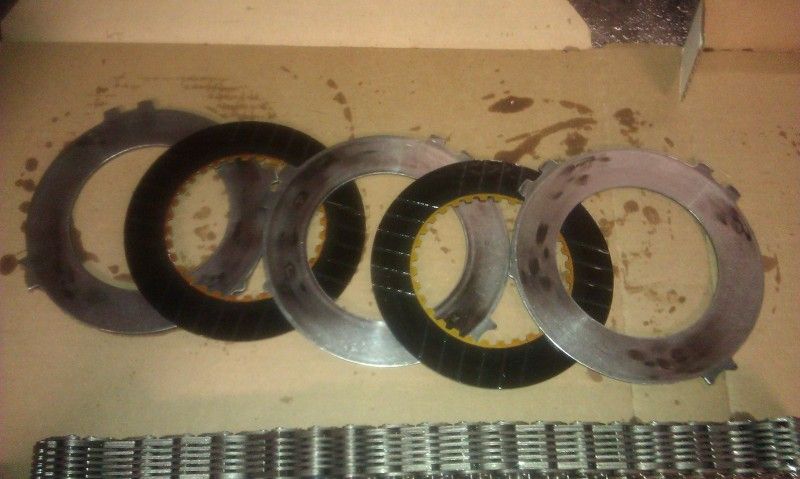
Fluid wasnt looking so fresh,

DSC00284.jpg


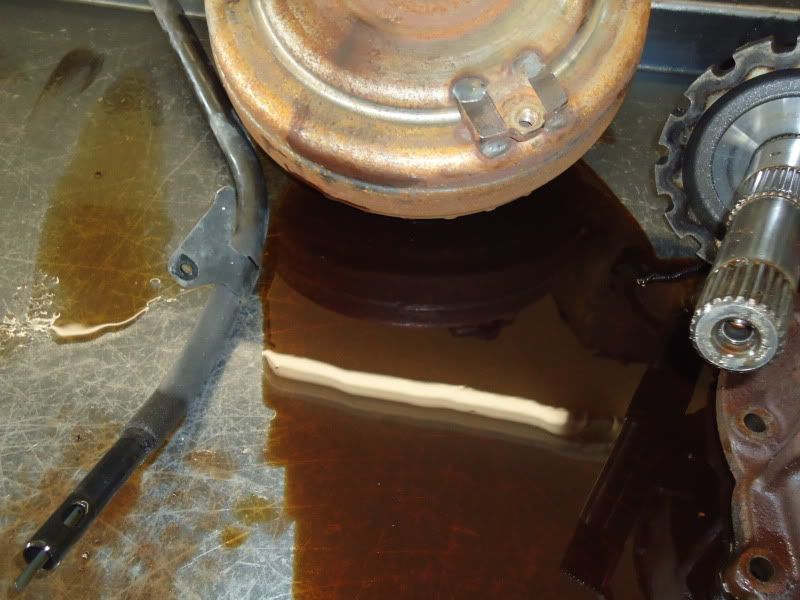
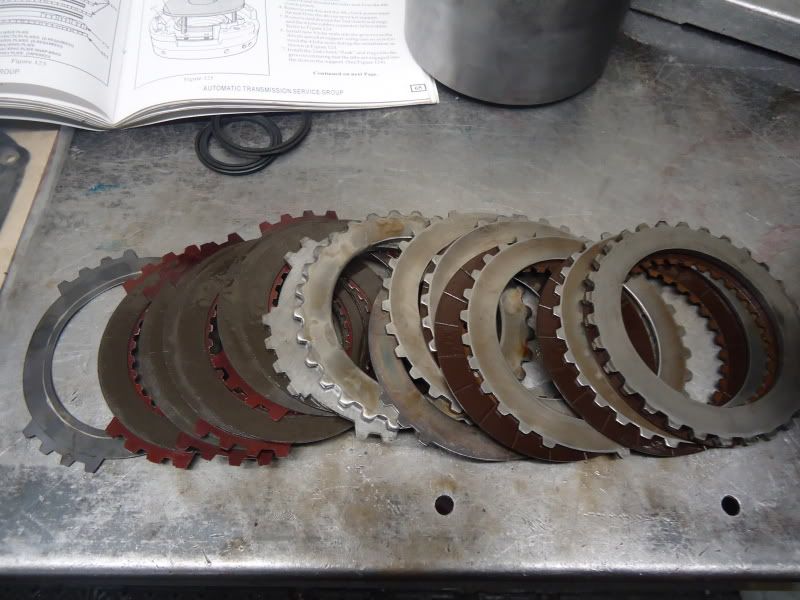
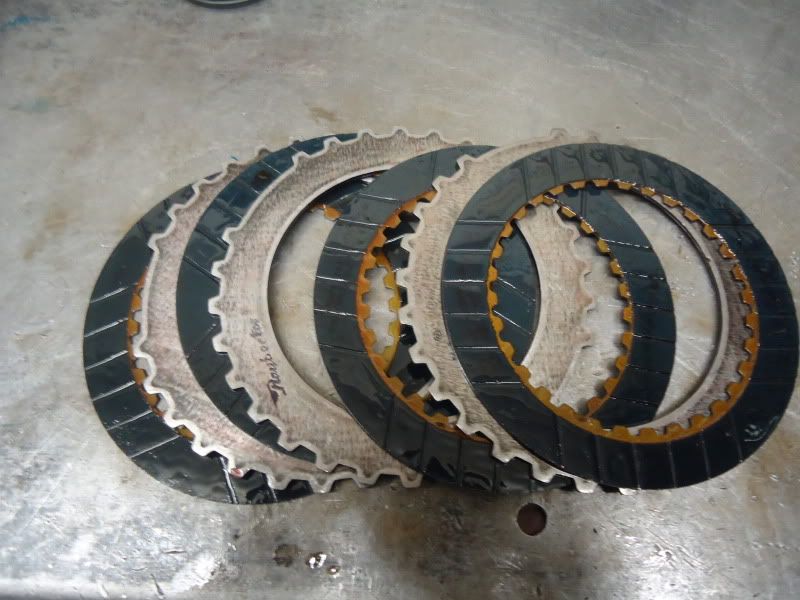
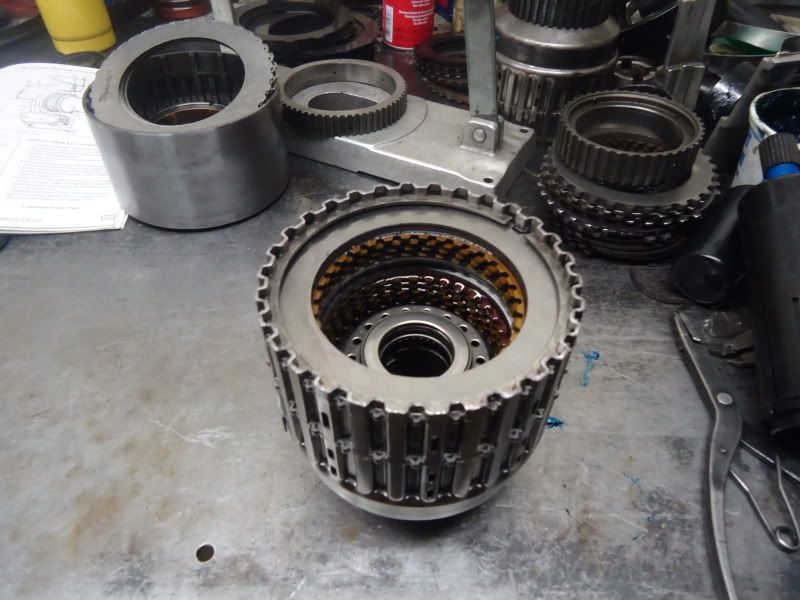
Little bit of debris, not all that bad compared to a lot of transmissions I have seen but this one still worked fine.

DSC00287.jpg


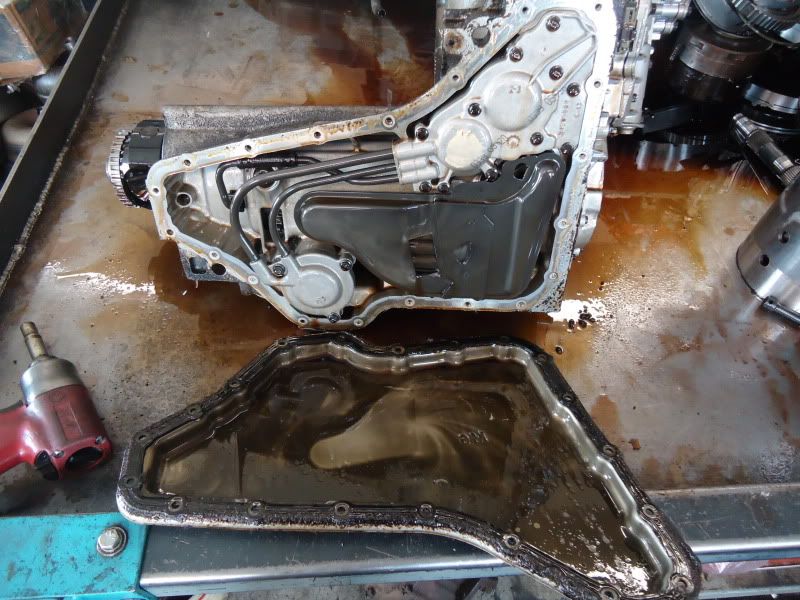
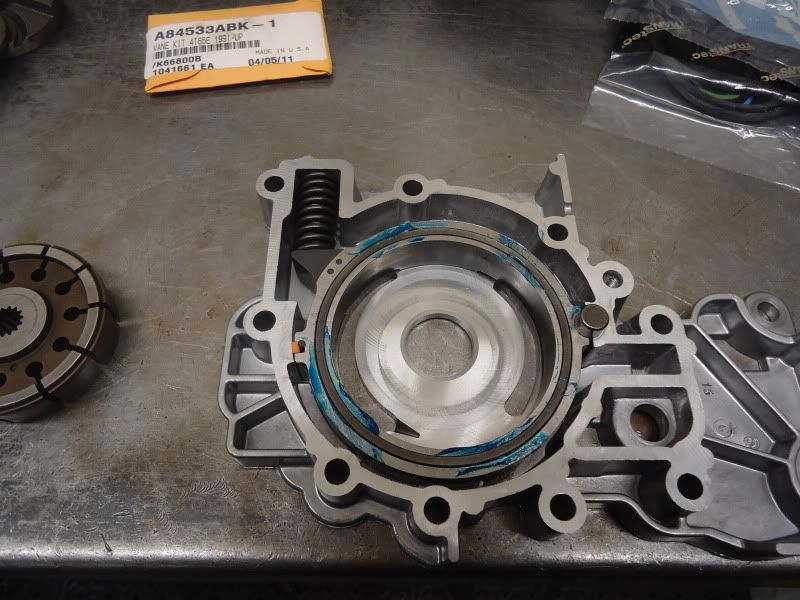
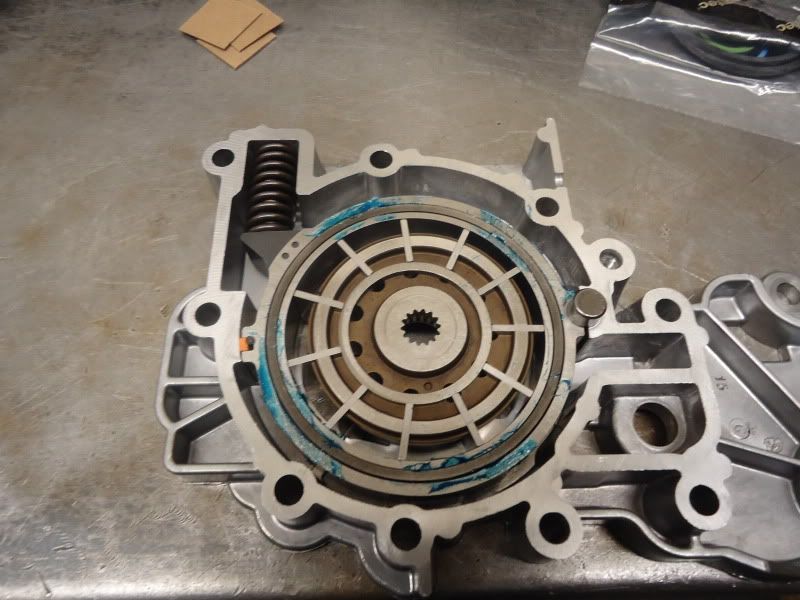
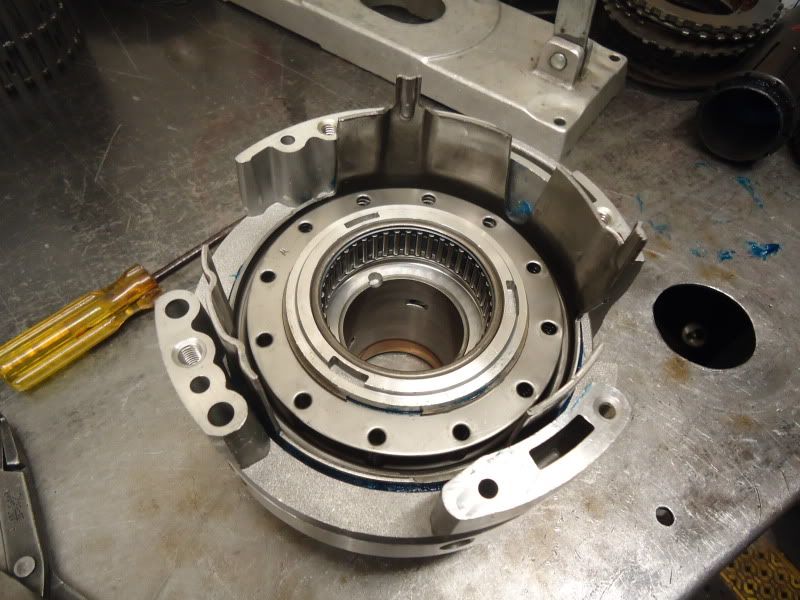
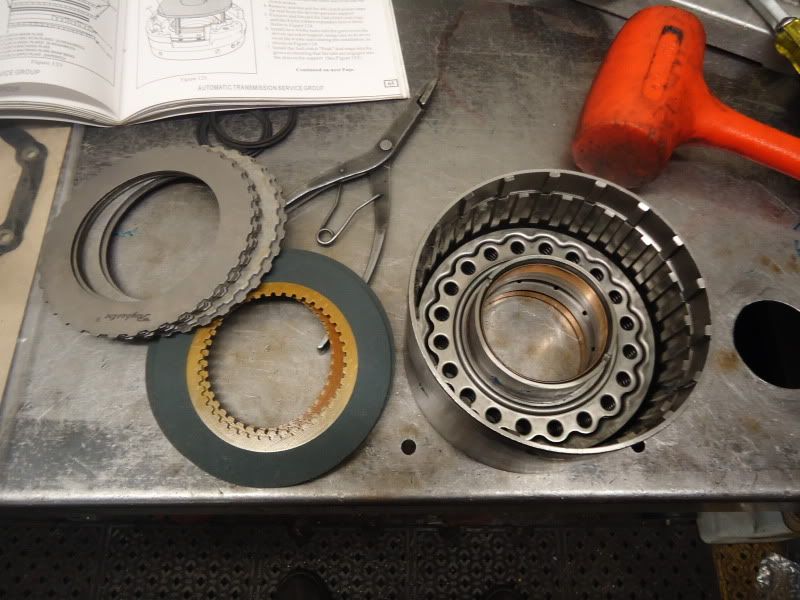
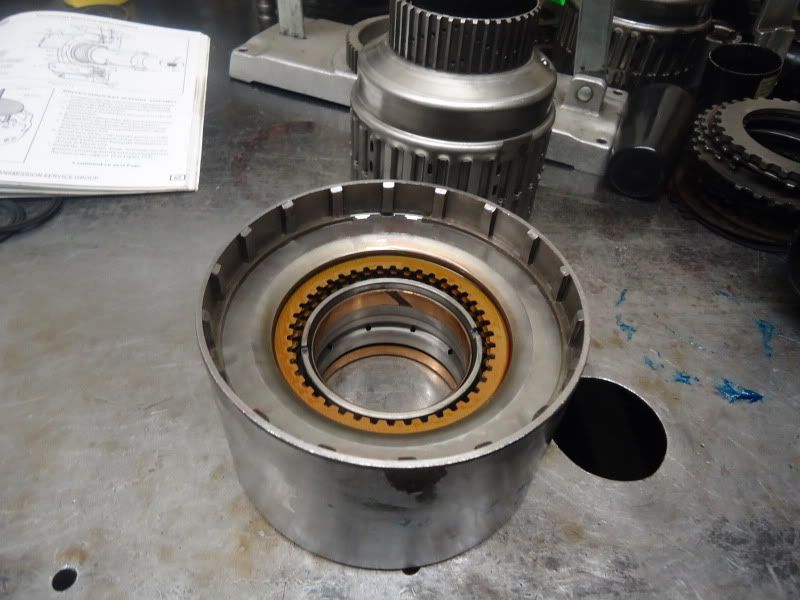
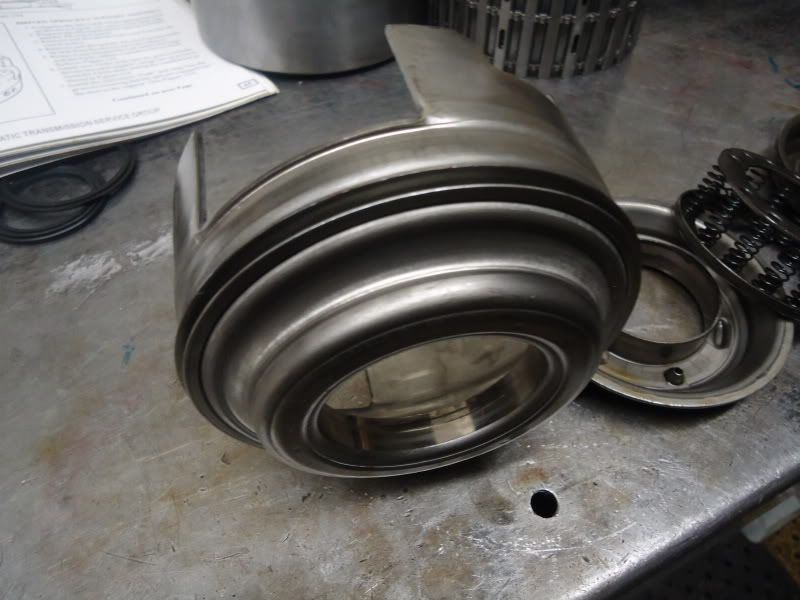
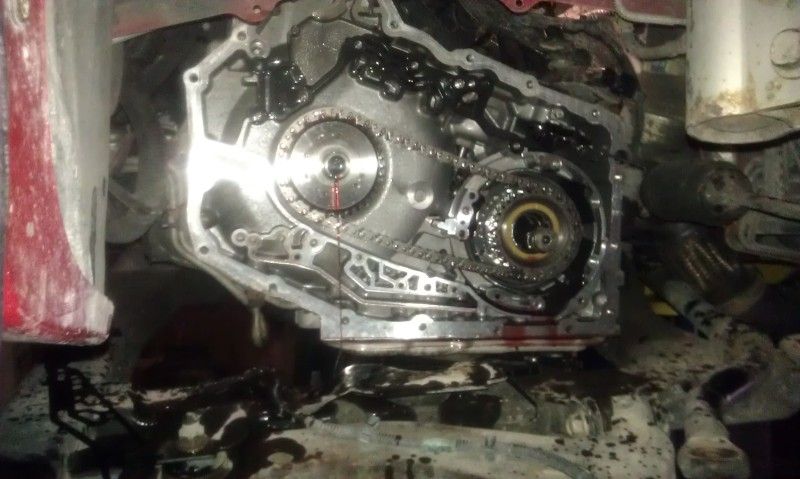
Got the pump, valve body and channel plate off.

DSC00290.jpg


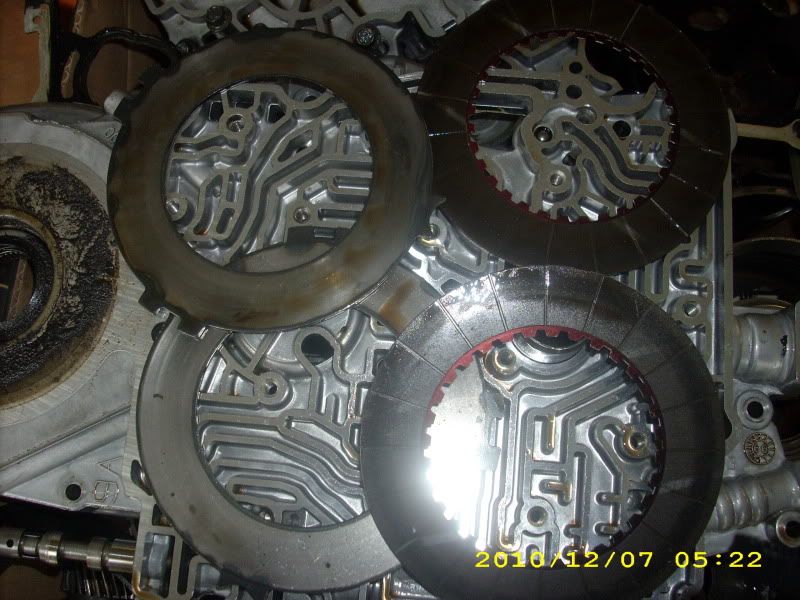
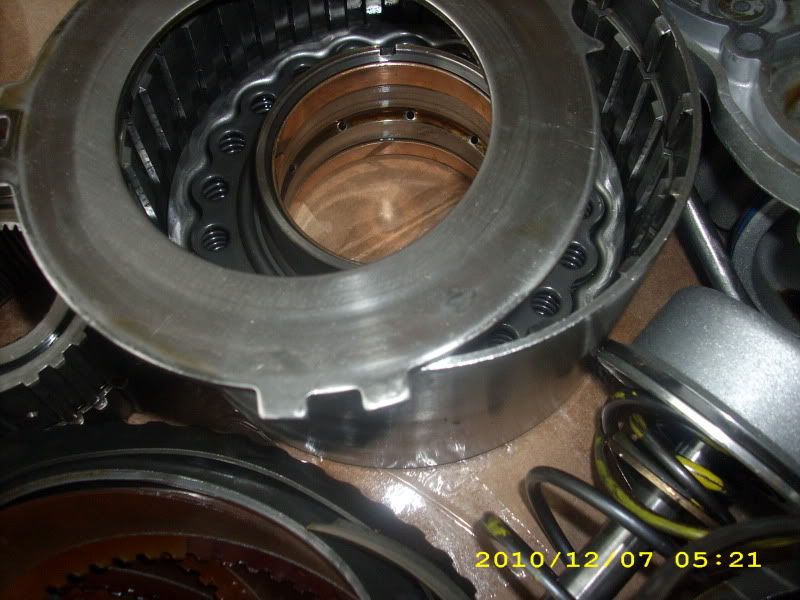
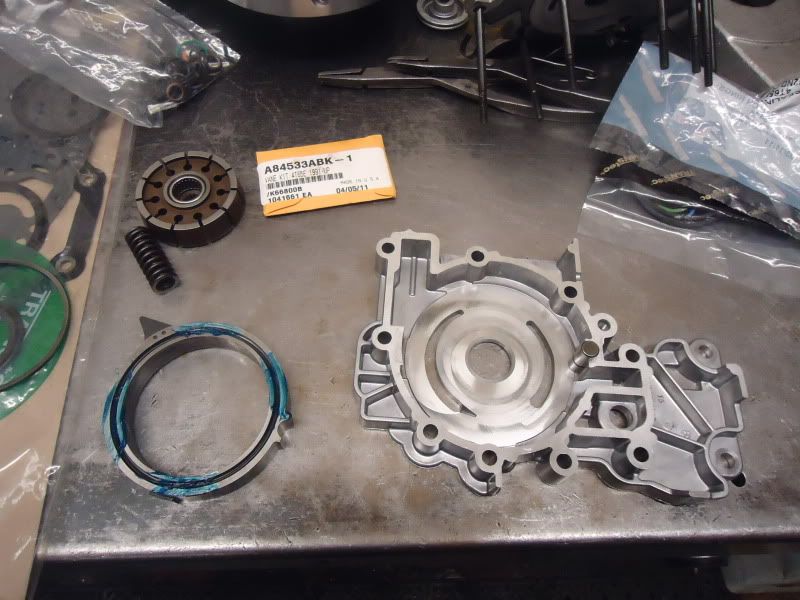
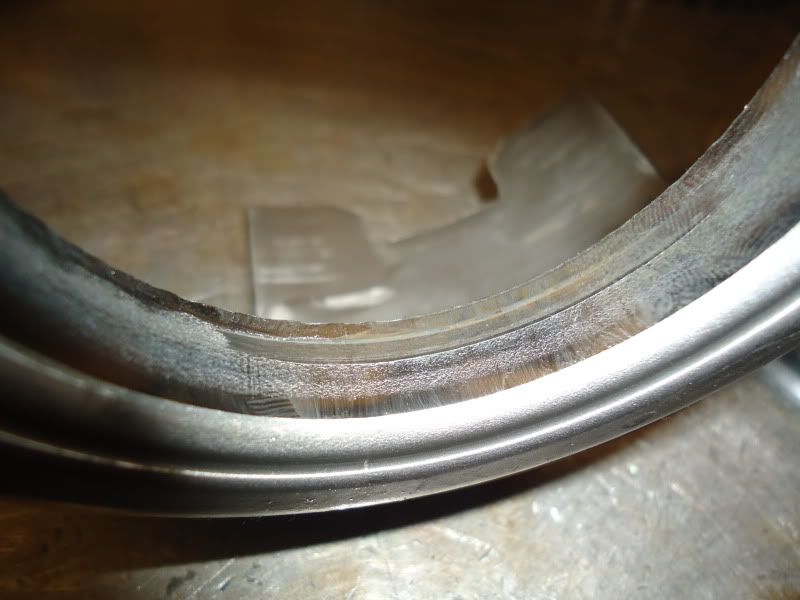
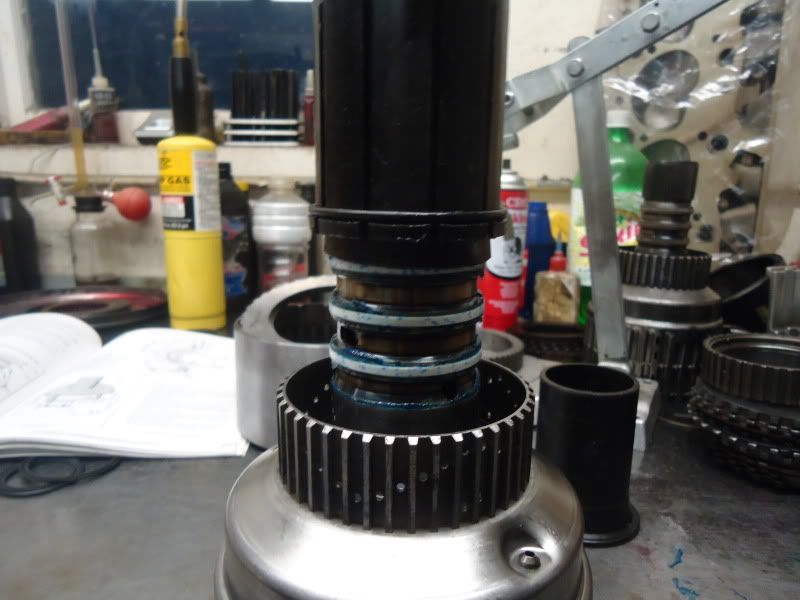
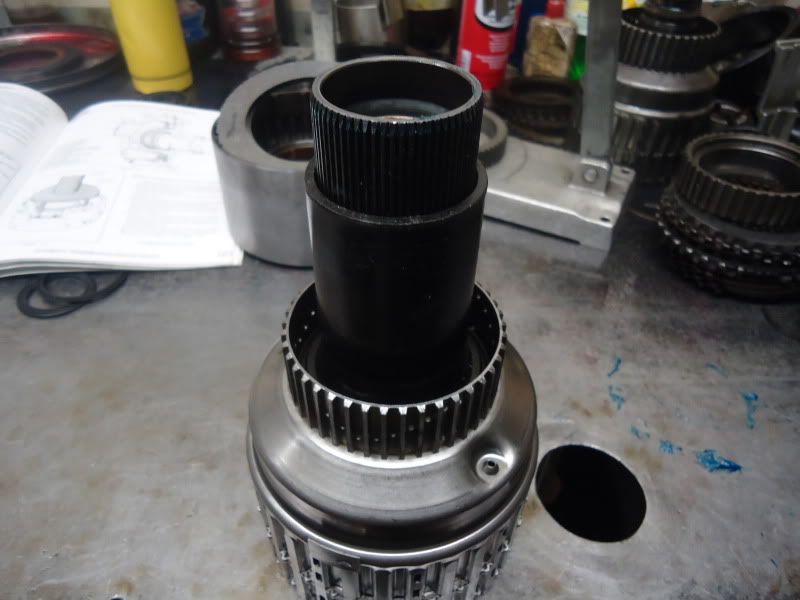
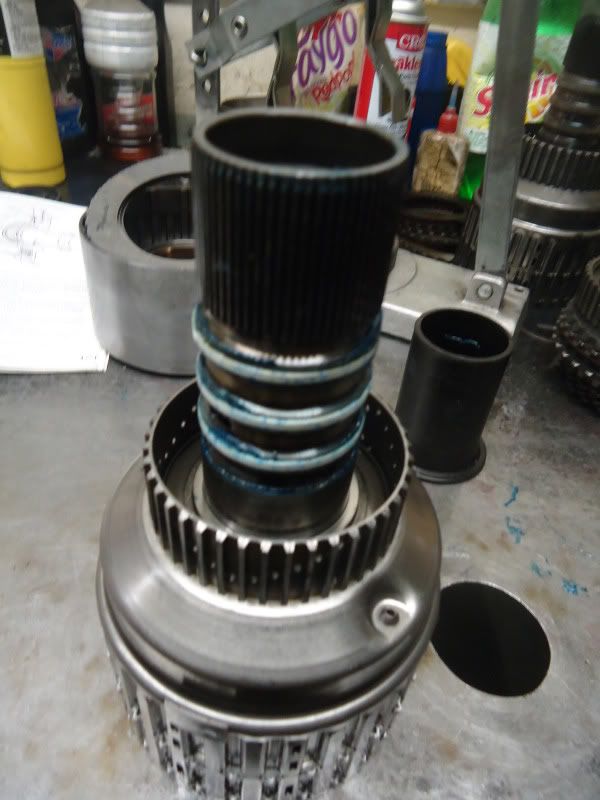
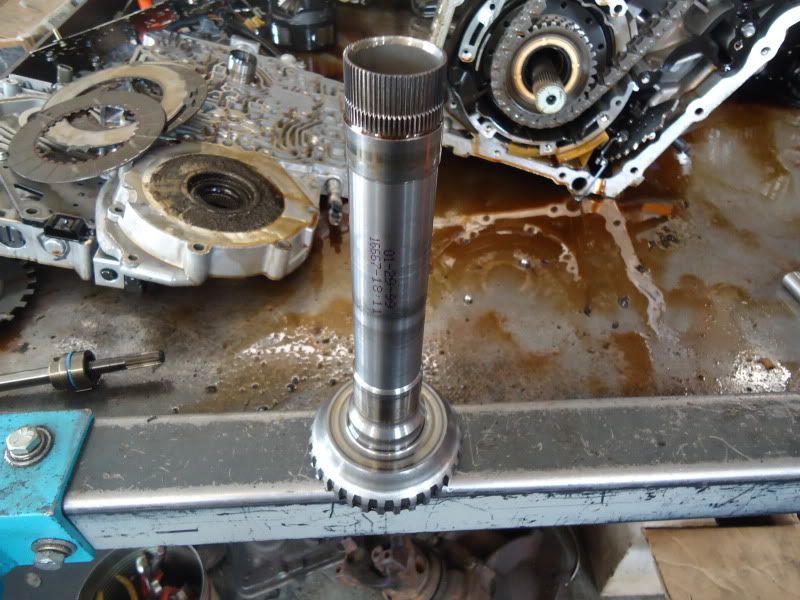
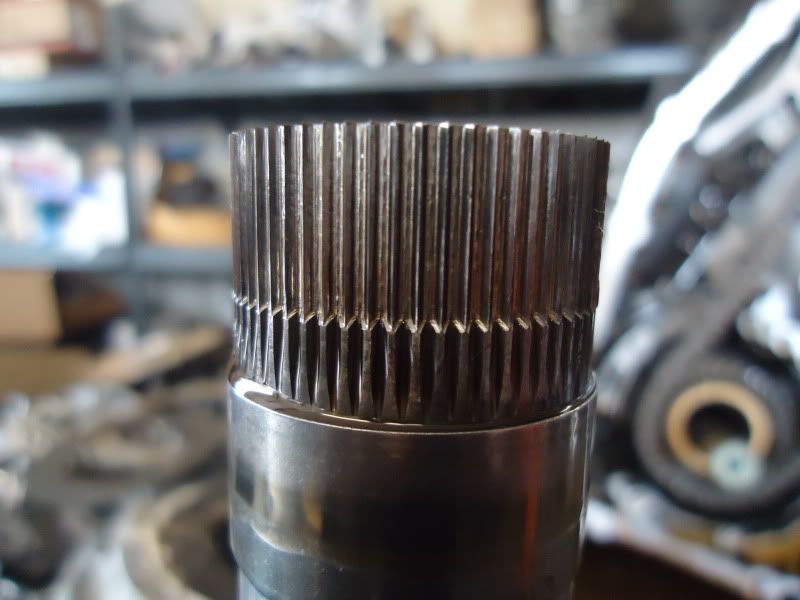
First worn part, how many more 4th shifts were left in the stock 4th hub? ha, not many. I have never seen one come out that looked any better than this.

DSC00293.jpg


DSC00291.jpg


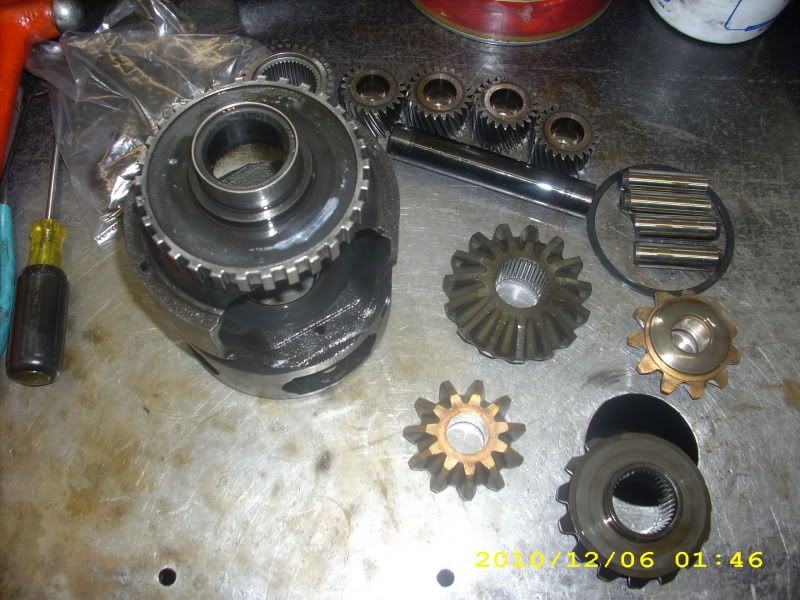
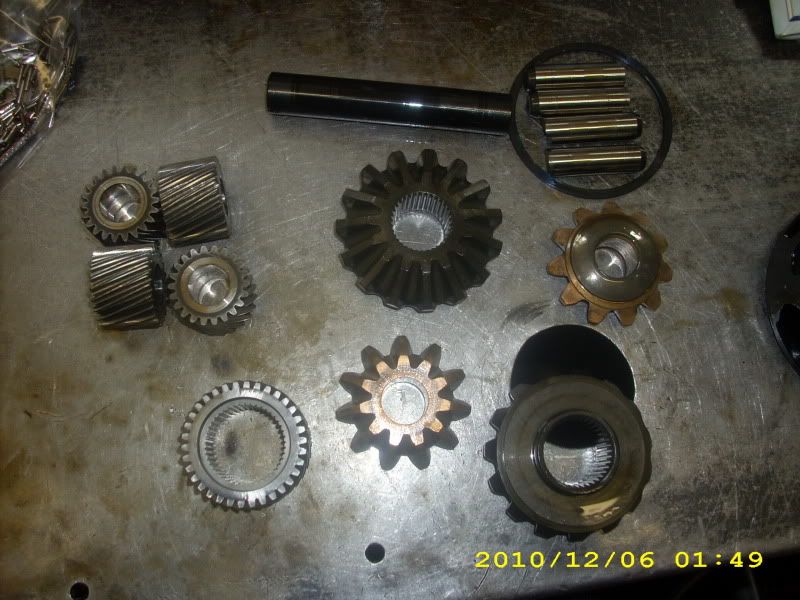
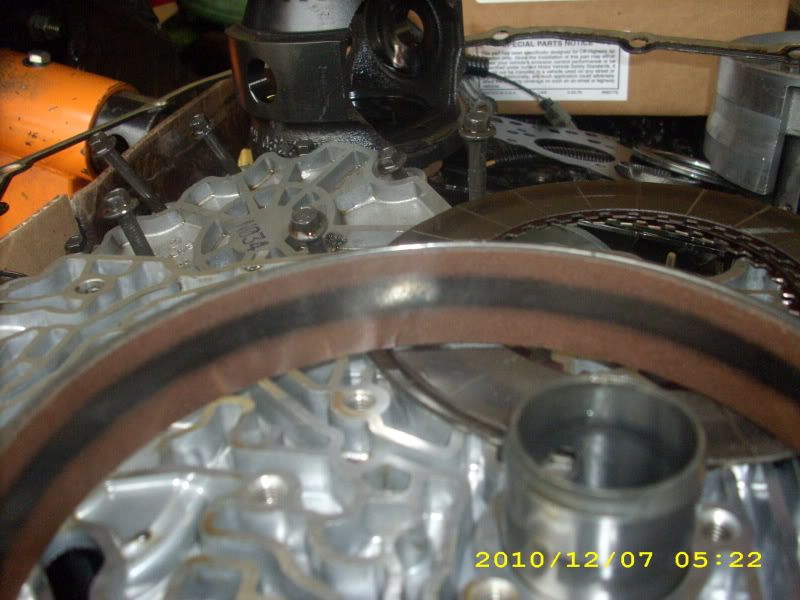
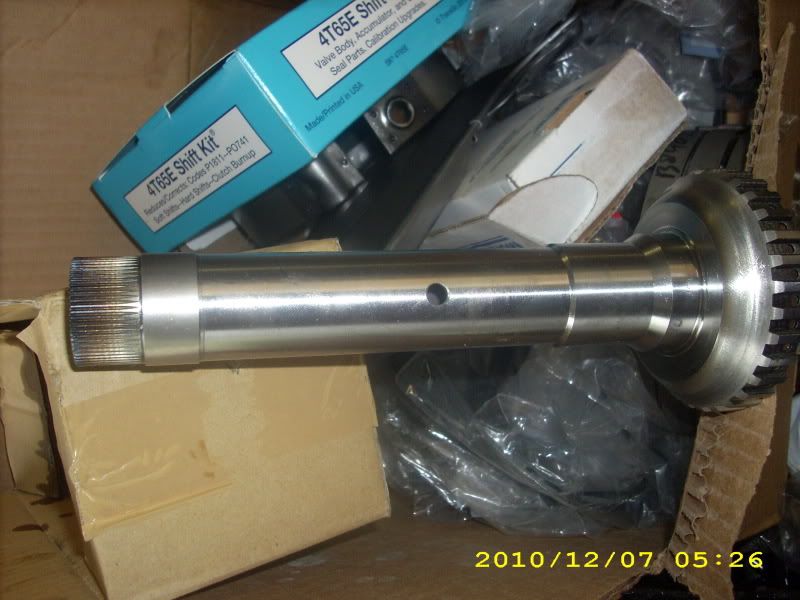
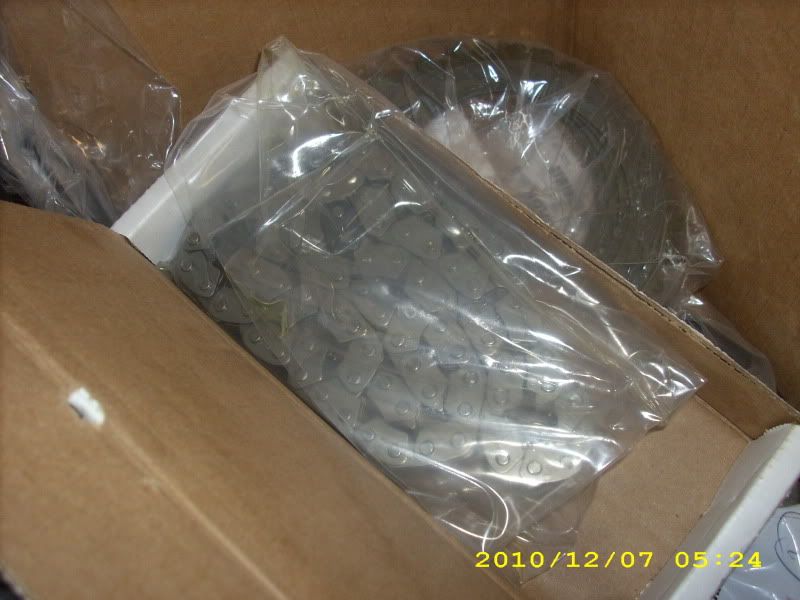
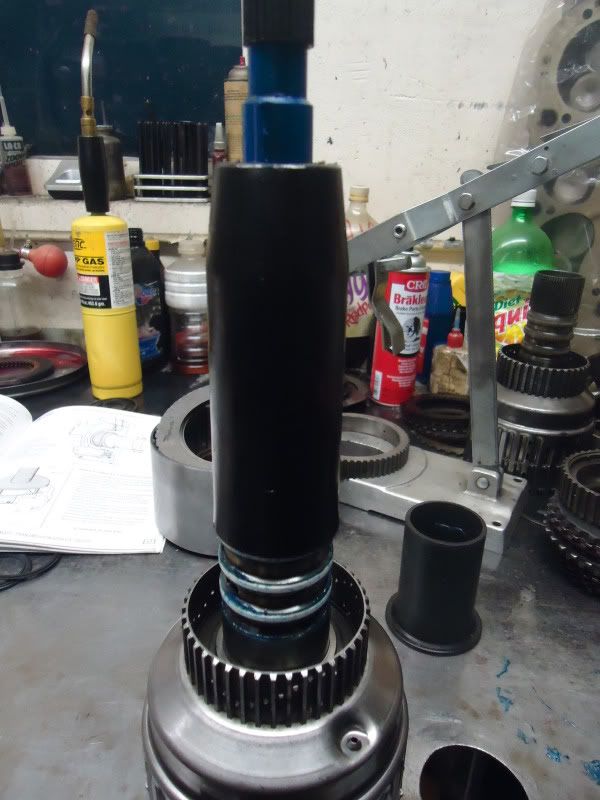
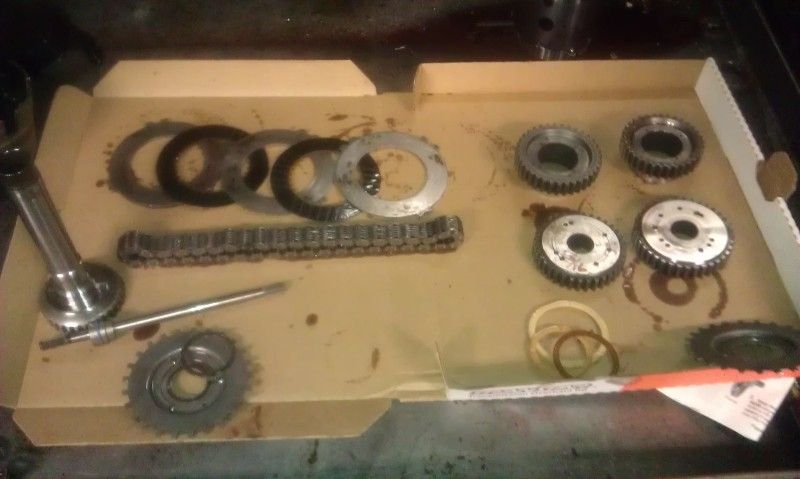
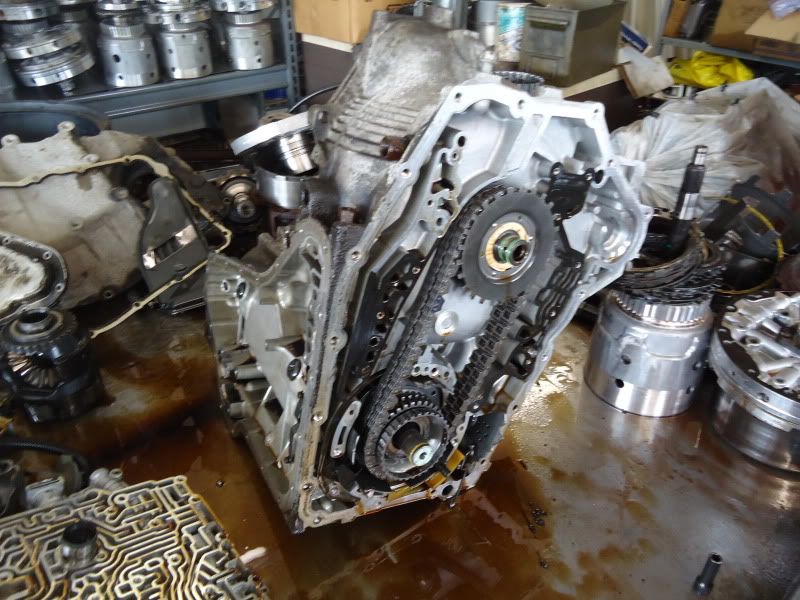
We havent done a single chain conversion yet because we dont see a whole lot of 65E's. The ones we do see are generally in mini-vans and the such so people dont want high performance upgrades and stuff. So here we are mocking up the sprockets and figuring out whats so "special" about these $400 kits. haha not much to it really.

DSC00295.jpg


more to come as we delve further into it, this is all i have time to post right now.


The trans is all tore down and mostly ready to go back together I just decided to post a thread about it finally. I was in the middle of building a 4R100 for a F250 when we were doing this 2 weeks ago, thats whats on my assembly bench.

DSCI0118.jpg


The other day I tore the final drive completely down. I am having the sungear, planetary gears and spider gears all iso-rem treated. My original final drive sungear was in pretty rough shape and transtar can only get 38 tooth final drive sungears new. You can buy a used one from them for $30 but they dont inspect them very close and half the time you end up with one thats just as bad as the one you are trying to replace. So I ordered a brand new 34 tooth sungear from my handy dandy dealer at a whopping $49! Hopefully when it shows up it actually really is the right part because thats dirt cheap.

DSCI0111.jpg


DSCI0117.jpg


Heres some more of the damage, nothing was smoked too bad yet, like I said the trans still worked fine when I yanked it. Of course the wimpy OD clutches were glazed.

DSCI0122.jpg

DSCI0121.jpg


The manual 1-2 band was burnt up
DSCI0124.jpg
 
If you can take picks of the seal resizing process that would be great thats the only thing I dont really get for rebuilding the trans. Thanks
 
I gotta fix the TS on this camera I just took all those pic like 20 minutes ago.

Heres some of the new parts

Transtar O/h kit (no side cover gskt, sons a *****es)

DSCI0125.jpg


clutches, bushings, steels, shift kit, bonded pistons, filter, forward band, Hi-energy 1-2 band, sonnax boost valve, sonnax TCC reg. apply valve, EPC, front sungear etc.

DSCI0126.jpg


Heat treated 4th hub
DSCI0136.jpg


New 15/16ths chain
DSCI0130.jpg


Blue plate OD clutches

DSCI0127.jpg


So thats the jist of it so far.
 
If you can take picks of the seal resizing process that would be great thats the only thing I dont really get for rebuilding the trans. Thanks

We have the special tools to do that but I have seen pics of people using zipties or hose clamps to do it. Get inventive, any thing to squeeze them down without wrecking them.


I would just buy the tools, I have never re-sized them we just took some apart at school and put them back together and did the pressure checks, so we just reused everything. I plan on doing my own trans pretty soon.
 
I would just buy the tools, I have never re-sized them we just took some apart at school and put them back together and did the pressure checks, so we just reused everything. I plan on doing my own trans pretty soon.

If your going to buy the tools then there is nothing to it, pick the old rings off, use the installer to put them on, grease the **** out of them, put the sizer over them without screwing one up, let it set far a while. Good to go. I havent built any FWD except for fords in a few months I dont even remember what rings have to be sized.
 
Ok so that makes sense to me now, install the seal then the re sizer goes on it once its on the part. I thought they got resided first for some reason.


a few more pieces to this puzzle. I cant find a set of heads for cheap that arent cracked so I am STILL working on this project and it has definitely transferred to long term.

building the pump, with new vanes the ring and rotor still looked like brand new.
DSC00438.jpg

DSC00439.jpg

DSC00440.jpg


setting up the accumulator assembly with the shift kit springs and new seals.
DSC00436.jpg

DSC00437.jpg


shift kit springs in the accm. in the channel plate.
DSC00442.jpg


4th clutch piston and sprocket support assembly. New seal rings and lip seals.
installing the snap ring
DSC00432.jpg

done
DSC00434.jpg


original stock 2nd clutches.
DSC00426.jpg

upgraded aftermarket 2nds and new steels
DSC00429.jpg

DSC00406.jpg

complete with extra steel as per shift kit instructions, makes 1-2 shift way cleaner
DSC00430.jpg


stock clutch pack from the 3rd/input drum
DSC00415.jpg

aftermarket HD clutches and new steels
DSC00416.jpg

Wore out input clutch apply piston. If you build one of these you may as well order this part with the seal kit because your going to need it. I tore down 8 core input drums and they were all just like this.
DSC00422.jpg

DSC00425.jpg

apply pistons and retainer stack up
DSC00417.jpg

Installed
DSC00413.jpg


I took extra pics of the seal ring fitters we were talking about to give a better idea of how they work.

This is the expander, it goes on the shaft like that, lined up with a seal ring groove then you push the new seal ring over it.
DSC00407-1.jpg

This tool over the expander is just for pushing the rings down sqaure but they arent really all that picky you can just use your fingers.
DSC00410.jpg

Push this over them once your done and let it set for a while.
DSC00412.jpg

DSC00411.jpg


Threw everything back on the cart after that night. Still havent finished it yet. Like I said I dont have an engine for the car yet anyway so i dont really need it yet.
 
So to update this....obviously I got the trans reassembled and in when I built the car in the spring but I didn't take any pictures or complete this thread. So the trans has 15k on it now and works great. Been tracked and beat daily all summer. I decided to regear it to 3.29s though so we machined the gear set and tonight I pulled it apart in the car to install them. This is what I found.
IMAG1046.jpg


My blue plate 4th clutches are black and the steels are wrecked. Time to order more crap. 4th was still working fine too, obviously i need to go in and modify my transmission setting to where it never goes to 4th at full throttle no matter what and set it to come out of 4th a little easier when i lean on the throttle. Heres some more pics of the work from tonight.
IMAG1045.jpg


IMAG1044.jpg
 
http://www.grandprixforums.net/i-been-had-new-car-bad-trans-4-68030.html
Hey, would you mind looking at my post #62 in the above link? I am having trouble with reassembly of my channel plate, I bet you could look at this real quick and tell me what im missing.
Thanks

BTW, what does it mean when your steels get hot spots like that? I know they got hot, but are they no longer usable? You guys are refering to them as "wrecked" and "trashed". just how wrecked is it?


Anthony.. I'm interested in the specs you machine to in order to have them fit properly. Thanks


Ditto on this one. You make it seem like the 7/8" chain upgrade is very simple with very little machine work required for the sprockets.
 
Last edited:
it is....ive done 15/16th's sets in 2.93 and 3.29 and a 7/8th set in 3.29. We used my car as a test for the first set weve ever done and I just pulled them out after 15k miles. No weird wear or issues indicating that the dimensions were off. Were prototyping a 3 clutch 4th setup this time. I couldnt get blue plates for it for a few days so we pieced together something even better......maybe. Ill let you know how that turns out sometime this winter when I tear it out and inspect everything.
 
The car is still in hiding for the winter and its parked behind 5 snowmobiles right now haha. The trans will be out in the next few weeks though for a freshening, a few changes and the 300M input. I have around 5k miles on the 4th clutch setup and its still working so thats good news but in talking to Dave from triple edge he says the blue 4th clutches get burned up because they drag too much. He recommended just using the late style stock clutches with increased oil grooves and that seems to work for him. If the 3 clutch setup is burned I will be going back to those, if they look like new still ill be putting them back in and ill let you know the specs on it.
 
Back
Top