• The site migration is complete! Hopefully everything transferred properly from the multiple decades old software we were using before. If you notice any issues please let me know, thanks! Also, I'm still working on things like chatbox, etc so hopefully those will be working in the next week or two.

Took 2nd Place at GM Nationals

2003 SSEi

New member
yes, i know it may seem as a shock, especially given the class that i was in......1946 to Current Pontiac Full Size.....LOL a 65 year gap of cars.

My car was the newest out of the group, the next oldest car to mine was 30 years. a 1973 Convertible Pontiac Parisienne

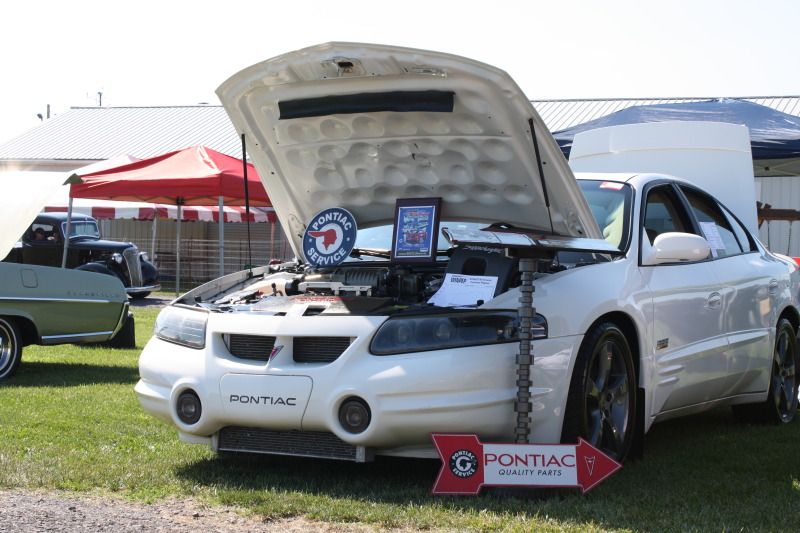
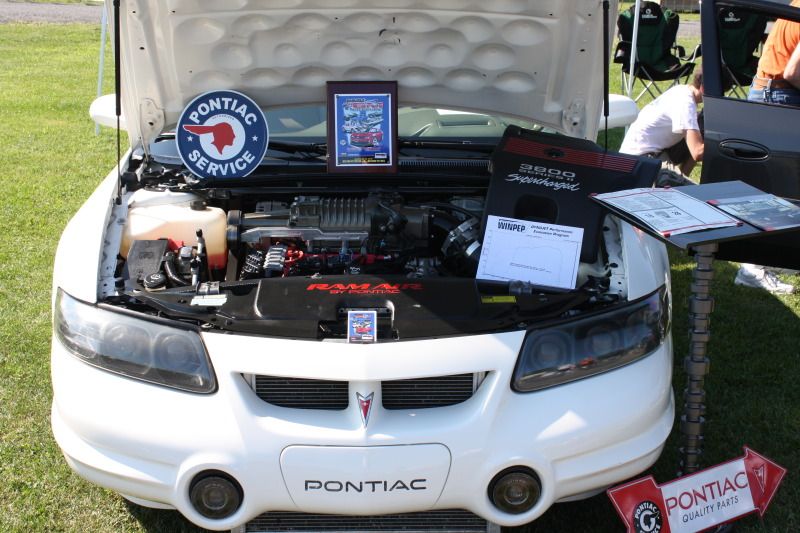
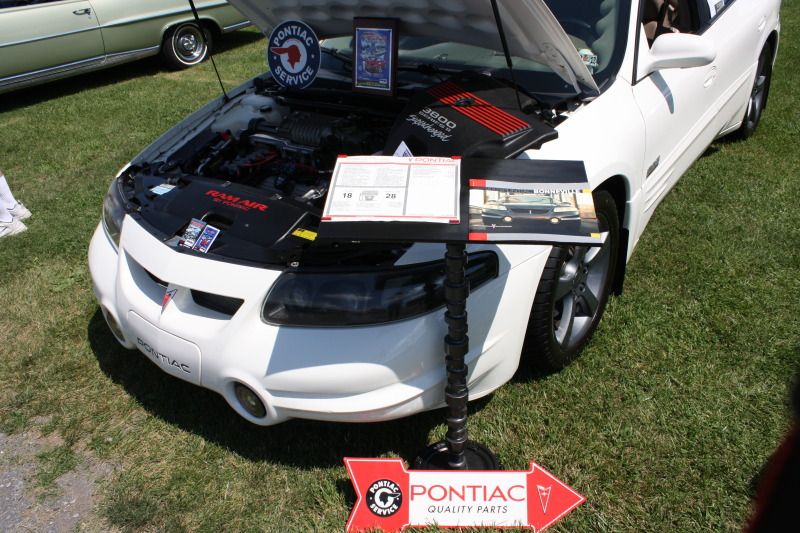
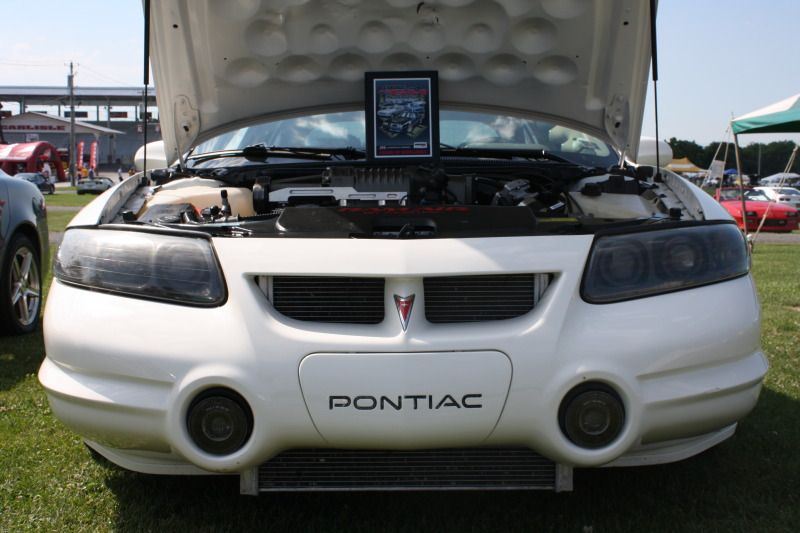
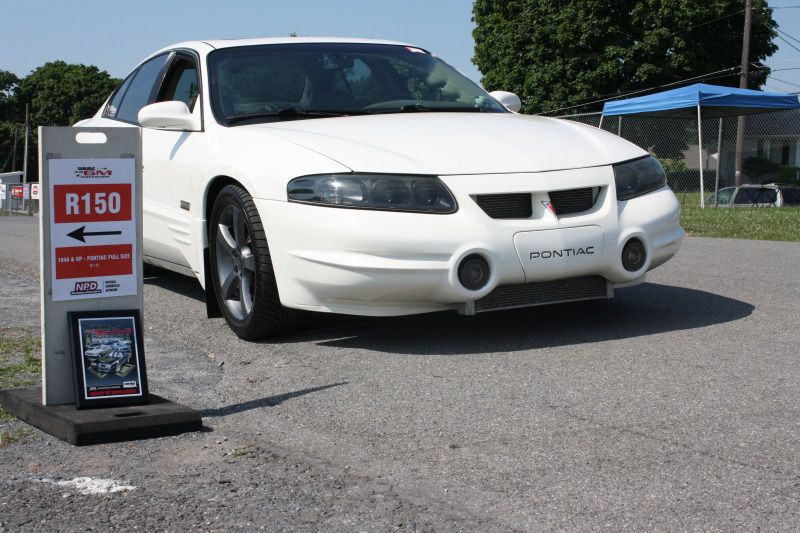
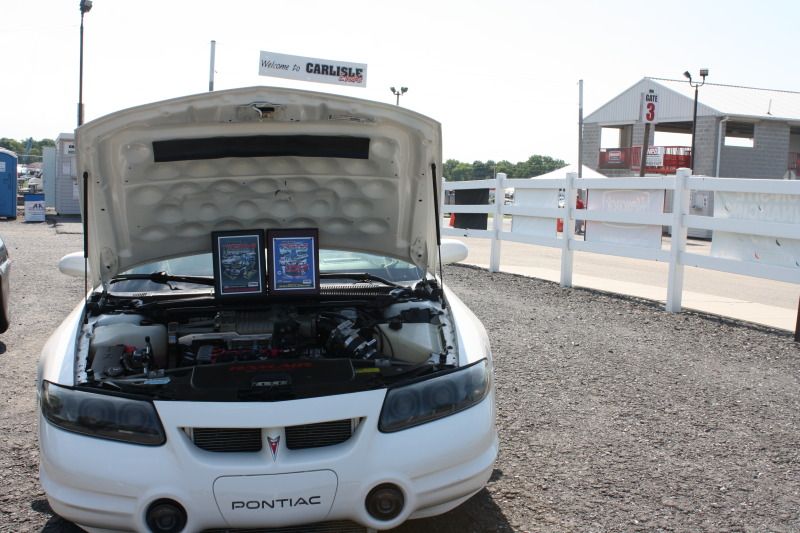
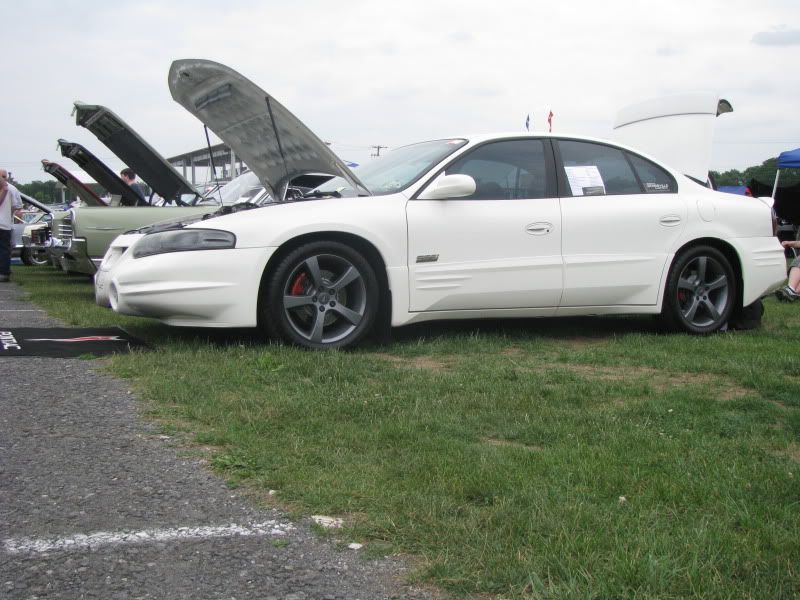
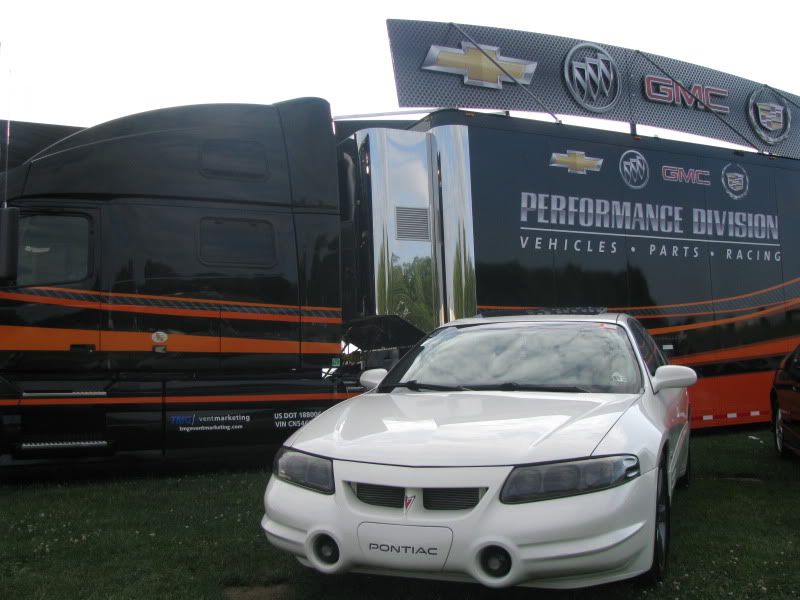
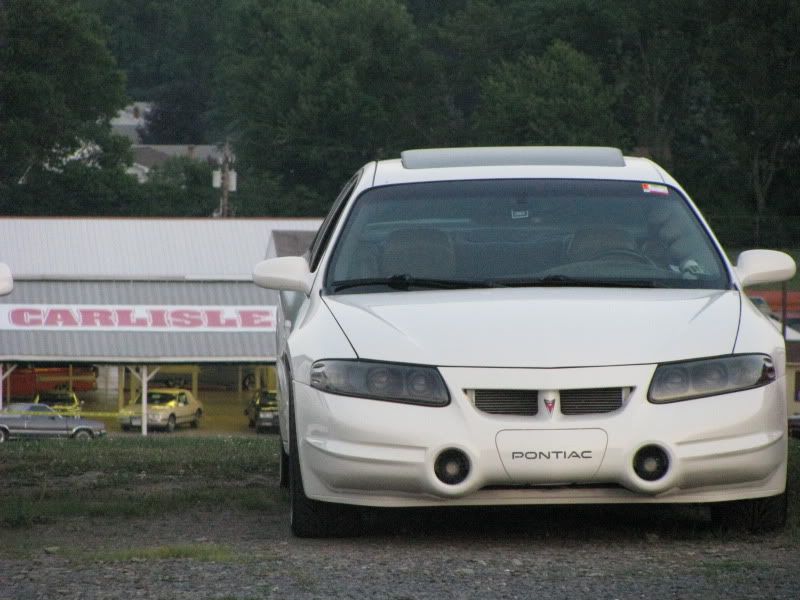
anyway here is a pic of my car on the showfield

IMG_1794.jpg


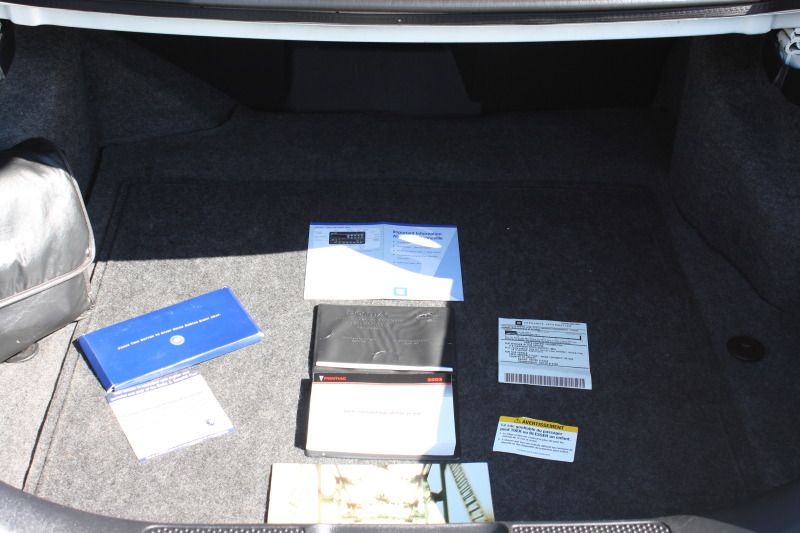
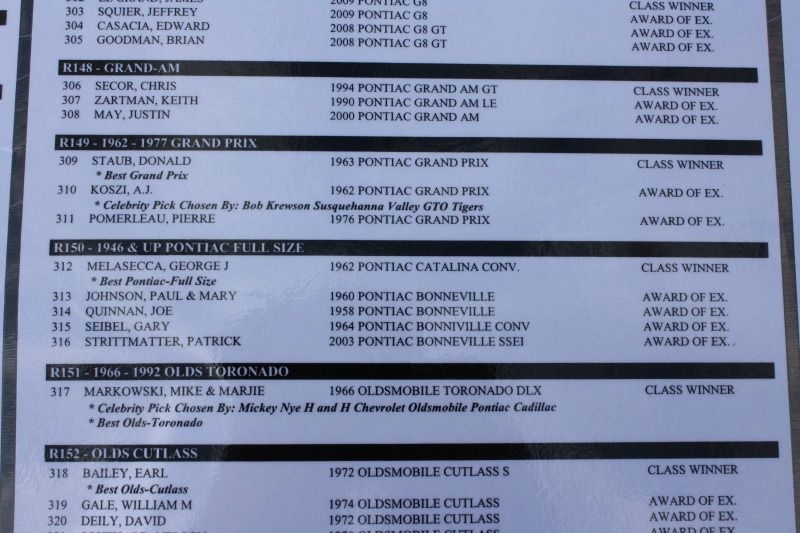
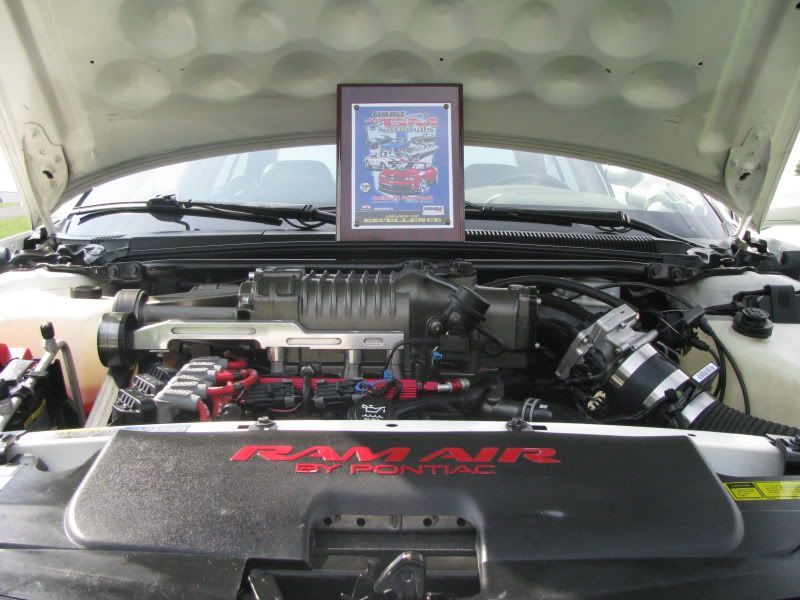
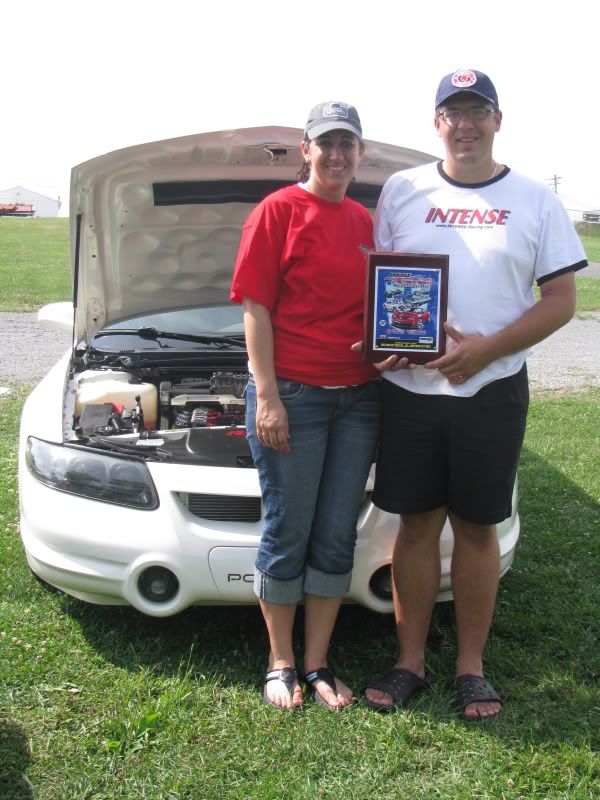
Pic of the award (Award of Excellence)
IMG_1832.jpg


IMG_1834.jpg


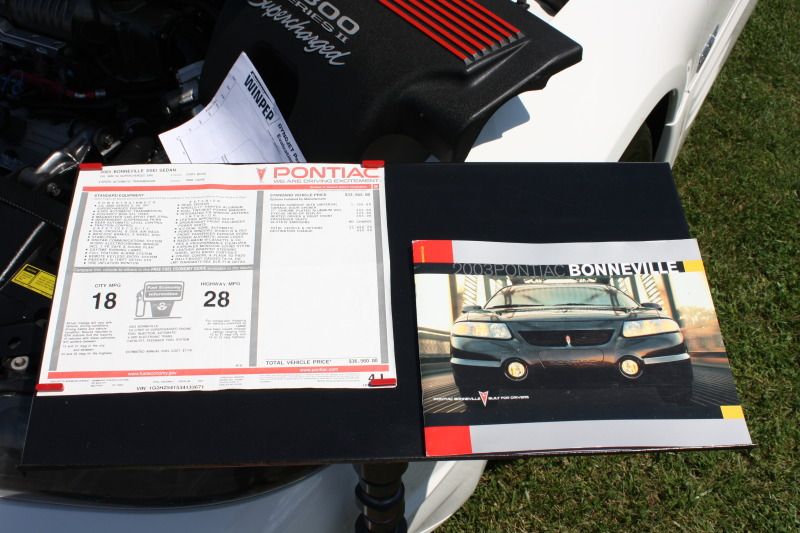
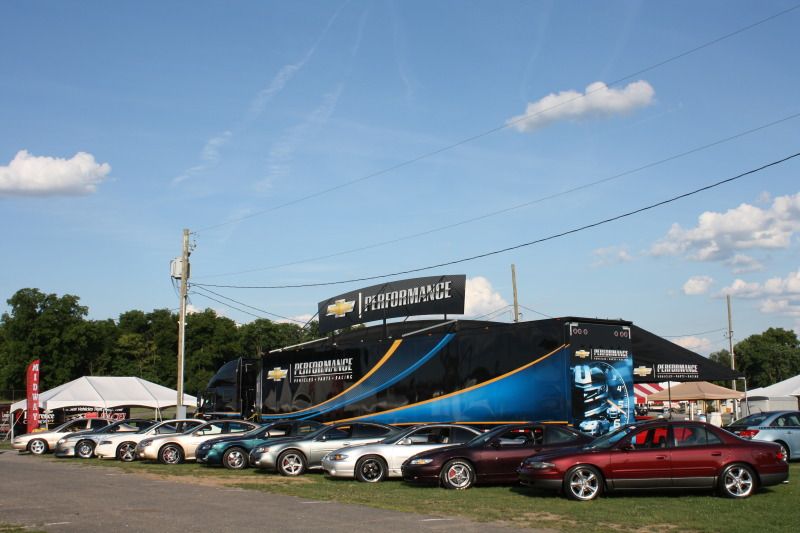
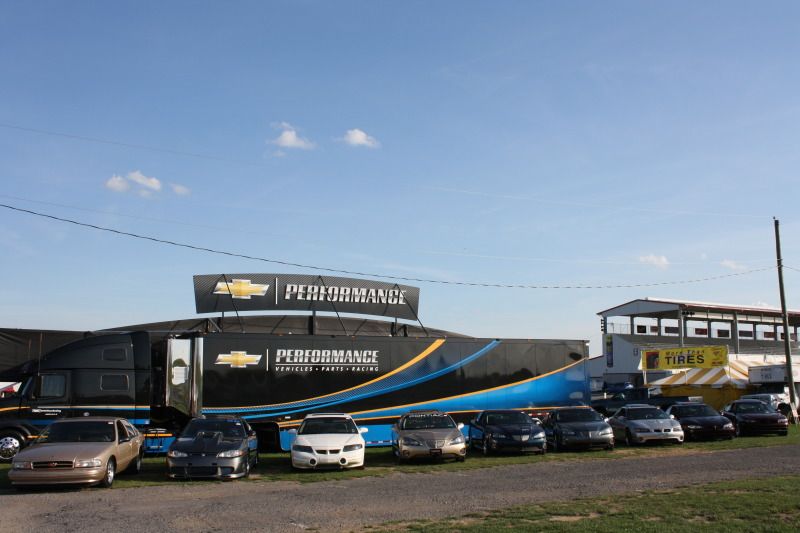
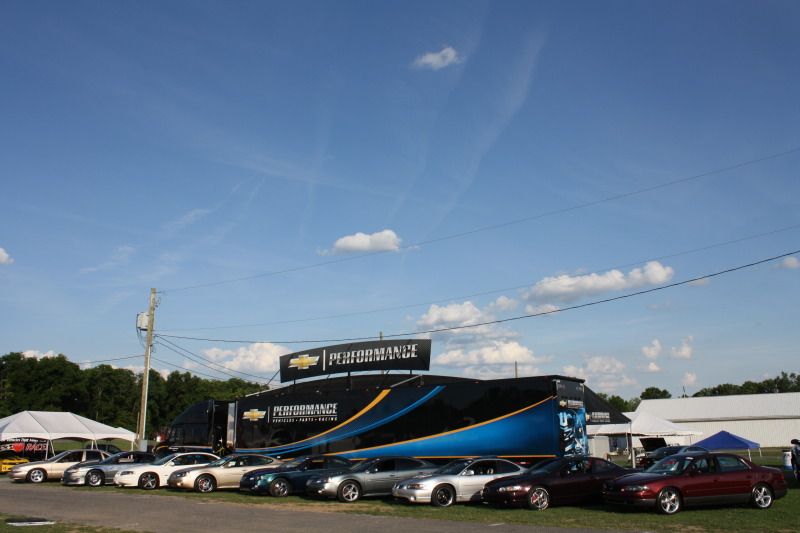
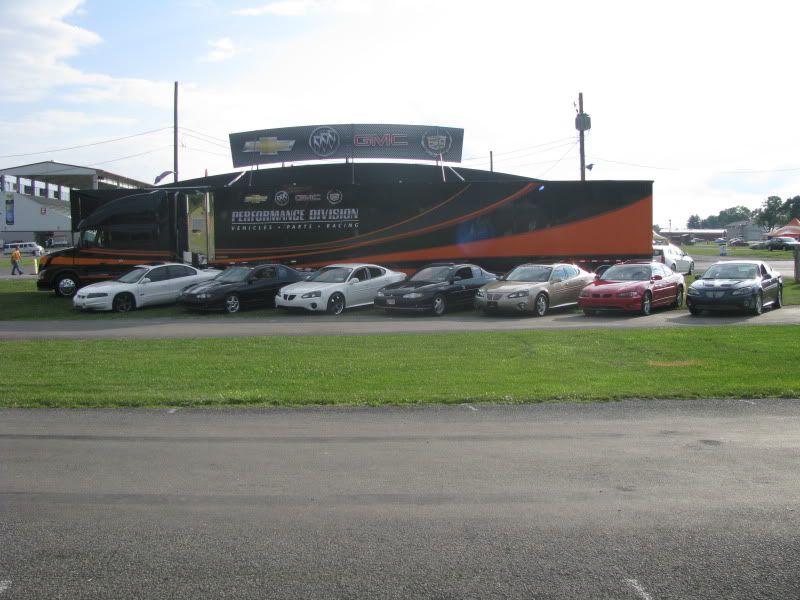
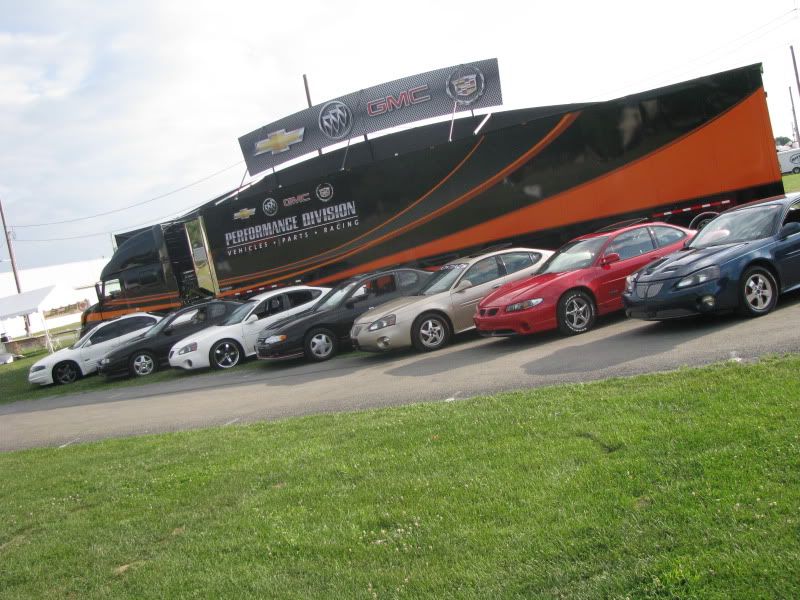
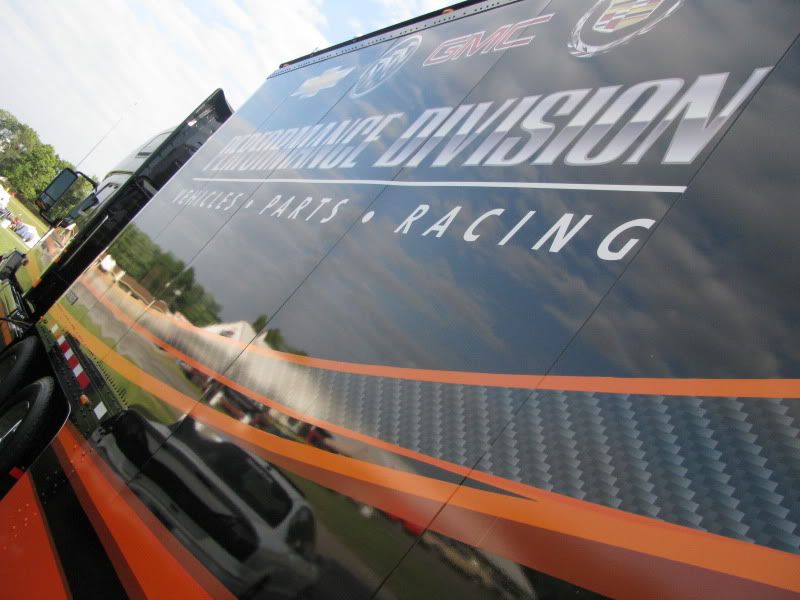
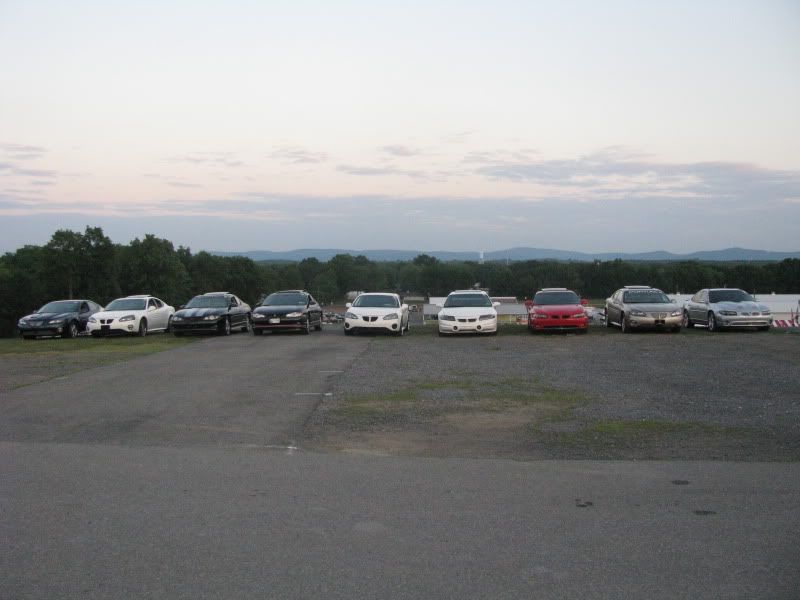
and Some other pics of the weekend
IMG_1805.jpg


IMG_1805.jpg


IMG_1808.jpg


IMG_1810.jpg


IMG_1811.jpg


IMG_1818.jpg


IMG_1820.jpg


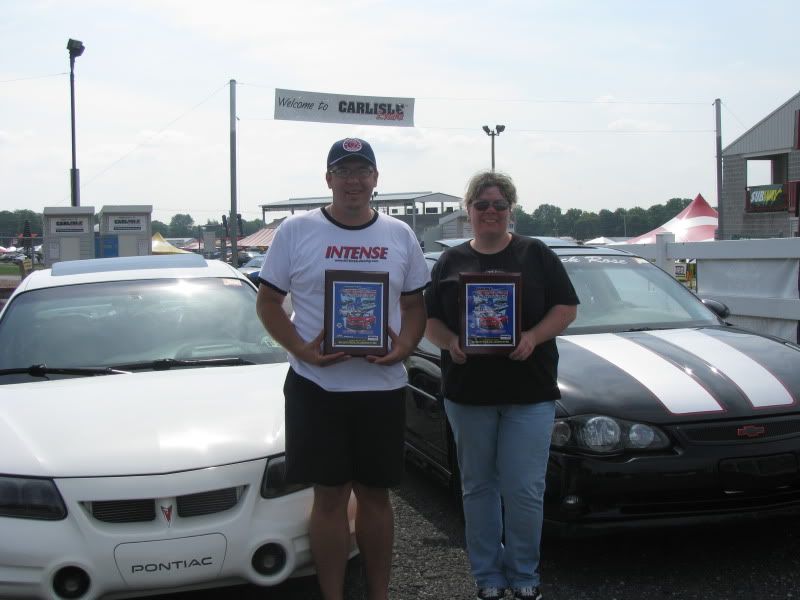
Myself and another Person that is in our club she took 3rd in the 5th, 6th and 7th Generation Monte Carlo
IMG_1839.jpg


I had a awesome time, and hope to repeat next year!!


hows that belt wrap kit next to the s/c workin for ya ive always heard about em but never saw one installled on a car
 
Wrapped Interior Pillars

As we all know, Gm uses Miles of plastic on the inside of the cars and the trucks they produce, espically in the 90's and the 2000's Most of the higher end cars that are out there have a "softer" look in the inside with more fabric or material used in place of the hard to touch plastics.

I took the "softer" approach in the interior, so that leads us to this project.

First off I choose this material.

IMG_2160.jpg


Its a non foamed backed headliner material in a Med Dark Neutral color that is a GM Spec. the Color of my bonneville is Med Neutral. So this color is slightly darker and matches the rest of the Theme in the car. The Sun Visors, the Overhead consoles, the Vanity Mirrors and the overhead oh chit handles are all a Dark Neutral Color out if other H Bodies (Lesaber and the Aurora)

So on to the Process. Notice the Camera washes out ALOT of the color

C pillars First

I has a spare set so i first modified them with some Aux lights that the Aurora has near the C pillars.

Outline
IMG_2134.jpg


template
IMG_2132.jpg


IMG_2133.jpg


and the Cut
IMG_2135.jpg


Finished Product (before wrapping) I need to get the correct push switch color
IMG_2136.jpg


IMG_2137.jpg


C pillars.

Starting wrapping

IMG_2174.jpg


IMG_2173.jpg


and finished all wrapped up
IMG_2177.jpg


IMG_2175.jpg


Installed
IMG_2181.jpg


IMG_2183.jpg


B pillars
IMG_2161.jpg


they needed separated first to do it correctly
IMG_2162.jpg


IMG_2163.jpg


starting wrapping
IMG_2164.jpg


IMG_2165.jpg


and BAM installed

IMG_2168.jpg
 
Re: Wrapped Interior Pillars

Pillar Pod. this was an extreme Pain in the Ass. there are so many bends, and it took a few days to plan this one out and get it finished.

One of the first places glued
IMG_2205.jpg


and the look at that point.
IMG_2206.jpg


there are really no progress pics. Once you start, there is no stopping

IMG_2207.jpg


IMG_2208.jpg


IMG_2209.jpg


Holes Cut and ready for install
IMG_2211.jpg


IMG_2212.jpg


IMG_2214.jpg


Installed with the gauges
IMG_2215.jpg


IMG_2216.jpg


IMG_2217.jpg


Another Award. Repeat of Last Lear!!!!

Here are the pics. I stepped up the "display" from last year.

IMG_2360.jpg


IMG_2362.jpg


IMG_2486.jpg


IMG_2487.jpg


IMG_2365.jpg


The Group
IMG_2584.jpg


IMG_2588.jpg


IMG_2590.jpg


The Award
IMG_2674.jpg


IMG_2679.jpg


IMG_2688.jpg


Both Awards
IMG_2694.jpg


I was really suprized, there was some awesome competition this year
 
Back
Top