CrazyGuy03
New member
Sorry I didn't have time to copy and paste the entire thread over.
But if anyone is interested , it's here http://www.regalgs.org/topic/58752-new-build-for-the-gsx/
nothing major like a csc or turbo but m90 s3 cam and heads build (maybe now I will put my slp stage "3" badge on)")
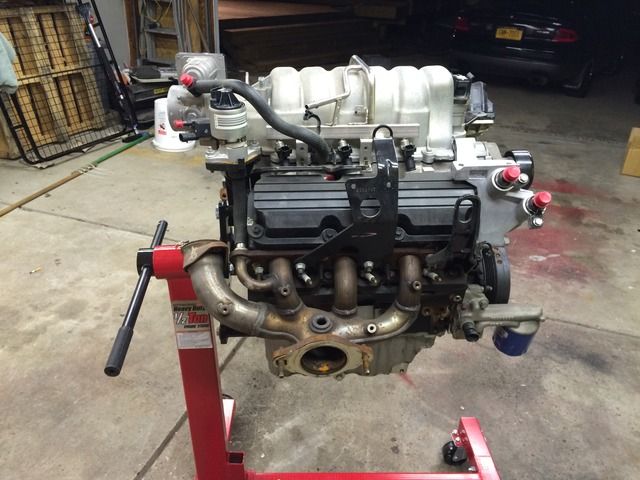
L26 build
Edited 5/20/15 Copied all the pics over from the regal site Lots of pics to pass the time
Waiting

Super clean -


The heads look amazing too bad I can't use em

Will re use the rockers

GM valve seals - green for exhaust blue for intake

Only thing that didn't like sitting all these years was the dex cool. Very bad stuff / I'm willing to bet if it was green coolant, it would be a lot nicer looking in my water ports

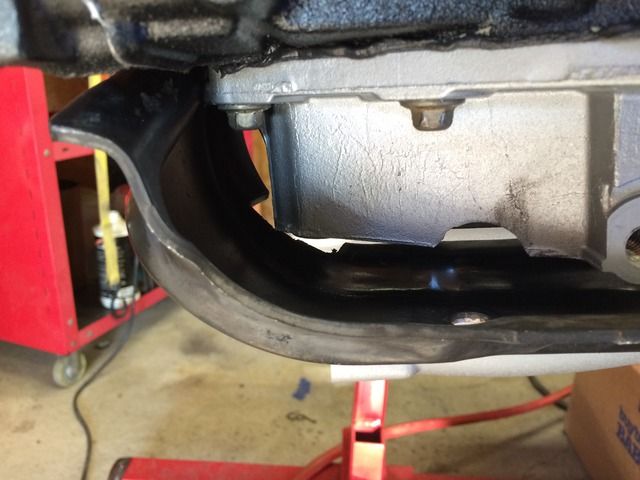
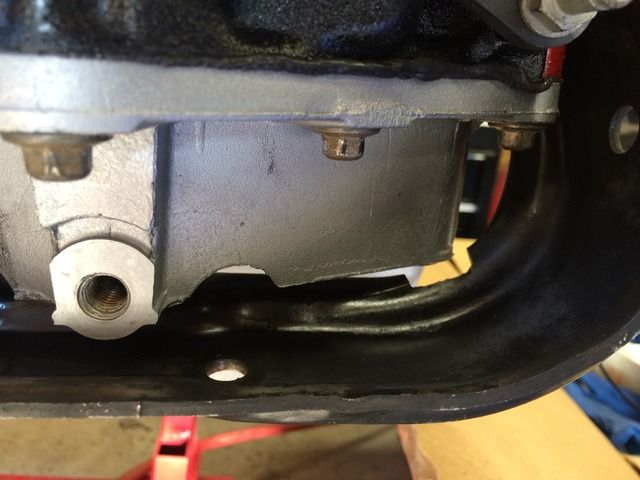
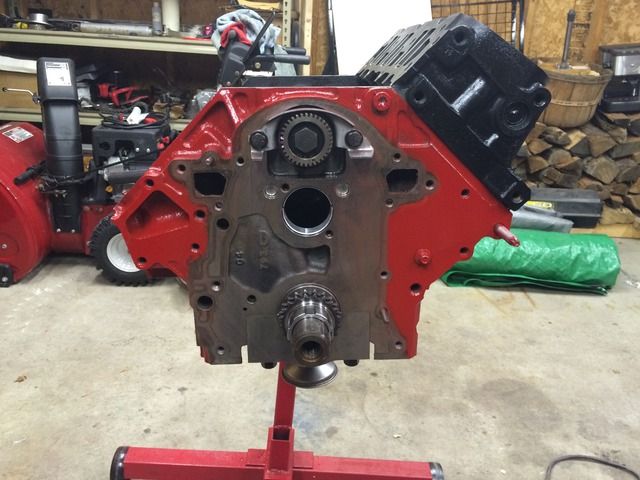
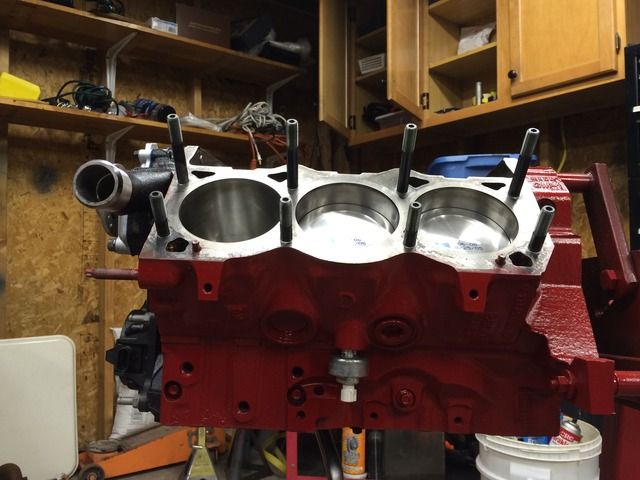
Block looks great. Can read every date code even on the bottom of the oil pan


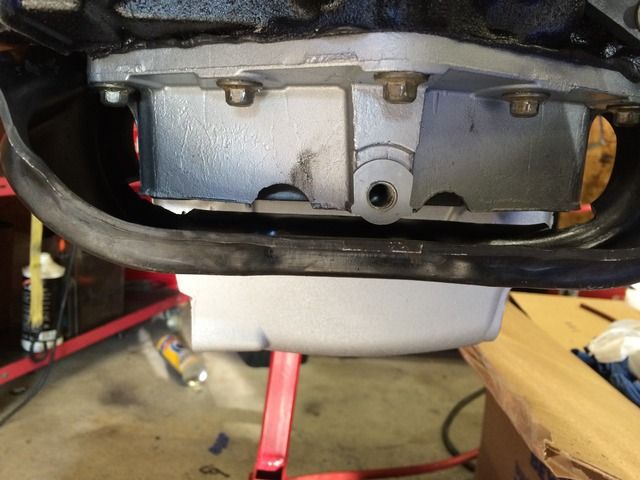
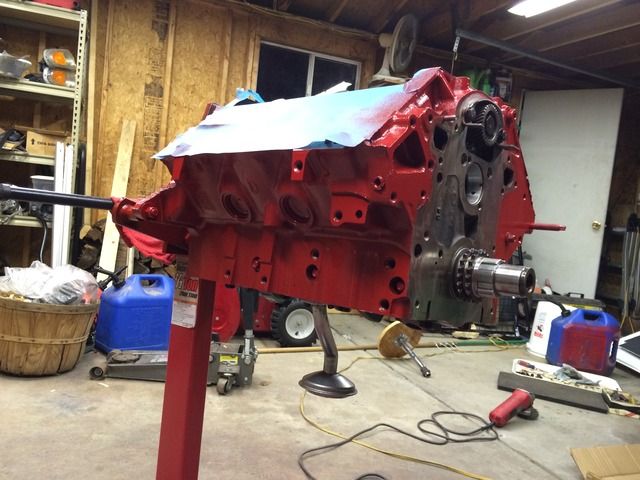
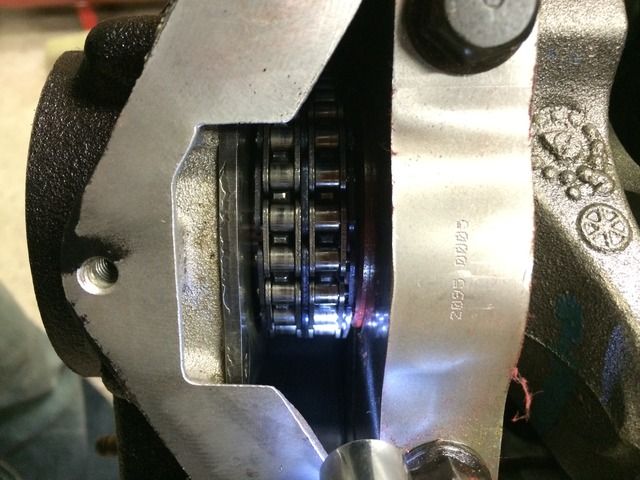
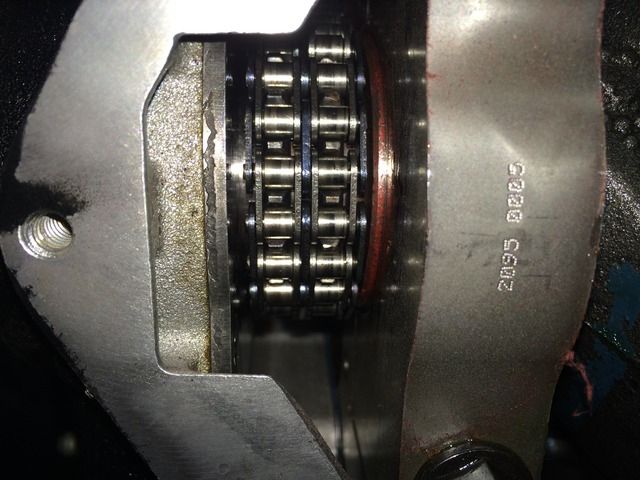
The big controversial bottom end


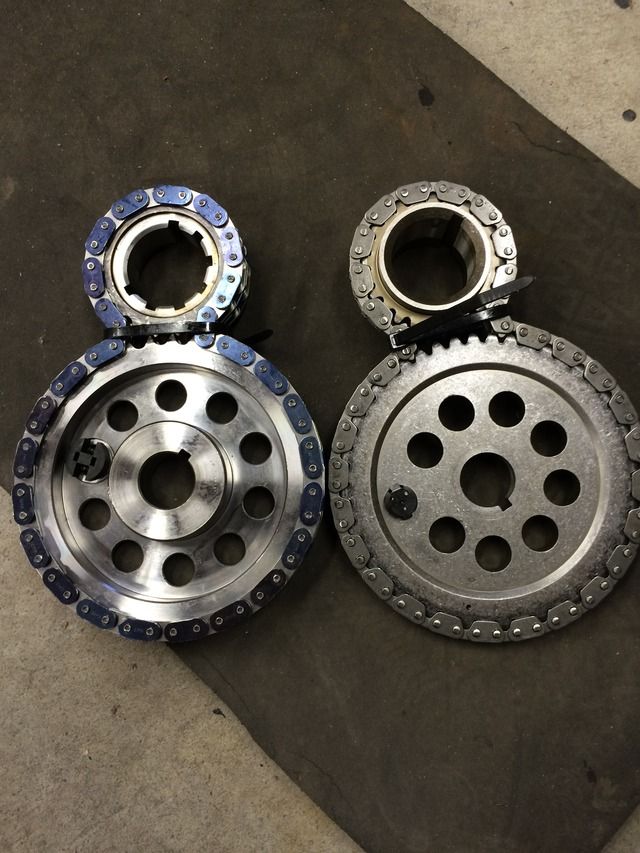
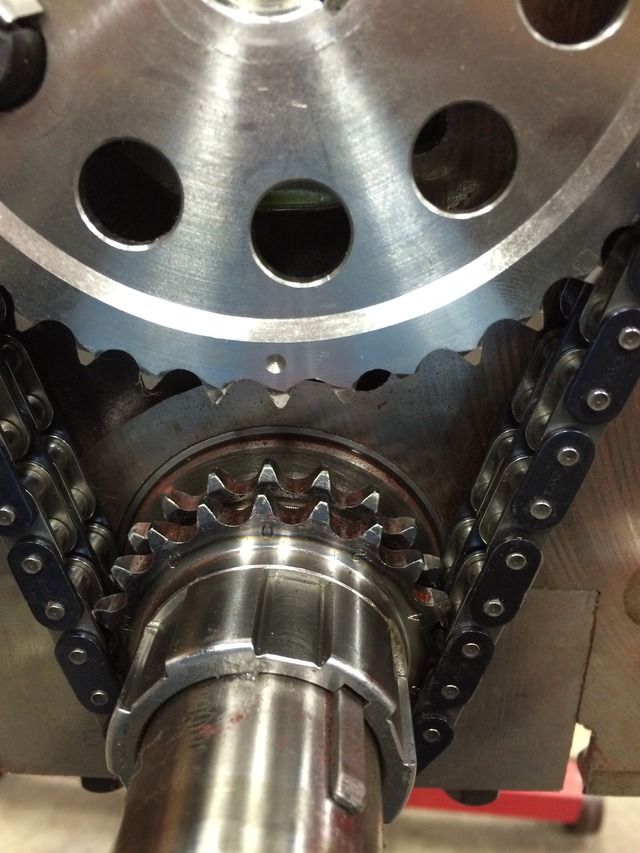
Stripped down for cam/ double roller

But if anyone is interested , it's here http://www.regalgs.org/topic/58752-new-build-for-the-gsx/
nothing major like a csc or turbo but m90 s3 cam and heads build (maybe now I will put my slp stage "3" badge on)
L26 build
Edited 5/20/15 Copied all the pics over from the regal site Lots of pics to pass the time
Waiting
Super clean -
The heads look amazing too bad I can't use em
Will re use the rockers
GM valve seals - green for exhaust blue for intake
Only thing that didn't like sitting all these years was the dex cool. Very bad stuff / I'm willing to bet if it was green coolant, it would be a lot nicer looking in my water ports
Block looks great. Can read every date code even on the bottom of the oil pan
The big controversial bottom end
Stripped down for cam/ double roller
Last edited:


 hopefully my stock head bolts hold up