• The site migration is complete! Hopefully everything transferred properly from the multiple decades old software we were using before. If you notice any issues please let me know, thanks! Also, I'm still working on things like chatbox, etc so hopefully those will be working in the next week or two.

Installing new Tranny and Engine Mounts w/ Vinnie's cradle spacers

geddy, how did the splines look on the input shaft? were they a little worn and then the input shaft and axles binded against one another and got stuck? i dont see how this happens unless they started to spin independently.

and SC, i was guessing. they look like the BMR or speedbuilt bars from a glance.


Obviously you didnt see the pictures right above your post. That happiness is lessened by the fact of dishing all that green for that stupid half shaft!

But yes I am happy the results, but just not at the cost of it.

well hey, at least you didnt drive off the lot after spending all that green and still having issues, or not have a better feeling ride :th_thumbsup-wink:

you have to keep the car now :th_winking:
 
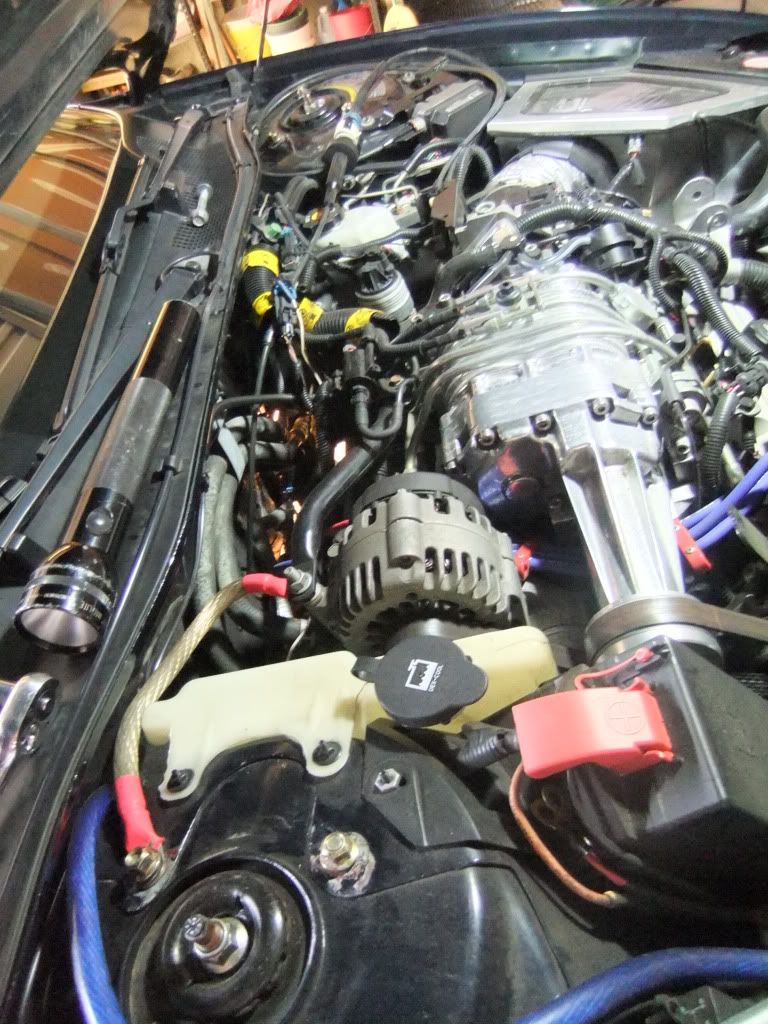
Ok now for the shots of this freakin mess!!!

DSCF1252.jpg


DSCF1250.jpg


DSCF1253.jpg


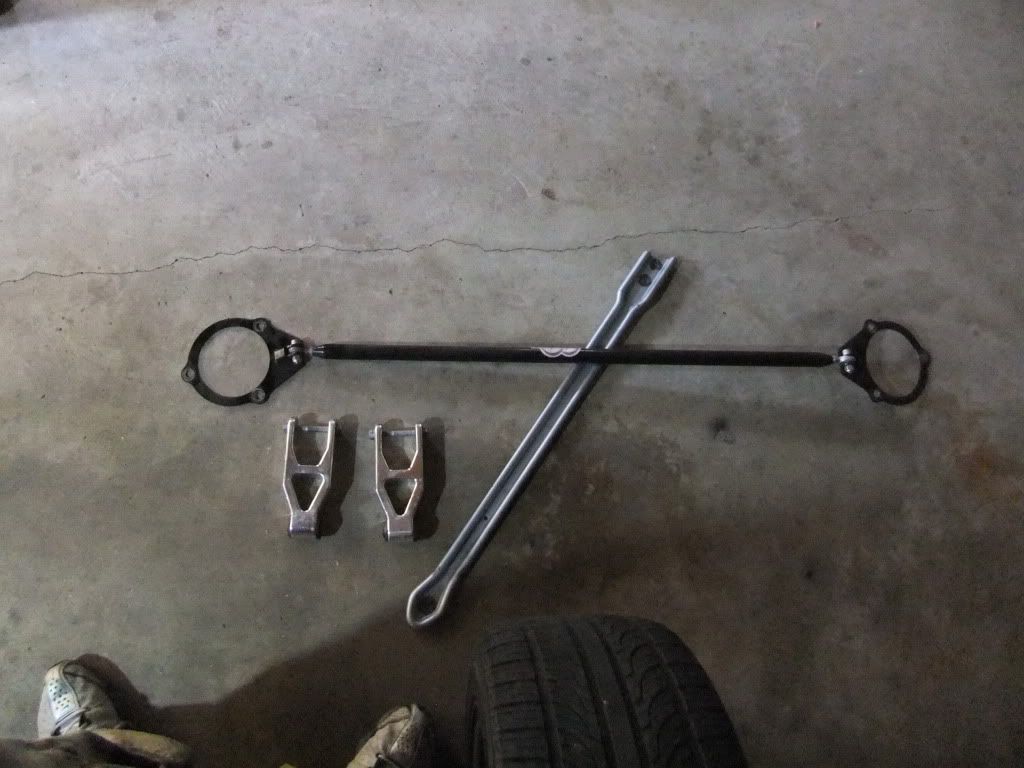
Removed the Dogbones

DSCF1257.jpg


Removed the strut tower bar

DSCF1260.jpg


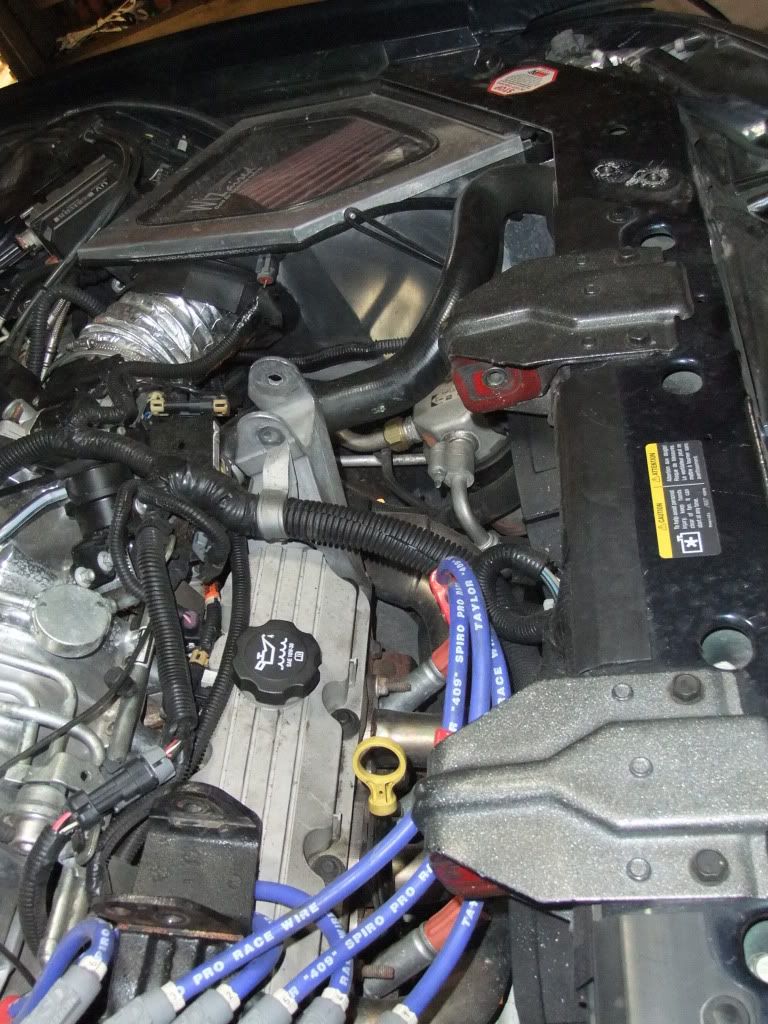
All the parts I had to remove from the engine bay.

DSCF1262.jpg


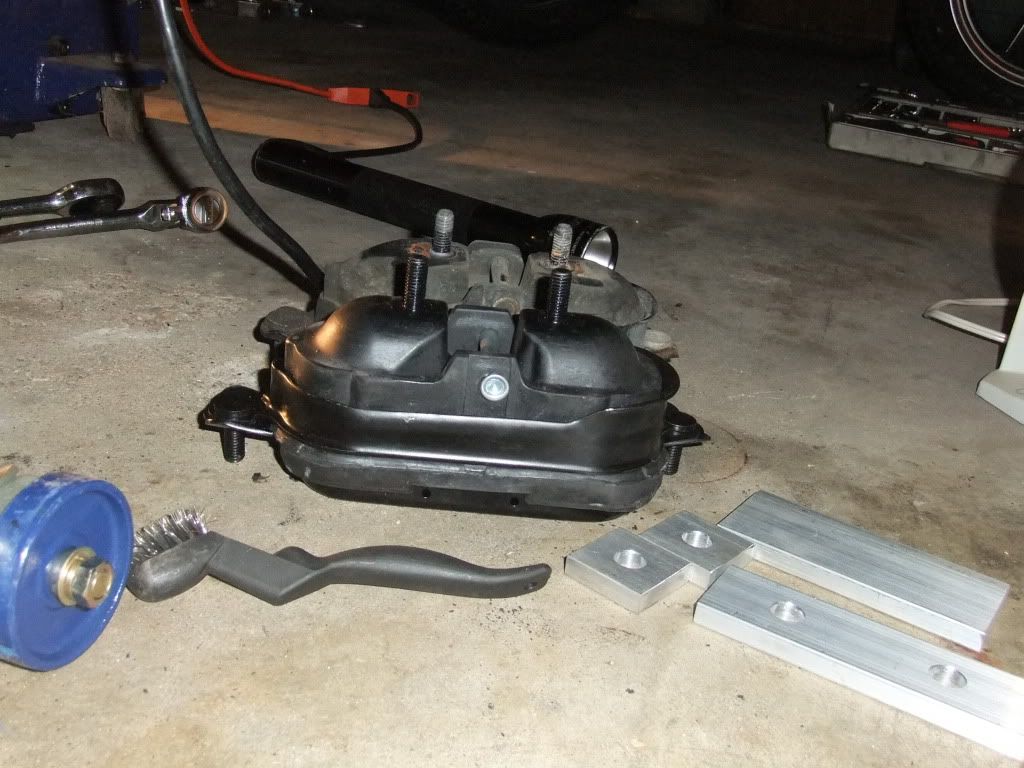
New solid motor mount and Vinnie's cradle spacers

DSCF1279.jpg


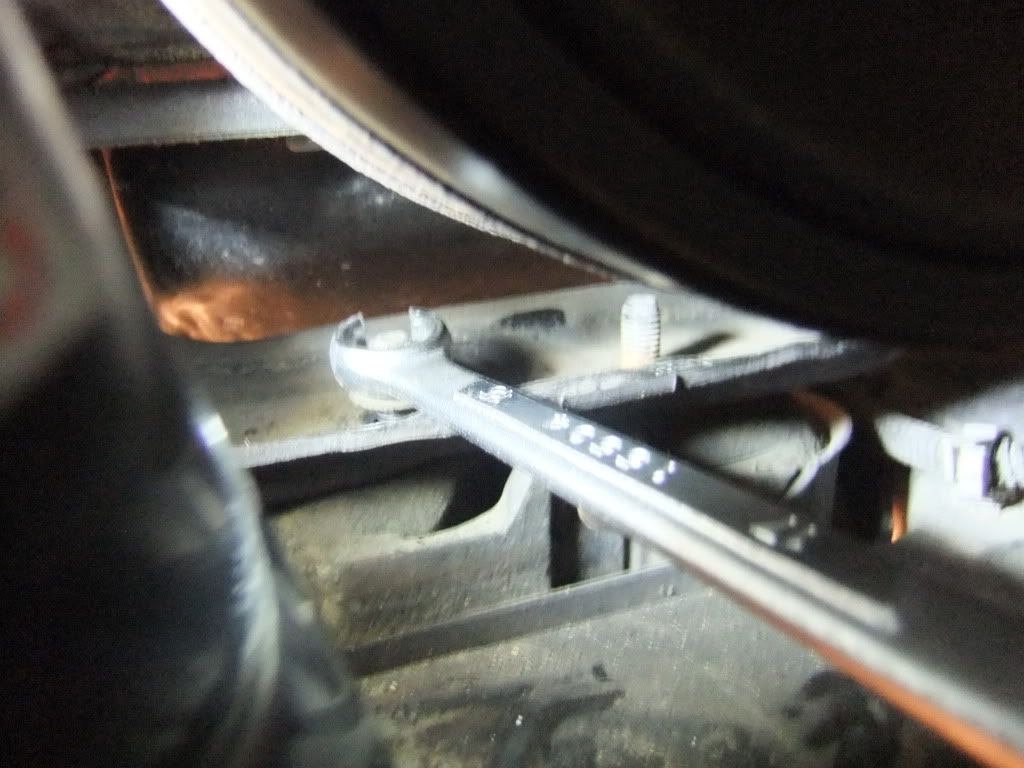
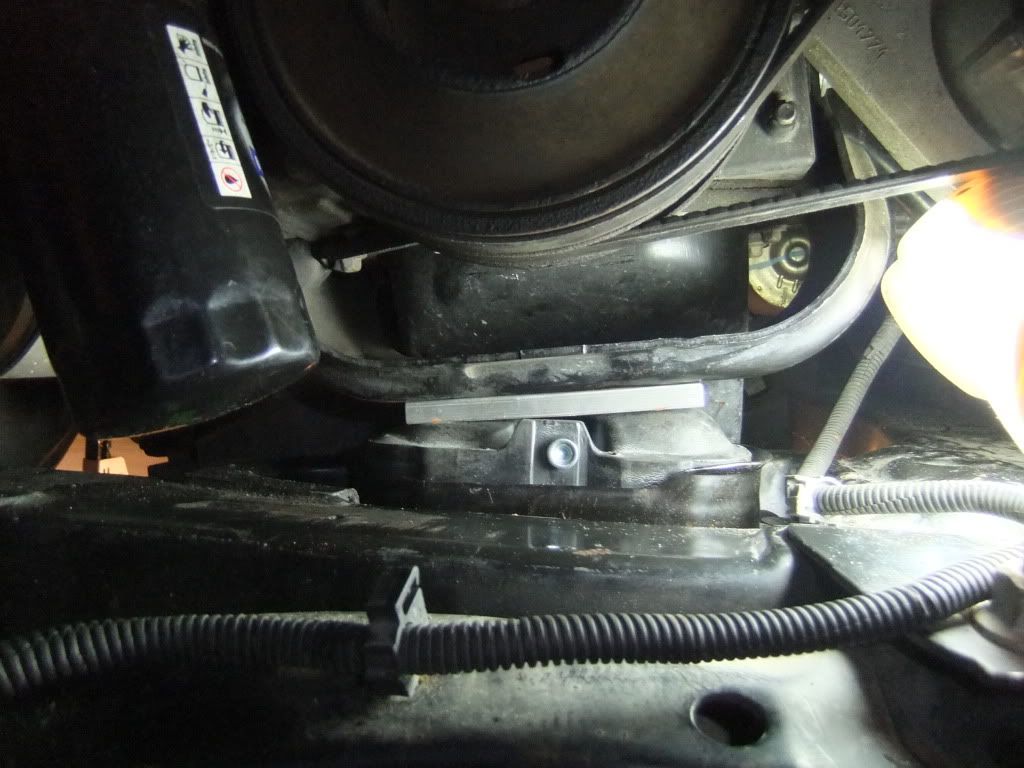
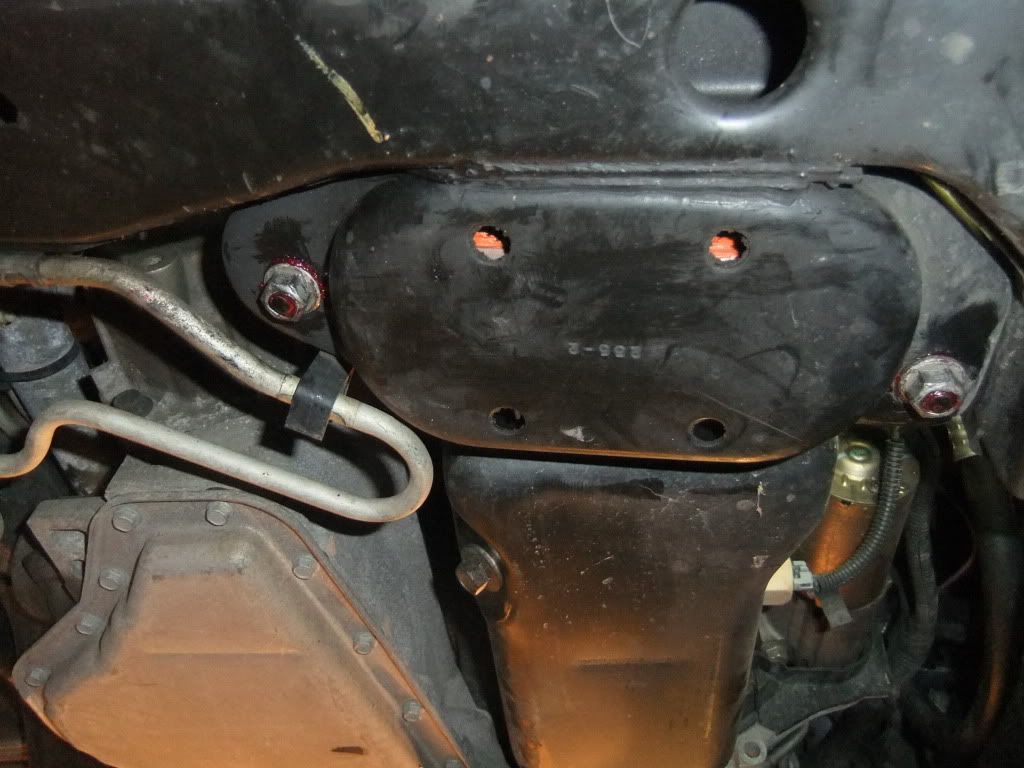
The back stud was a buggar cause I could not use my ratchet on cause it kept hitting the oil pan, so I had to use a 15mm line wrech to slowly the buggar off....

DSCF1272.jpg


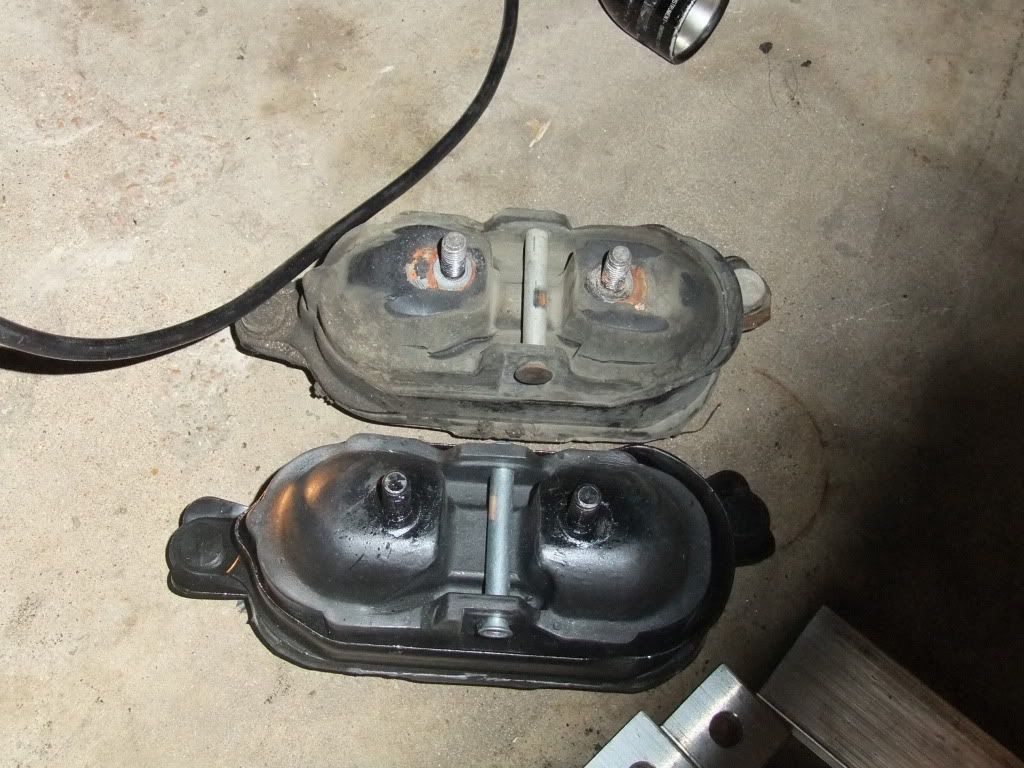
Got the old mount and the new one next to it for comparision.

DSCF1280.jpg


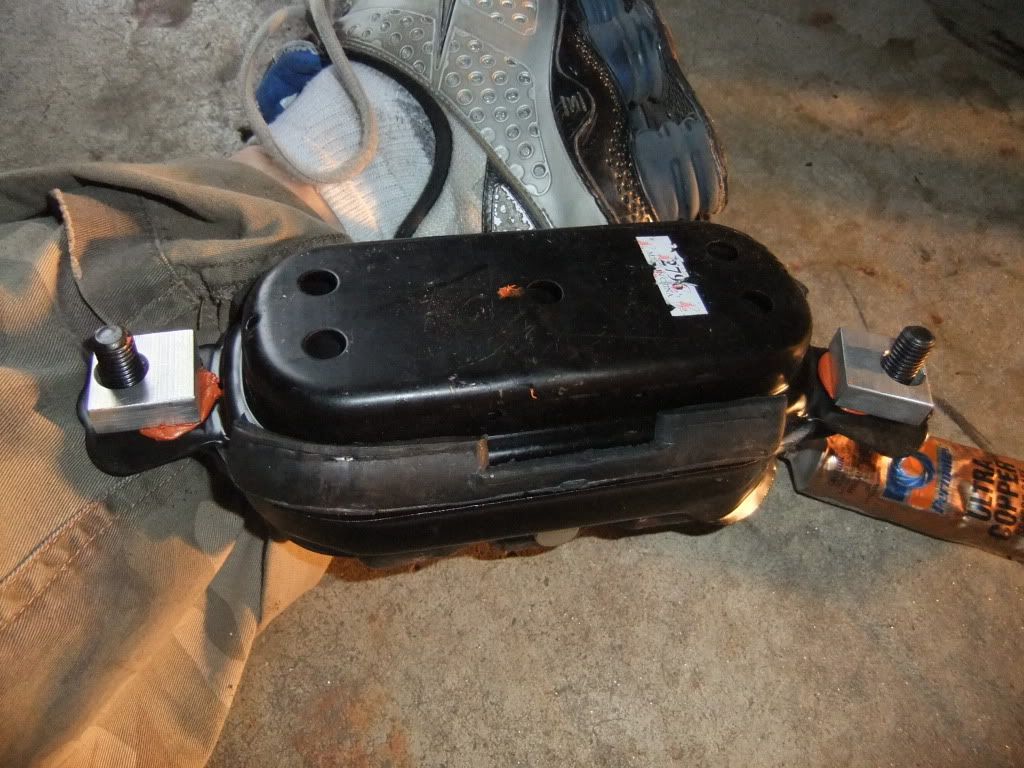
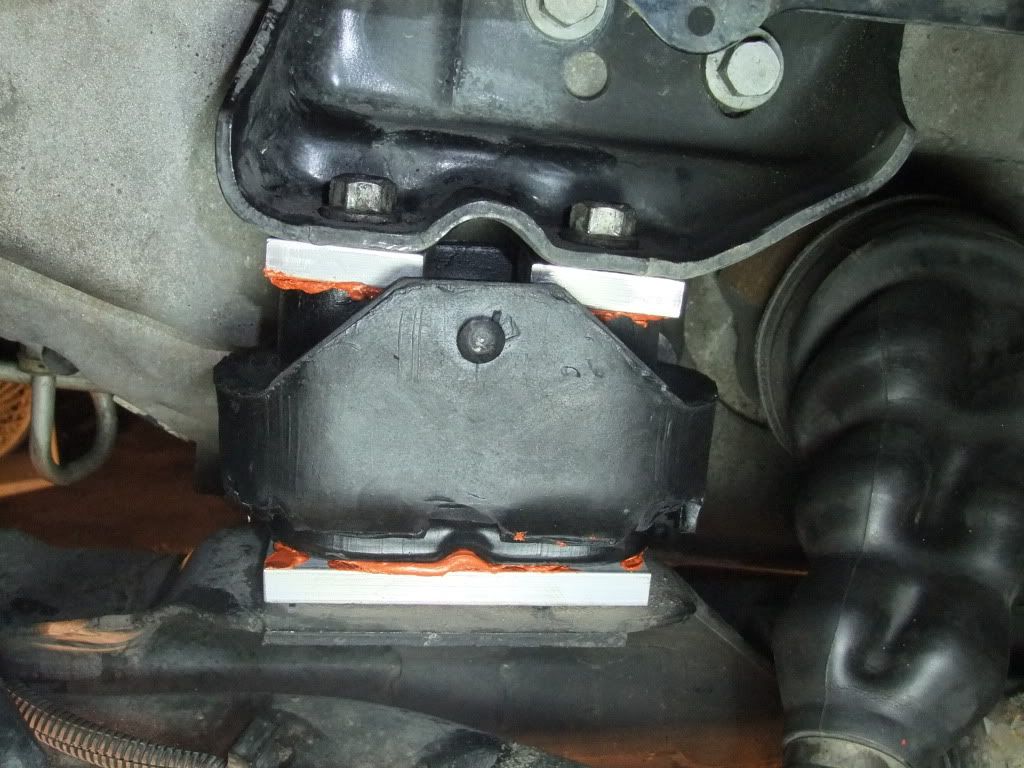
I used RTV on the offsets to keep them place, there is also a long aluminum piece that sits in the tray below the mount to help keep it level with the off set spacers. I used RTV on that too to keep in place.

DSCF1282.jpg


You can catcha glimpse of the off set spacer under the mount.

DSCF1284.jpg


The most time consuming part of this whole mess was realigning the engine with the mounts and the bolt holes. Took forever doing it by myself.

DSCF1286.jpg


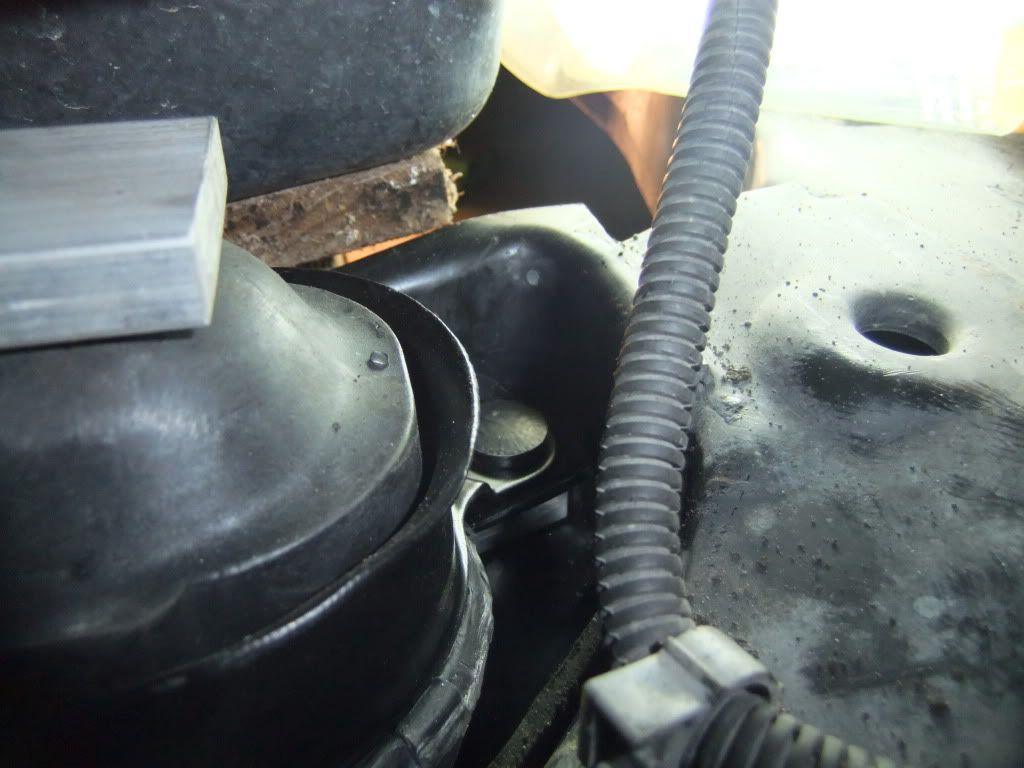
Plenty of locktite on the bottom nuts and you can see some RTV showing through the hole of the seat where the motor mount goes and you can see a hint of the solid spacer in the hole too.


DSCF1290.jpg


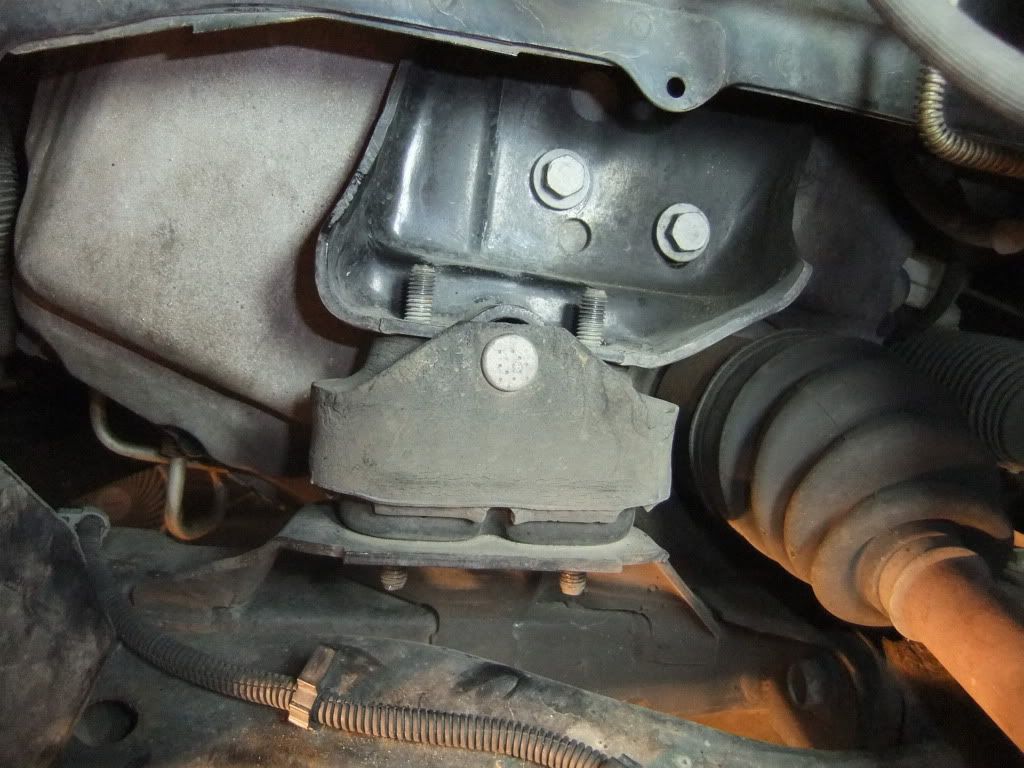
Next up, the tranny mount. This one was a piece of cake to get to without much effort.

DSCF1291.jpg


Here it is installed, i used the single spacers uptop cause it seemed more likely they went up there and the long solid piece went on the bottom to fit snuggley on the base of the cradle.

DSCF1296.jpg


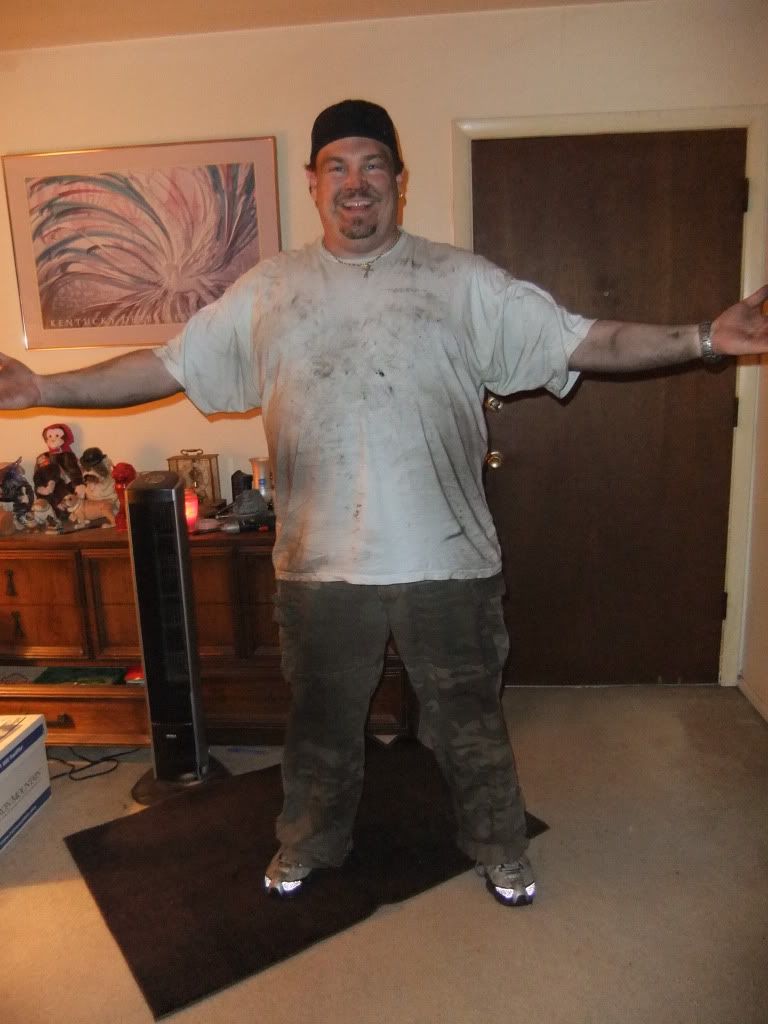
Last but not least, a dirty job well done!!

DSCF1297.jpg

You got them all in the right place.

Motor - Long 1.5" wide on top, offsets and 2" wide on bottom.
Trans - Square center holes on top, shorter 1.5" wide on bottom
 
Back
Top