Bronco Boy
Donating Users
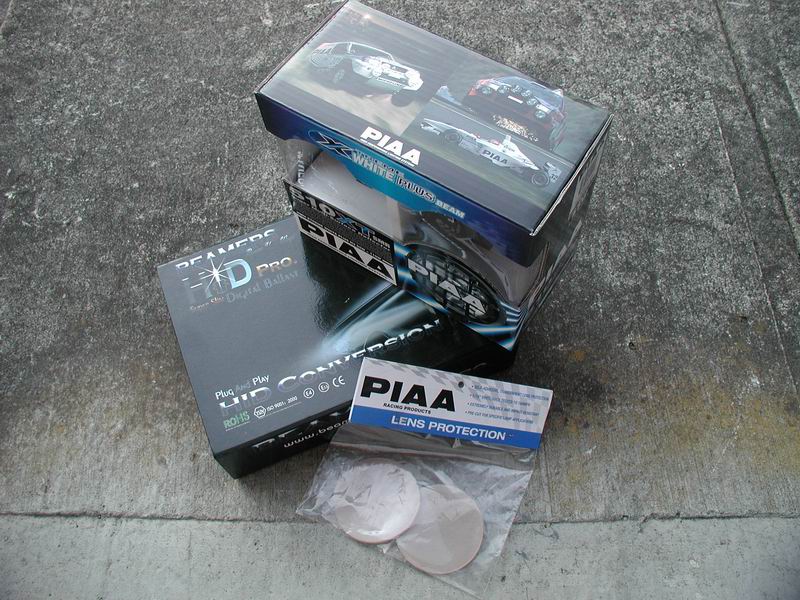
I finally got my fog lights; Piaa 510SMR's, Piaa lens protectors, and Beamers H3 HID bulbs. Here is the install.....
Pile 'o parts.
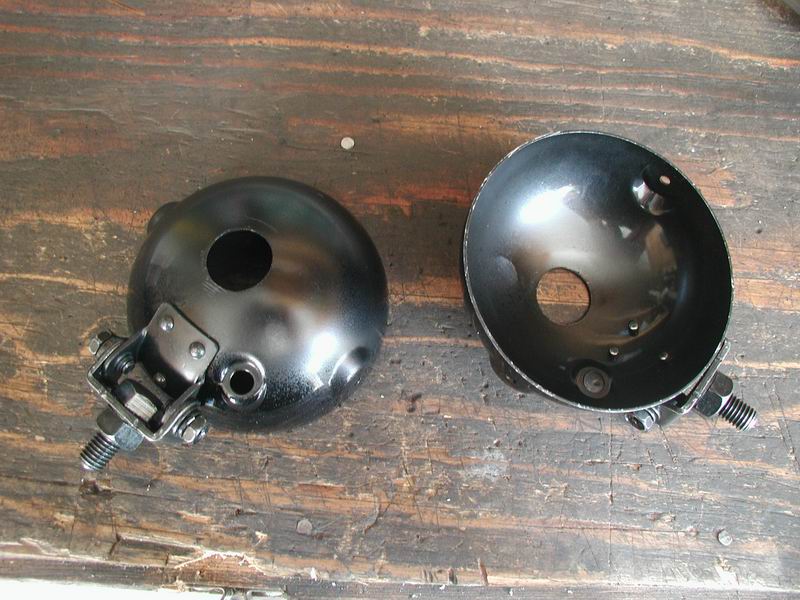
Drilled larger holes in the Piaa housings to clear the HID bulbs.
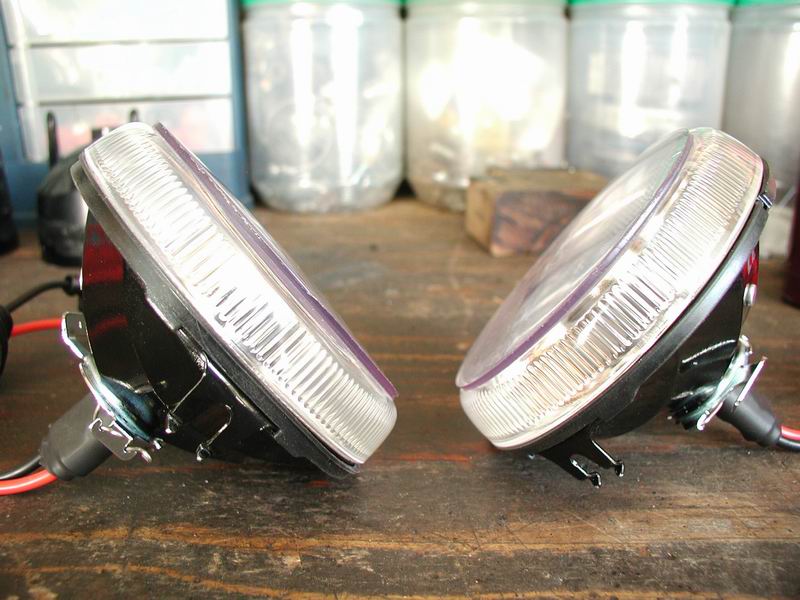
HID bulbs in the new lenses.

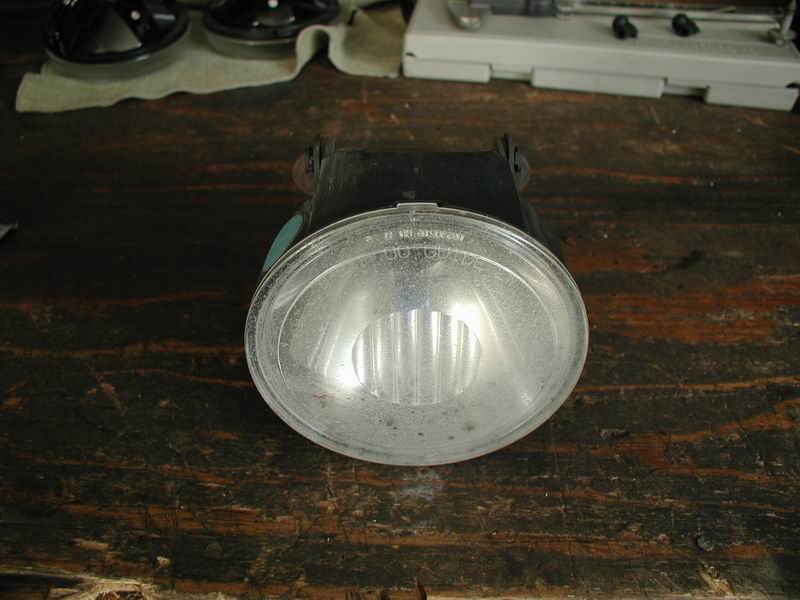
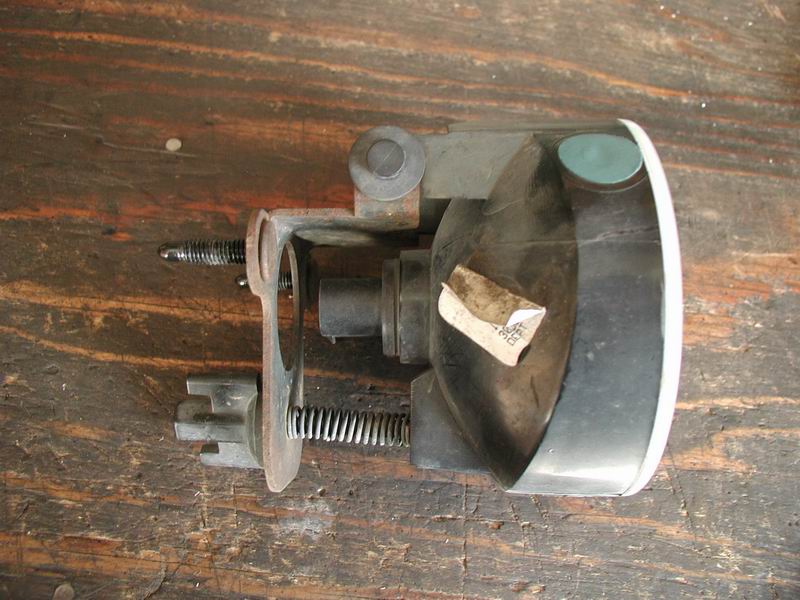
The "unclear" stock lamps.
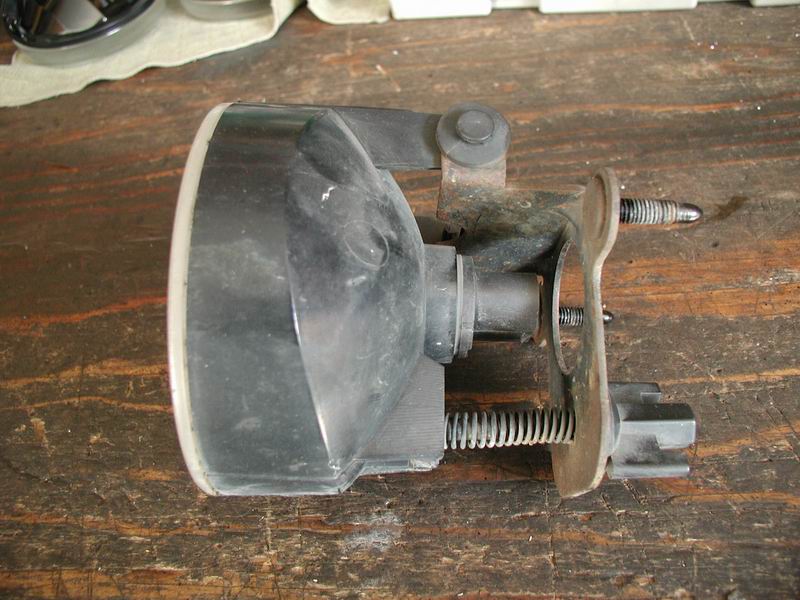
Side shots of the stock lamps.
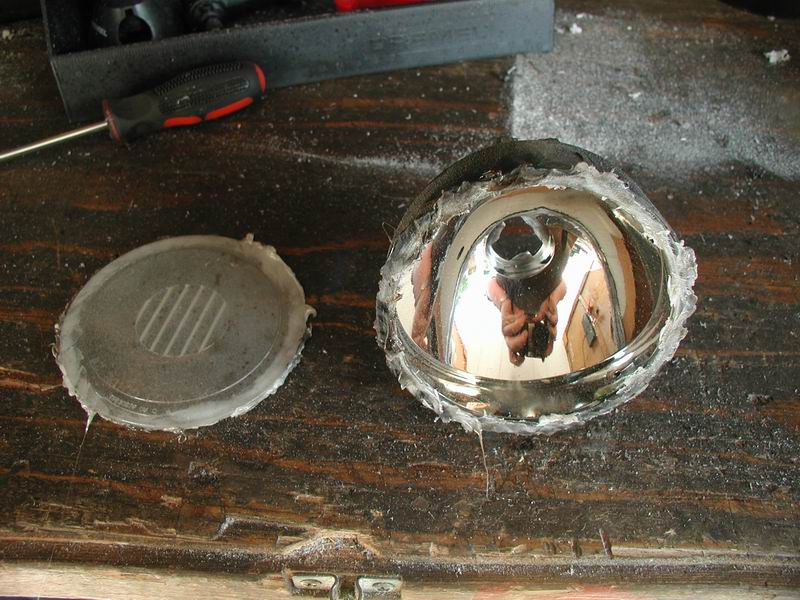
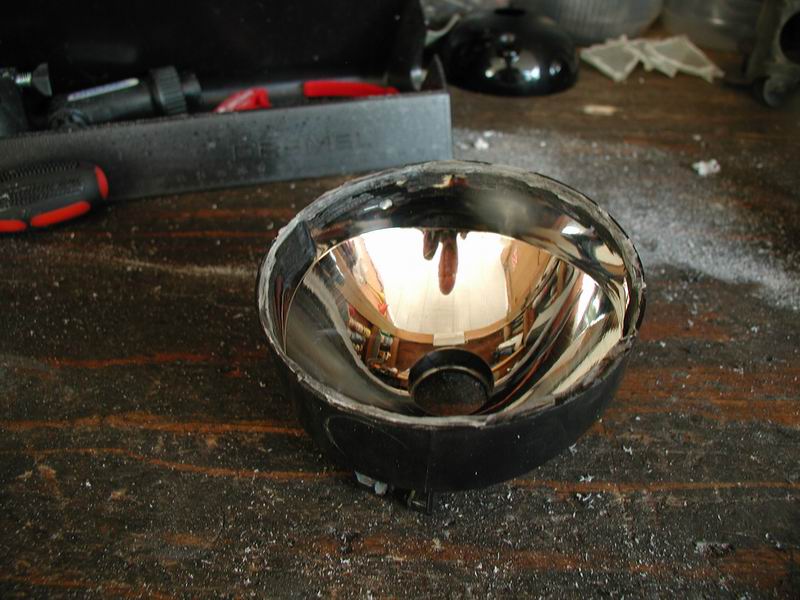
Lens removed from stock lamp housing.
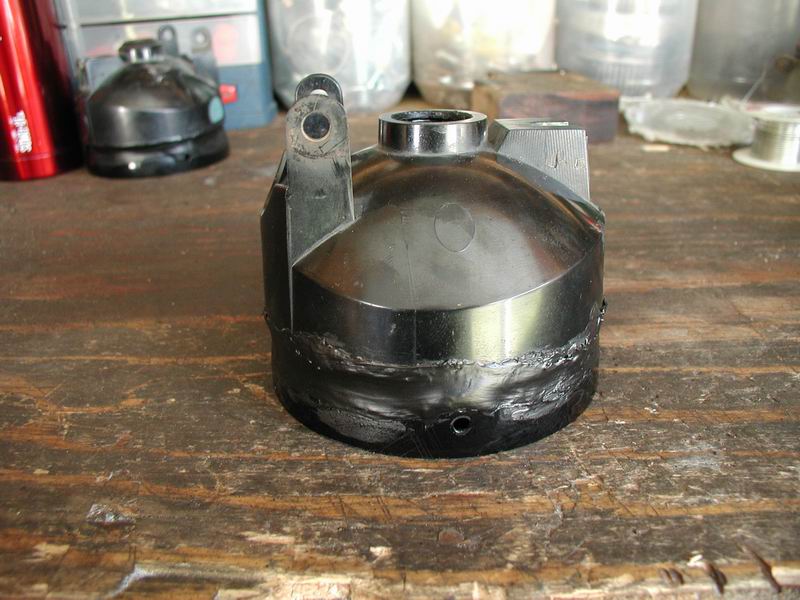
Piaa housing urethaned to the stock housing. Not pretty, but it works.
Lens protectors stuck to the Piaa lenses.
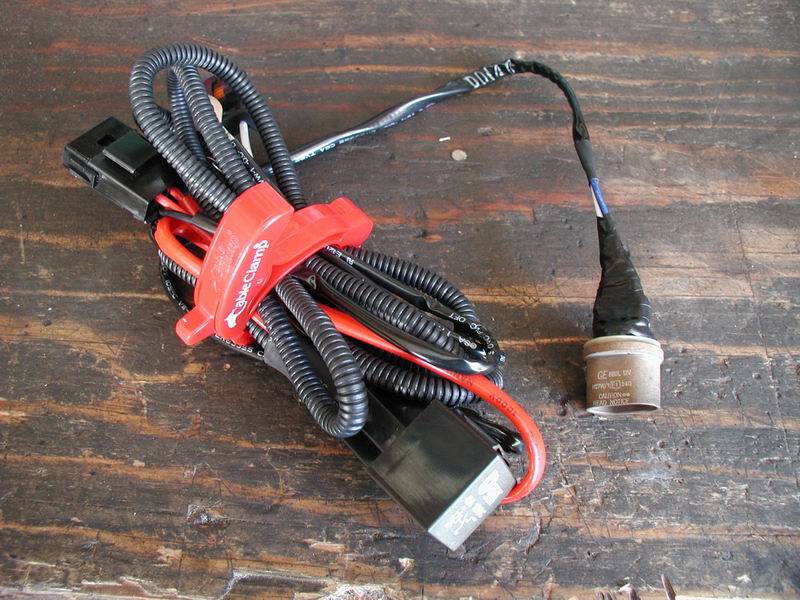
880 bulb sacrificed and turned into a plug for the HID harness.
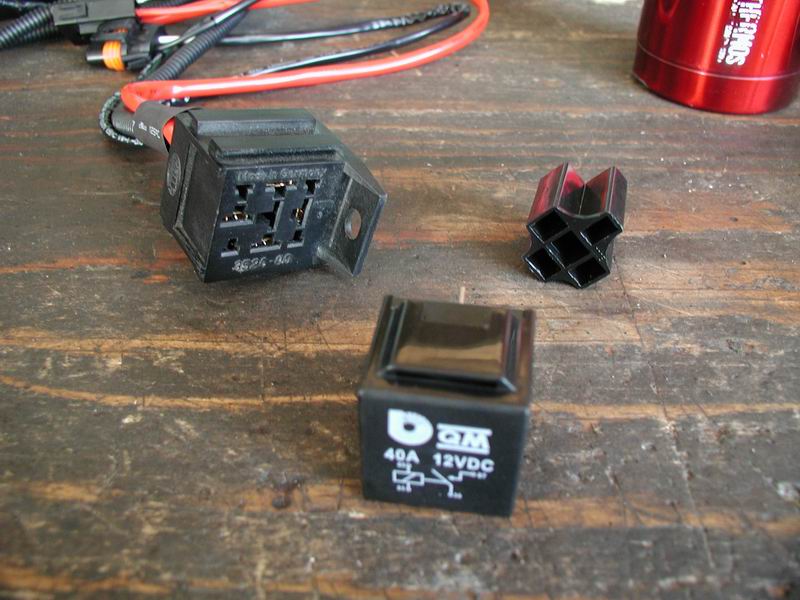
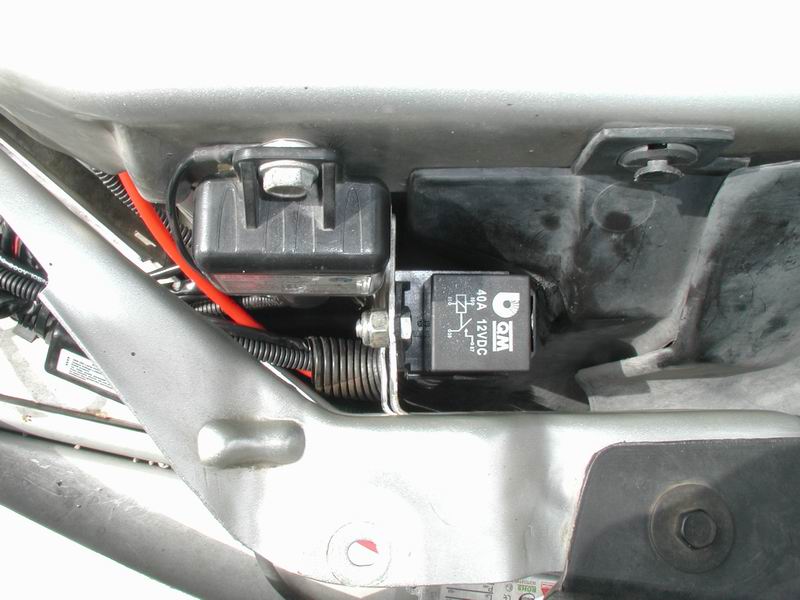
Relay base swapped to one with a mounting tab.
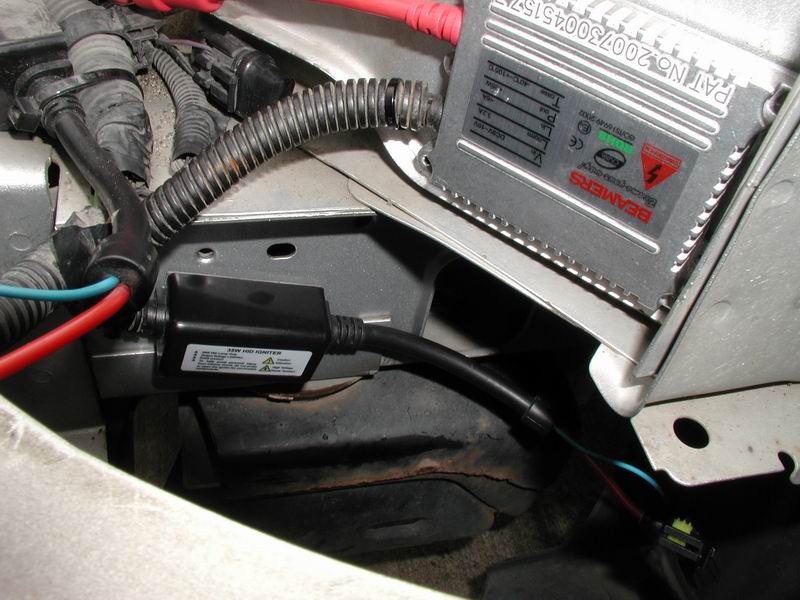
Ballasts and ignitors mounted.

Relay mounted.
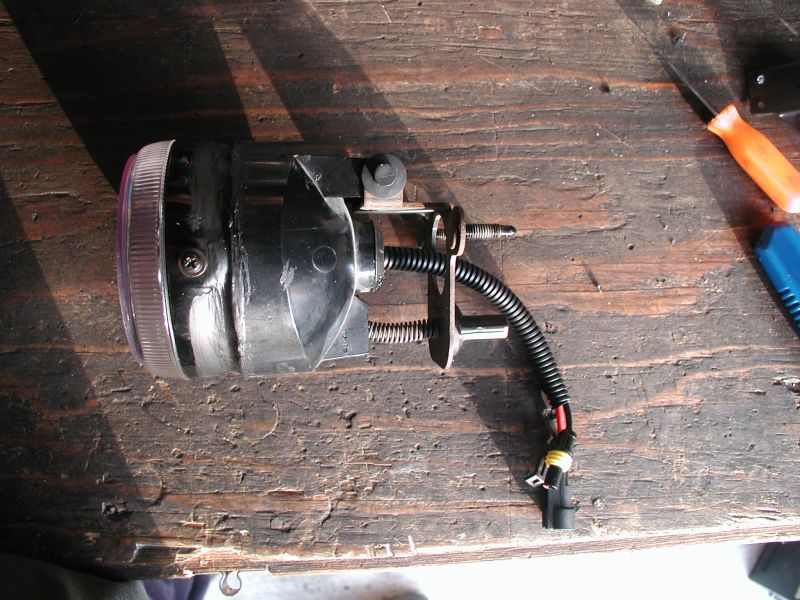
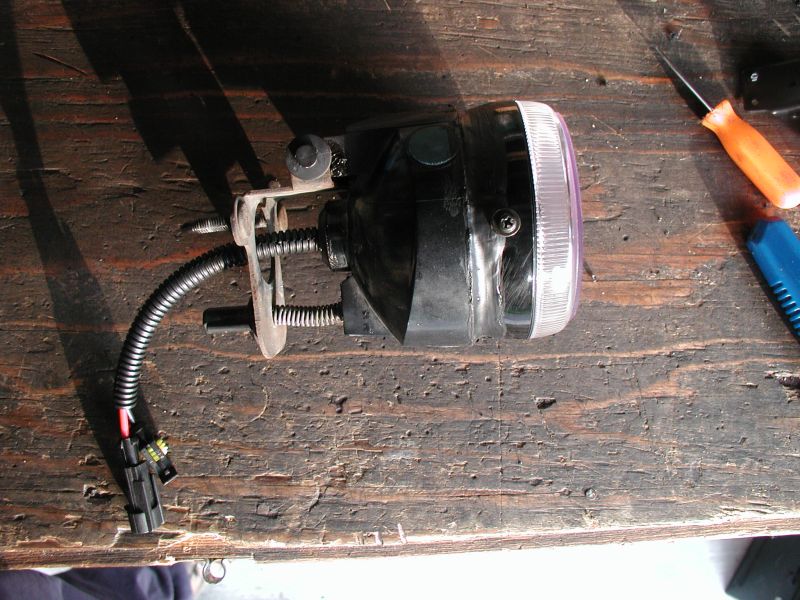
Lights ready for install.
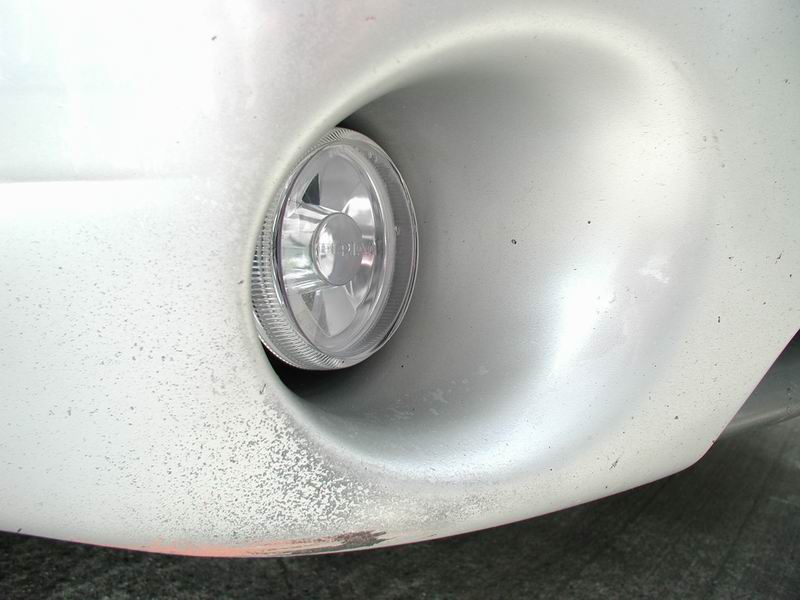
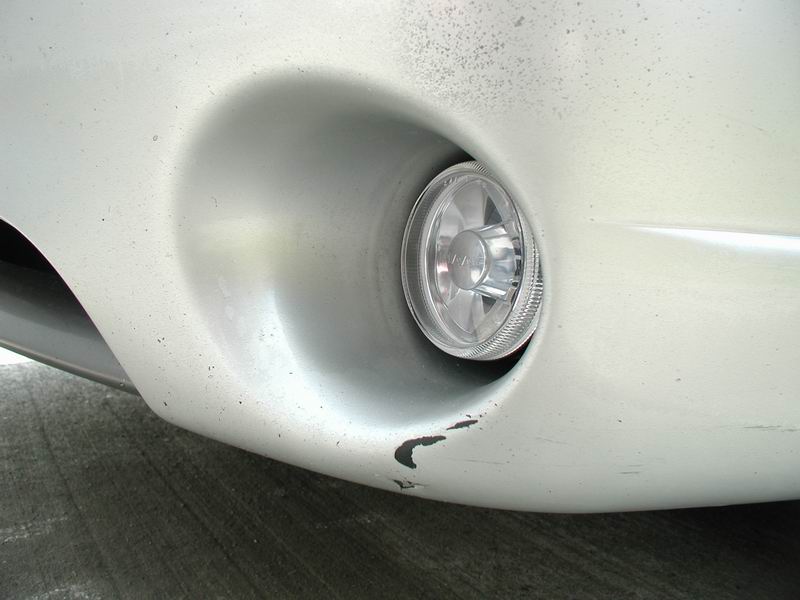
Fog lights back in place.
And now some "lights on" action.....
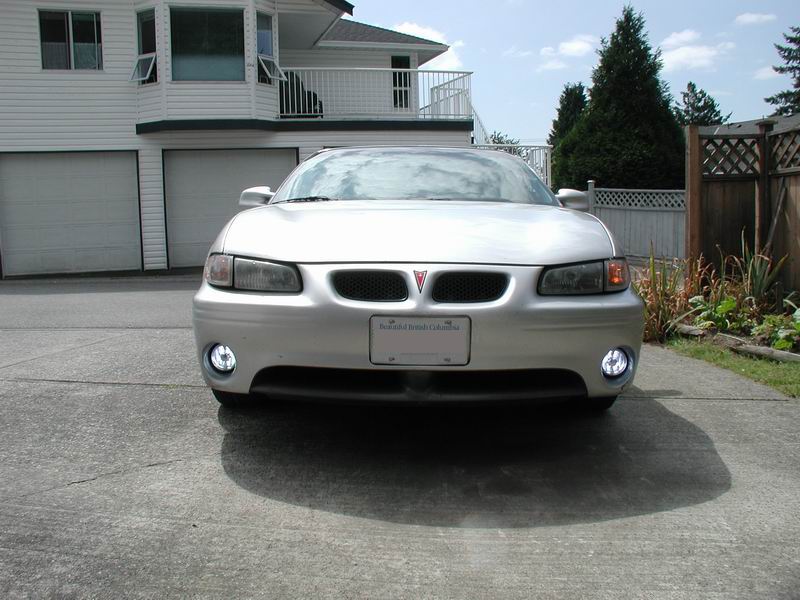
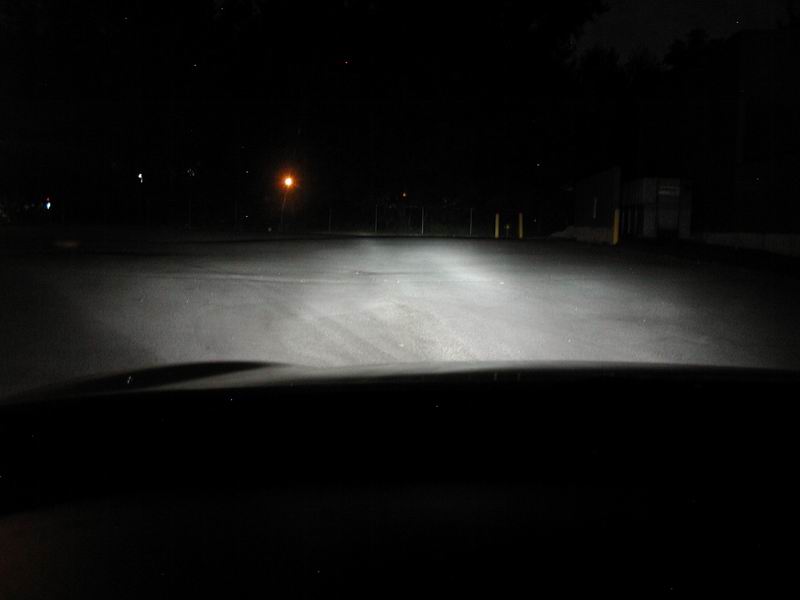
Fog lights.
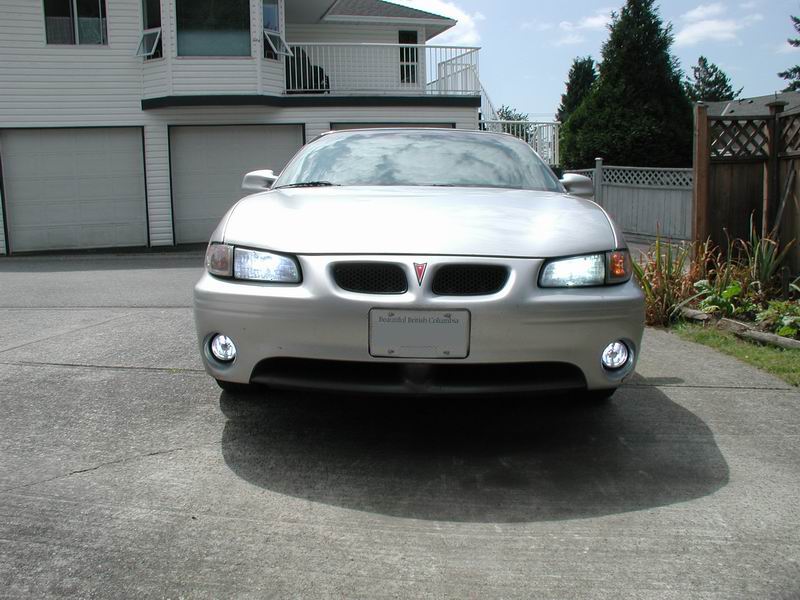
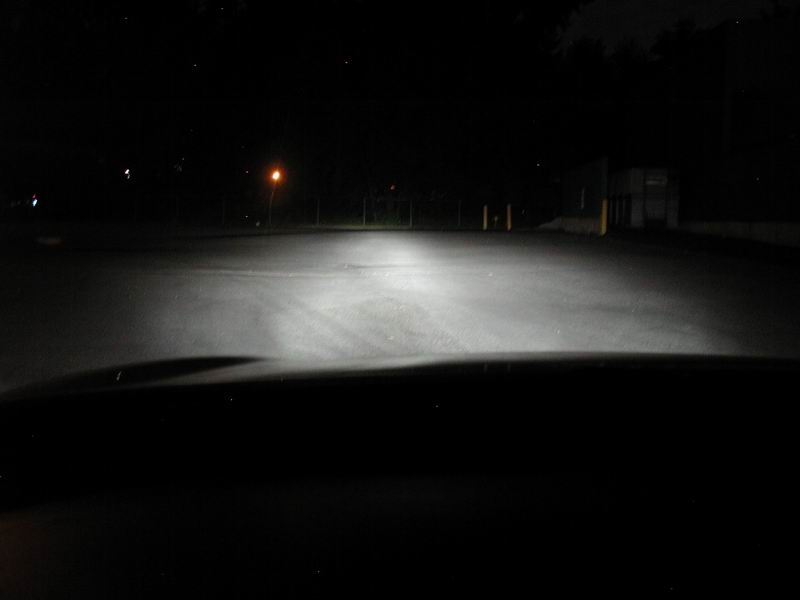
Low beams.
Hi beams.
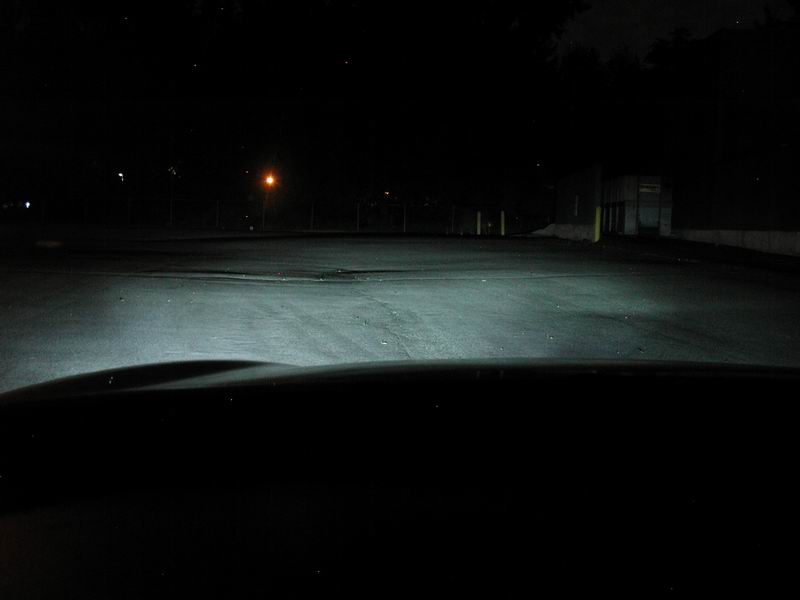
Not sure why the fogs look so blue in the picture, but they are the same colour as the headlights in real life.
To see all the pics and some more detail, go here to my personal web-page.
Pile 'o parts.
Drilled larger holes in the Piaa housings to clear the HID bulbs.
HID bulbs in the new lenses.
The "unclear" stock lamps.
Side shots of the stock lamps.
Lens removed from stock lamp housing.
Piaa housing urethaned to the stock housing. Not pretty, but it works.
Lens protectors stuck to the Piaa lenses.
880 bulb sacrificed and turned into a plug for the HID harness.
Relay base swapped to one with a mounting tab.
Ballasts and ignitors mounted.
Relay mounted.
Lights ready for install.
Fog lights back in place.
And now some "lights on" action.....
Fog lights.
Low beams.
Hi beams.
Not sure why the fogs look so blue in the picture, but they are the same colour as the headlights in real life.
To see all the pics and some more detail, go here to my personal web-page.

