glendayle
New member
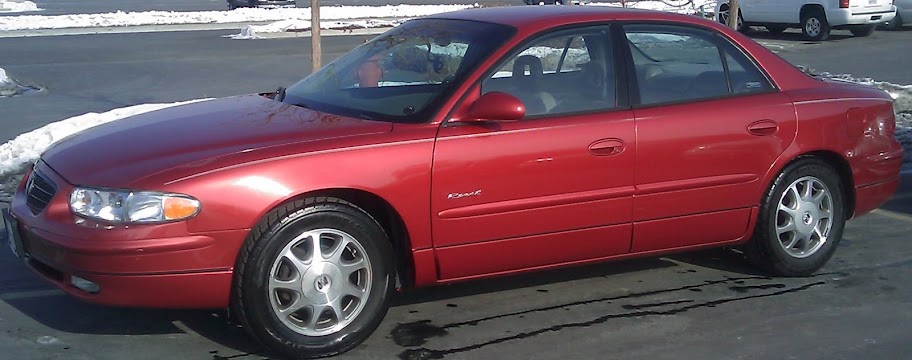
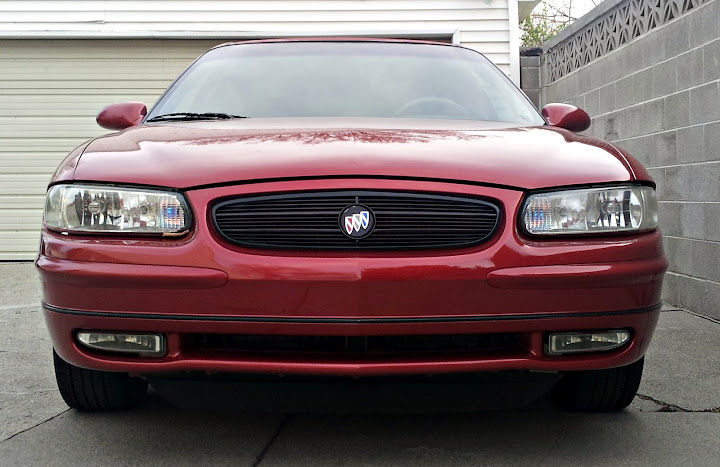
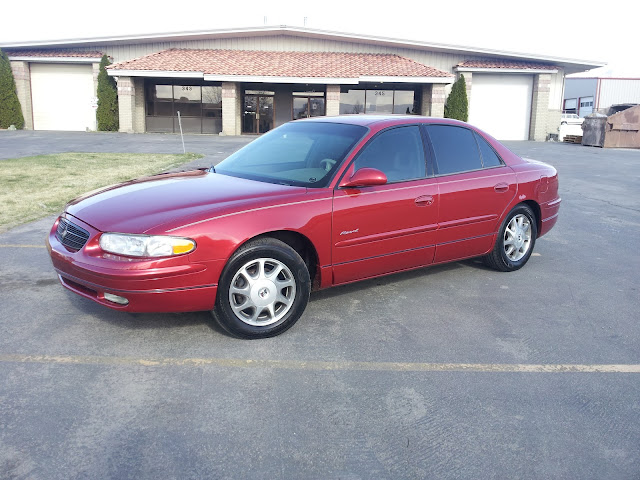
Thanks for clicking/reading. Wanted to throw some more pics and history up of my car. Also working on some stuff and will try to put that info in here as it's going on. I didn't take that many pics of my car in the early years of ownership so I don't have a lot. Suffice it to say that I purchased it stock with 45k miles in 2002. I looked into modifying it at the time, but I wasn't much of a genius on the internet then. I only found CGP and RGS in about 2008. It originally was owned by a smoker, but I got a good deal on it and thought that if I ozoned the car that the smell would go away. Fortunately I was correct, and you would never know unless I told you.
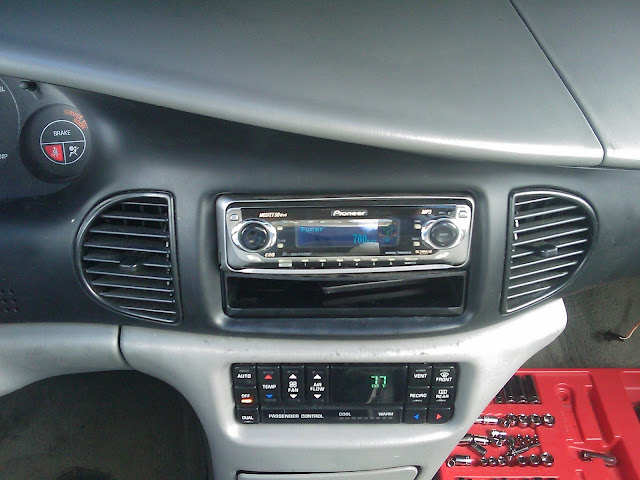
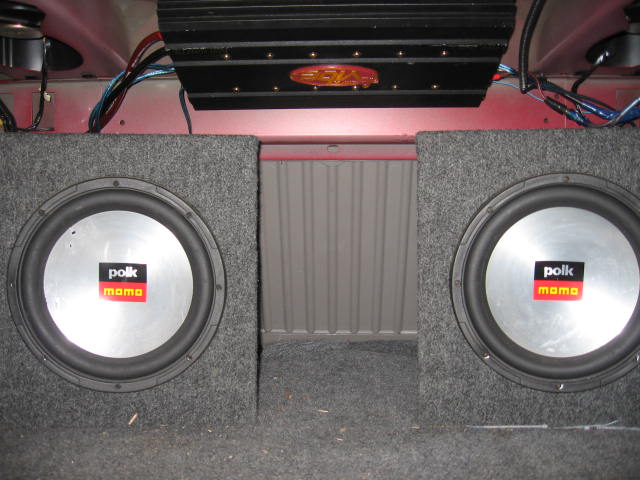
I 1st installed an Compustar autostart system. I used to drive buses for Utah State University. I had to head to work about 5am and during the winter some of those 5am mornings are pretty cold in UT. I later added an aftermarket system that included a Pioneer HU, Focal front components, 2 Thunder MTX 10" subs(later replaced with Polk Momos)
I started doing my own maintenance eventually. Some of my general repairs were done out of need and others just out of wanting it to be a little nicer. Things that I have done include motor mounts, window regulators, LIM gasket, oil pan gasket, steering wheel swap, seat swaps, plugs, wires, pads & rotors and I suppose the list goes on and on. I never was really much of a gearhead, but have just learned on my car over the years.
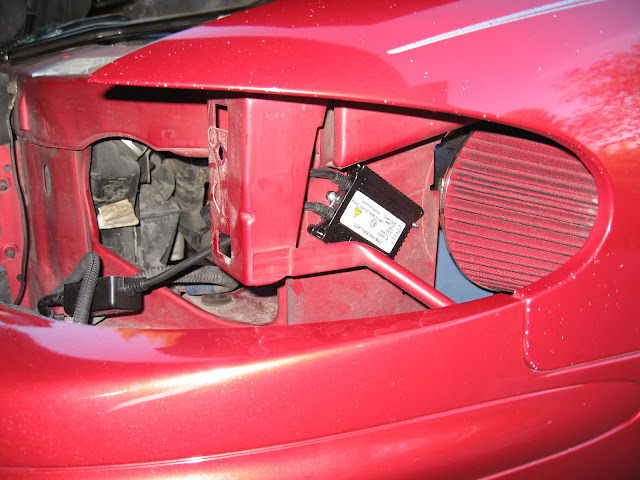
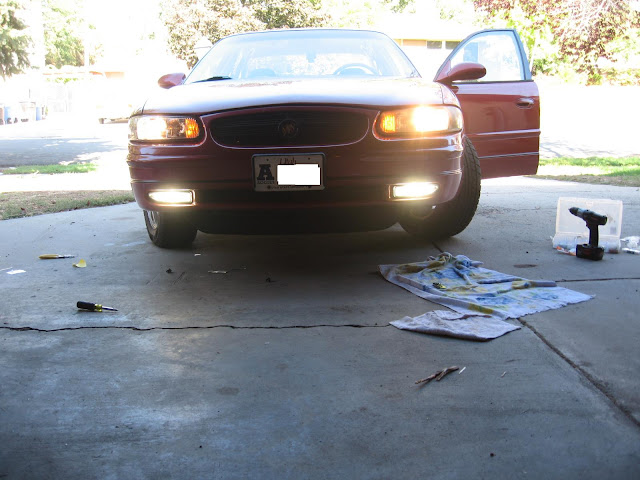
The 1st real mods I did were about 4 years ago. I had a Hogan 3" exhaust put in with a Dynomax superturbo muffler and a magnaflow 6" round in place of the res. I also put in a DP and a ZZP front PLOG. At that time I dropped to a 3.5" pulley. I also put in a rear GMPP sway I found at a JY and purchased a dorman front sway bar. I also installed HIDs from DDM in my fog housings.
About a year ago my suspension was tired so I used that as an opportunity to replace it and upgrade to an AL cradle and oil pan. I put in Dorman CAs, KYB GR2 strut assemblies, and the dorman sway bar that I had previously installed.

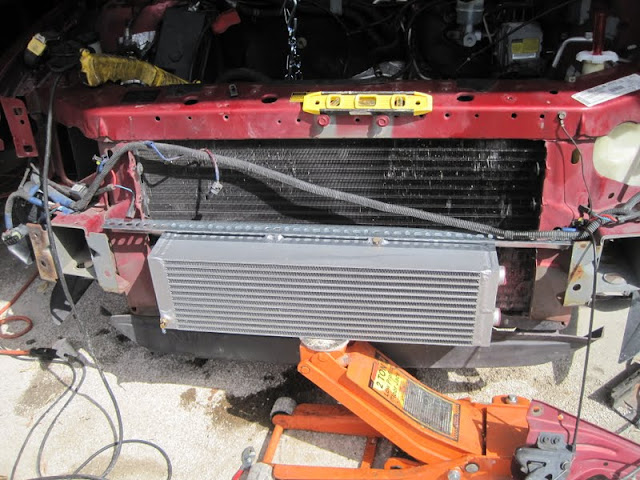
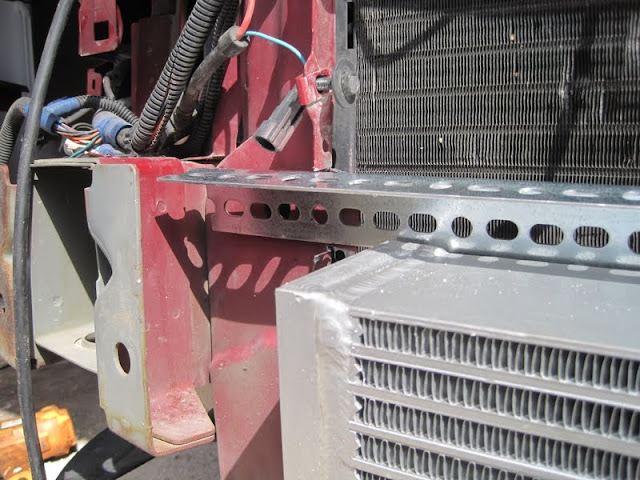
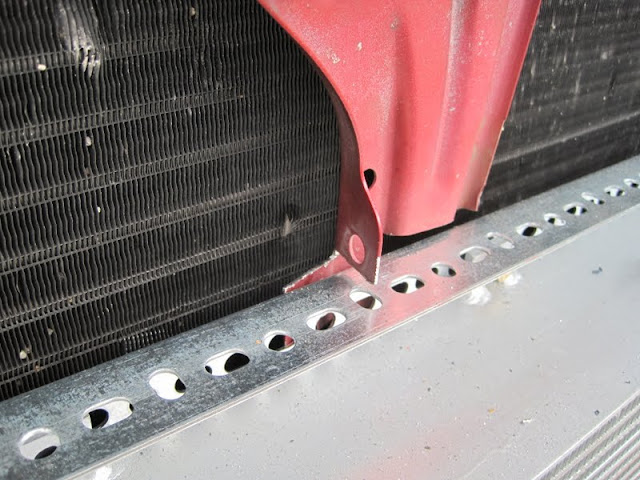
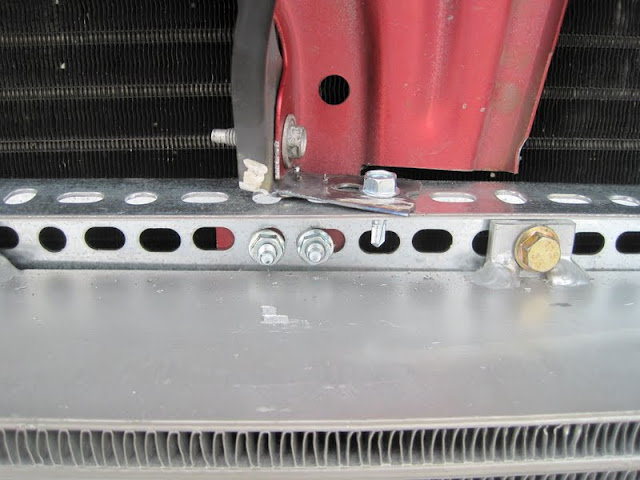
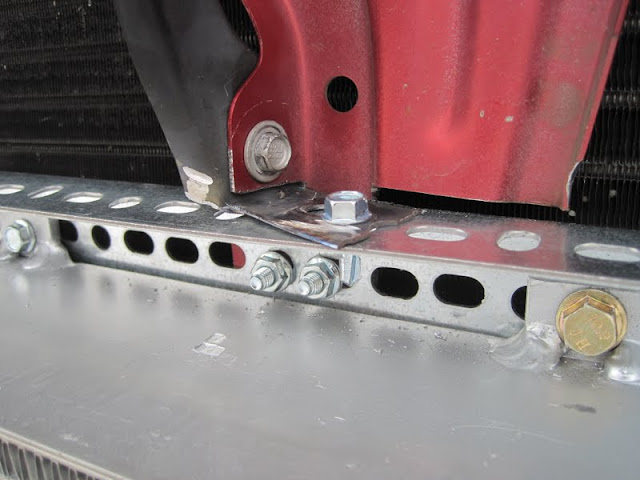
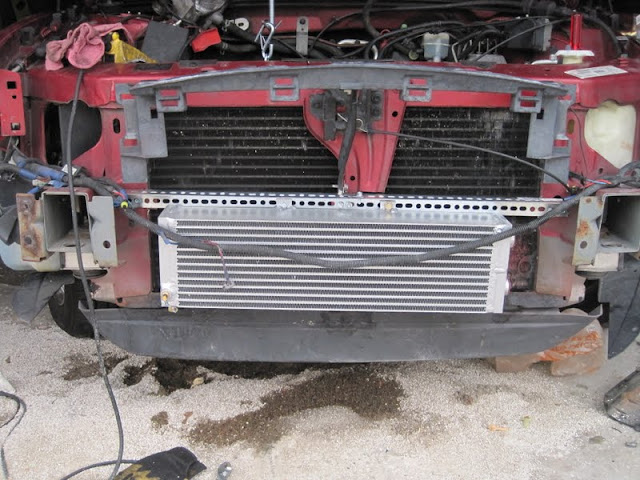
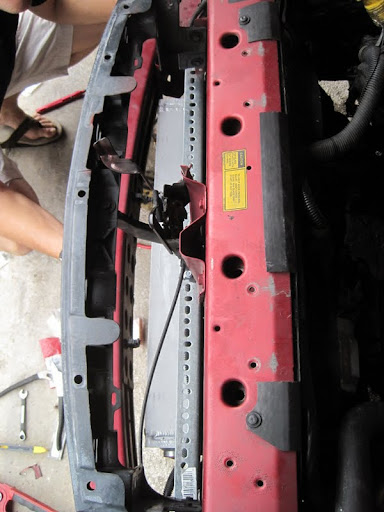
My ideas about getting a faster car started to take over so I started acquiring parts. I purchased a GenV SC, N*TB(thanks Bill), IC(sseimop), FMHE and parts from frozenboost. I just never really had the time and I didn't have a 2nd vehicle if I had trouble should I have issues, so I just never go around to it.
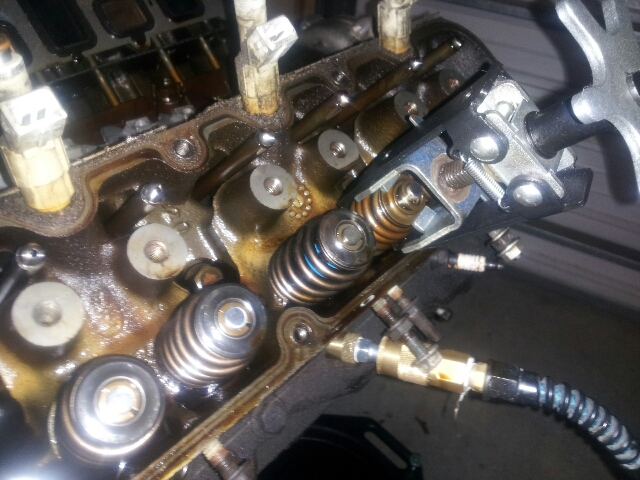
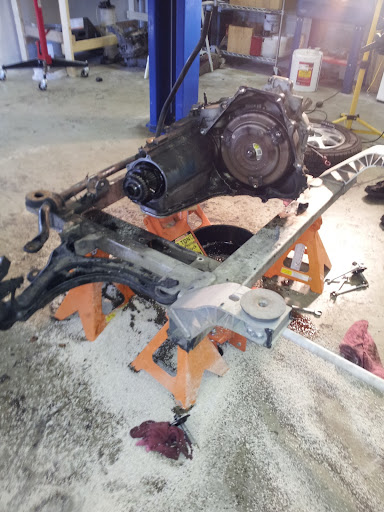
That gets me to about 4 months ago. My trans was starting to have issues with the TCC solonoid. I decided at that time to commit further to my car and purchase a trans from TK. can't remember the exact checklist atm, but it's sufficiently built for an HP levels I'll be getting to and I switched to the 3.29 gearing. I guess I don't have a pic of the trans, but here is a pic of the old trans when I was doing the swap.
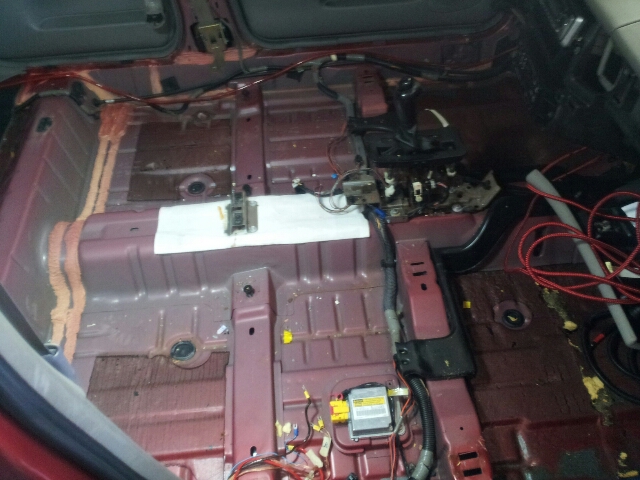
At that time, I did the swap at my cousin's dealership. I left the car with him and he had it painted(not completely but front/back where the major issues were) and tinted. I also had them remove the front license plate.
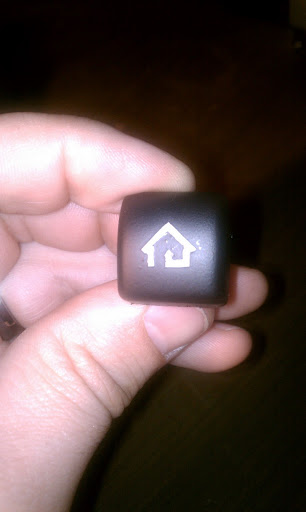
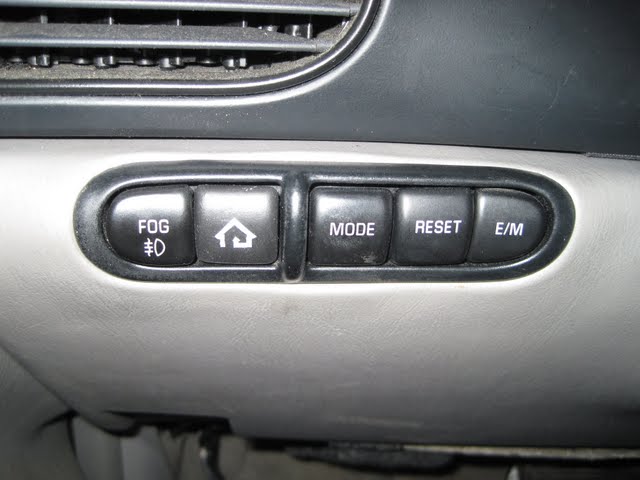
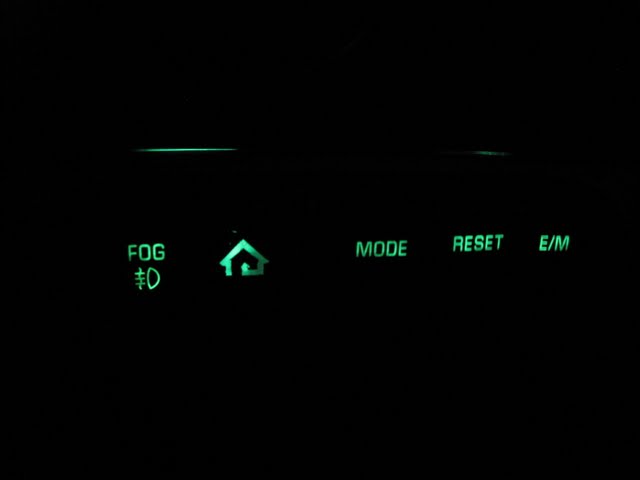
My favorite mod by far is my homelink fabrication. Inspired by Bill's use of an extra button in the DIC, I wired up a button in that pod and hooked it up to a homelink unit. I crudely made a button that has the homelink logo that even lights up with the other buttons. I also created a prototype where I installed a homelink unit into an onstar mirror and controlled the buttons from the onstar buttons. I promised this to Ray and just have never sent it off. Ray, if you read this. PM me and call me a punk. It's literally sitting in a box. I just need to mail it. At this point I'm too embarrassed to send it as it's been like a year since I said I would send it.
From my initial POC
Followed Later by the completed button. I'll eventually redo it. Next time I'll get a precision cutout of the logo instead of doing it by hand.
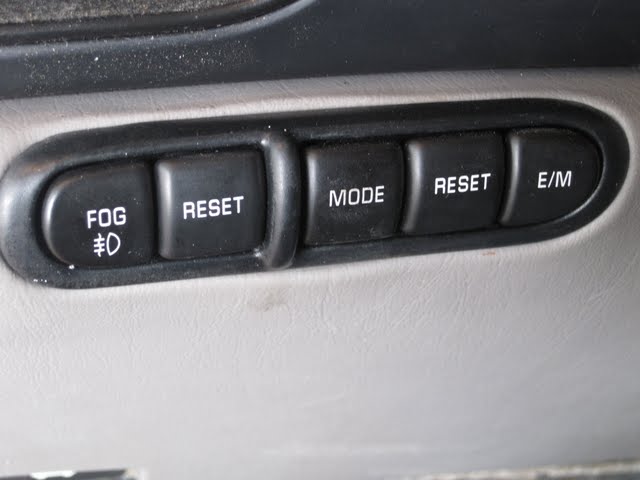
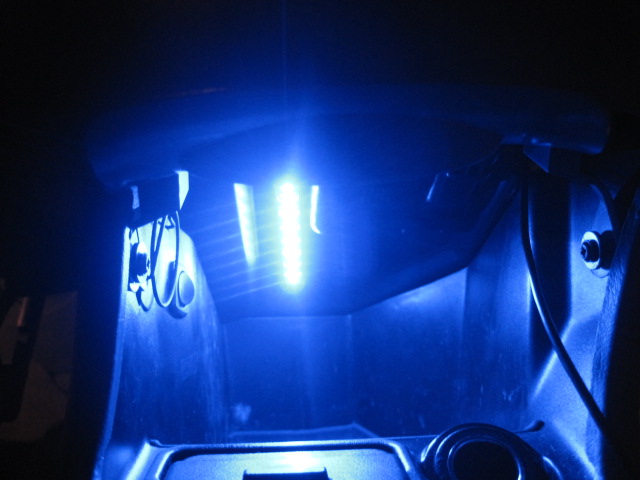
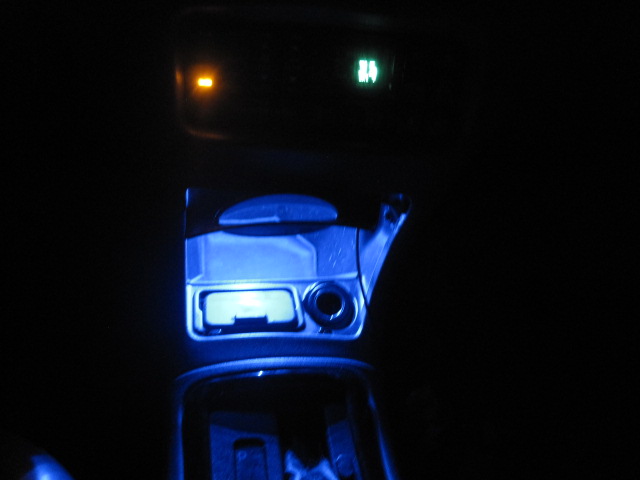
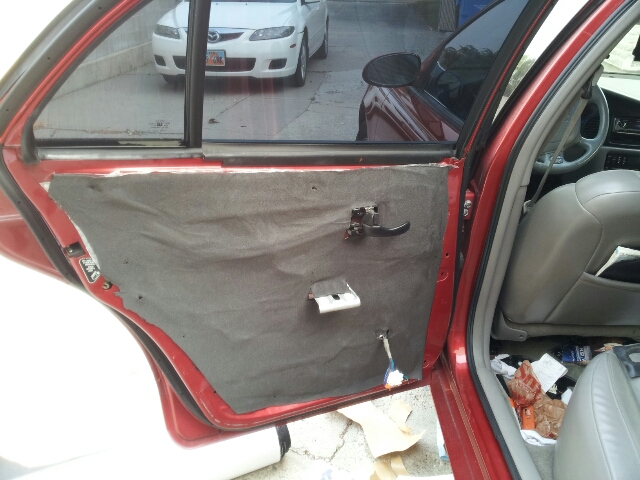
Another unique project was to install a light in the cubby. If you look closely at the pic below, there is a toggle switch to turn the light off and on at the left side of the inside of the housing.
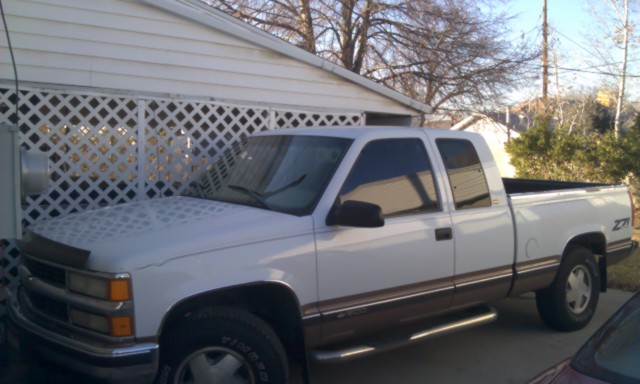
Another key factor contributing to the viability of being able to complete my near future upgrades was the acquisition of another vehicle. My dad purchased a new truck and sold me this beauty for a great price. It's a few years old and not the nicest looking truck you've ever seen, but it only has 75k miles and is all I'll ever need for a weekend/home depot/camping/car currently being repaired vehicle.
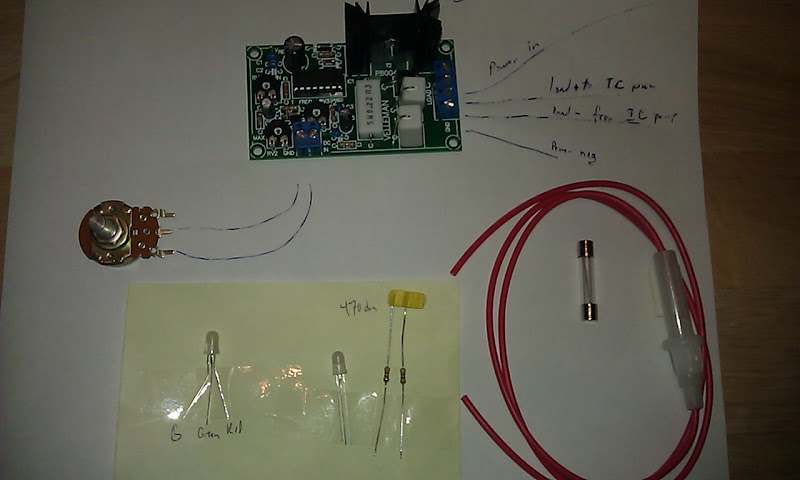
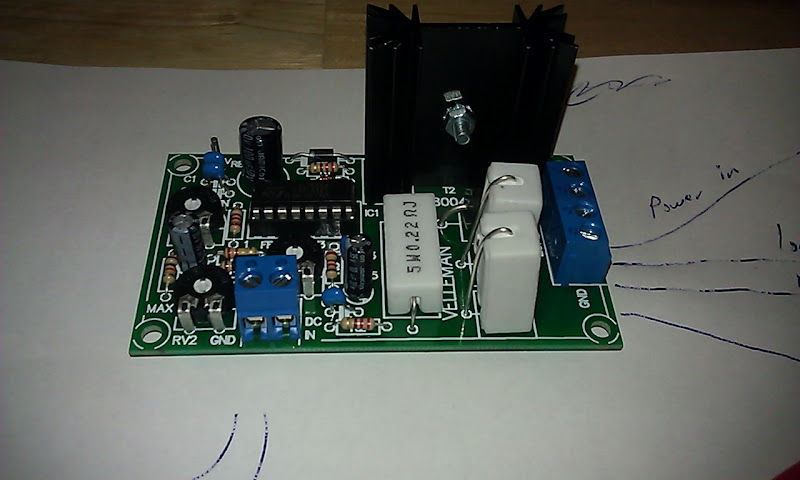
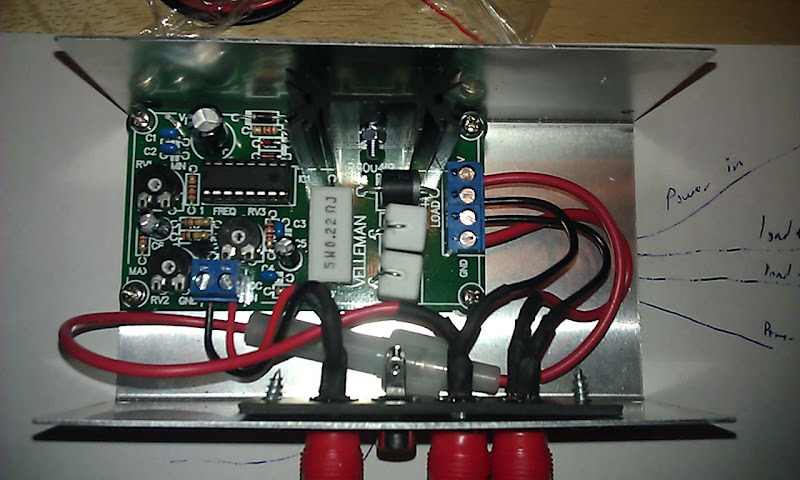
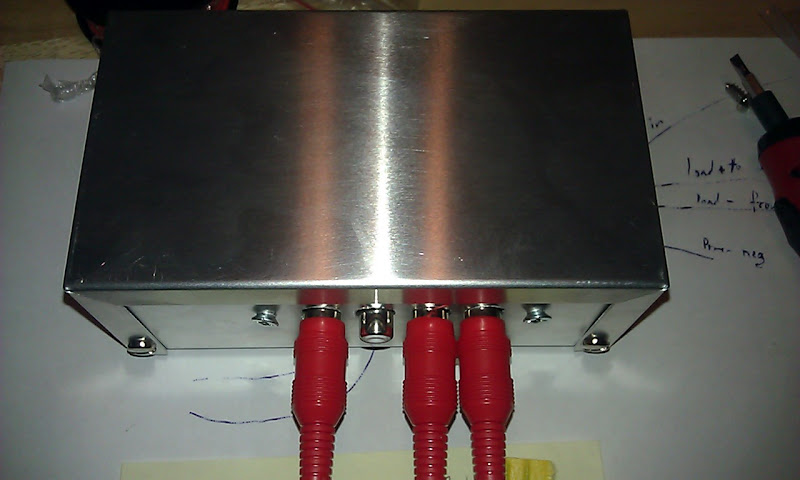
The other little pet project I have is a variable flow controller for the IC. I developed a theory that optimal cooling of the IC fluid would not always be at full capacity of the pump. I went to a local electronics shop and was looking at potentiometers. The guru there explained that hooking up a potentiometer would cause massive amounts of heat and burn up wires and then introduced to me the principle of Pulse Width Modulation. Basically electronics that will get the effective result of partial power but by turning power to full on/full off to achieve it. My research was further validated by the fact that I found ZZP sells a variable IC pump controller that utilizes guess what?! That's right, Pulse Width Modulation. I purchased a small kit to make my own modulator and mounted it in a small project box and used RCA leads for my connectors. Here are some photos of that project.
Anyway, hopefully I'll get this completed. I'll try to post some updates as I go along. Any input and encouragement is appreciated. I'm pretty well versed in this platform, and usually over think my projects and so forth, but no one is the ultimate guru....well except for maybe Bill, but after him, not sure.
Thanks for reading.
I 1st installed an Compustar autostart system. I used to drive buses for Utah State University. I had to head to work about 5am and during the winter some of those 5am mornings are pretty cold in UT. I later added an aftermarket system that included a Pioneer HU, Focal front components, 2 Thunder MTX 10" subs(later replaced with Polk Momos)
I started doing my own maintenance eventually. Some of my general repairs were done out of need and others just out of wanting it to be a little nicer. Things that I have done include motor mounts, window regulators, LIM gasket, oil pan gasket, steering wheel swap, seat swaps, plugs, wires, pads & rotors and I suppose the list goes on and on. I never was really much of a gearhead, but have just learned on my car over the years.
The 1st real mods I did were about 4 years ago. I had a Hogan 3" exhaust put in with a Dynomax superturbo muffler and a magnaflow 6" round in place of the res. I also put in a DP and a ZZP front PLOG. At that time I dropped to a 3.5" pulley. I also put in a rear GMPP sway I found at a JY and purchased a dorman front sway bar. I also installed HIDs from DDM in my fog housings.
About a year ago my suspension was tired so I used that as an opportunity to replace it and upgrade to an AL cradle and oil pan. I put in Dorman CAs, KYB GR2 strut assemblies, and the dorman sway bar that I had previously installed.
My ideas about getting a faster car started to take over so I started acquiring parts. I purchased a GenV SC, N*TB(thanks Bill), IC(sseimop), FMHE and parts from frozenboost. I just never really had the time and I didn't have a 2nd vehicle if I had trouble should I have issues, so I just never go around to it.
That gets me to about 4 months ago. My trans was starting to have issues with the TCC solonoid. I decided at that time to commit further to my car and purchase a trans from TK. can't remember the exact checklist atm, but it's sufficiently built for an HP levels I'll be getting to and I switched to the 3.29 gearing. I guess I don't have a pic of the trans, but here is a pic of the old trans when I was doing the swap.
At that time, I did the swap at my cousin's dealership. I left the car with him and he had it painted(not completely but front/back where the major issues were) and tinted. I also had them remove the front license plate.
My favorite mod by far is my homelink fabrication. Inspired by Bill's use of an extra button in the DIC, I wired up a button in that pod and hooked it up to a homelink unit. I crudely made a button that has the homelink logo that even lights up with the other buttons. I also created a prototype where I installed a homelink unit into an onstar mirror and controlled the buttons from the onstar buttons. I promised this to Ray and just have never sent it off. Ray, if you read this. PM me and call me a punk. It's literally sitting in a box. I just need to mail it. At this point I'm too embarrassed to send it as it's been like a year since I said I would send it.
From my initial POC
Followed Later by the completed button. I'll eventually redo it. Next time I'll get a precision cutout of the logo instead of doing it by hand.
Another unique project was to install a light in the cubby. If you look closely at the pic below, there is a toggle switch to turn the light off and on at the left side of the inside of the housing.
Another key factor contributing to the viability of being able to complete my near future upgrades was the acquisition of another vehicle. My dad purchased a new truck and sold me this beauty for a great price. It's a few years old and not the nicest looking truck you've ever seen, but it only has 75k miles and is all I'll ever need for a weekend/home depot/camping/car currently being repaired vehicle.
The other little pet project I have is a variable flow controller for the IC. I developed a theory that optimal cooling of the IC fluid would not always be at full capacity of the pump. I went to a local electronics shop and was looking at potentiometers. The guru there explained that hooking up a potentiometer would cause massive amounts of heat and burn up wires and then introduced to me the principle of Pulse Width Modulation. Basically electronics that will get the effective result of partial power but by turning power to full on/full off to achieve it. My research was further validated by the fact that I found ZZP sells a variable IC pump controller that utilizes guess what?! That's right, Pulse Width Modulation. I purchased a small kit to make my own modulator and mounted it in a small project box and used RCA leads for my connectors. Here are some photos of that project.
Anyway, hopefully I'll get this completed. I'll try to post some updates as I go along. Any input and encouragement is appreciated. I'm pretty well versed in this platform, and usually over think my projects and so forth, but no one is the ultimate guru....well except for maybe Bill, but after him, not sure.
Thanks for reading.


")