GeddyLee
New member
Well as most know I won the Wizaired CAI unit at the BGPM this year. I purchased a S&B 9" filter from 3800 Performance that arrived yesterday. So after a short nap after working a 14 hour shift I wanted to get this puppy installed.
Needless to say the directions they provided pretty much sucked!!! Here are the steps I had to take outside the written instructions provided by EasyPerformance.
1. Had to remove the PCM from the cables.
2. Used the clips provided w/ the Wizair to secure the PCM tray
3. Place the PCM (bottom part of the wizair) in the place where the stock air box use to sit. I lightly screwed in the bolts to keep the tray from sliding around when I installed the top part.
4. I then slid the top of the Wizair into place, slipping the PCM cabling through its slot on the side of the Wizair.
5. I then secured the top of the Wizair to the bottom with the 6 nuts provided. I didnt make the fit tight at first to allow for adjustments later. 6. I then secured the bottom PCM tray to the clips provided and tightened em up good.
7. I then reconnected the PCM to the cables and fastened it to the bottom of the tray.
8. I then tightened the 6 nuts down thus sealing the unit.
9. And then followed the rest of the normal instructions.
I had a small issue with the filter not fitting over the metal sleeve at the end of the tubing provided with the unit. I had to basically screw the filter into the metal ring till it was snug and would not budge and then used the band clamp to tighten around the ring. The other end at the TB was a buggar too. If you have a throttle body spacer, it makes for a really interesting fit. I was able to finally get the tubing around the rubber ring that slipped over the end of the TB. I then used the provided band clamp to secure that.
Needless to say the directions provided made it seem a lot easier than it was. In the end everything worked out OK. Just had to do some creative engineering to make it fit together.
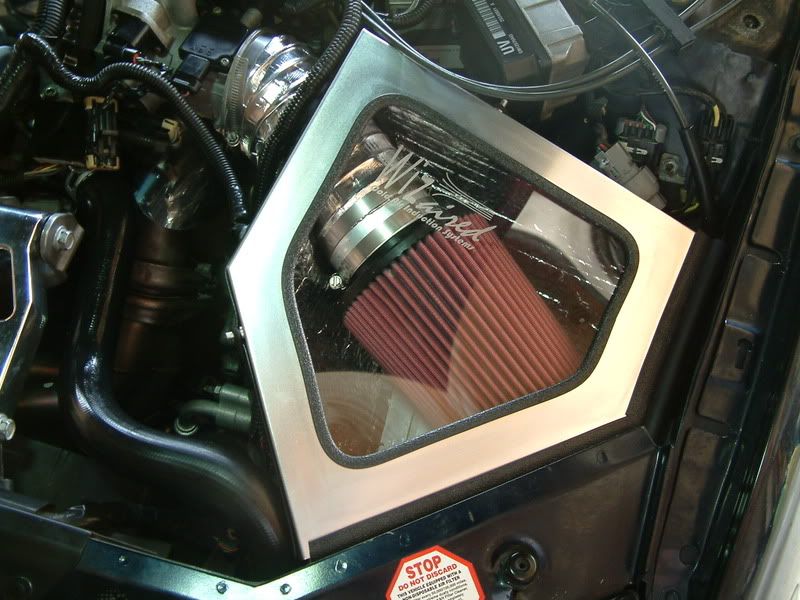
Here are the pics of the Wizair installed.
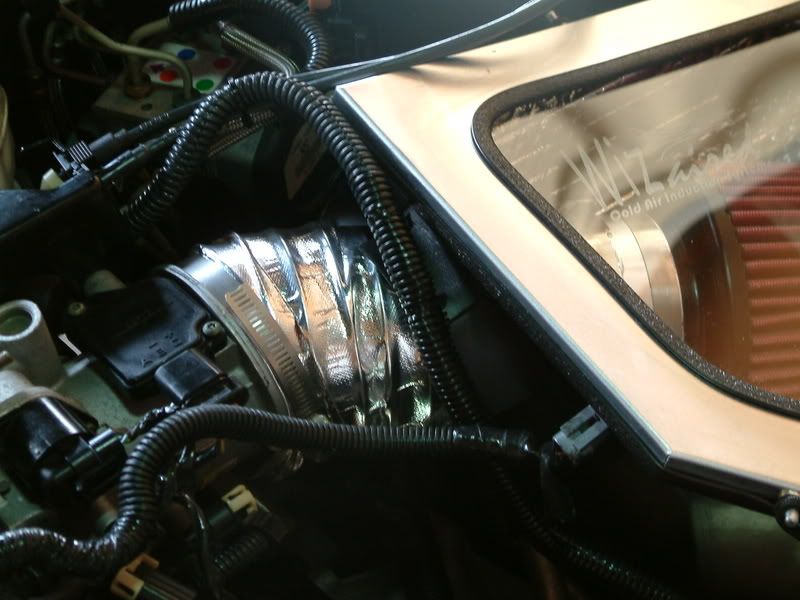
The metal coupling provided didn't work as intended, so I had to be a bit creative and cut a notch into it so I could clamp it against the filter. It will work for now until I figure something else out.
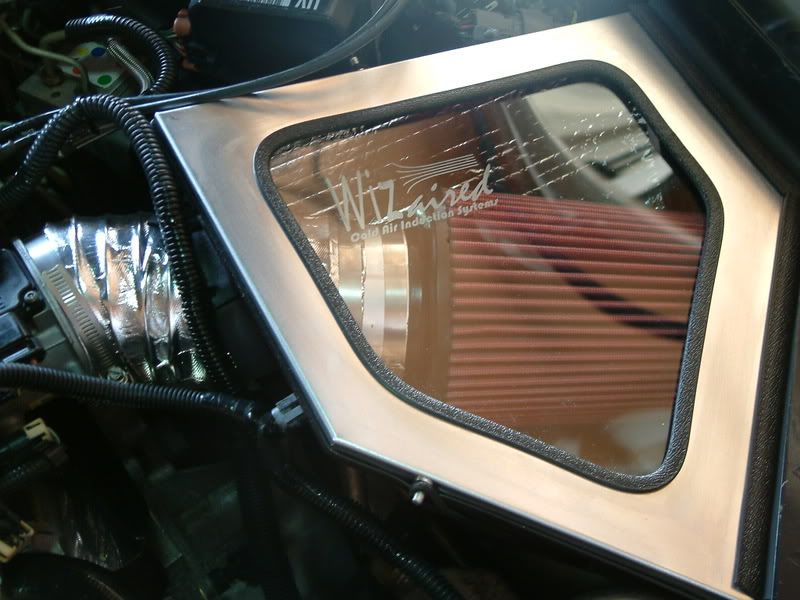
The PCM was a snug fit in the bottom of the Wizair, but that is not
entirely bad. The bunjie cord helped to secure the rest of the unit.

My next project for the Wizair will be during the winter when I will remove it to cover the outside of the unit with heat wrap and try and create a hole in the top for the Ram Air intake.
Needless to say the directions they provided pretty much sucked!!! Here are the steps I had to take outside the written instructions provided by EasyPerformance.
1. Had to remove the PCM from the cables.
2. Used the clips provided w/ the Wizair to secure the PCM tray
3. Place the PCM (bottom part of the wizair) in the place where the stock air box use to sit. I lightly screwed in the bolts to keep the tray from sliding around when I installed the top part.
4. I then slid the top of the Wizair into place, slipping the PCM cabling through its slot on the side of the Wizair.
5. I then secured the top of the Wizair to the bottom with the 6 nuts provided. I didnt make the fit tight at first to allow for adjustments later. 6. I then secured the bottom PCM tray to the clips provided and tightened em up good.
7. I then reconnected the PCM to the cables and fastened it to the bottom of the tray.
8. I then tightened the 6 nuts down thus sealing the unit.
9. And then followed the rest of the normal instructions.
I had a small issue with the filter not fitting over the metal sleeve at the end of the tubing provided with the unit. I had to basically screw the filter into the metal ring till it was snug and would not budge and then used the band clamp to tighten around the ring. The other end at the TB was a buggar too. If you have a throttle body spacer, it makes for a really interesting fit. I was able to finally get the tubing around the rubber ring that slipped over the end of the TB. I then used the provided band clamp to secure that.
Needless to say the directions provided made it seem a lot easier than it was. In the end everything worked out OK. Just had to do some creative engineering to make it fit together.
Here are the pics of the Wizair installed.
The metal coupling provided didn't work as intended, so I had to be a bit creative and cut a notch into it so I could clamp it against the filter. It will work for now until I figure something else out.
The PCM was a snug fit in the bottom of the Wizair, but that is not
entirely bad. The bunjie cord helped to secure the rest of the unit.
My next project for the Wizair will be during the winter when I will remove it to cover the outside of the unit with heat wrap and try and create a hole in the top for the Ram Air intake.

")