Bronco Boy
Donating Users
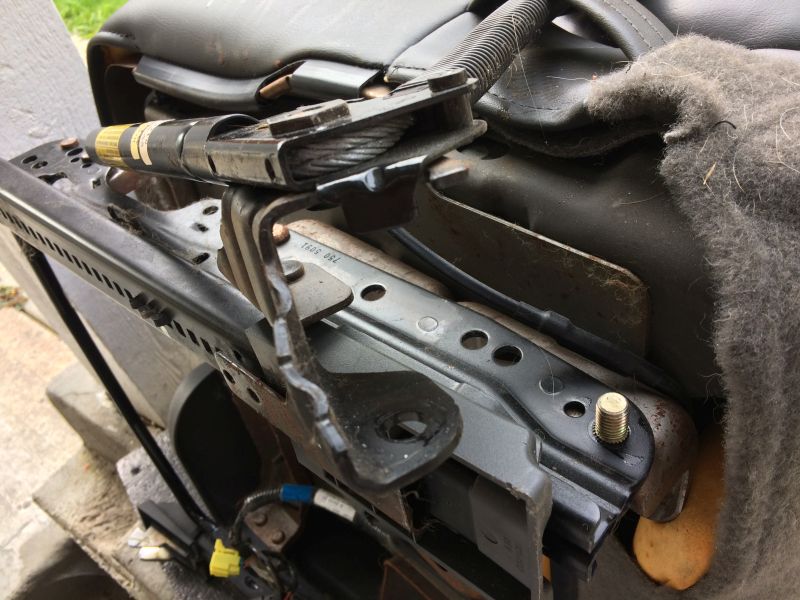
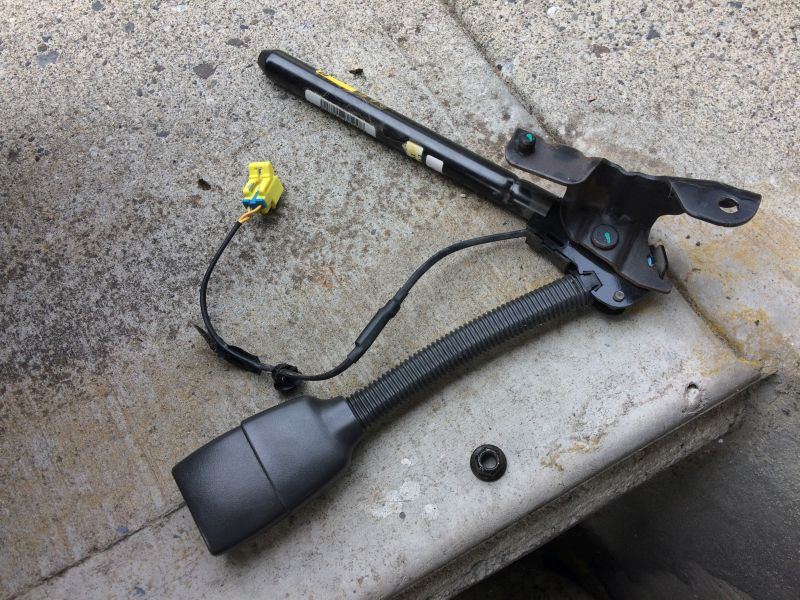
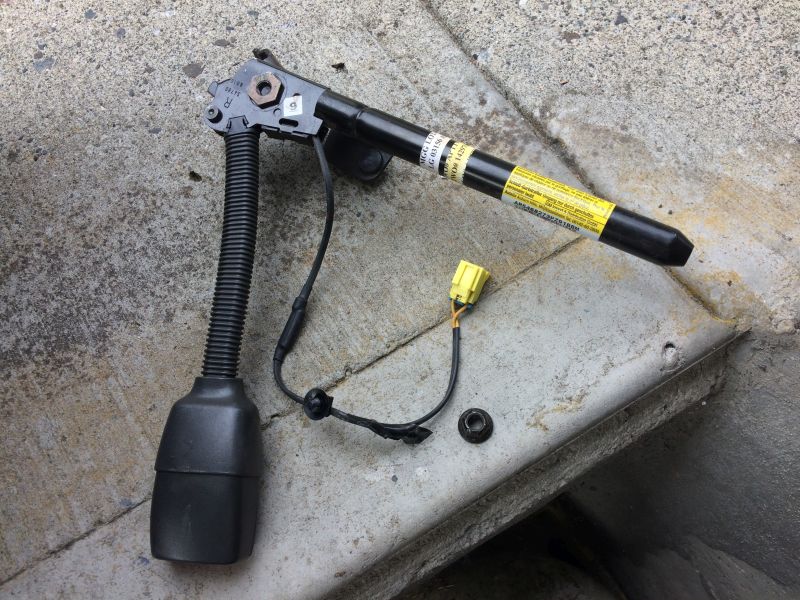
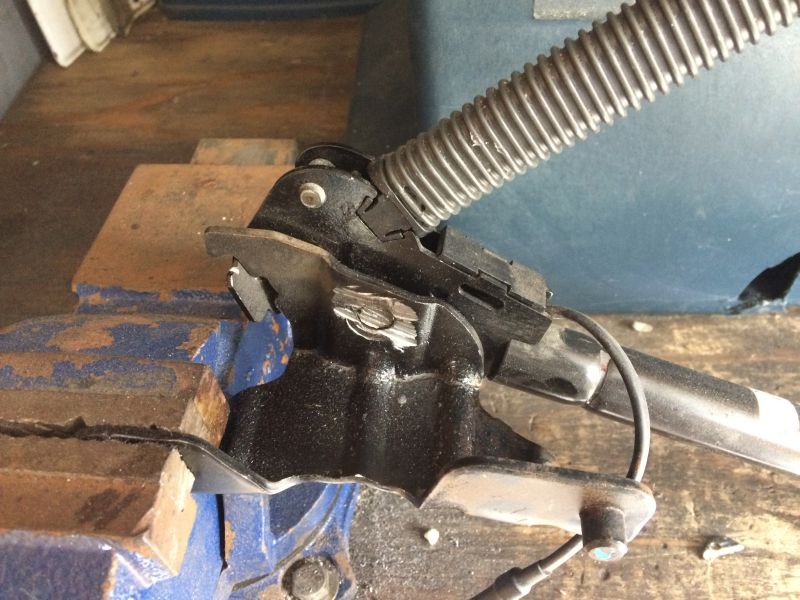
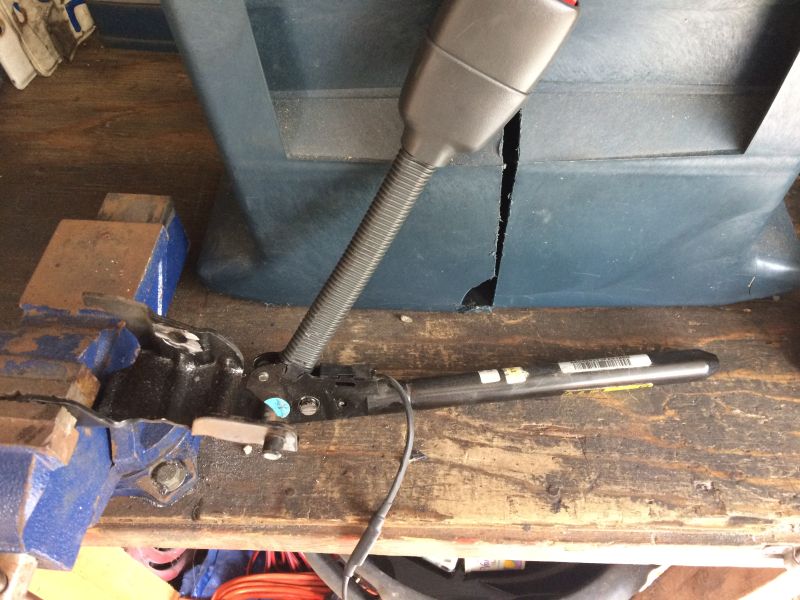
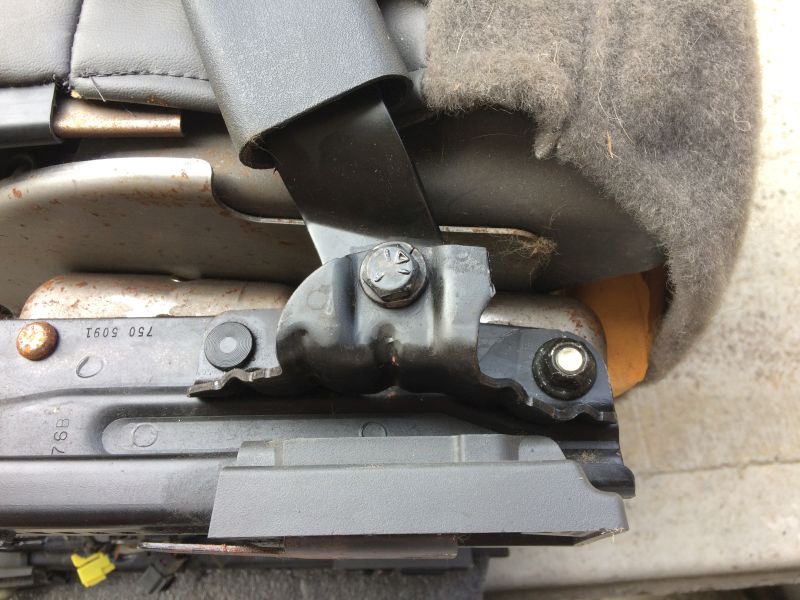
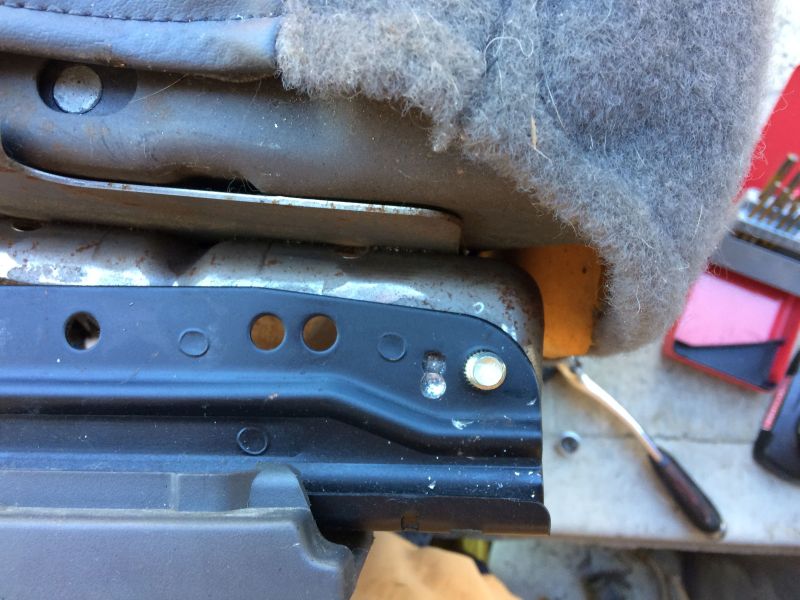
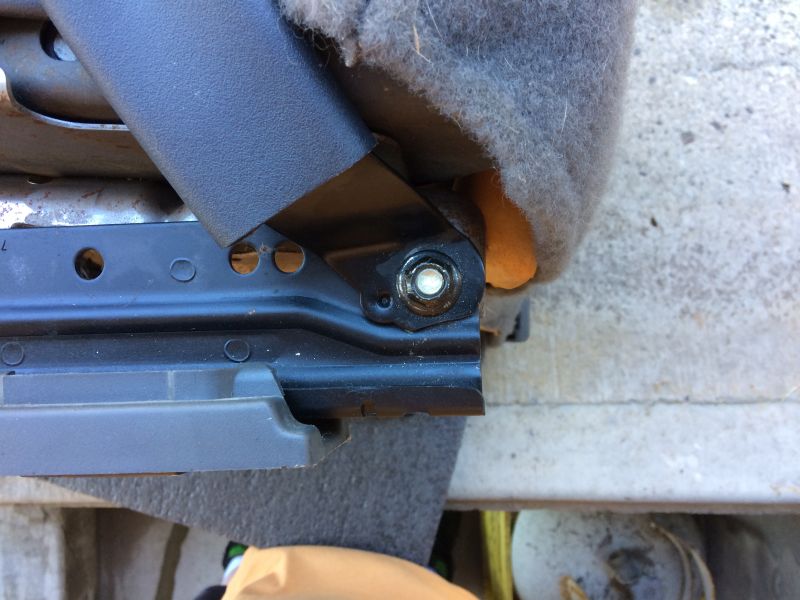
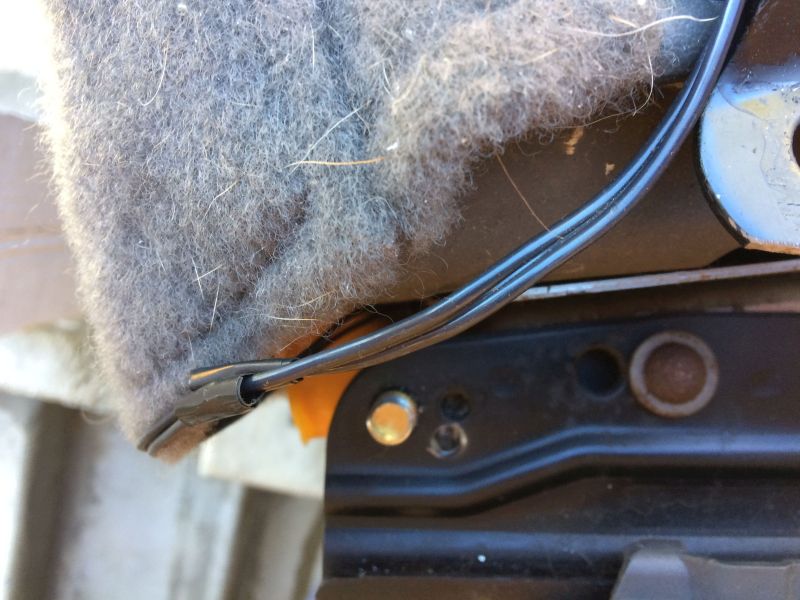
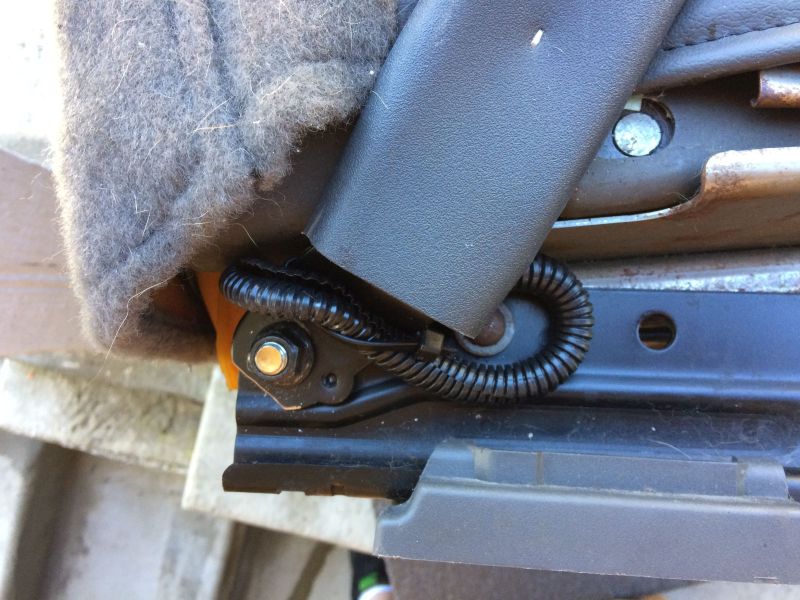
For those that have put the 04+ seats into your 97-03, how did you address the fact that the seat belts are hard to connect; you have to wiggle and jiggle for it to lock, because you have 97-03 male end and 04+ female end (buckle). I had read where one person was going to swap the buckle from his old seat, but I never saw a follow up, and it appears to be not that simple. The 97-03 one just unbolts, but the 04+ one is strange, turns to cable that is wrapped around a piece, and has a tubular arm that goes to the front of the seat. So, no easy swap.
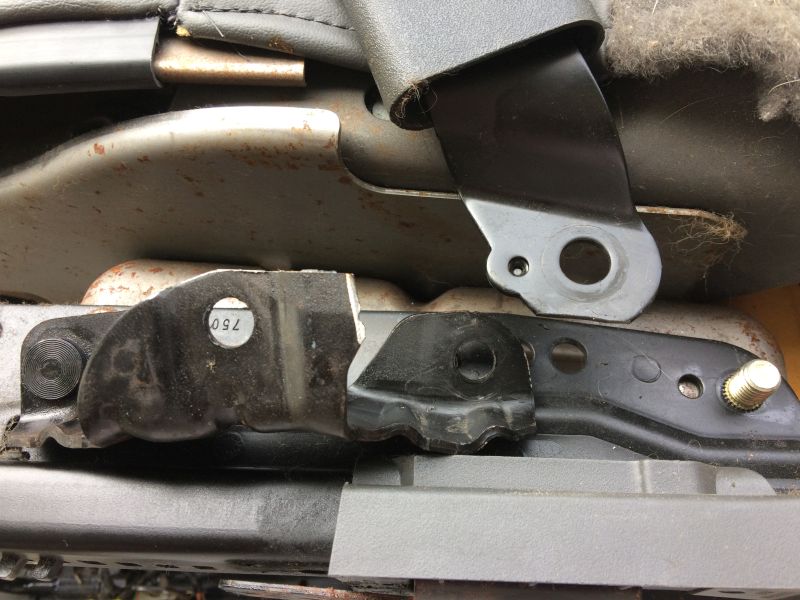
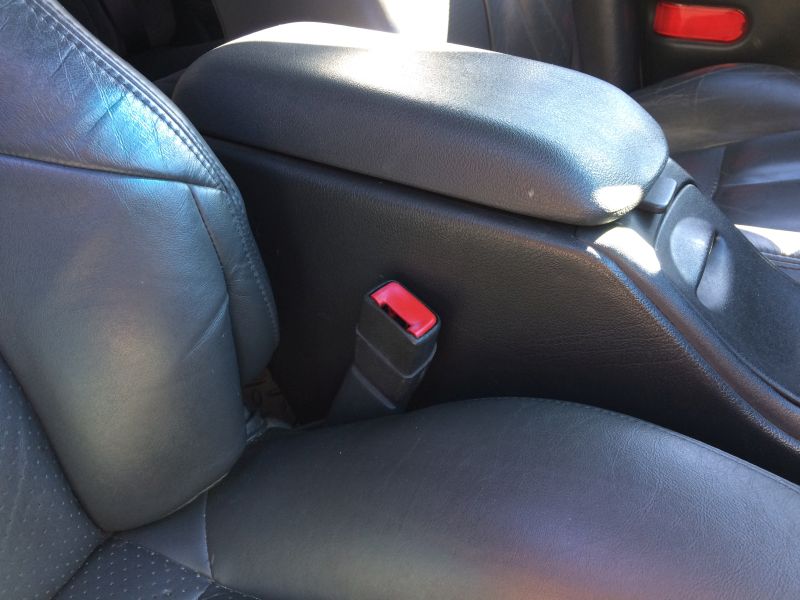
Picture from the write-up on GTP World.....
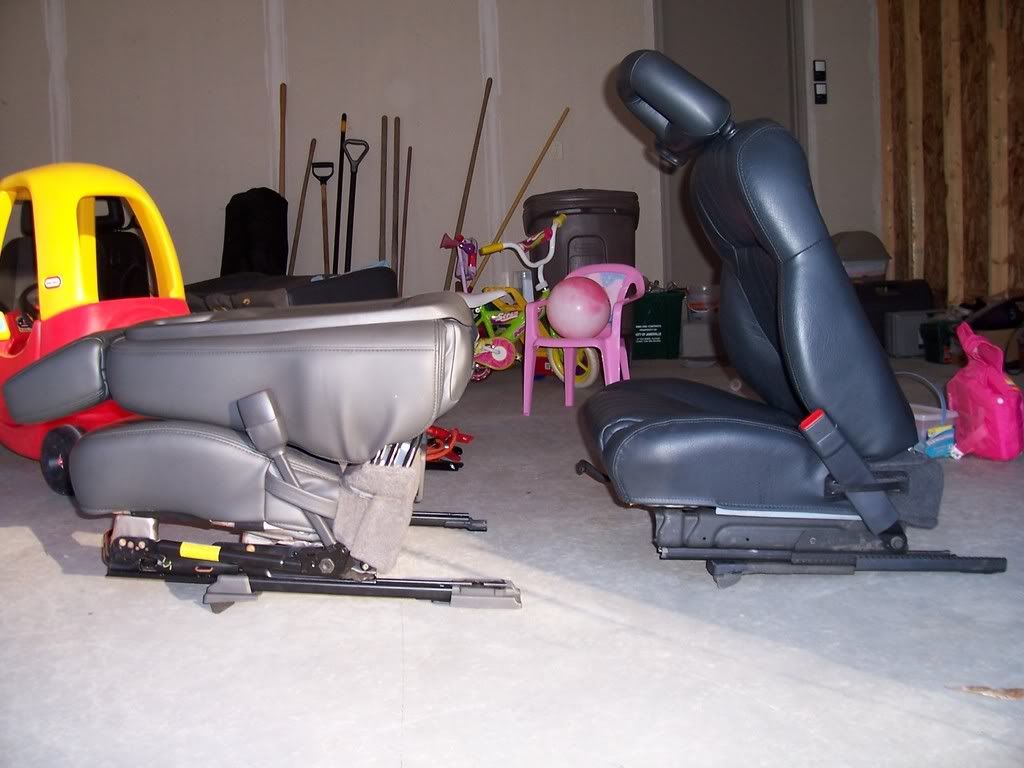
So far mine has always connected, but you have to really wiggle and jiggle it sometimes, and I can see that getting very annoying.
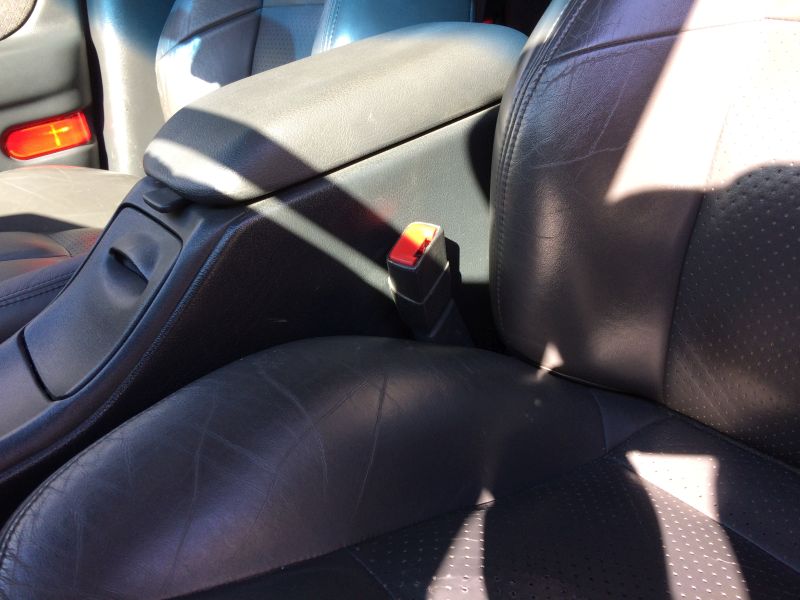
Picture from the write-up on GTP World.....
So far mine has always connected, but you have to really wiggle and jiggle it sometimes, and I can see that getting very annoying.


 you did exactly what I did, just made it look better... haha