Hey everybody, thought I would take a minute and share my HID retrofit project on my '04 that I did a few months ago.
6 months ago I had no idea retrofit kits even existed. Thankfully before I made the terrible choice to put a PNP kit in stock reflector housings, I heard about retrofitting. I have to thank AjL227 for the inspiration and basis of my project. I got my kit from TRS (The Retrofit Source online: headlight upgrades for all applications) and would highly recommend them. Not only do they sell top quality products, they're super helpful and will gladly answer any questions you have about retrofitting. I learned how to retrofit and incredible amount of knowledge from TRS and the HiDplanet forums (HiDplanet : The Official Automotive Lighting Forum). If you have any questions about true HID installations you'll find tons of info there. All right, enough of my soapbox. On to the retrofit!
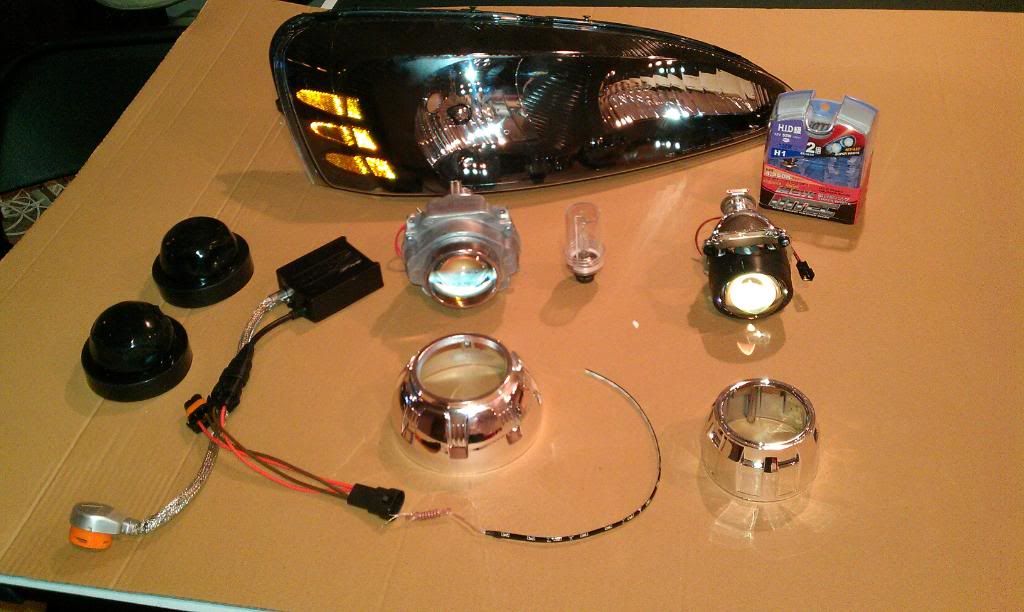
I started with a brand new pair of headlights since one of mine was damaged from the previous owner. The equipment shown in the picture below:
FX-R Bi-Xenon projectors for high and low beams
Morimoto 3Five ballasts
Morimoto 3Five D2S 5000K bulbs
Orbit shrouds
Morimoto Mini H1 projectors modified for halogen bulbs for daytime flash-to-pass and supplemental nighttime high beams
MTEC 55W H1 4350K halogen bulbs
Mini Gatling Gun shrouds
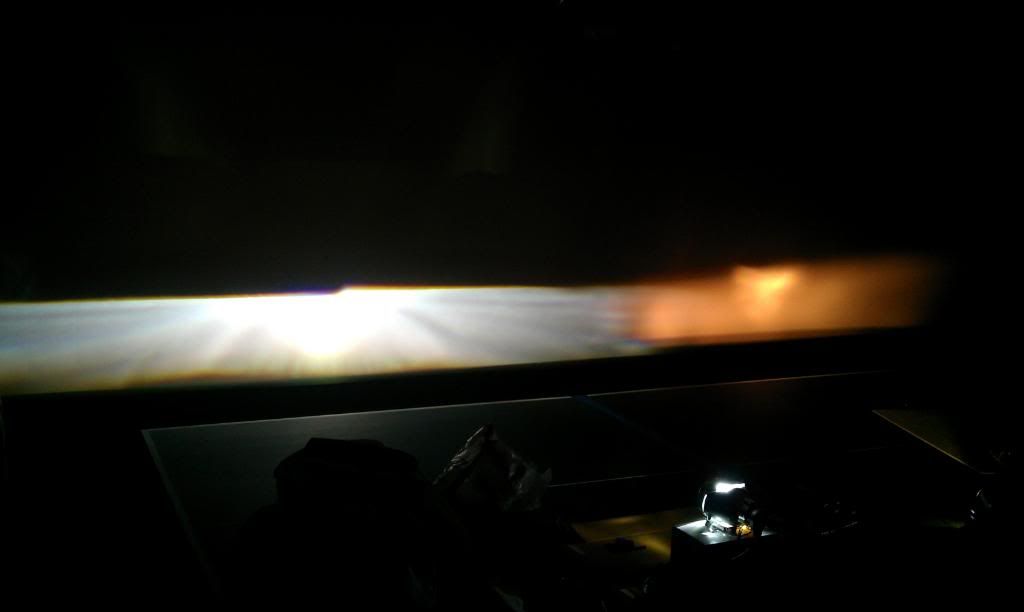
This picture shows the difference between the projector and a stock headlight output. The stock 04+ headlights actually have very good output, I really liked my PIAA 4100K bulbs too, but I've always wanted HIDs and knew that the output would be even better with a quality HID projector. (That's a stock halogen, not the PIAA.)
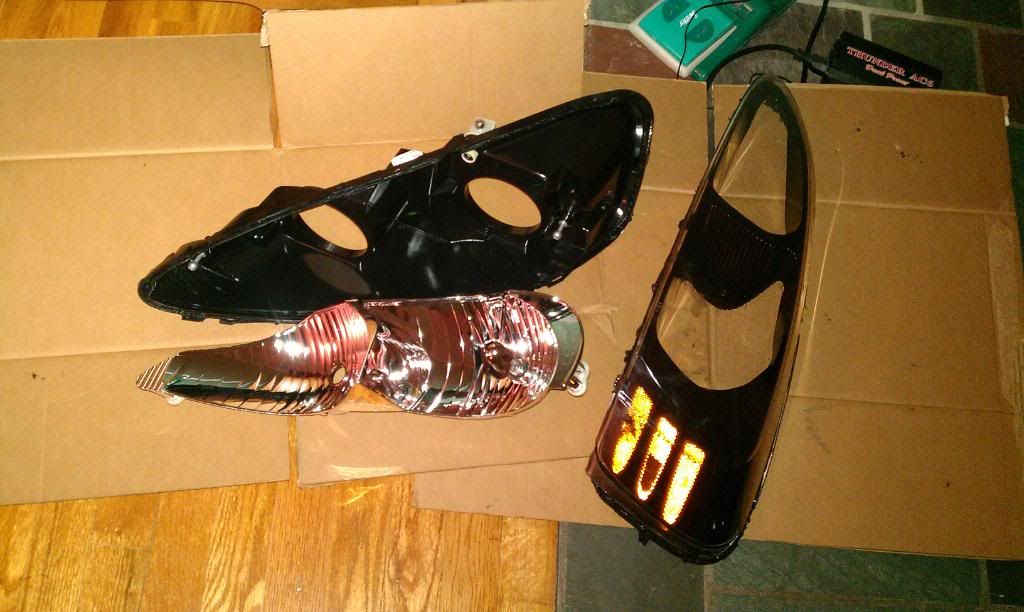
I threw the lights in a 265° oven for 7 minutes to soften the glue and open them up.
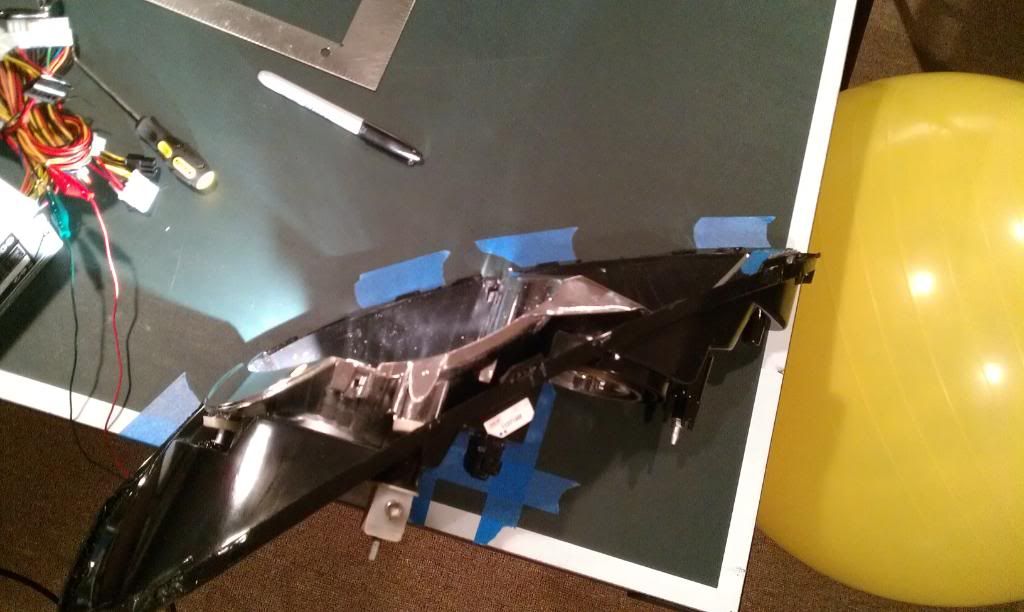
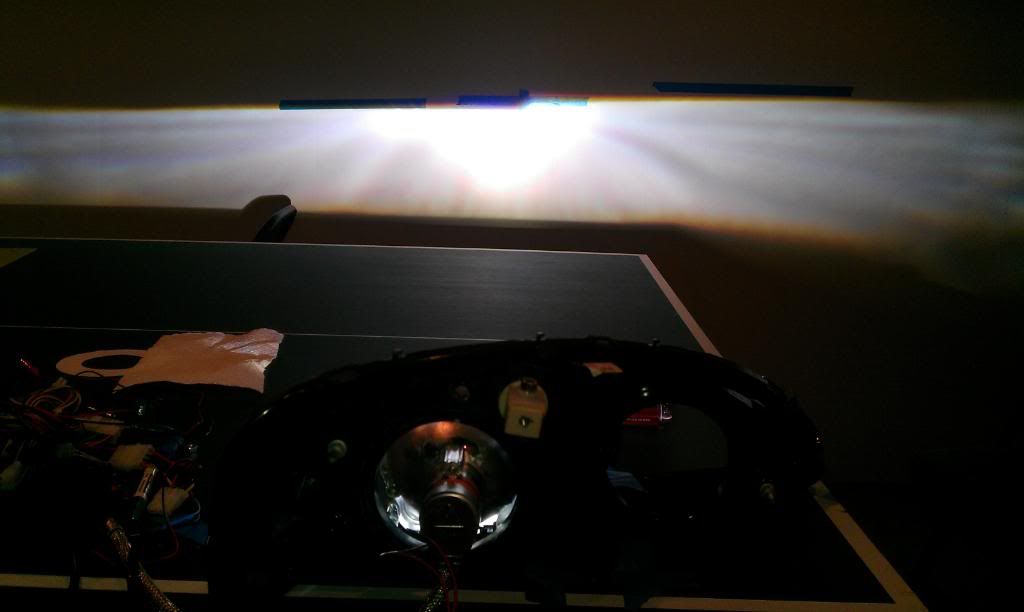
In order to get the projector aimed properly I marked the position of the headlight on a table and then the stock lighting on the wall. Once I got the projector partially installed I was able to put the headlight back on the same spot on the table and match the output up on the wall.
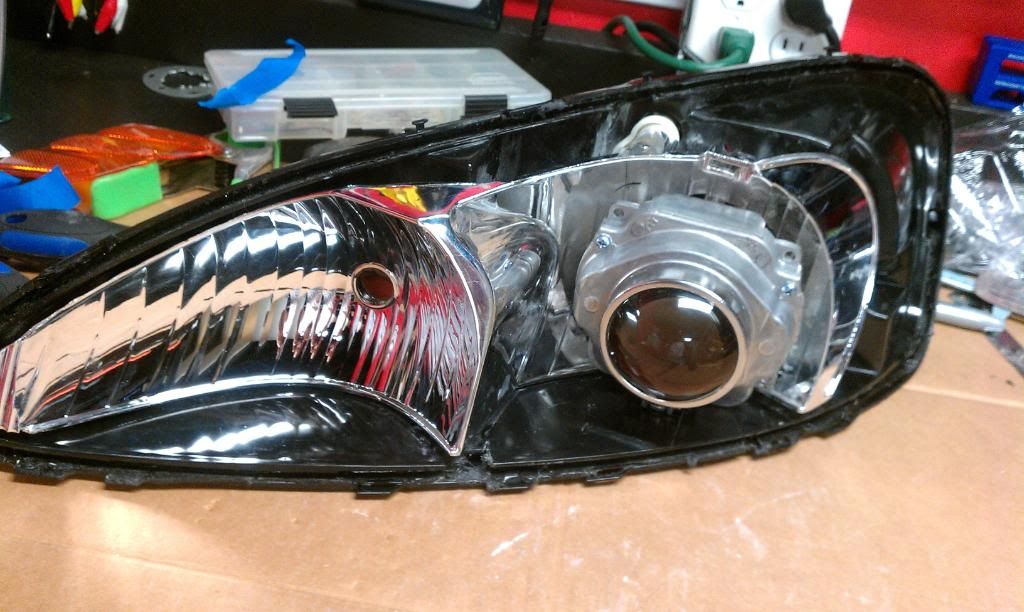
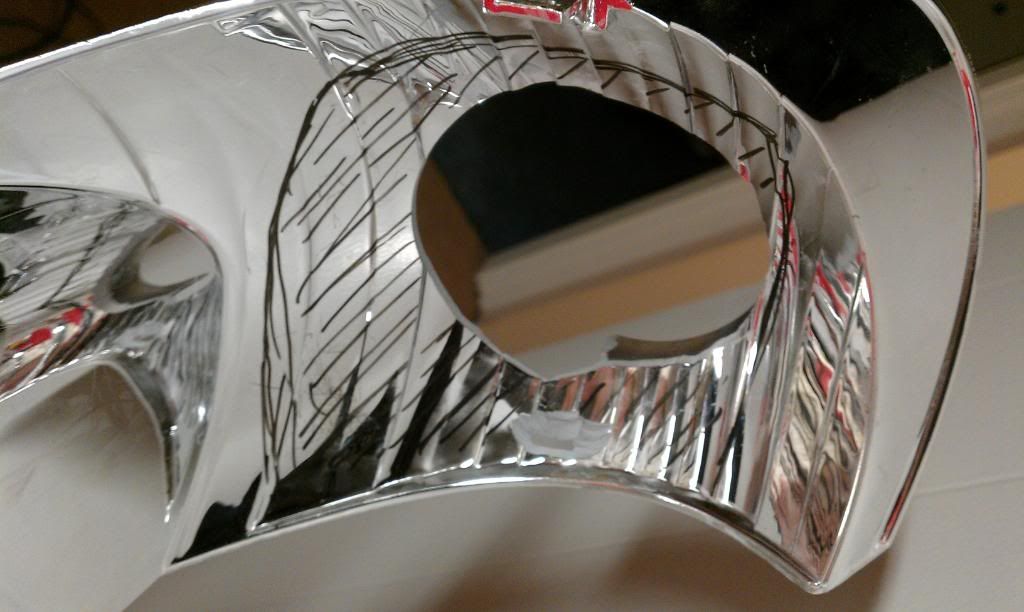
Originally I thought I would just be able to cut a hole out of the reflector to fit the projector far enough back so that it wouldn't hit the lens. Guess what, that didn't work. These FX-R projectors are massive and I needed every mm of space to fit them in.
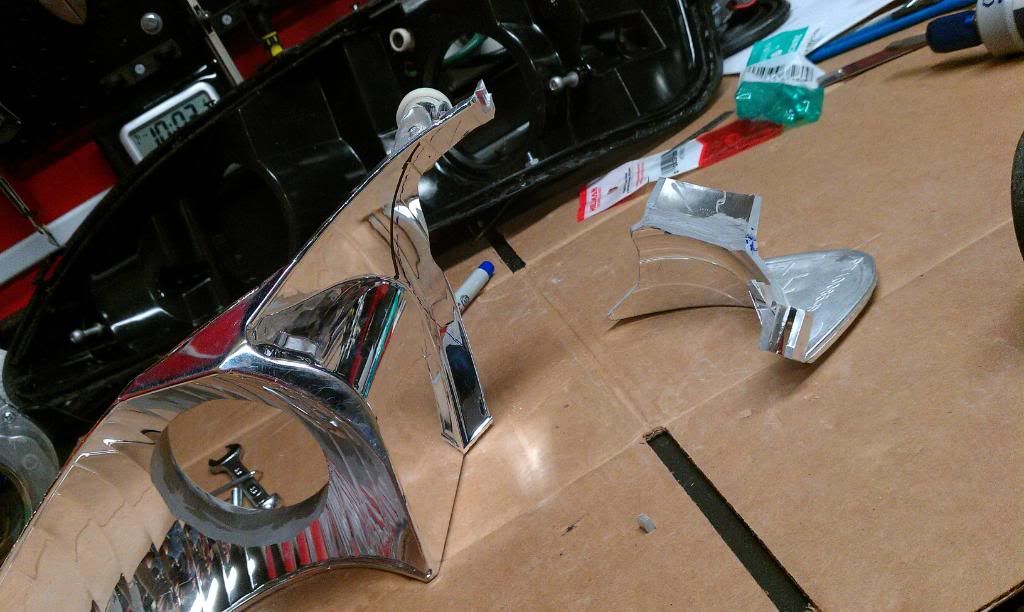
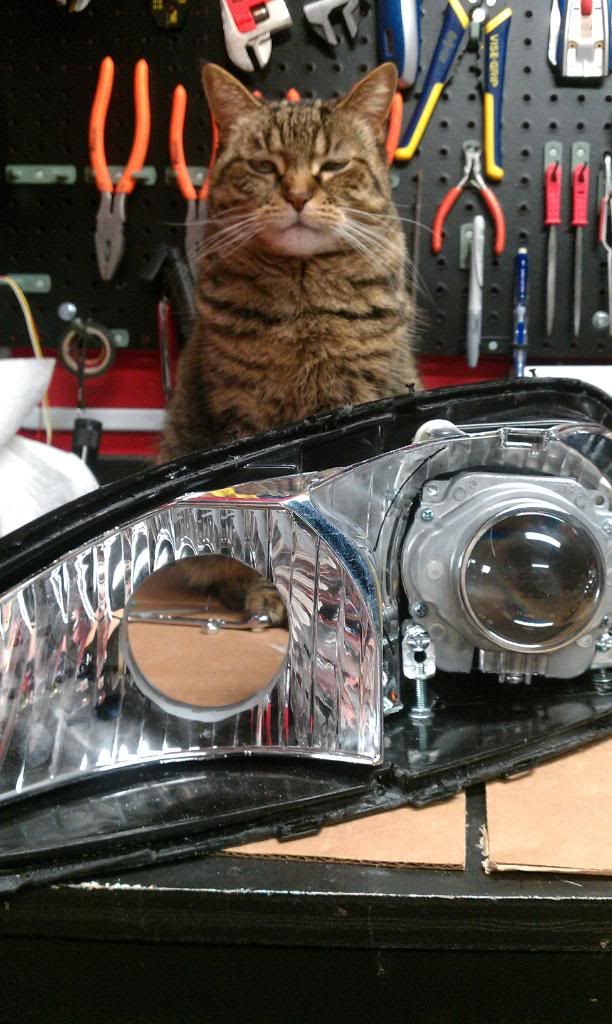
In the end, after a LOT of trimming and trying to make it fit, I came to the conclusion that it would be easiest to just cut the whole side off.
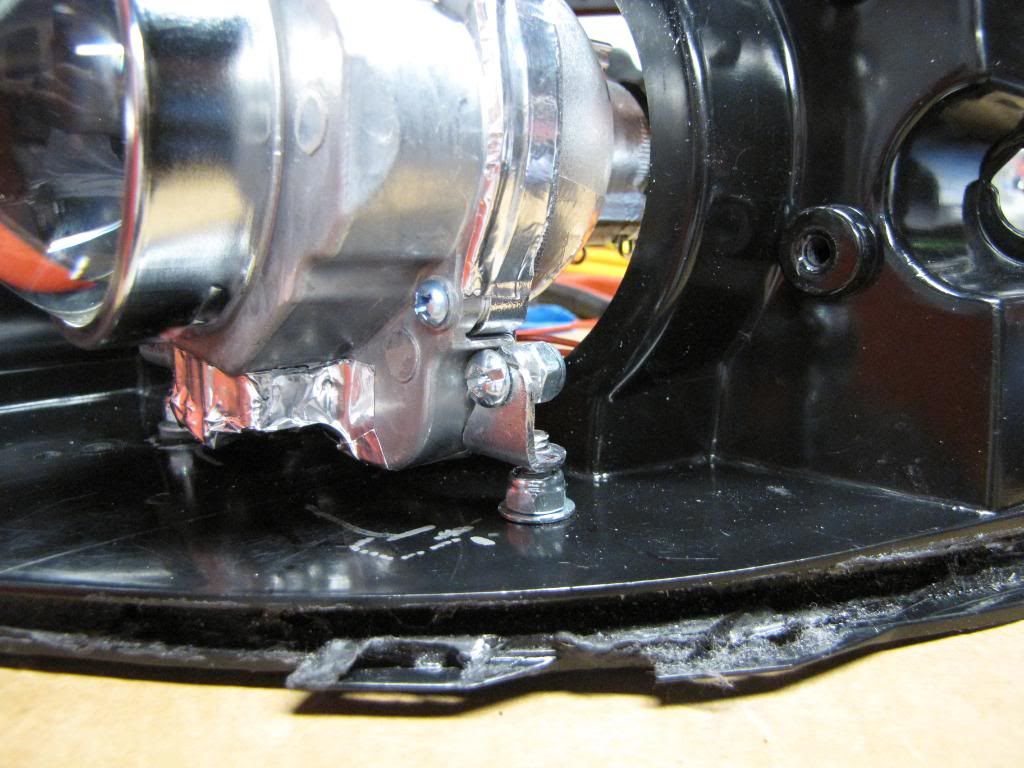
When it came to how to mount them, I didn't really trust epoxy. Not that it wouldn't hold, just that I'm far too picky about things and it would drive me crazy if they weren't level or were aimed crooked. Our lights suck anyway since there's only one adjustment, and it's kind of an up and down arc. Thanks GM. I ended up making metal brackets and drilling and tapping the mounting holes with threads so that I could use my own adjustment screws. Nylon lock nuts hold the bolts in place so they spin freely and let the brackets move up and down on the threads.
In the end I had up and down pitch adjustment, rotational adjustment so that the cutoff would be level, and left and right yaw adjustment so that they wouldn't be cross-eyed or pointing out to the sides.
My cat oversaw construction, she was not particularly impressed.
The projectors stick pretty far out the back of the housing so to seal them up I used these 90mm rubber housing caps from TRS. They fit the groove for the stock gasket so perfectly, I couldn't believe my luck. That was the first time this whole project that something was easy and didn't require a ton of custom work. I sealed around them with black silicone adhesive
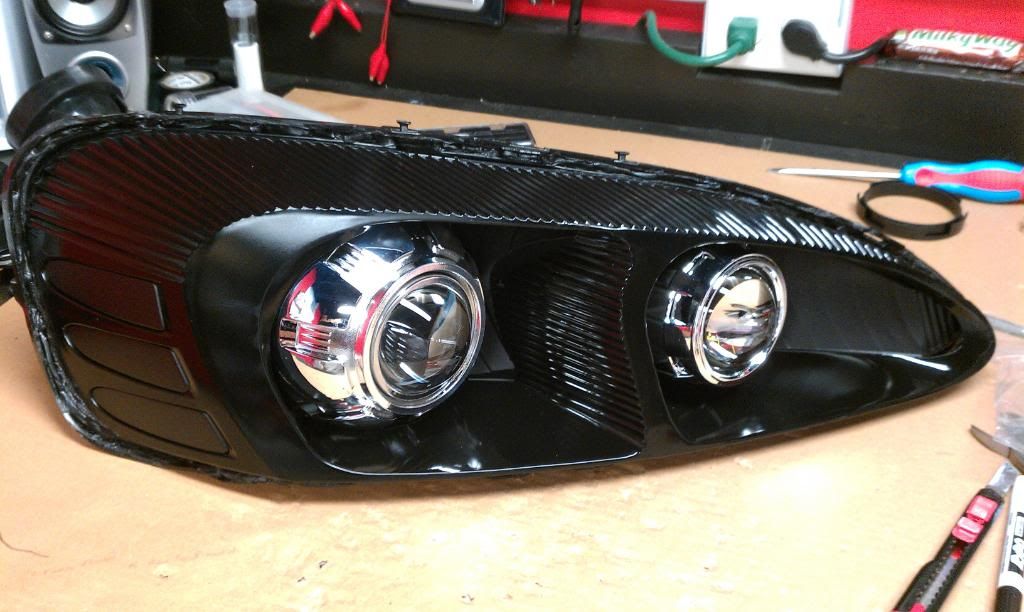
I really wanted to keep the ability to flash my high beams during the daytime. Unless you have a Bi-Xenon projector, HIDs are completely useless as separate high beams unless you're going to leave them on all the time. I got a discounted pair of Mini H1s and modified them to take a halogen H1. Installing those was such a piece of cake after the ridiculous ordeal with the FX-Rs. Drill a hole, JB Stick them in place, done. Using the 90mm rubber caps makes sealing the headlights back up much simpler than the other Mini retrofits I've seen too. Of course, I wasn't particularly worried about precision aiming but still it's a very doable project for anyone interested in actually getting better quality light output and not just extra foreground brightness and glare with an HID kit (I know I know, I said I was getting off my soapbox.)
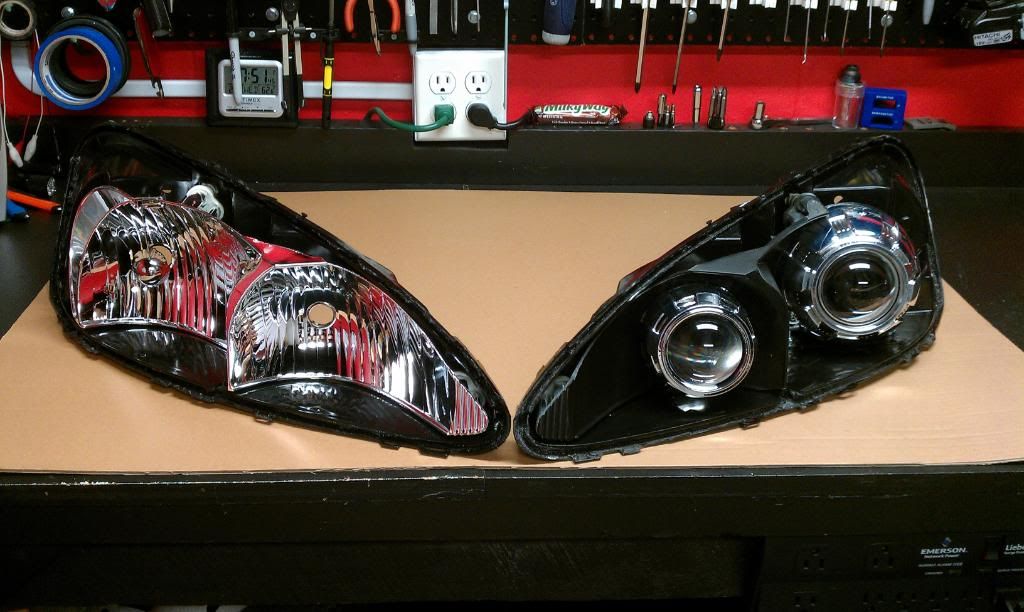
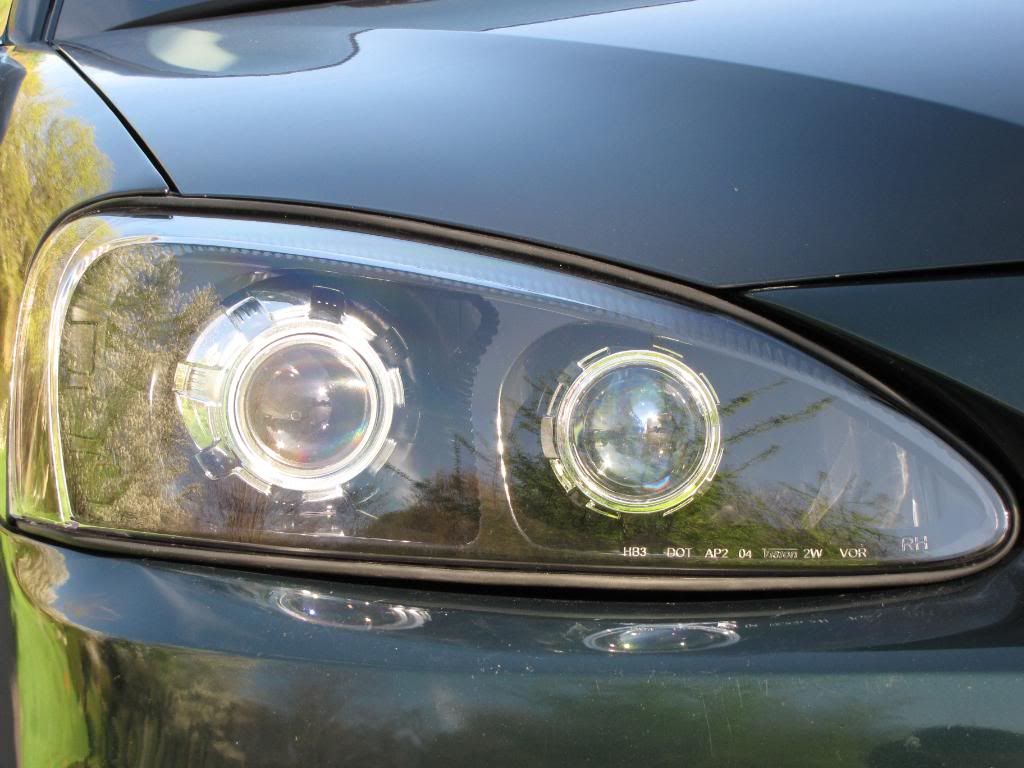
Anyway, here's a comparison of a stock light and the modified one
And a gratuitous shot of my work bench
Almost done!
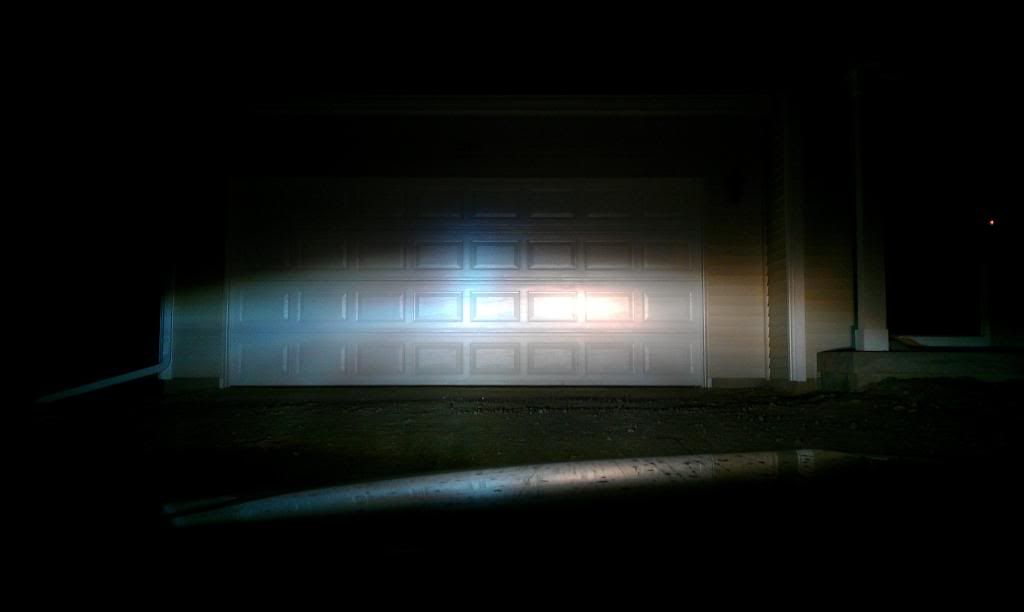
Here are some comparison shot of the output of stock vs. projector. It's really not that blue but compared to the warm CCT of the halogen it looks that way. This is just the FX-R on the left and stock on the right. The extra Mini H1 high beams weren't installed at this point
Low beams
High beams
Finished output. The rotation has been fixed on the left side and they're both parallel and straight now.
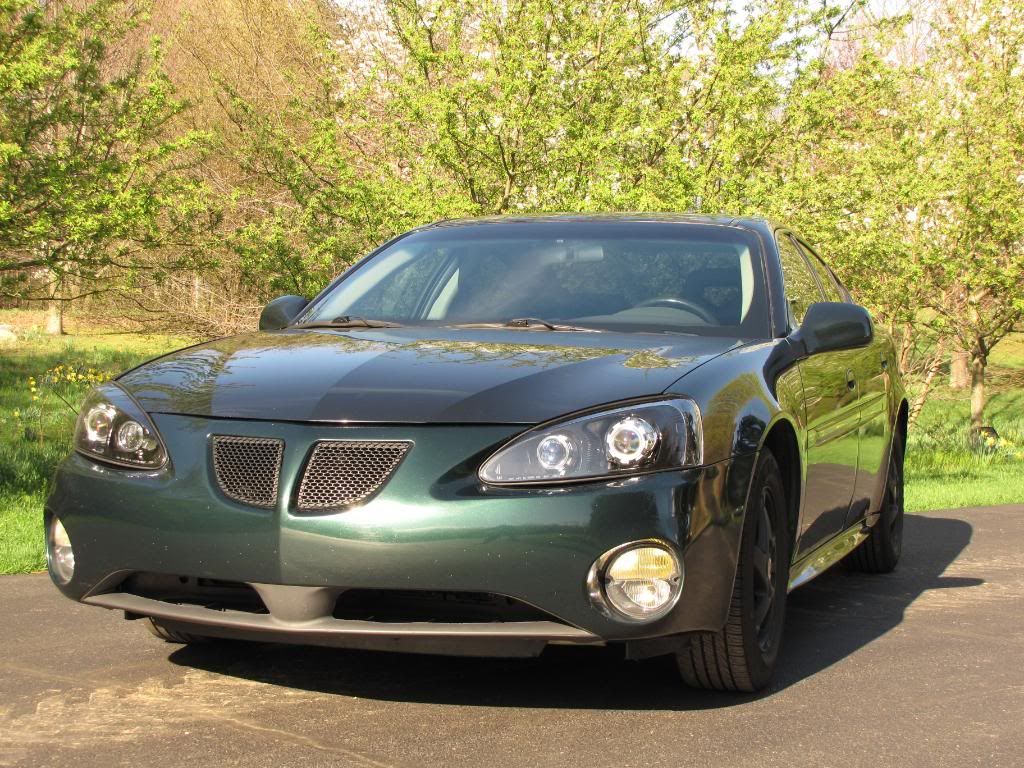
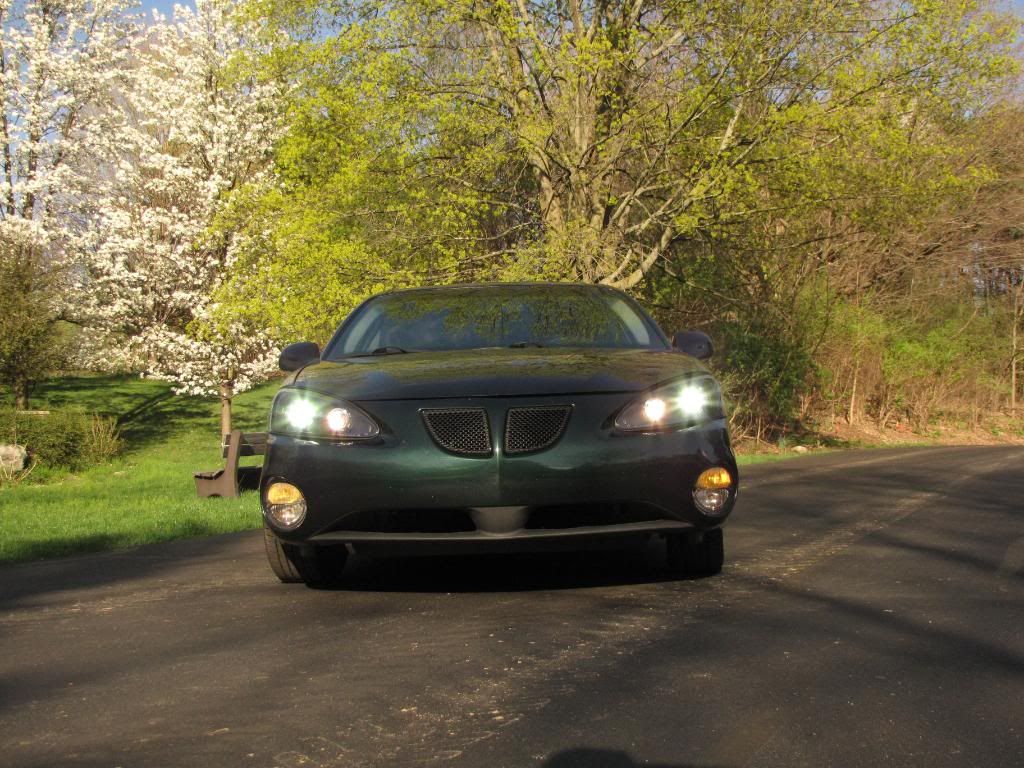
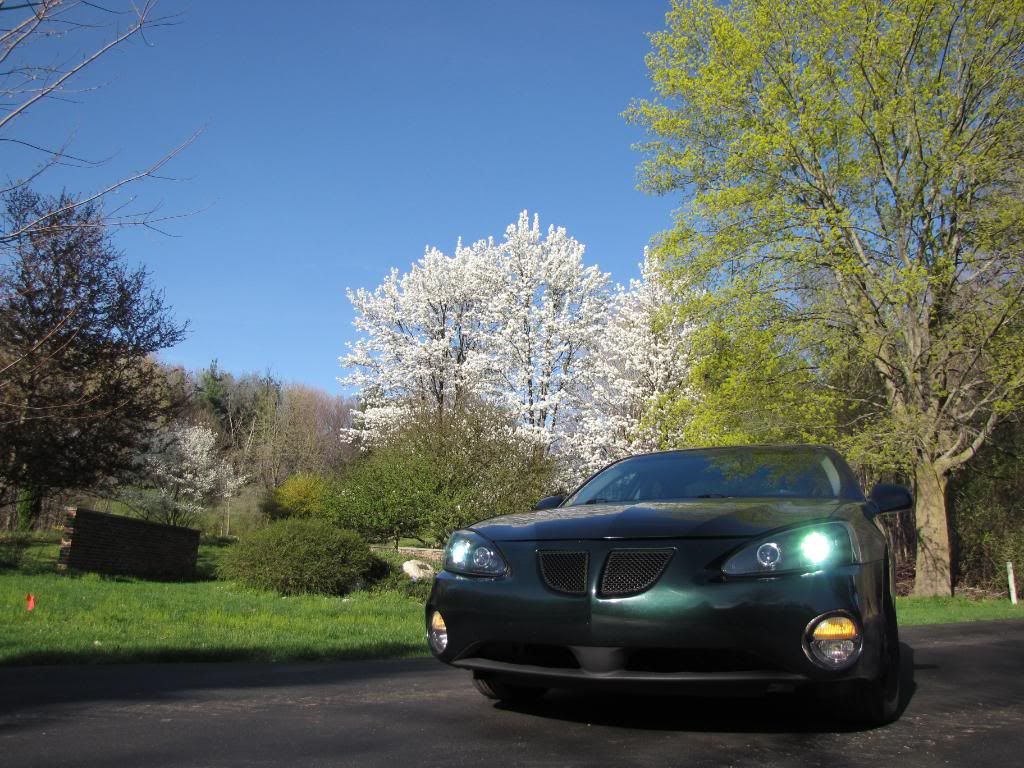
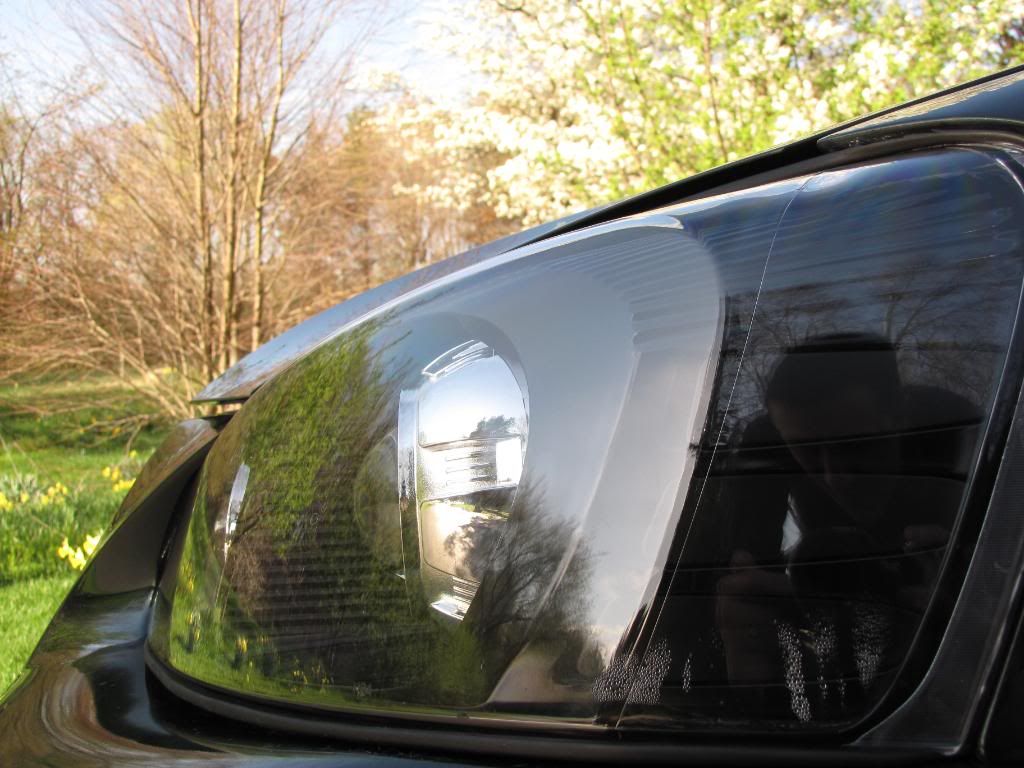
And now the important part, how it looks all together:
Note: the lights are not green like in a few of the pictures, and the condensation in the last one was from being in my cold basement and transitioning to the record high spring temperatures. Oh, and after I saw these pictures I realized that my hood wasn't straight and fixed that too.
If I had known in the beginning how much extra work it was going to be to use the FX-R projectors instead of the Minis, I probably would have just gone with the Mini H1s. But now that it's all done I couldn't be happier with how they turned out and would probably do it all again the same way. Doing the first headlight took the better part of a month working on it evenings and weekends all while trying to prepare for our first baby. The second headlight was a piece of cake and I got it done in a matter of days. It's always the initial development and design that takes so long, but maybe that's just because I'm an engineer and over-analyze everything.
Thanks again to TRS, HiDplanet, and everyone that's done a GP retrofit that I was able to steal ideas and inspiration from.












 ______________________SMGPFC #99_______________________
