Exclusive Auto Parts and Motorcycle Parts :: Dash Z Racing
This will be an Grandprixforums.net Exclusive Review done by yours truly
Spartan GL.
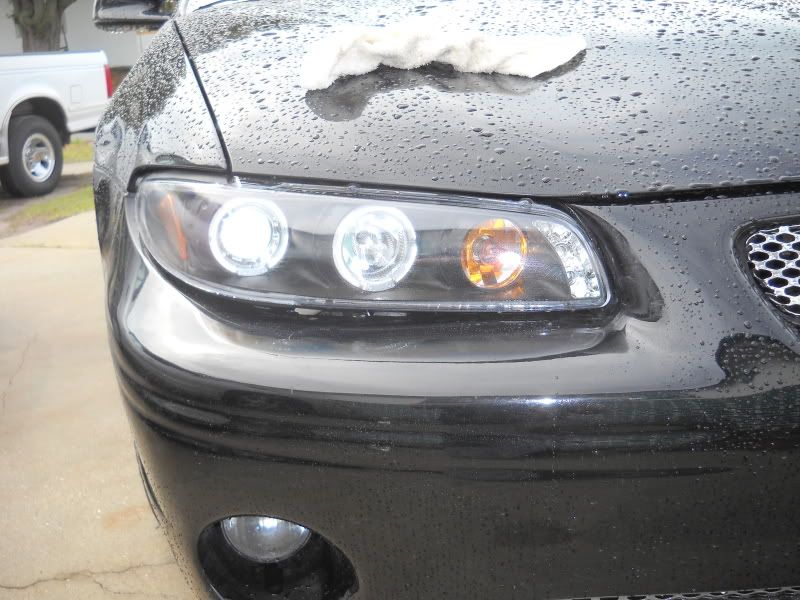
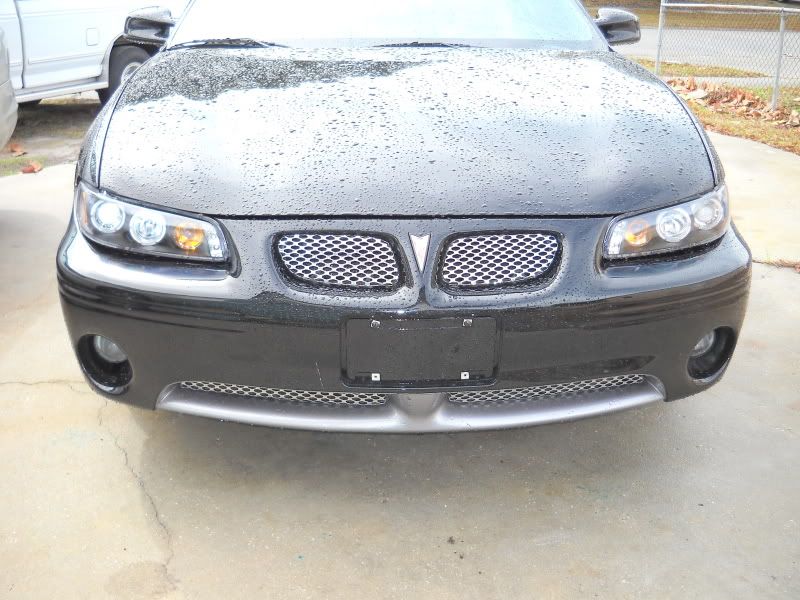
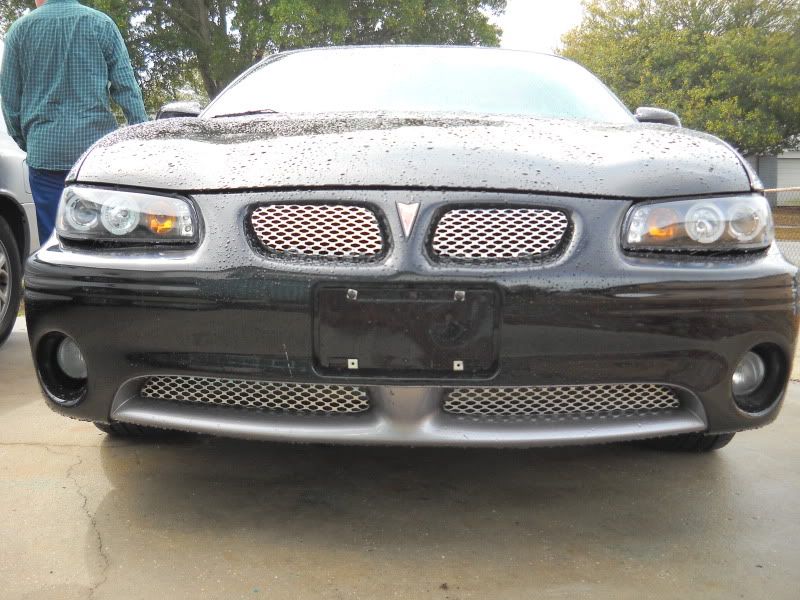
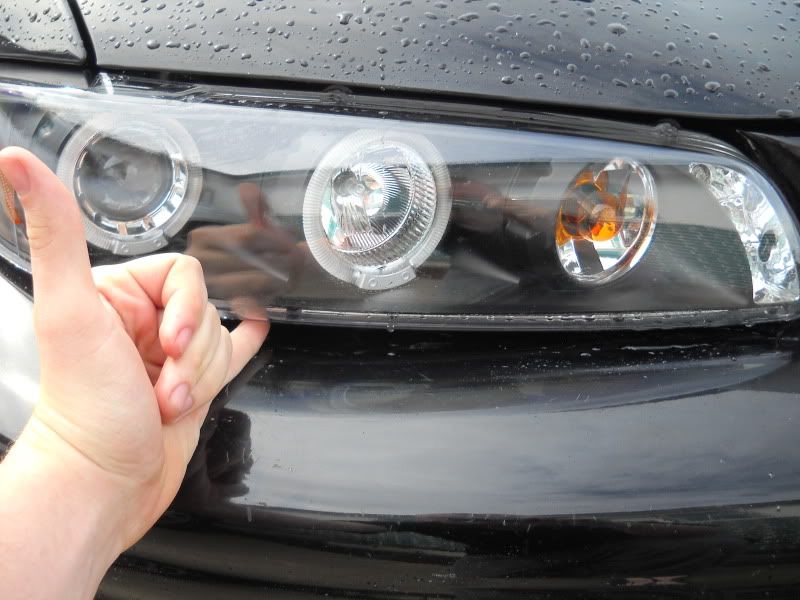
Today we are looking at Dash Z Racings Brand New 97-03 Pontiac Grand Prix Halo LED Projector Headlights - Black
that Retail for 295$USD
Which can be found here 97-03 Pontiac Grand Prix Halo LED Projector Headlights - Black
Will at Dash Z Racing has started a GPF.net Exclusive Group buy that can be found here: http://www.grandprixforums.net/f52/h...3-a-26044.html
This Review will touch base with all Aspects of Projector headlights that will include Installation, Light out put and Bouncing Issues.
Lets get started Shall we?
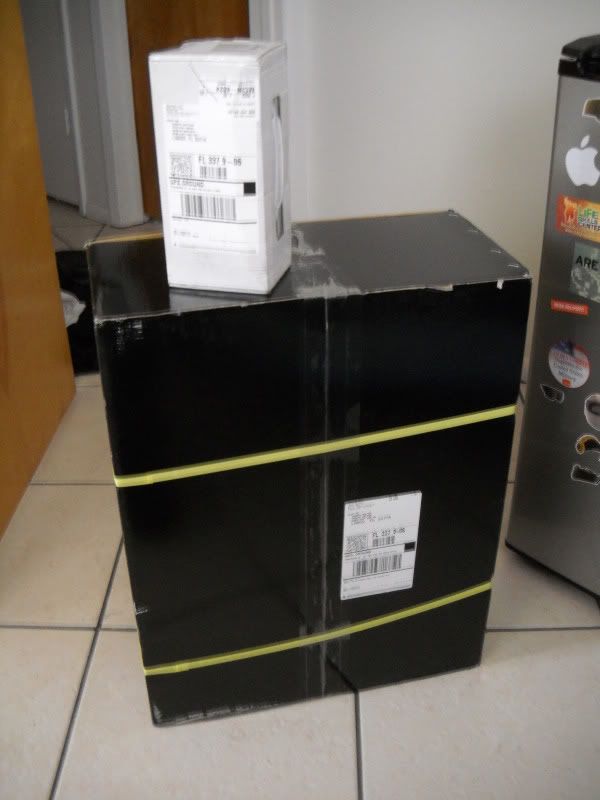
Brand new in the Box 02-1-2010
Few Quick Notes.
Mounting Bracket Seems Heavly Reinforced from Previous Models.
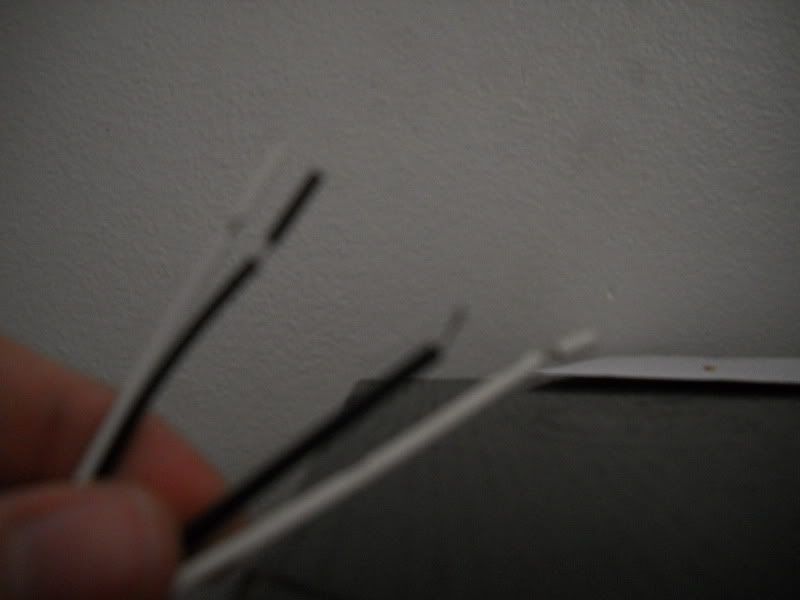
4 Wires to splice into parking lights (for LED's and Halos) the 4 wires have Plastic tips on 3 of them? and 1 that has the wire exposed
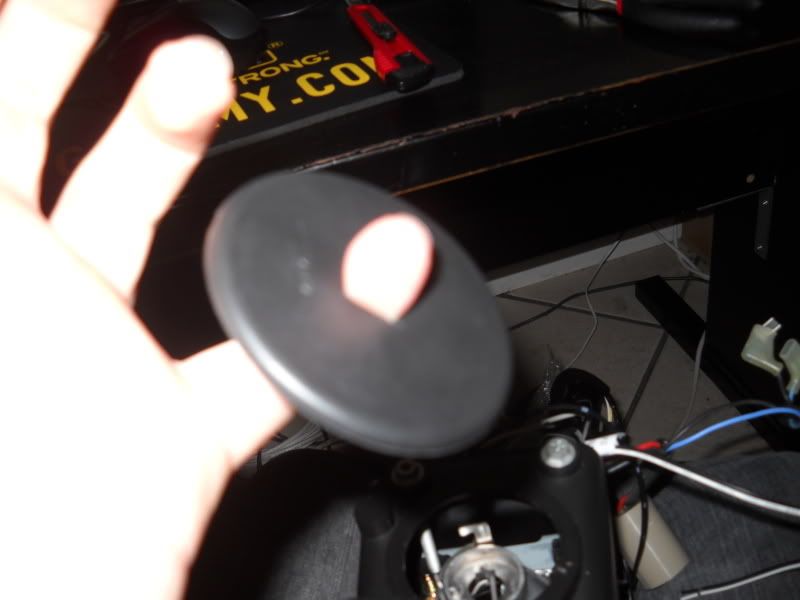
Removing the back of the Bulb holder is different (like a flat disc)
Update #1. 1.) The Rubber Disc Pops off with Little Pressure from a Flat Head Exposing the Bulb assembly . 2.) there are 2 Screws on the back for Aiming the Halo. 3.) Test Fitted H3 HID Bulb. Fits Perfectly.
Update #2. 1.) I ordered a H3 HID 6000W Kit with mine. so i had to cut about a Quartersize hole in the back of the Rubber disk that is covering the Bulb. But the Rubber part on the HID kit fits into it with alittle Cutting. so to keep in Waterproof (I LIVE IN FLORIDA! Hurricanes man!!) 2.) Heading to Autozone to buy some of the Auto splicer kits. 3.) NEW PHOTOS!
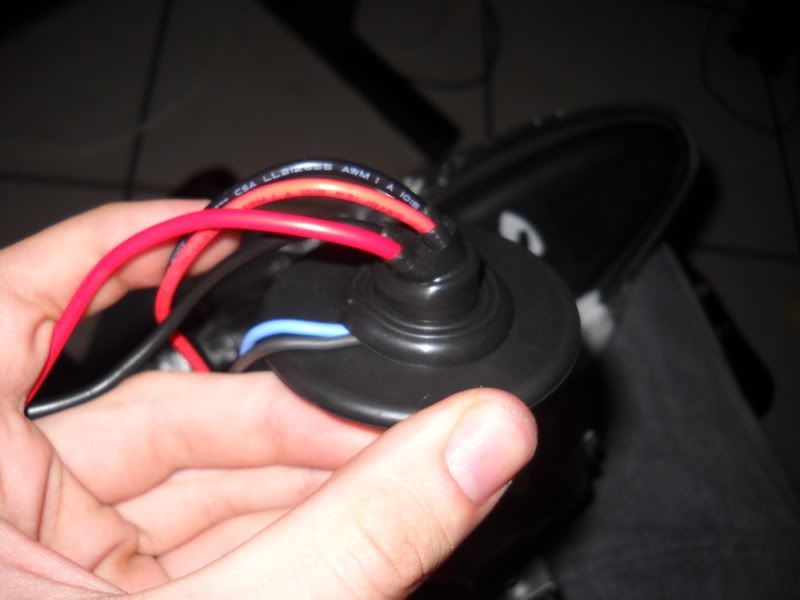
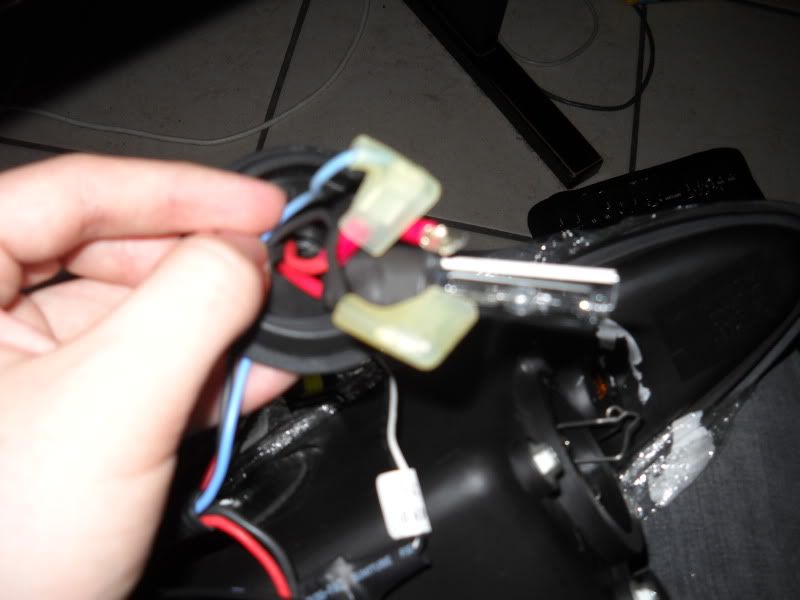
Cut about a quarter Sized Hole in the Rubber disk to allow the HID blub and Wires to fit thought freely
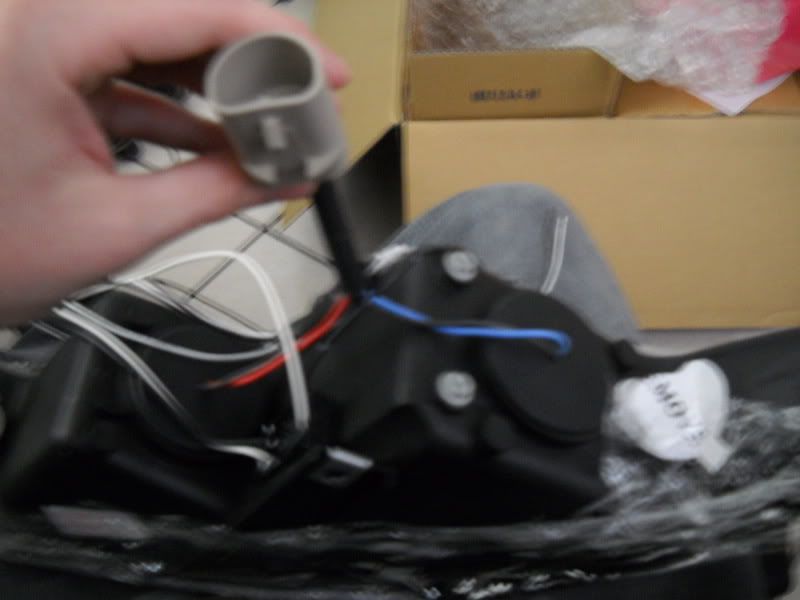
The 4 Wires that need to be spliced into the Parking lights (3 have rubber tips!?)
What the Rubber disk SHOULD look like after you cut the hole and fed the wires through and had the First Circle of the HID rubber disk thingy to fit into (To keep waterproof)
Reinforced Mounting Bracket (HELL YEAH!)
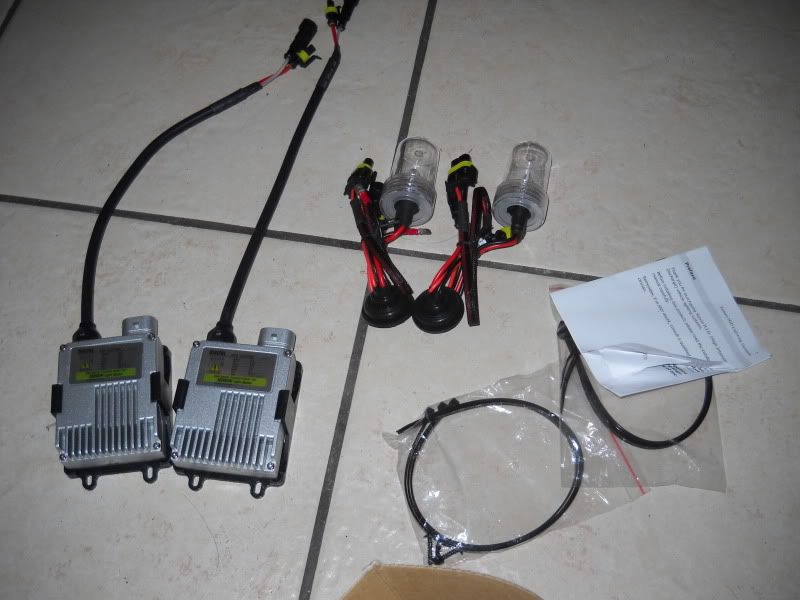
H3 6000W HID Kit WITH ZIP TIES! DASH Z KNOWS US ALL TOO WELL!
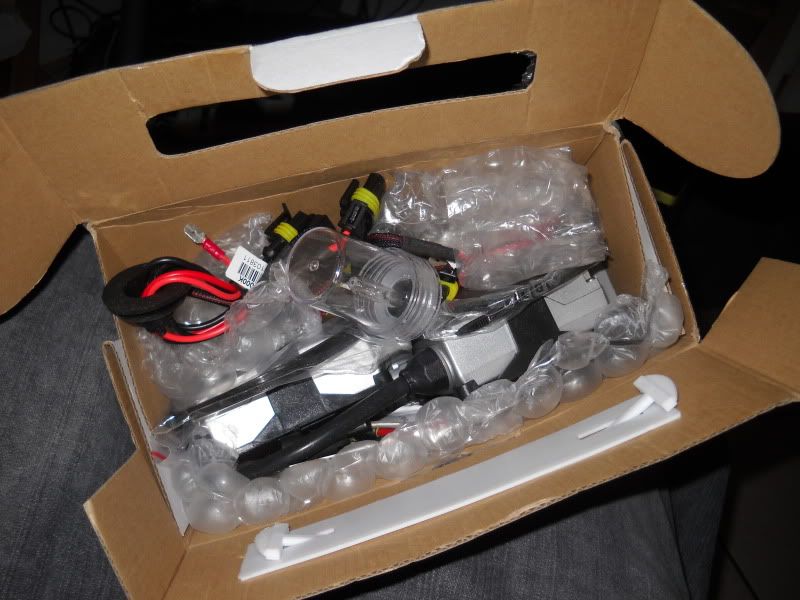
HID Kit in Box
Back of the Headlights
Simple connections after being fed though
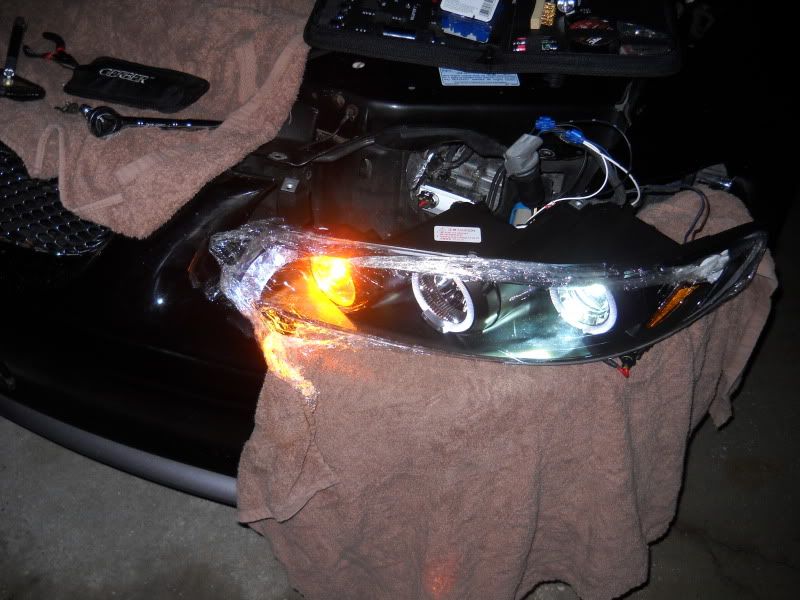
UPDATE #3 I finished splicing the Driver side and installing them here are the Steps
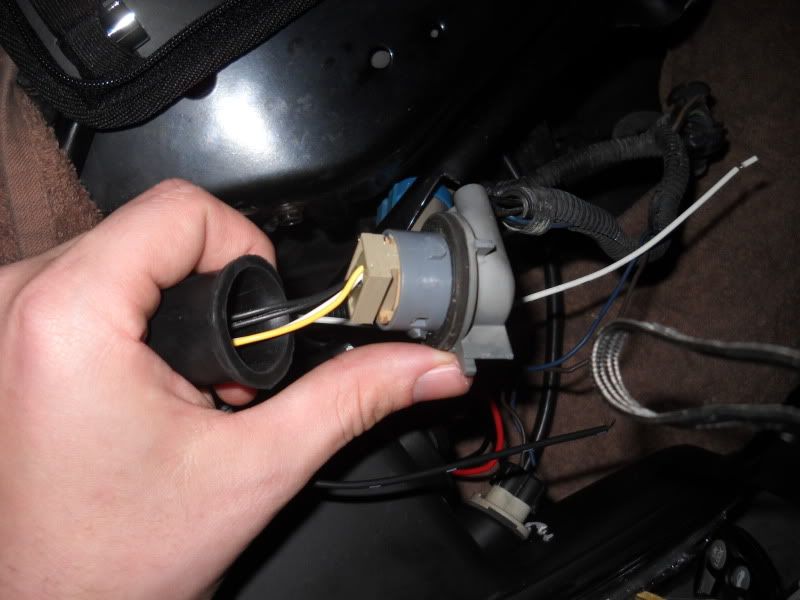
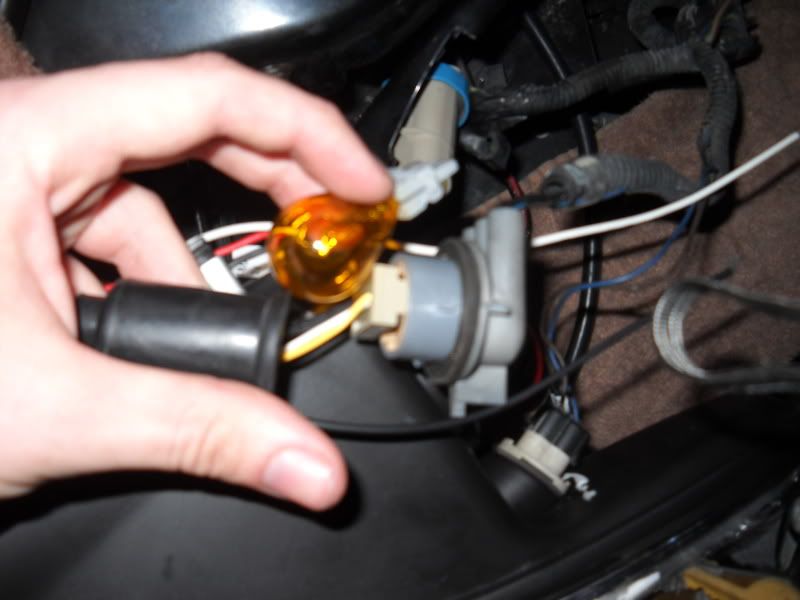
Here you Remove the HIGH BEAM Bulb that is in the Stock harness. with these projectors comes an extra plug that plugs INTO where the old bulb was.
Bulb removed
Smart to place a towel under it as to not scratch your paint (I F**&ed up last time lol)
Reattach the Bolts.
Close up
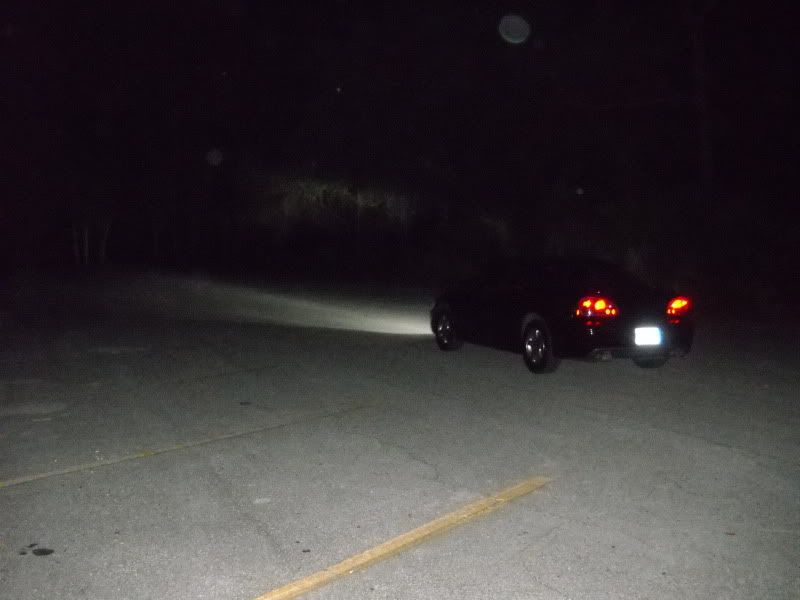
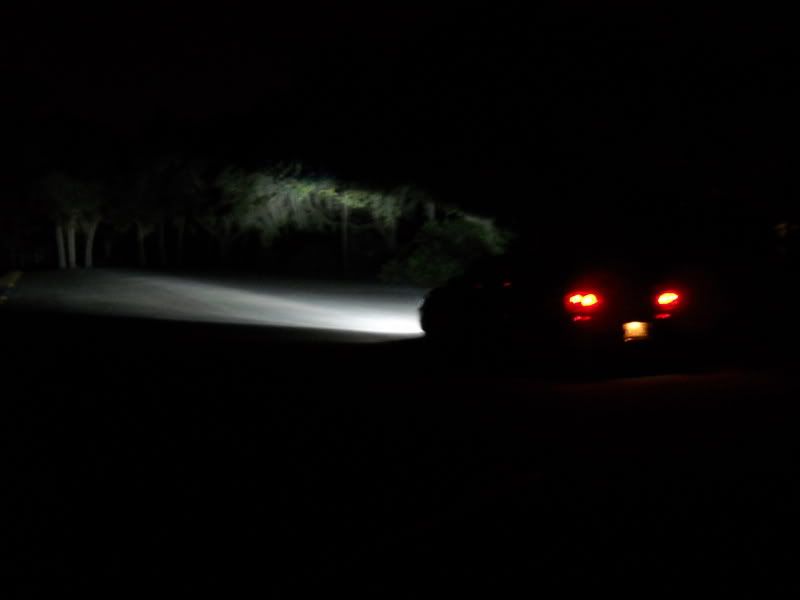
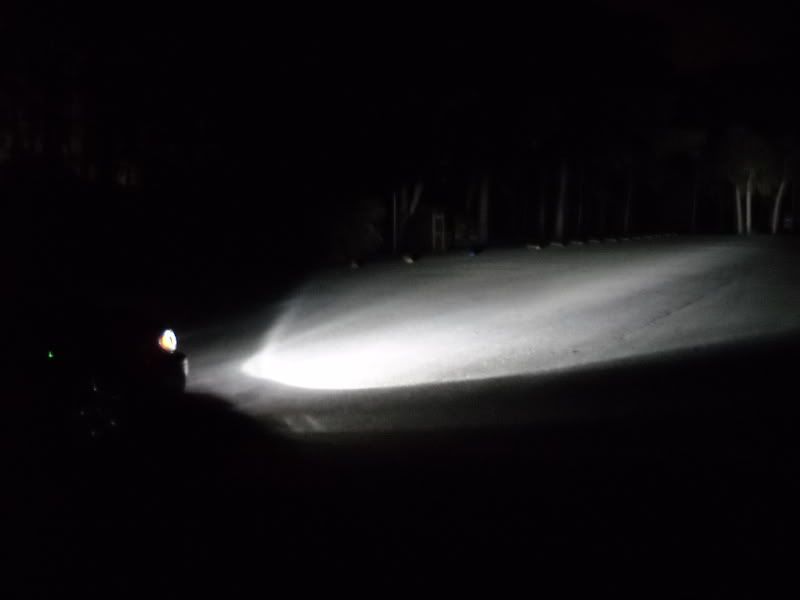
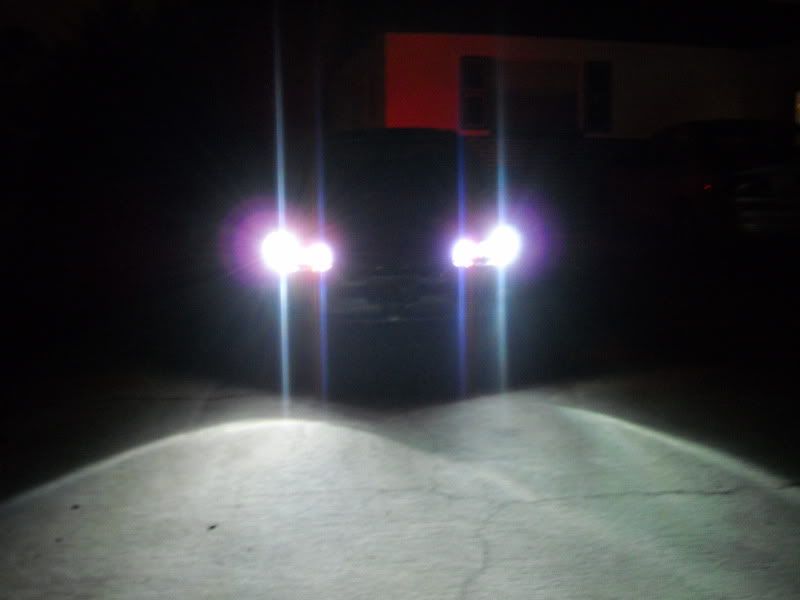
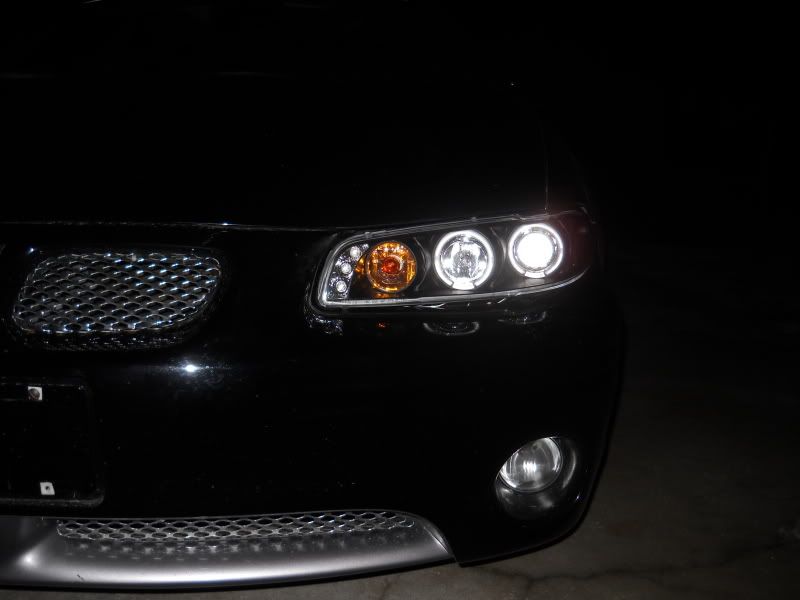
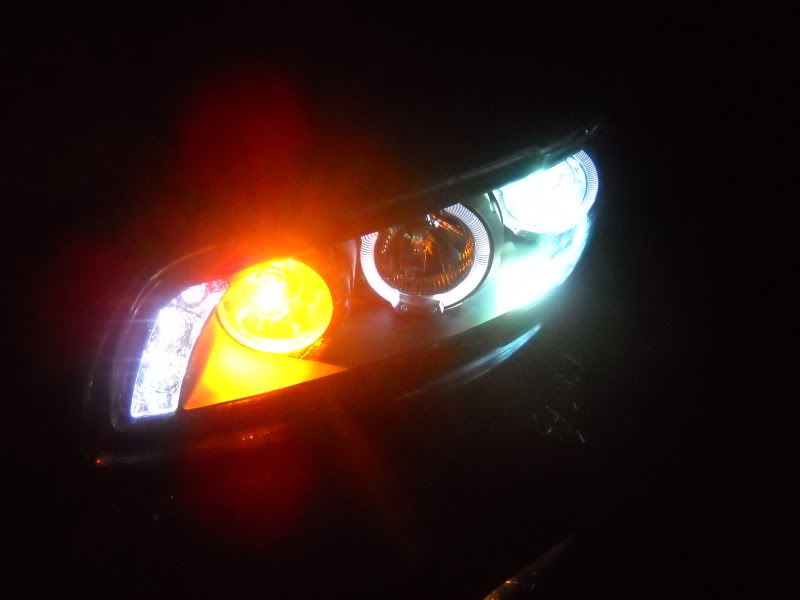
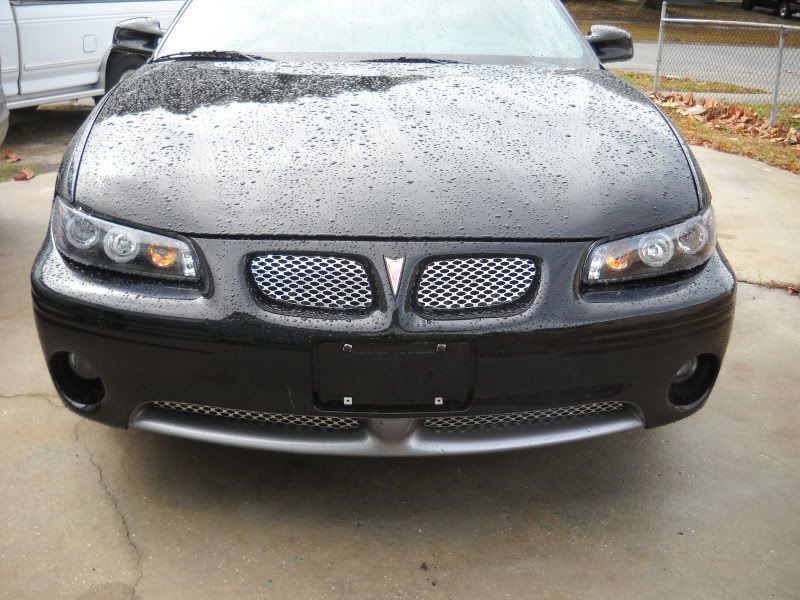
STOCK VS LED Projectors with HID KIT
STOCK VS PROJECTORS (1 Projector makes that much light.
Questions comments or Concerns? Going to Start on the 2nd one now
MORE TO COME!
THIS IS A LIVE & UPDATED THREAD FEEL FREE TO COMMENT
INSTALLATION MIGHT BE TODAY OR TOMMORROW






 I guess you have never used a wire stripper? Wow lol


