Grease em til they bulge.
And spray them some funky color because they rust bad, unless of course you like fuzzy brown
|
|

Grease them till they bulge! Got it. Good tip guys. I woulda left them as is. No grease gun here so the shop will need to do it.
I'll hit them with some paint too. They really rust that bad? You know what sucks, that Aluminum POR-15 on the knuckles was slightly, very slightly, rubbing off when I was working with them. Thinking I shoulda cured them in the oven before I installed them. 20 minutes @ 320*, with a little garnish. Can still do that to the calipers I suppose.
About the alignment. Since it's going to the welders for the strut towers just as soon as I fire it up, I don't wanna get an alignment yet. You guys think it's OK to drive it like that 28 miles? That's how far the welder is. Or should I get one. Both front and rear were completely taken apart. Any thoughts?


Replaced the motor mount last night. A little tougher then the trans mount but doable. Also found a mystery bolt in the cavity for the motor mount.
Getting dark on me early!

Same approach as before. Used some cardboard as a "crush-washer", then wood, and hockey puck. Except the wood was too long and caught on the rear of the sub-frame. So had to lower everything back down, and used a saw to cut a few inches off.
New mount vs. Old mount:
Installed. Must admit it was tough to rock the engine into place. Stressed me out a little cuz I didn't want the engine held up by the pans for too long. And it was already taking longer than I anticipated.
Mystery bolt with rubber retainer or mount or something. It's in pretty good shape:


Hurry up before it snows! Hey there is turbo parts for sale in the threadsDO IIIIIIIIIIIIIIIIIIIIT


Thought I was ready to start the engine last night but got snagged by some petty shyt. Things that needed to be done tho. Connected the RaceTronix fuel pump wire to its standalone fuse under the hood. I had to cut the wire so it would cleanly pass through the passenger side grommet. I routed the wire through the inside of the car rather than the outside. Did a simple oil filter change. Drained the old oil. But forgot the jug of new oil and home, DOH!
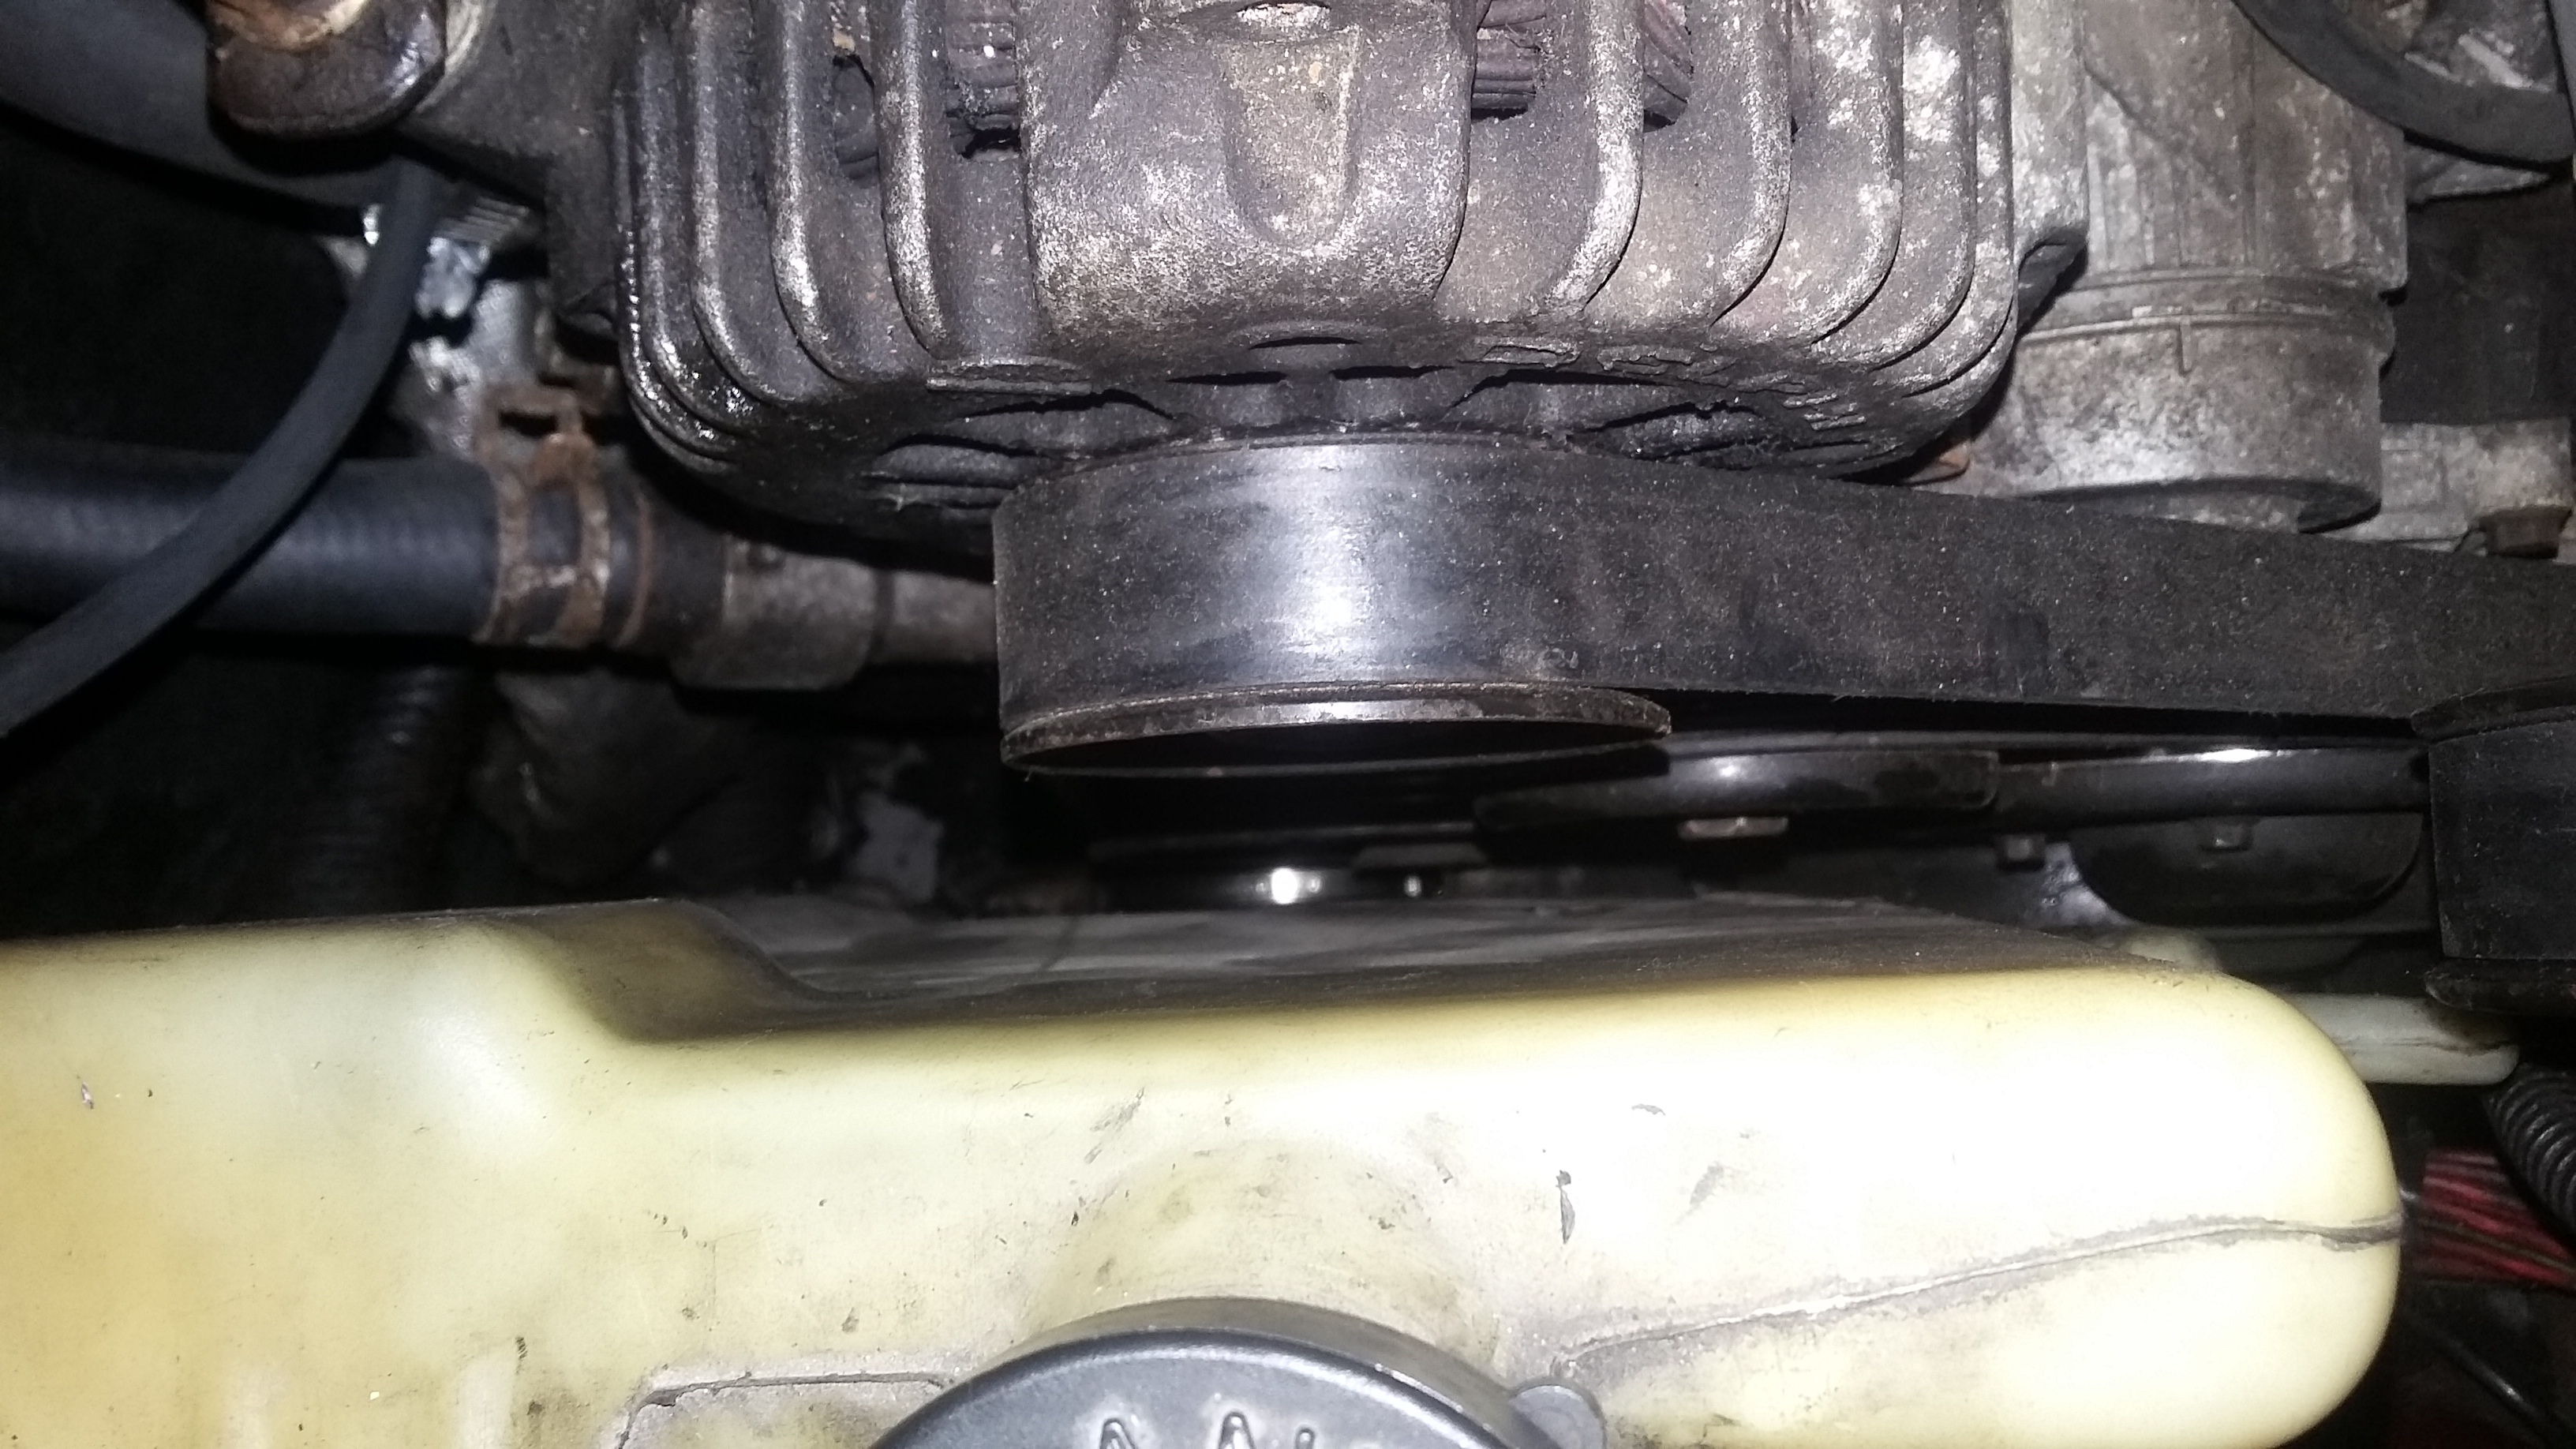
One of the things that annoys me to no end is the coolant overflow tank. Finally got it sitting pretty good with like 1in. of clearance between the pulleys. Had to do some hacking and drilling and zip-tie’ing. Pics below.
Fuel pump wire with shrink tubbing:

Drained oil. New filter:
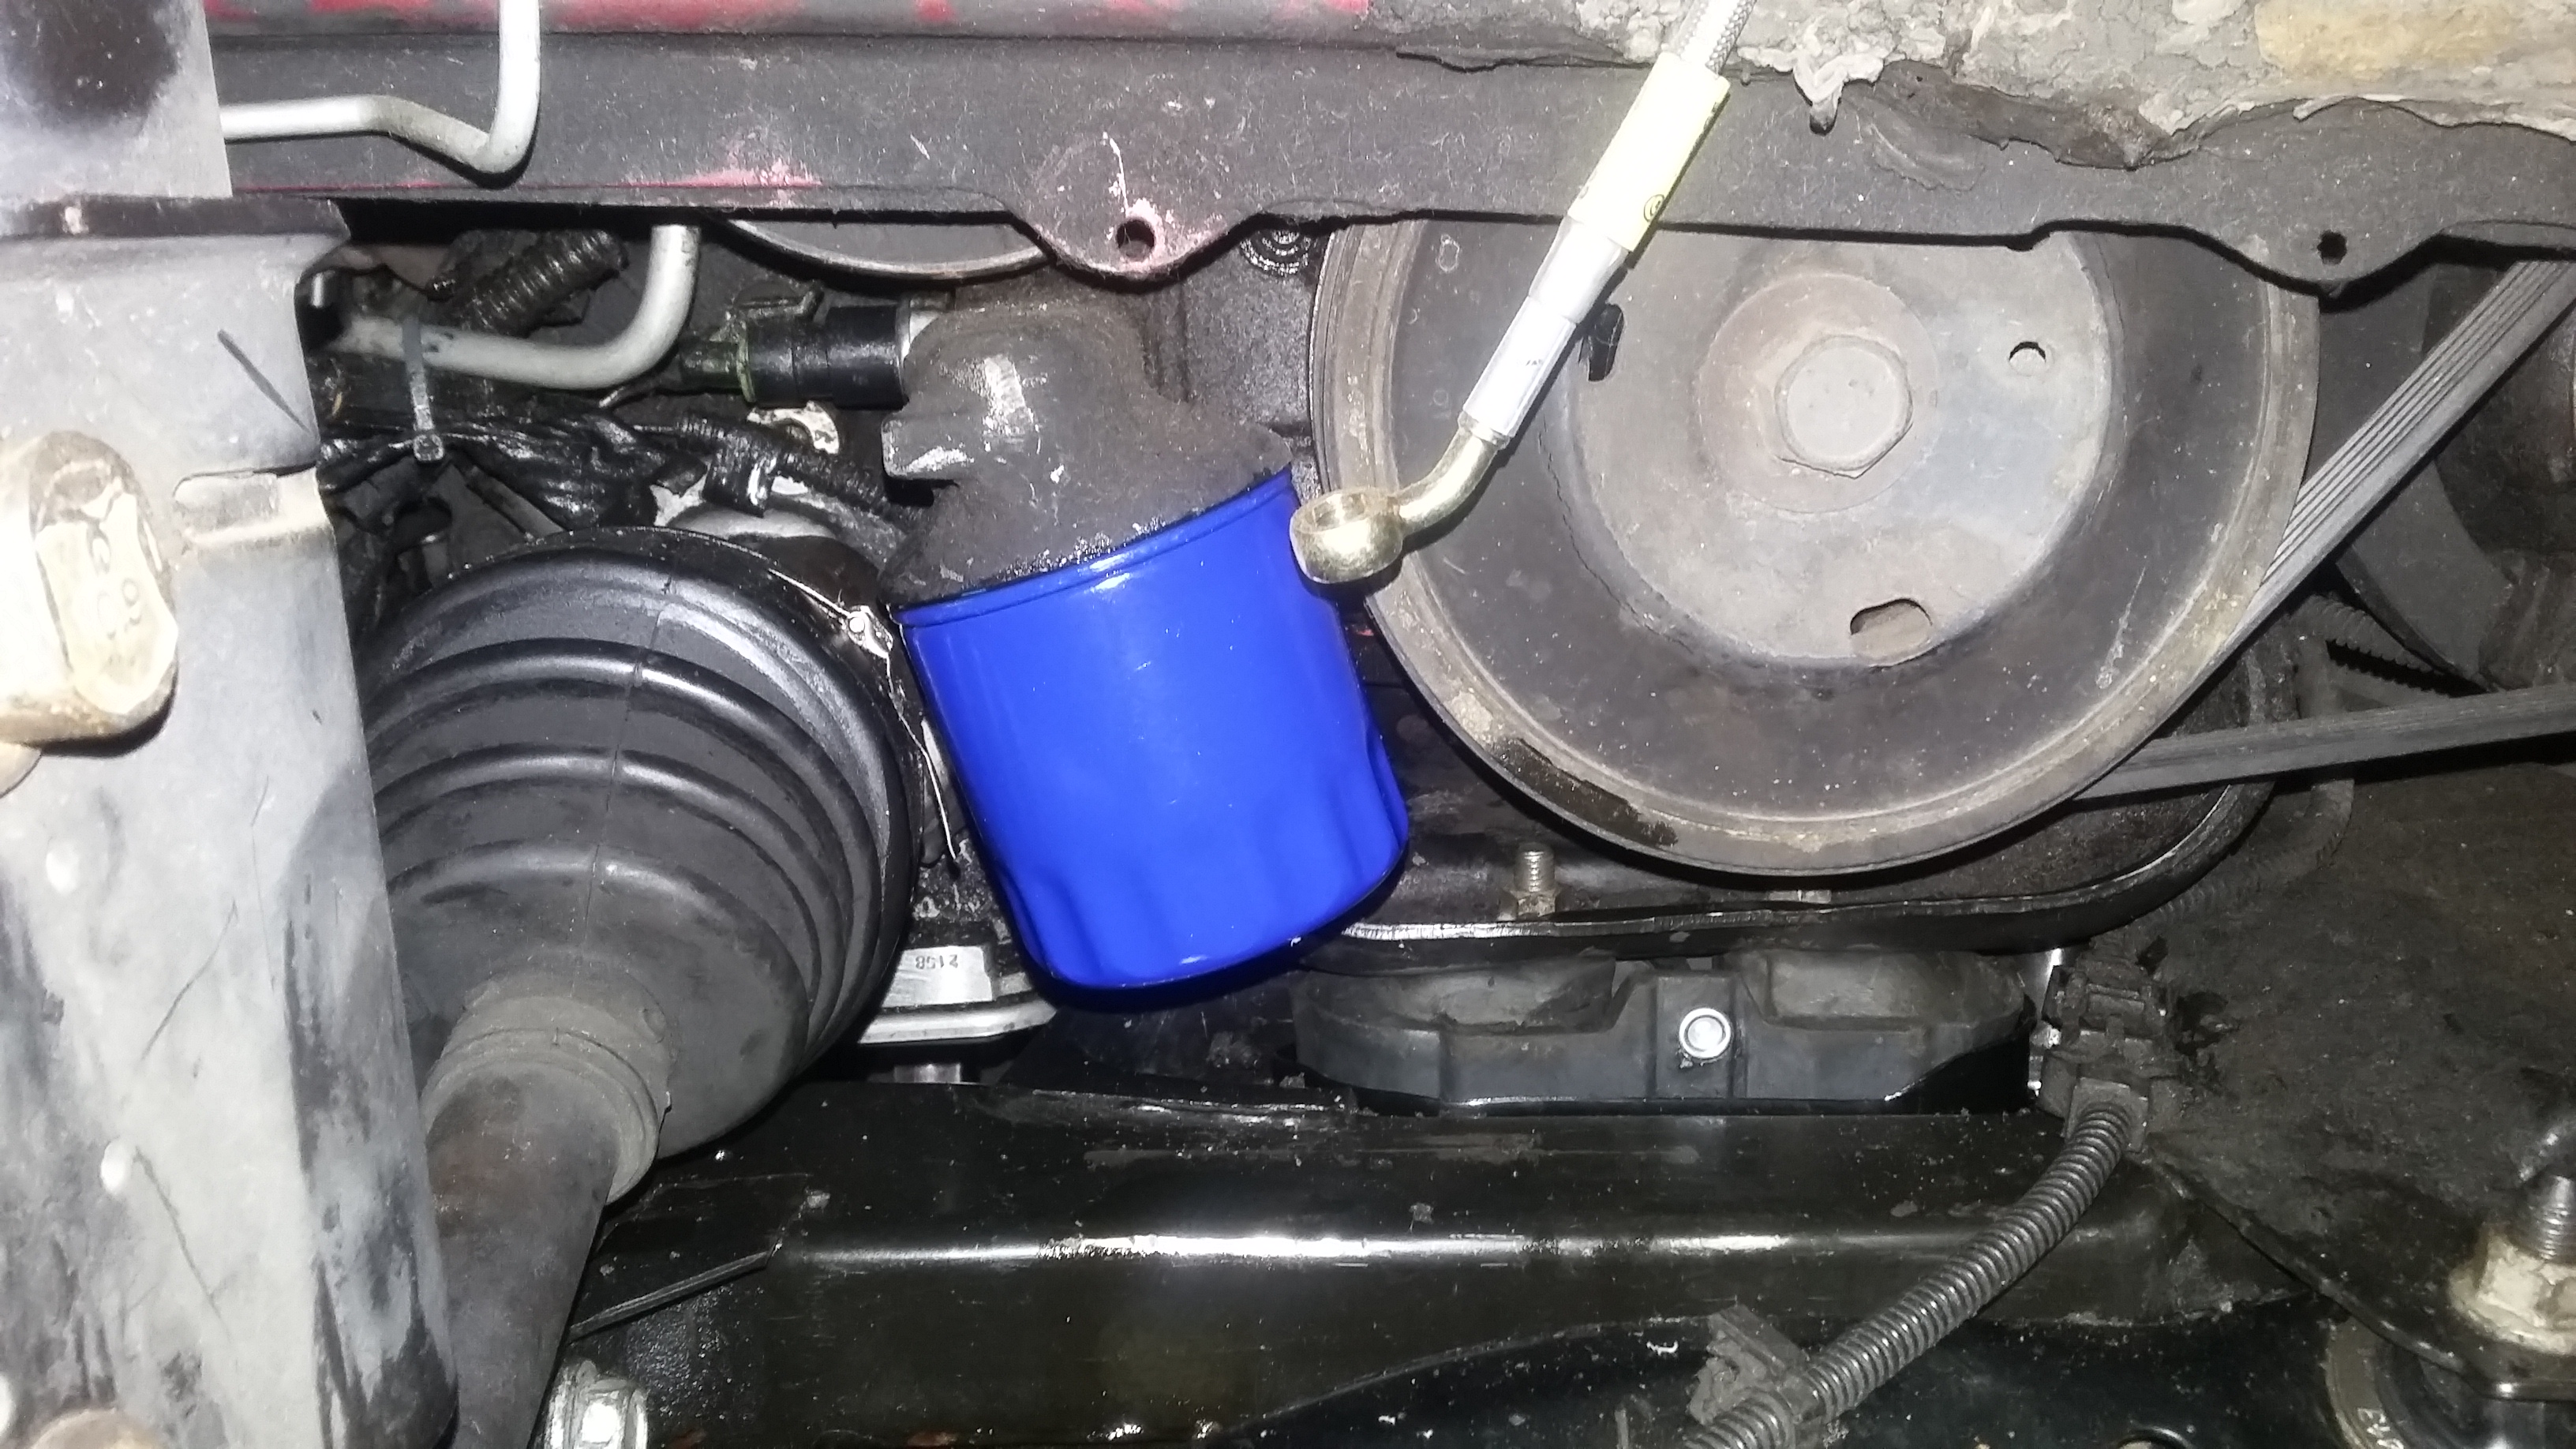
“Well Sir, that’s your problem right there, ya see. And that tubing right there… it’s discontinued. But I still know a guy that makes ‘em. That will be $200”…. Found my vac. leak!

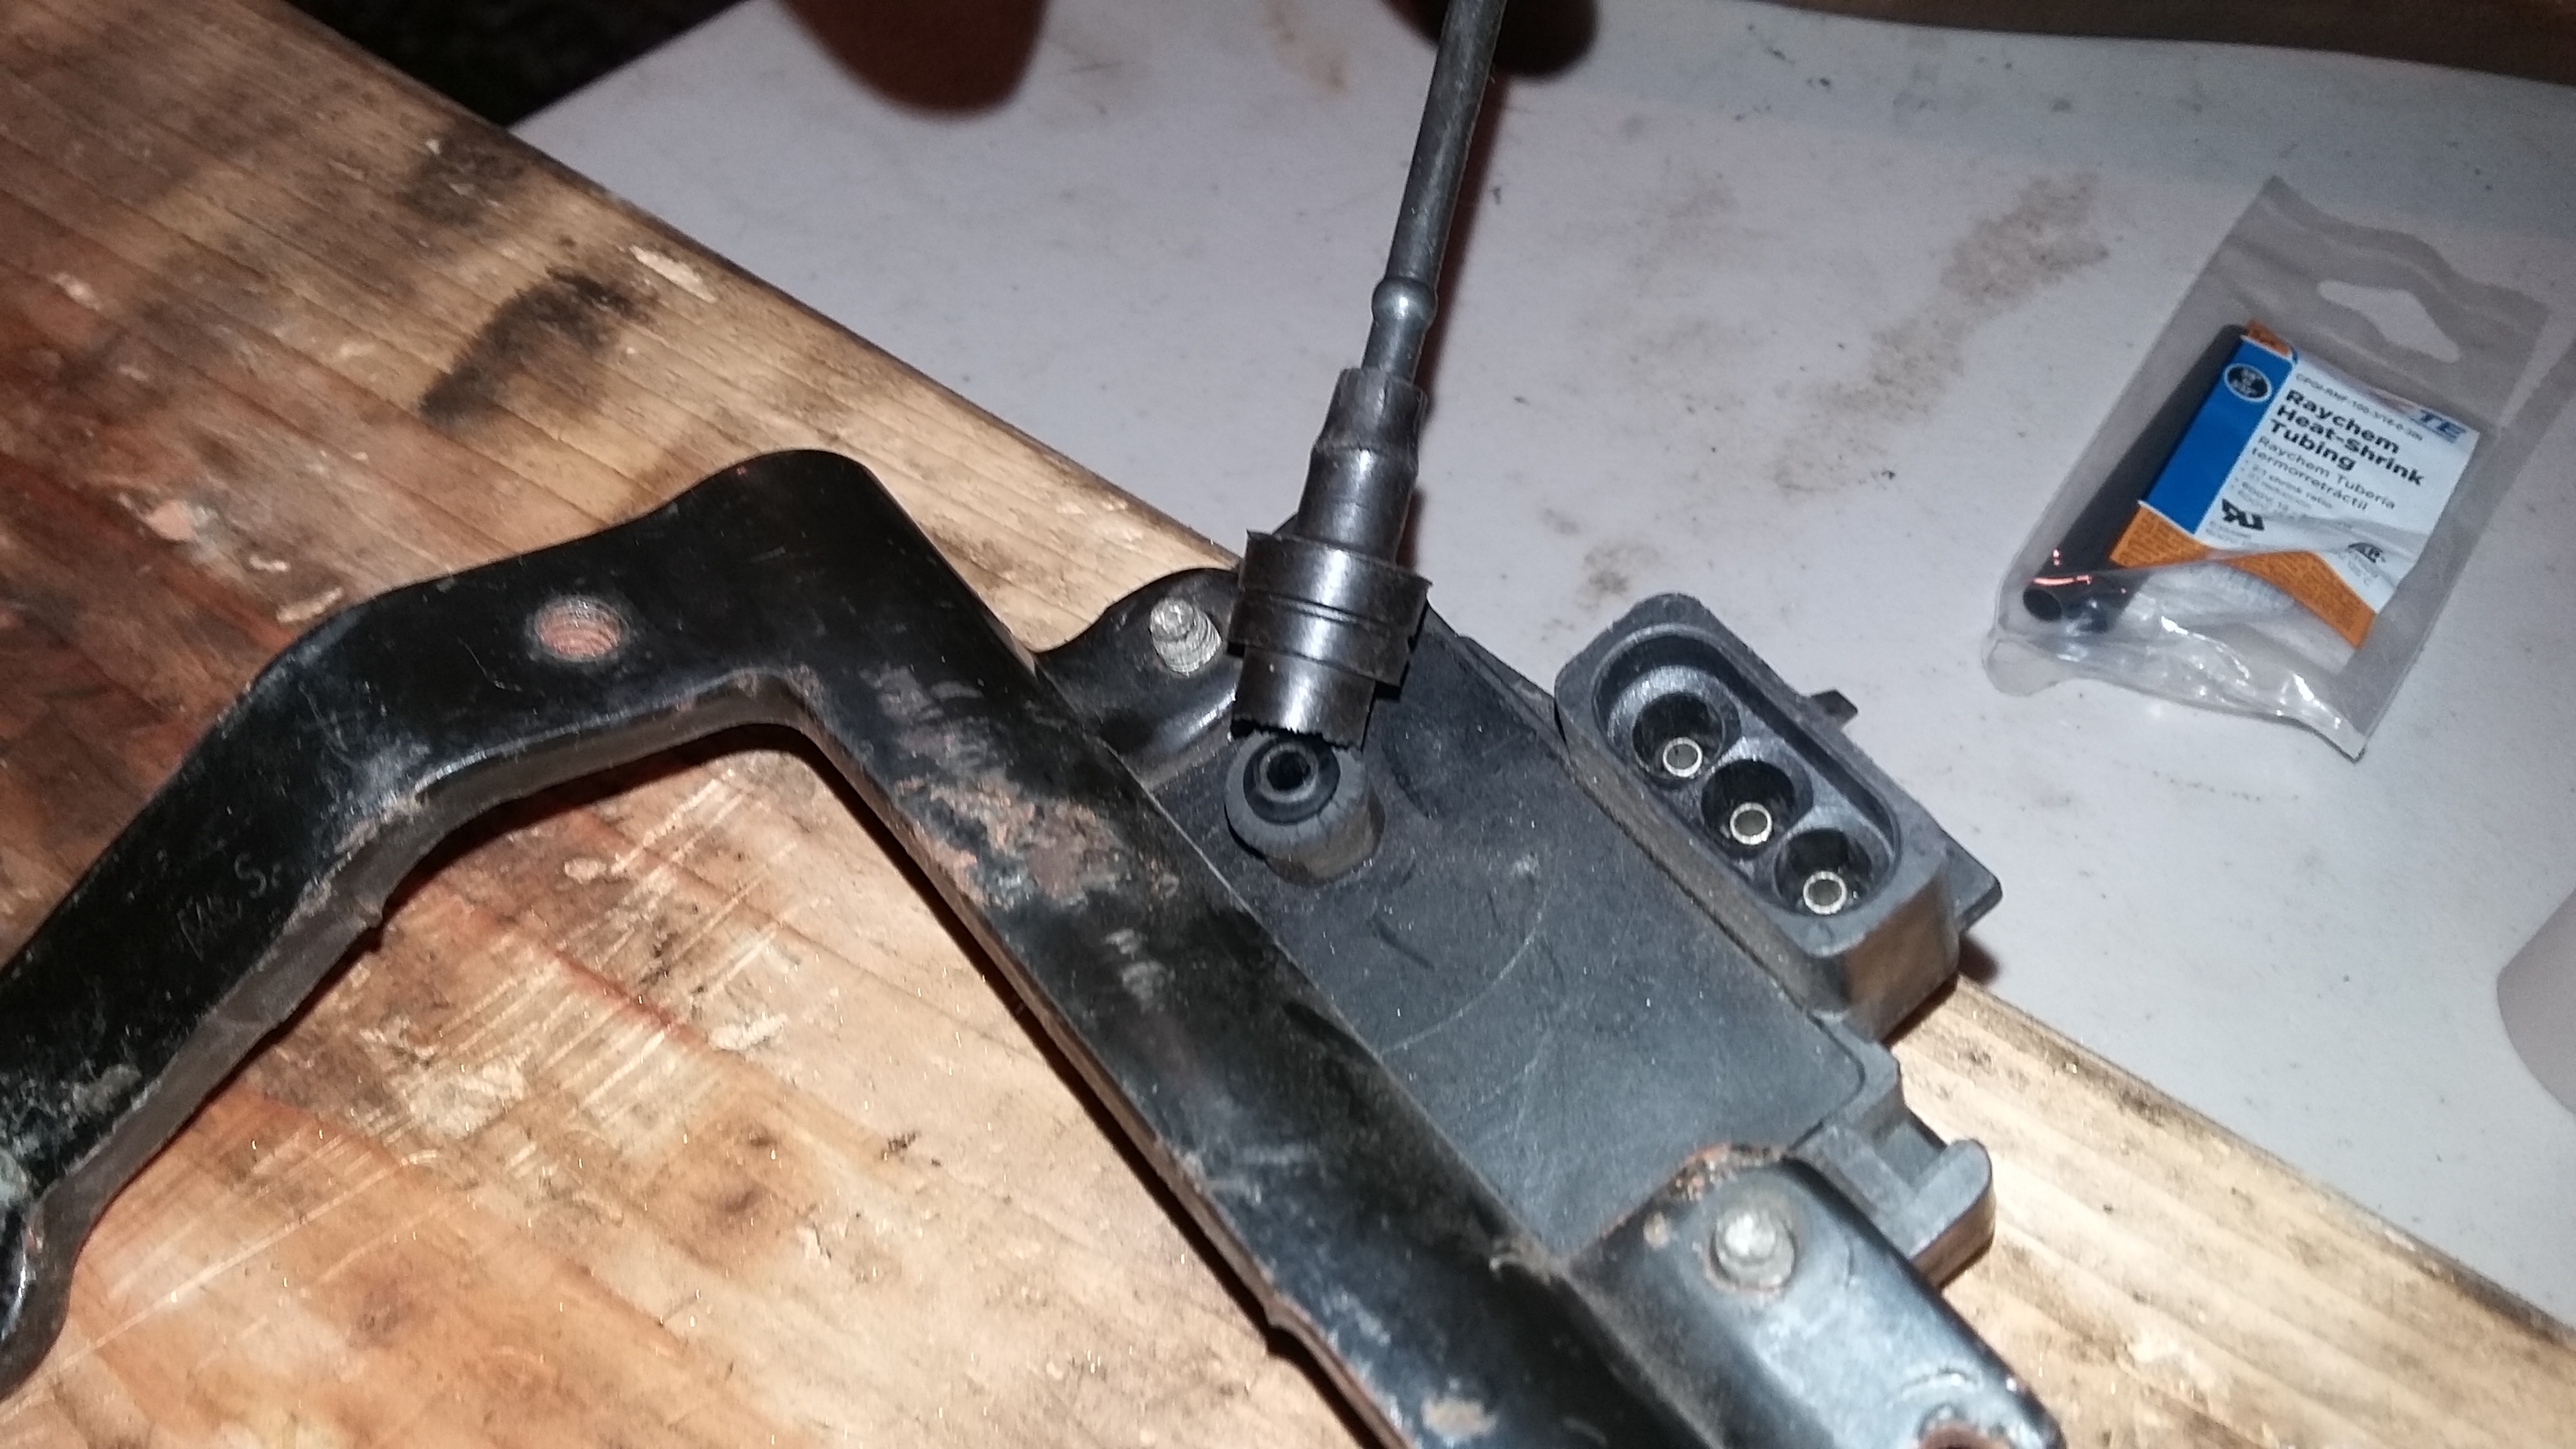
The coolant bottle was rubbing up against the pulleys and that just couldn’t be. So that bottom tooth got hacked off. Whatever that tooth clipped into is long gone on my car:
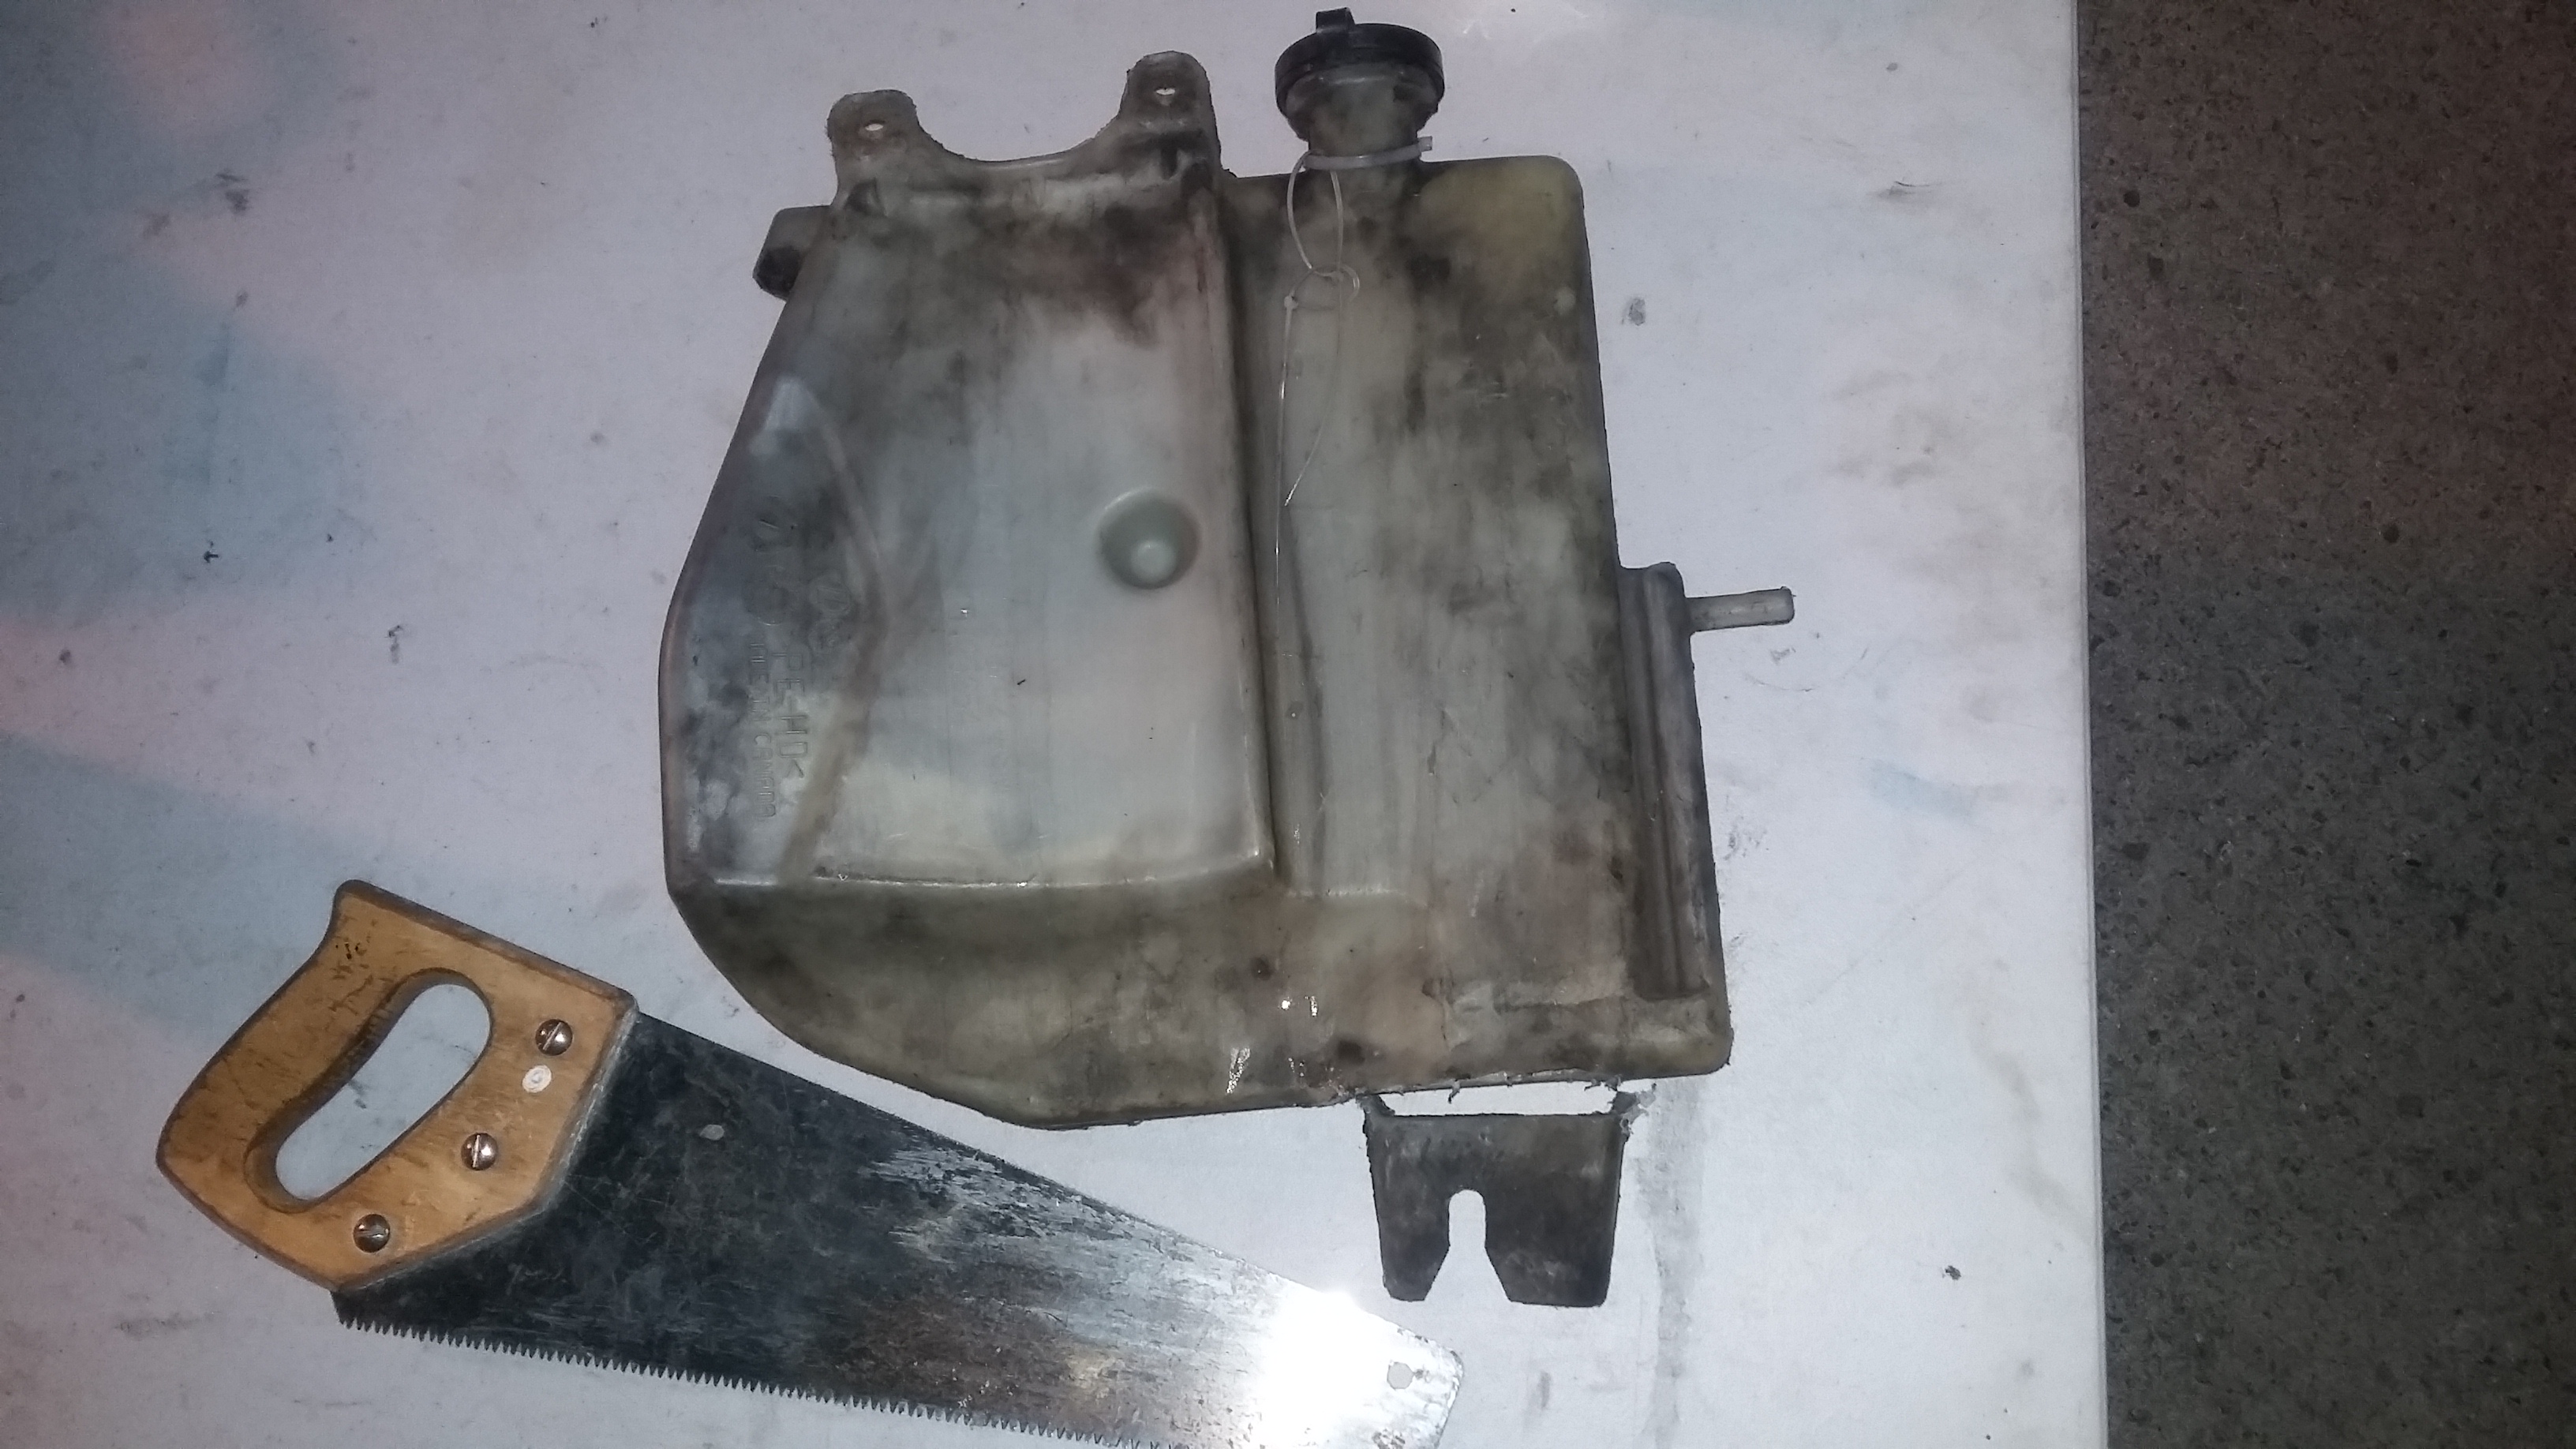
Then drilled a hole in that neck area there, passed a sip-tie through it. Using 3 zips total, I connected it so the fender wall. Jeeze. What bullshyt. Who designed this F’in thing?
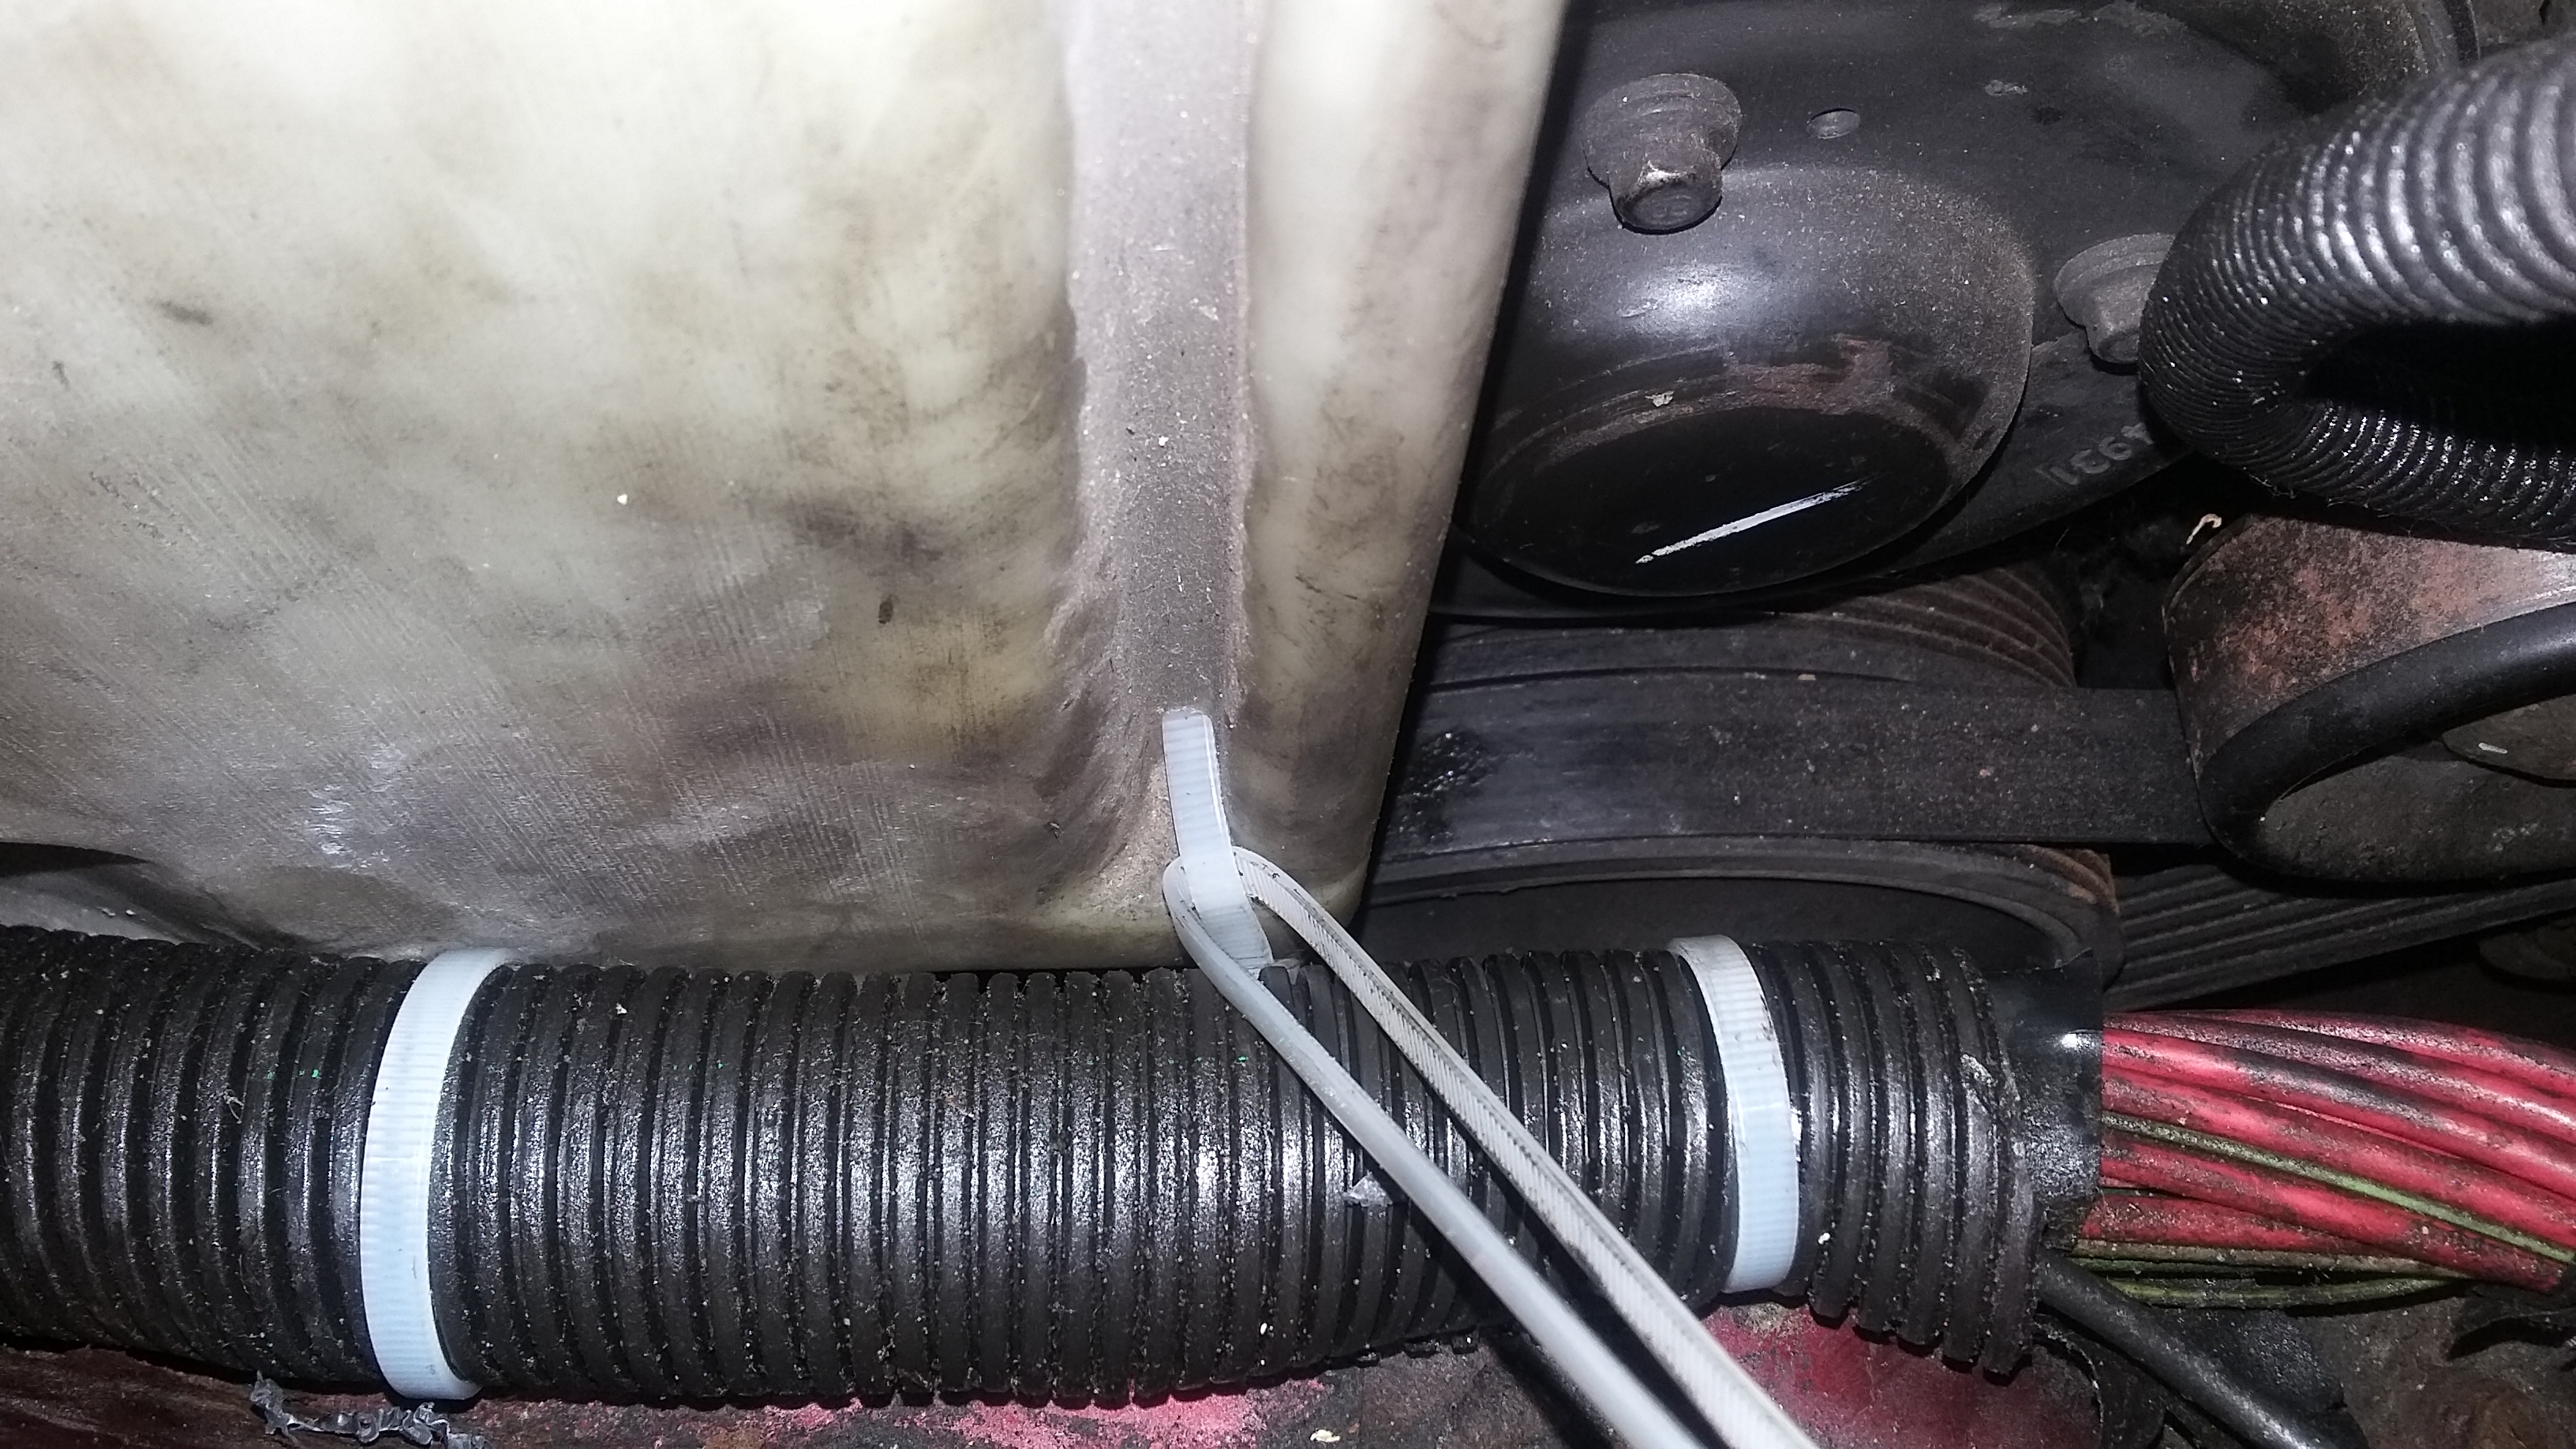

Moved the mounting holes on the tank and fuse box over like .5inch:
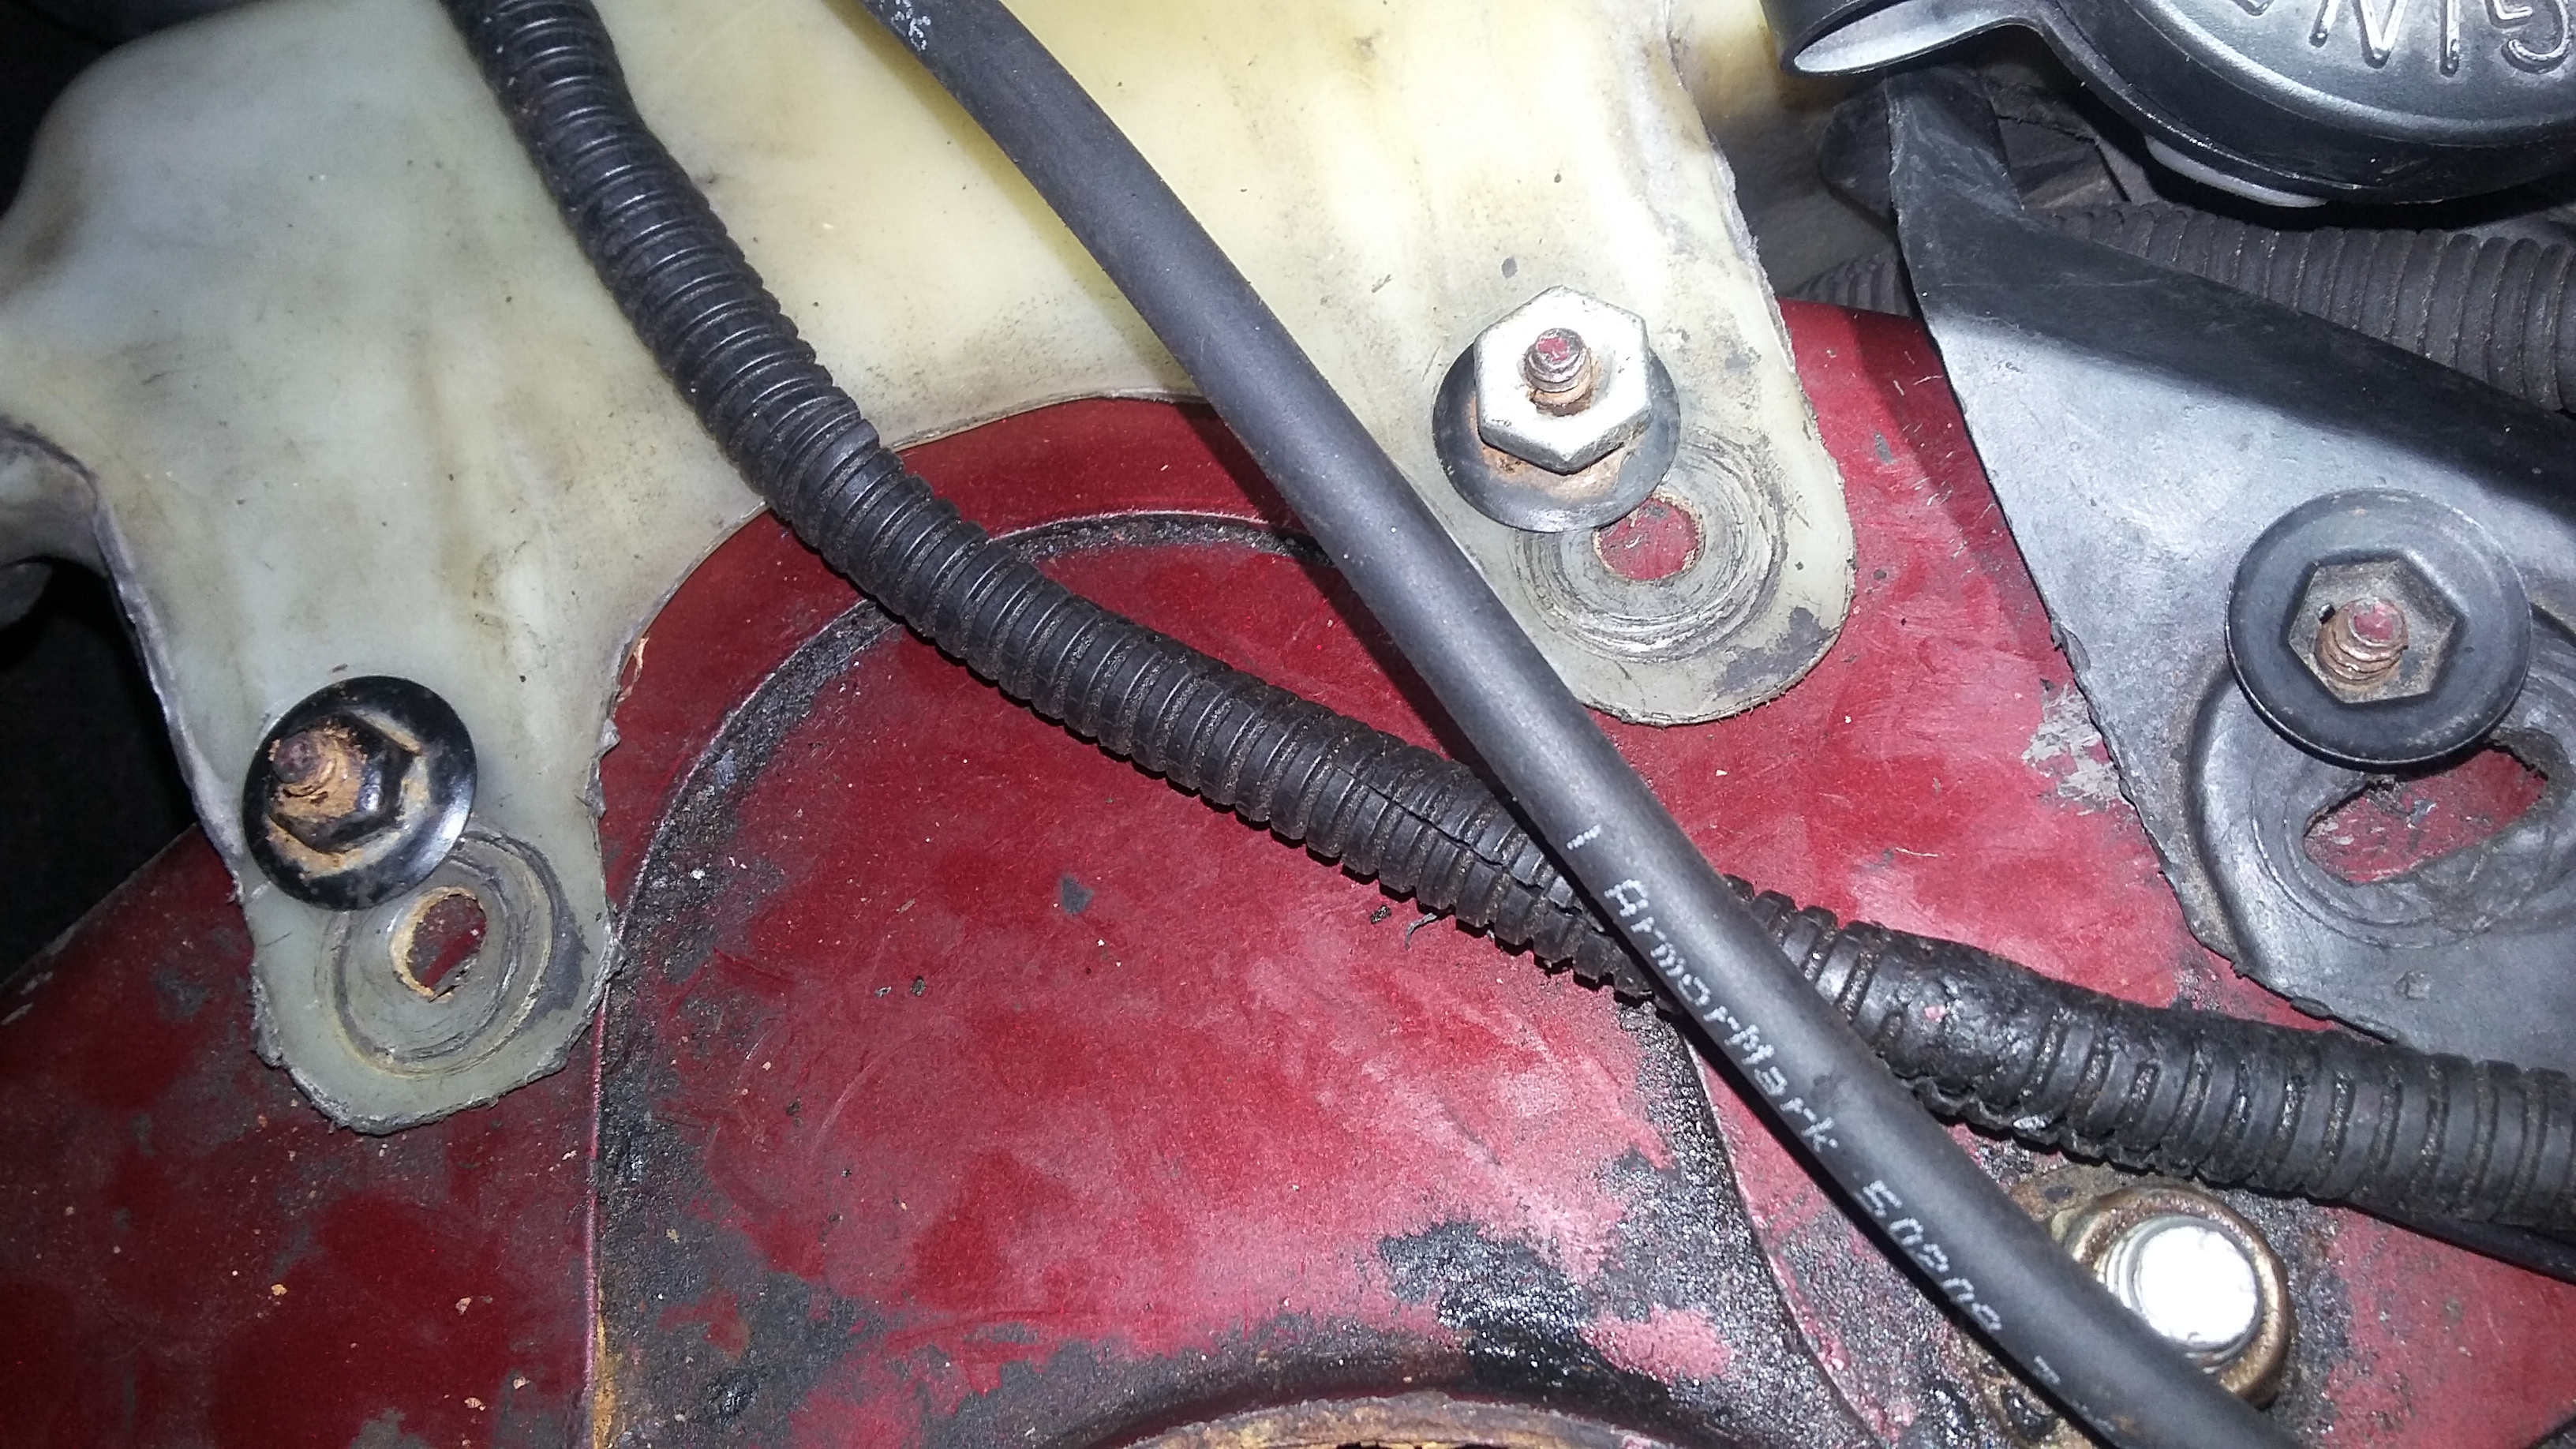
Got me a good inch of clearance now. And tank rests firmly on the strut tower:
Mystery connector. Anyone have any idea what this connects to? It got EATEN alive:


no idea what that connector is for, but its shot. what that car catch fire?
the vac line. i sure hope the 200 bucks was a joke. buy new vac line cut off the old busted crap from the hard line, push hard line into new vac line. 1 dollar fix. you might need to get some thats fatter to fit the map, then push a smaller line inside the larger one.

HAHA. It has not caught fire. That thing got F'd up though.
And yeah, the $200 vac. line was a joke. LOL! That's something I imagine I could hear a mechanic telling a customer. Lol. I did exactly what you said. Just took the hose and jammed it right over the MAP nipple. Done.

Does your car have an ambient air temperature sensor/digital HVAC controls?
Mine does. About a year ago the outside temp reading was very wrong and changing the sensor did nothing. I started to check the wiring and found out there is a connector for the wires going to that sensor right by the battery. My connector was melted just like what you have there since my battery was puking acid everywhere. Once I removed the messed up connector and replaced it with butt splices, my digital HVAC read the outside temp just fine. I still need to POR-15 that area thanks to the acid bath and the rust that followed.

Ambient temp. is wayyy off. Middle of winter it will read 150*. I suspected that connector was for that, or horn, or something. Battery acid likely ate mine too, seeing how it's practically dissolved. Thanks for chiming in man! It's now on the list of things to fix.

My connector there is 100% fine and my temp isnt accurate.

When I open my hood and see all those little things that piss me off. I have this faceand I close my hood lol

Maybe you're just reading the numbers backwards!
LOL! Just throw some zip-ties at it.
Thanks for confirming green97. Wouldn't I be able to just cut out the connector, solder those wires together, add some shrink tubing, and call it Done?

Connector is there for a reason I would guess, follow it where it goes and if it doesnt hinder the future in your eyes solder away

Hmmm. Now you got me thinking Hurtz. I'll see if I can find a newer connector at the junk yard and then solder that in. See if accuracy of the ambient temp. improves.

Update is: Car won't start.
Likely a fuel pressure problem. Got a separate thread going here:
http://www.grandprixforums.net/threa...=1#post1479533
| « Previous Thread | Next Thread » |