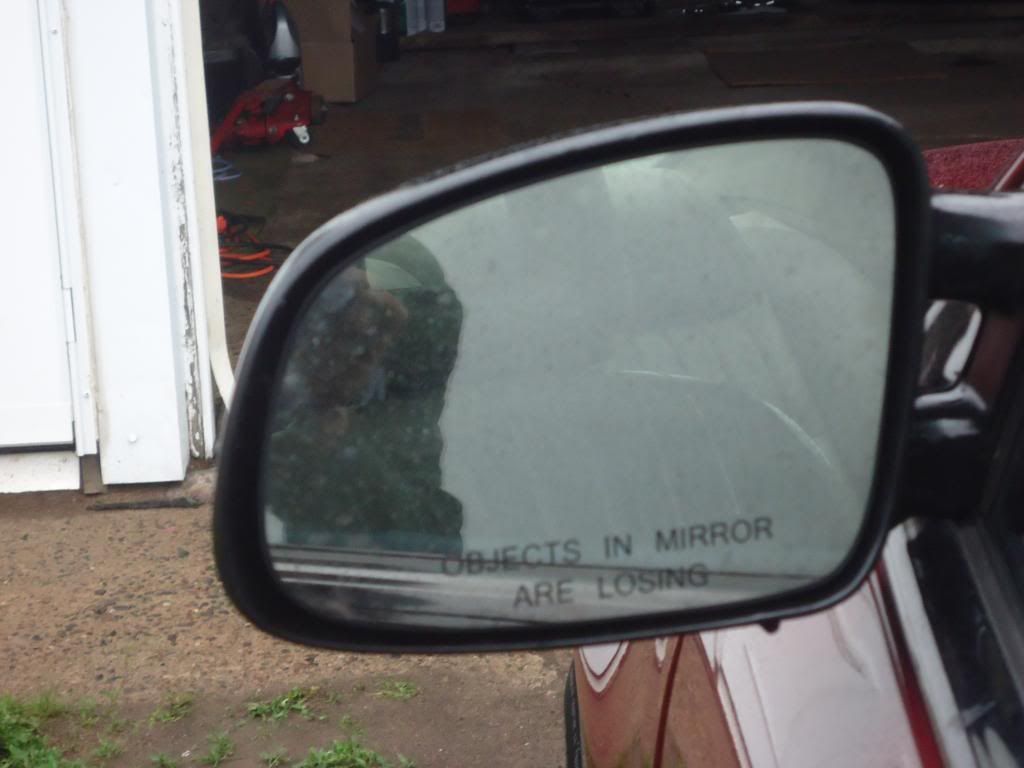
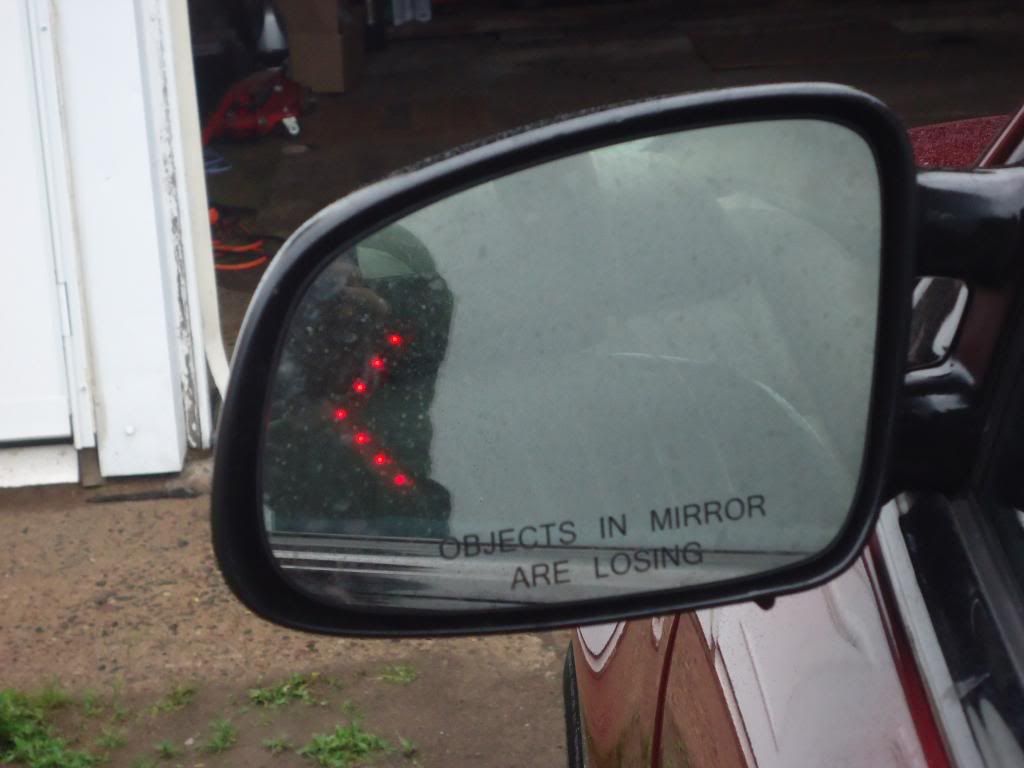
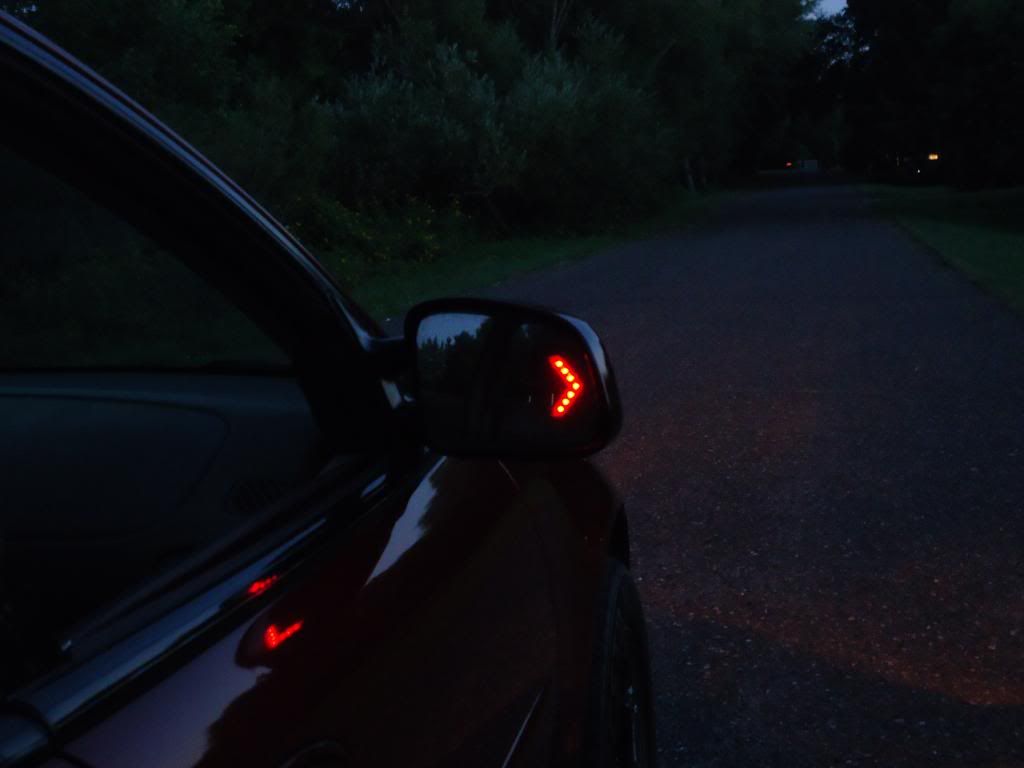
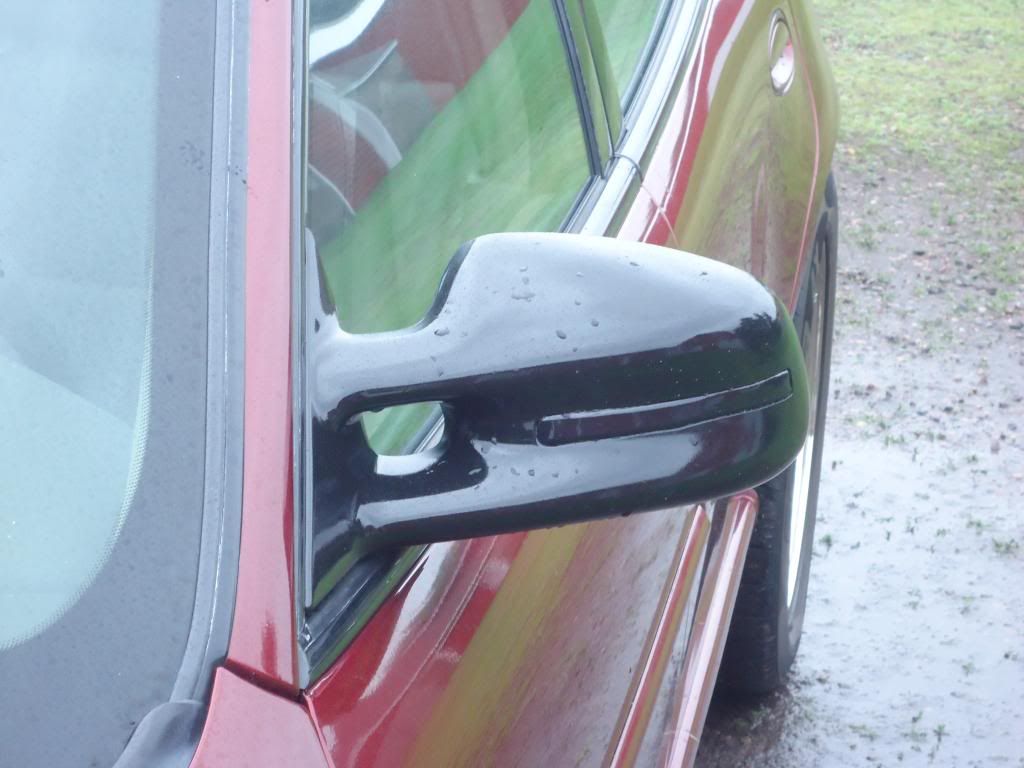
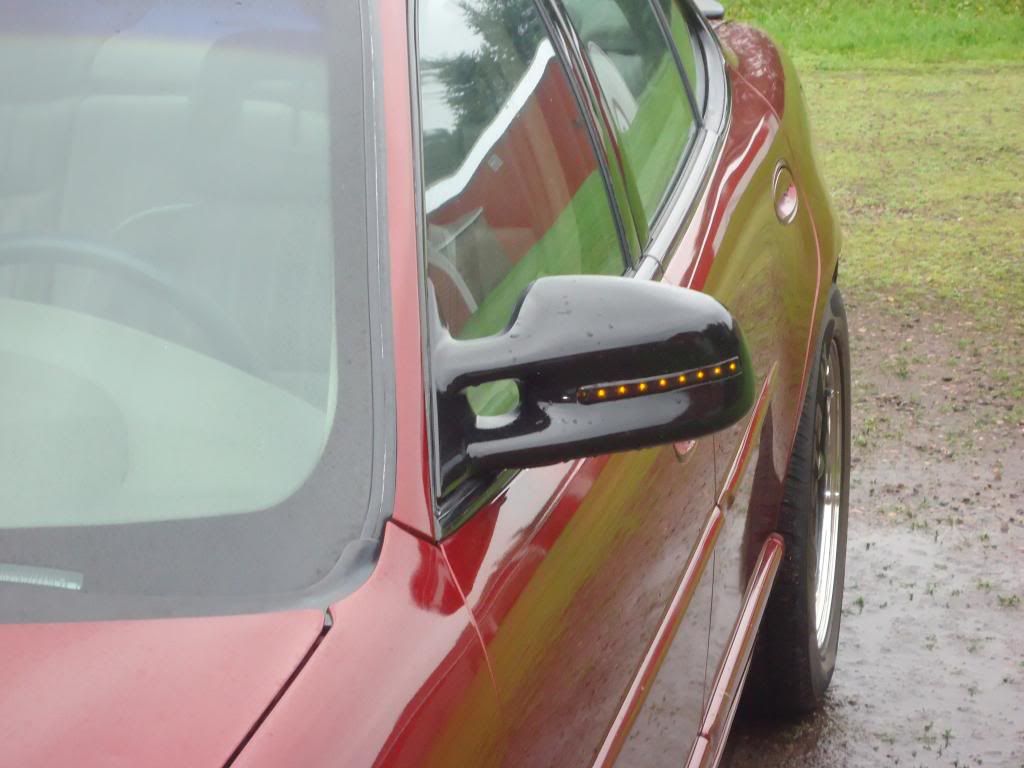
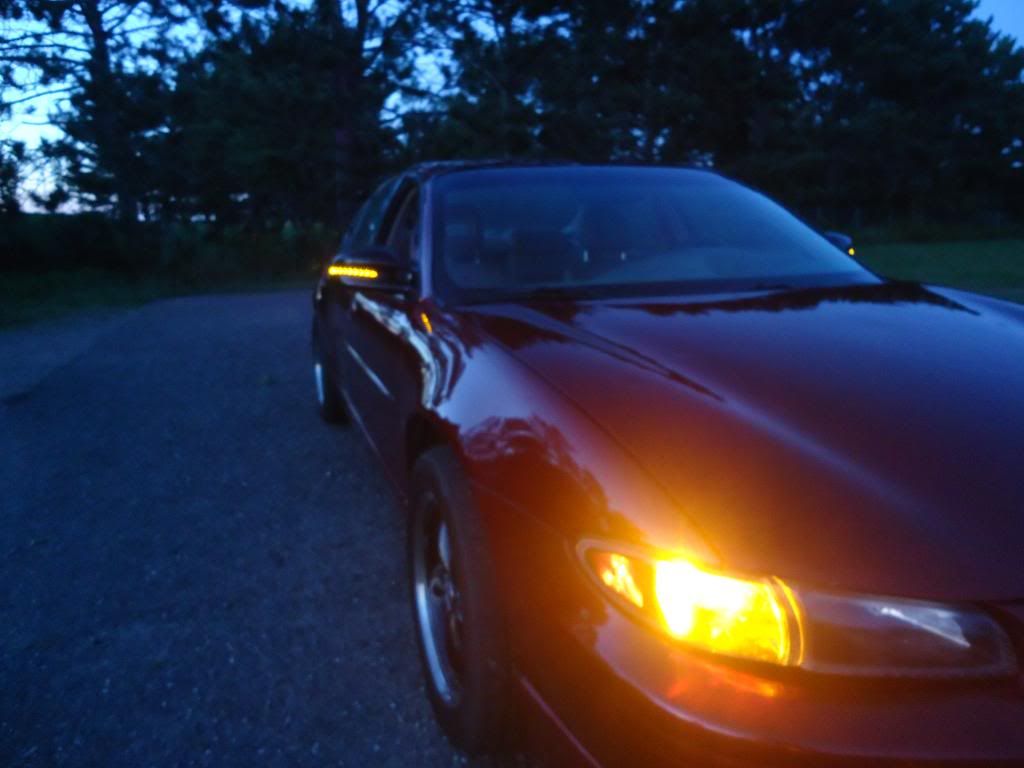
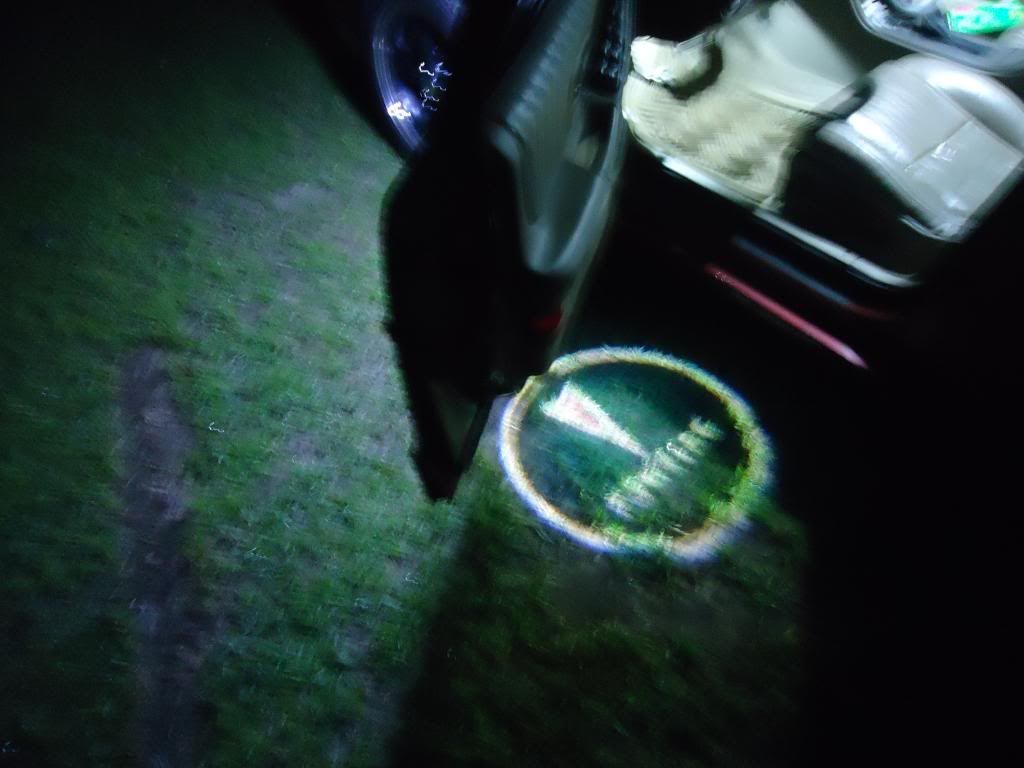
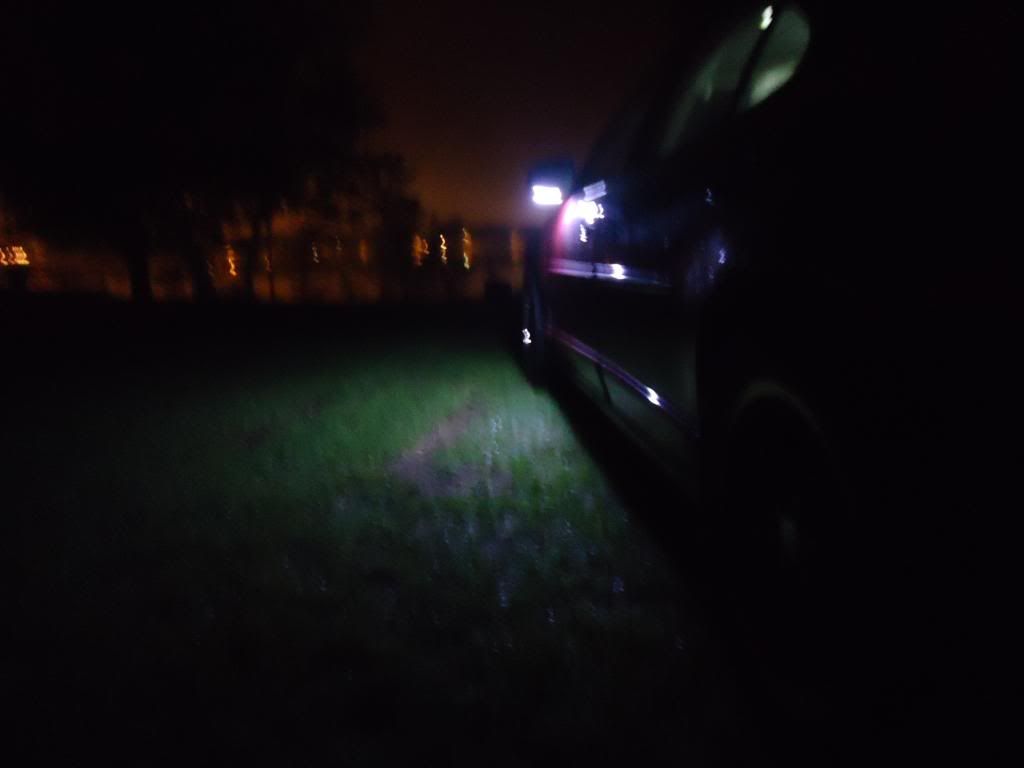
Have you ever wanted something unique that would also improve safety on the road? Or maybe you wish that you could see around your car better at night when you come home late and its pitch black. Or are you just looking for a slight custom feature for your car? If any or all of these interest you then you have come to the right thread!
This write up includes:
- How to make front facing LED signals in your mirror
- How to install LED turn signal arrows behind the mirror glass
- How to install puddle lights
- How to wire all of it up (If you want to follow my wiring methods feel free)
- How to install and wire up Pontiac door logo projectors
Mix and match these suggestions any way you choose to satisfy your taste. There is no reason that you have to do all of this, but if you want to it is all here.
ATTENTION: This is my first write up so I apologize if it is a little hard to follow or understand. ALSO proceed with caution while doing this project. I cannot and will not be held responsible for you breaking your stuff.
A SPECIAL THANKS TO:
BillBoost37 for answering my questions and putting up with them and suggesting puddle lights in the mirrors.
TexasTanker19Kilo20 for granting me permission to use a photos of his.
And also to anyone else that helped answer a couple of my questions in various threads.
What You Will Need
- Dremel tool (or the equivalent) and bits (Plastic Cutting wheel and Grinder)
- Torx bits
- 10mm Socket and ratchet
- Sheet of paper
- Razer blade
- Safety Pin
- Sharpie
- Pen
- Standard Screwdriver
- Plastic weld
- Silicone Adhesive
- Black spray paint (or something to block light)
- Wire (Black and Red)
- Splices
- Lights you plan on installing
- 7 LED Red Turn Signal Arrow - Red 7 LED Turn Signal Side Mirror Directional Blinker Arrows Lights Flash Kit | eBay Dead link. Try this instead --> http://www.ebay.com/itm/rare-SEQUENT...ed2f55&vxp=mtr -- Not what I used but should work.
- 8 LED Amber Turn Signal Strip - http://www.ebay.com/itm/Car-Yellow-2...af22d0&vxp=mtr <--- New Link
- Pontiac Logo Projectors - NOTE: Overtime with the cheap logo projectors the color may fade. You have been warned. (BTW this link is dead but you could probably still find them) Pontiac New Gold 2pcs Mini Car Logo Ghost Shadow Projector Door Lamps LED Light | eBay MAKE SURE TO STATE WHAT YOU WANT (number) You can also search Pontiac Logo Projectors or similar to find different ones.
- LED Puddle Lights – I just used 2 strips of white LEDs containing 6 LEDs each. Feel free to use whatever you feel will be brightest or most satisfactory. The color of mine is cool white
- Stock set of mirrors (NOTE: Any aftermarket mirrors may not work for this project. It is best to use a stock set of mirrors if at all possible!)
HELPFUL TIPS:
- As you go along wiring up lights be sure to test to make sure your connections are strong by pulling on the wiring firmly and seeing if it comes undone. If it does fall apart on you odds are it would have caused trouble in the future.
- Be sure to check the lights you are installing at various parts of the install to make sure they are working or you are hooking them up correctly. Checking often can save you time and effort in the long run.
If the mirrors are on your car you will need to take off your door panel by removing the two hole covers under the handle with a flat head screwdriver.
Then you will need a T27 torx bit to reach into the hole and remove the screw that is inside.
Work your way around the perimeter of the door panel pulling off the push clips (If your door panel has never been off before be sure to take your time and try not to break anything)
After the panel is removed unplug the power to the mirror.
Then go ahead with a 10mm socket on your ratchet and remove the 3 outer nuts.
Mirror will then just slide right out.
Now you will use a Torx bit to remove the 2 screws in the bottom of the mirror. Odds are that one or both will break off inside. The good news is that the driver and passenger pieces can be switched so that new holes may be used. You just need to get the screws for it.
At this point you can either pull the top of the mirror toward you and pop the glass and backing off or you can do what I did and push in on the bottom while pulling the top towards you to pull out a screw.
This is the screw that you will use your torx bit in to remove the glass and motor out of the housing.
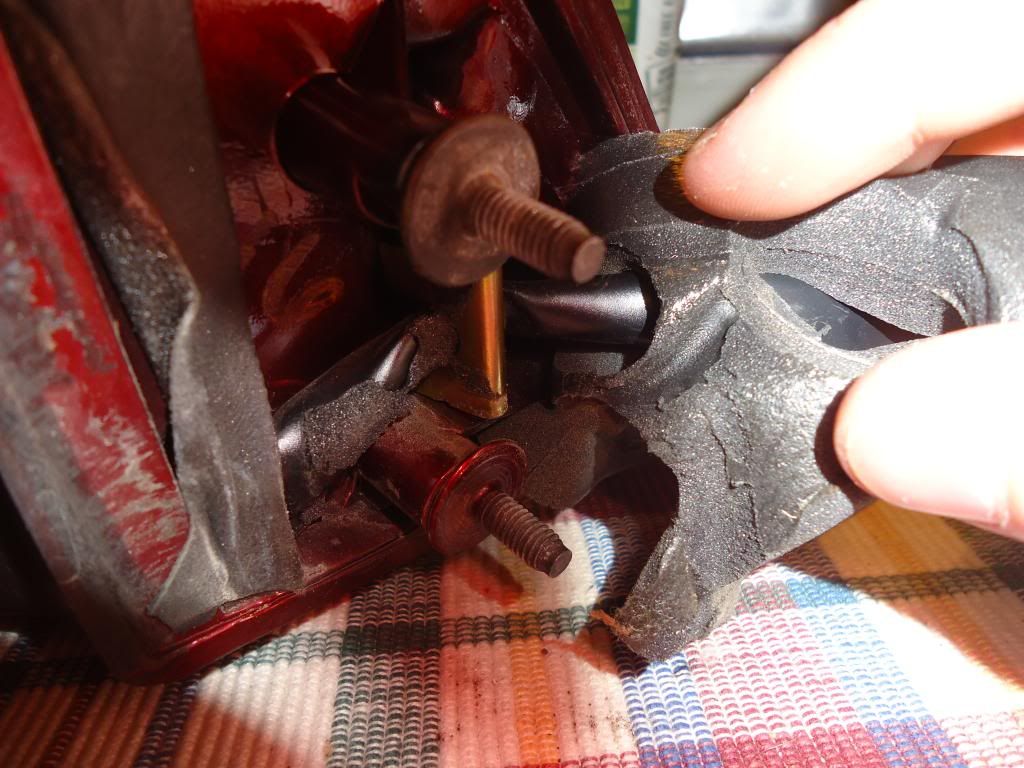
The mirror will be free to pull out slightly as pictured.
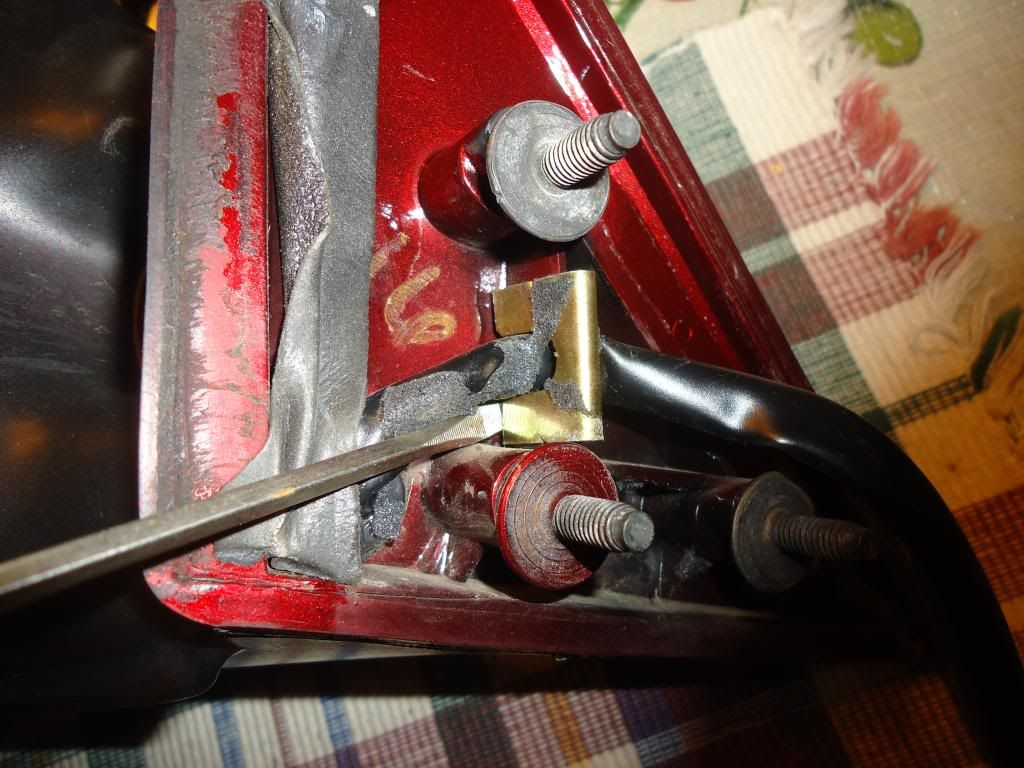
You will need to pull back the sticky foam to reveal the clip that will need to be removed.
Pry the clip off with a flat head screwdriver.
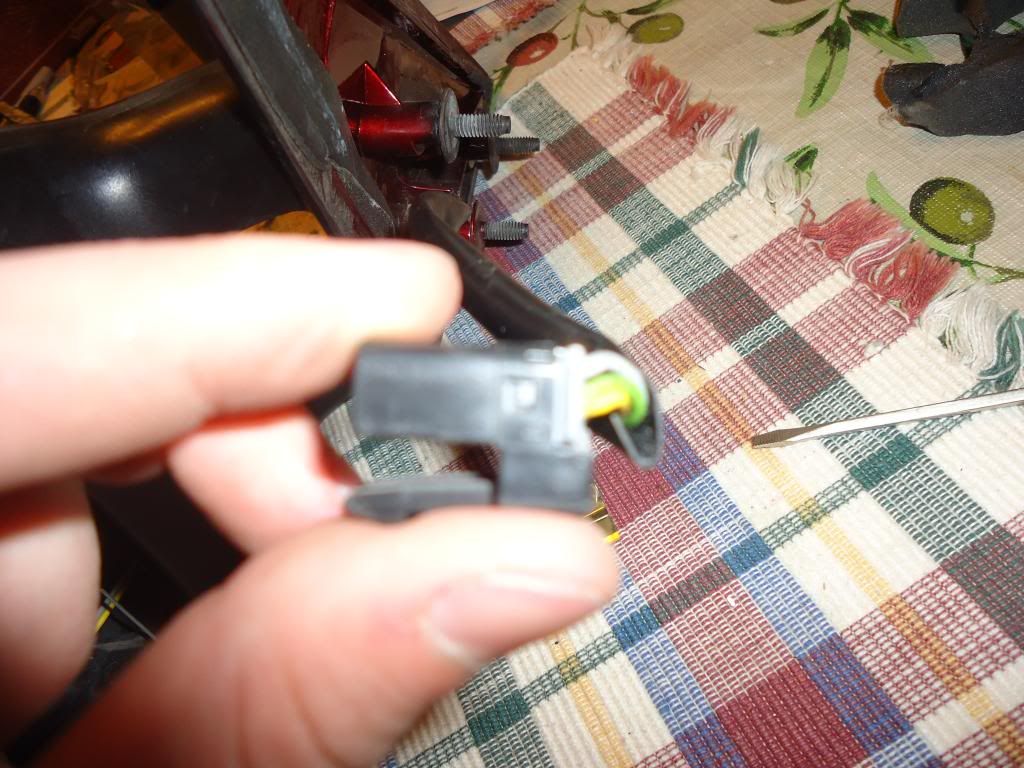
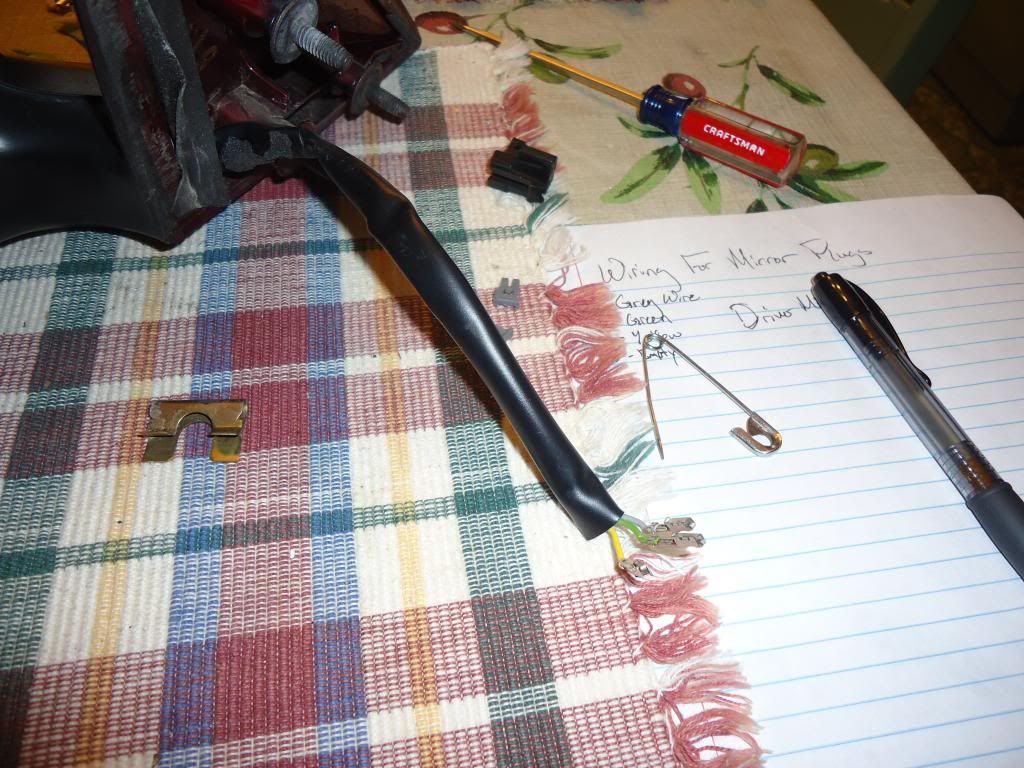
Next you will have to remove this plug. BEFORE REMOVING THE PLUG MAKE SURE YOU USE THAT SHEET OF PAPER AND YOUR PEN TO WRITE DOWN WHAT WIRE GOES WHERE IN EACH HOLE. A, B, C, AND D ARE CLEARLY MARKED ON THE PLUG ITSELF. When removing the plug, I found that using a safety pin helps accomplish this task much more effectively.
Now you will be able to pull the wiring out so you can move the mirror around freely.
At this time if you haven't already popped the mirror apart from the motor it would be a wise thing to do. By pulling on the top with pressure it should pop off. The passenger mirror is opposite of the driver's mirror.
Now you can pop apart the mirror glass from the backing by facing the mirror away from you, holding the plastic edge with your fingernails, and pushing on the backside of the mirror with your thumbs. If you have a heat gun it may be wise for you to use it to help heat up the adheasive and make it more pliable. The mirror glass should pop apart but be careful you DO NOT CRACK IT!
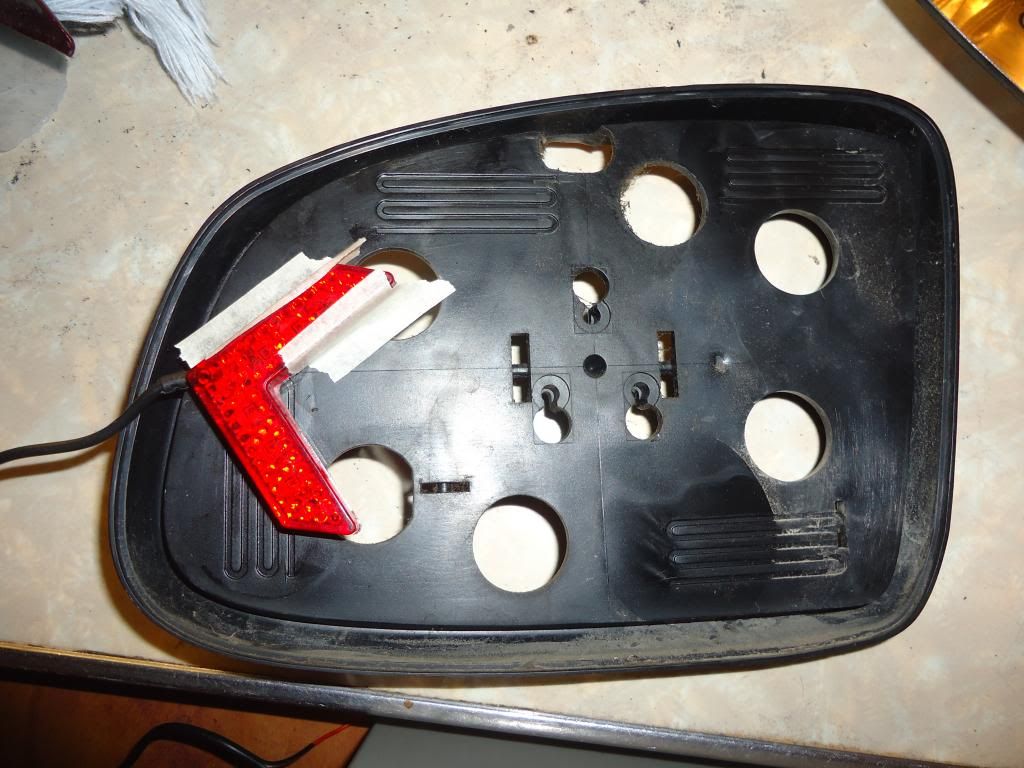
"Test Fit" where you would like to have your signal (preferably in the center with the bottom of the arrow parallel to the ground)
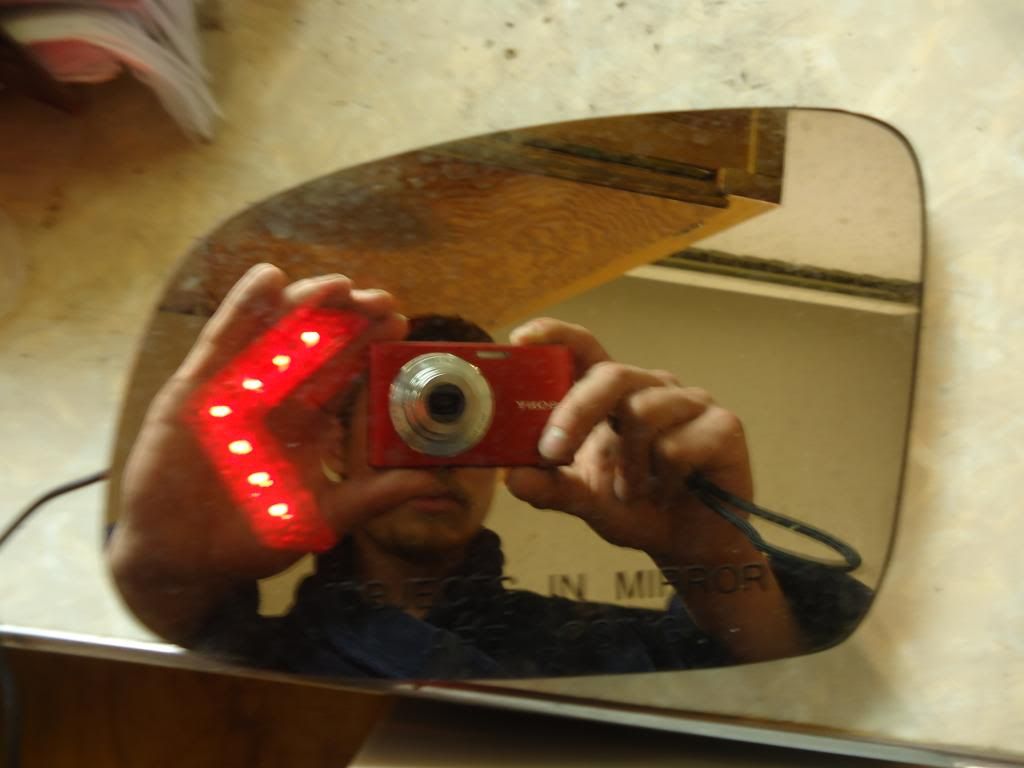
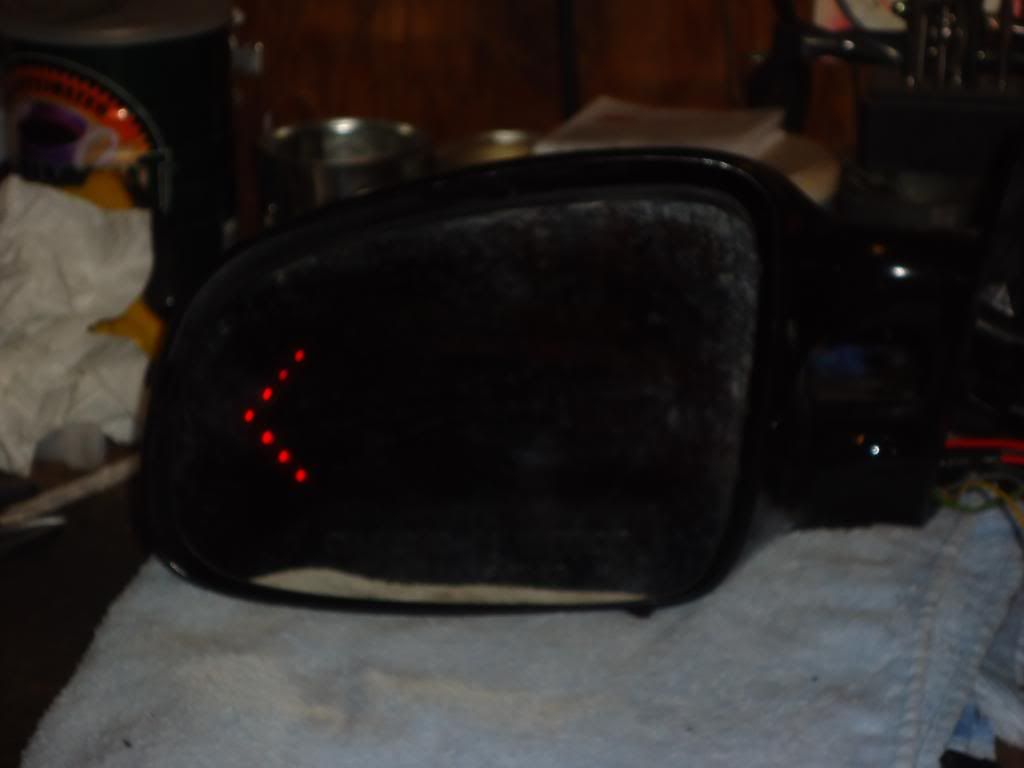
Place mirror glass over the top and test to see how well it shines through as well as how it will look.
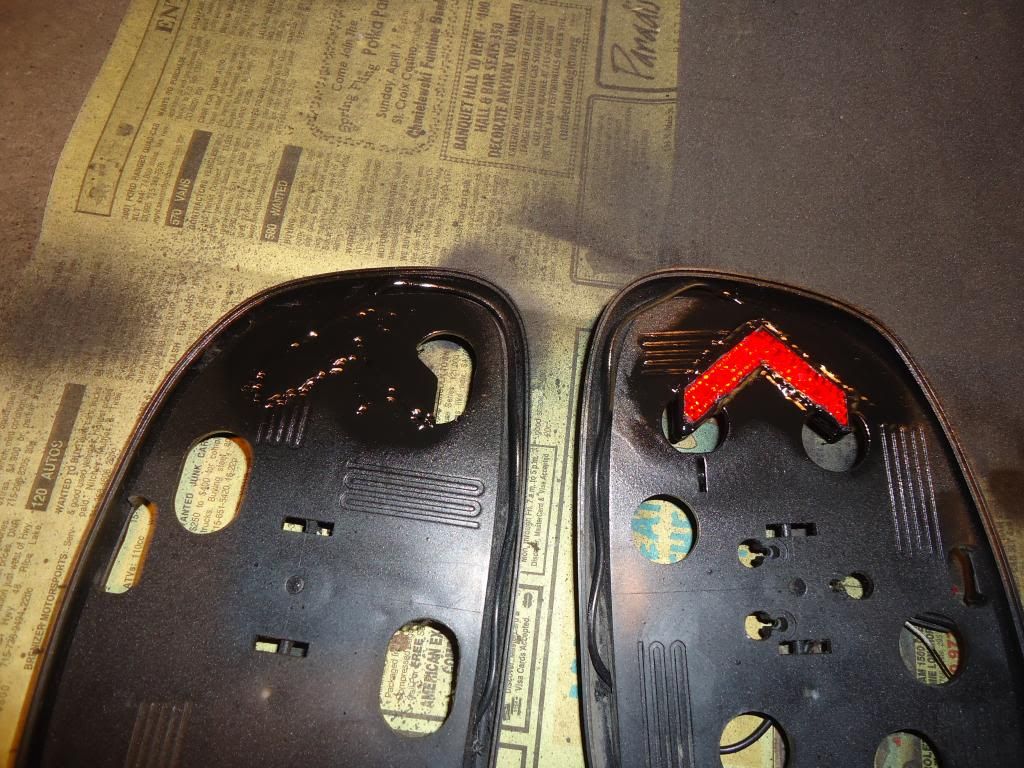
You will then need to take your razor blade and mark the outline of the LED arrow. Then with the plastic cutting wheel cut just inside the line you made. Follow with the grinder bit (Or sandpaper if you prefer) and widen it to that line. Do so until the arrow fits with minimal slop.
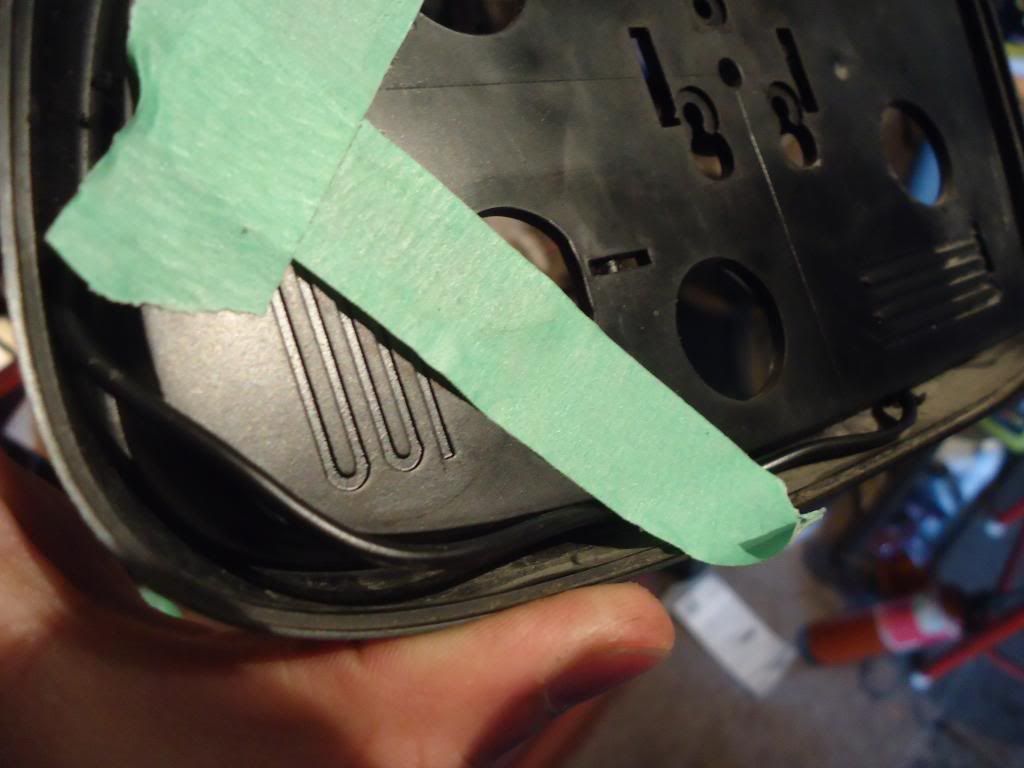
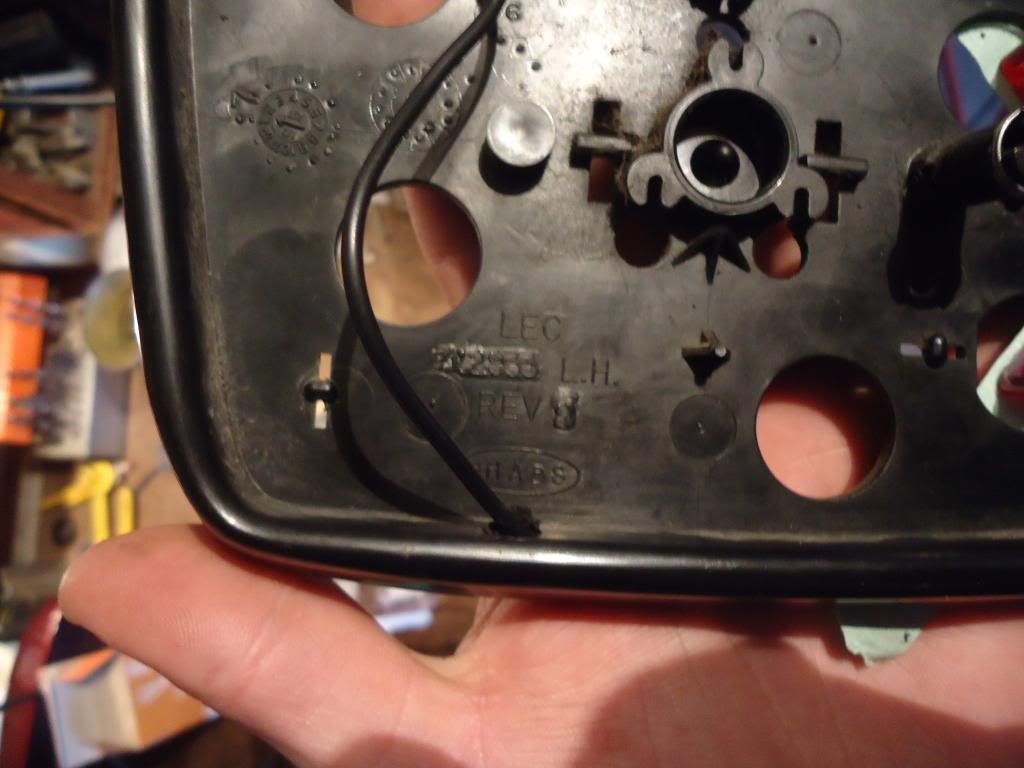
Drill a hole to poke the wire through so it runs along in the crevice of the mirror. (see pic below to see where I ran the wire)
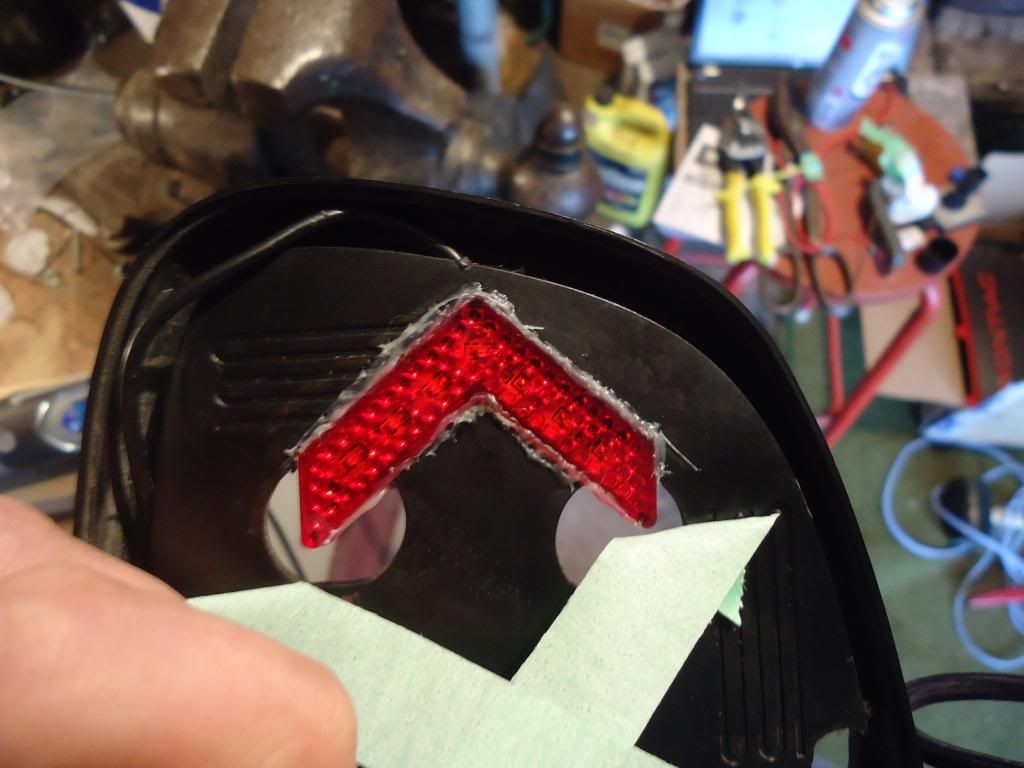
Scuff up both surfaces and then use plastic weld to hold it and secure it into place.
After it dries cut or sand off the extra if possible to prevent from mirror being help forward.
Now run the wire down the crevice and drill hole roughly where mine is to run the wire out of.
Wire will be easy to hook up and all of the extra is kept out of the way.
Cover the LED signal with tape and using the razor cut along the edge of where the arrow and LED signal meet. Peel off the tape around the outside but leave what covers the LED signal as you will need to spray paint everything black multiple times to cut down the light to prevent backglow in the housing.
Using multiple coats of the paint be sure to cover top and sides of the signal. Test periodically to see if the light shines through. Stop when nothing is visible. Then remove tape.
Using silicone adhesive put the mirror glass back onto the mirror backing with the new signal installed.
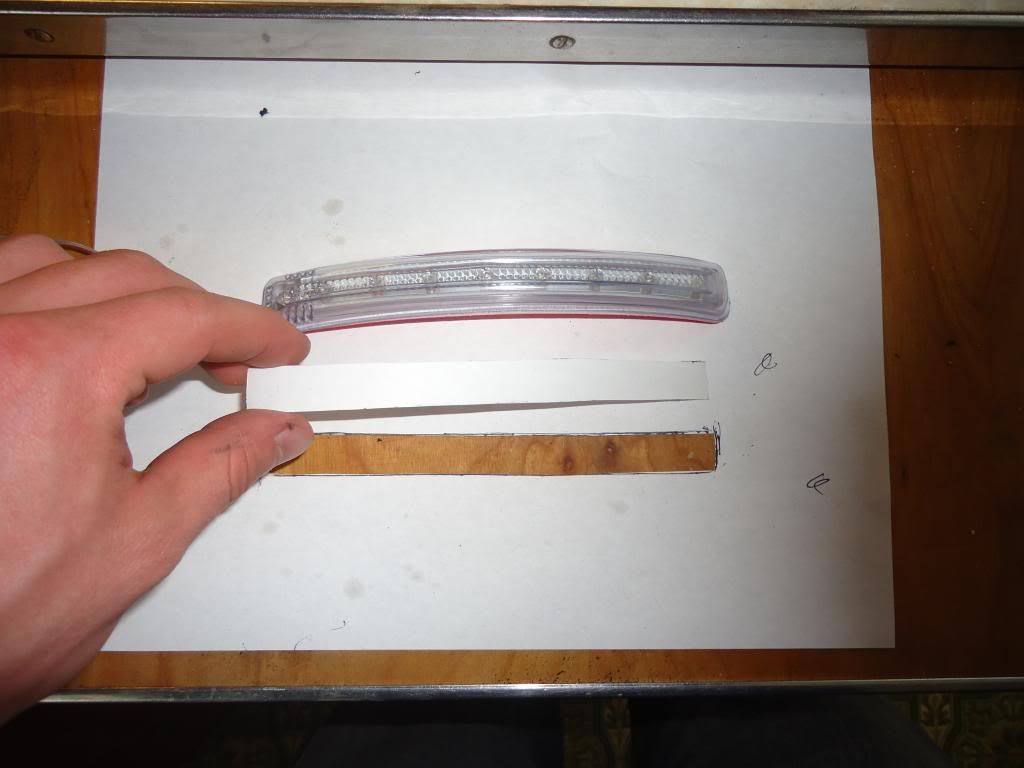
Next trace the front of the signal strip on a piece of paper and cut it out. This will be your template.
Now tape it down and trace it in desired location on the mirror.
Cut inside lines using the cutting wheel.
Grind or sand to the lines.
Test fit your strip into the hole. It should fit somewhat snug but loose enough so the glue can hold it without it wanting to slide out.


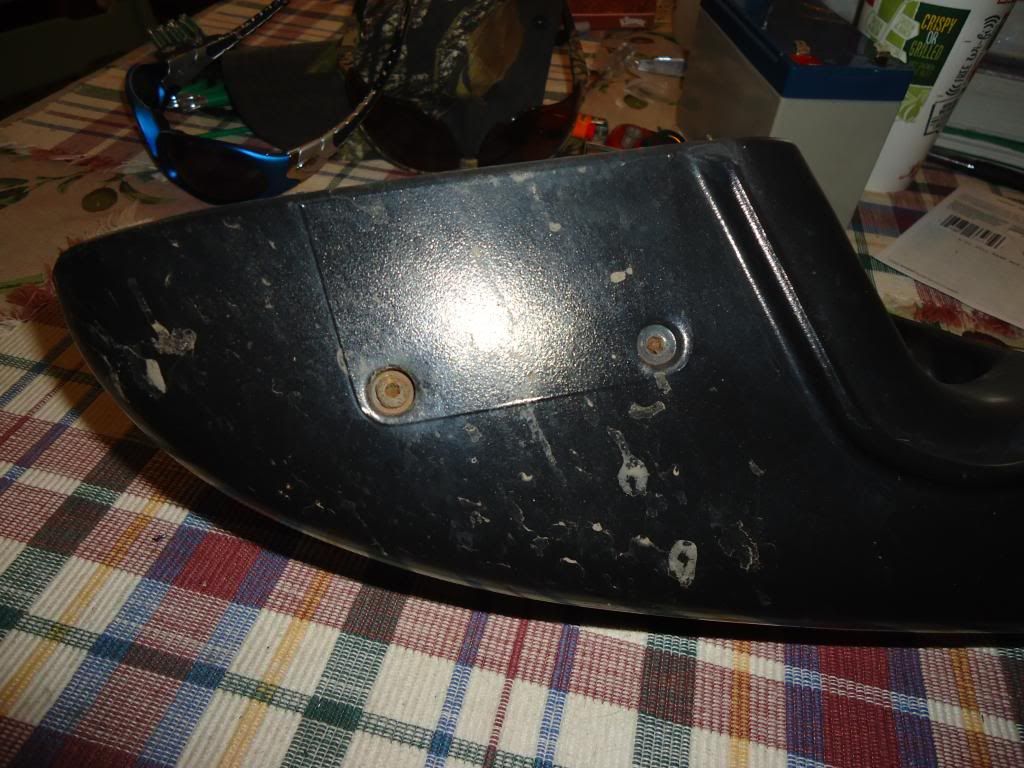
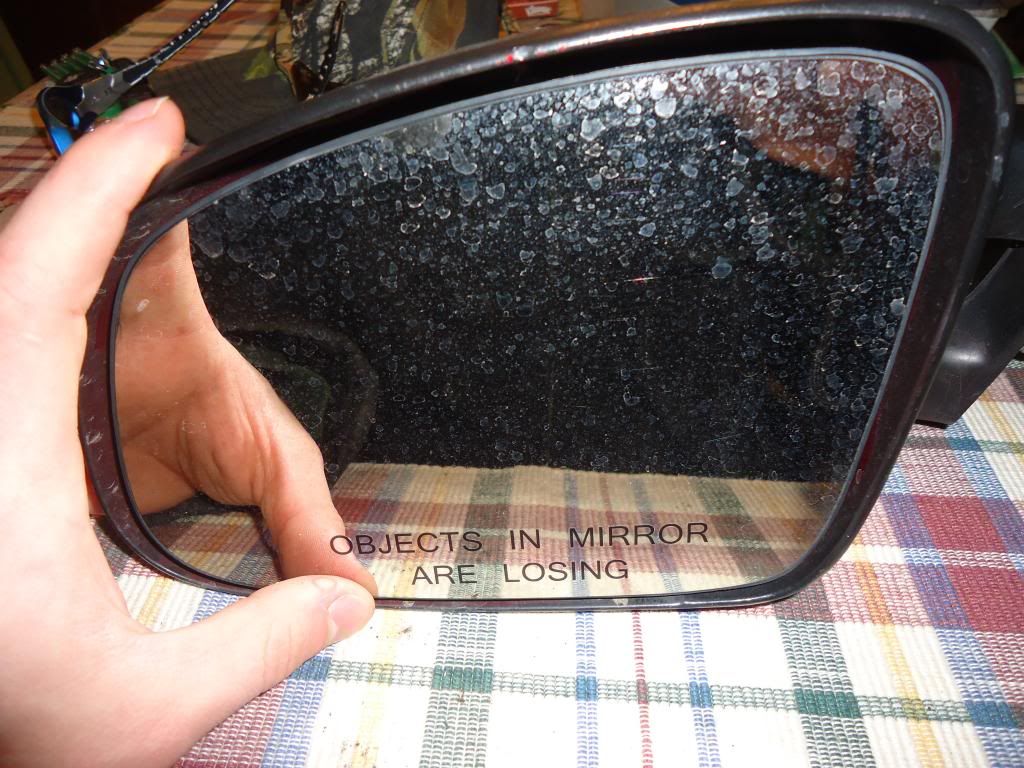
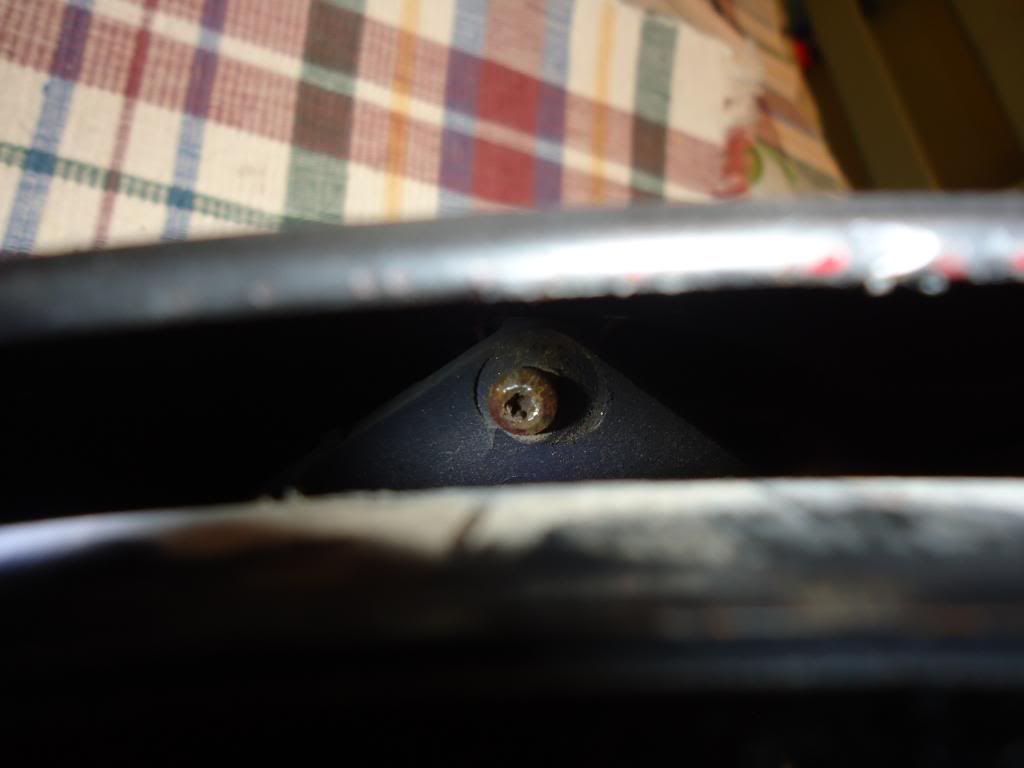
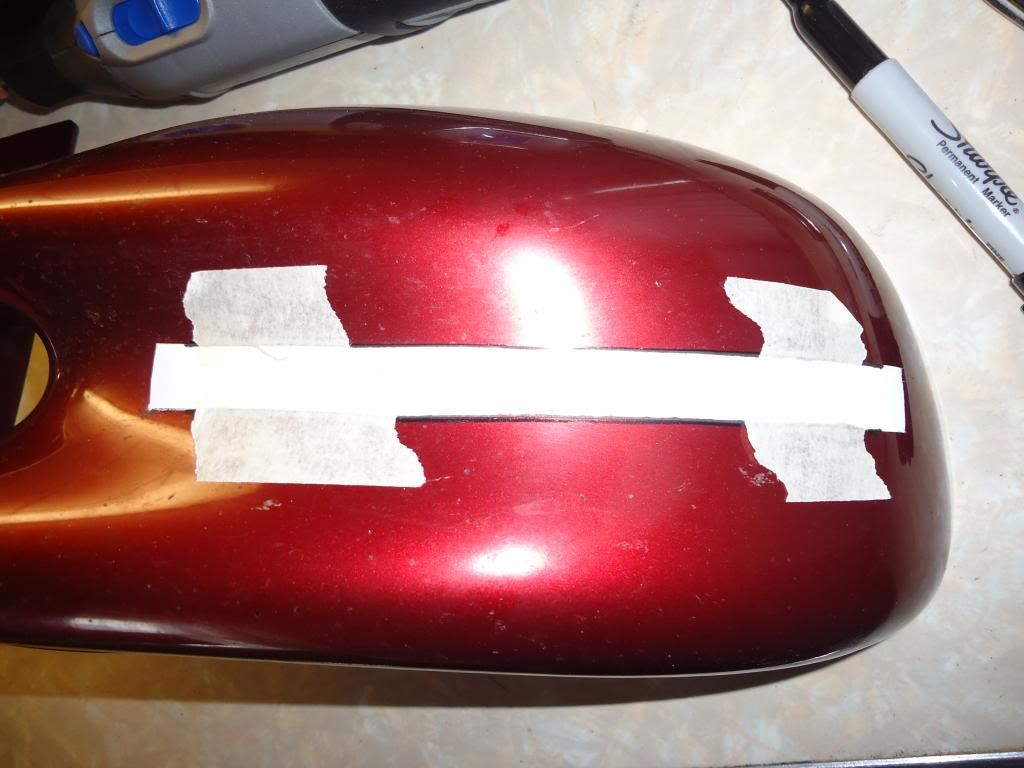
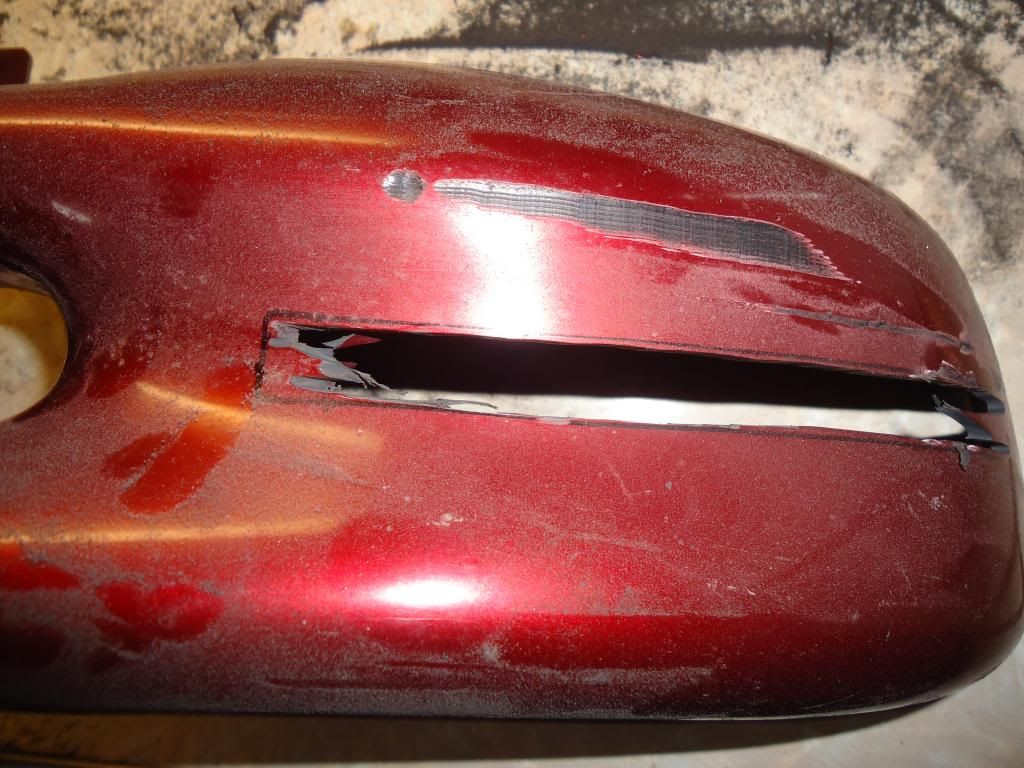
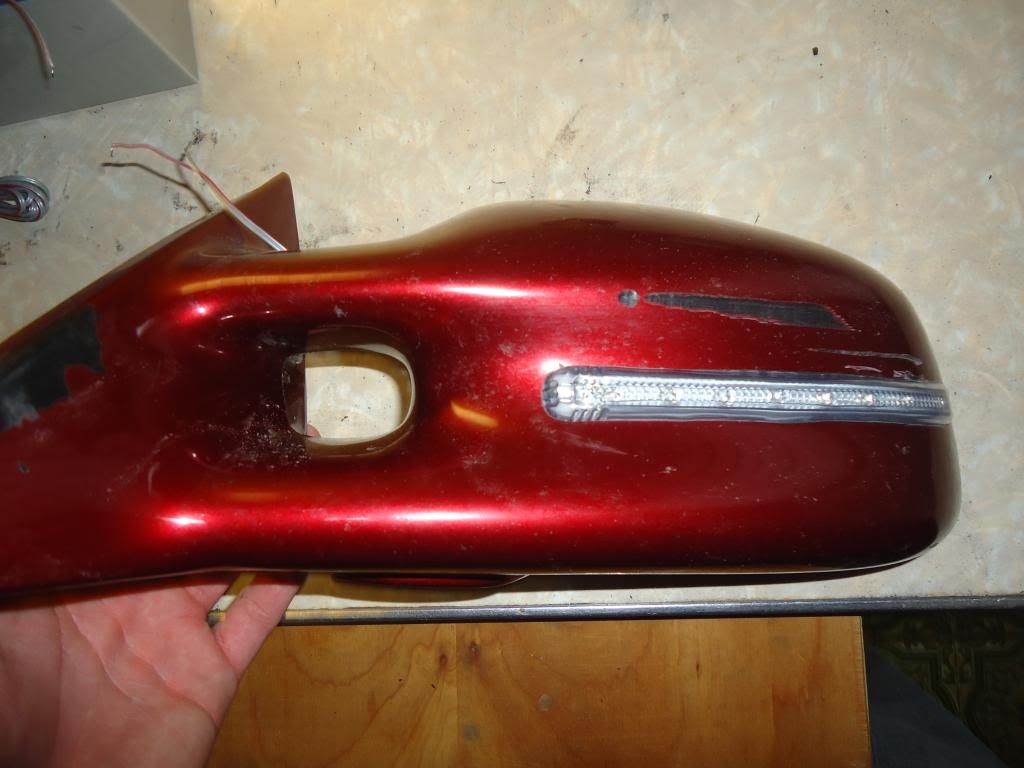


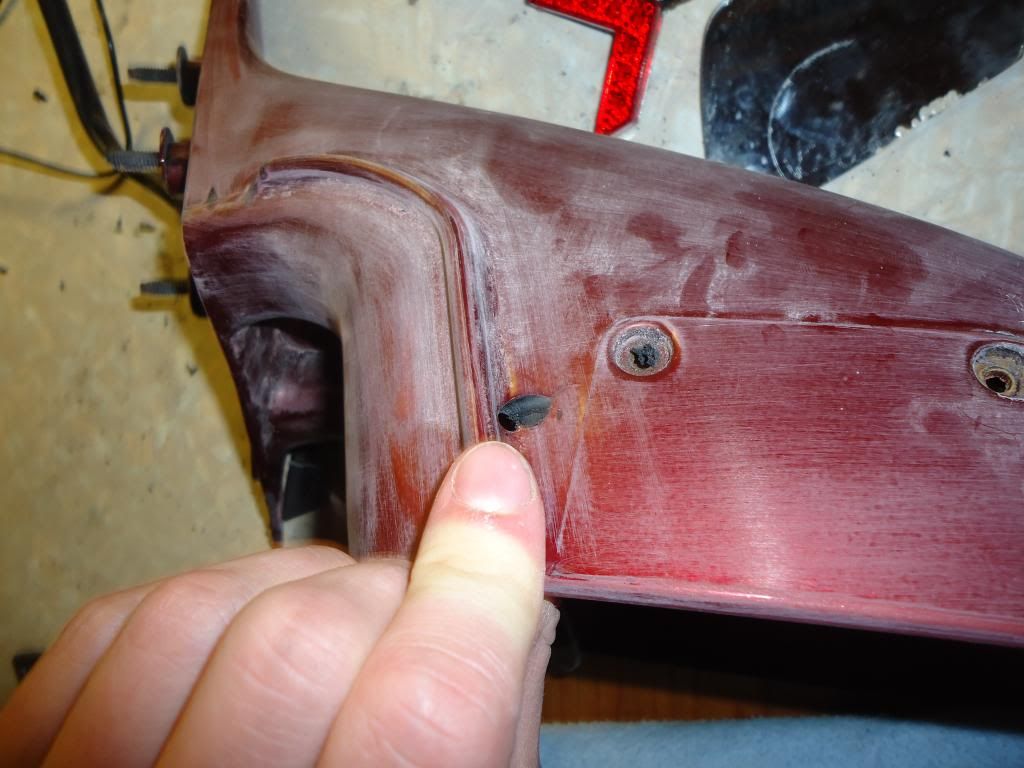
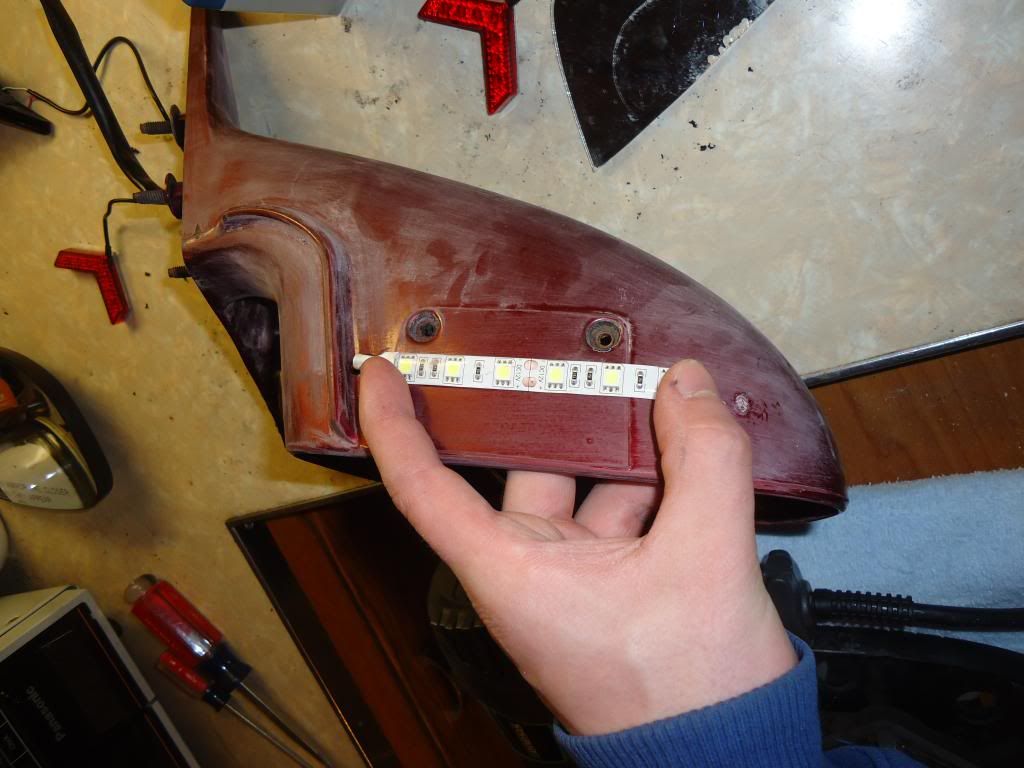 Drill hole to run the wiring for the puddle light into mirror housing.
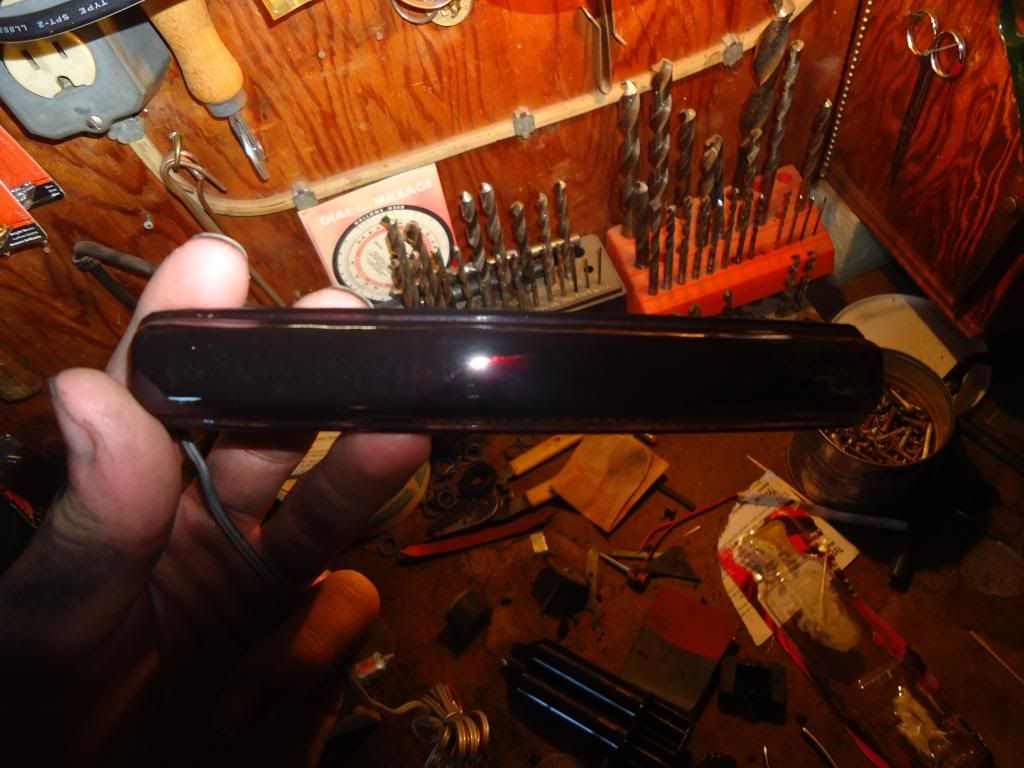
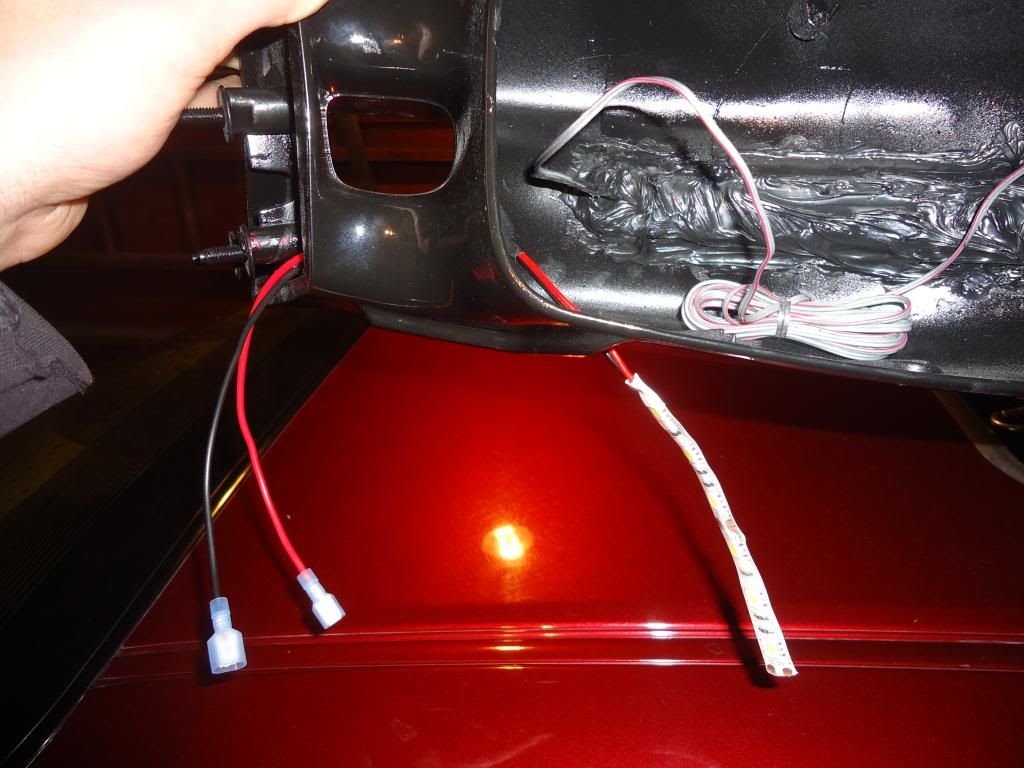 Go ahead and glue in your front facing signal strip using the epoxy (or whatever you like). Then cover the back of the signal with black rtv silicone to seal it up good and block out any unwanted light. At this point add connectors to the puddle light to allow future removal of mirror.
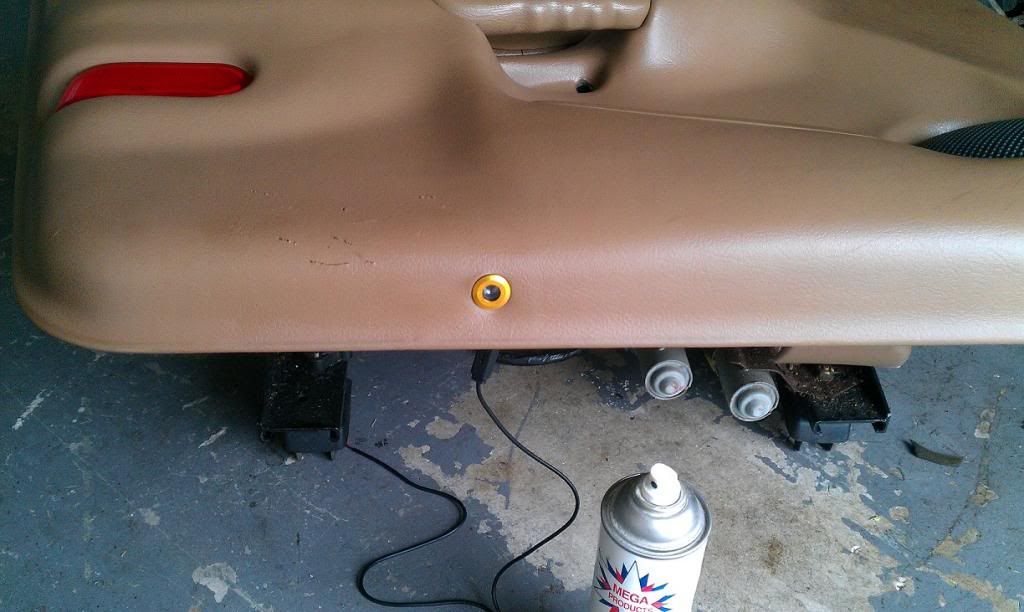
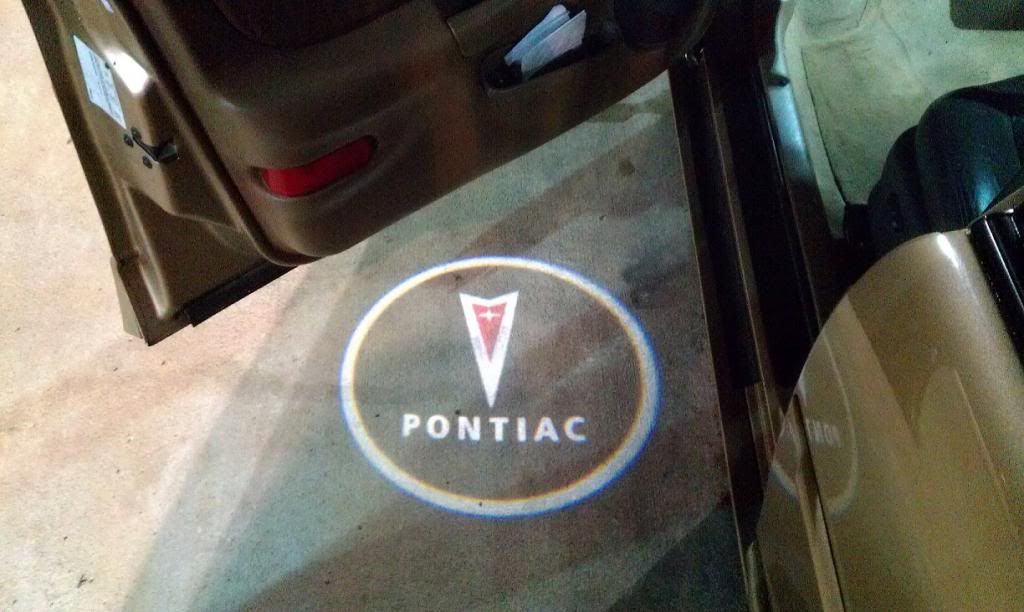
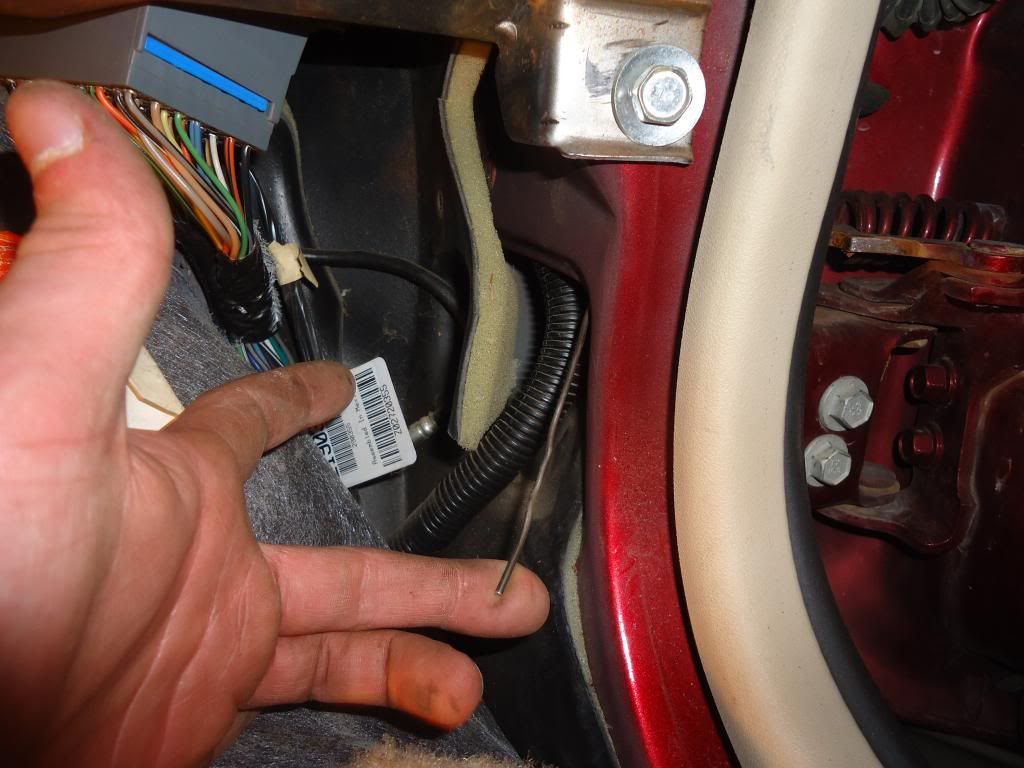
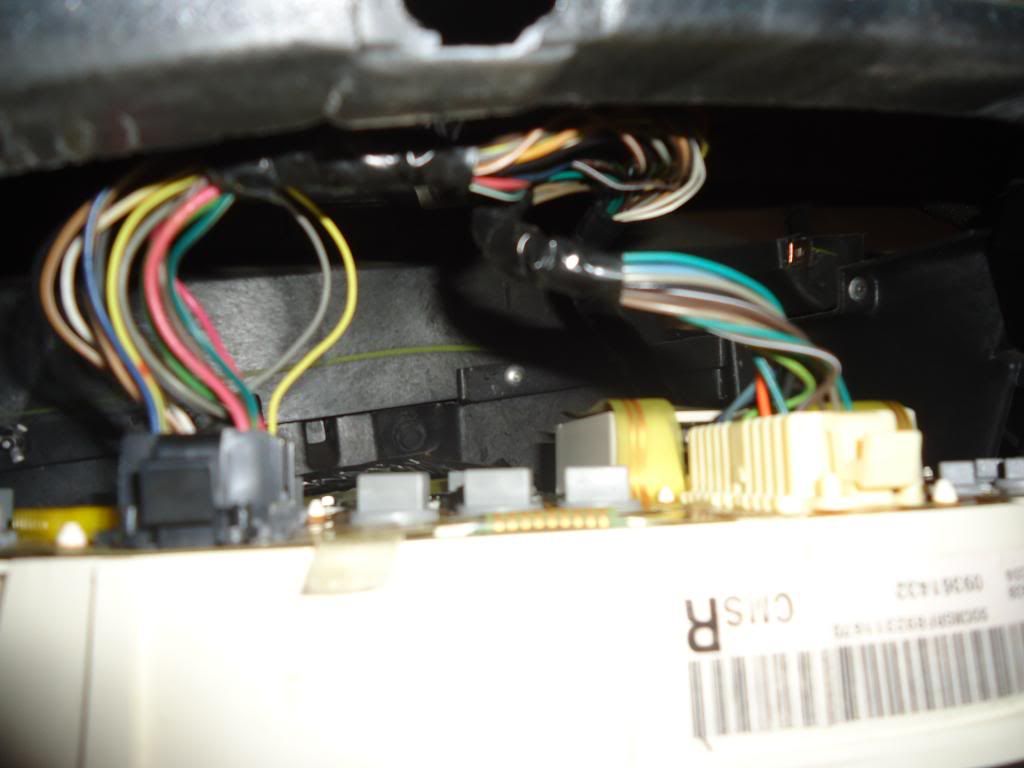
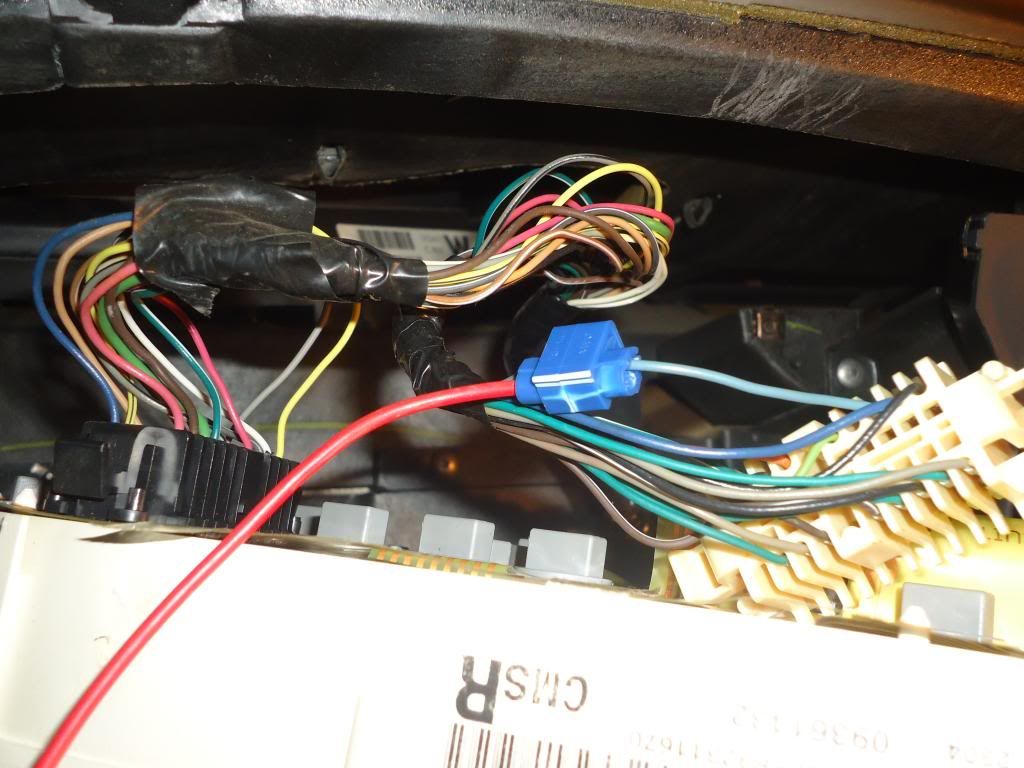
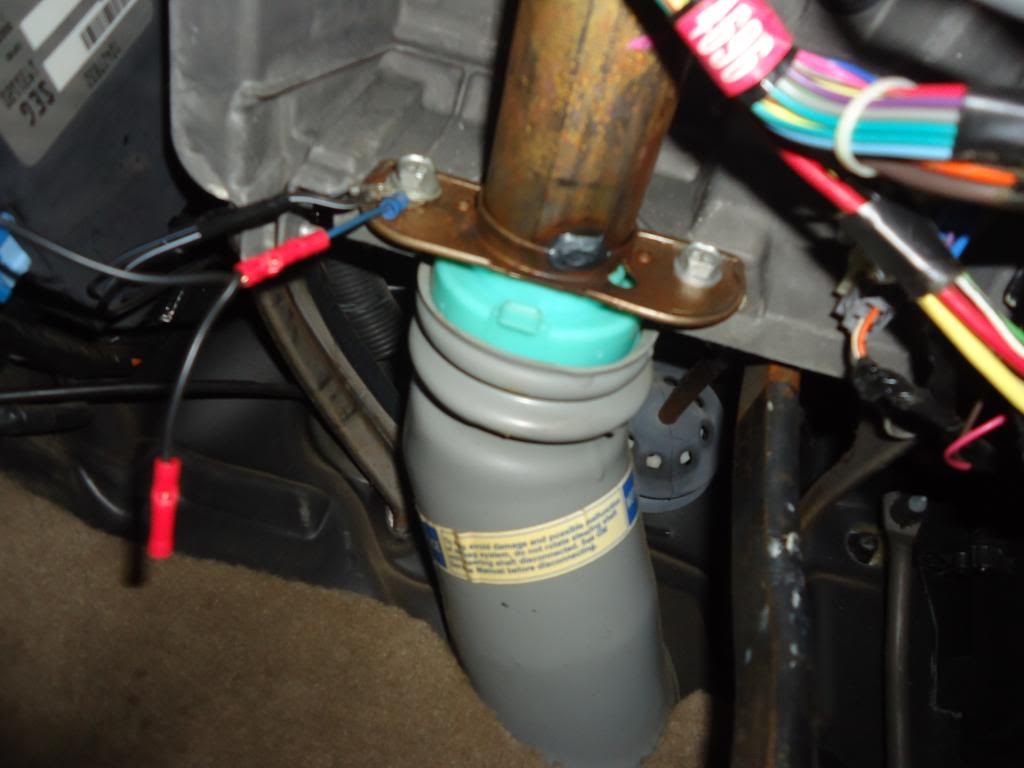
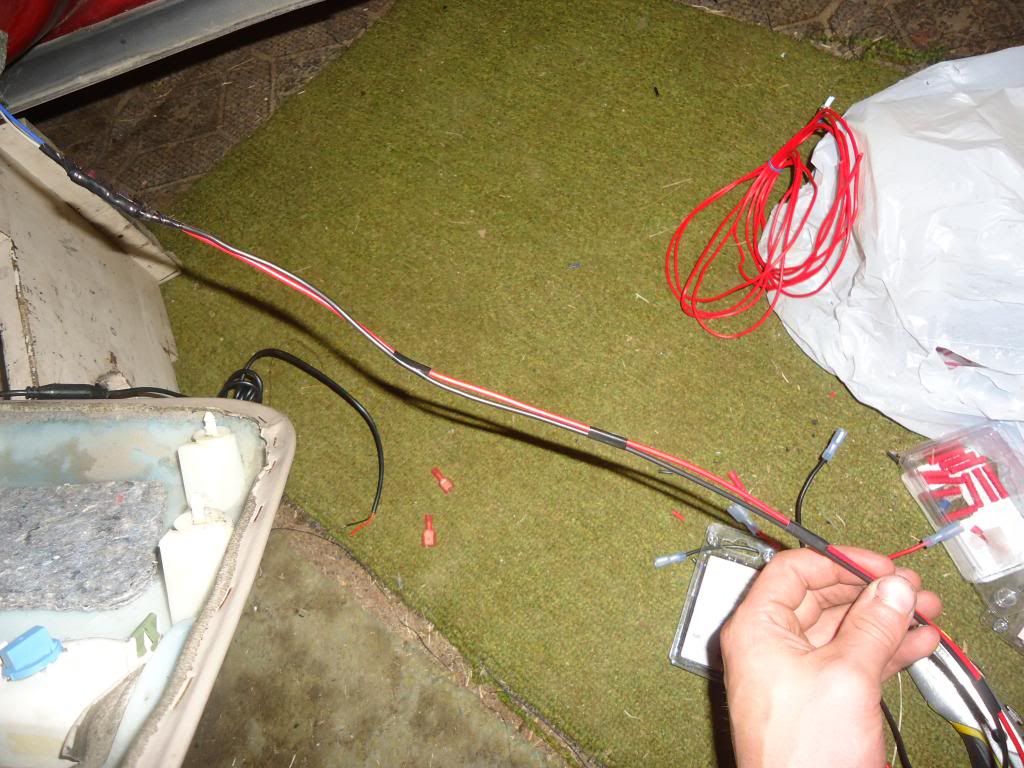 Now extend the power and ground for the door courtesy light so it will reach the mirror. NOTE: All 2001 and newer Grand Prixs may not have the door courtesy light or the wiring. If that is the case you will need to bring the power and ground from your floor lights through the door for the Logo projector and Puddle lights. This can be accomplished by either tapping into the wires or cutting and splicing the wiring. The latter will mean that you will have no floor lights so just tap it.
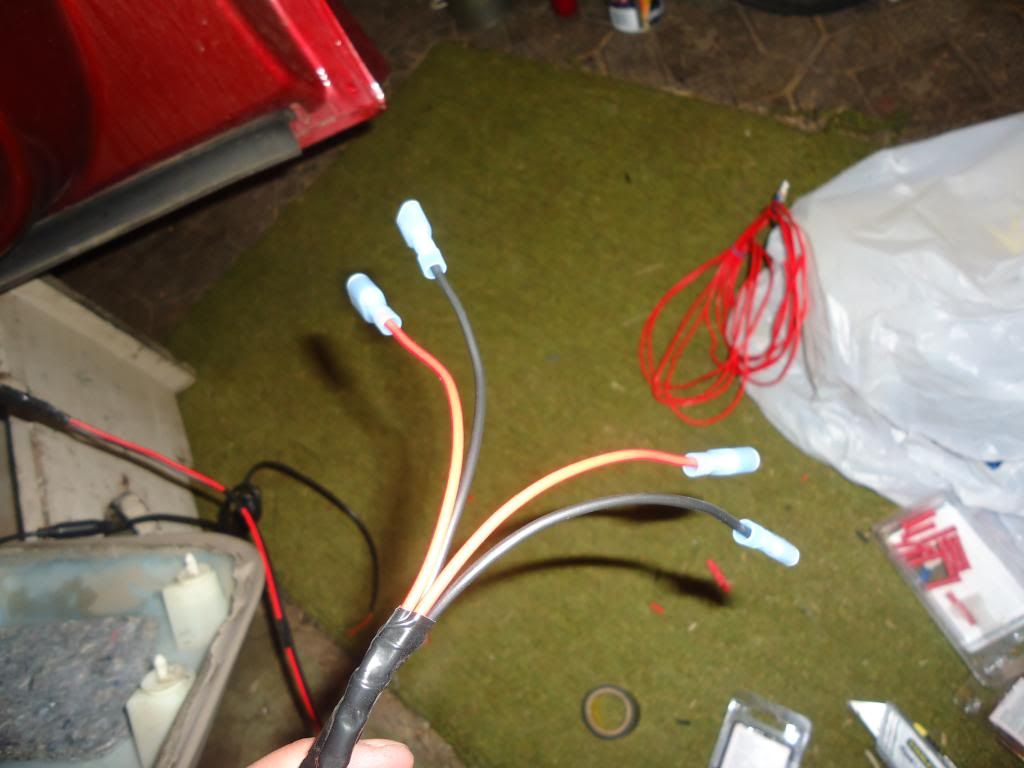
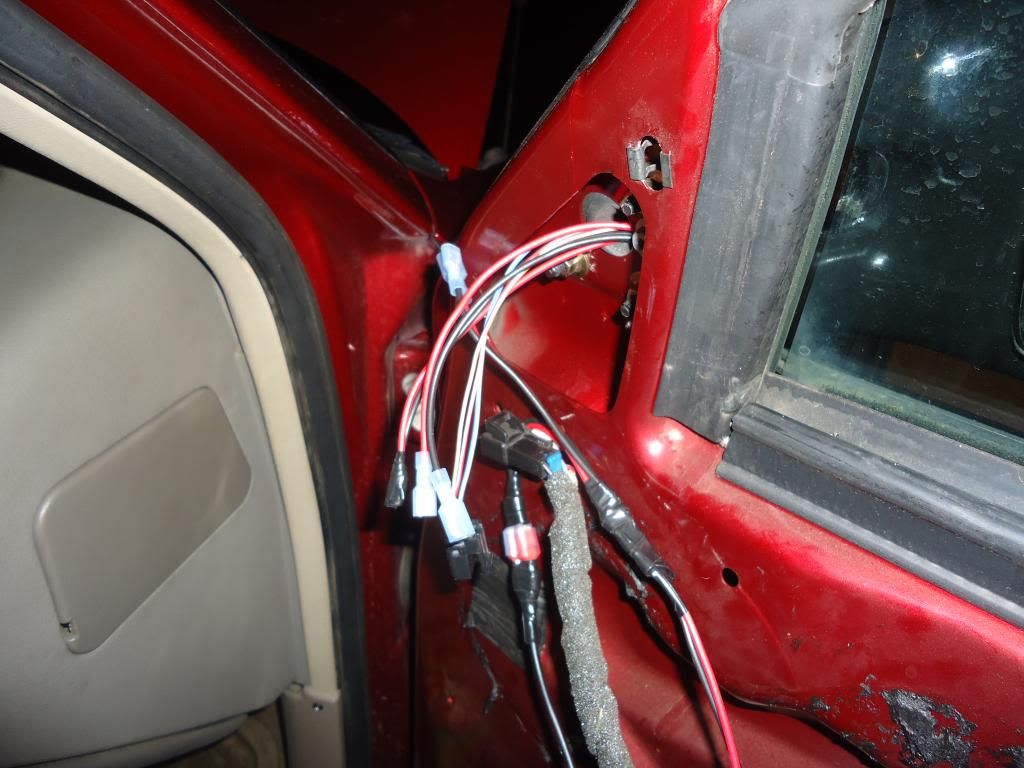
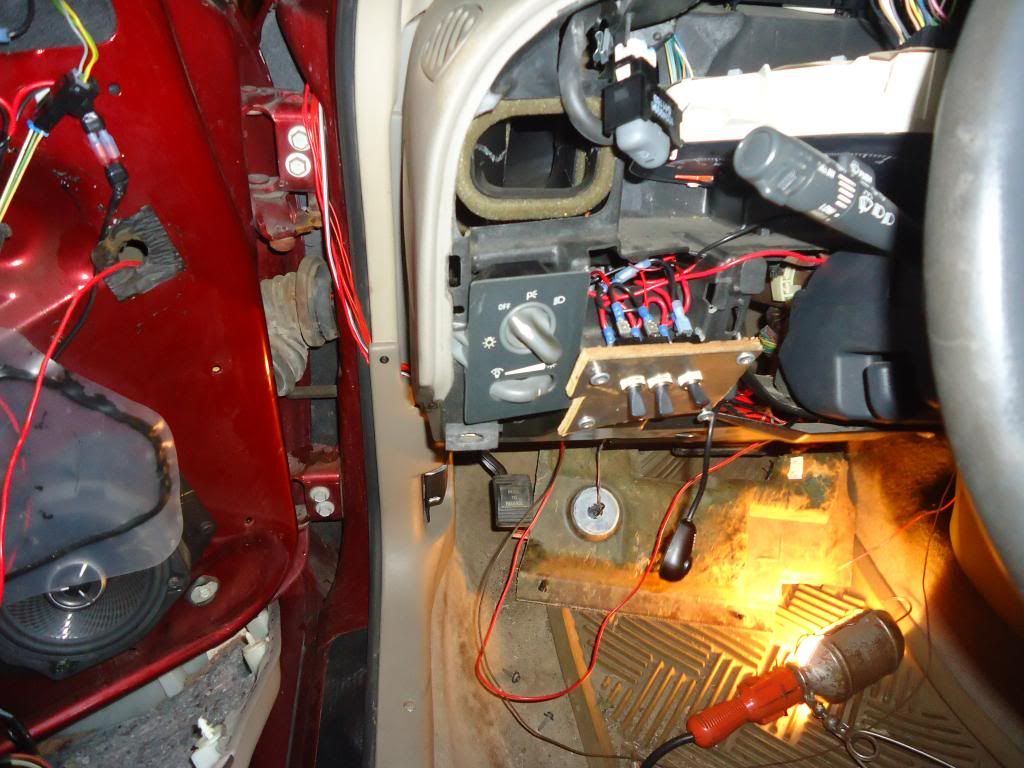 Pass the wiring for the signal through the hole in the door. Use your finger to open it up. It works best to run a stiff wire through with your wire attached. Using a flat blade screwdriver pry off the rubber pass through and run the wires through that with your fingers. Use the stiff wire again to get it inside.