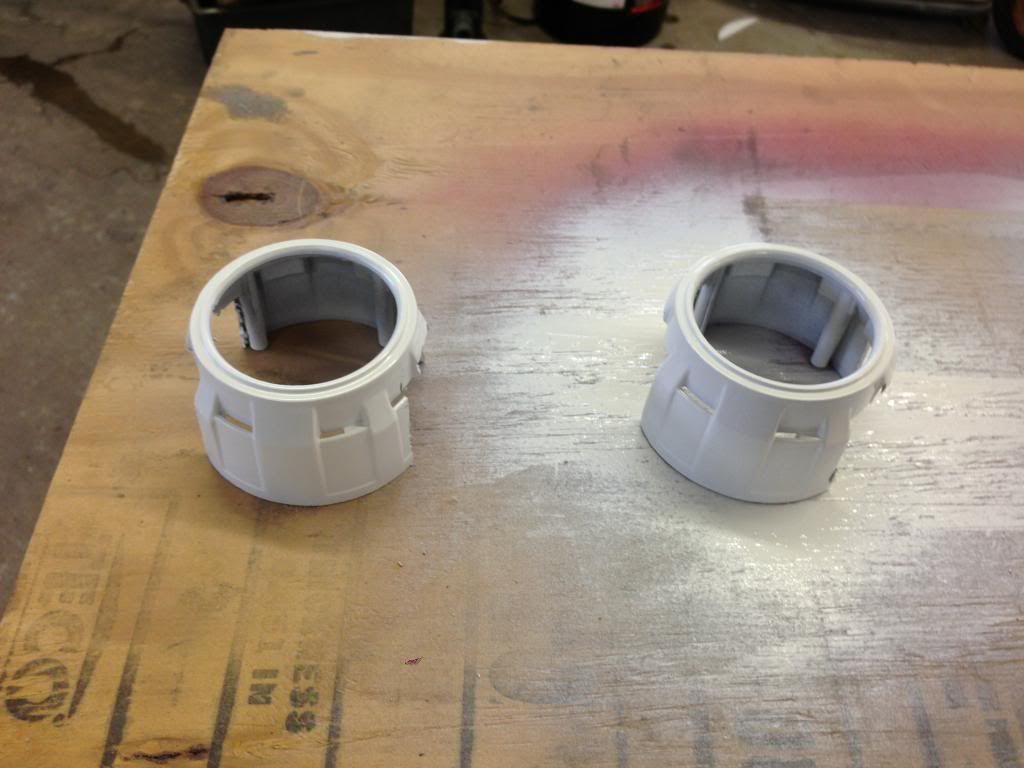
You have to cut a lot off

|
|

You have to cut a lot off


Yea, still had to cut quite a bit off of the graphites. Seemed a lil cleaner and easier on those to me. Plus if you are going with halos, the graphites are better IMO because you can mount halos inside of shroud. Just looks a whole lot cleaner than wire tying them on.


Okay, I'm stuck. I've ground down the housing on the back to the point where it's so thin the hole is getting bigger, yet theres not enough threads to get the nut and bulb holder on. How has everyone else done this?

WOW!!!! That is super thin??? Idk. How many of the rubber washers did you use on the inside?? Have you tightened them?? Also, I ended up not using those concaved washers, I bought some flat 3/4" x 2" fender washers. I know before I would tighten mine it wouldn't allow the bulb holder to seat flush. Idk what you got going on there. That thin you should have all sorts of threads showing......... And when I say are they tightened, I don't mean fully, but pretty snug? When I was rough fitting mine I would push in on projector from front while hand tightening nut as right as I could and that would allow the holder to get pretty close to flush. Hope that helps, if not keep askin questions!!


Mine only came with thin flat washers and only one is big enough to cover the hole so that's the one I'm using. I can get the nut to almost flush but even there it's nowhere close to where the next metal piece has to sit. Is there maybe an alternative to having the bulb holder seated fully?

No, I went and actually bought washers. Like I said, I bought 3/4" x 2" fender washers. The O.D. Is big enough to cover the hole, and the I.D. Is what is needed to go over the threaded shaft, may have to Dremel just a bit. The washers that came with I didn't use. Got my washers from fastenal, but make sure if you do, you get fender washers, not regular flat washers! Yes after install was complete I did run RTV around edge of washers and such to seal. Then just cleaned it up to make it look good!


I still don't understand why you have 0 thread showing even having it sanded that thin??? Are those your stock housings?? And again how tight do you have them there in that pic?


The wires off the projector? Its for the cutoff shroud thing, basically lets you have low and high beams hence the bi xenon.
Sent from my Galaxy Tab 3 8.0

To the bi xenon relay harness you probably didn't buy lol
Sent from my Galaxy Tab 3 8.0

Oh yeah, TRS sells the harness you need. I think its like 40 bucks or less. Any bi xenon relay harness will work really you just need an adapter unless you dont have one period. Then hit up TRS.
Sent from my Galaxy Tab 3 8.0

The two small wires are for the solenoid that moves the cutoff shield. That's what gives you the high beam. If you get the Motocontrol harness it's plug and play. The reason you need the harness is when you turn the high beams on it shuts off the low beam. Well if that stayed like that then the shield would flip to provide a high beam, but the bulbs would shut off. So the motocontrol keeps the bulbs powered and flips the cutoff shield to give you high beams.

didnt know there was a thread about this, im doing headlights and fogs, good to know gp guys have done this as well, its motivated me!
im doing a little different, using g6 gxp fogs and molding them into my bumper, but the headlights are really close to what you guys are using, im having a hard time finding a projector with a halo, been thinking about ditching the halo idea altogether, and debating on new headlight housings to start with.
great how to

Go to Retrofit source, where i got my projectors with halos. Read a bit further back in this thread and I believe I posted pics. What do you mean the headlights are really close to what we are using?? You use your factory headlights or buy a new set of oem housings. Again as far as halos, go to retrofit source and they can get you what you need as far as halos in all different colors.


Alright I keep referring to this on Tapatalk and that means searching for it every time. I'll give an update on where I'm at, and also get this post on my subscribed list.
I got the headlights apart, had to go to 250 for an additional 10 minutes for one of the new headlights, and actually another 10 on top of that at 270 for the other. They were sealed really well for some reason. The turn signal housings were from a different manufacturer and came apart like butter.
I've got the glue out of the channels using a heat gun and a screwdriver, and the back mounting area sanded down flat. I had to shave the projector down quite a bit, not talking about the shroud. That will be a bunch of trimming. I'm just unsure of how far off the beams will be on the rough hook up, when sanding there's no judging what the angle of the sanding will show on the projectors so I just did what this thread said. More towards the outside(actually sanding more in the inside so that the projector actually faces outwards more) tonight will be sanding and painting.
Good write up.
Last edited by 02NavyBlue; 08-29-2014 at 08:33 PM.
| « Previous Thread | Next Thread » |
| Tags for this Thread |