Every since I started this project, I’ve been wanting/needing/searching for information about the Gen V. Everything from what is needed for the swap, to the performance gains, etc, etc. This doesn’t need to be a sticky, but it needs to be here!! So when people use the search feature, they can find the correct information.
First off, here are some really good threads that I have found from searching, please check these threads before going on for the answers to your questions:
Good general information thread about swapping a Gen V and what is needed
Thread concerning the EVAP conversion from L32 to L67(if you don't know the difference, please scroll down)
Information about the different bolts needed for Gen V conversion and install
Another thread about needed items for install and conversion.
GREAT Gen V conversion link!! Lots and lots of information!!!
Great link for bolt information regarding the Gen V blower
What is a Gen V supercharger?
A Gen V supercharger is the newest Eaton M90 supercharger designed for the GM line. This supercharger was presided by the Gen III, commonly found on 97-03 GTP's and 04-05 Impala's and Monte Carlo's.
The Gen V comes installed on the L32 engine, which can be found on 04 and up Pontiac grand prix's. The L32 engine is presided by the L67, found in 97-03 grand prix GTP's and 04=05 Impala's and Monte Carlo's.
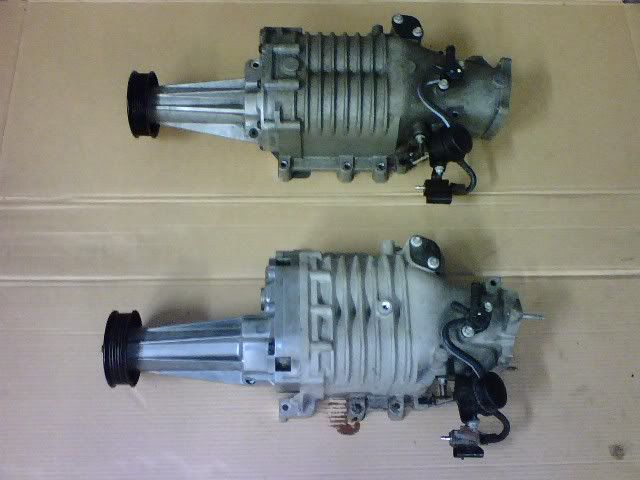
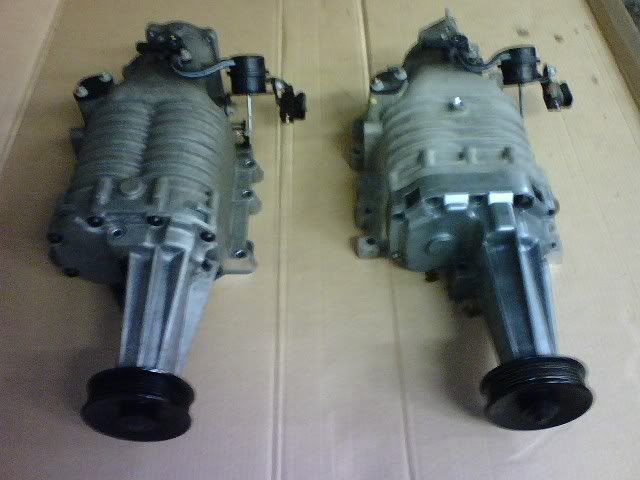
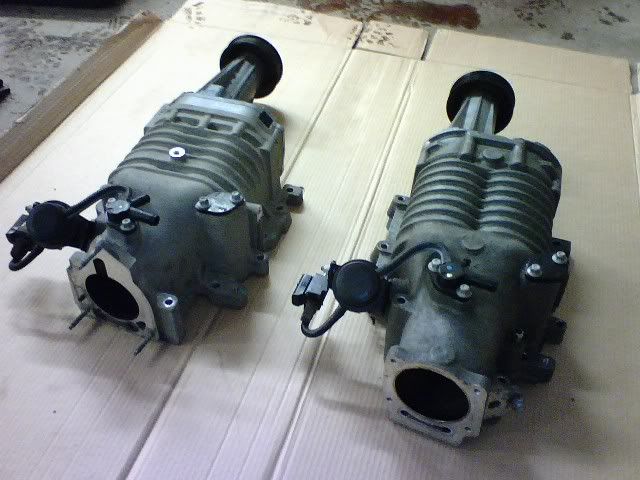
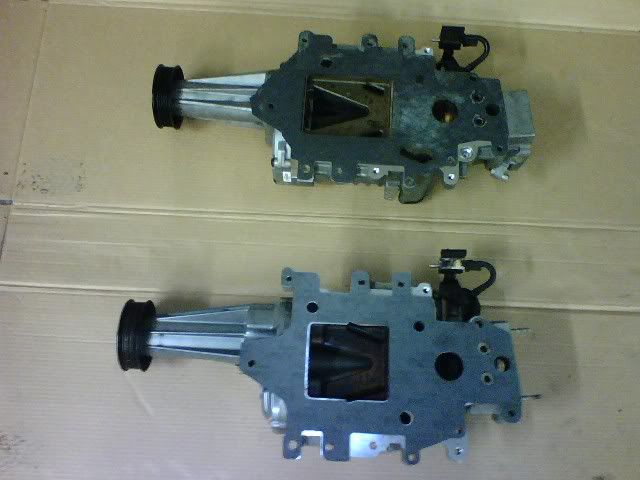
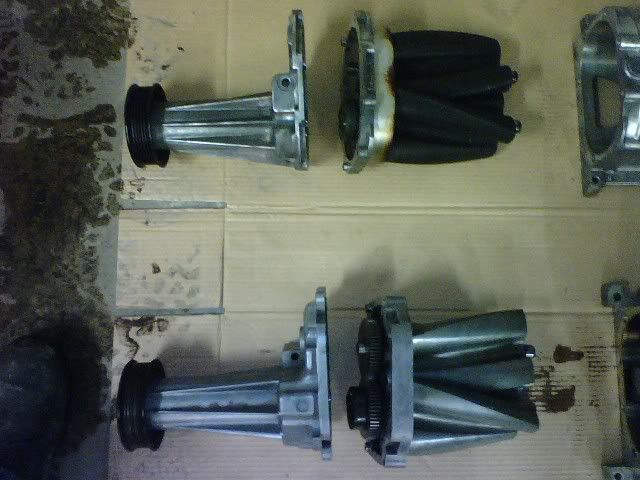
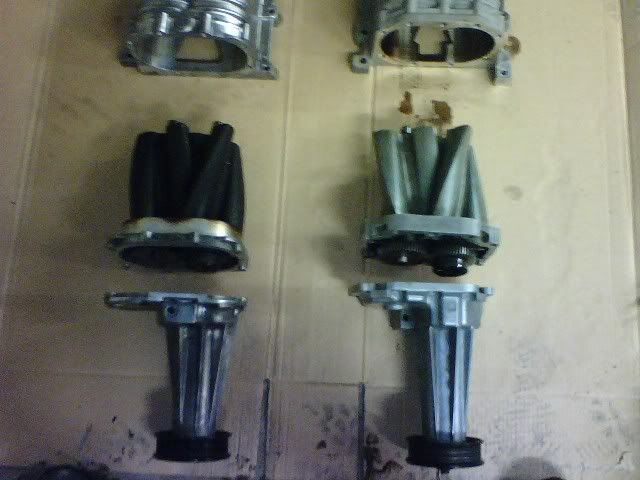
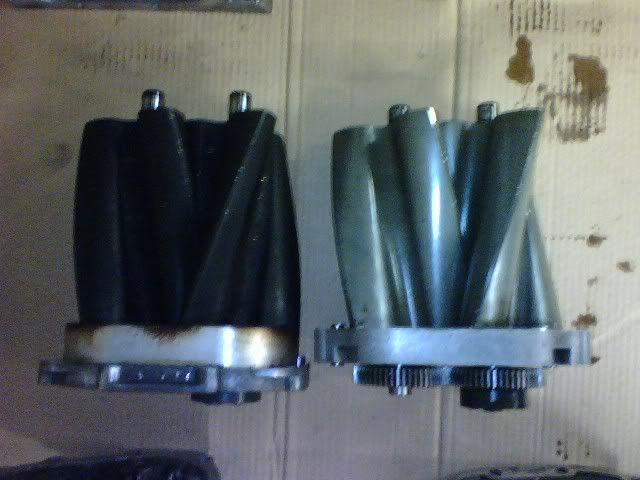
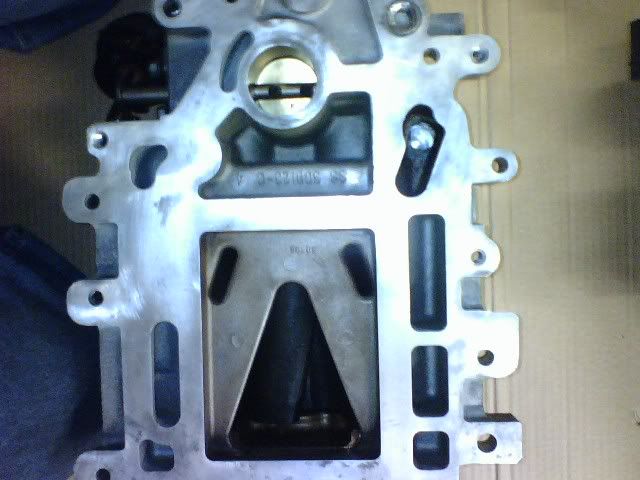
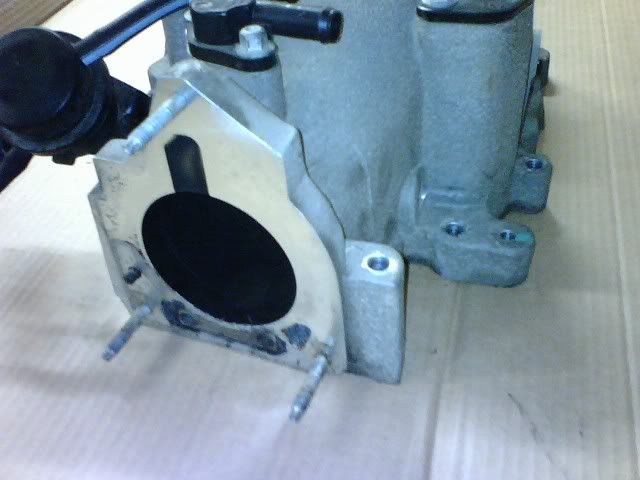
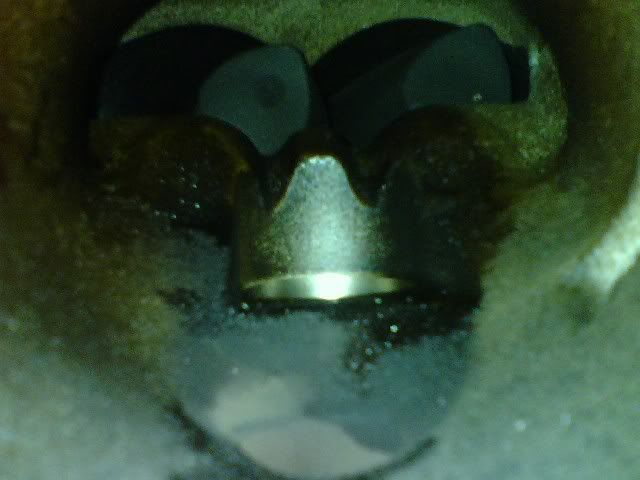
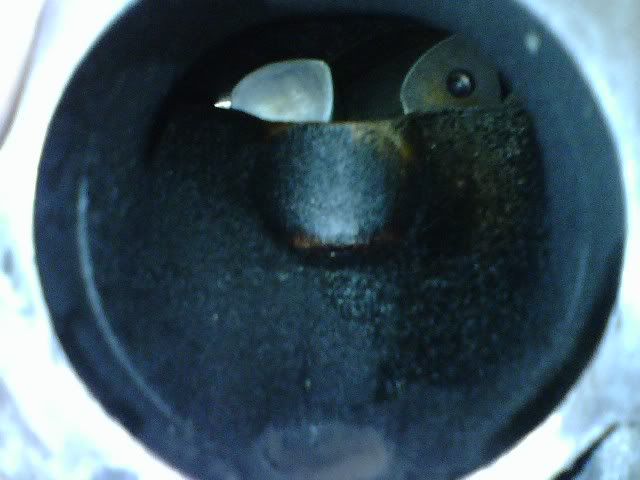
I have posted pictures comparing the Gen III to the Gen V supercharger below:
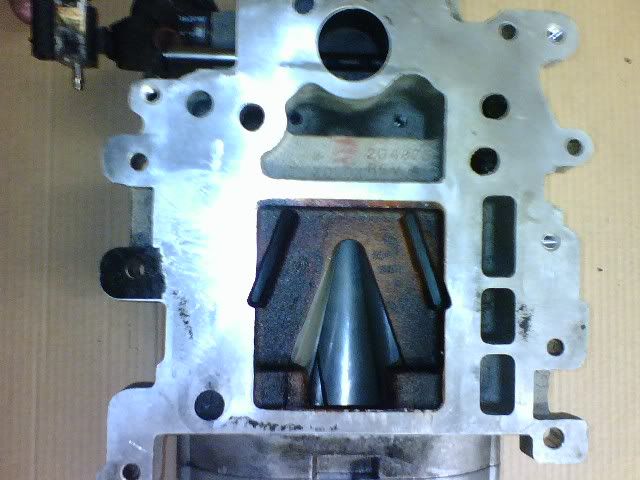
Gen V outlet
Gen 3 outlet
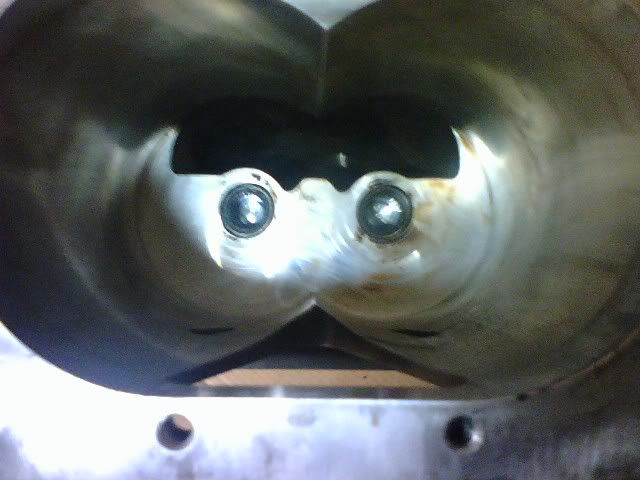
Gen V inside case
Gen 3 inside case
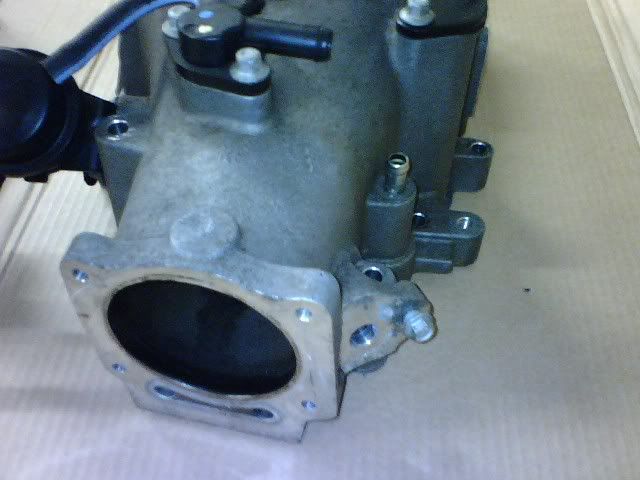
Gen V inlet
Gen 3 inlet
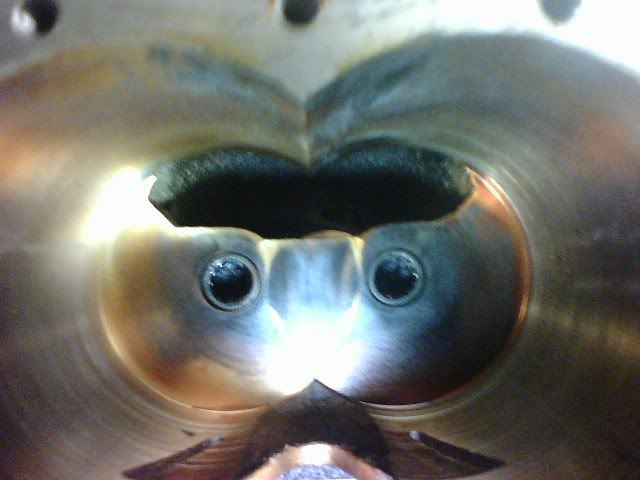
Gen V inside inlet
Gen 3 inside inlet
Why do I want to upgrade from my Gen III to a Gen V?
The Eaton M90 Gen V supercharger has been re-engineered to be more efficient than the Gen III, hence running cooler than the Gen III.
Zooomer, from ZZPerformance has been quoted in saying that the Eaton M90 Gen V blower will put out just as much boost as a Stage 3 ported Gen III, and still be more efficient. That is the main reason in doing this conversion.
Here is a quote I found from Eaton:
I've decided to do the conversion, where do I start?The 90-cubic inch Gen V supercharger is very compact. Its housing includes the throttle-body adaptor, crankcase ventilation plumbing,
coolant passages, the evaporative emissions purge valve and the rotor
drive mechanism. The drive mechanism is sealed and permanently
lubricated, obviating the need for oil connections and eliminating a
potential source of leaks. Moreover, the Gen V features all-cast
components and a larger, low-restriction outlet port. The tuned inlet
port is also less restrictive, compared to previous-generation
superchargers, allowing a larger (75 millimeter) throttle body. As a
result, more air is pumped by the supercharger through the Series III’s
induction system. The Gen V’s rotor is finished with Abraidbable Powder
Coating (APC) rather than epoxy. APC is a patented material containing
graphite that is electrostatically applied to the rotor and baked on. As
a result, the rotor requires less clearance within the supercharger
housing, resulting in less leakage around its edges, greater airflow at
a given operating speed and lower operating temperature. The Gen V’s
rotor bearings have been enlarged to increase durability and reduce
operating noise and vibration.
As a result, the Gen V operates at considerably higher efficiency than
its predecessors. At wide open throttle, the Gen V turns at 700 fewer
rpm (a 9 percent reduction), draws 13 percent less power from the
crankshaft, decreases operating temperature 15 percent and increases
volumetric efficiency 9 percent. For the customer, that means a 9
percent increase in horsepower (see product specifications), and best-
in-class acceleration times for the Grand Prix.
Congratulations on making this decision, now be ready to spend some money!!
You should budget yourself at LEAST $1200 for this conversion. You may find some items cheaper than what I will list, but this is a good starting number to work with.
1) Gen V blower (duh!) - You can find these in several places.
- Ed Morad gtped@msn.com - he is a god of the 3800 community, and can usually get you a good condition used unit for ~$650
- Car-Part.com--Used Auto Parts Market - You simply have to enter 2004 as year, Pontiac Grand Prix as make/model, and turbocharger/supercharger as item. Be warned, if you are going this route, you must make sure to question the condition these blowers are in. Some are damaged, and will wind up costing you more in the end to fix than buying one from above.
- http:///www.ebay.com - Ah yes, good ol' Ebay! You can find one on there from time to time, but it’s not a guarantee. Good keywords to search are as follows: grand prix supercharger, 3800 supercharger, 3.8 supercharger, Pontiac supercharger, etc., etc.
- Last but certainly not least, the classifieds section of clubgp.com!!! Look around, these pop up every now and then, and it’s a great way to keep our $$ within the community.
2) L32 LIM (lower intake manifold) OR you can machine your Gen III intake -
The intake cutout of the Gen V is different than the Gen III, therefore you need to have a LIM to match. Many people opt out to get an L32 LIM instead of modifying their current one. You can usually find one of these for about $100 at the sources I have listed above. Here is a picture of the Gen V gasket on the Gen III intake; you can see that you will need to cut about 7/8" out of the snout side of the intake:
3) A throttle body adapter plate -
The L32 runs on a "drive by wire" throttle body, this is NOT compatible with the L67, therefore you must get an adapter plate for your throttle body. As you can see in the pictures, the inlet of the Gen V is significantly larger than the Gen III (69MM compared to 75MM on the Gen V). This is why I suggest upgrading to an aftermarket throttle body while doing this swap. Here are you're options as of today:
- L67 to Gen V adapter plate - this will work nicely if you have a ported L67 throttle body and would like to retain it. This item can be found at ZZPerformance
- LS1 TB kit - Harder to find now a days, 75mm bore matches Gen V perfectly. You will need to tune for this upgrade. Retains cruise control
- Northstar TB kit - Same advantages of the LS1, much easier to find. Can be found at ZZPerformance Retains cruise control
4) MOUNTING BOLTS!!!! -
Hopefully you are lucky enough to come across a blower than includes all the necessary bolts. If you don't get these bolts, well, you'll have to look for these: Don't worry though, it’s not THAT difficult!
- M8 1.25 thread pitch X 120MM long
- M8 1.25 thread pitch X 140MM long
You can get these bolts from a few different sources, I ordered mine from ZZP , but you can try Ed Morad, and worse comes to worse, see if the dealer can get them for you. You can also get these bolts from mcmaster-carr or boltdepot.com. I will have part #'s from the dealer in the near future to assist you in ordering them.
You CAN re-use a couple bolts from your Gen III - 7 of the short M8's, and the one M8 X 80MM bolt that has a stud on top of it. This is compatible also on your Gen V
5) Gaskets -
You'll need the following:
- Lower intake manifold gaskets
- L32 supercharger gaskets
When it comes to throttle body gaskets get the necessary gaskets for your application.
6) Fuel injector O-rings -
Since the fuel rails must come off, this is a perfect time to change the o-rings for safety!!
7) Alternator –
Unfortunately, the alternator and its bracket can cause some issues when swapping this blower onto your L67. Generally, the 97-98 alternator and bracket will NOT work. The solution is to swap to a 99+ bracket and alternator.
What custom work do I have to do to make this work?
Well, good thing you asked!!
1) First off, you have to decide what do with the EVAP sensor. As you can see from the pictures, the Gen V has the EVAP sensor directly on the blower, whereas on the L67, this sensor sits independently from the blower. You have three choices:
- Utilize the Gen V sensor (can only be done with L67 TB, you will need to plug the evap port on the tb. Then remove the hose that runs from the tb to the old evap. Then plug the other line onto the l32 evap)
- Utilize your Gen III sensor and block off the Gen V sensor outlet (the intake manifold block-off plate offered by ZZP is a perfect fit)
- Delete EVAP codes from PCM (requires a tuner), and not run any EVAP at all!
2) Second modification you must make is the PCV system extension. If you look at the Gen V, and locate the EVAP sensor, look to the right, and you'll see a small nipple. This is part of your PCV system, this MUST be utilized, or you WILL have a vacuum leak!! Below are your choices:
- You can run a tube from this nipple, to the air intake, this inlet must be located behind the MAF sensor, but before your throttle butterfly. In the LS1/Northstar setups, this is easily done by threading a tube into the air intake between the MAF sensor and the throttle body. On the L67 throttle body, it’s a little more involved. There is a brass plug on the bottom of the l67 tb, drill out the plug then tap it.
- You can cap this nipple off, and run a breather on the front valve cover. (***NOTE*** this allows un-metered air to enter the PCV system, and may cause problems down the road)
3) Third custom modification you have to make is dealing with the alternator. It has been seen that 97-98 alternators are situated in a fashion where it may be difficult to thread the positive cable on the back of the alternator with the Gen V, especially with an intercooler. This can be relieved by switching to a 99+ alternator and mount.
**NOTE** If you use your L67 TB, you may have to modify the throttle cable bracket for the l67 tb to clear the brake lines.
I have everything I need, how do I do this?
Now the fun part!!! Here is the rundown of the procedure to do this swap:
- Make sure car is cool. Start you swap by draining your coolant and disconnecting the battery. Then you can start to work on removing the serpentine belts.
- Next up, remove your spark plug wires and the vacuum lines that will interfere with the swap, I suggest taking a lot of pictures, it’s the best way to figure out have to put everything back. It will probably make the swap easier if you take the alternator off also.
- Disconnect or remove EGR system
- Remove fuel rails
- Remove supercharger mounting bolts
- Remove supercharger
- Disconnect upper radiator hose
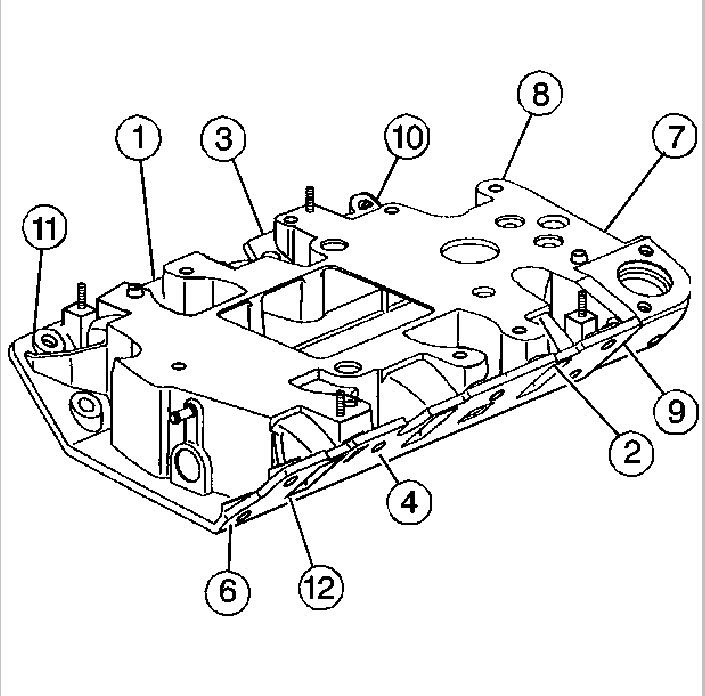
- Remove Lower intake manifold bolts
- Remove manifold (NOTE- some coolant may get into your lifter valley at this point. Remember to mop as much up as you can with some paper towels.)
- Remove LIM
Re-installation is the same as above, just reversed. Torque specs for LIM bolts are 11 ft/lbs, remember to follow correct tightening sequence.
Supercharger mounting bolt torque specs are 17 ft/lbs
You also probably want to do an oil change right after installation, just to make sure you get any coolant that leaked down the lifter valley out of the engine.
I want to replace some other bolts on the Gen V, what are the dimensions?
Here's a list of some bolts that go into the Gen V (courtesy of JFDugal)
GenV Supercharger Bolts (# required)
M8x1.25x140 (1)
M8x1.25x120 (1)
M8x1.25x80 (1)
M8x1.25x45 (7)
GenV Snout Bolts (# required)
M8x1.25x45 (8)
Intercooling your Gen V application
Since most people that are looking to do this swap are serious into modding, I thought I'd add this section to aid people in choosing an intercooler and what modifications should be done to the blower case for it.
1) Modifying your Gen V / Intercooling applications- Many people get confused as to which intercooler cores will work with a Gen V and a Gen III supercharger. A good rule of thumb is that a Gen III core WILL work on a Gen V setup, but you will not be optimizing the capacity of the cooling effects of the core. Your best bet when intercooling is to machine your LIM to cater to whichever core you are purchasing.
1) Modifying the Gen V case - While the Gen V supercharger was engineered by Eaton to be much more efficient than the Gen III, it could also be improved on (just a bit) by some minor porting and smoothing of the cast.
- The intake of the Gen V is 75mm, more than enough for most, if not all applications out there! But if you're an extremist, and you want to go with the 78mm ZZP billet throttle body, the inlet of the Gen V will need to be ported a little to get maximum gains.
- The outlet of the Gen V blower is engineered really well, and doesn't require much, if any attention. Maybe just a polish job with a nice lip.
- There is some controversy over if the "H bar" should be removed for intercooled applications. I have yet to see any information that leads me to believe either side is correct. Keep it or not, your choice.
- Some feel the need to fill the silencer ports on the Gen III to make the blower "louder". What I can say is this is un-necessary for the Gen V as it already screams! Some testing has shown a LOSS of performance with those ports sealed.
Some things to keep in mind when dealing with the Gen III to Gen V conversion
- You (generally) cannot mix & match GenV/GenIII parts (unless you are going for some unique project). GenV snouts are shorter than GenIIIs. The GenV housing is longer than the GenIII and extends a bit further out toward the driver (throttle body) side (this may make LS1/Northstar setups a tighter fit than an L67 TB).
- If you do need replacement parts for the Gen V, remember you're ordering parts for a supercharger that was not on the car originally!!! If you're going to a dealership for these parts, make sure when they ask you for your VIN number, you explain to them why it would only complicate matters.
- Intercooled GenV users will run into hood clearance issues. Lucky for us the GenV bolt pattern is symmetric, so you can take your throttle body/adapter plate setup and just flip it upside down. Of course you'll have to deal with the EVAP setup (which may now interfere with the throttle actuator) and TPS/IAC wiring connectors. I have been told by a few people that using an SSIC will NOT cause clearance issues with the hood, but I can’t confirm nor deny that.
Well, there you go; you've got yourself a Gen V conversion now!! Go out and enjoy yourself!!!
If anyone has anything to add or revise, please let me know!!!





 SMGPFC #77


