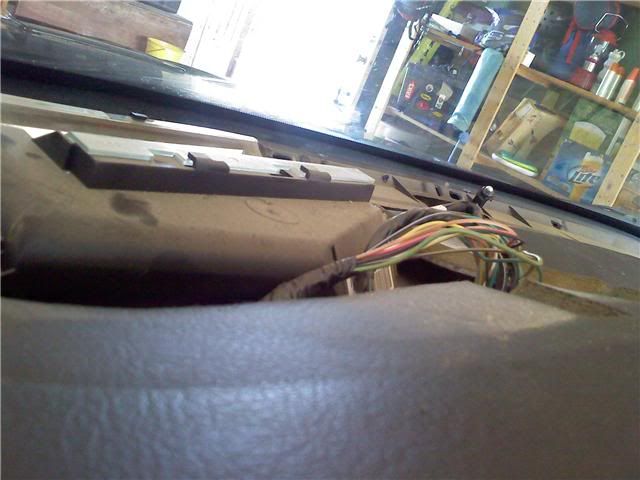
had a problem with my HUD and I have heard of others with this problem so thought i would do a small write up.
1. you need to remove the top of the dash section. Honestly there is no easy way to do this and you will break some clips along the way. just start on the outside edges and pry up carefully and pull. I used a longer screwdriver to push/pull on the clips as i lifted up to try and prevent them from breaking. It kind of helped.
2. Now that you have removed the dash trim piece it will look something like this:
There is quite a bit of dust. i cleaned everything up since it was out. you need to remove the HUD by taking out the 2 screws in the back of it.
Now you can see the red areas are the 2 Screws you have to take out in order to lift it up and out of the dash. You also have to unplug the cable from it. (the blue circle)
3. The you will need to remove the 4 torx screws from the top of it. in order to access the circuit board. (yellow)
4. You will see the board there. Take it out. you will need to unplug a small red connection and then the large ribbon cable.
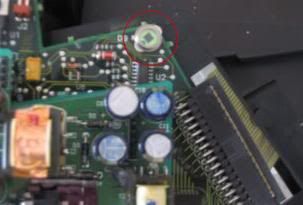
5. The photocell that needs to be re soldered is at the end and looks round. If you can, try and get as much of the old solder off to get a better connection with the new.
You will re solder underneath it.
6. Now I only re did the outer joint of it to fix the problem. The inner connection is harder to re solder. Usually the outer will take care of the problem. Depending on how good you are I guess its up to you. What i did is to test it is just set it back in place in the dash, plug it in, then turn the key half on to see if it got better. That way you dont need to put everything back together.
7. Once you've got it fixed, put the HUD unit back together and put it back into the dash. Then put the dash trim back in place (it should just snap in) and you should be good to go. I lost about 4 clips but it doesnt rattle or is loose. i guess it depends on which ones you break if any.
8. Enjoy your brighter HUD!


