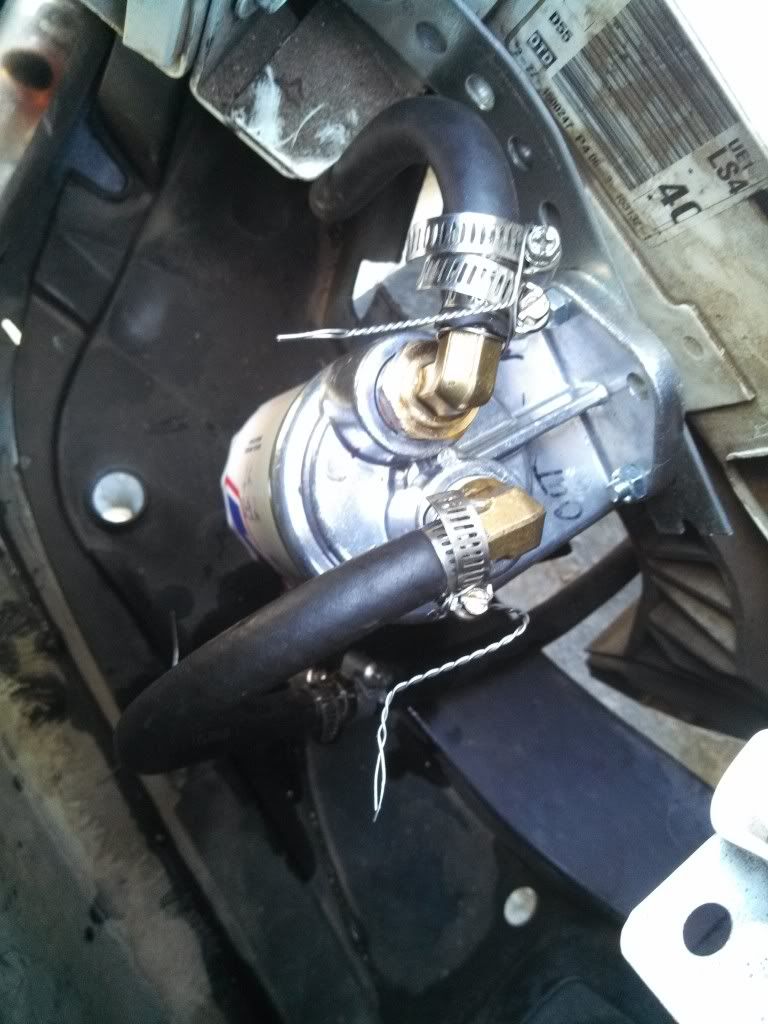
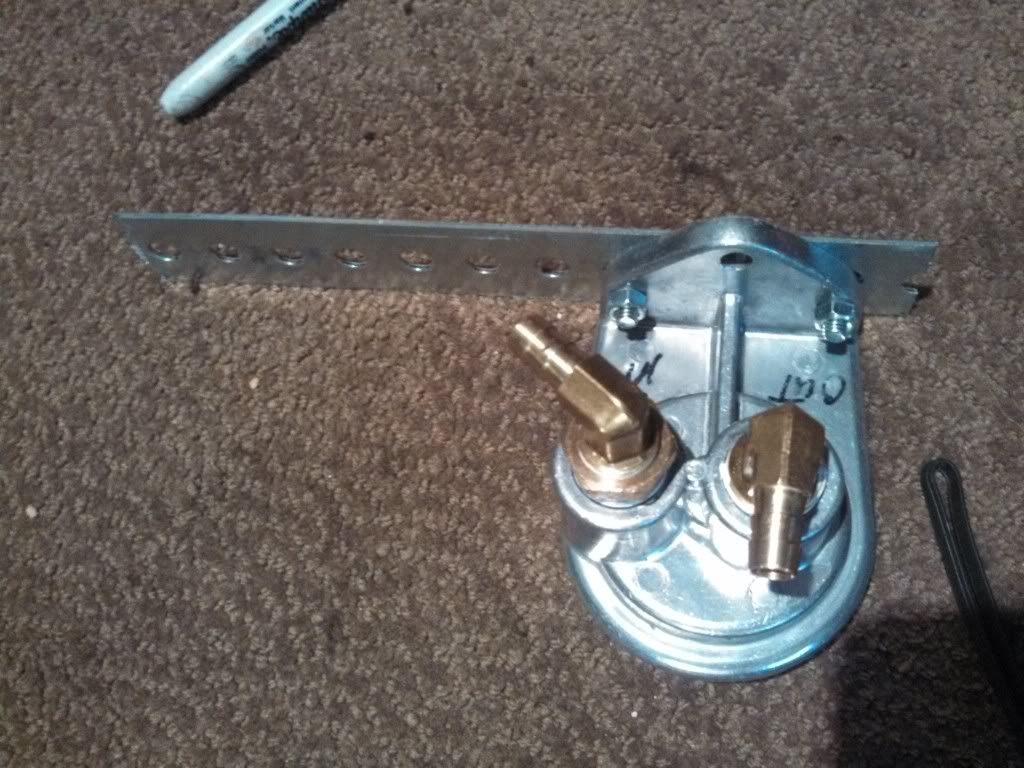
This is a right up for installing a stand-alone Transmission Cooler for the 4t65e-HD. This particular kit that I purchased if from TripleEdgePerformance.com and is the 6 inch tall model. (They sell a 4” & 6” sizes). My vehicle is a 2006 Pontiac Grand Prix GXP.
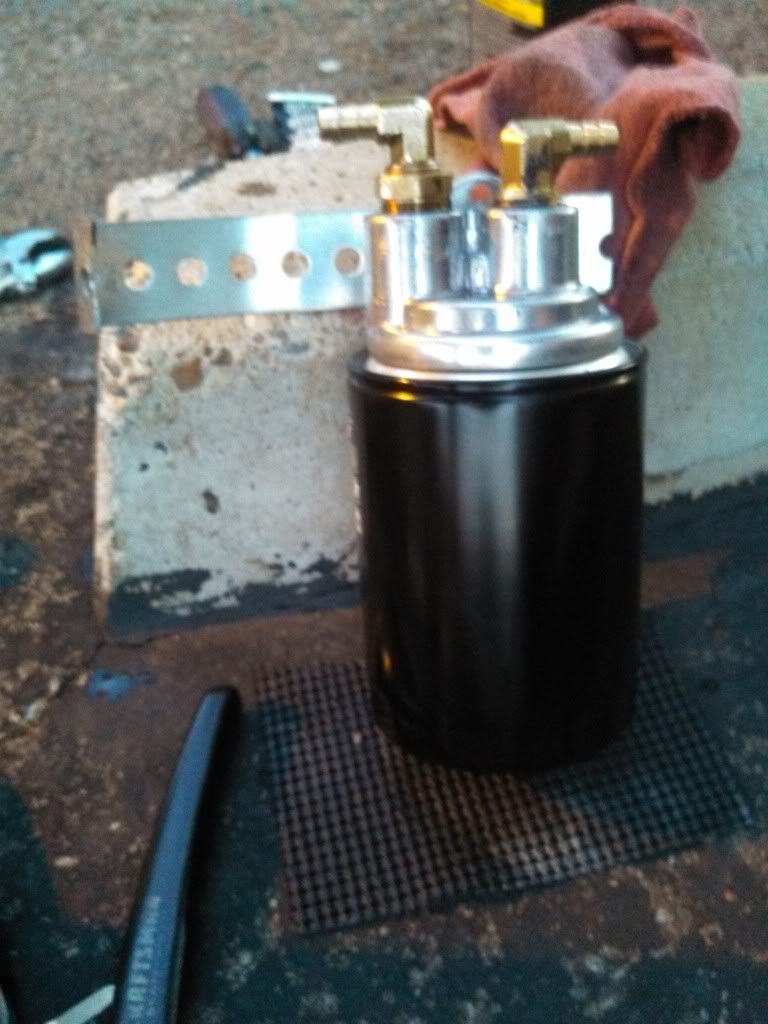
So to start this write up some pics of the kit that I purchased. I am not going to list a price so if you want to know the price email Dave at TEP.
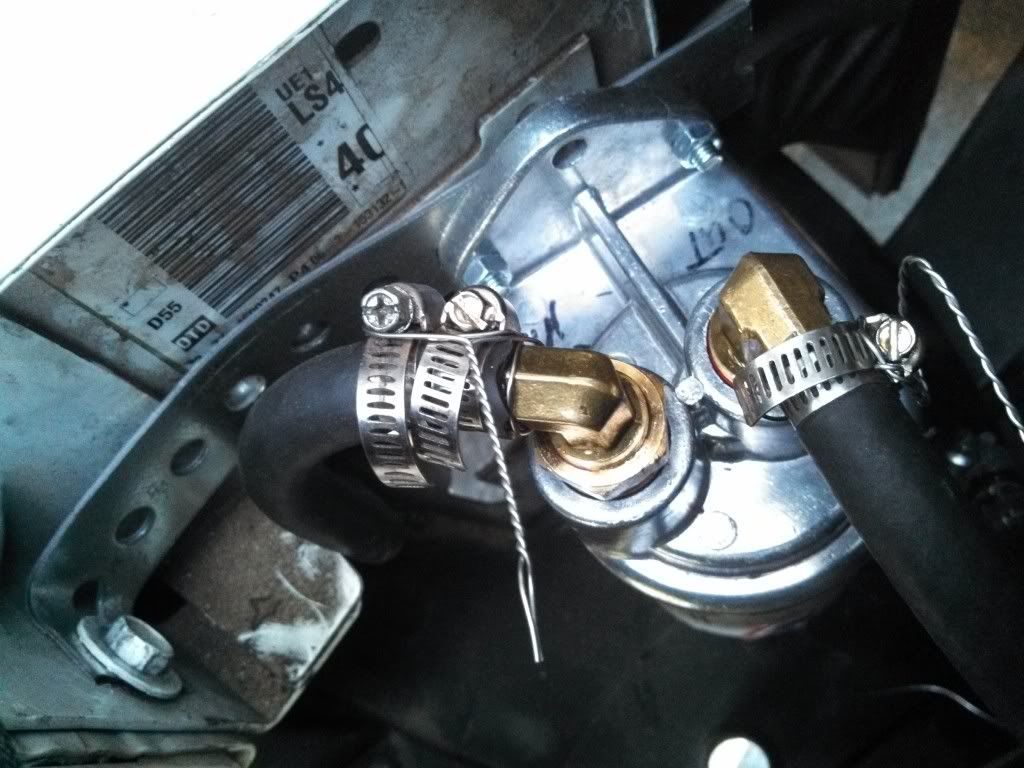
The kit has A&N fittings for connecting to the transmission with a stainless steel braided line that runs to the cooler its self and has the A&N fitting welded to the coolers so that end will never leak.
Now for the install.
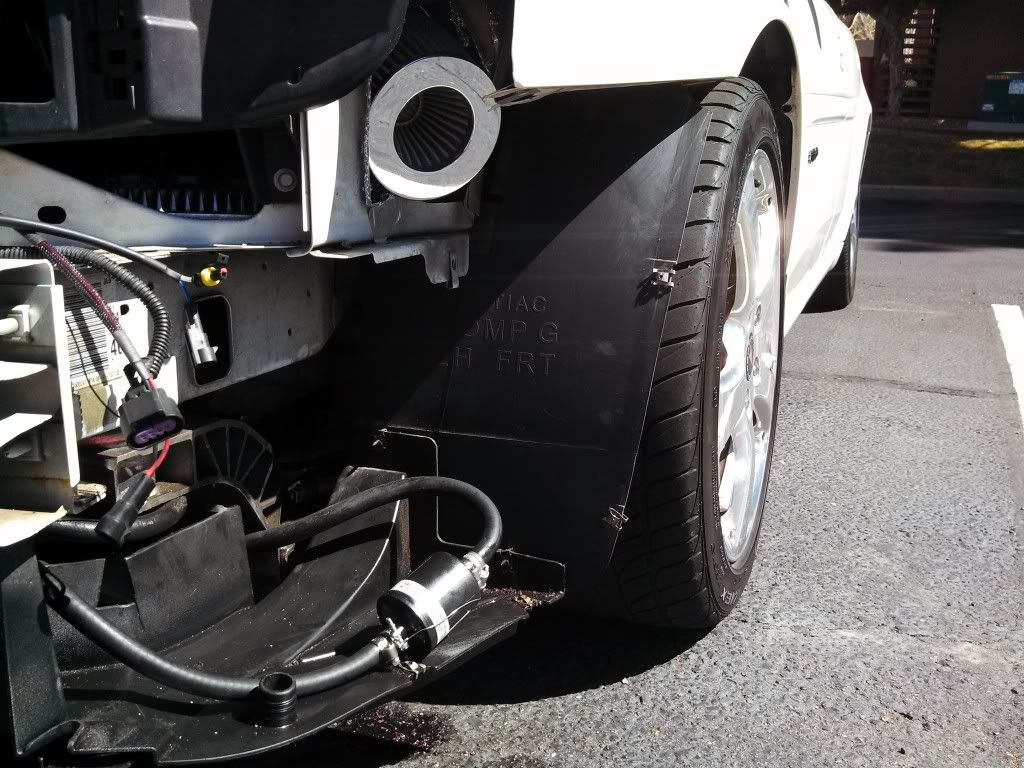
As you can see in the above pictures….that’s where the cooler itself need to end up…except more to the right. I put the bracket in the wrong place and have to move it over to the right some to make both of the brackets fit right.
Now how did I fit the cooler down in there without removing the bumper….it’s simple. I removed a few bolts and took the entire hood latch assembly thingy MA bobber out. Then I just took my time and slid the cooler in from the top and ran the lines where I wanted them. Wasn’t too bad. But I do recommend having two people just so you don’t damage the cooler. I did it myself and didn’t hurt it at all.
This is a picture of where I got the cooler in at…..there’s 4 bolts that you have to remove and it slides right in.
Ok ok ok after an hour and a half of working with this cooler ive got it as close to squared and centered as possible. I still can’t get the brackets that came with it to line up and work but frankly the cooler is nice and decently secured there where I don’t think it’s going to go anywhere at all. So some more pics of the install and all.
Installing lines to the transmission
These pics of the lines in the transmission were taken two days after I installed the kit…and yes im aware that I had a Class II leak…but that was fixed by taking a wrench and…well….tightening the A&N fittings more. I will describe the two types of fittings that come with the kit shortly.
For removing the Stock lines from the transmission you will need 1 tool, it is called a dental pick. And this link is the exact set I ordered from amazon and come in handy….never except for this
Amazon.com: SE - Probe Set - Double Ended, Stainless Steel, 4 Pc: Health & Personal Care
The reason that you need these picks are to remove these
It’s really hard to get anything else in at the angles you need to be able to remove the clips but those picks got it done in seconds. Also these little clips love to go ping when you pull them off so I’d hold your hand over them when you’re popping them off.
In the picture below this is where the clips are hiding at and you have to pop them out of
This pictures shows what you can see of the lines running in the engine bay. They all shiny
In this picture, one of the lines are hidden by the plastic loom in down there but they’re both there


