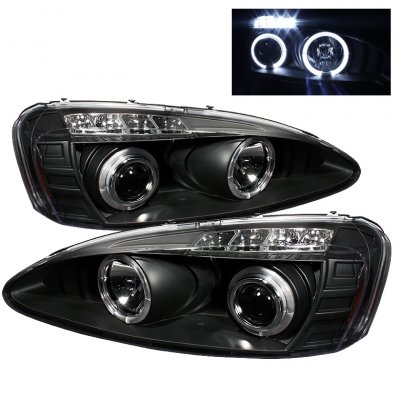
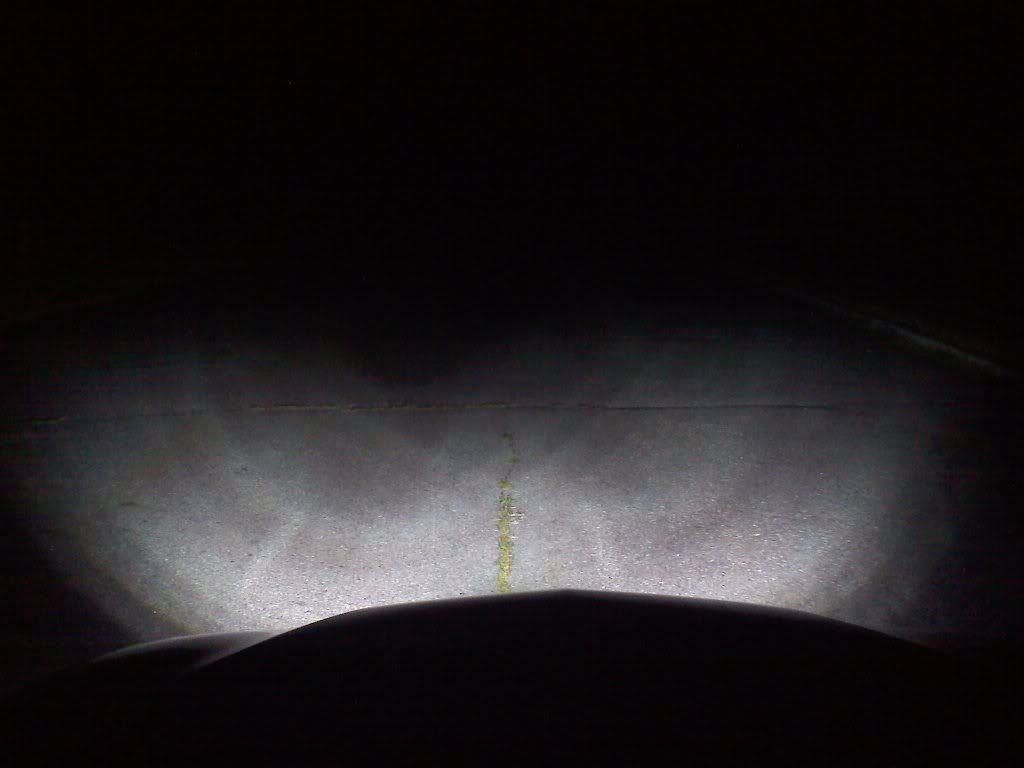
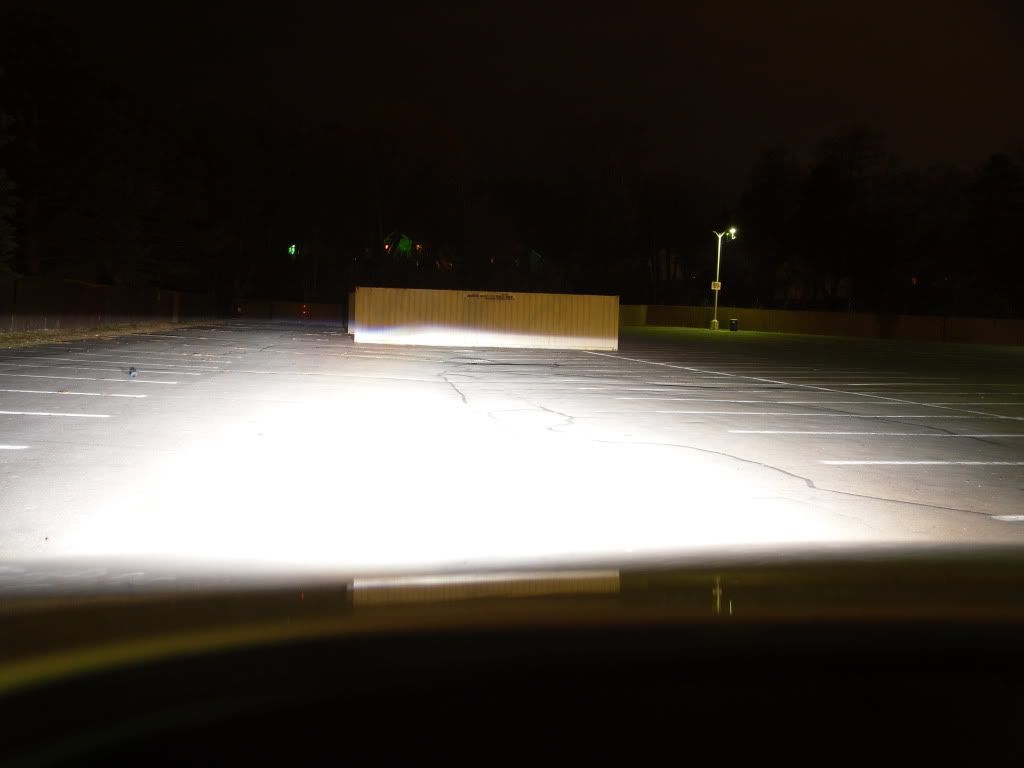
Okay, time for the truth. My First retro was okay, output was awesome and everything has held up nicely. BUT I had no way to adjust them and the cutoff lines never lined up and they weren't straight across, they had like a V shape. This time around, I made sure the cutoff line was straight (you have to do this on the car, I found out the headlights don't sit flat in the car so its different, hence the issue with lining up), I also went with a different Bi-Xenon projector, the D2S Morimoto Mini's. Let me start off by saying wow, these things are tiny, and they are a WAY better fit than the FX-R projectors I had. So In the pictures below, I basically explain each step.
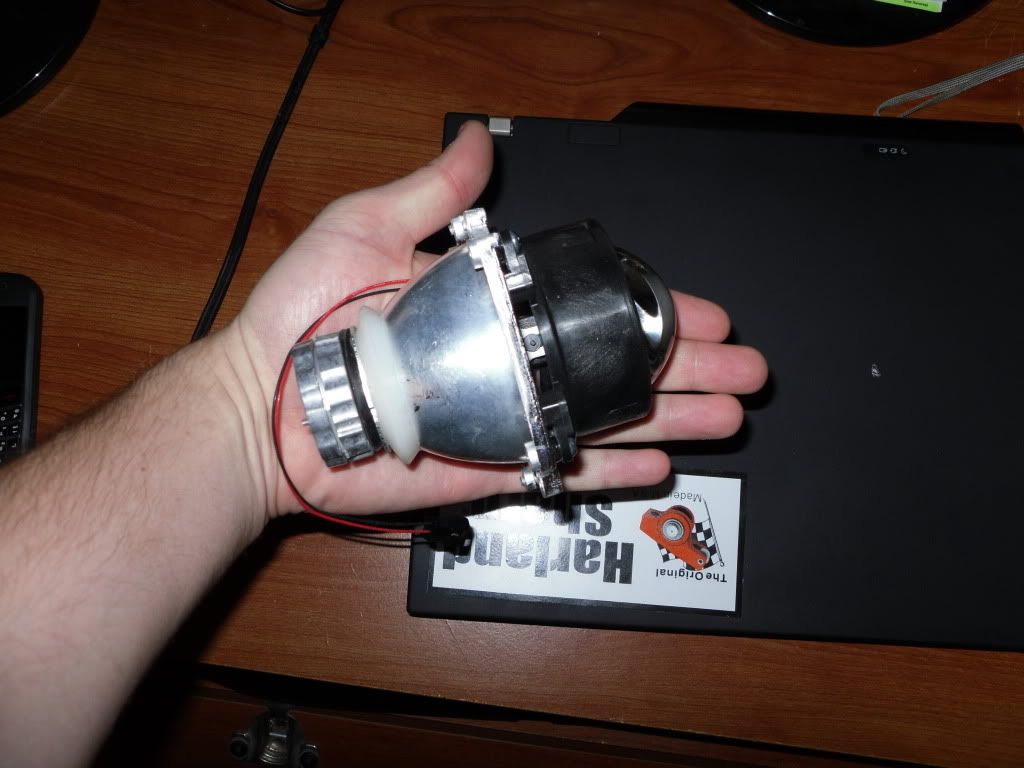
Projectors, melt in your mouth not your hand.
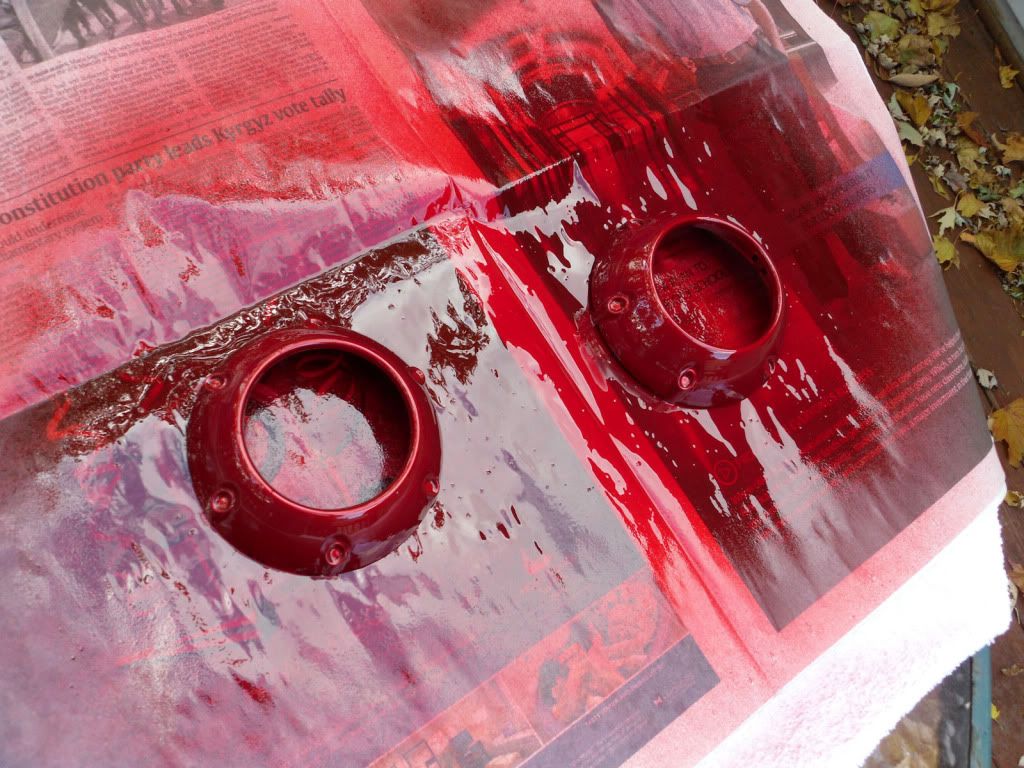
Paint Shrouds Candy Apple Red
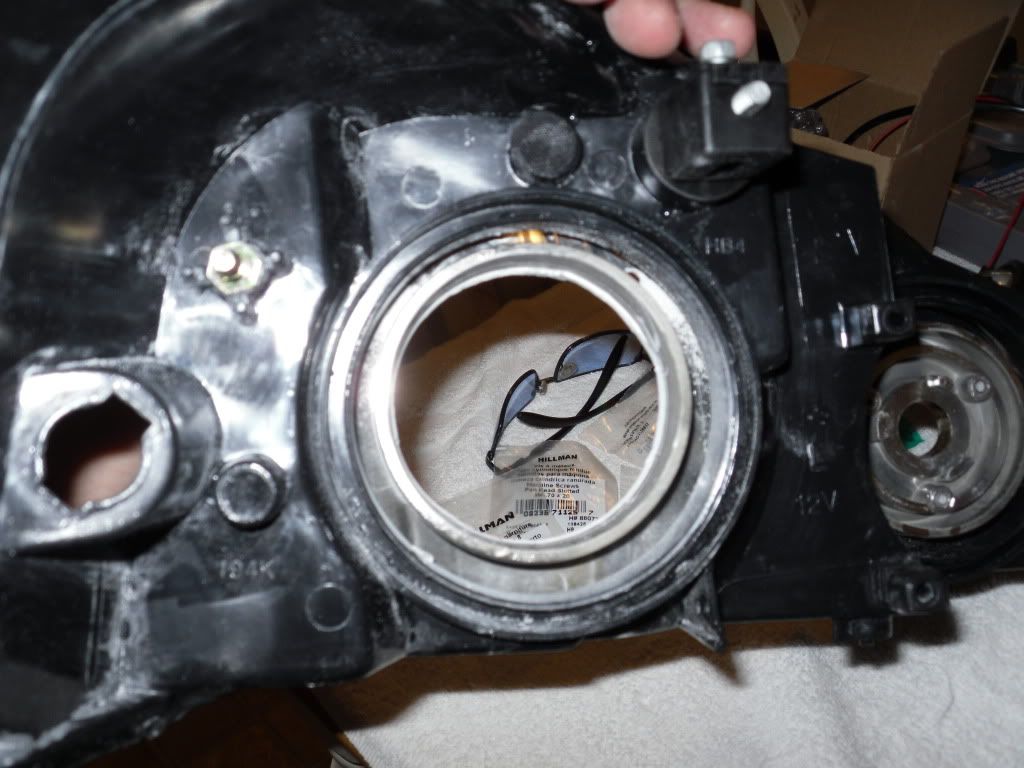
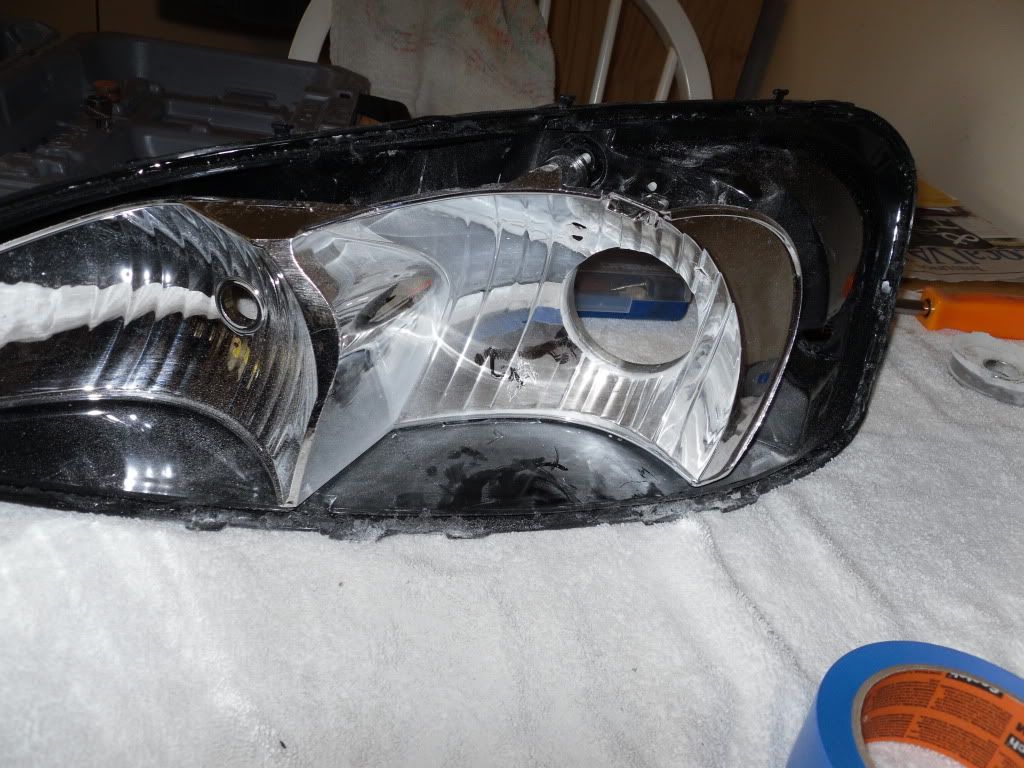
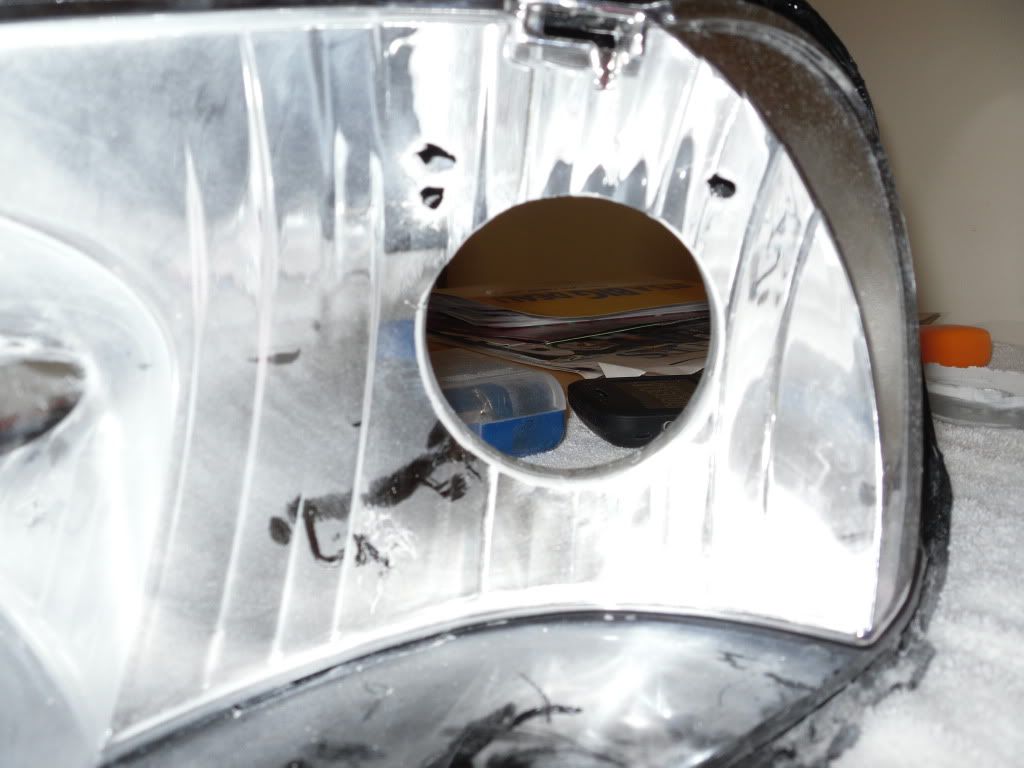
I just used my dremel and cut a perfect circle with the use of the second out lying ring on the reflector as a guide, perfect size!
I also bought longer screws for the projectors top screws (M4 x 0.7, 30mm) so I could bolt the projectors to the reflector.
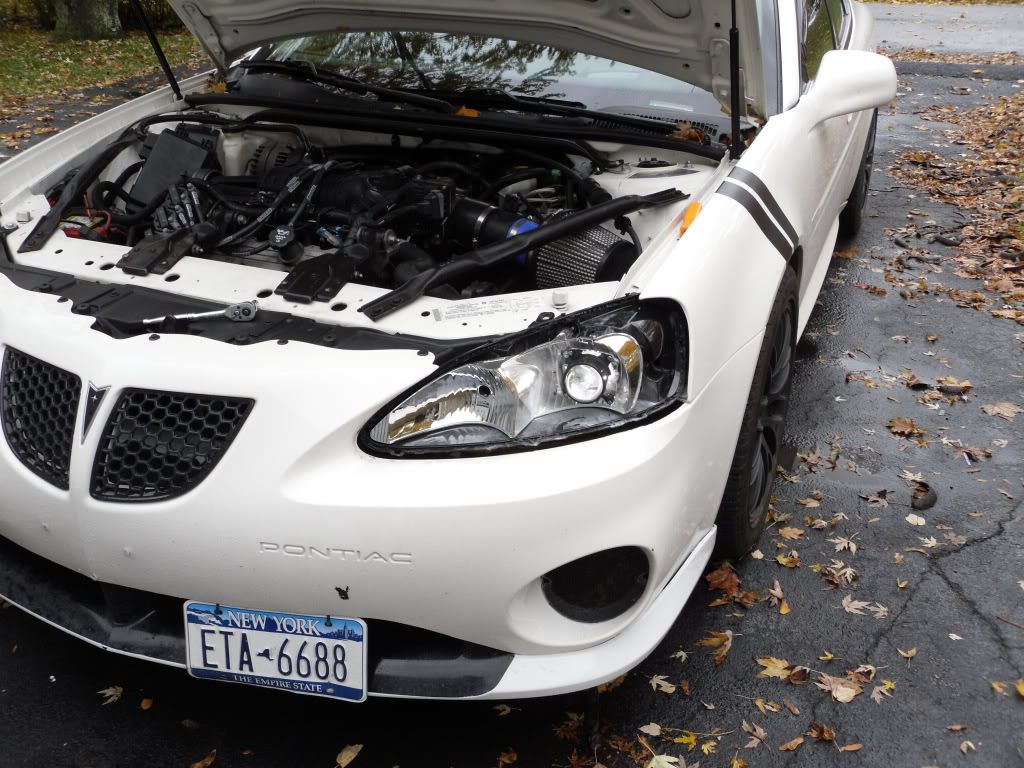
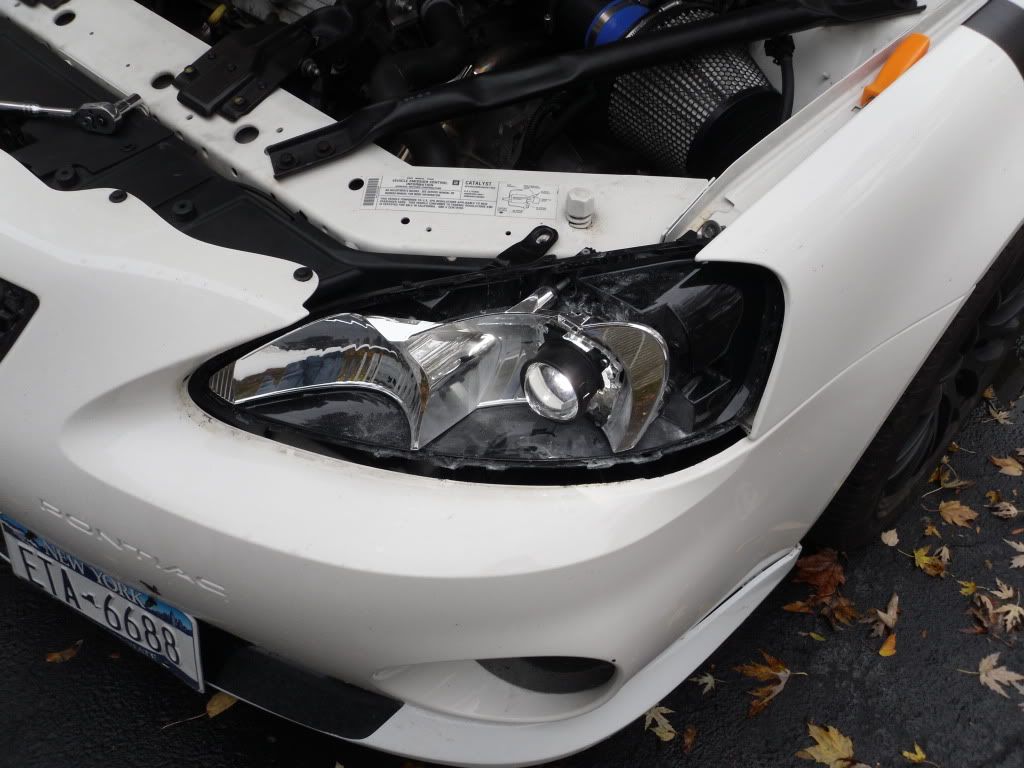
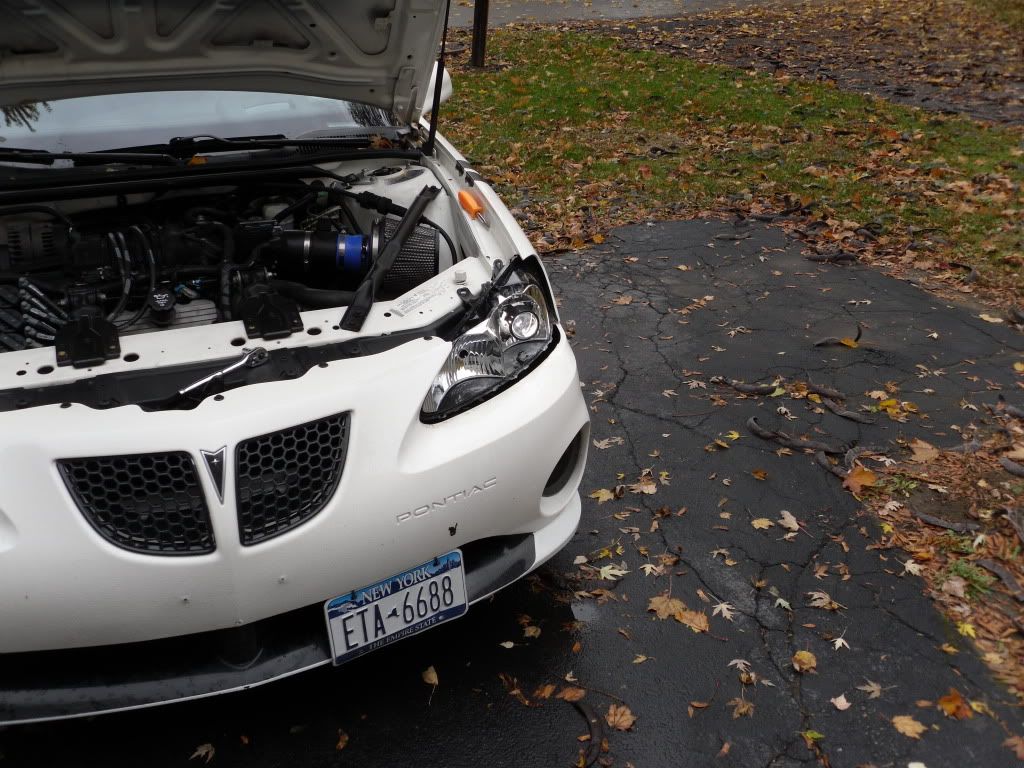
Double checking everything.
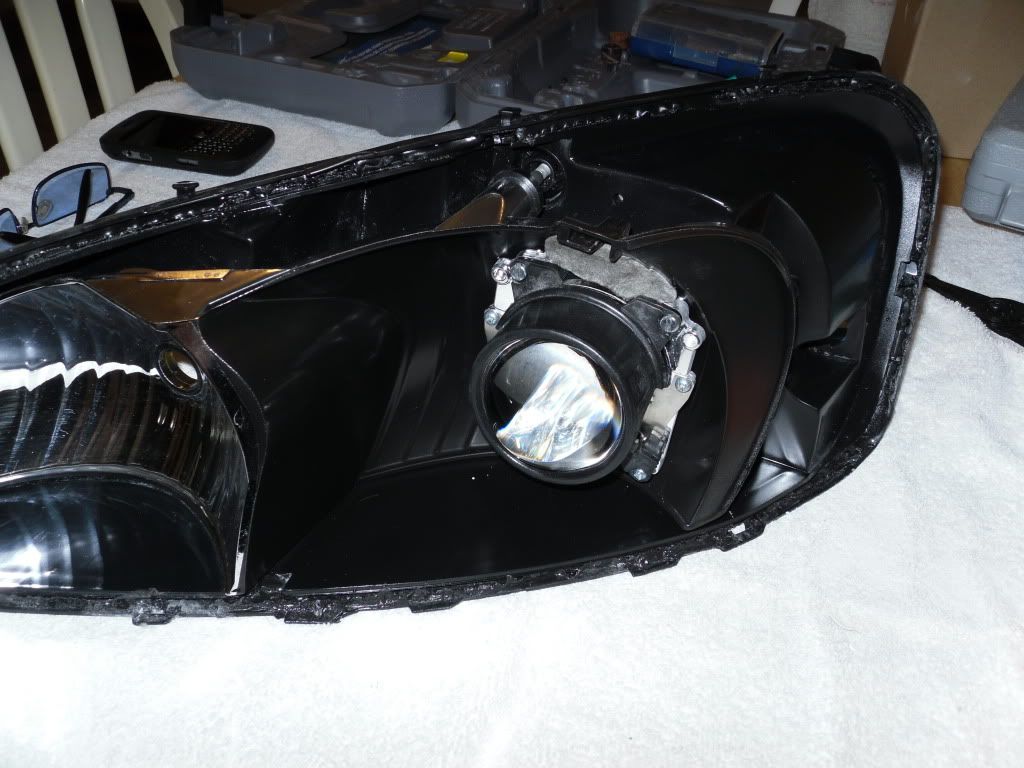
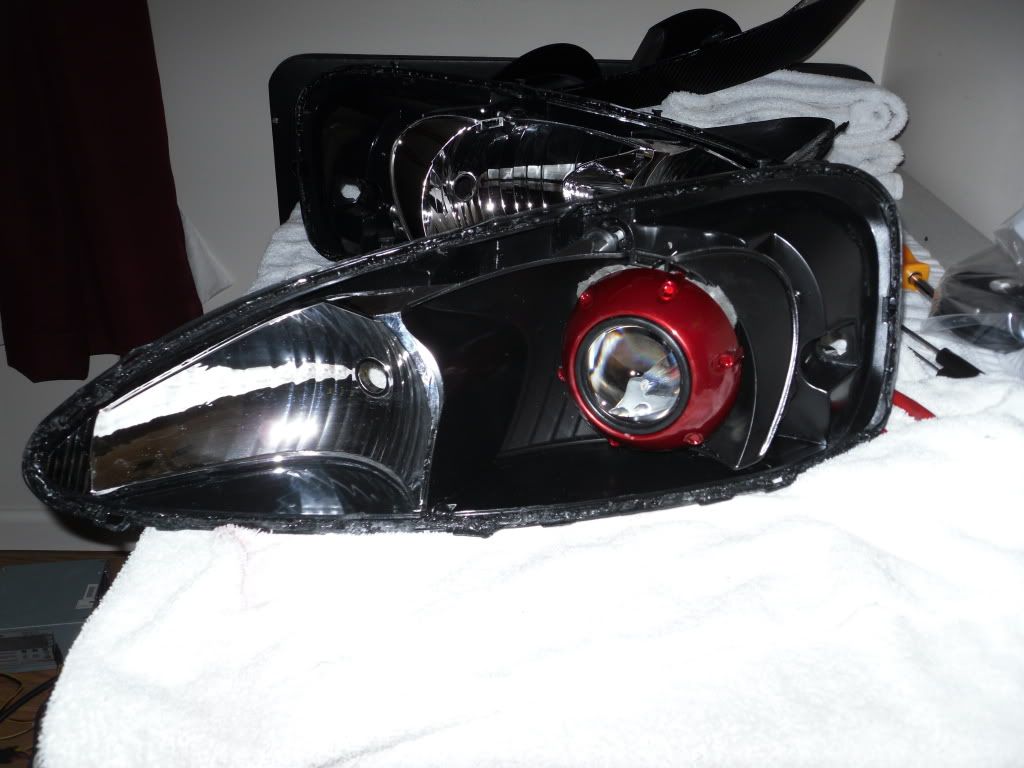
Painted reflector black and mounted projector with the two screws and JB Stick weld
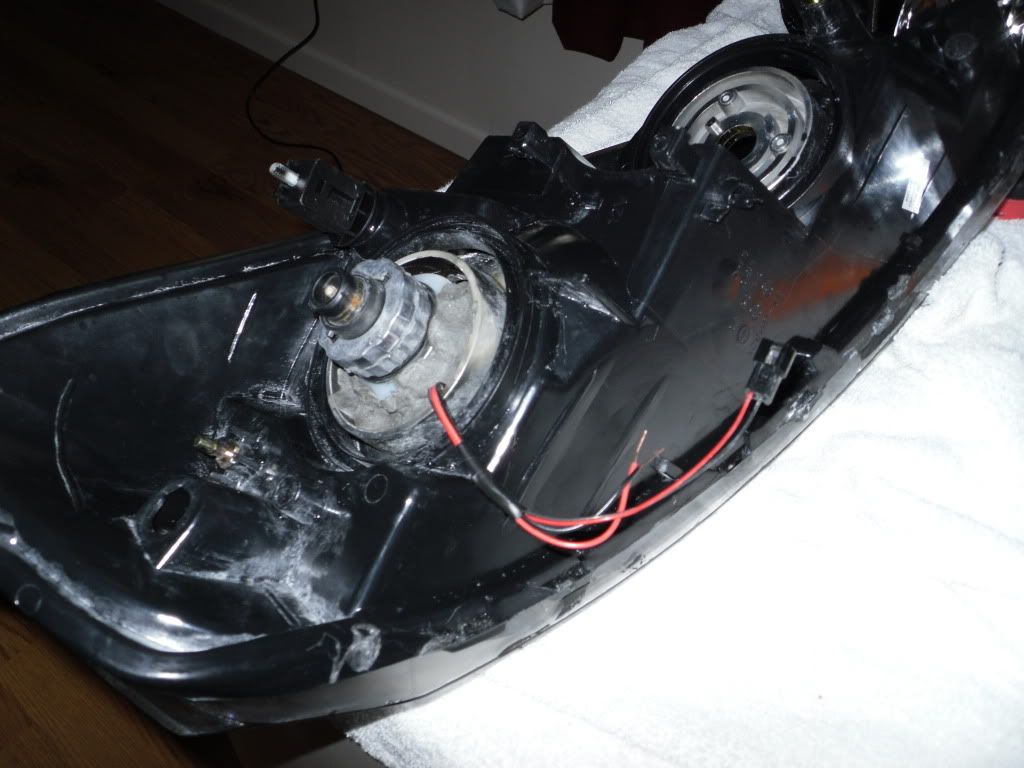
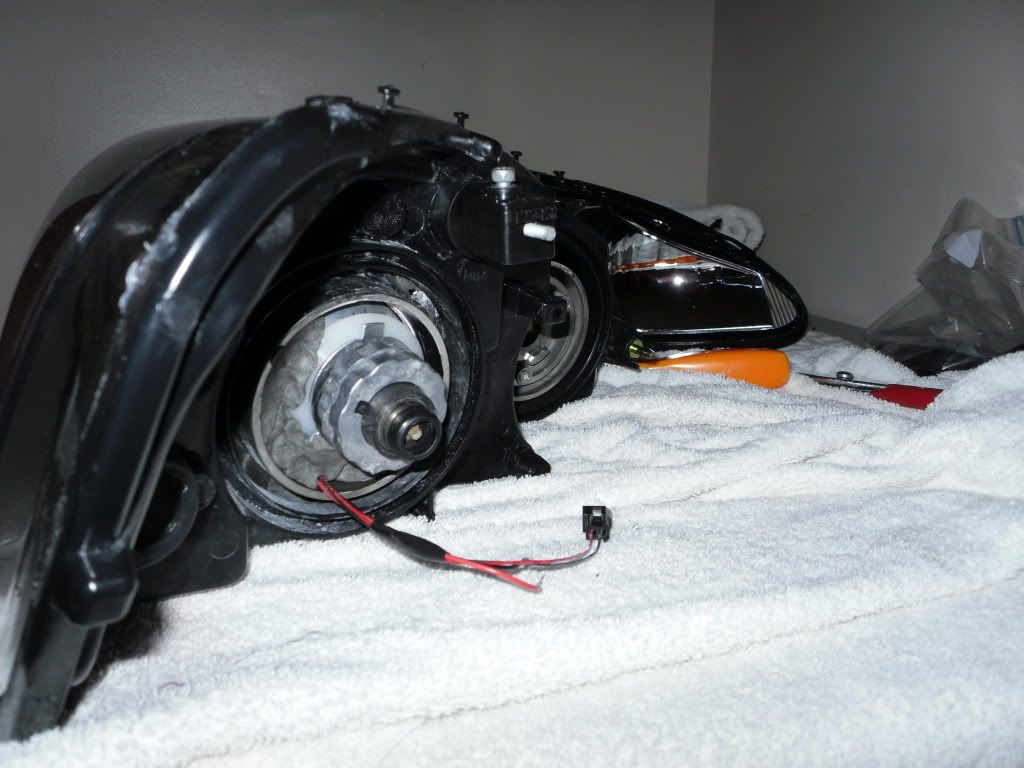
Such better clearance on the back too, but you would still have to trim the black plastic behind the light for sure.

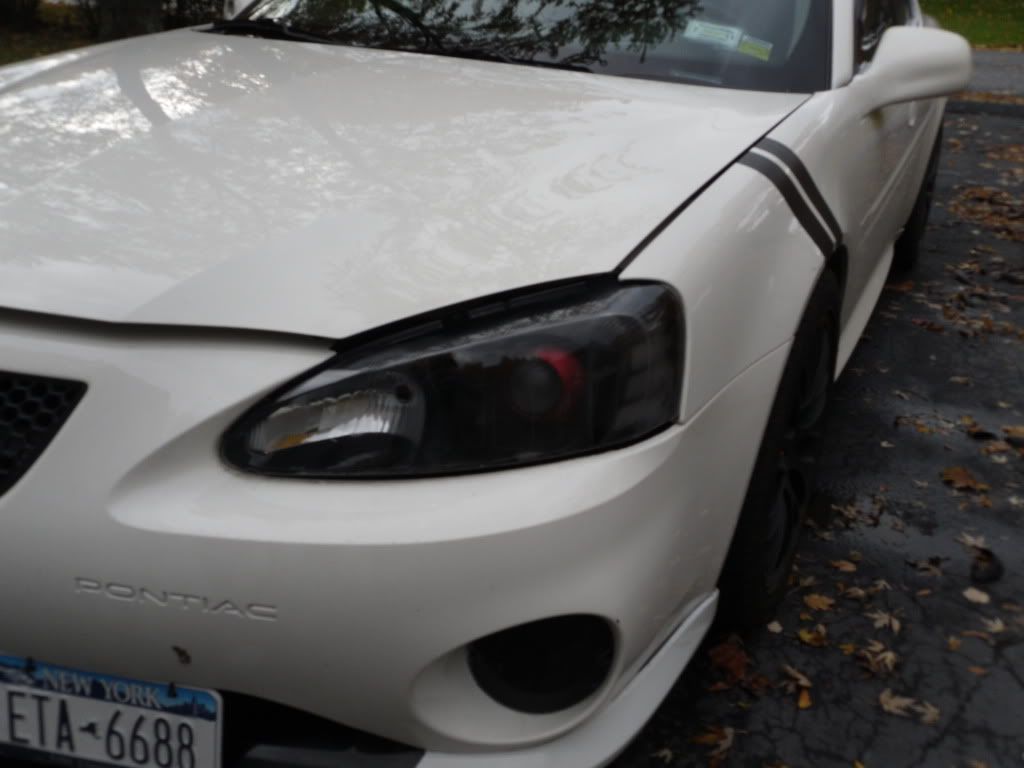
OVEN FRESH HEADLIGHT
Headlight was fogging up fast from coming out of the oven
Should finish this all up by Tomorrow or Friday and I should have a new set of headlights
OLD HEADLIGHTS ARE SPOKEN FOR THEY ARE NOT FOR SALE!!!!!!!
Also other recent upgrades:
Remote Start
Custom downpipe to get rid of that U-bend from the speed daddy ****ty design, so I can go lower now
More Pics when everything is buttoned up and finished


